This week, what we are asked to do is that design a 3D mould, machine it, and cast parts from it.
Introduction to molding and casting
Molding is a manufacturing process in which we are creating our own shapes using materials such as wood and wax ,followled by casting with plastics, metals and even with rubber. molding is usually preferred process for manufacturing plastic parts.
Casting involves pouring liquid metal into a mold, which contains a hollow cavity of the desired shape, and then allowing it to cool and solidify. The solidified part is also known as a casting, which is ejected or broken out of the mold to complete the process. Casting is most often used for making complex shapes that would be difficult or uneconomical to make by other methods
3D Modelling
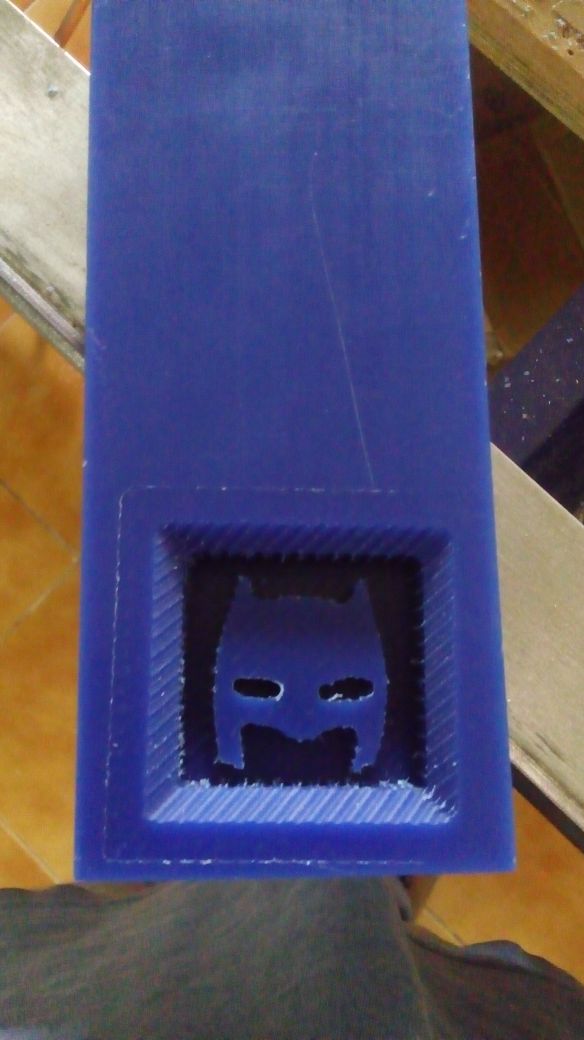
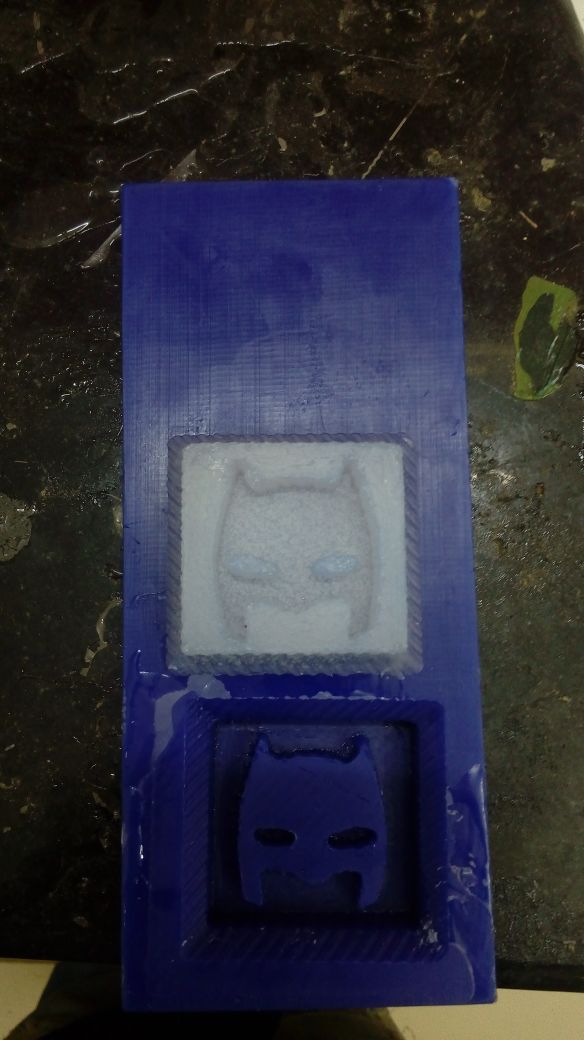
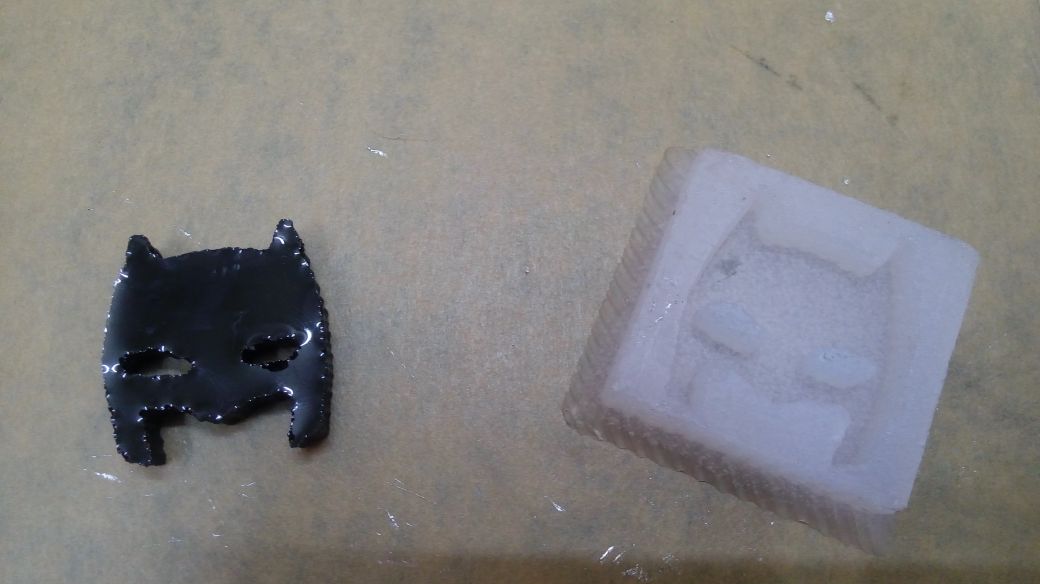
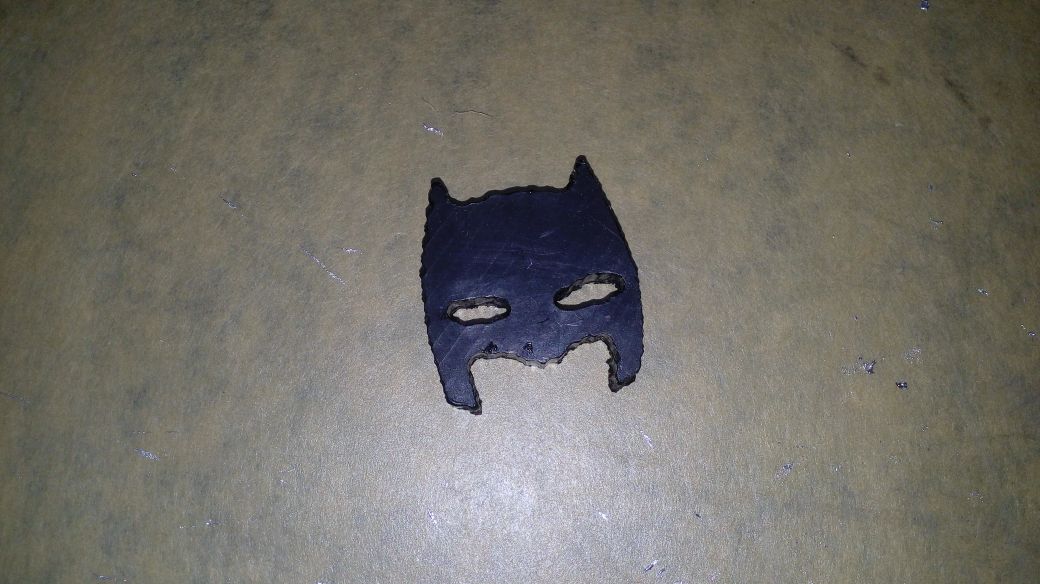
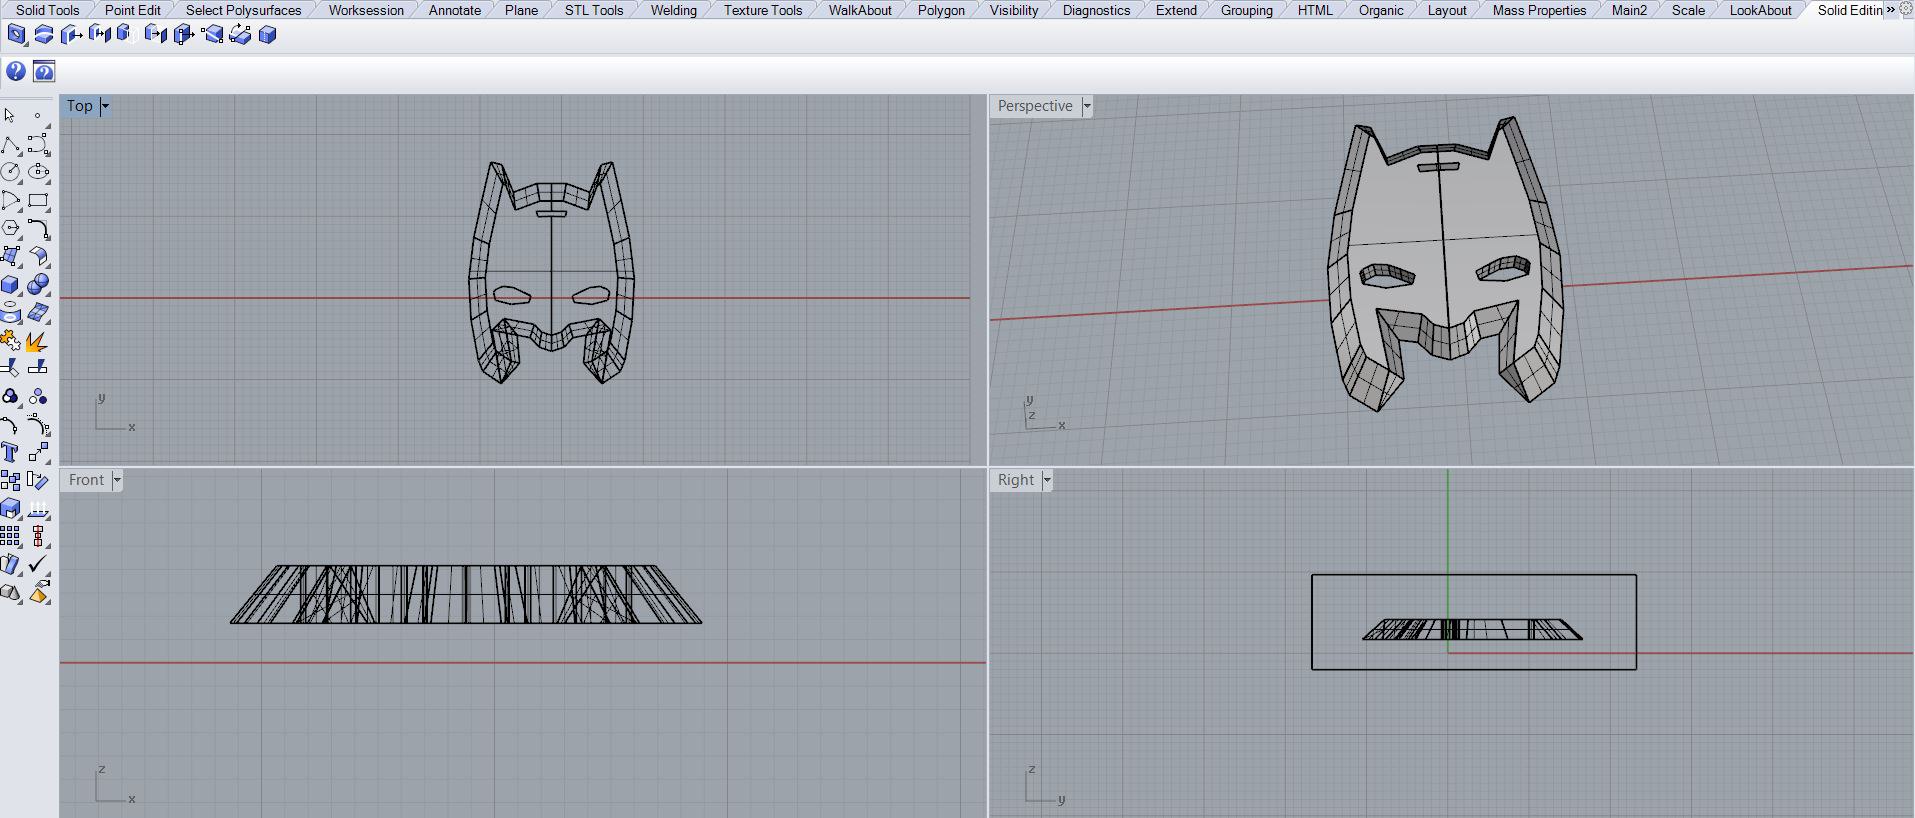
So here I planned to do a comic character face, later I switched to batman mask.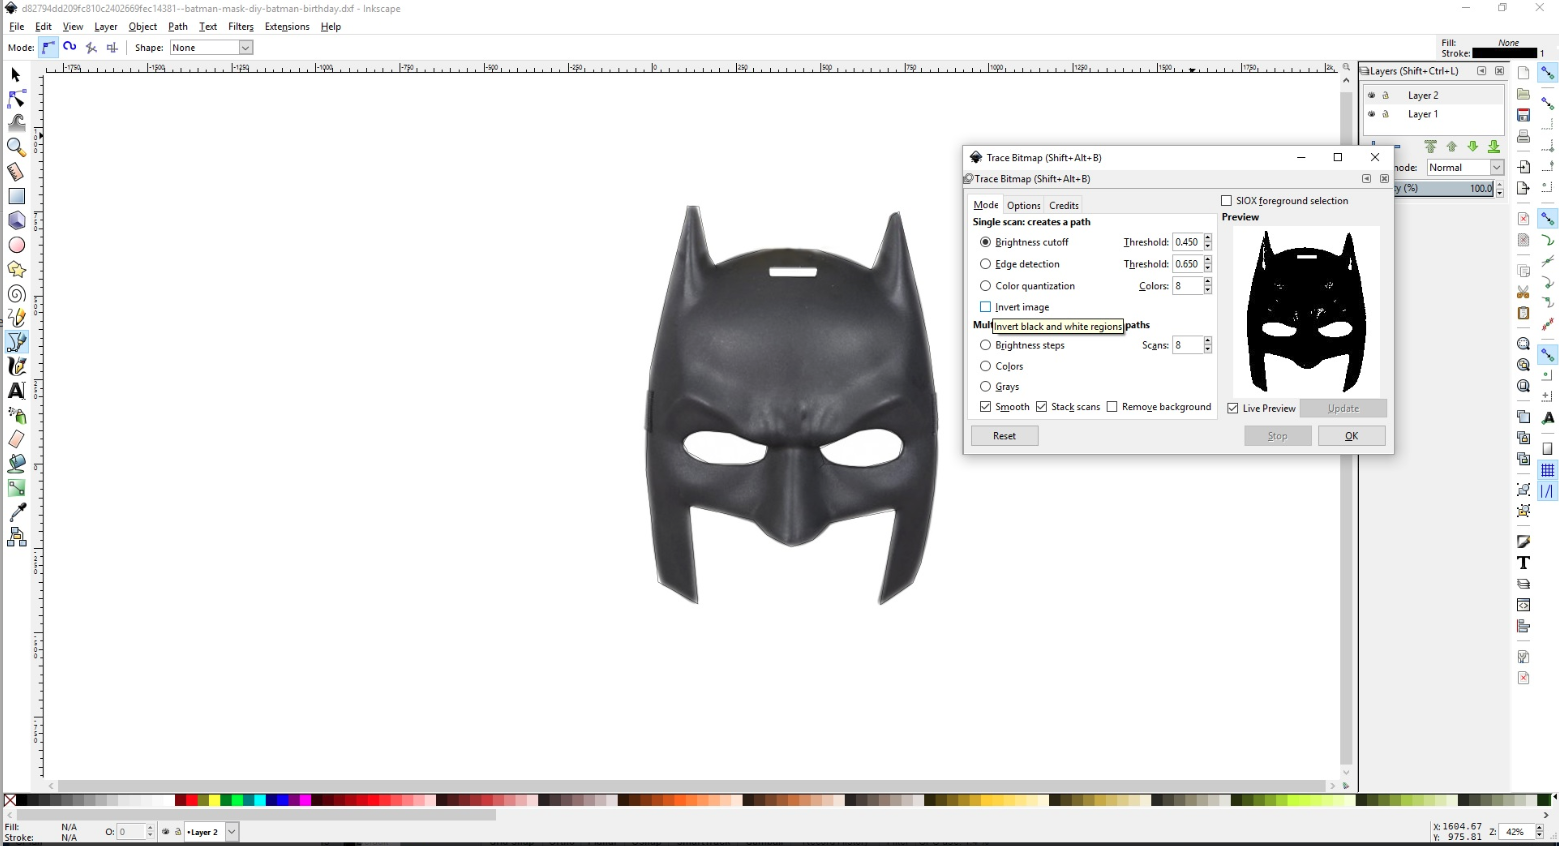
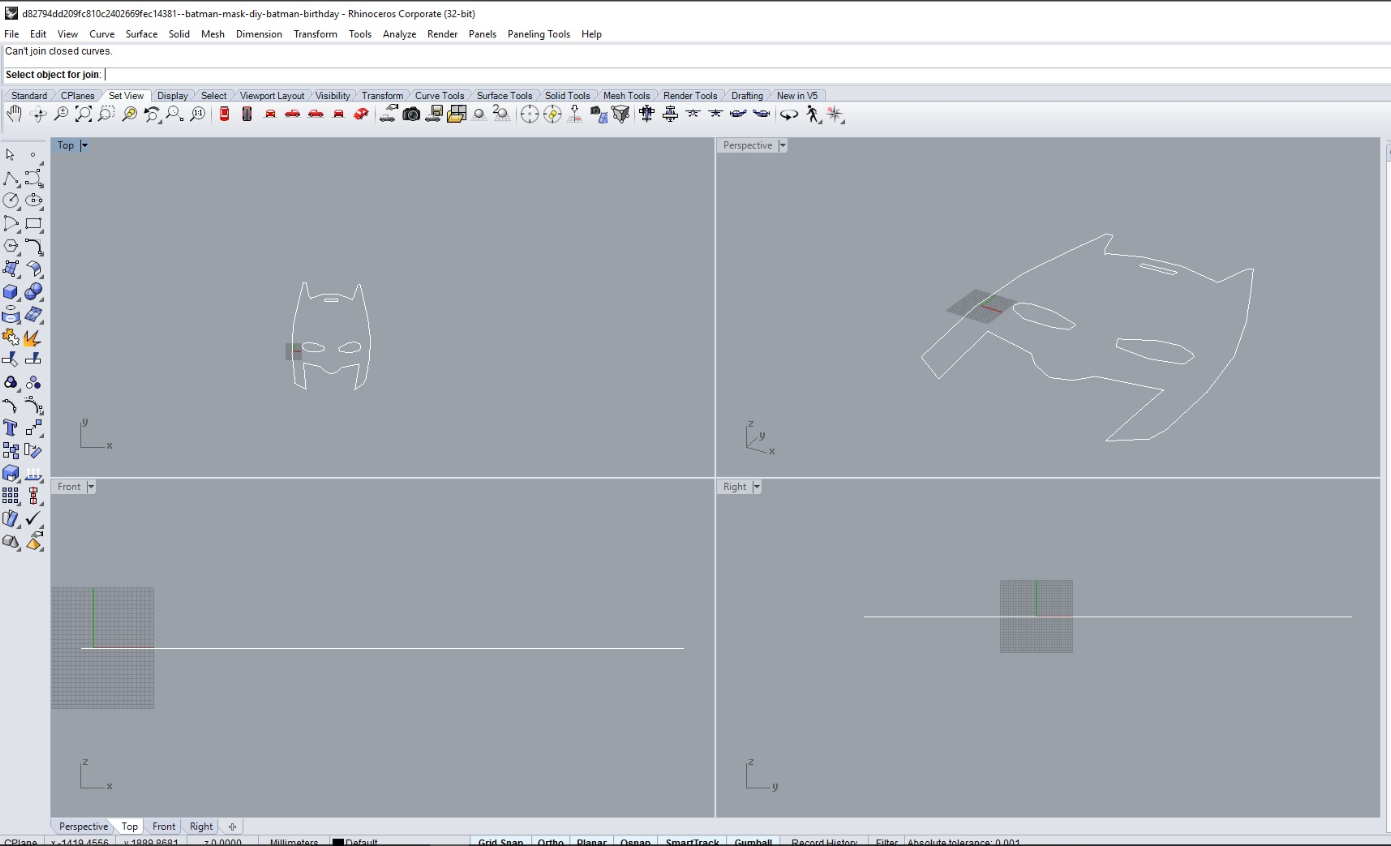

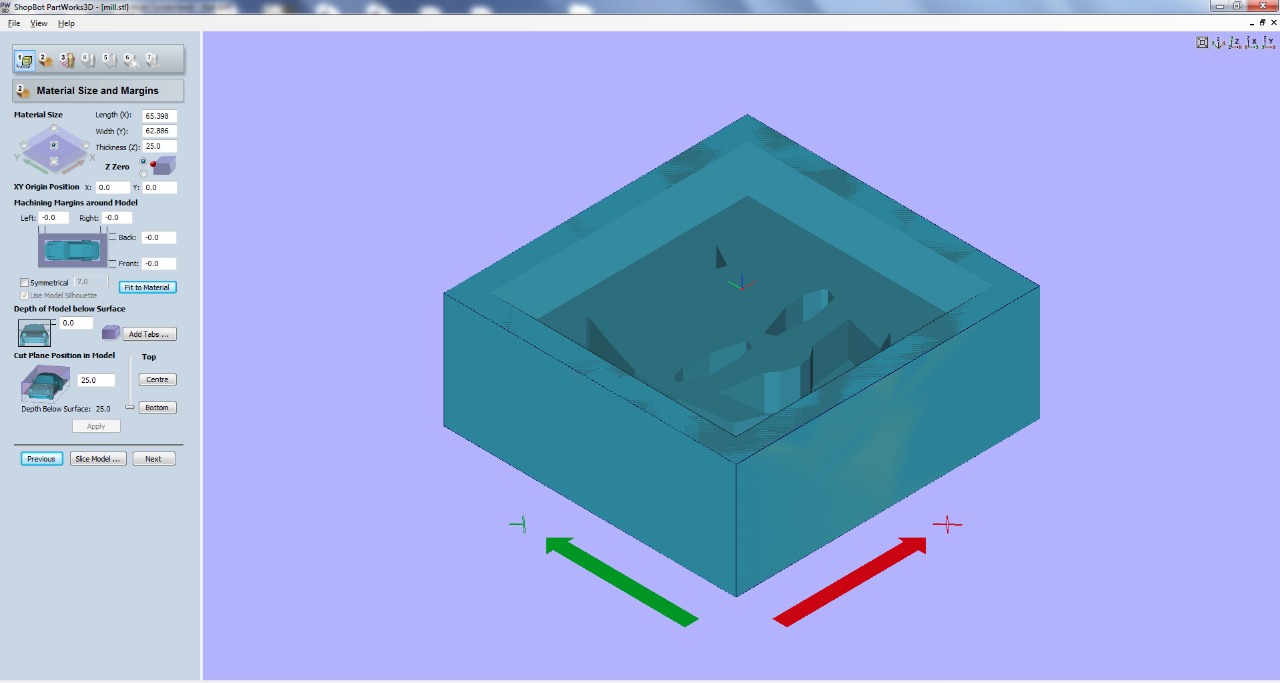
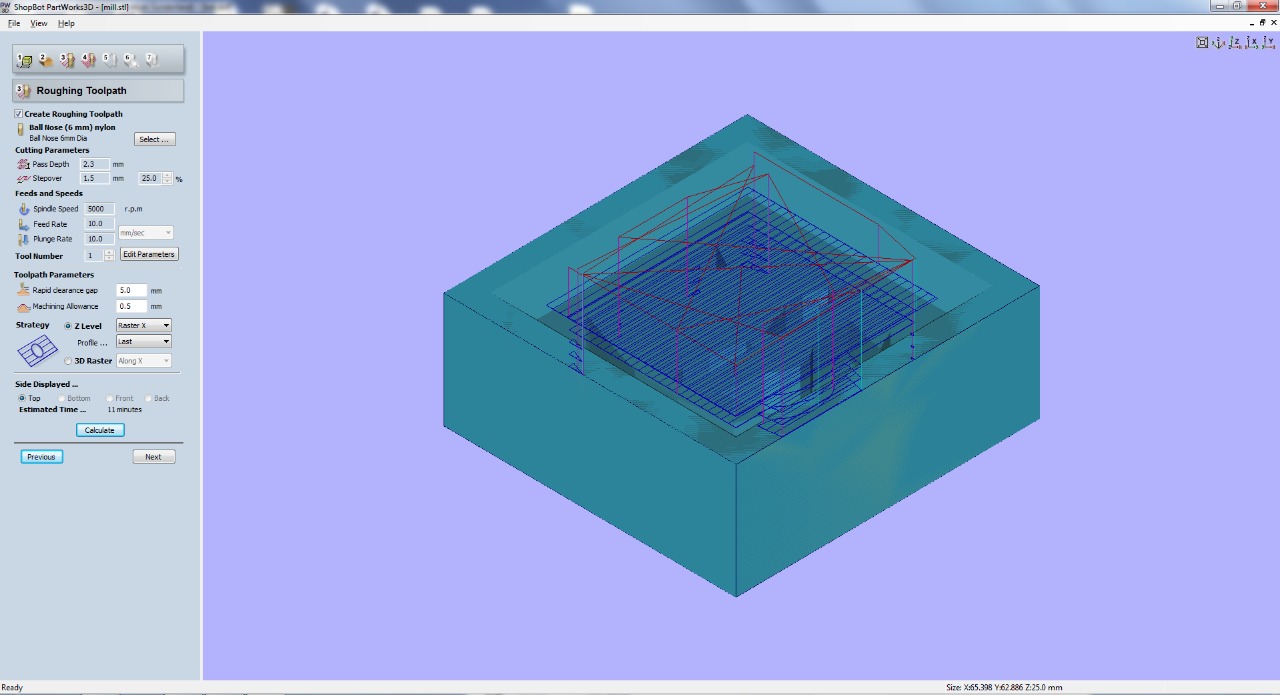
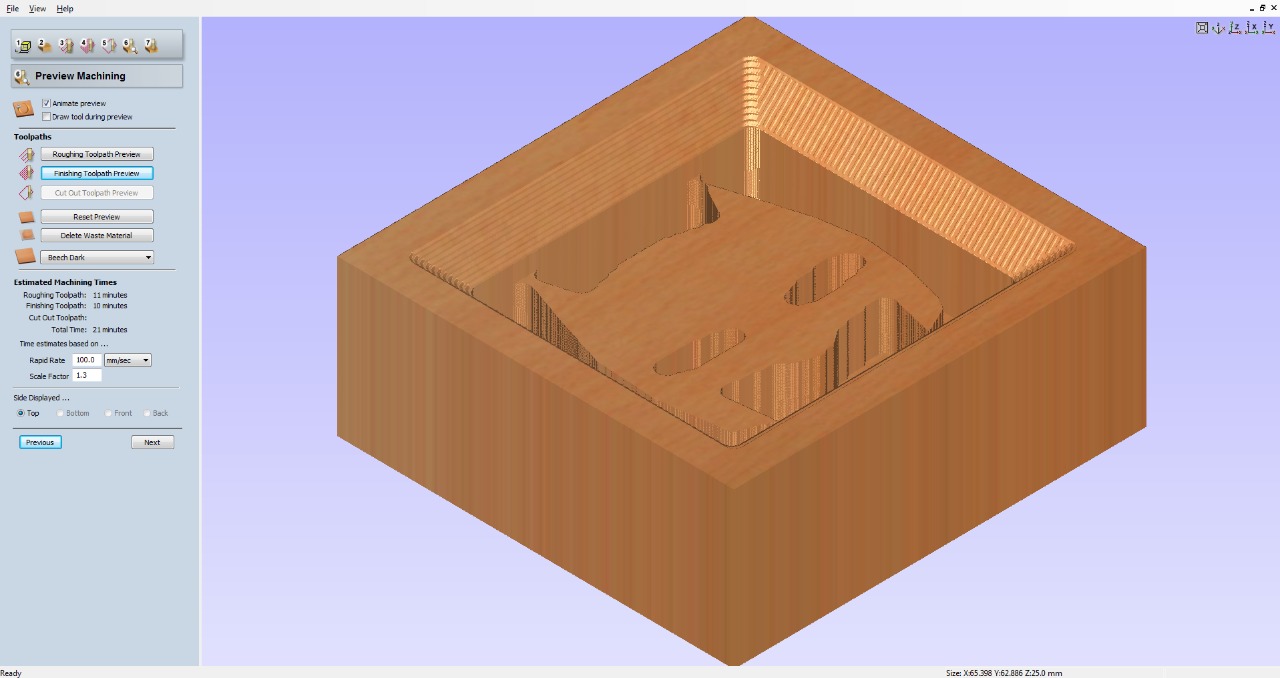
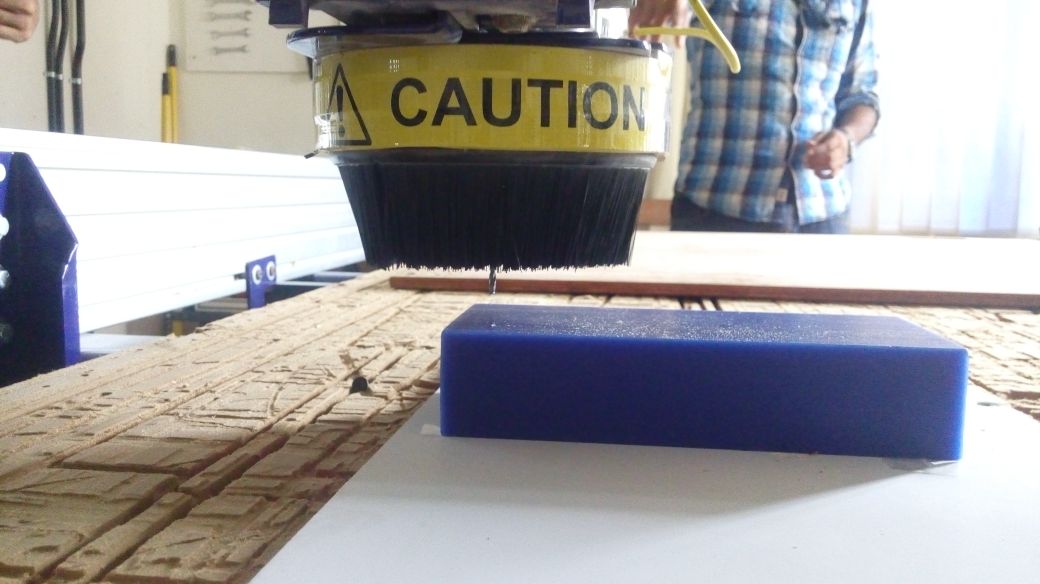
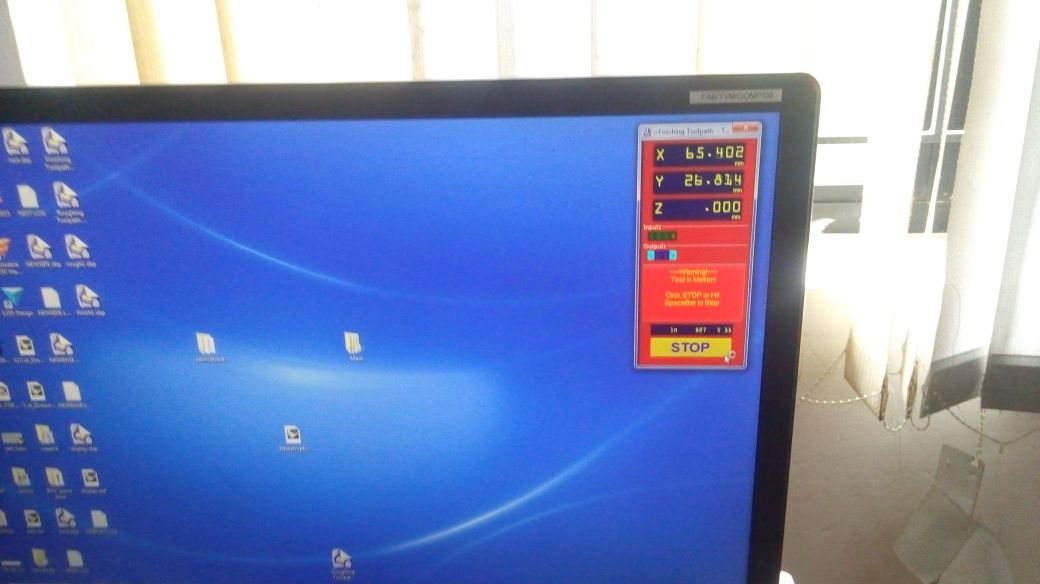
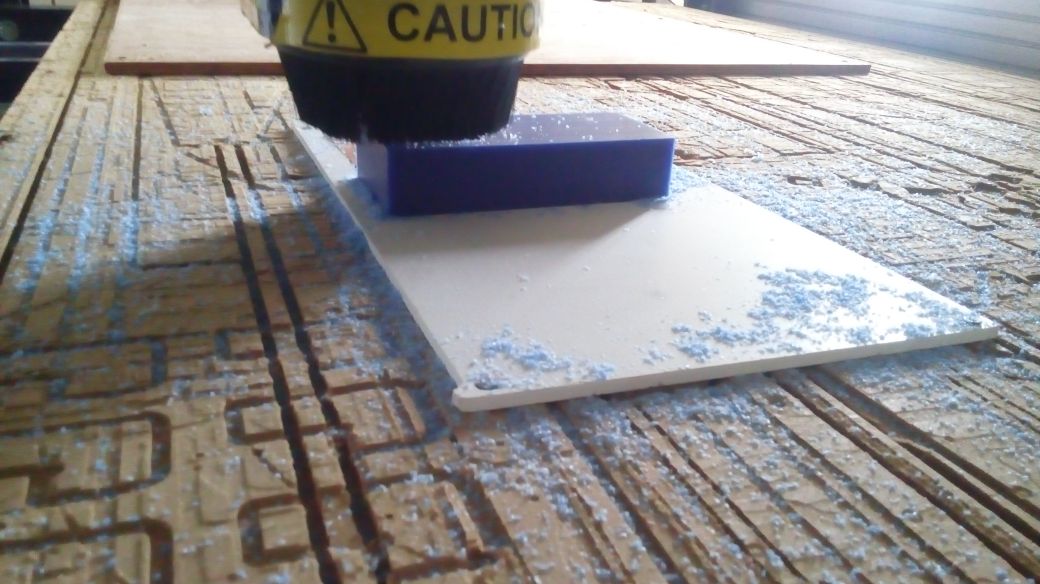
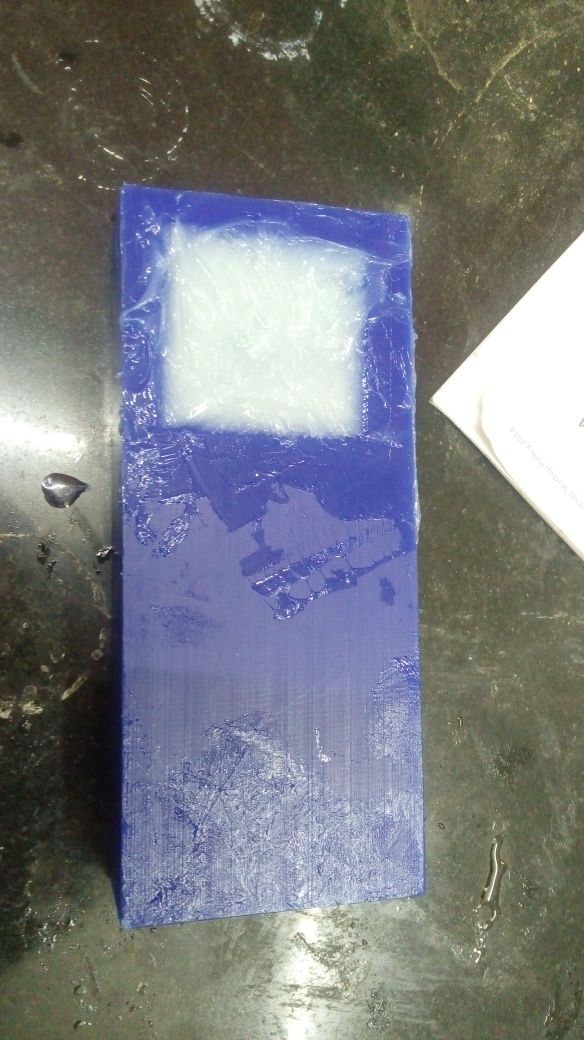
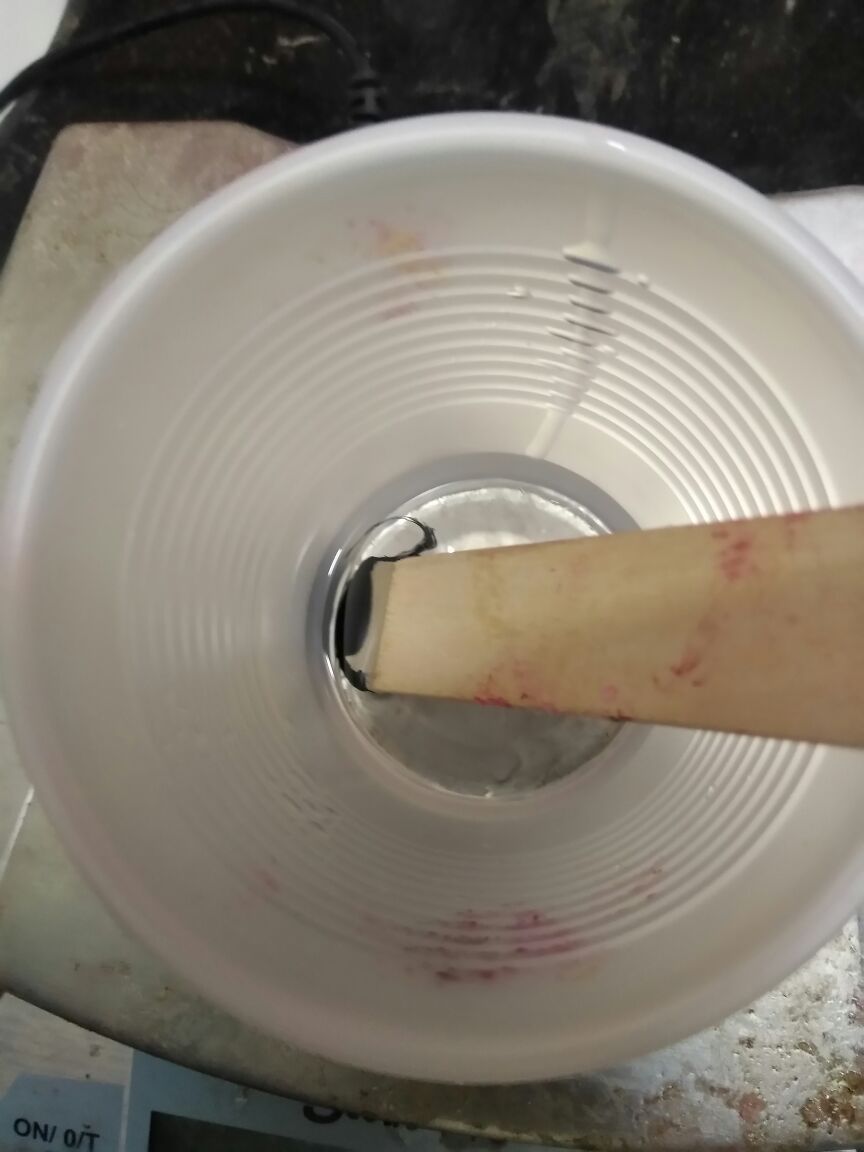
The next step is to make its mold. So I decided to make it in the Shopbot. I decided to use V-Carve software. So I then converted my 3D file to .stl .
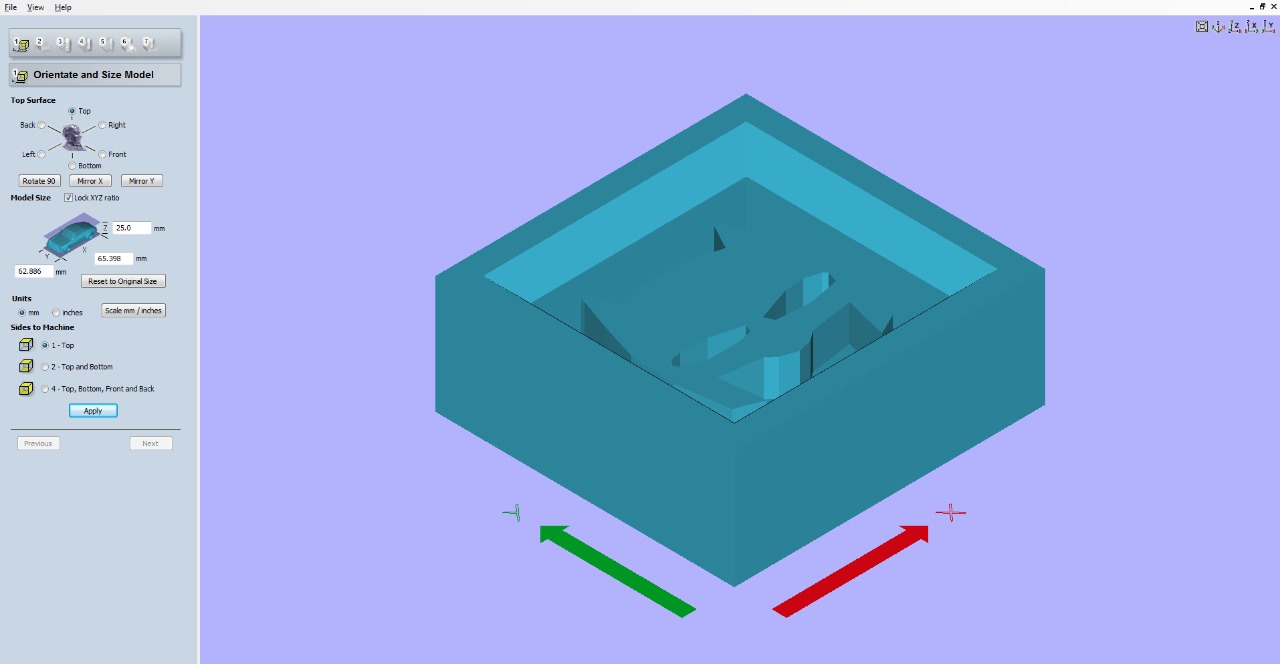
Next we have to set the origin
Casting
Next is the casting process.
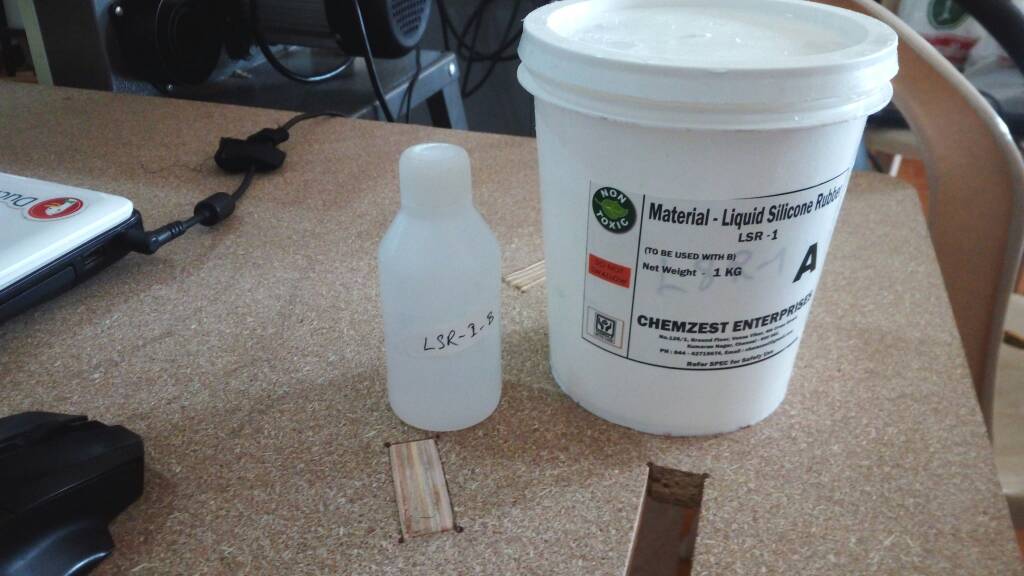
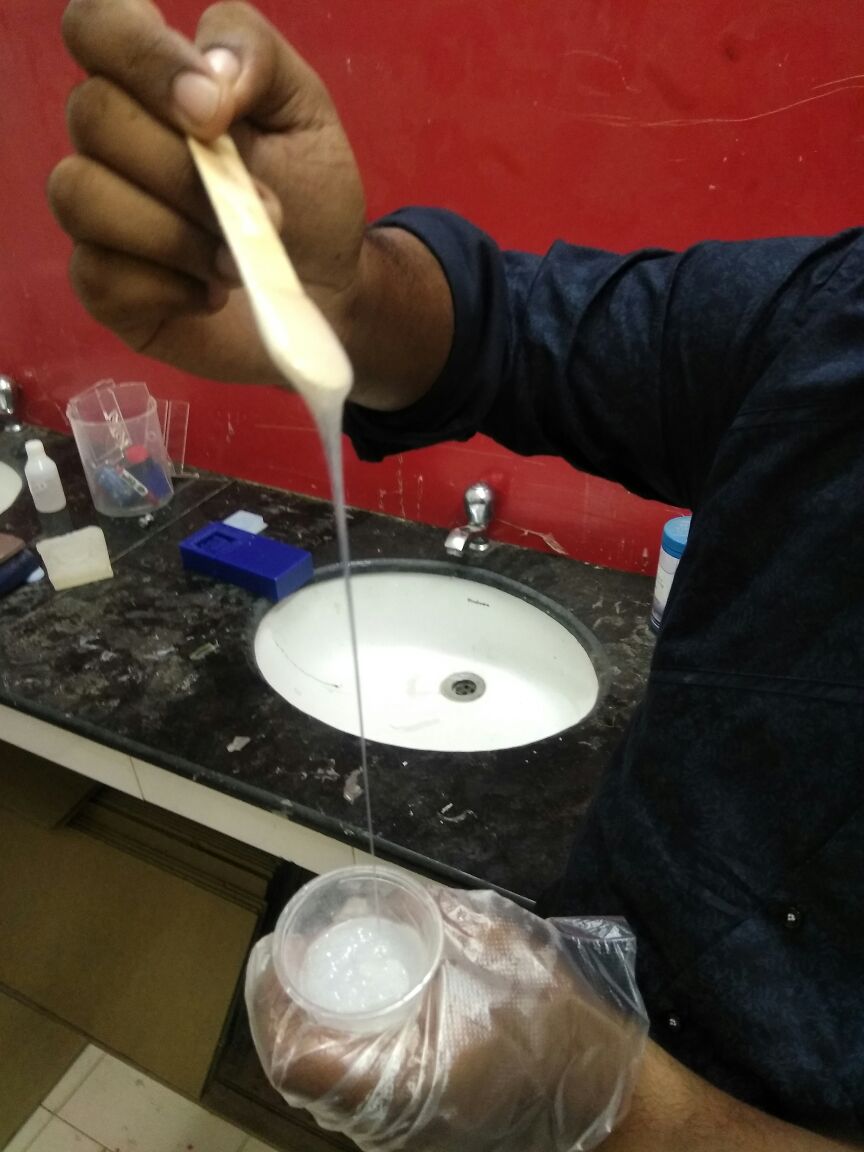
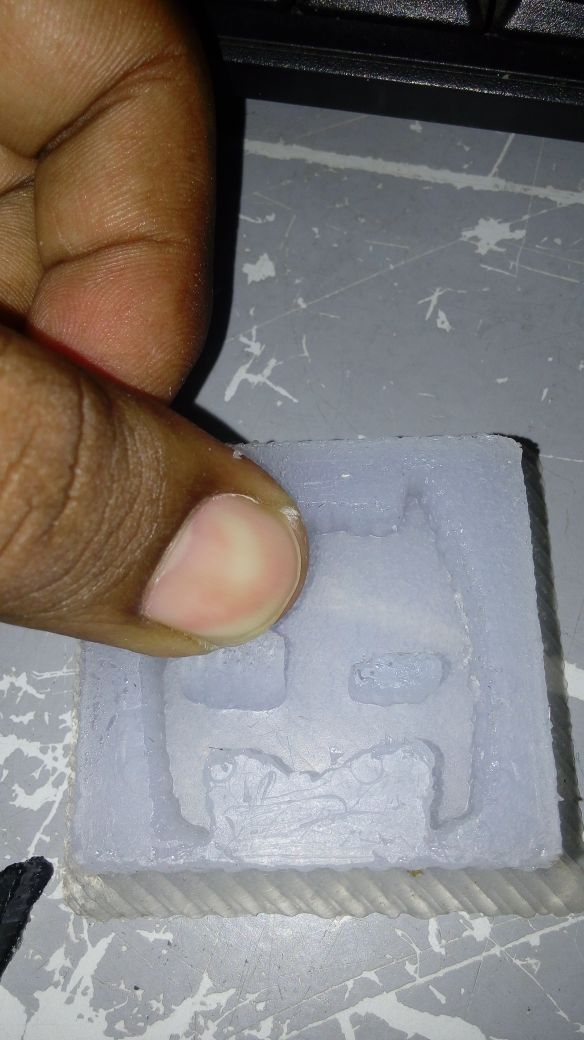
I used Liquid silicone rubber (LSR1) for preparing the mold.two parts are there which has to be mixed with 100:10 mixing ratio.This process als require 24 hours.
LSR’s specific properties are a result of its unique chemical structure. Its backbone is formed by a
series of siloxane bonds which, compared to carbon bonds, are stronger and more stable. This provides liquid silicone rubber products with:
- Superior temperature range performance. Liquid silicone products won’t elongate at high temperatures. They also remain flexible at temperatures as low as -40˚C. High thermal stability makes LSR parts suitable for heavy-duty applications.
- Chemical stability. Liquid silicone rubber parts are chemically inert, hypoallergenic and resistant to bacteria growth. They also feature high biocompatibility, which makes them suitable for healthcare applications. However, they can degrade when exposed to certain organic compounds, or to highly acidic or basic environments.
- Electrical resistance. On its own, LSR offers high resistance to corona discharge, making it a good choice for use as an insulator in high-voltage applications. However, it is also possible to add conductive materials without compromising the other properties of an LSR component, so that it can be used to make keyboard contact points and other electrical parts.
- Liquid silicone rubber molded parts are odorless and tasteless. Unique colors and visual effects can be achieved through the use of pigments and master-batches. Parts are also ozone and UV safe. Other notable features of liquid silicone rubber parts include:
- Resistance to steam and humidity
- Flame retardancy
- Low creep and compression set
- Weatherability
- Vibration absorption
- Corrosion resistance
- Resistance to mold, mildew, and bacteria growth
- UL component recognition
Plastic Casting
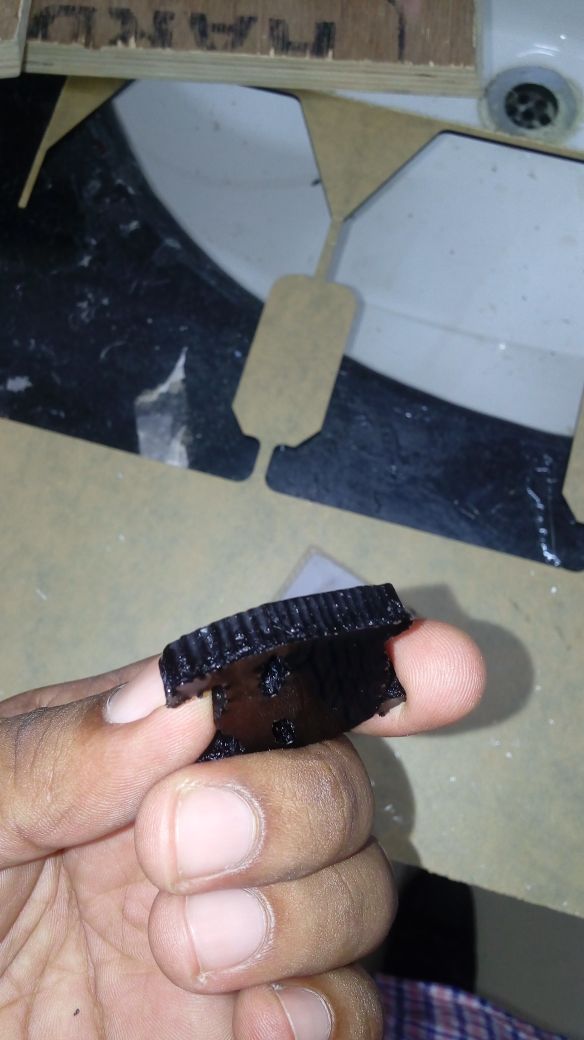
Next i tried Plastic casting, Used high glossy epoxy resin we procured locally, the technical document is shown below. It is also a two part system with a mixing ratio of 100:60, having agel time of 10min and setting time of 30minutes.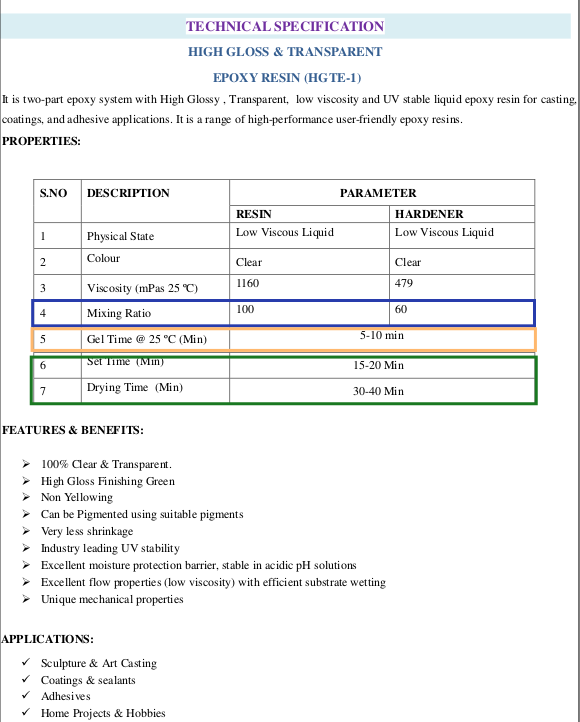

Based on the reviews I got, the design is technically 3D with a filleting done on the edges of the mould. But I went to try out chamfering the edges of batman itself.
Design files batman
Design files batman with chamfered edges
Design files batman mould
Design files Shopbot PartWork file
Go back HOME