Home
Week Six : 3D Scanning and Printing
Group Assignment - Testing the design rules for your 3D printer
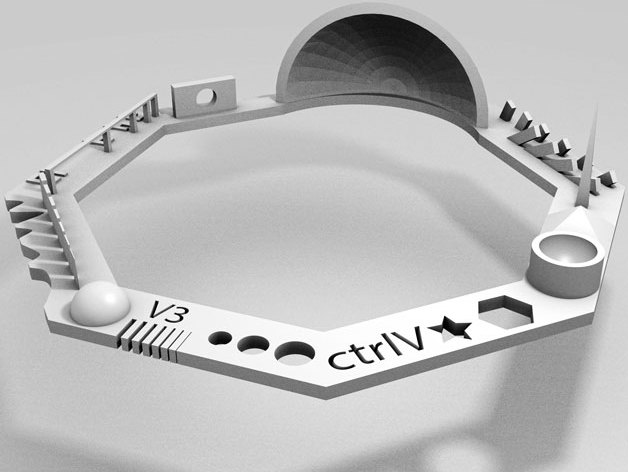
TEST ONE
I have downloaded STL file From this link. The machine settings are given below with "3D Printer Settings" as heading.
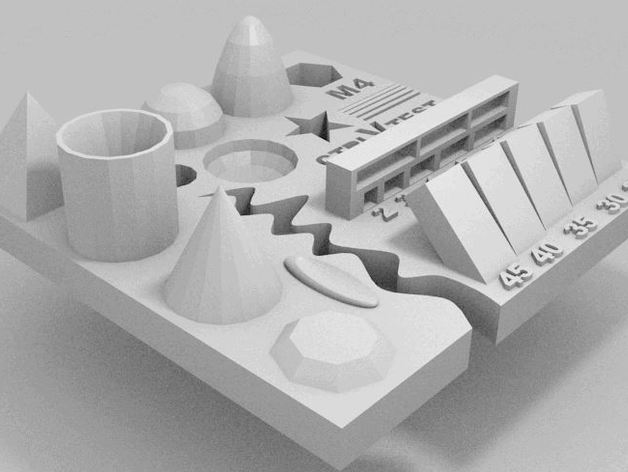
Material Description
Size : 2x50x30mm(Baseplate)
Hole Size : M4 Nut should fit perfectly
Fine Details : Pyramide, Cone, all numbers
Rounded Print : Wave, Half Sphere
Minimum Distance & Walls : 0.1/0.2/0.3/0.4/0.5/0.6/0.7mm
Overhang : 25°/30°/35°/40°/45°
Bridge print : 2/3/4/5/6/mm
Surface : All the flat parts
Settings on CURA
Layer Height : 0.08mm
Shell Thickness : 0.8mm
Bottom / Top Thickness : 0.8mm
Fill Density : 35%
Print Speed : 50mm/s
Support Type : Everywhere
Platform Adhesion Type : None
Nozzle Diameter : 0.4mm
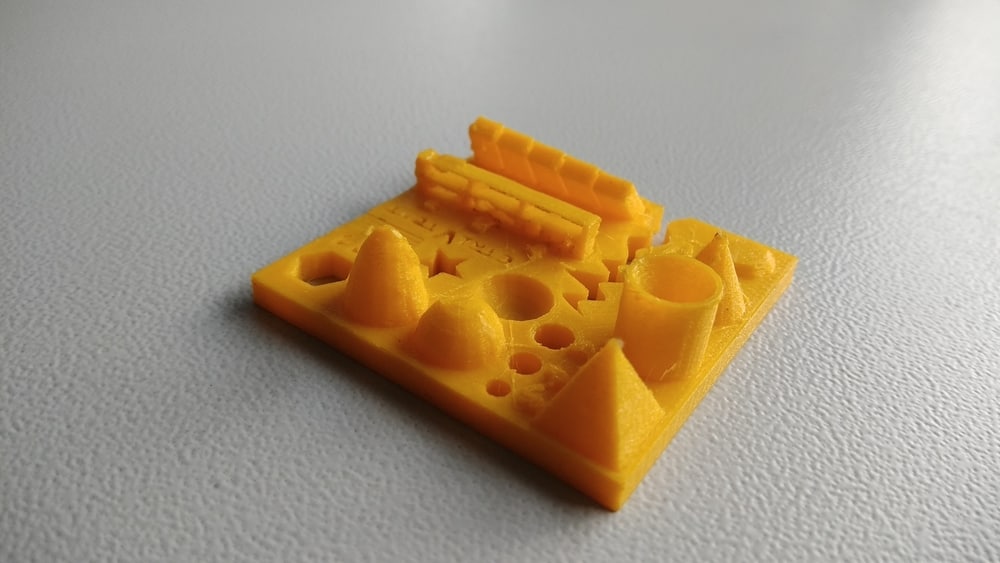
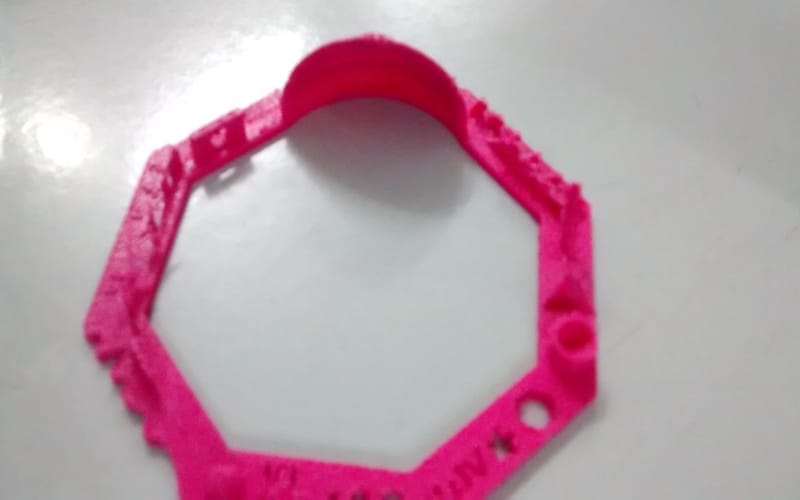
Result
Print was perfect after we cleaned the nozzle. First we heated the nozzle to 240 degree celsius, then saw the Material purging out then we set the temperature to 80 degree celsius and pulled out the material.
Model was used with layer height 0.1 mm
Holes were good measuring 2.8 mm,3.71 mm,4.65mm
M4 nut is fitting perfectly
Pyramid , Cone has good finishing
Wave and Half Sphere is visually good
Overhangs came out well
Bridges were complete apart one side
Fonts were not readable
Walls have some defects
TEST TWO
I have downloaded STL file From this link. The machine settings are given below with "3D Printer Settings" as heading.
Material Description
Size : 100 x 100mm x 23.83 (10mm width)
Hole Size : Nut should fit perfectly
Fine Details : Pyramide, Sphere
Rounded Print : Wave, Rounded print
Minimum Distance & Walls : 0.1/0.2/0.3/0.4/0.5/0.6/0.7mm
Overhang : 25°/30°/35°/40°/45°/50°/55°/60°/60°/70°
Surface : All the flat parts
Settings on CURA
Layer Height : 0.08mm
Shell Thickness : 0.8mm
Bottom / Top Thickness : 0.8mm
Fill Density : 35%
Print Speed : 50mm/s
Support Type : Everywhere
Platform Adhesion Type : Brim
Nozzle Diameter : 0.4mm
Result
Wall thickness 0.1mm - 0.4 mm was not printed
Bridges except at 2 mm didn't came out well
overhangs at lesser angle need more support
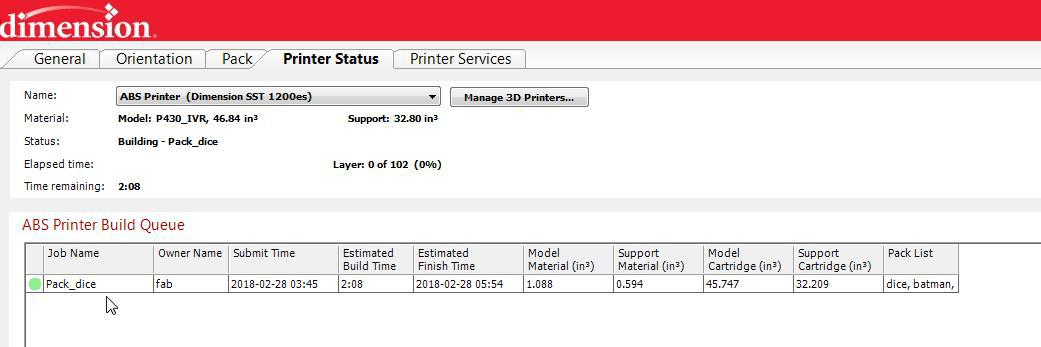
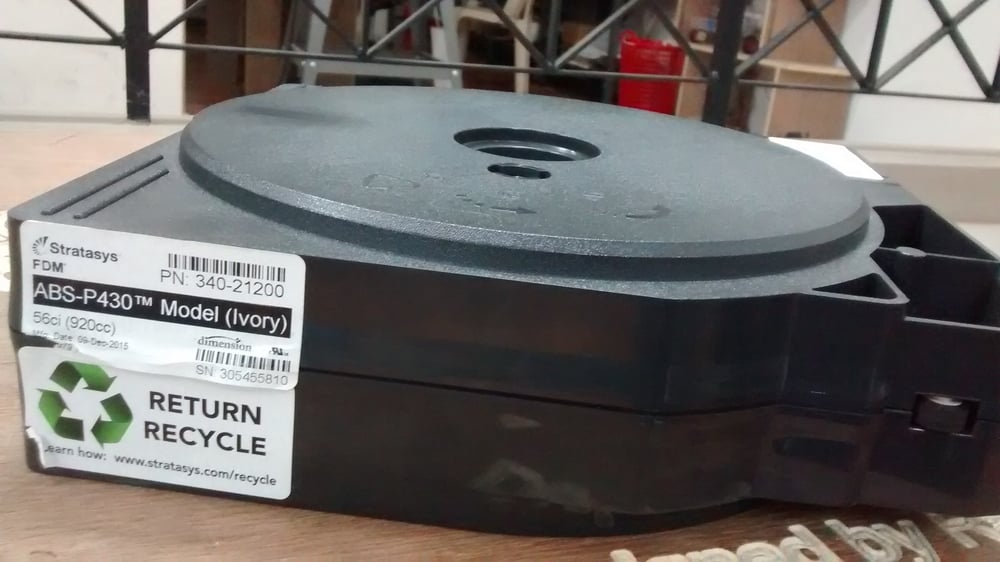
3D Printer
Stratasys Dimension 1200
Unlike Ultimaker, Dimensions set the nozzle axis and bed axis by itself
Separate catridge is used for loading ABS for support material and model material

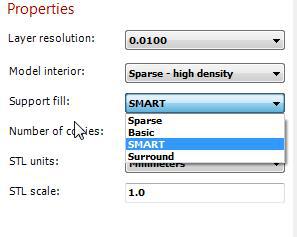
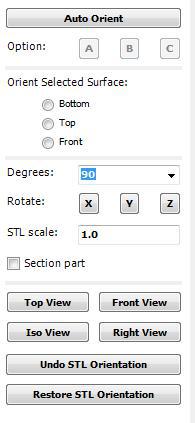
Calibration on Dimension
Layer Resolution : 0.0100
Model Interior : Sparse- High Density
Support Fill : Smart
No. of Copies : 1
STL Units : Millimeters
STL Scale : 1.0
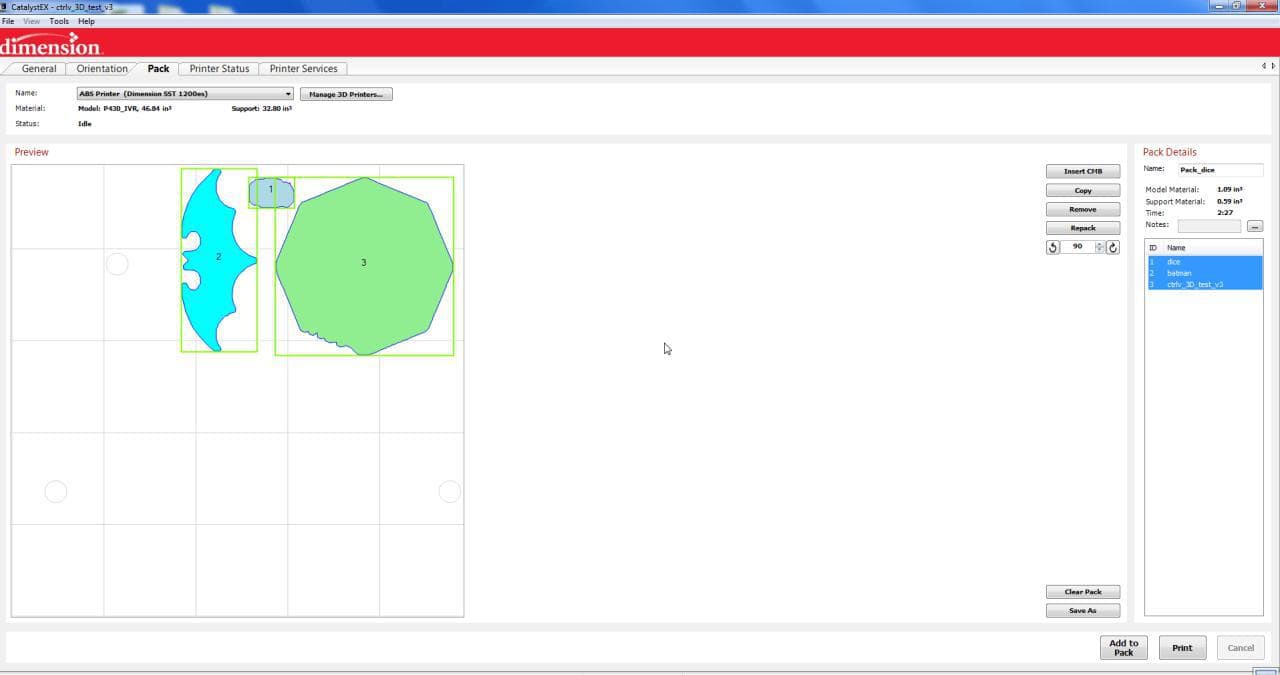
Process STL
Add To Pack
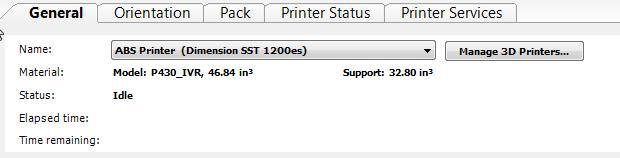
Bed - Dimension
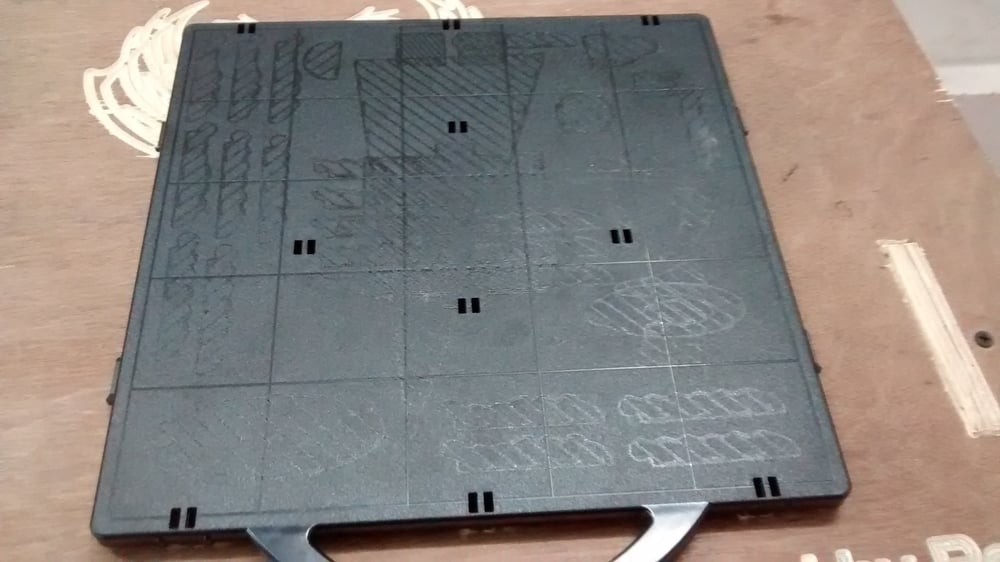
ABS - Acrylonitrile Butadiene Styrene
Model
Ultimaker2
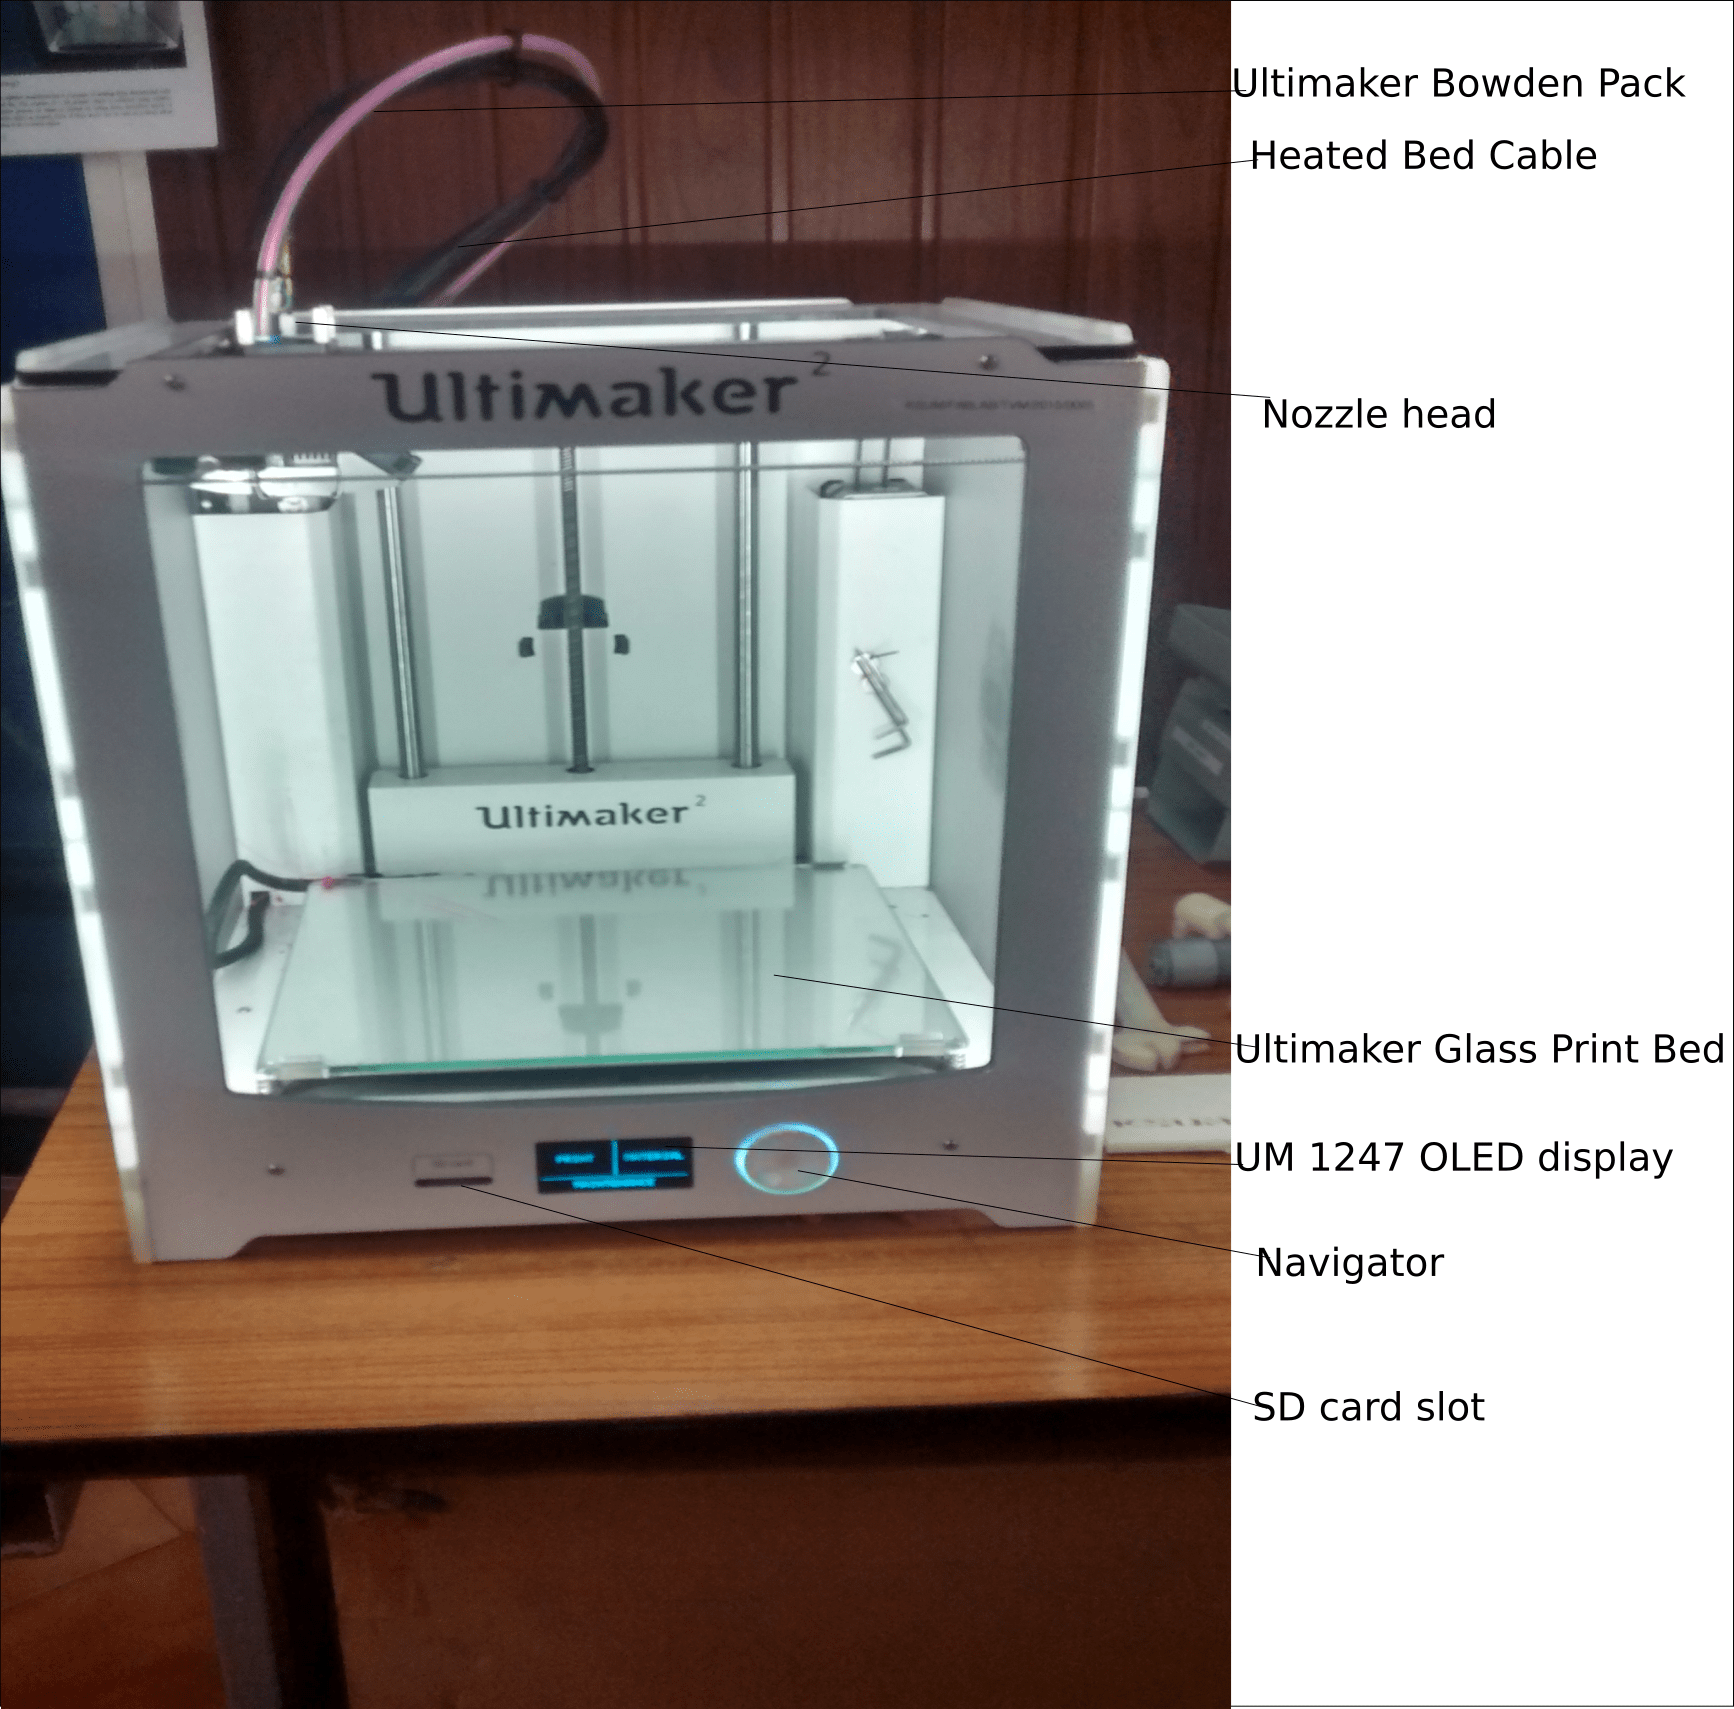
Ultimaker2 Nozzle Head
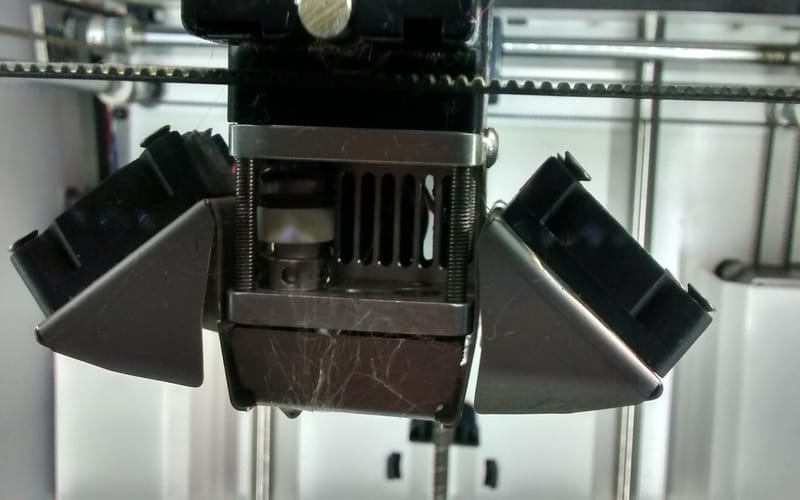
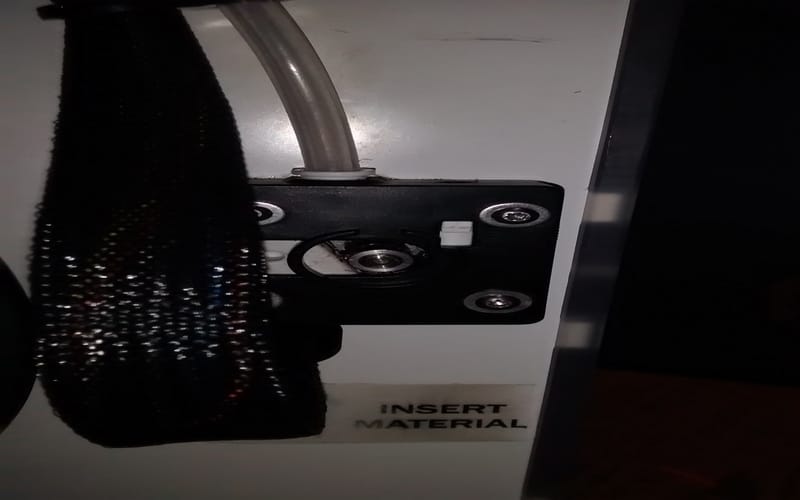
Material is inserted here at the motor on back portion of the ultimaker
Ultimaker 2 Extended AC/DC adapter power supply
Using a fan to keep down the temperature of the adapter

3D Printer Calibration
First I had reset the Ultimaker 2 as guided by our instructor Vinod. From Maintance > Advance Settings > Factory reset, using the navigator from the Ultimaker machine.
The machine itself will guide us what to do at that instance and helps in setting the bed and nozzle axis, as shown in gif below.
1. Created an stl file.
2. Imported the stl file to CURA
3.From Cura, Layer thickness(mm), Shell thickness(mm), Retraction enable / disabel, Bottom/Top Thickness(mm), Fill Density(%), Print speed(mm/s), Support Type(Brim,Raft,None), Platform Adhesion Type and Nozzle size(0.4mm) is set accordingly as needed.
4. Saved and Export above settings to G-code.
5. Copy the G-code to the memory card(which goes into Ultimaker)
6. Rest Ultimaker settings using factory reset and Allign the bed and nozzle
7. Select material type and Load the PLA(polylactic Acid) material in clockwise direction
8. Select the file to print
9. Set nozzle Temperature
10. Print
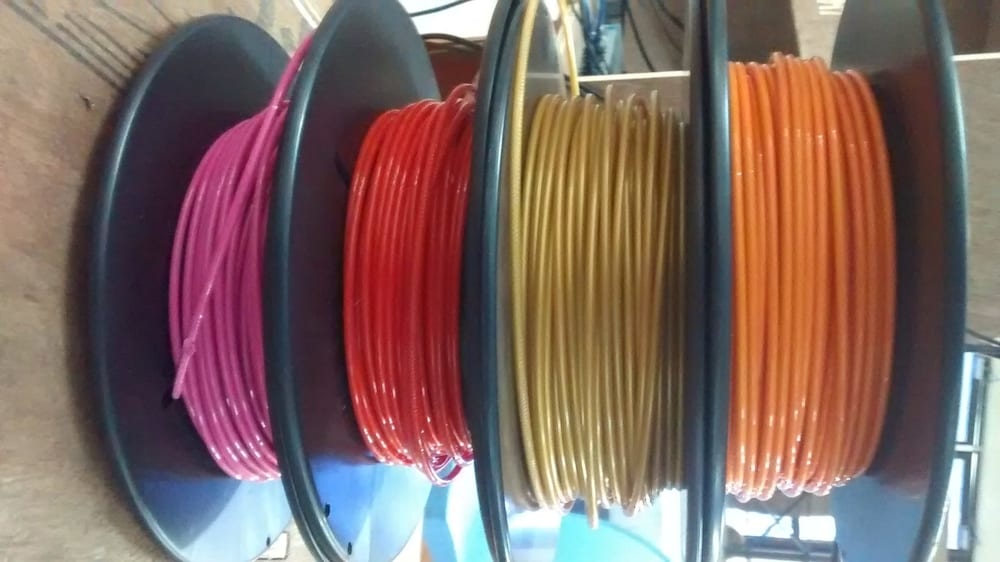
Material Used - PLA (PolyLactic Acid)
We were provided with many colored PLA. I chose the color - Orange.
CURA Settings
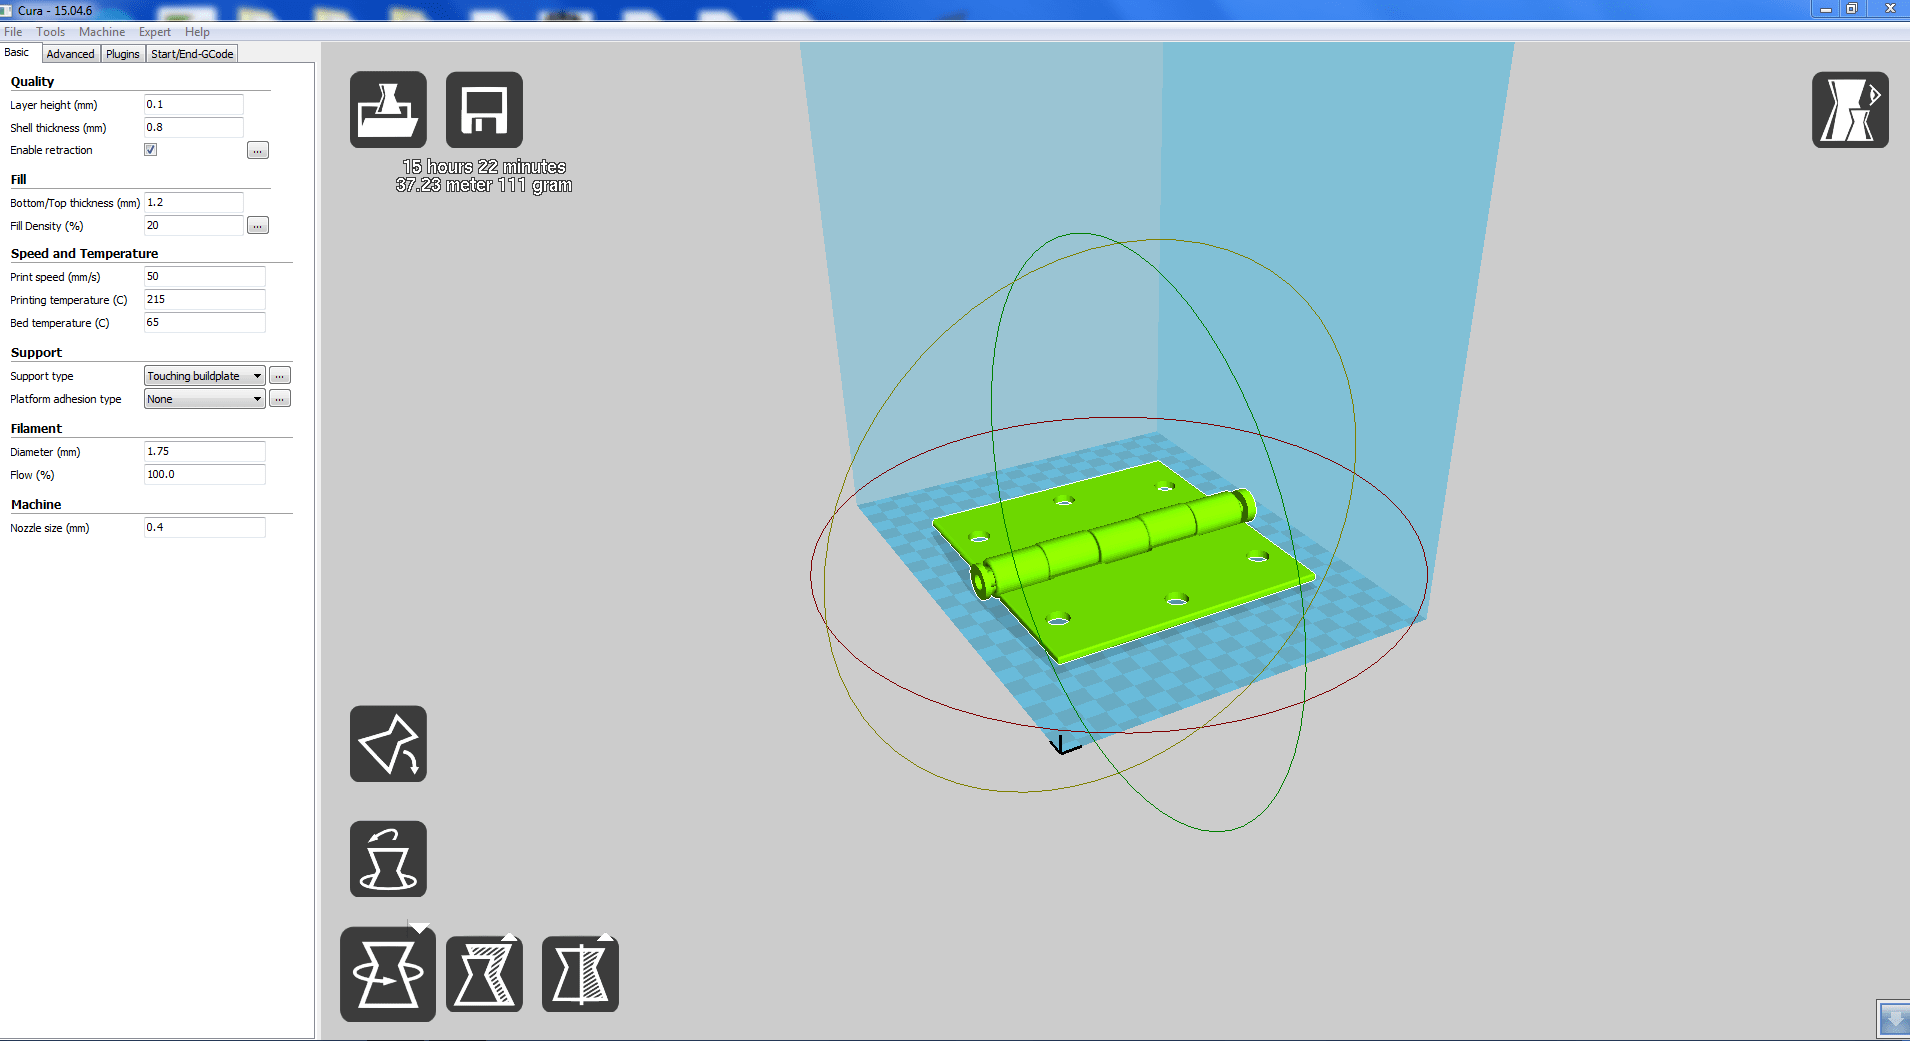
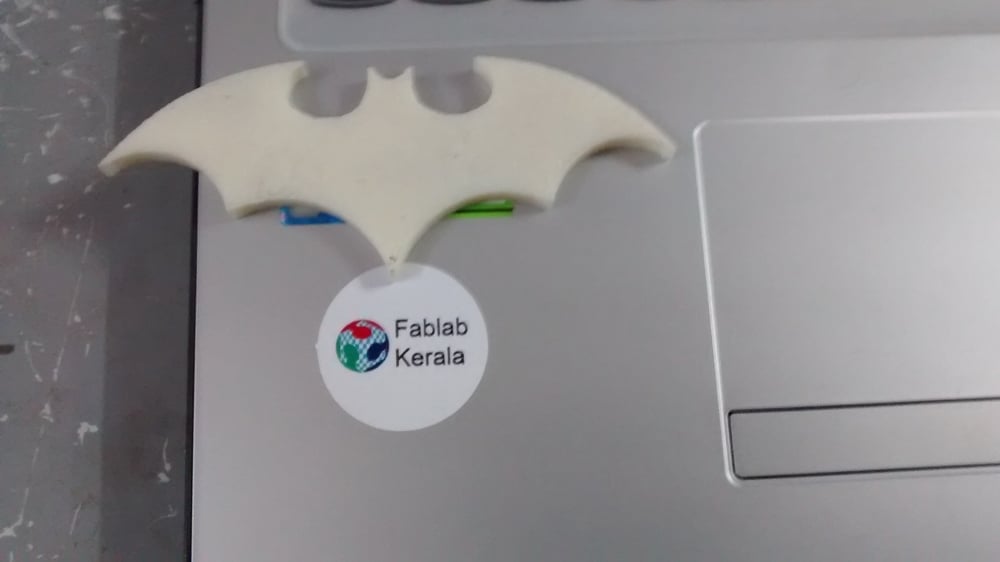
My 3D Model - Hinge
I used Fusion 360 to design a hinge. I faced a problem while printing because my design was so small, that it was not able to act as a hinge but just a model. So i scaled it. After removing the support I finally printed a Hinge using ultimaker2. Works perfectly.

3D Scanner
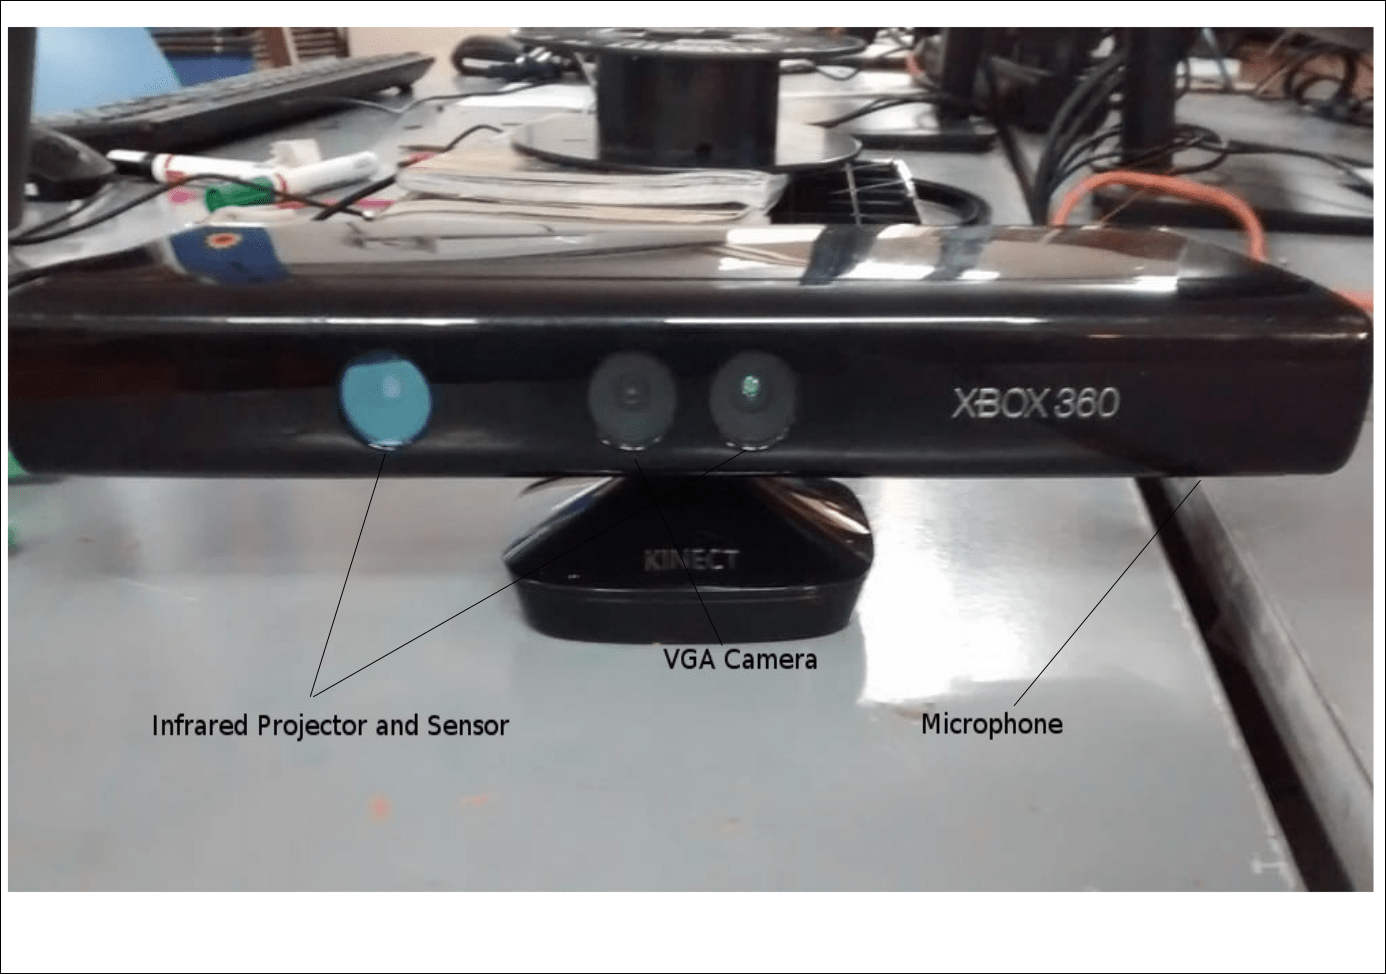
3D Scanned Image
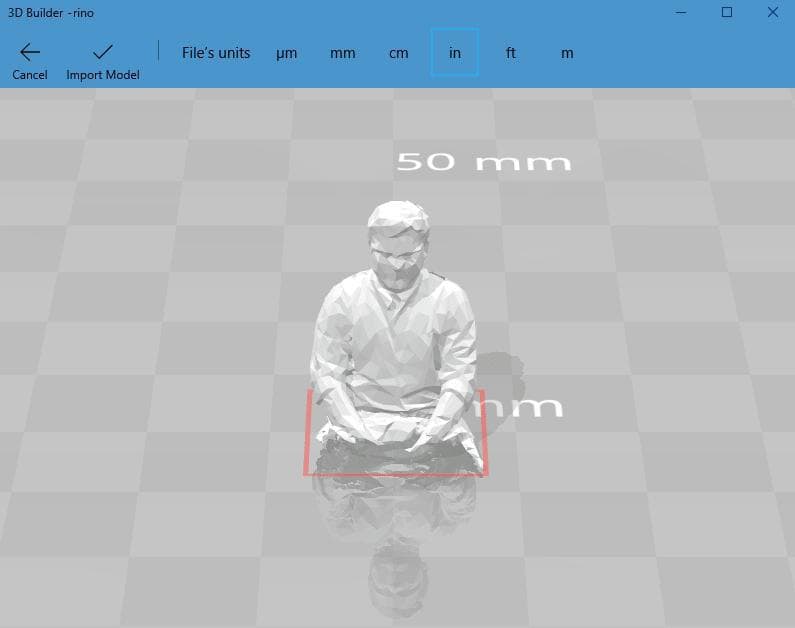
First time seeing the scanner and I was surprised when our instructor told me to scan myself. I was wondering how it will work, then he showed me how its done. Tada theres myself scanned and I'm seriously looking forward to print or mold it anytime within the academic period.
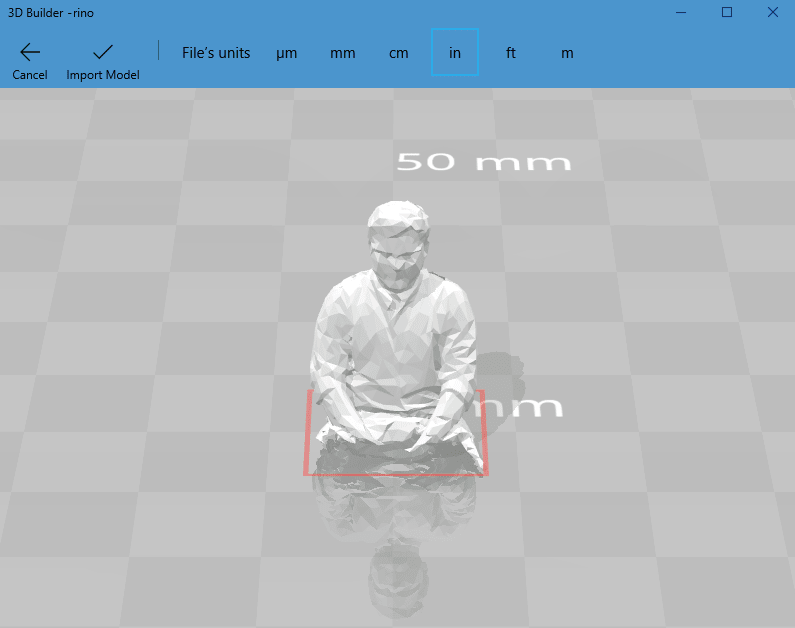
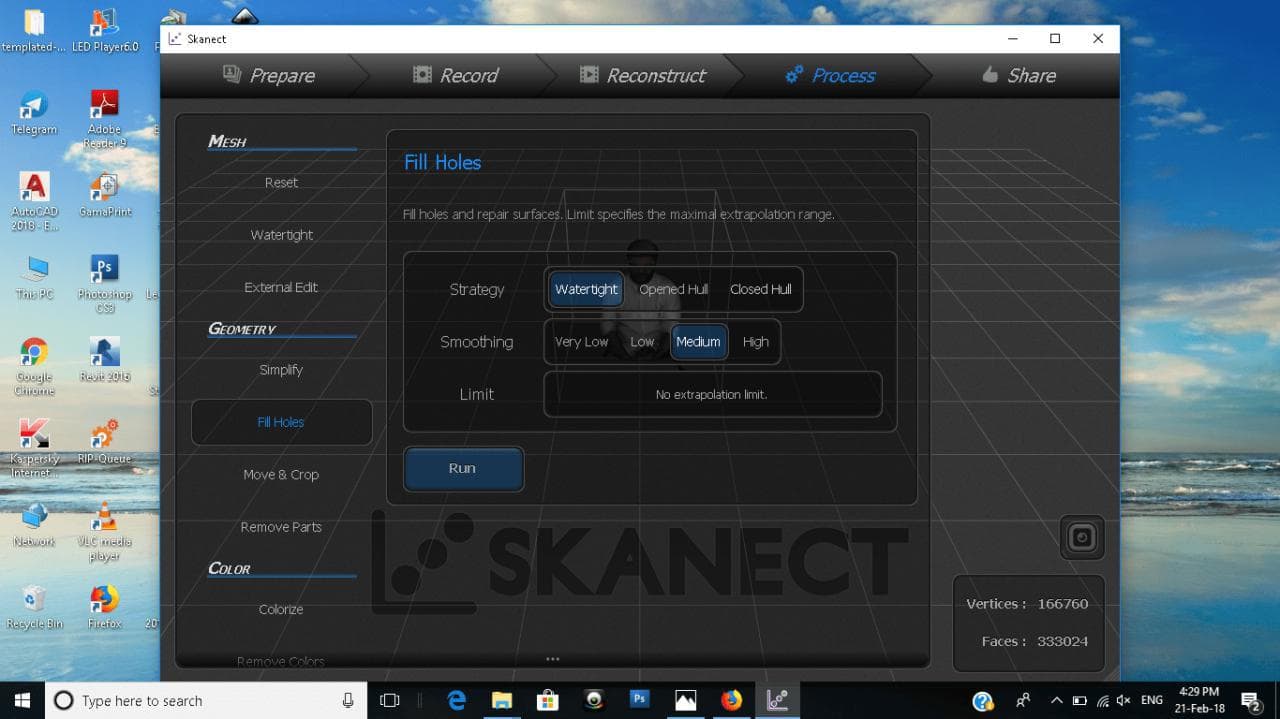
Using Skanect Software, I was able to scan myself. The problem faced here is, if you want high resolution scan, You should buy the original licence.