Home
Week Seventeen : WildCard - Composites
Assignment
Design and produce something with a digital fabrication process (incorporating computer-aided design and manufacturing) not covered in another assignment, documenting the requirements that your assignment meets, and including everything necessary to reproduce it. Possibilities include (but are not limited to) composites, textiles, biotechnology, robotics, and cooking.
COMPOSITES is a material made from two or more constituent materials with significantly different physical or chemical properties that, when combined, produce a material with characteristics different from the individual components. The individual components remain separate and distinct within the finished structure, differentiating composites from mixtures and solid solutions
The new material may be preferred for many reasons: common examples include materials which are stronger, lighter, or less expensive when compared to traditional materials
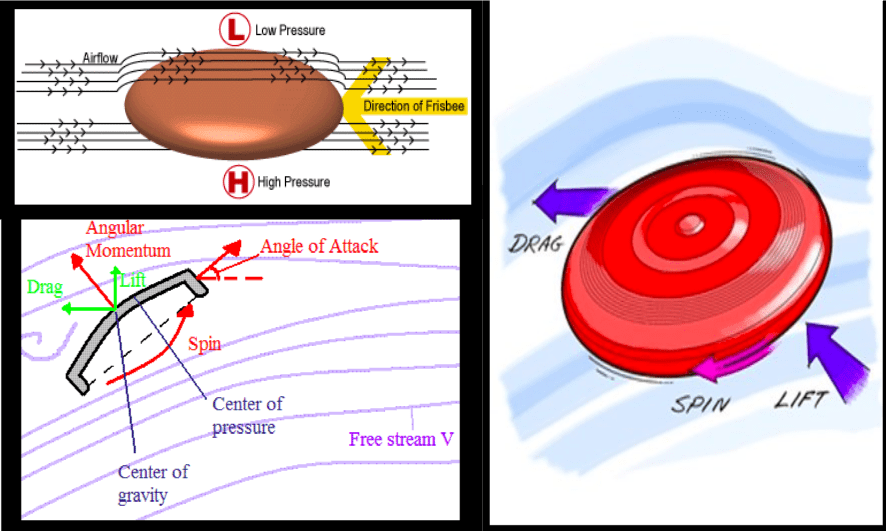
I decided to make a FLYING DISK with composite material
I searched google for the design, how the aerodynamic design works on flying disk. I have made a study on design and I designed a flying disk in RHINO 6 for machining using SHOPBOT.
Design
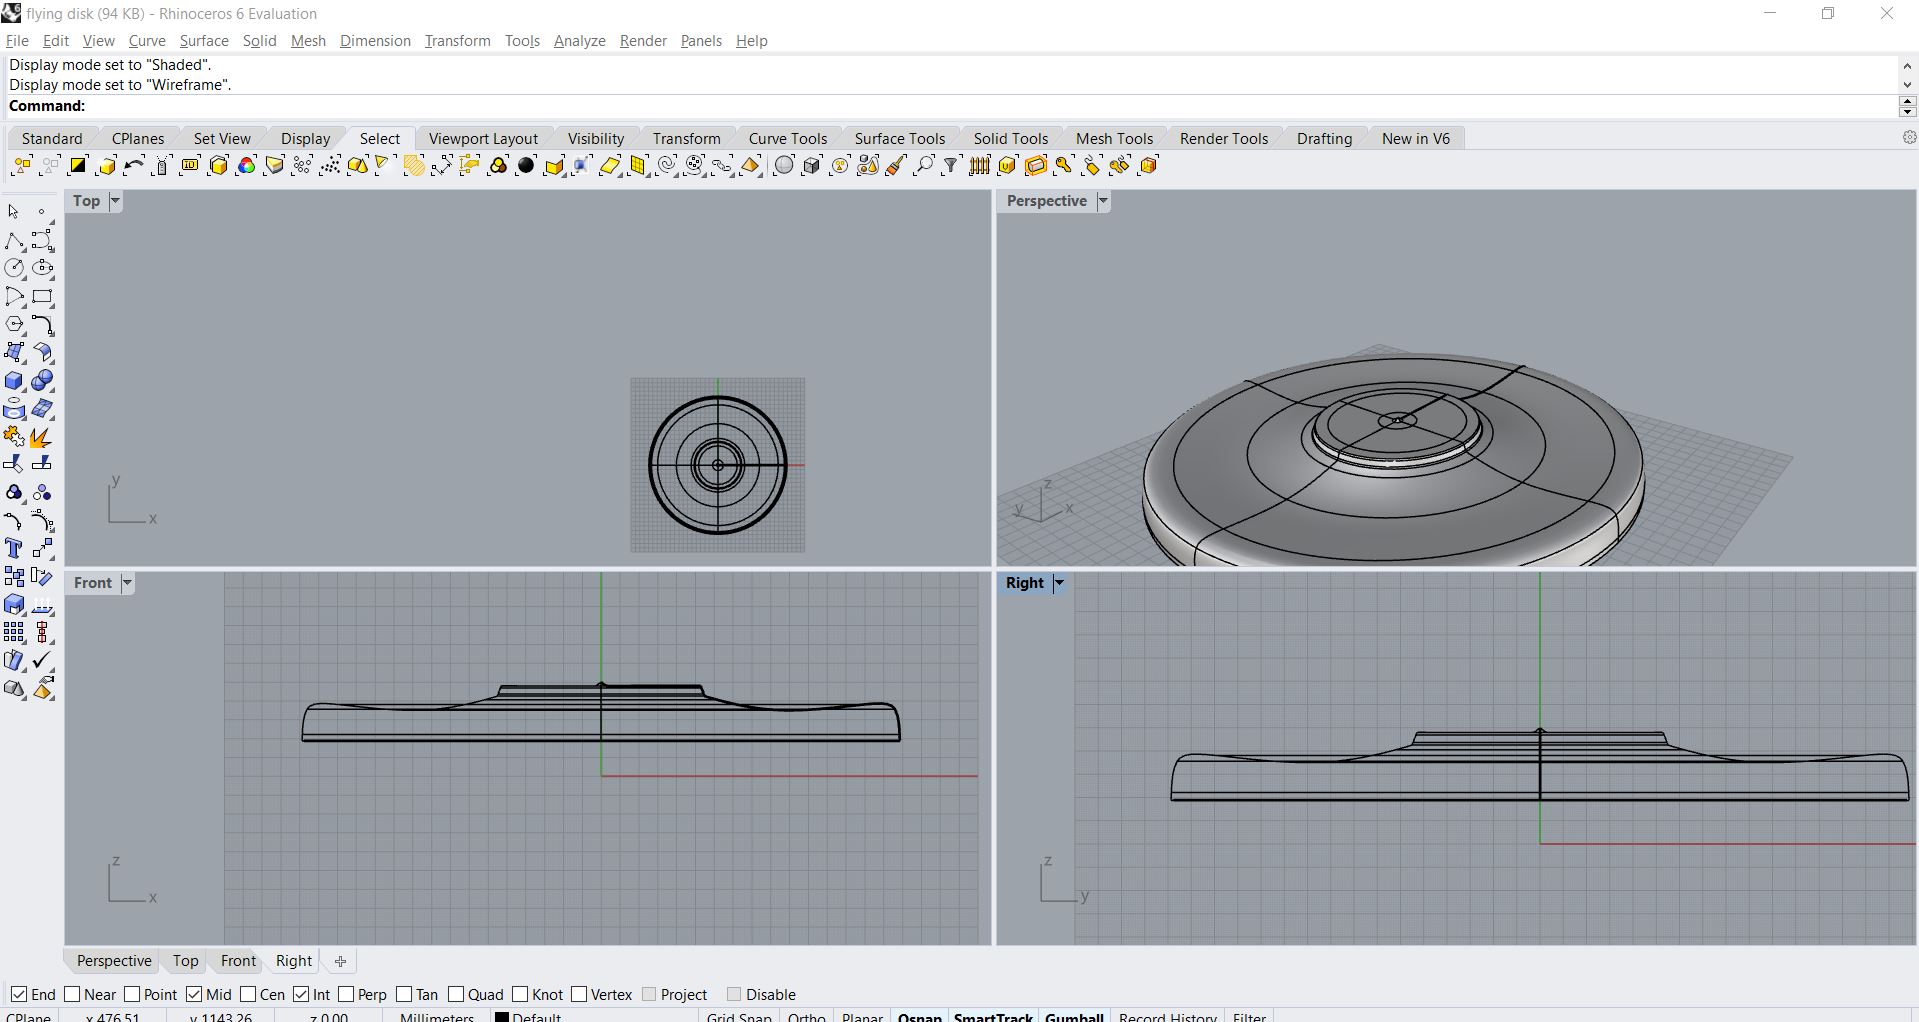
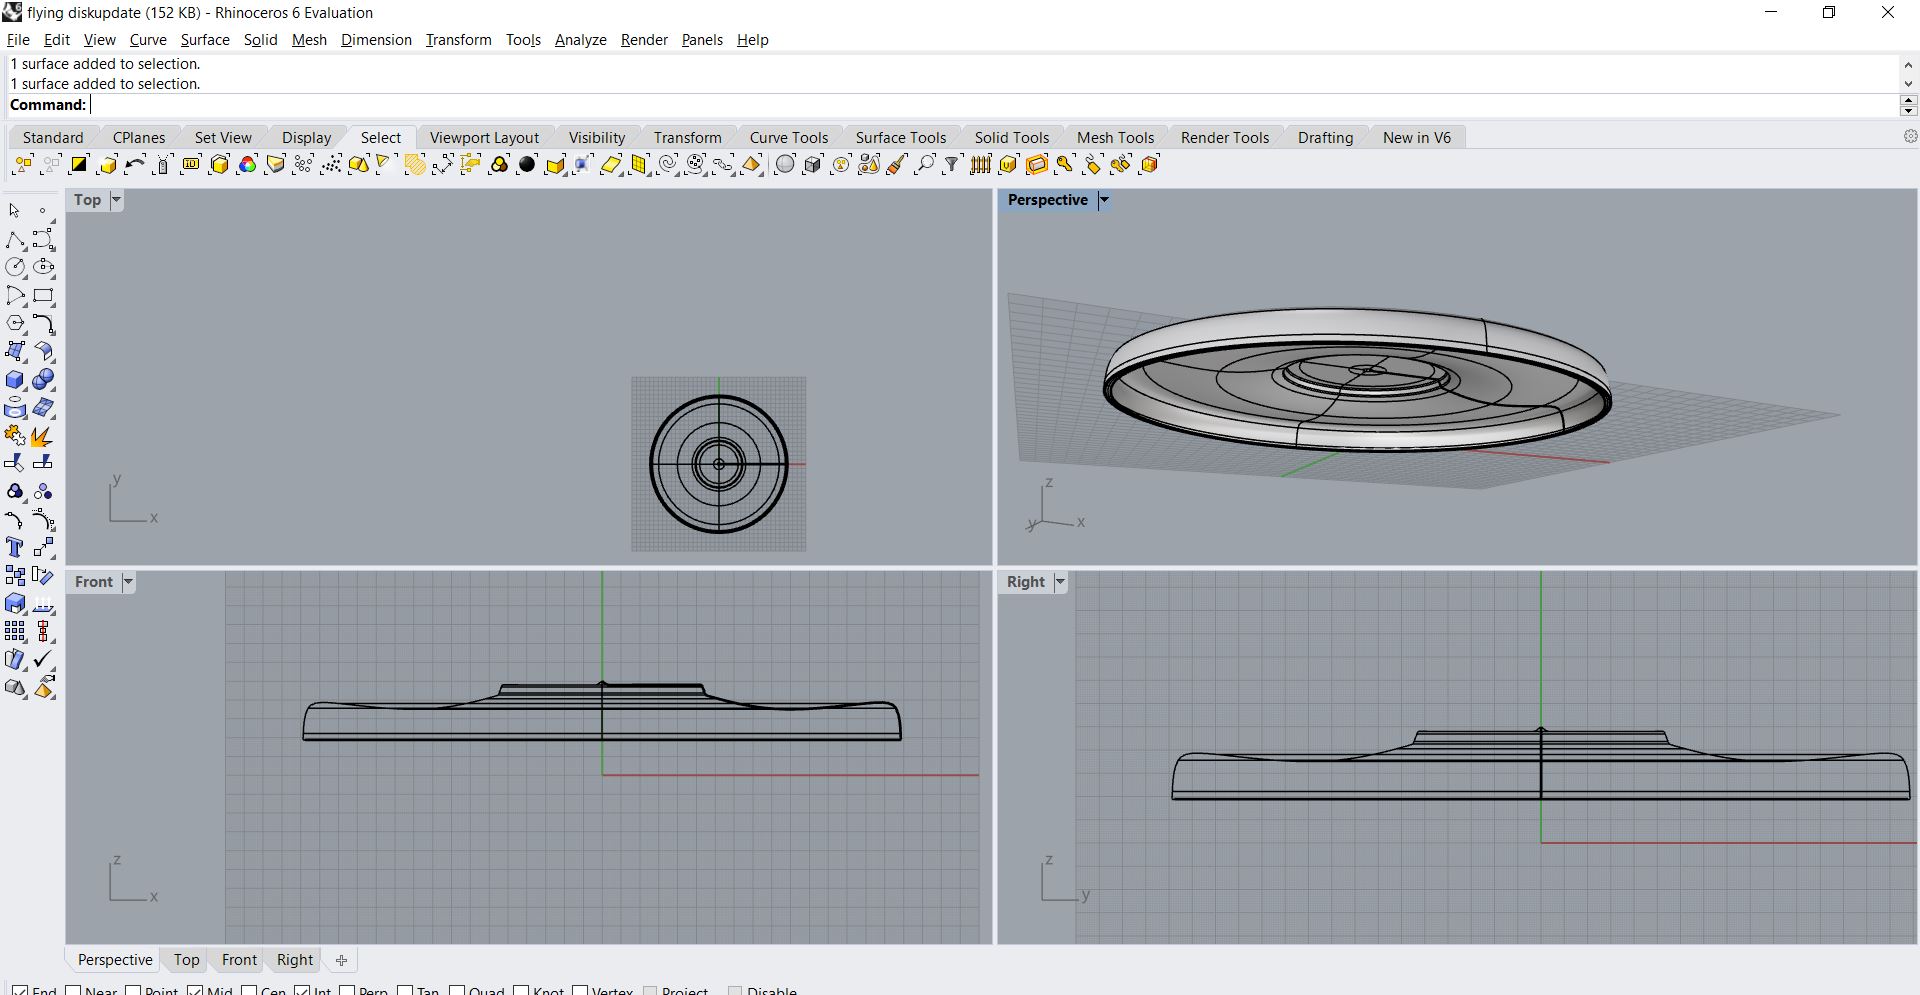
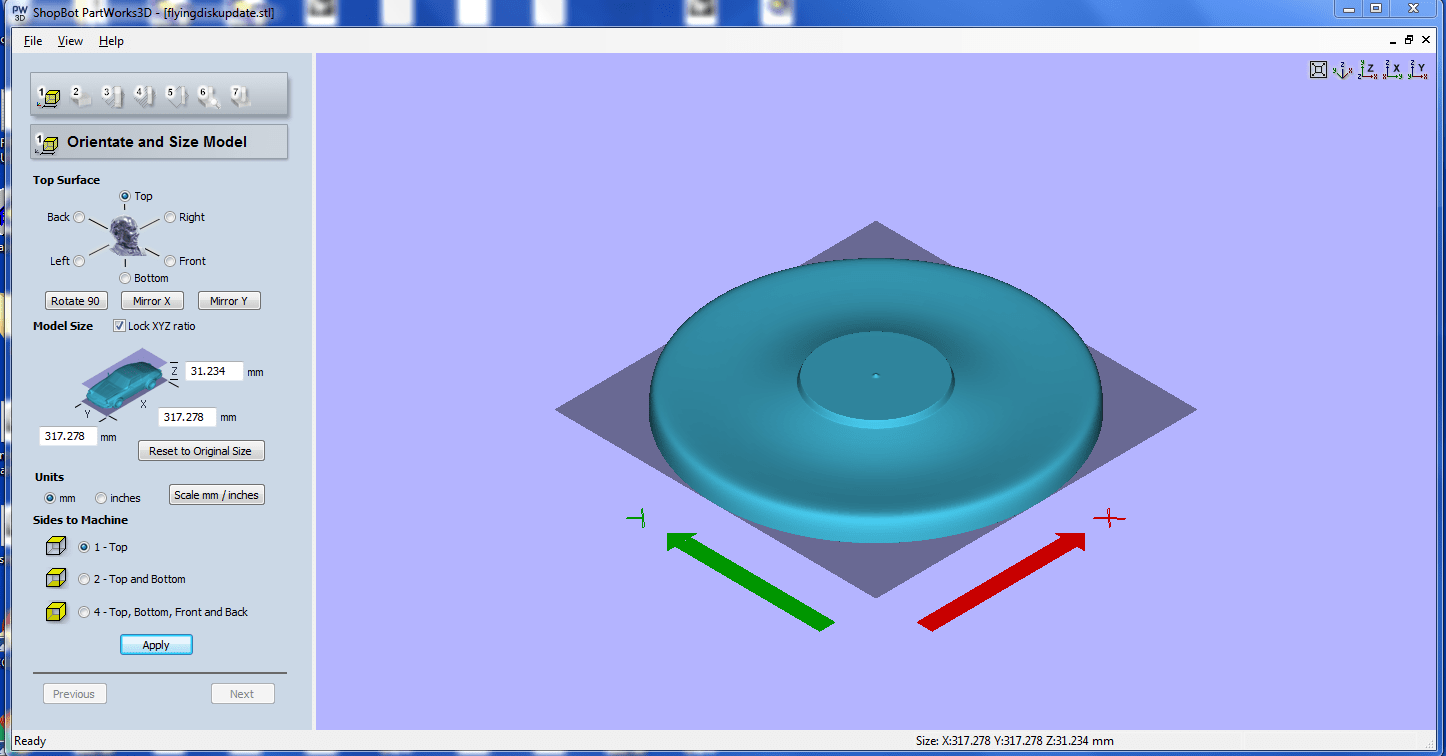
I used RHINO-6 and drew a front view of my design and used REVOLVE command to revolve the total design
It was fun using Rhino.I really enjoyed it.With 4 views it was easy to design
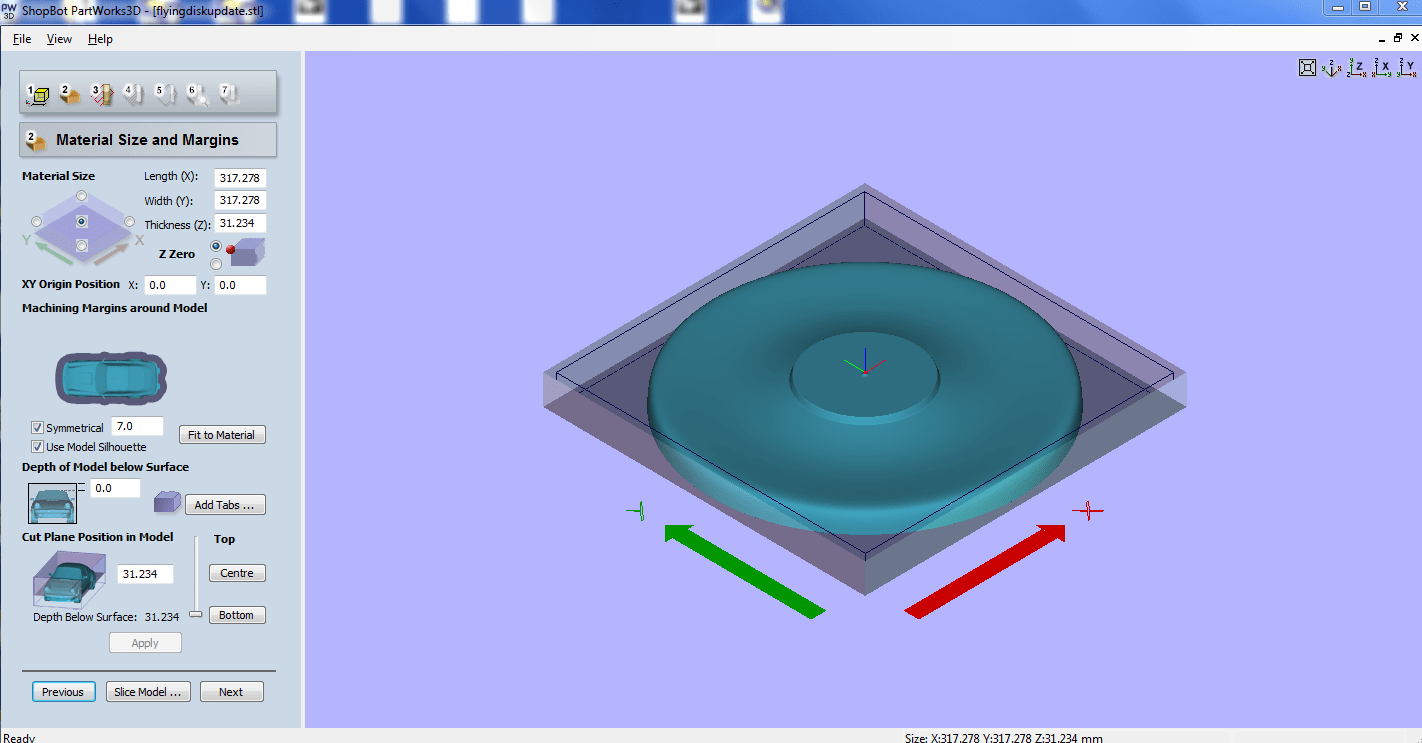
Settings on Shopbot
Here First we can see our design how the shopbot is going to machine.We can set Zero in either corners or in the center.
And also set the cut plane position of the model to either top,center or at the bottom.
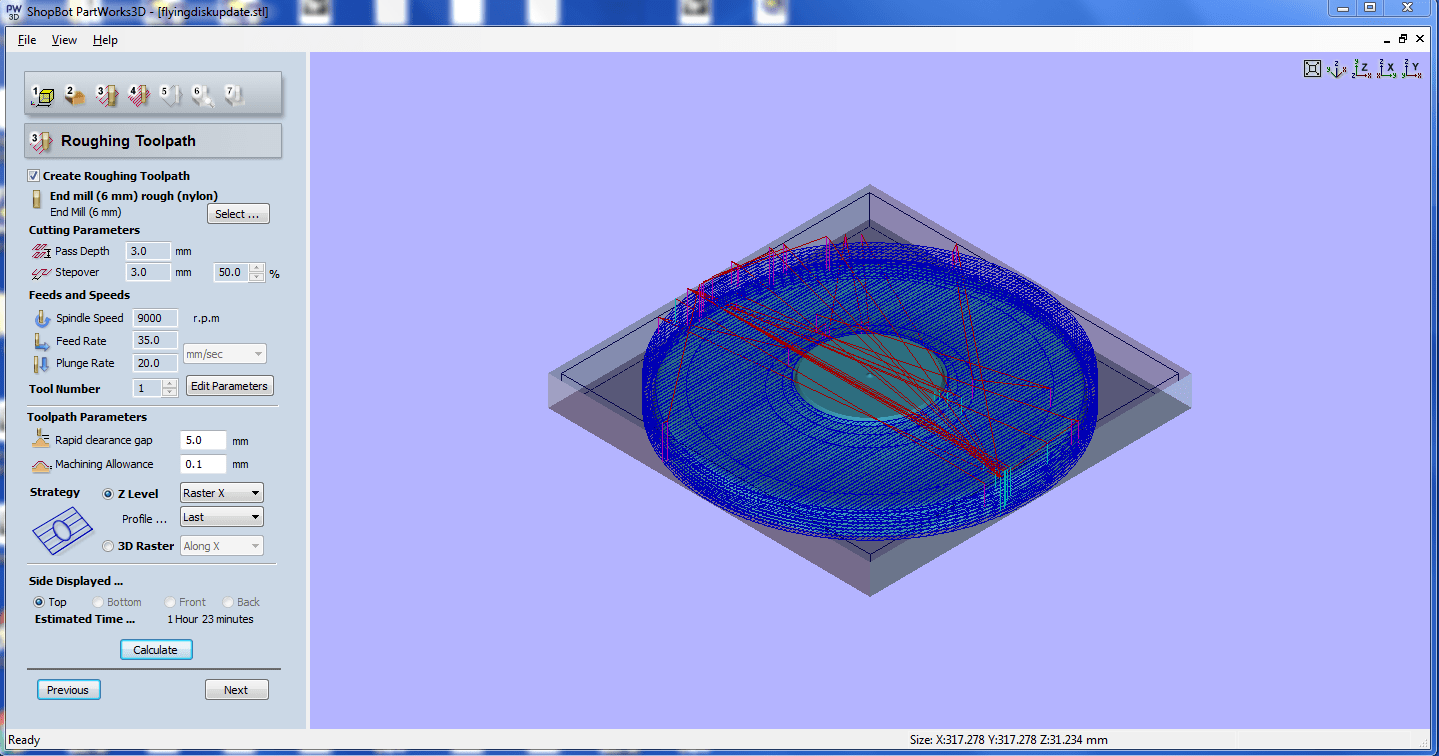
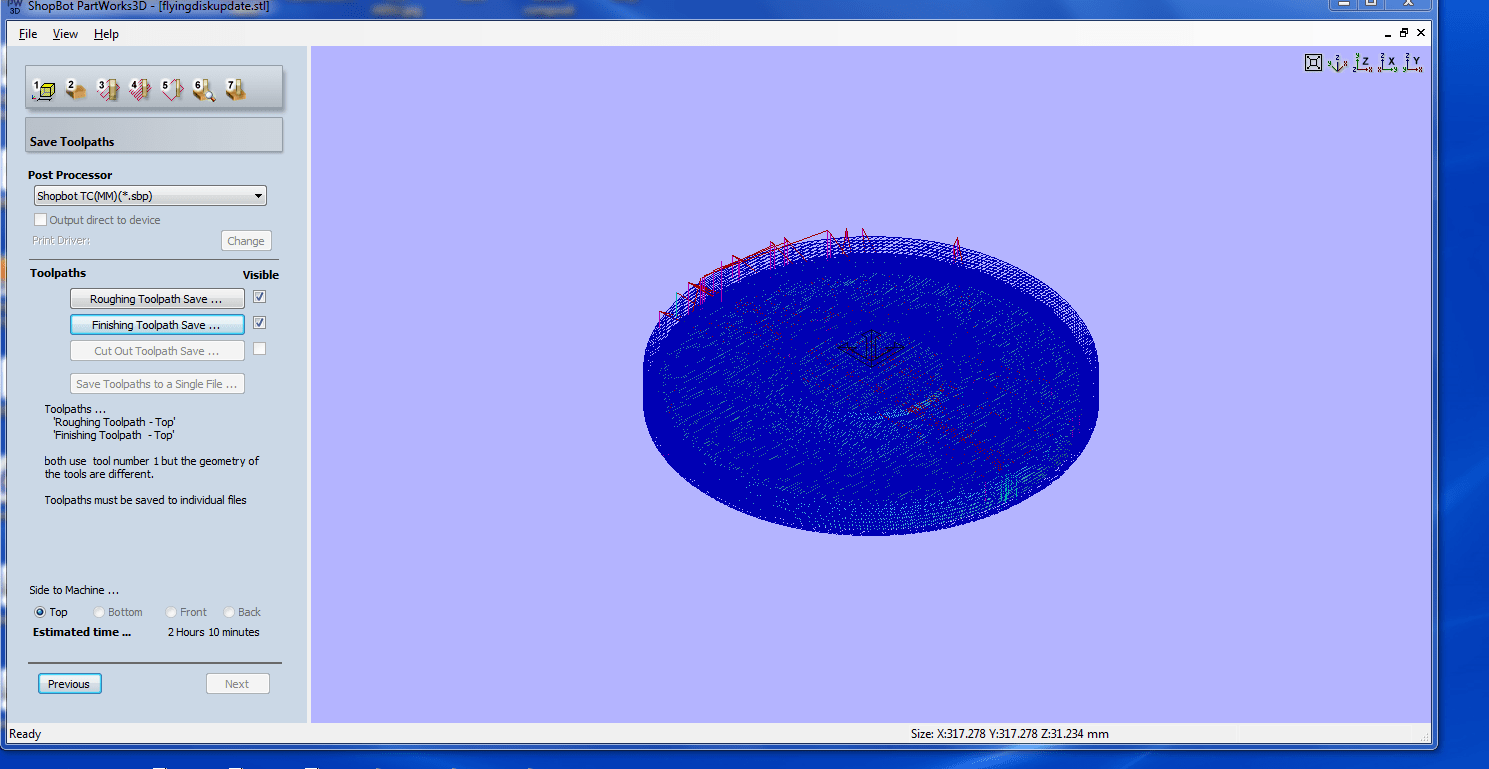
Secondly We can set the Roughing toolpath, feedrate and speed and also tool parameter.Then we can calculate the estimated time for roughing purpose and save the file
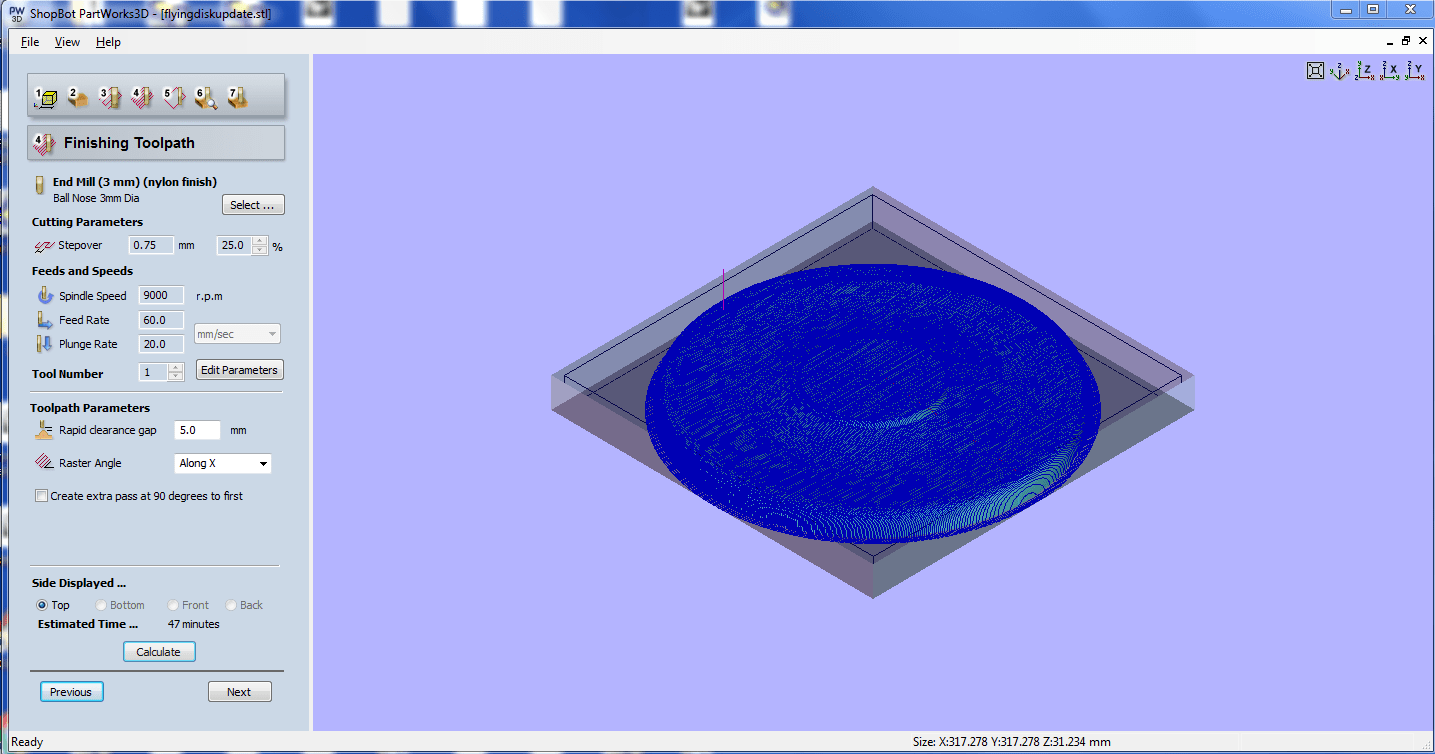
Then We can set the Finishing toolpath, spindle speed and feedrate and also tool parameter.Then we can calculate the estimated time for Finishing purpose and save the file
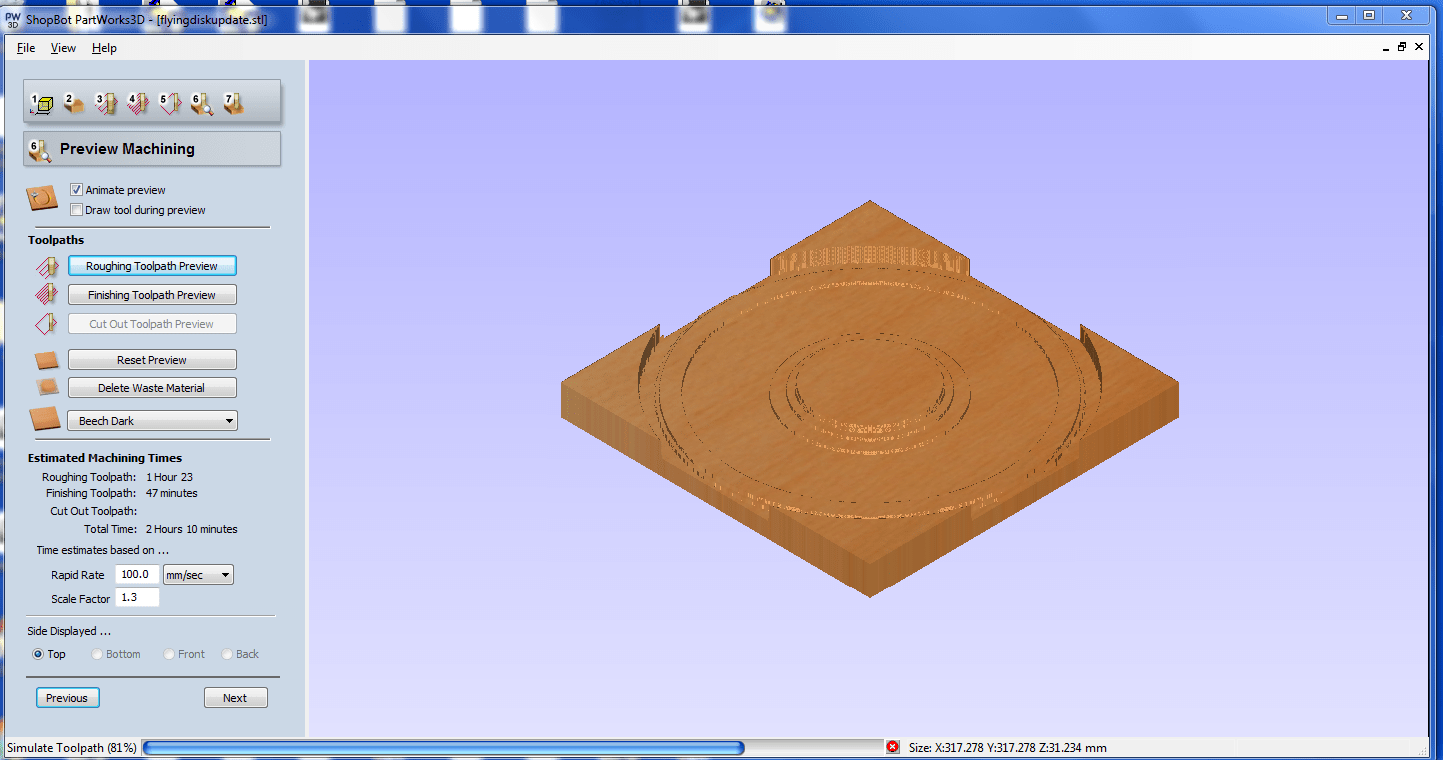
We can also see the Machining Preview and estimated time for roughing and finishing
The Images are given below how the whole process is done
SOFTWARE : Shopbot PartWorks3D

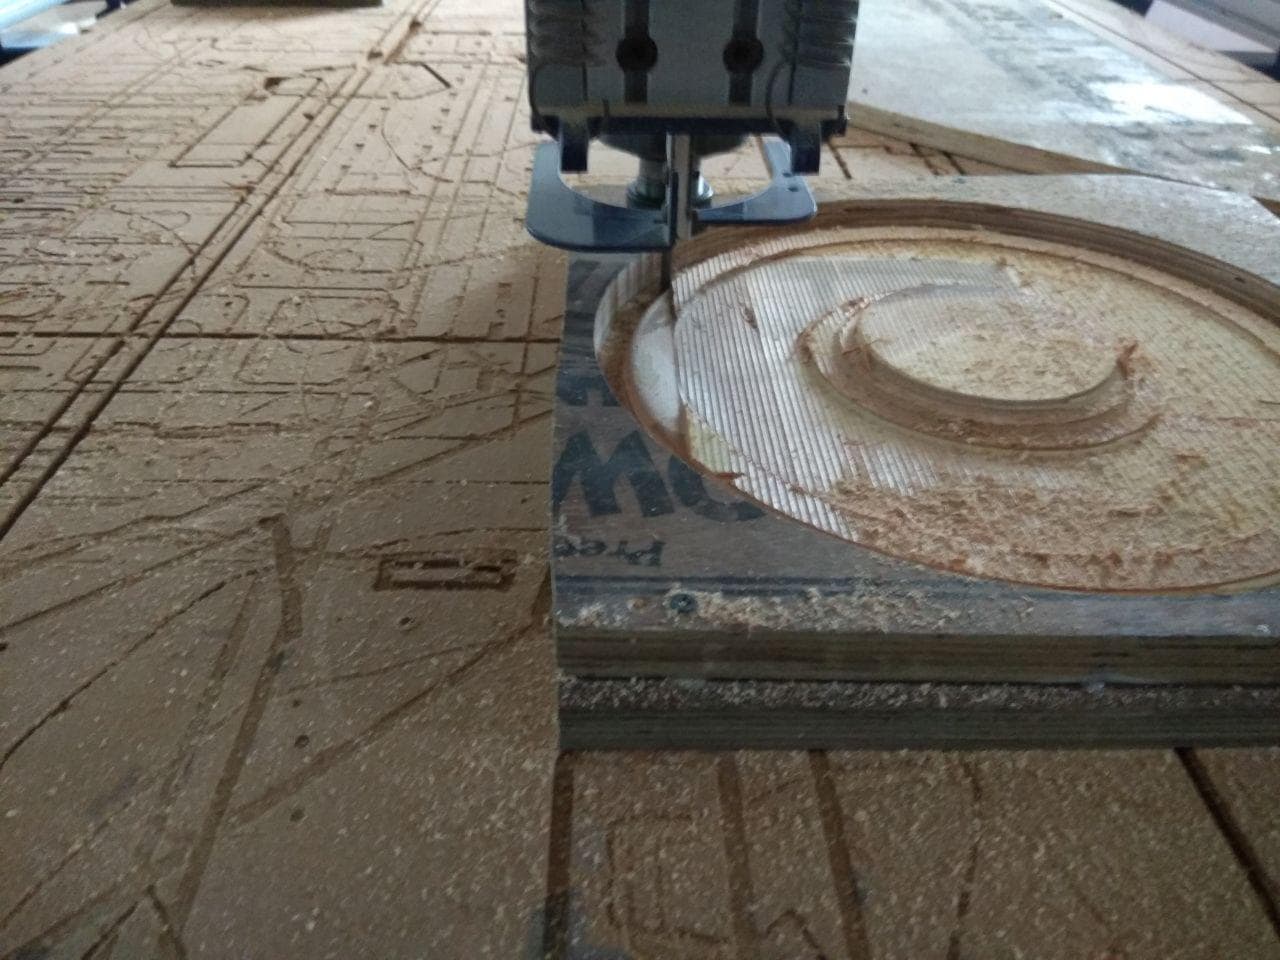
After Rough cutting, Finishing cut on process
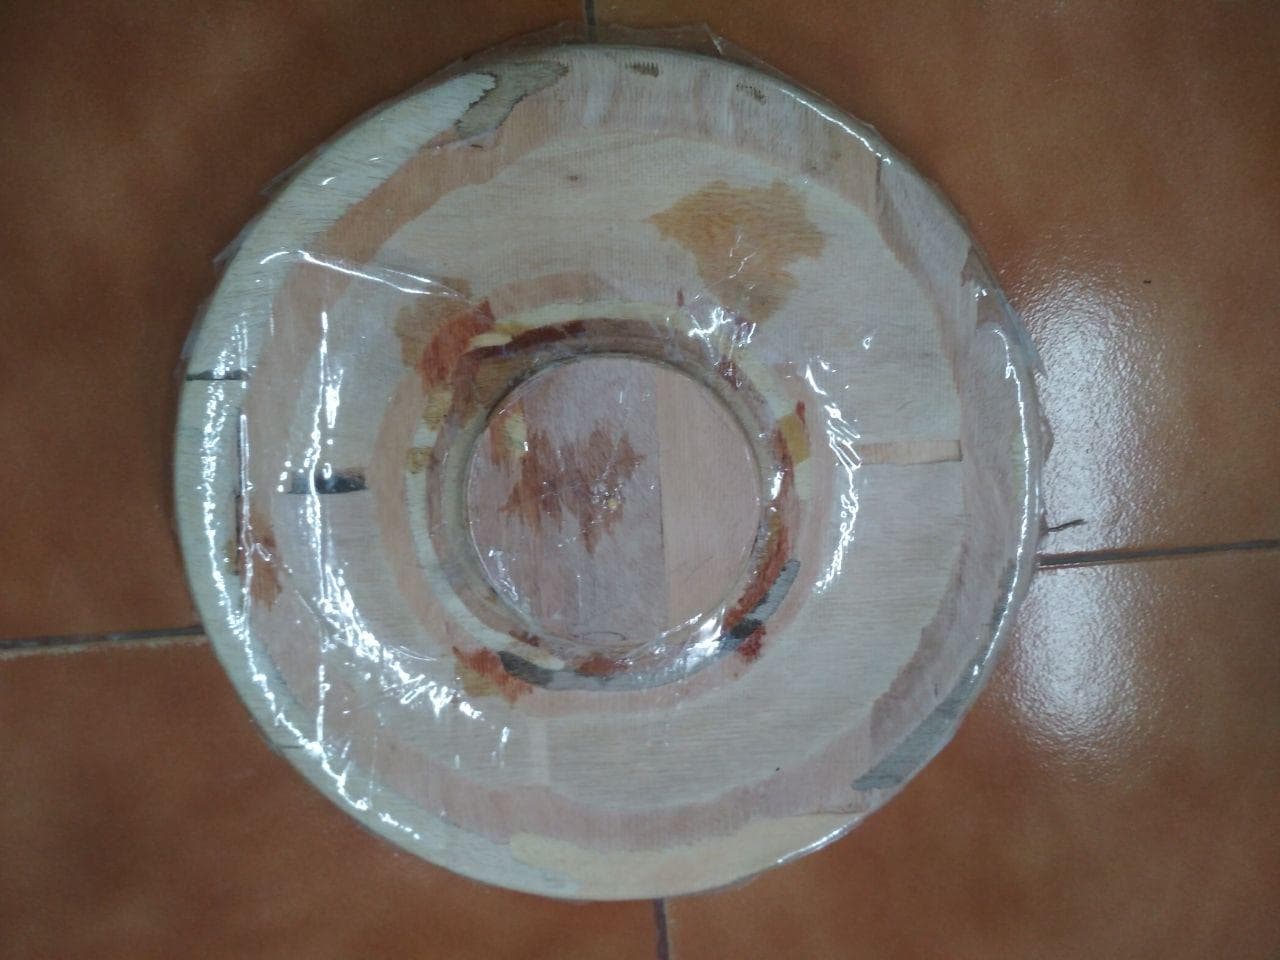
A layer is given as insulation with clear cellotape so that composite material will not get attached to plywood
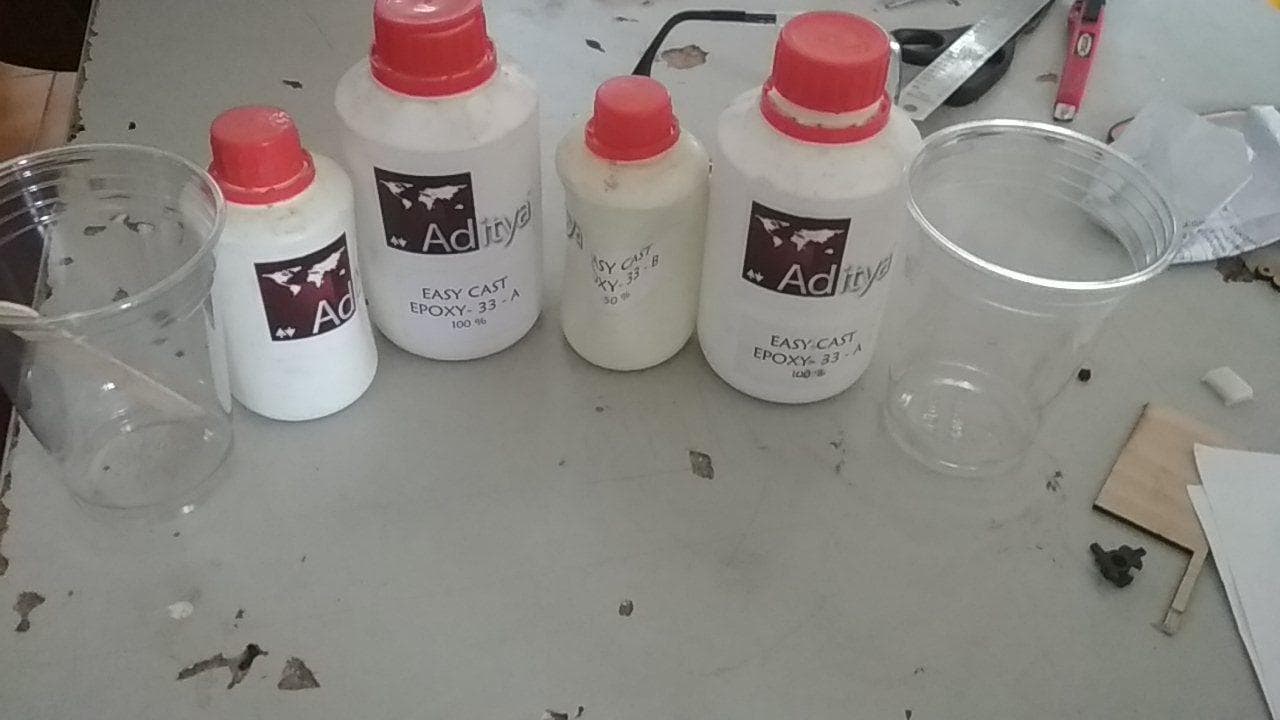
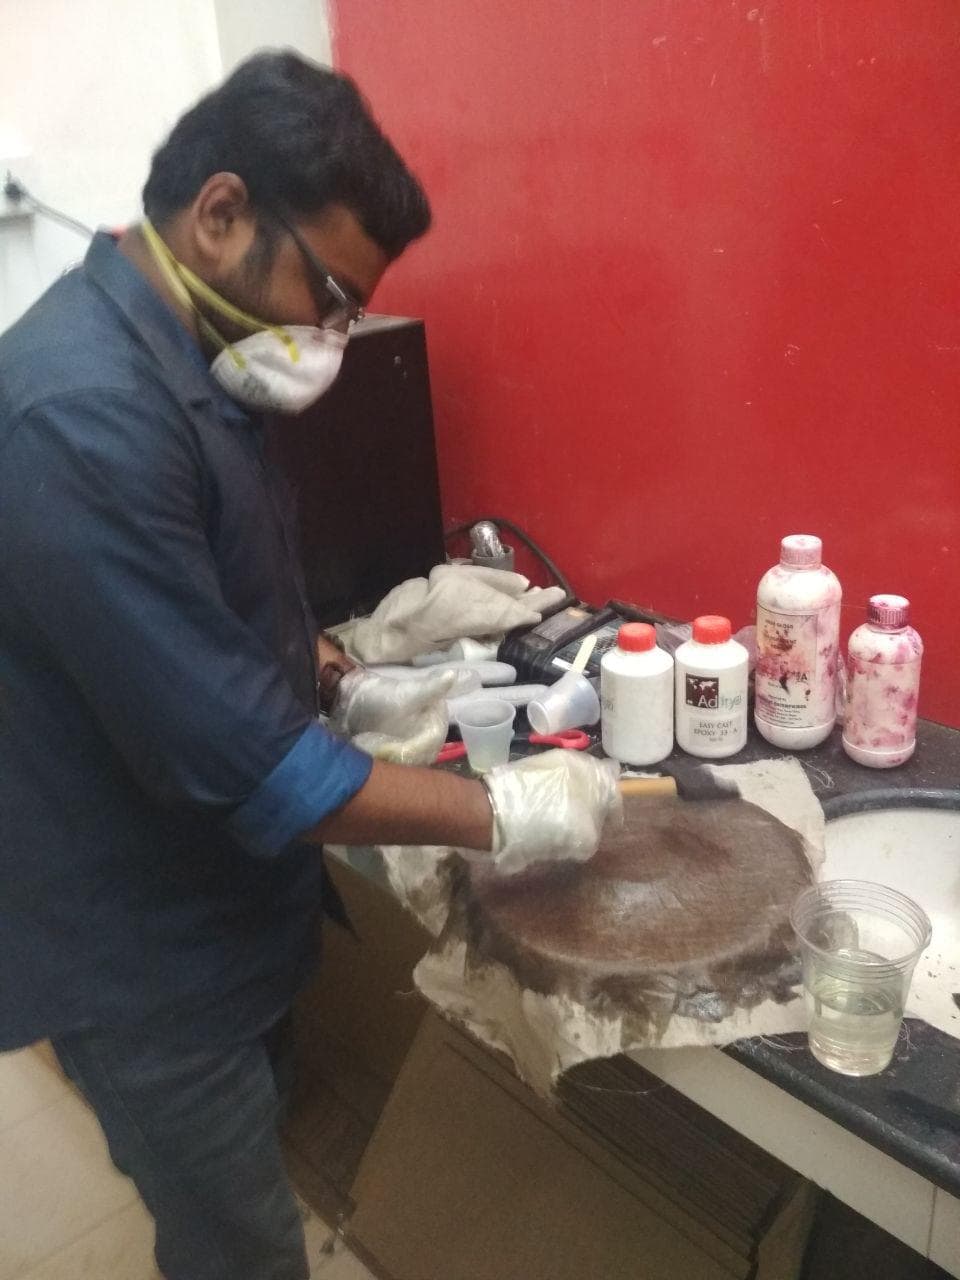
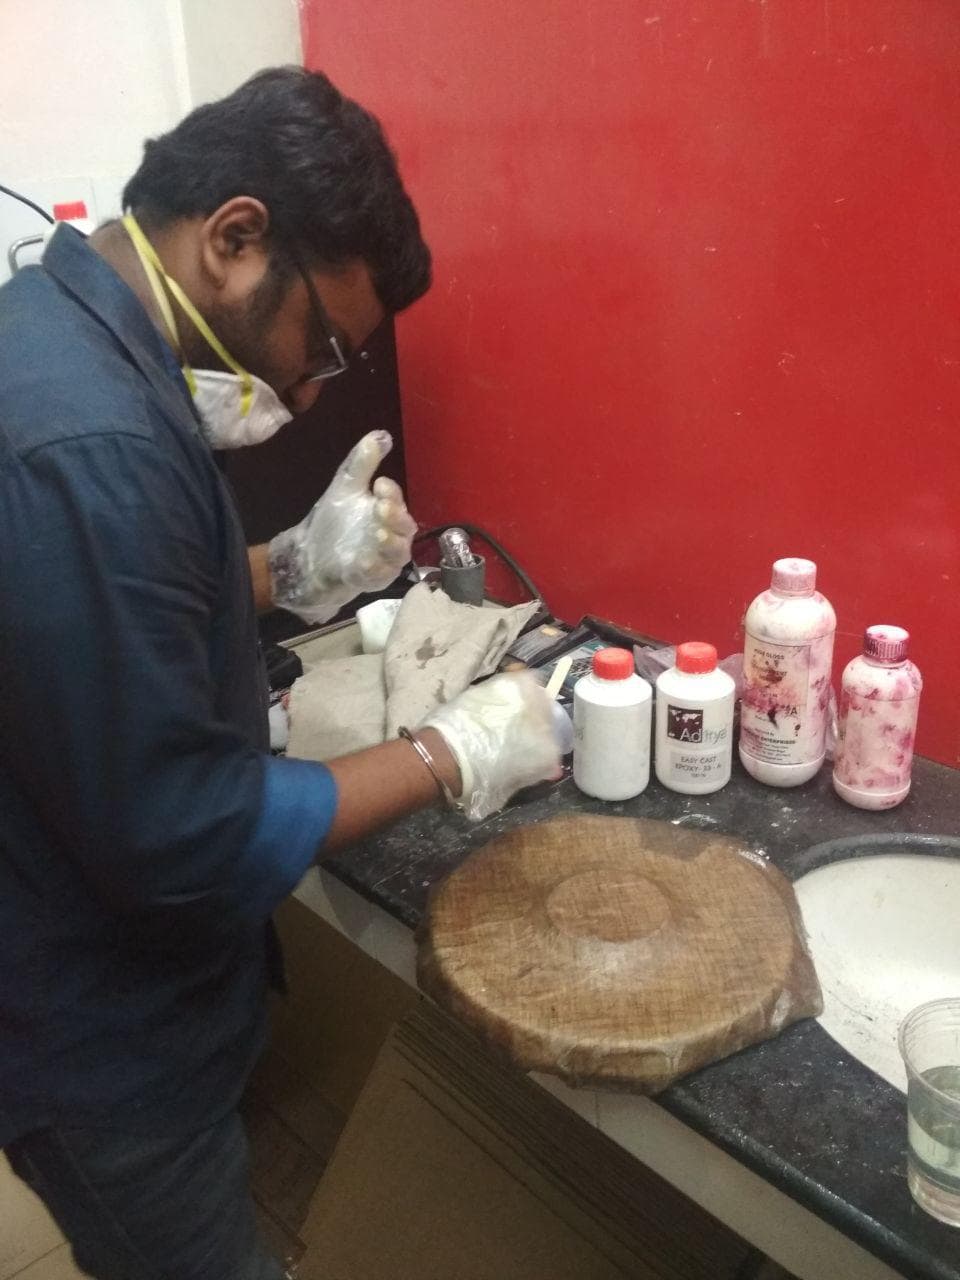
Epoxy Resin
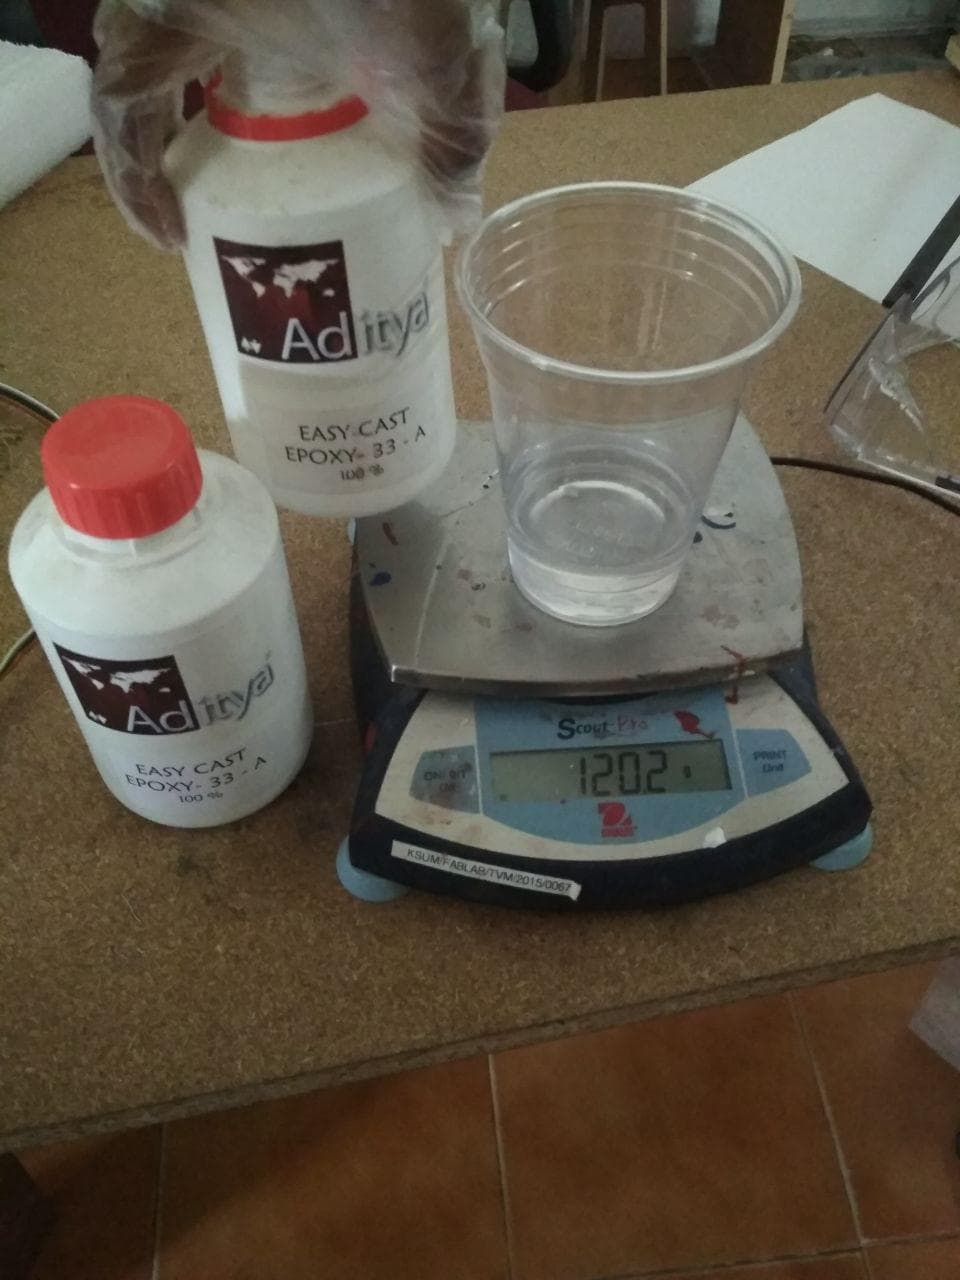
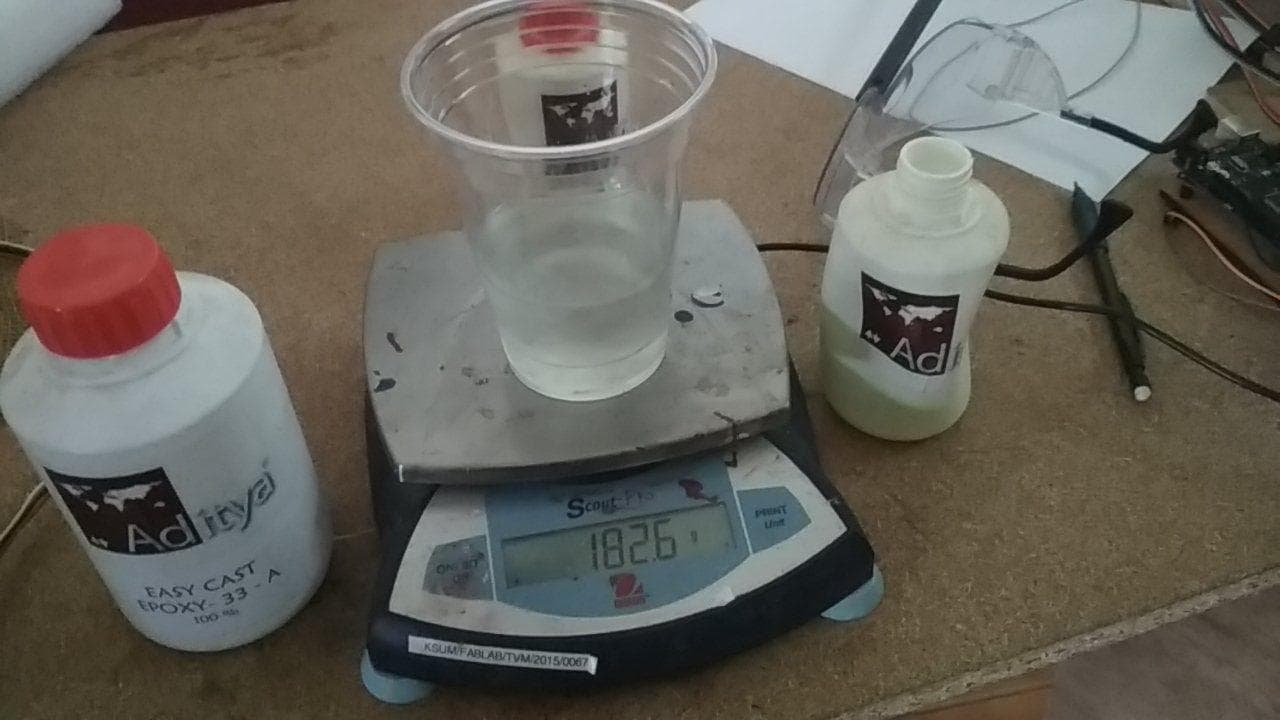
Easy Cast Epoxy resin having Part A and Part B which is mixed in a ratio of 100:50
Aditya Easy Cast Epoxy-33-A and Easy cast-33-B
Epoxy Resin Murtisil 33 to make transparent statues
Very less viscosity
Can Cure in 30 minutes if heated at 65 degree centigrade and poured
Will cure at room temp in 24 hours
Non - Yellowing
Mix A and B in 2:1 ratio by weight >> Safety: wash the area with soap under plain water
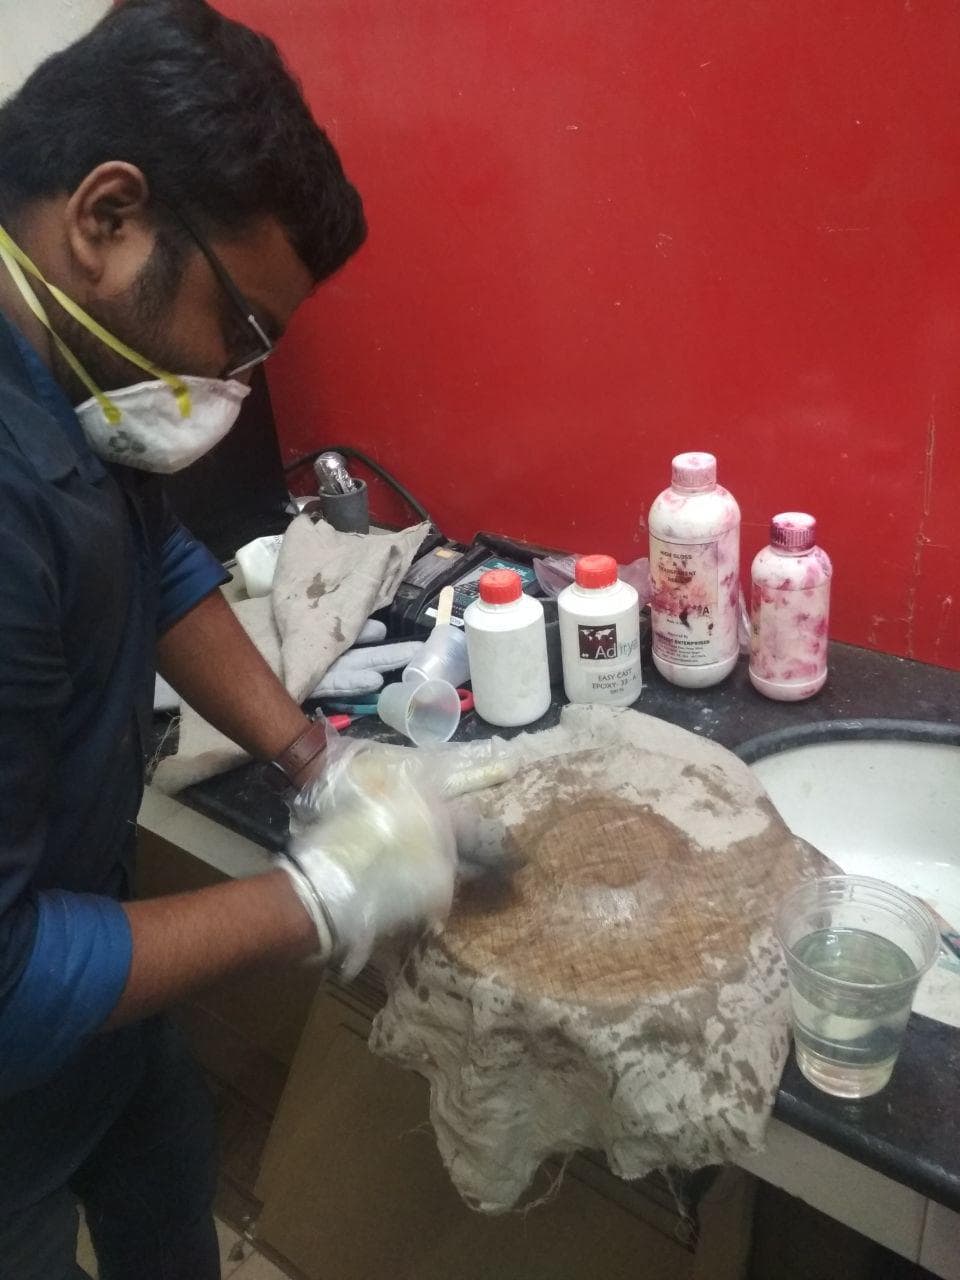
Applying Epoxy resin
3 layer of Linen material was placed on the mold and each individually was applied with epoxy resin
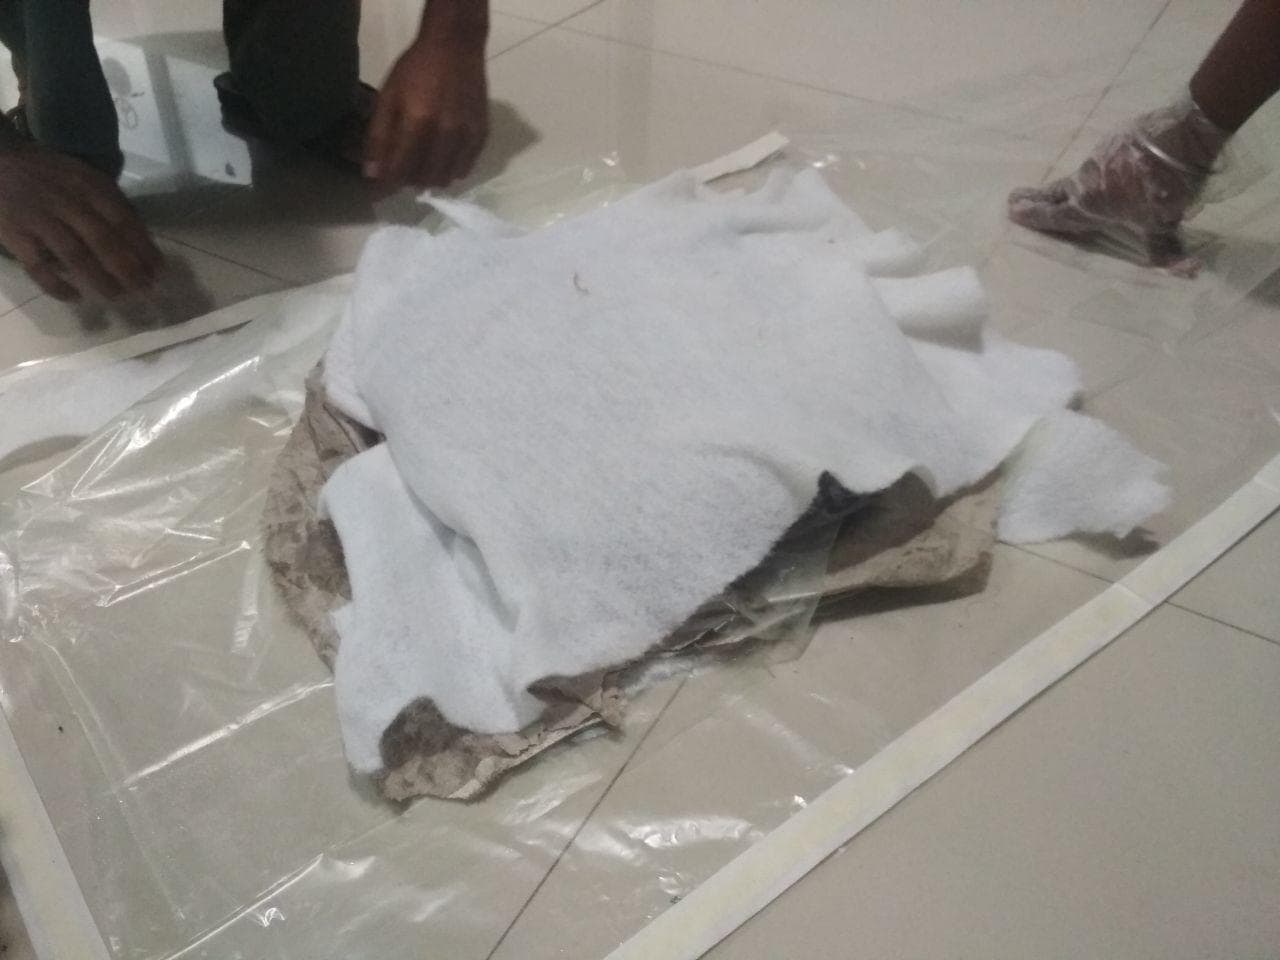
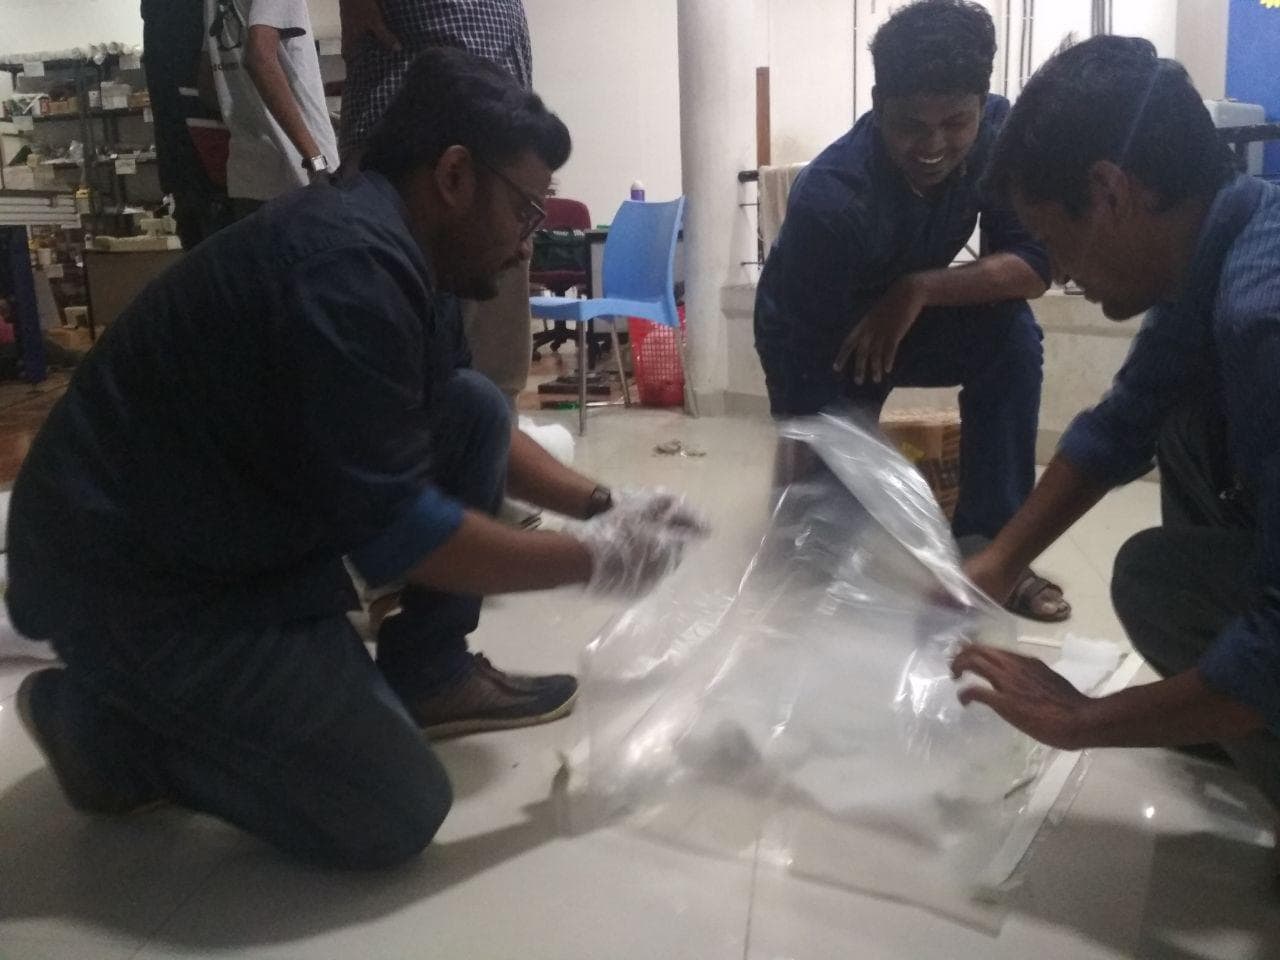
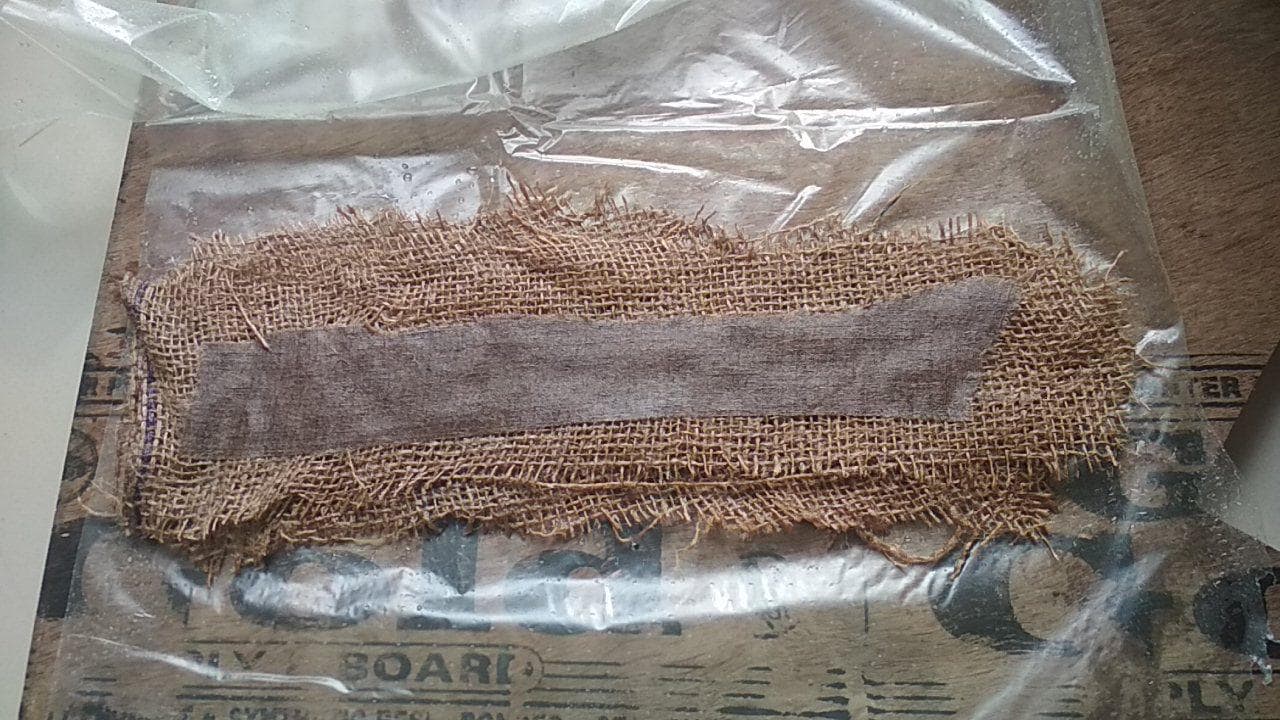
Vacuum
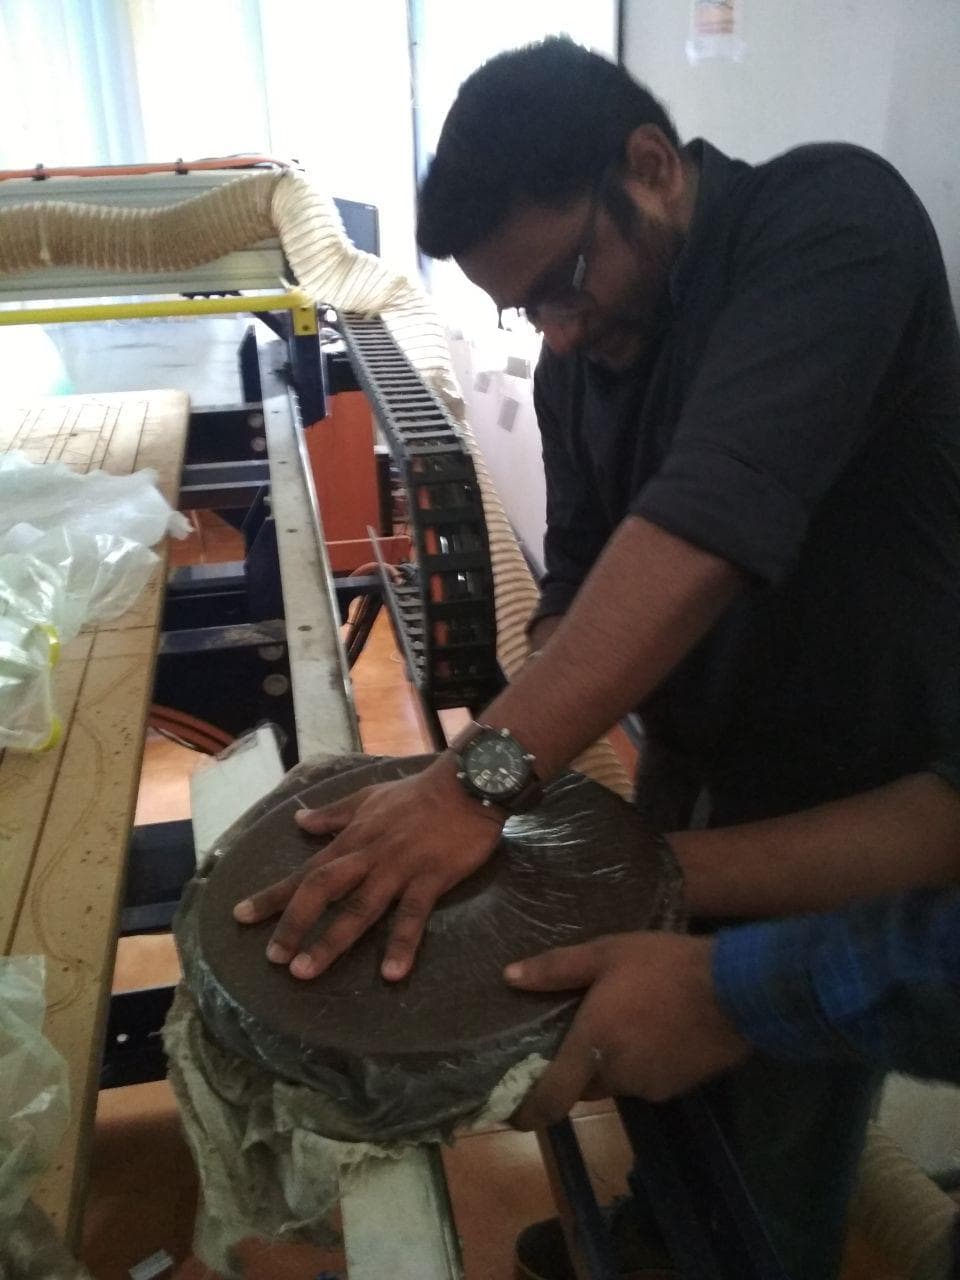
Myself and my friend Vishnu vacuumed in a same bag.We placed both our models in same vacuum bag back to back putting layers of breather so it wont get attached to each other So first we made a vacuum bag and then we place our molds then we put a breather, so it wont stick on to vacuum bag.
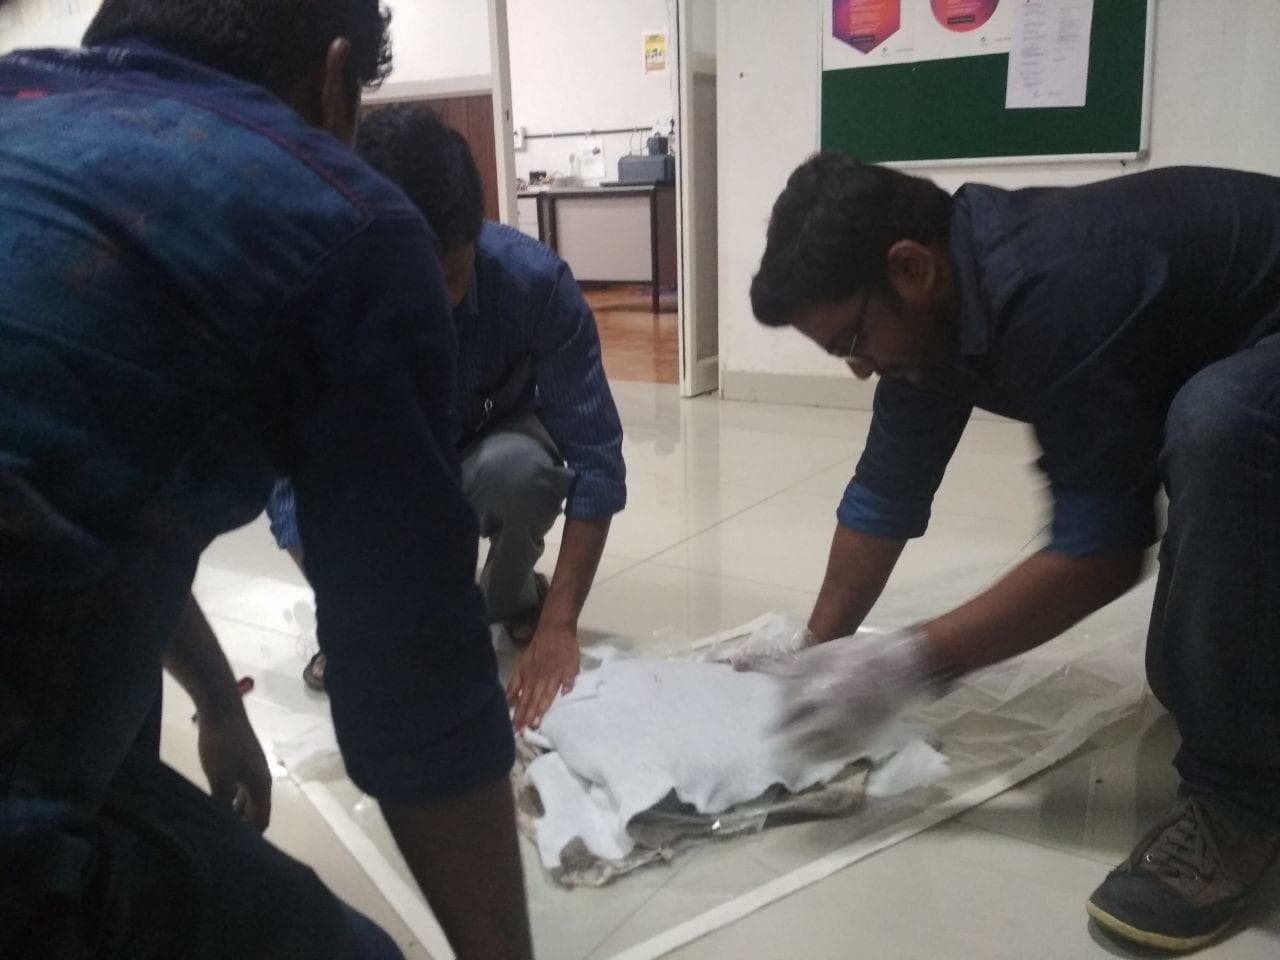
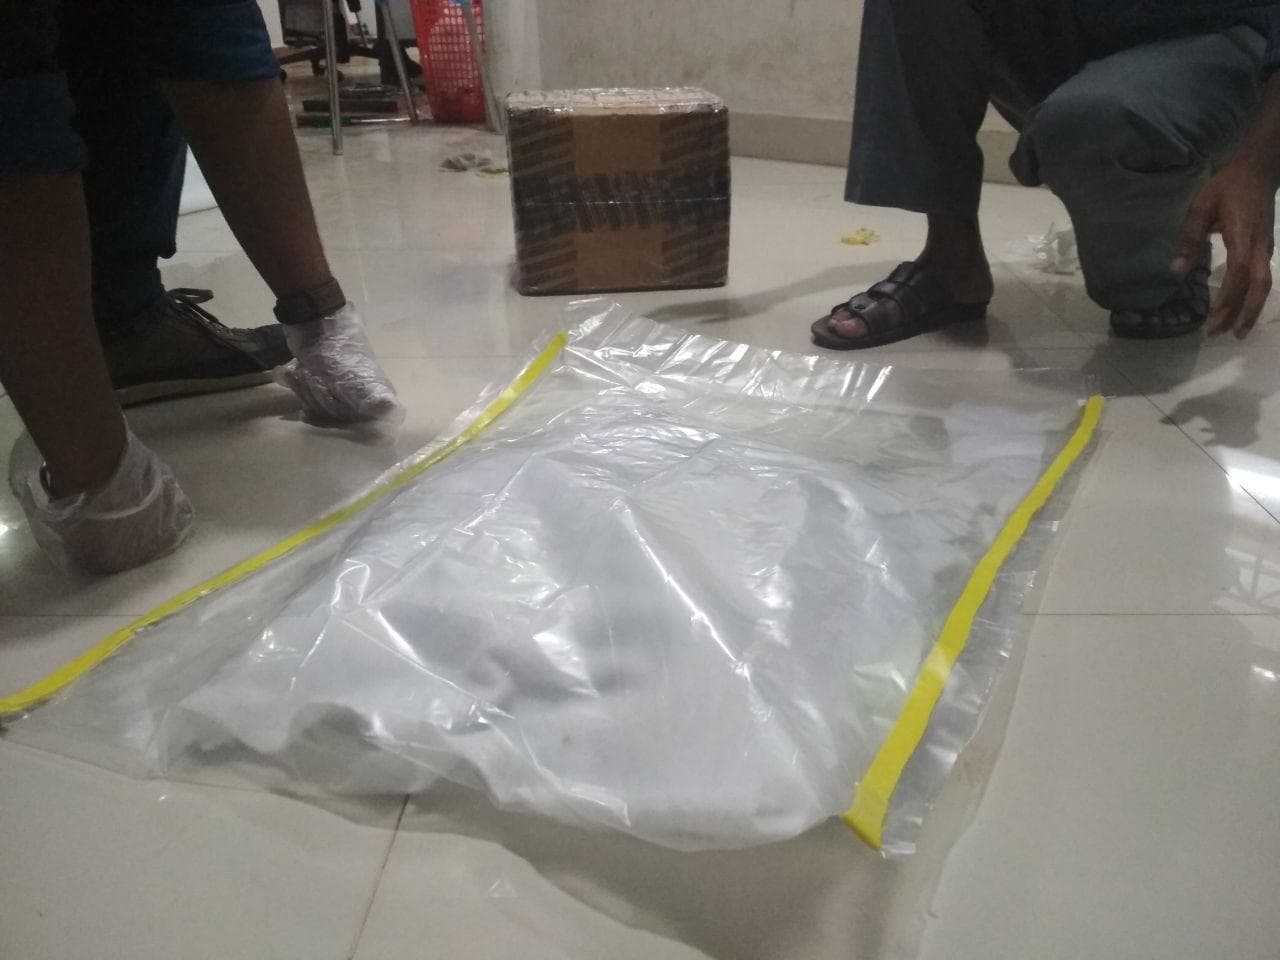
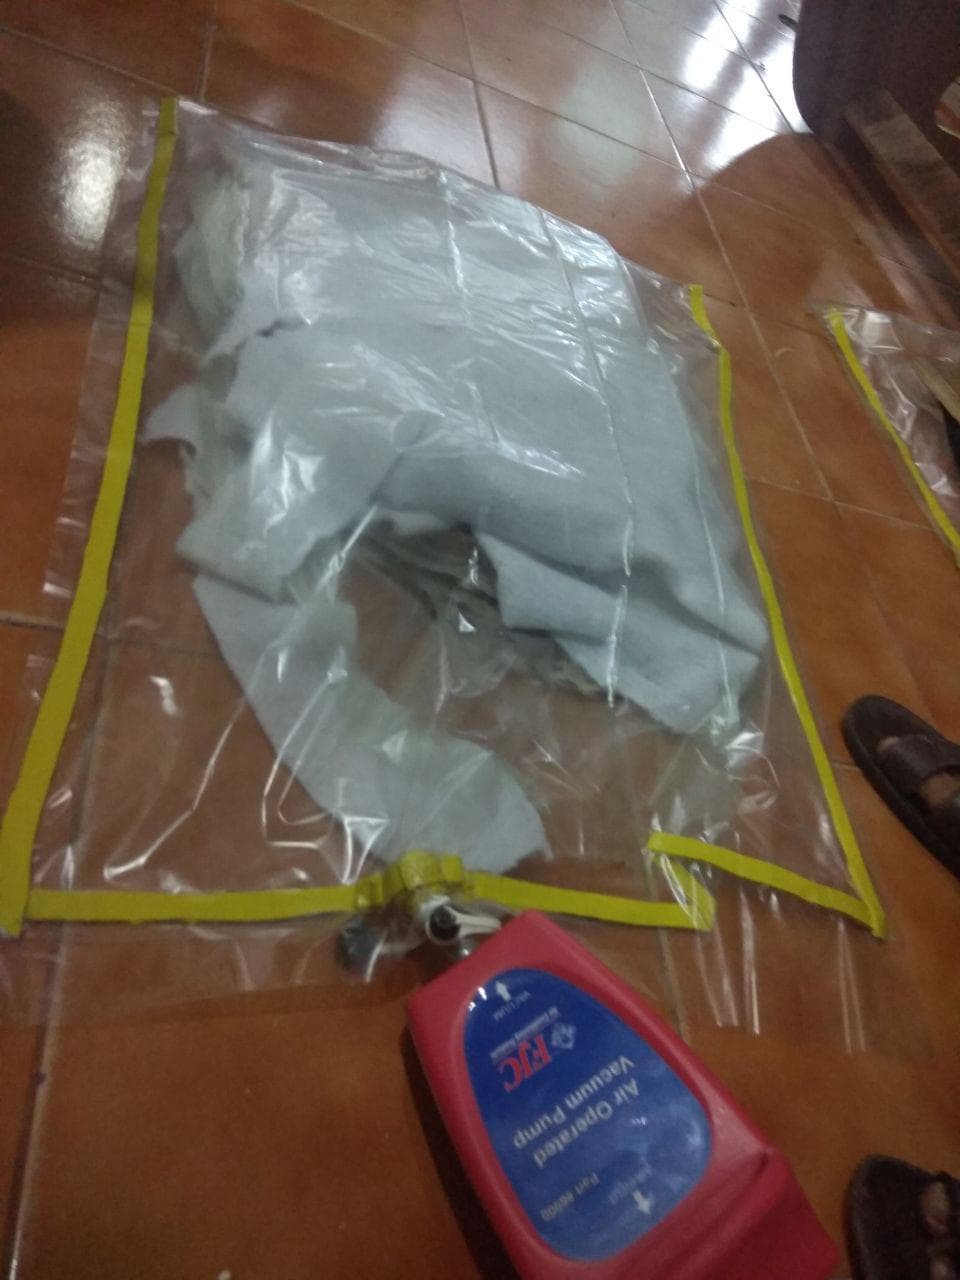
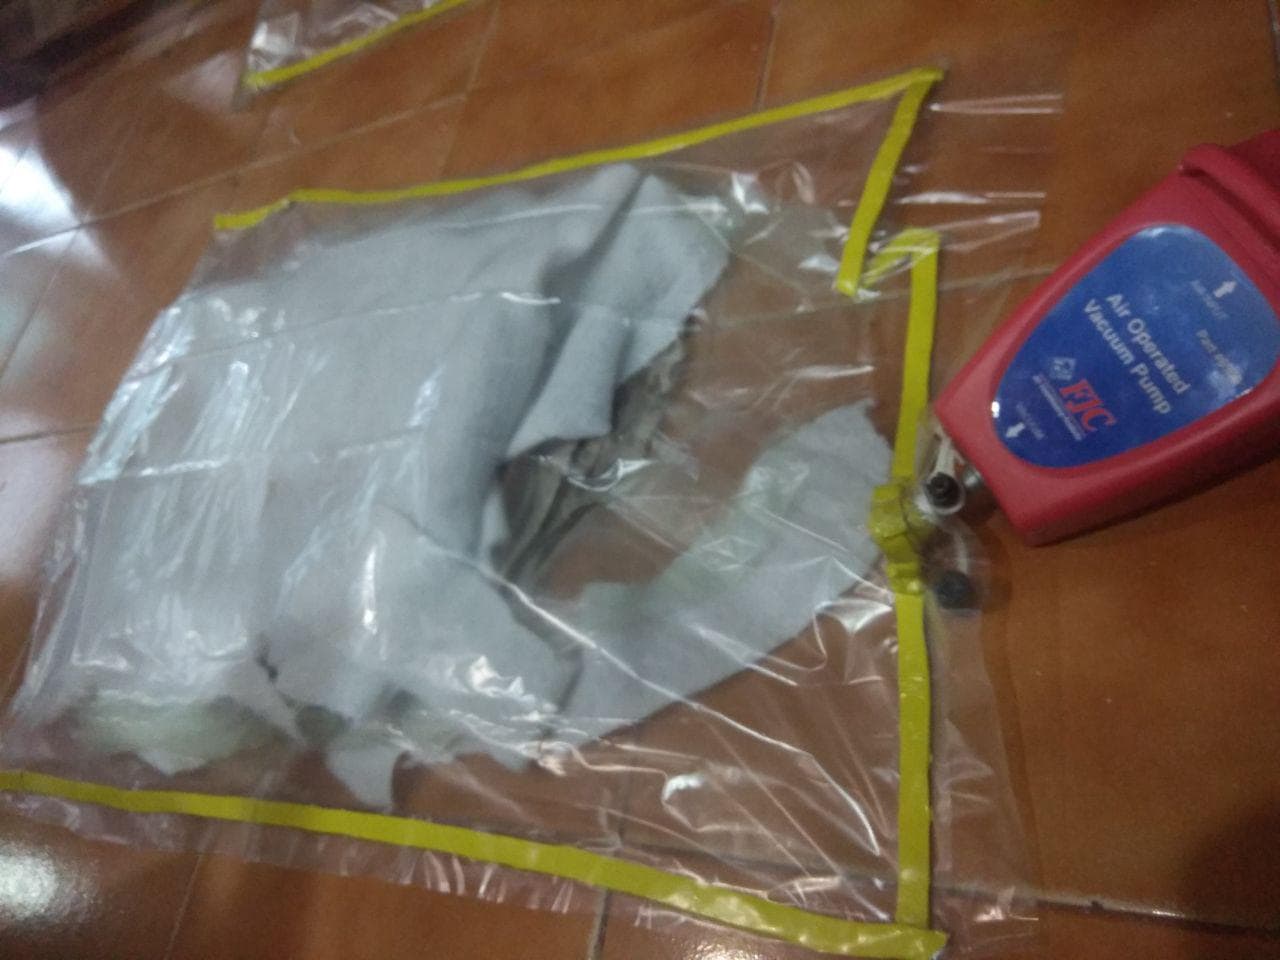
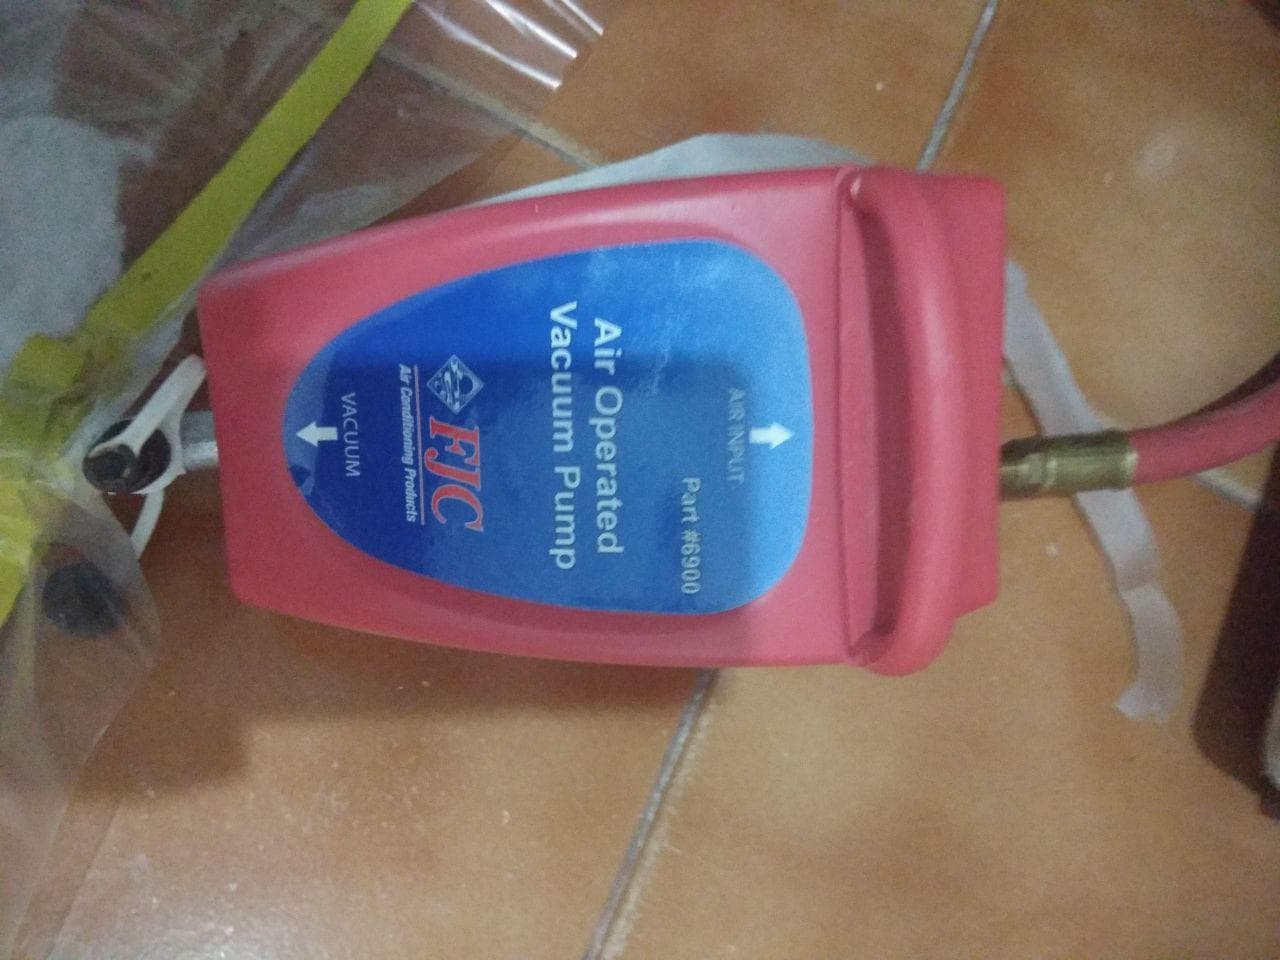
Used a vacuuming pump
Used a layer baging film to create a vacuum bag and our model was separarted by breather layers so it wont stick each other and to the vacuuming bag.A vacuum pump is connected to bag and nozzle is sealed with a sealing tape
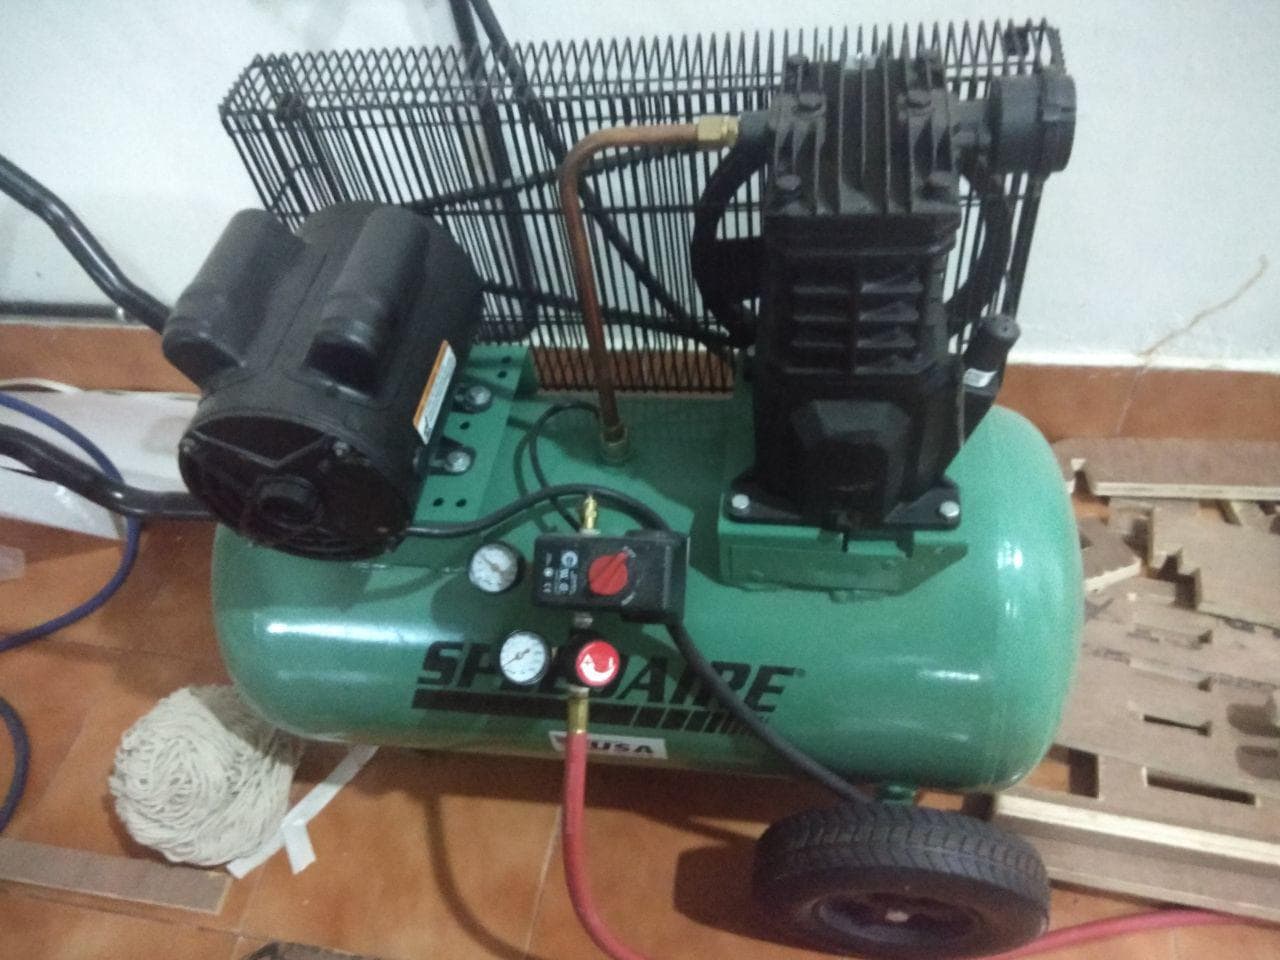
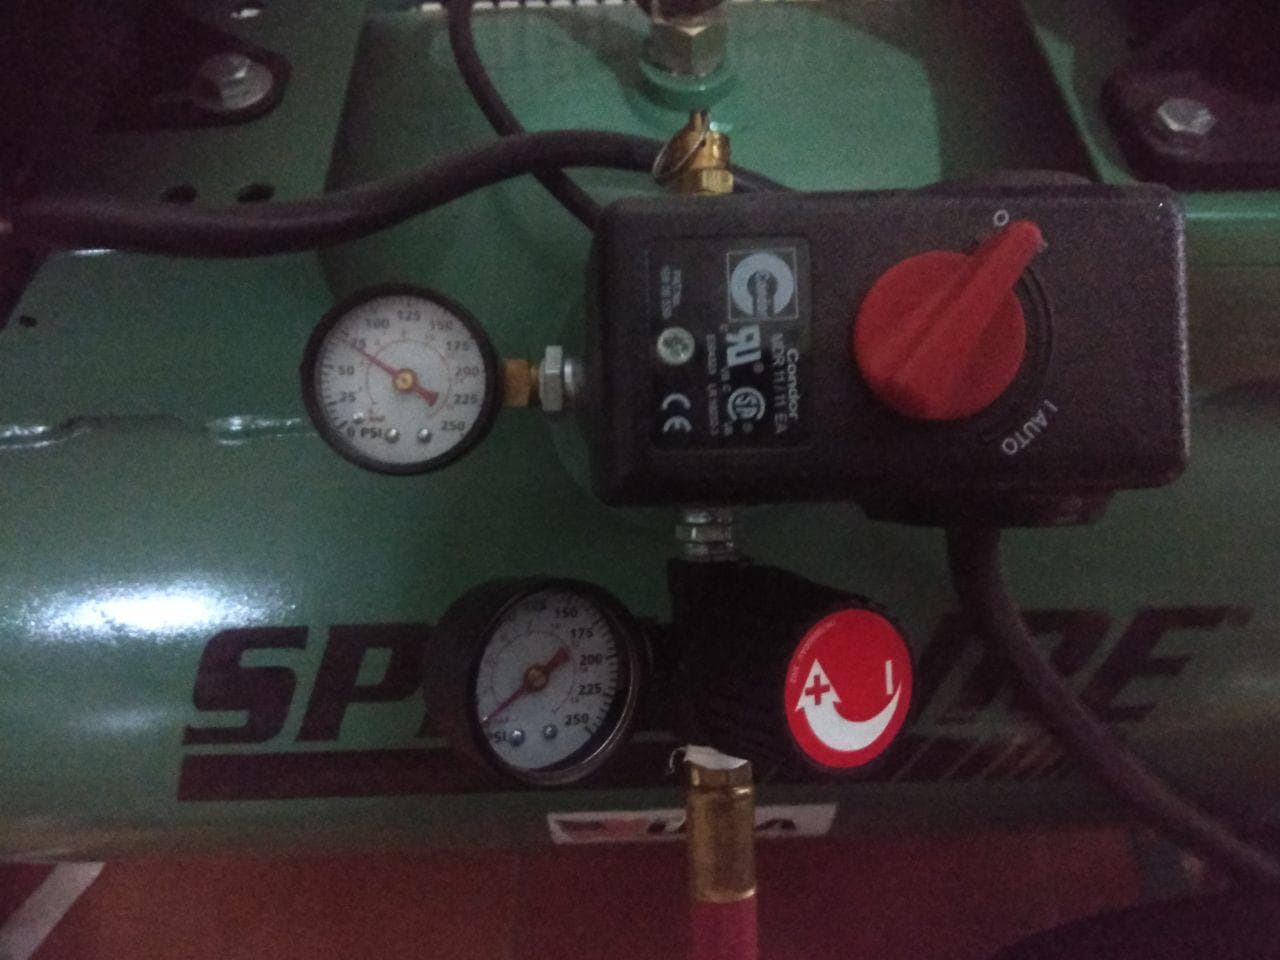
Professional compressor of 2.5 CV, 50 liters of capacity, 8 pressure bars, 205 l / min, 2500 rpm and 35 kg of weight is used for vacuuming our 3D design
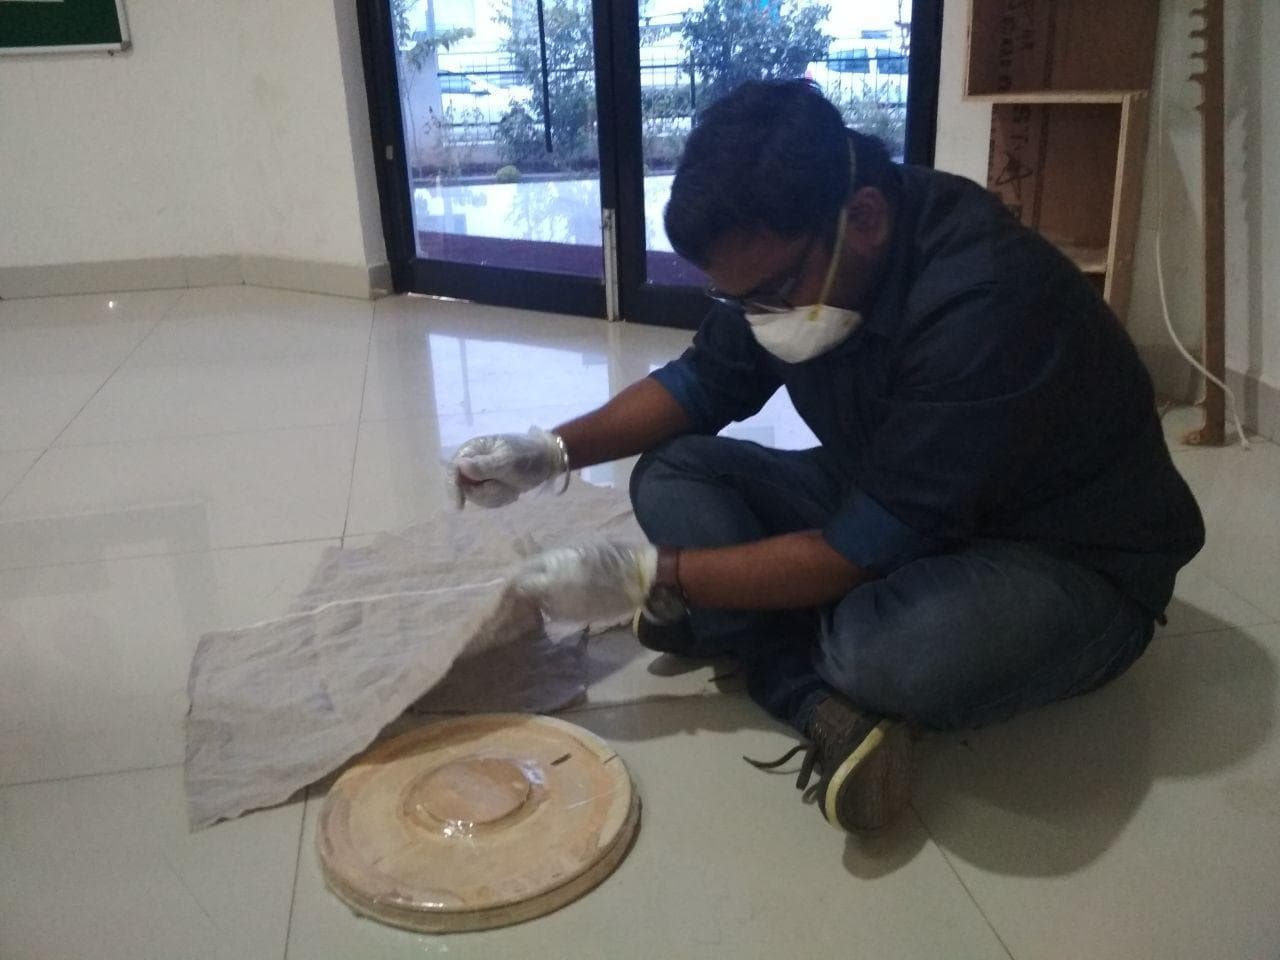
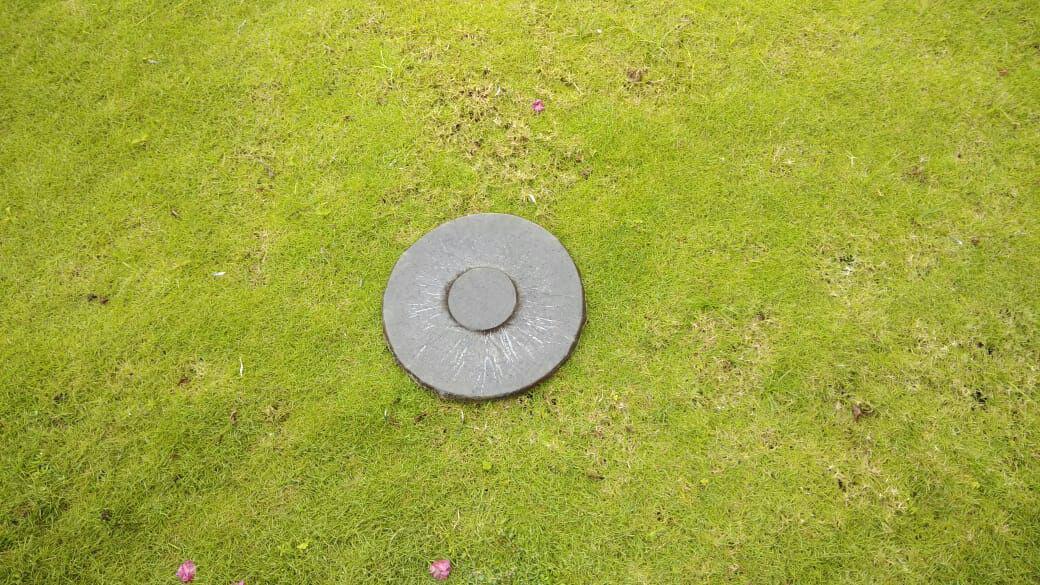
Pulling out Flying disk from mold
After setting it for 24 hours, it was properly set and have a good strength
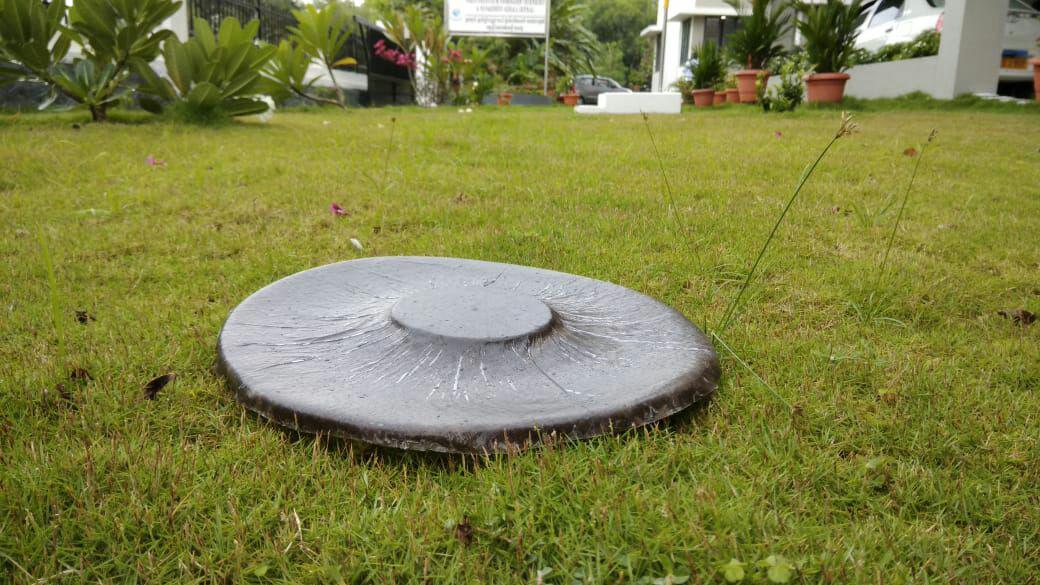
Final Look
Video
My friends playing with the flying disk I made :)
Group Assignment
Produce test coupons for your composite fabrication process
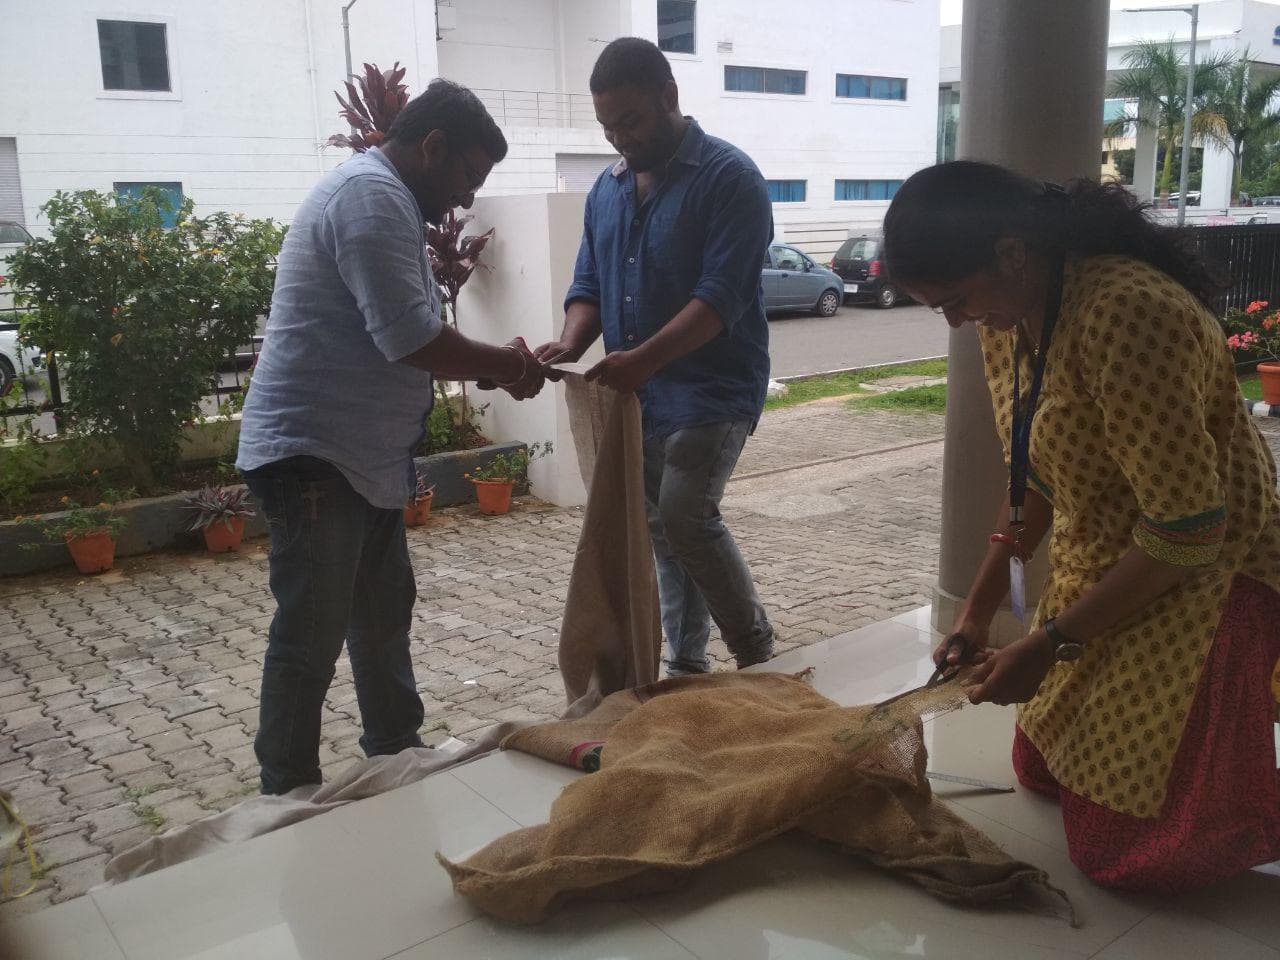
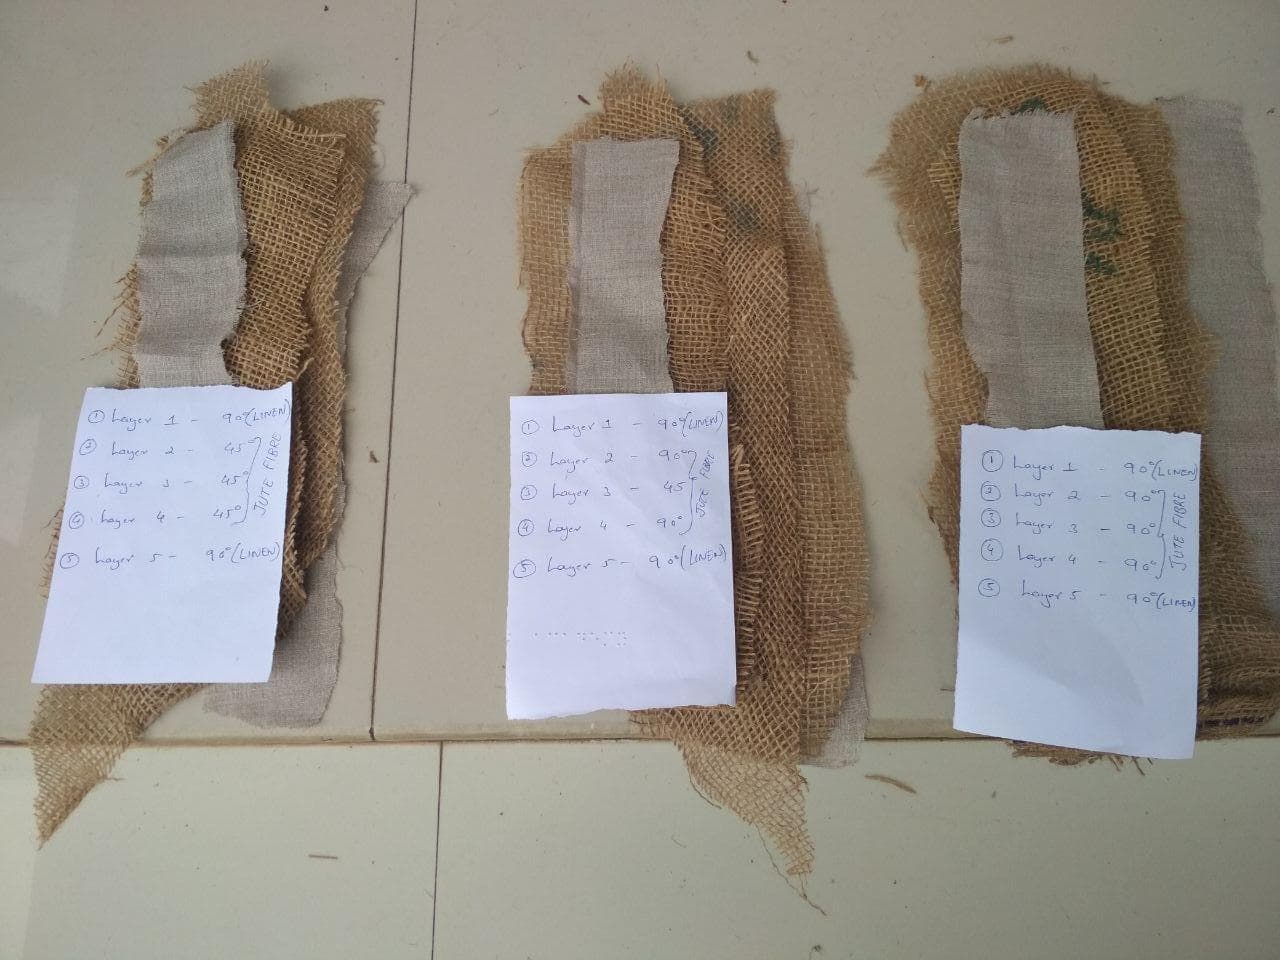
We took 3layers of Jute and 2 layers of Linen to combine with Easy Cast Epoxy
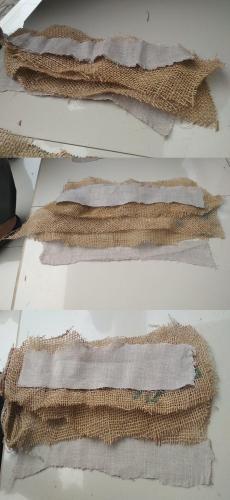
We arranged it in a certain order which you can see in the below picture
1. Two layer of Linen having an angle 90 degree and 3 layer of Jute having 45 degree
2. Two layer of Linen having an angle 90 degree and middle layer of Jute having 45 degree and other two layer with 90 degree
3. Two layer of Linen having an angle 90 degree and 3 layer of Jute having 90 degree
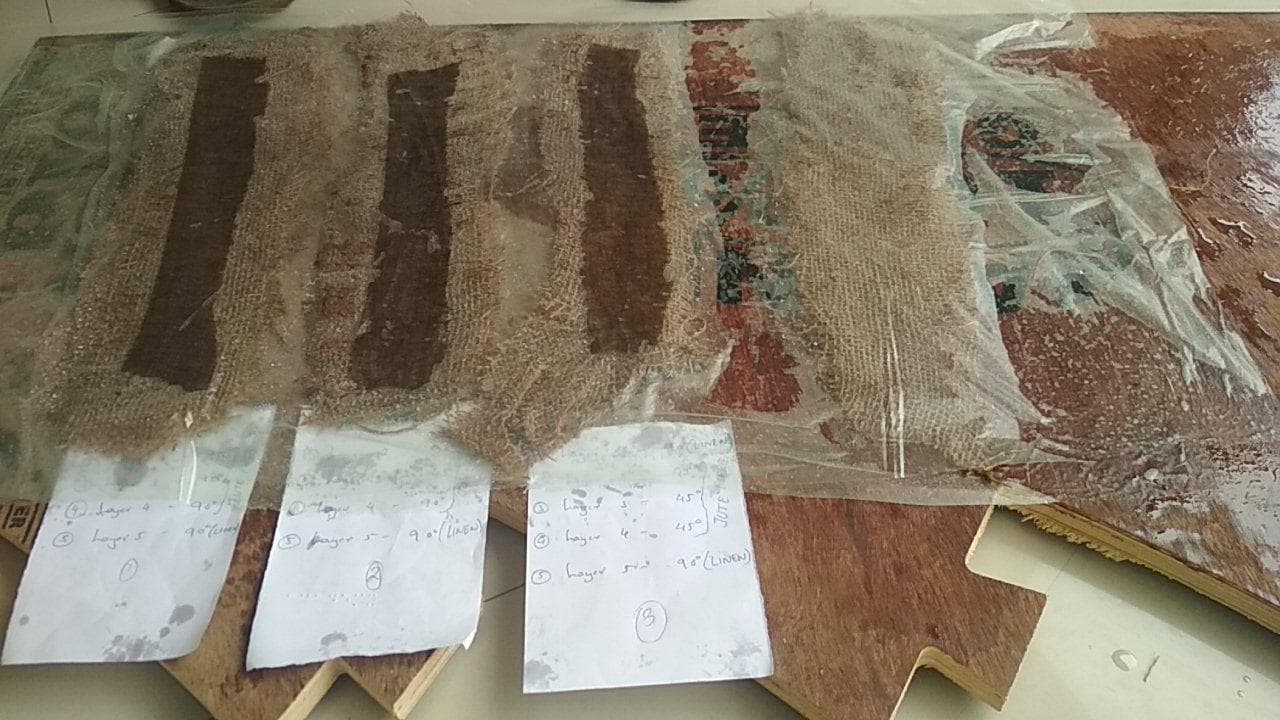

We have given the different products to 3 Instructors and told them to test its strength(without telling them which is which)
We were able to find out that "1. Two layer of Linen having an angle 90 degree and 3 layer of Jute having 45 degree" has more strength