A few video clips of the process...
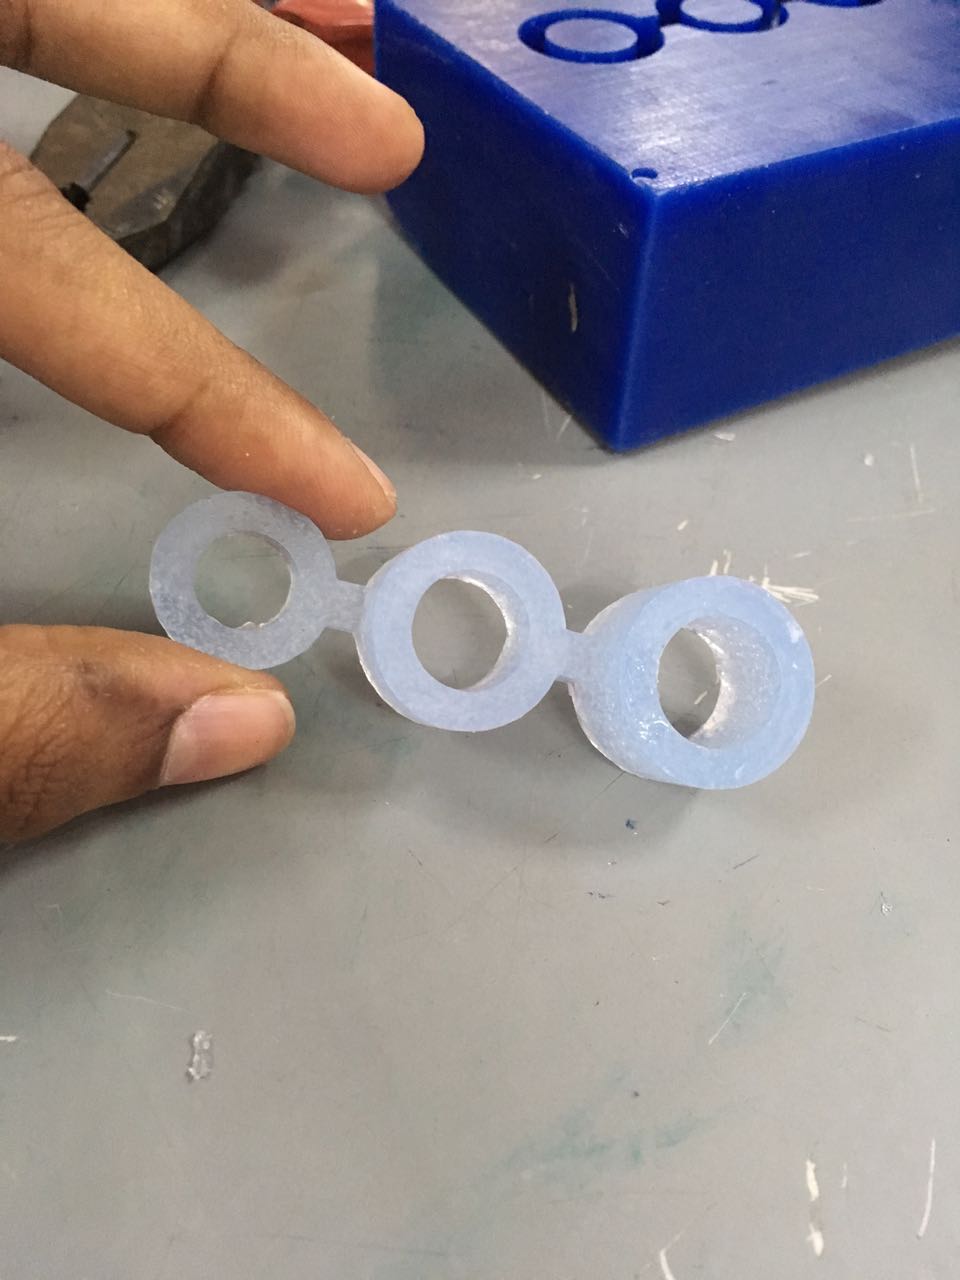
I had been looking forward to this week's assignment to make this finger-grip-modifier in silicone. The following is the sequence of how I went about it.
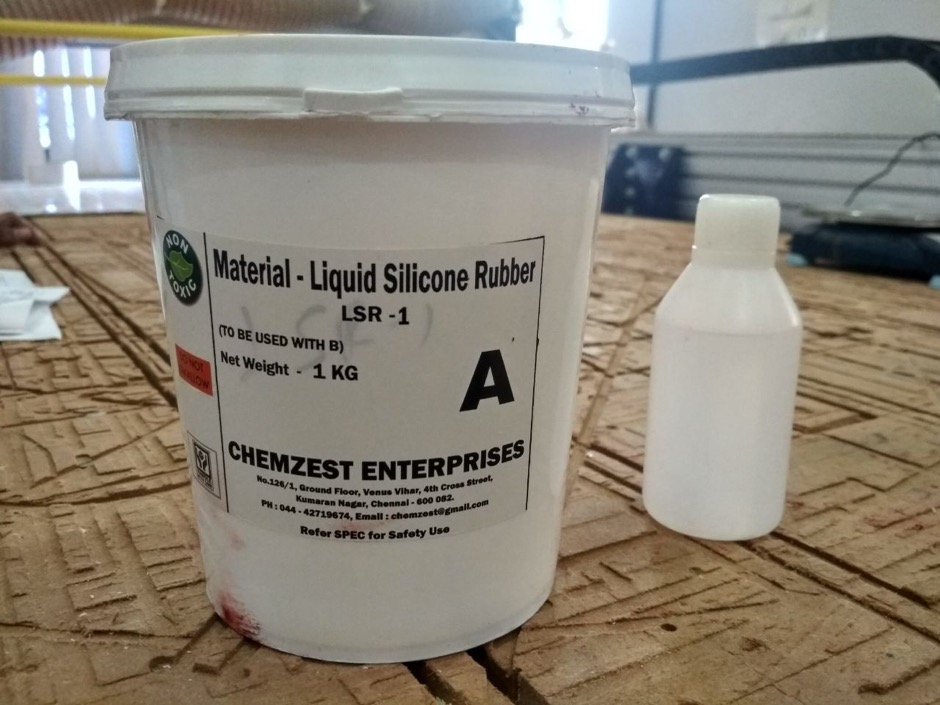
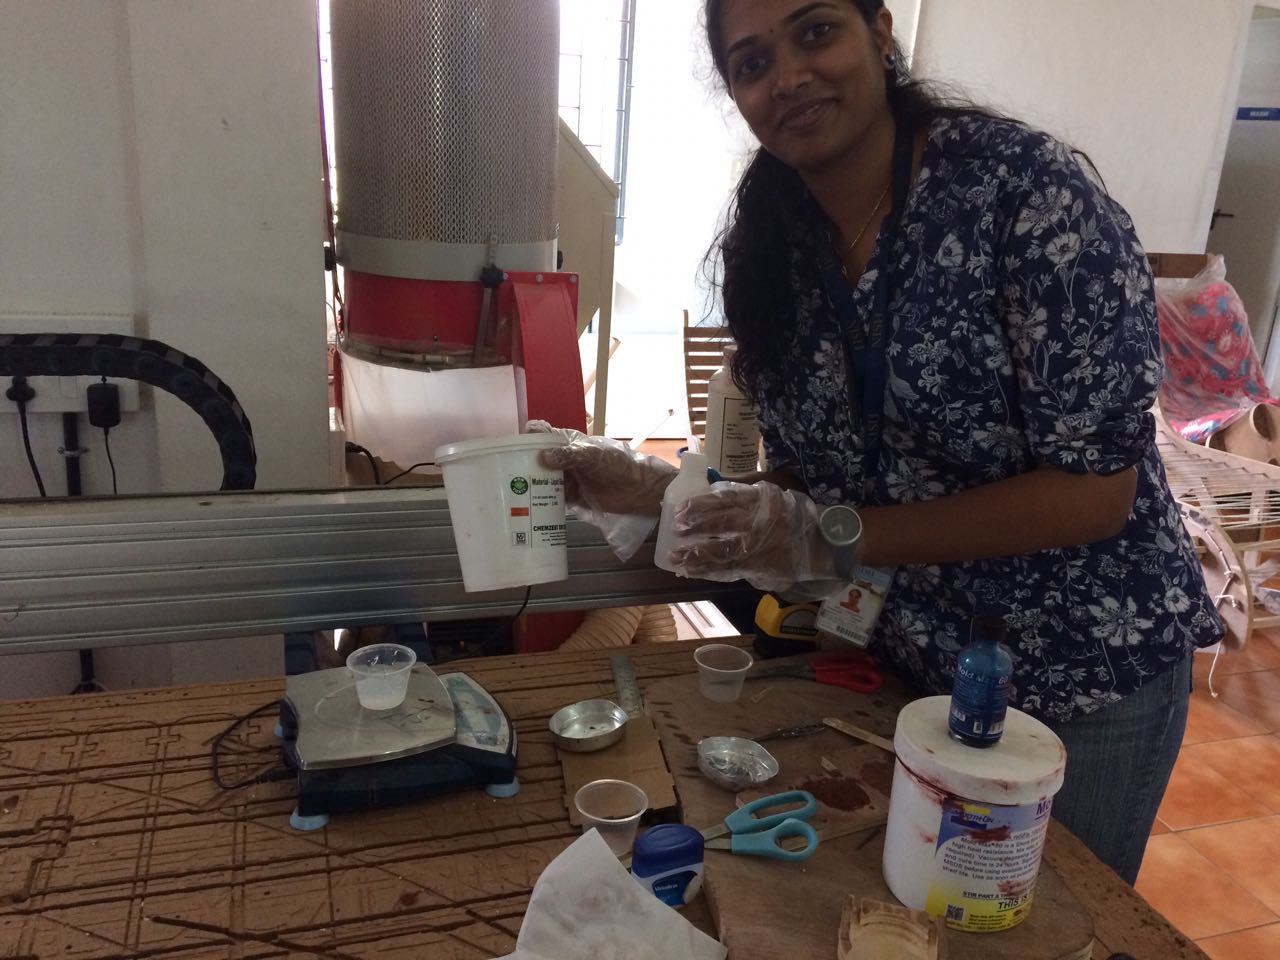
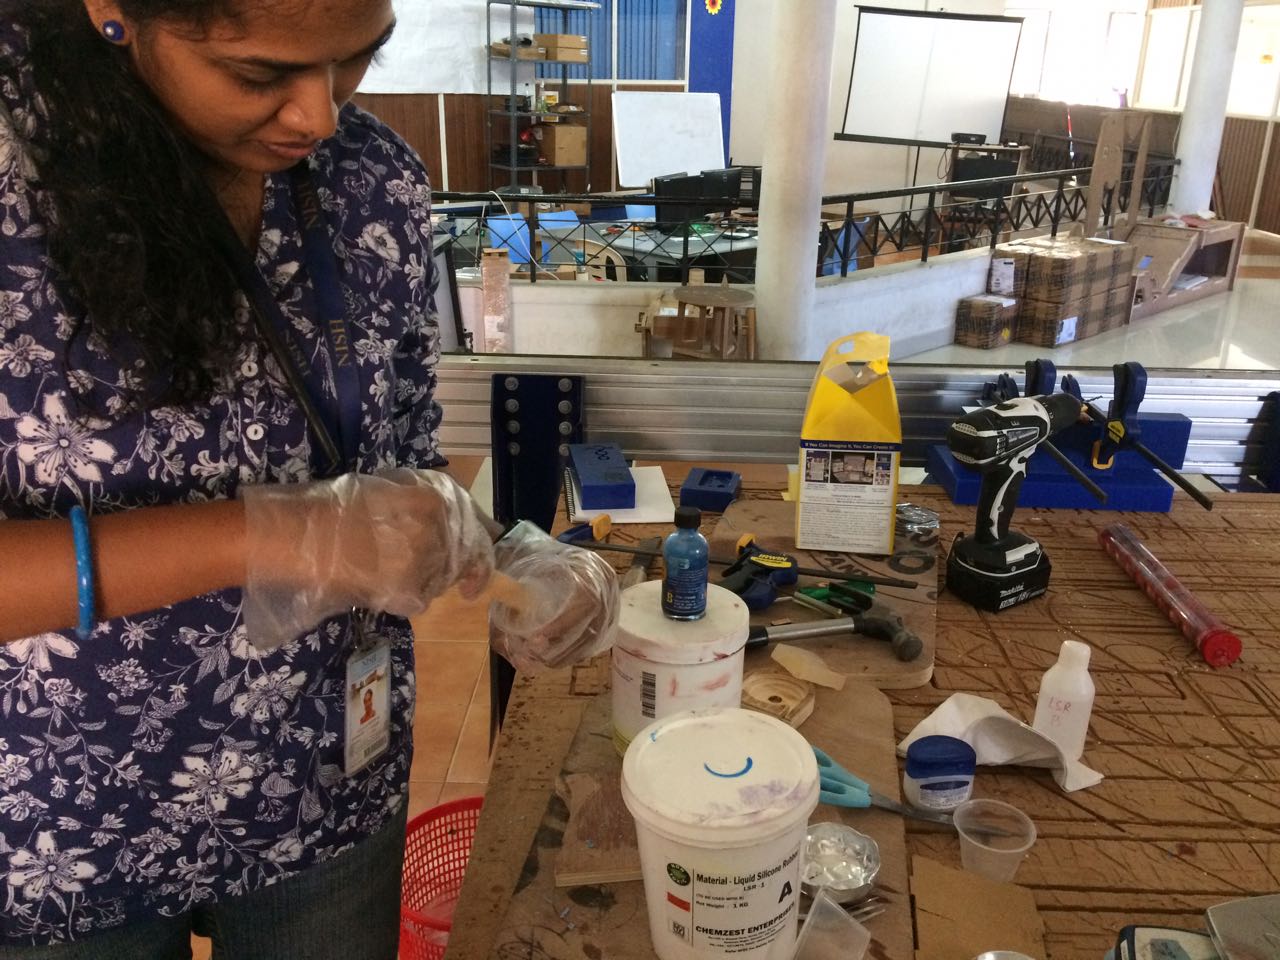
1. Group assignment: Safety datasheets of materials used and test casting
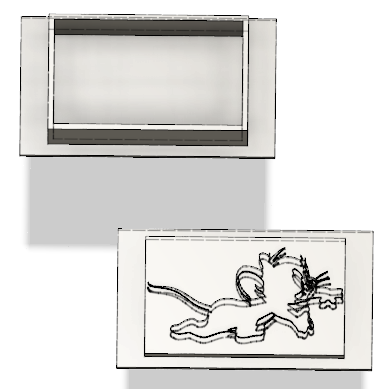
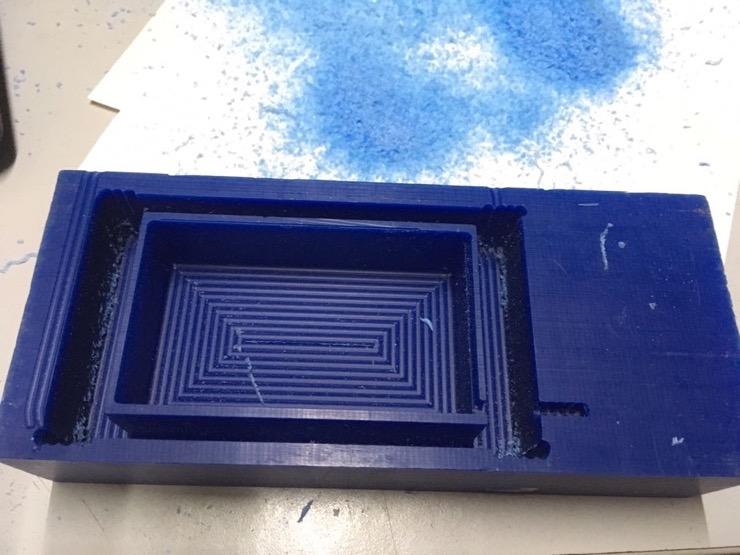
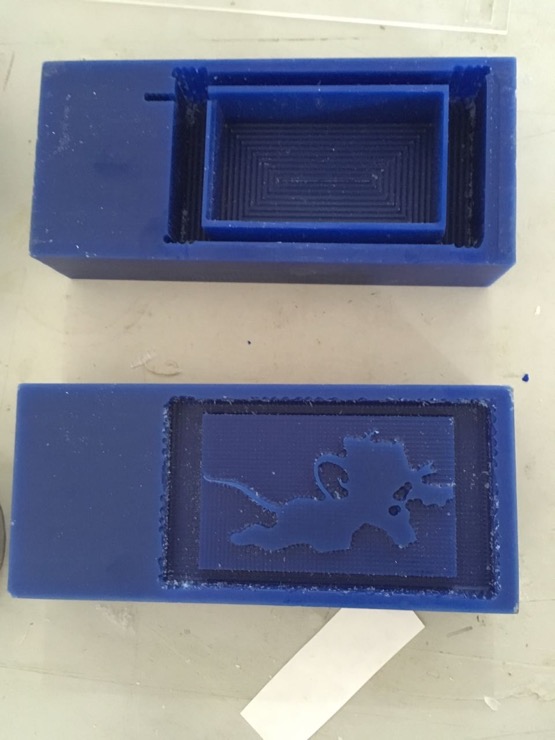
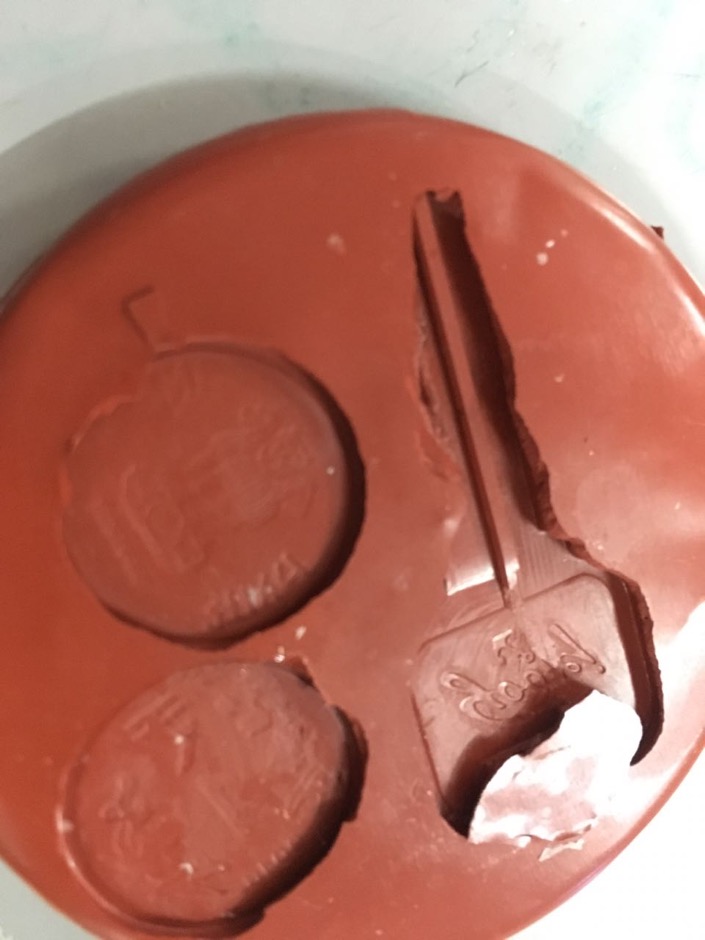
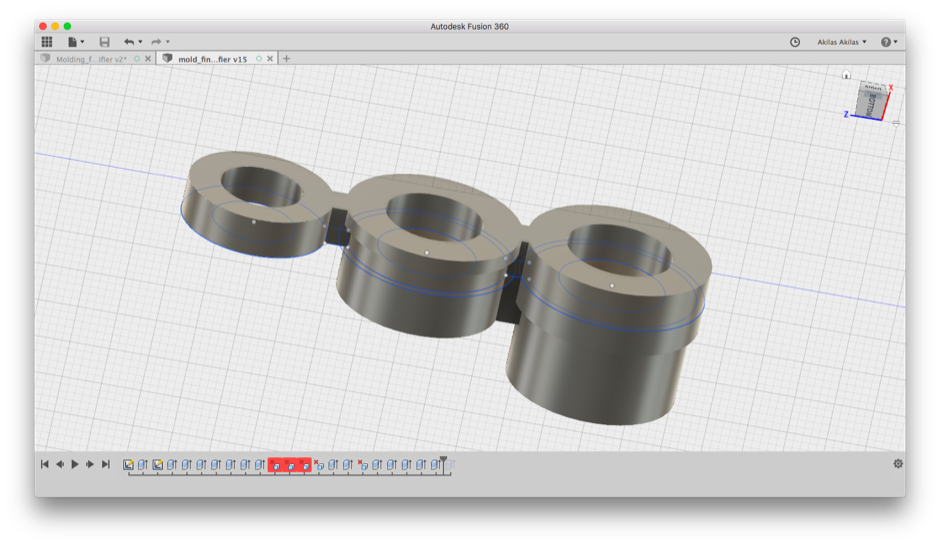
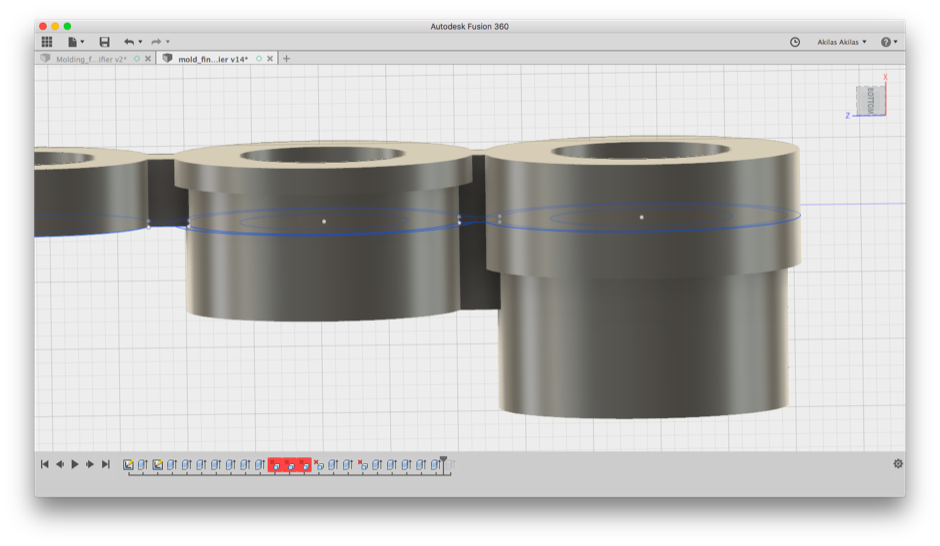
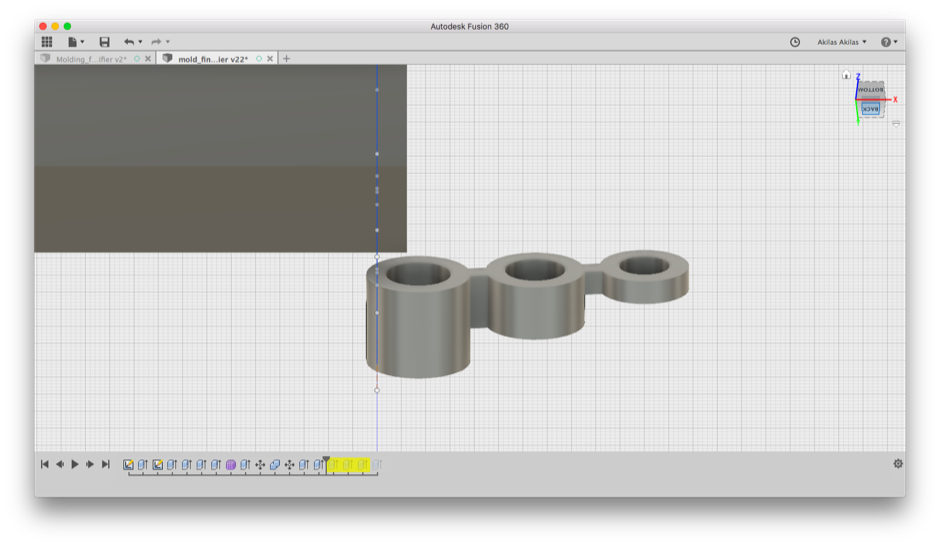
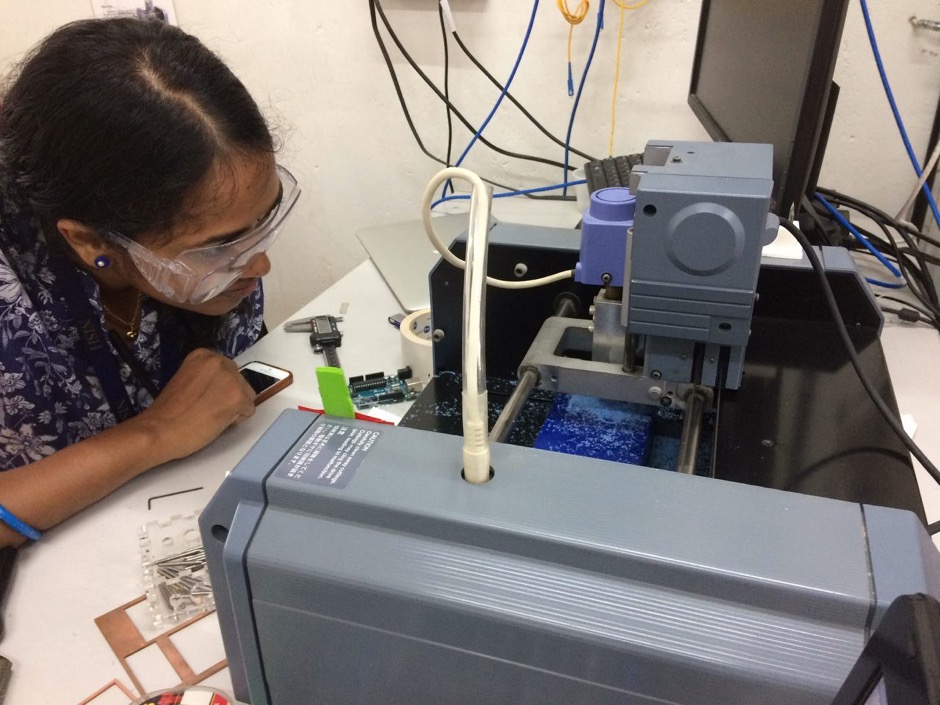
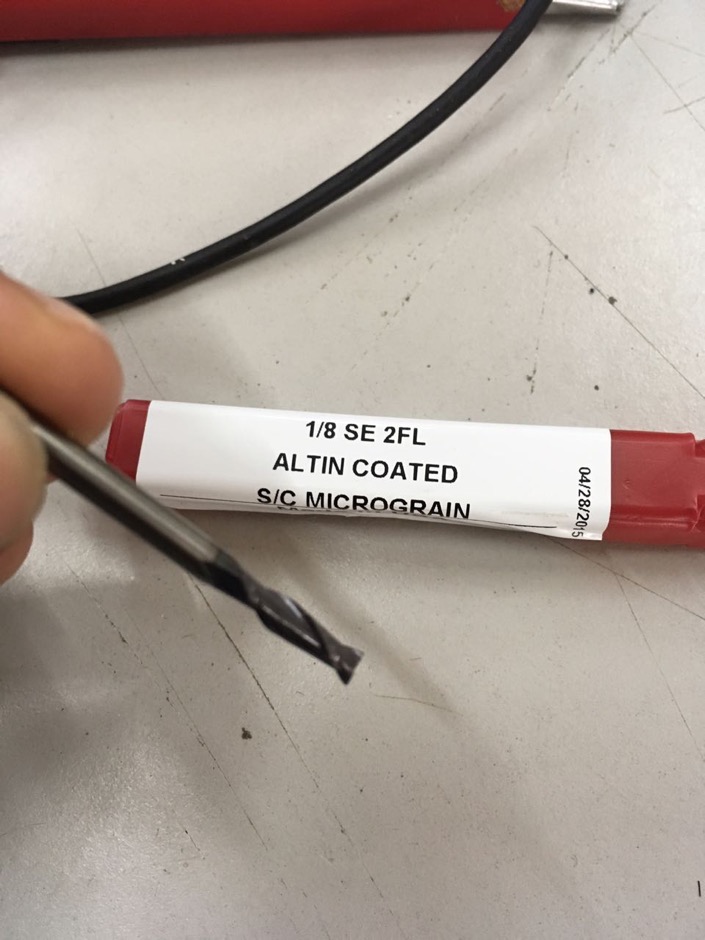
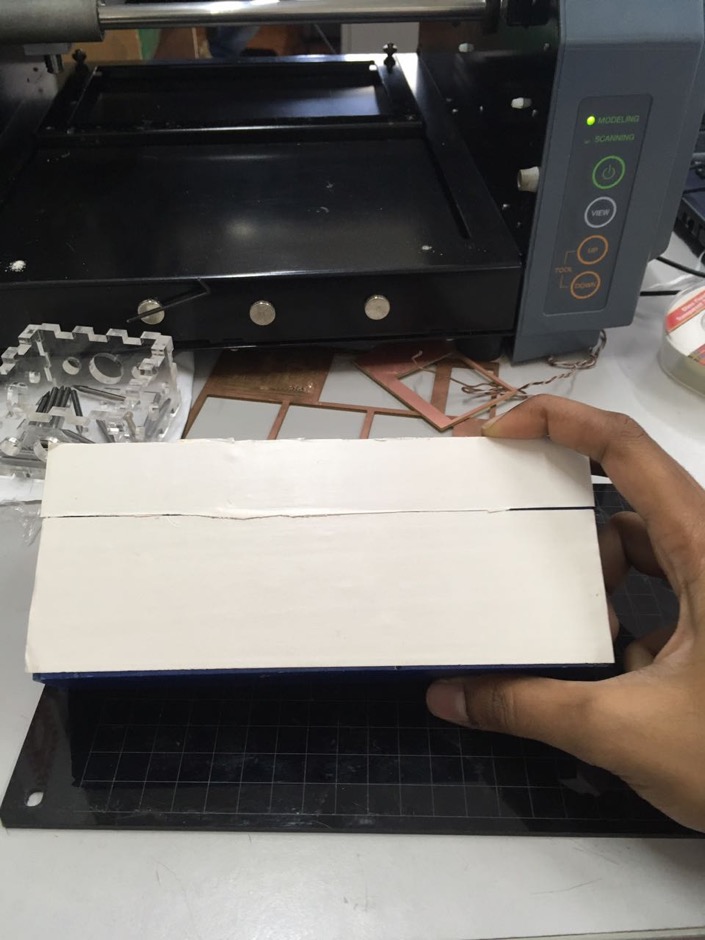
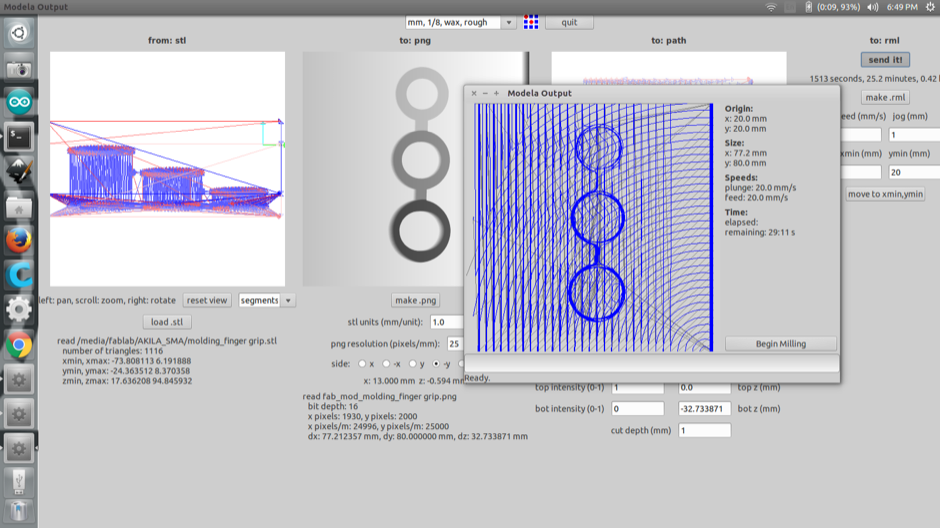
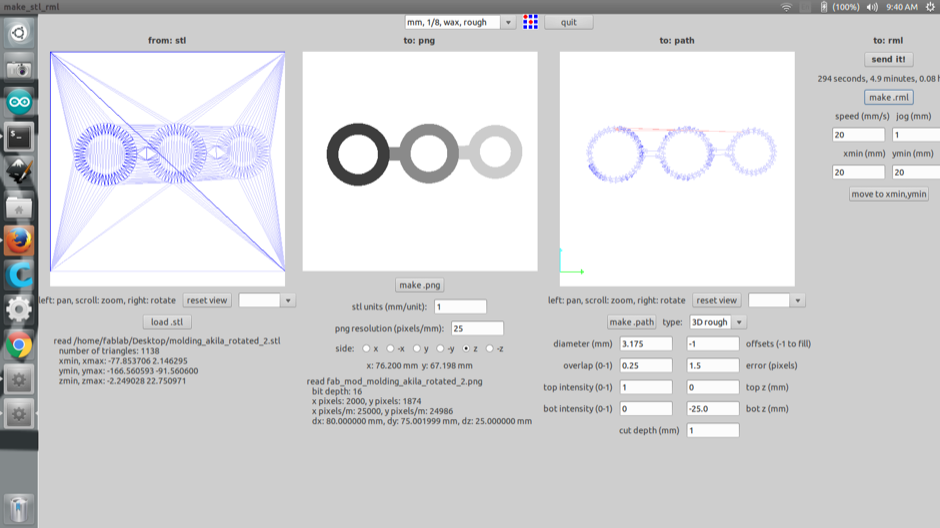
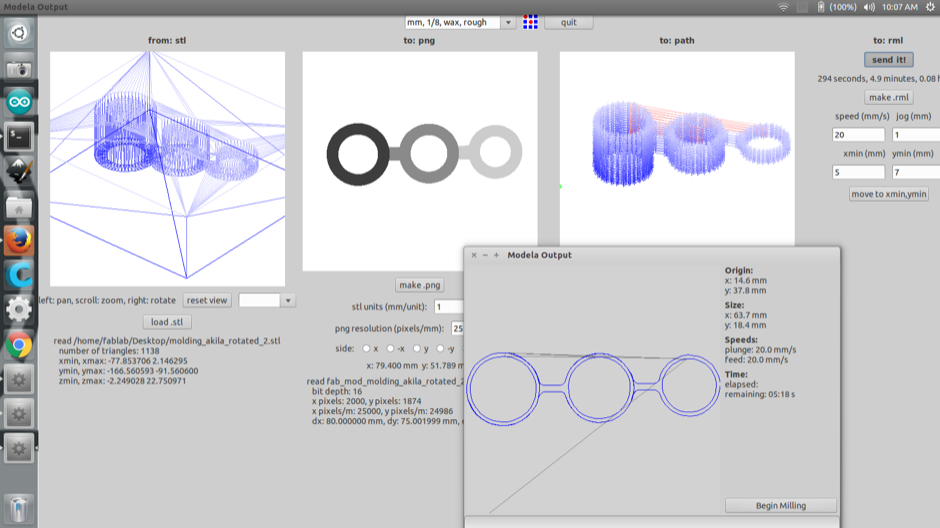
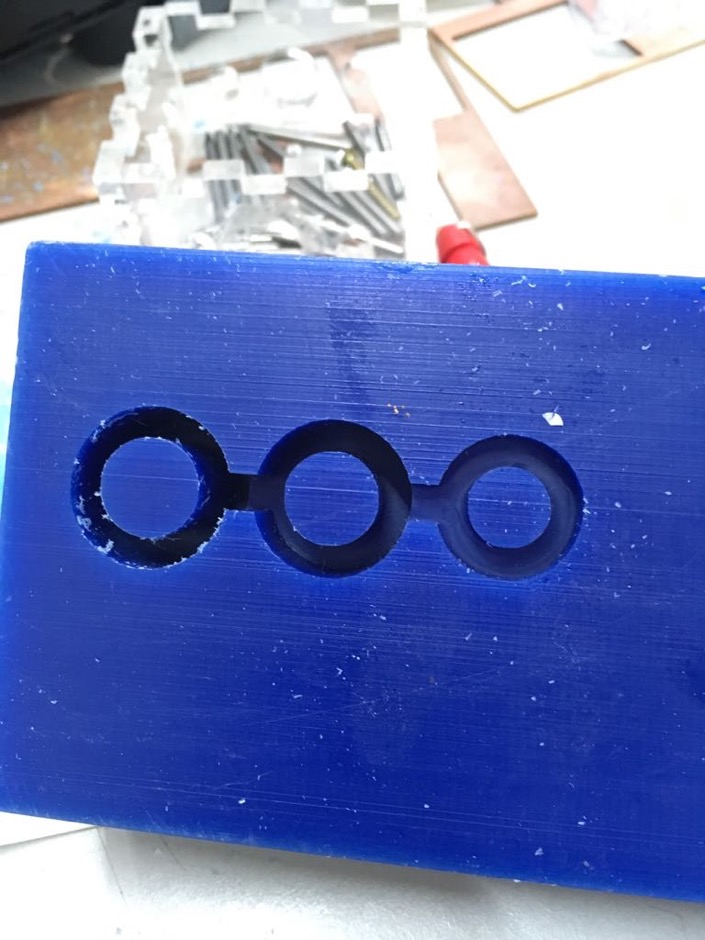
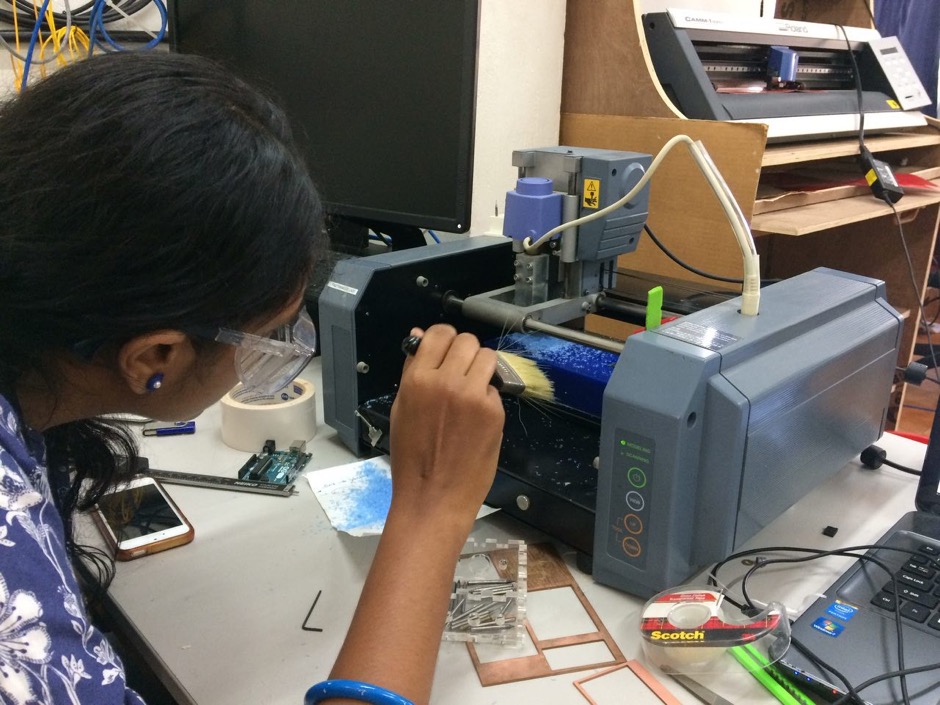
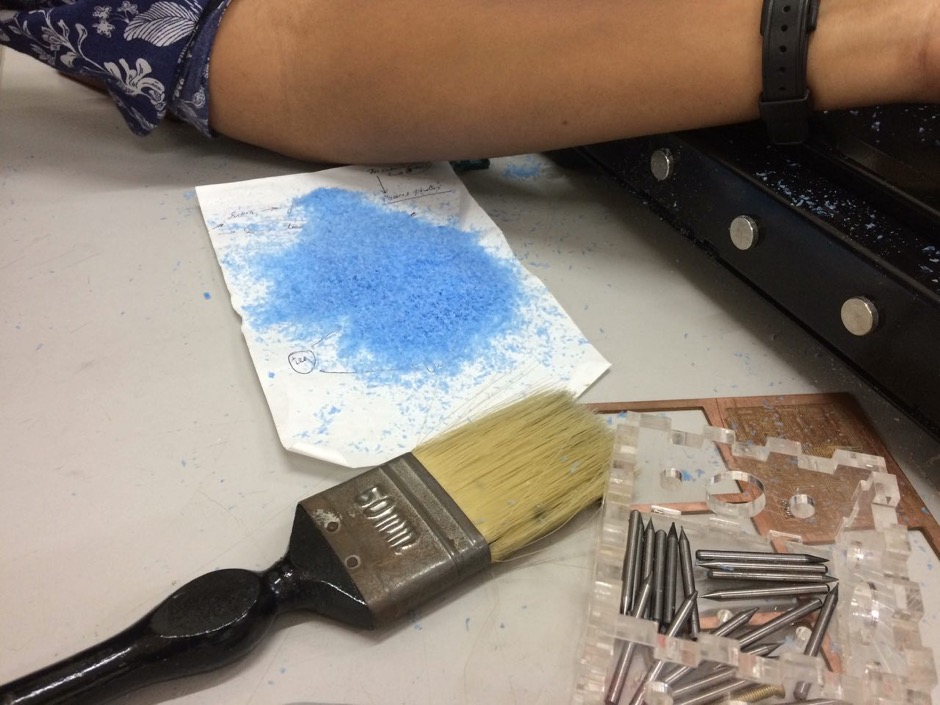
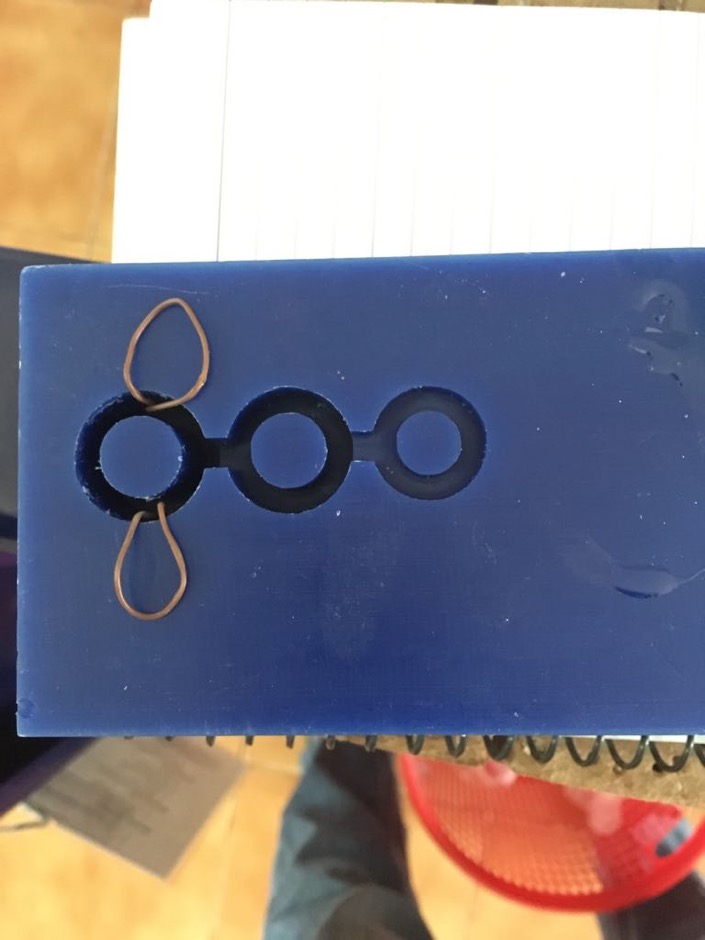
2. Designing and milling the mold
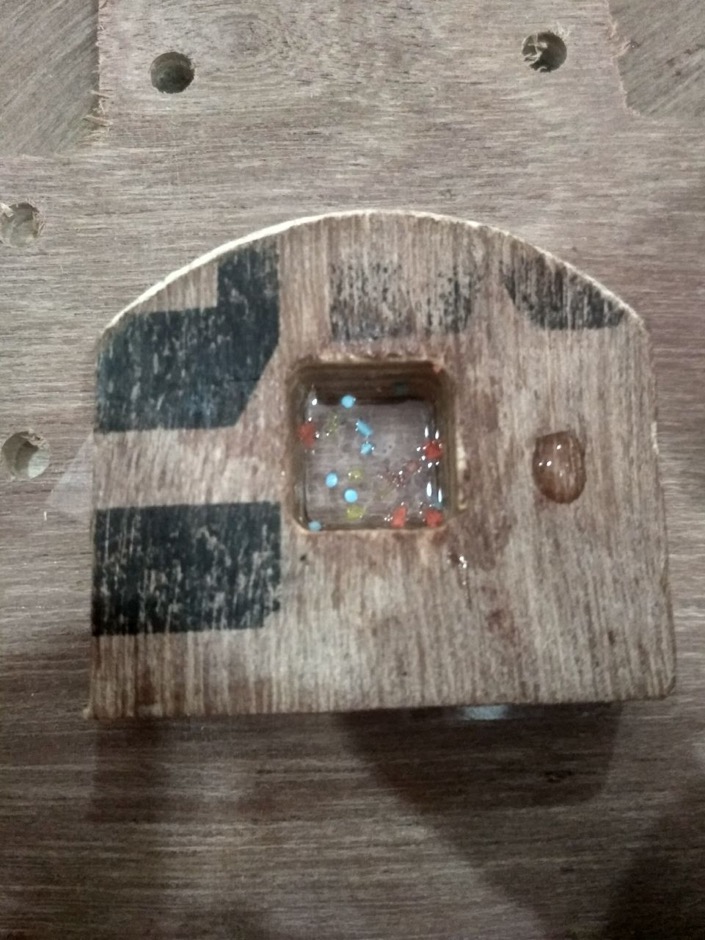
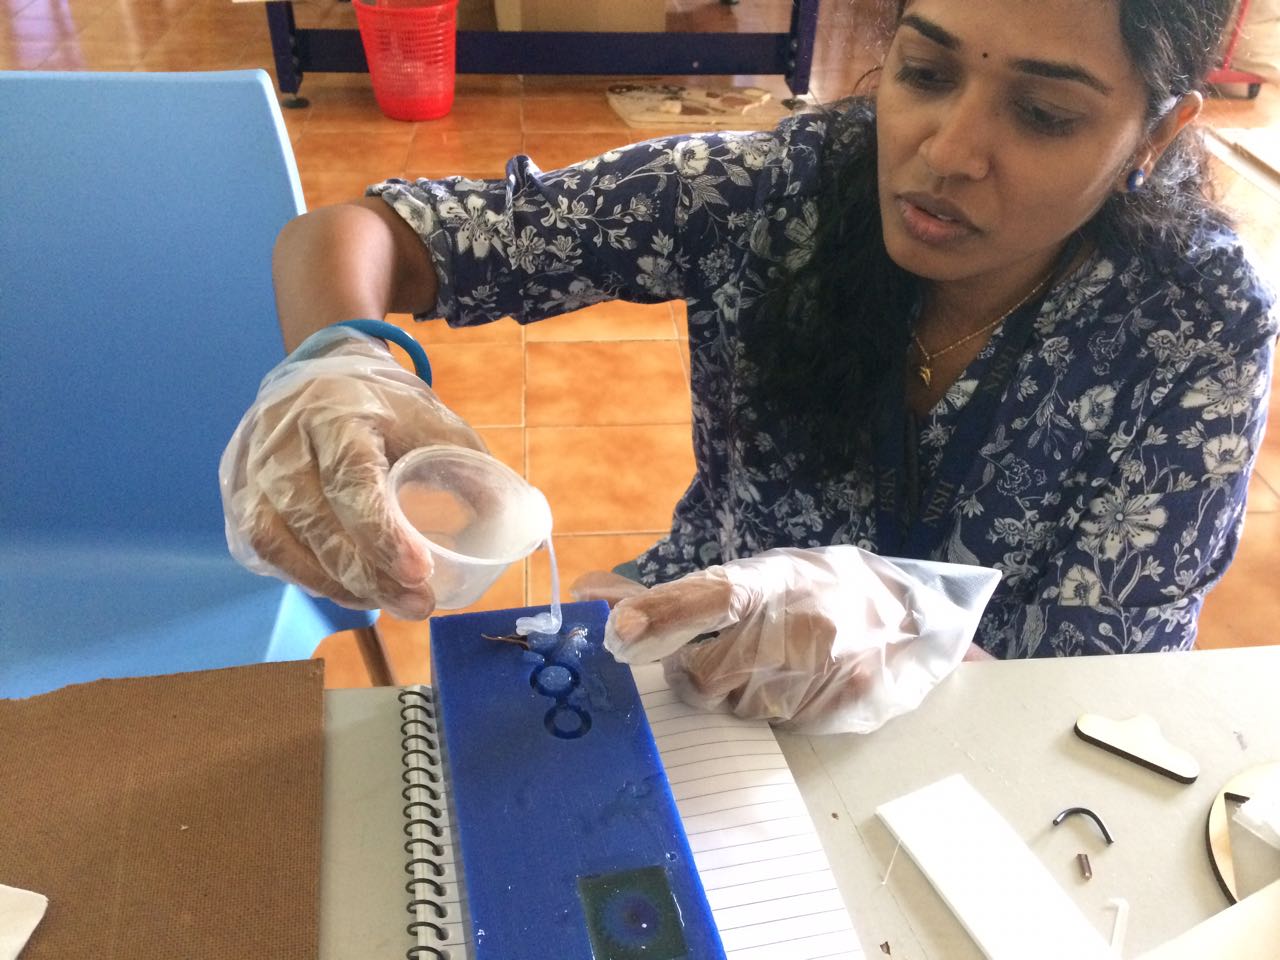
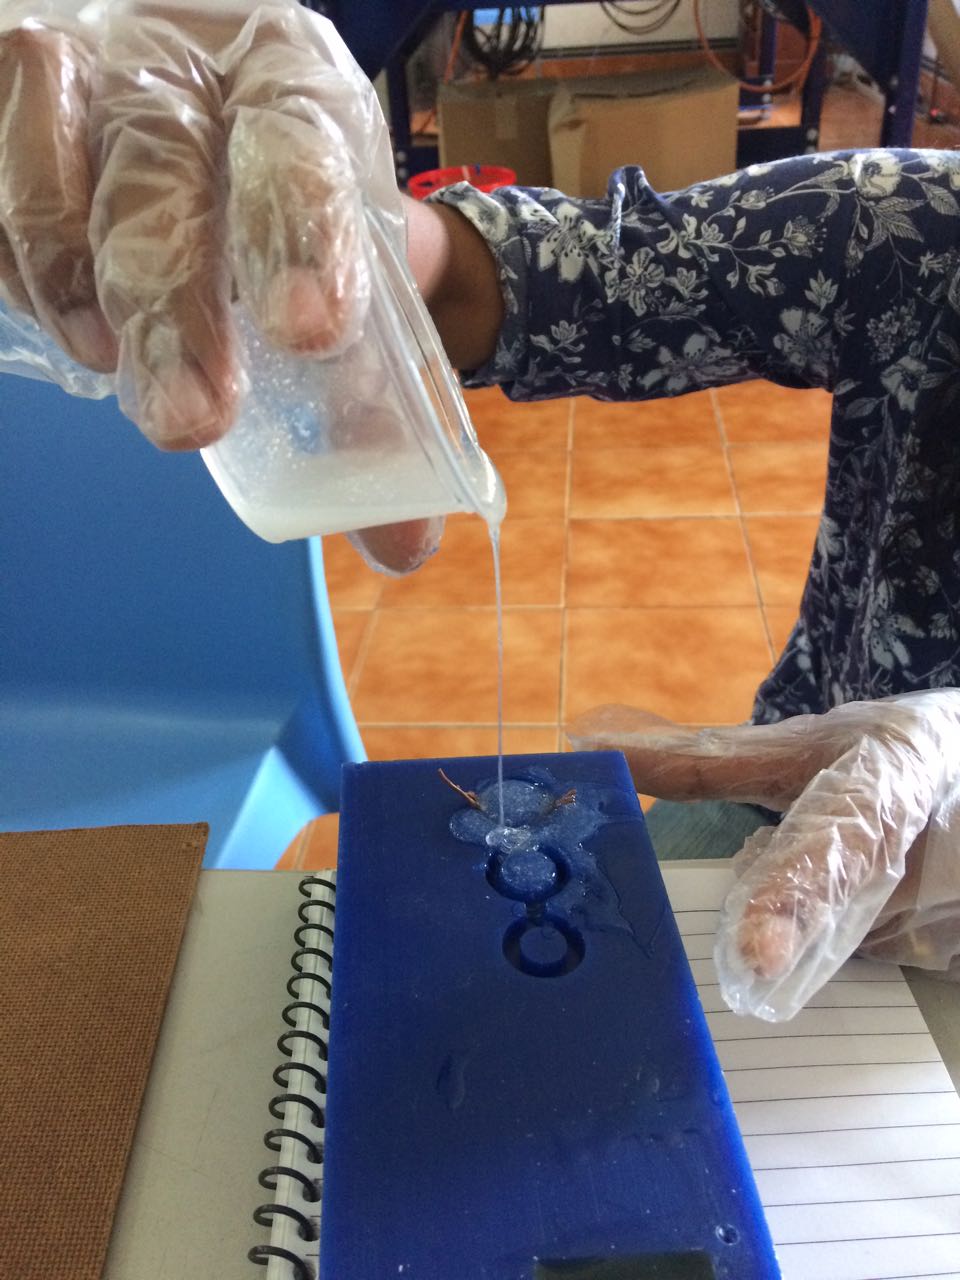
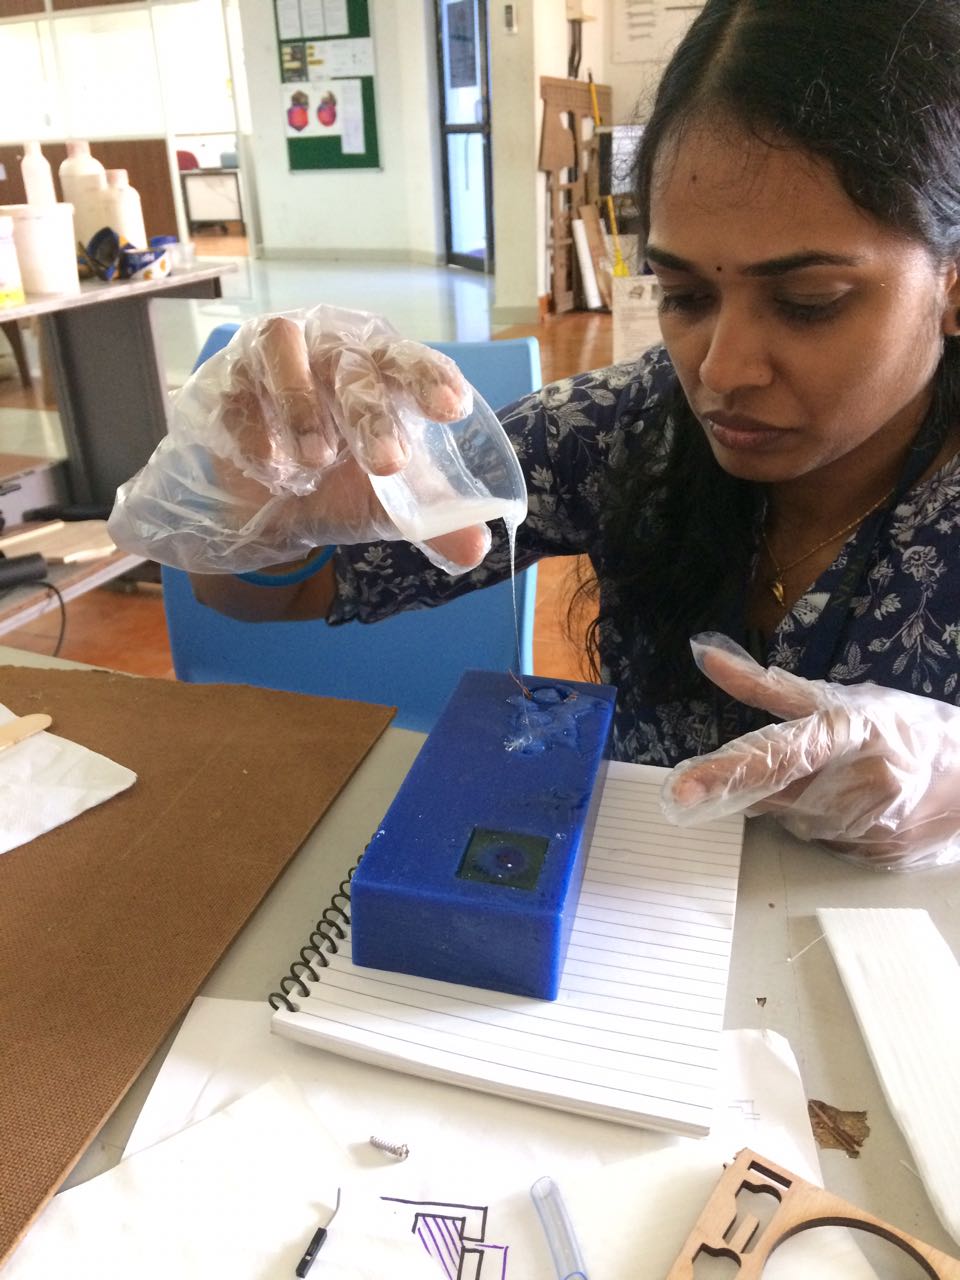
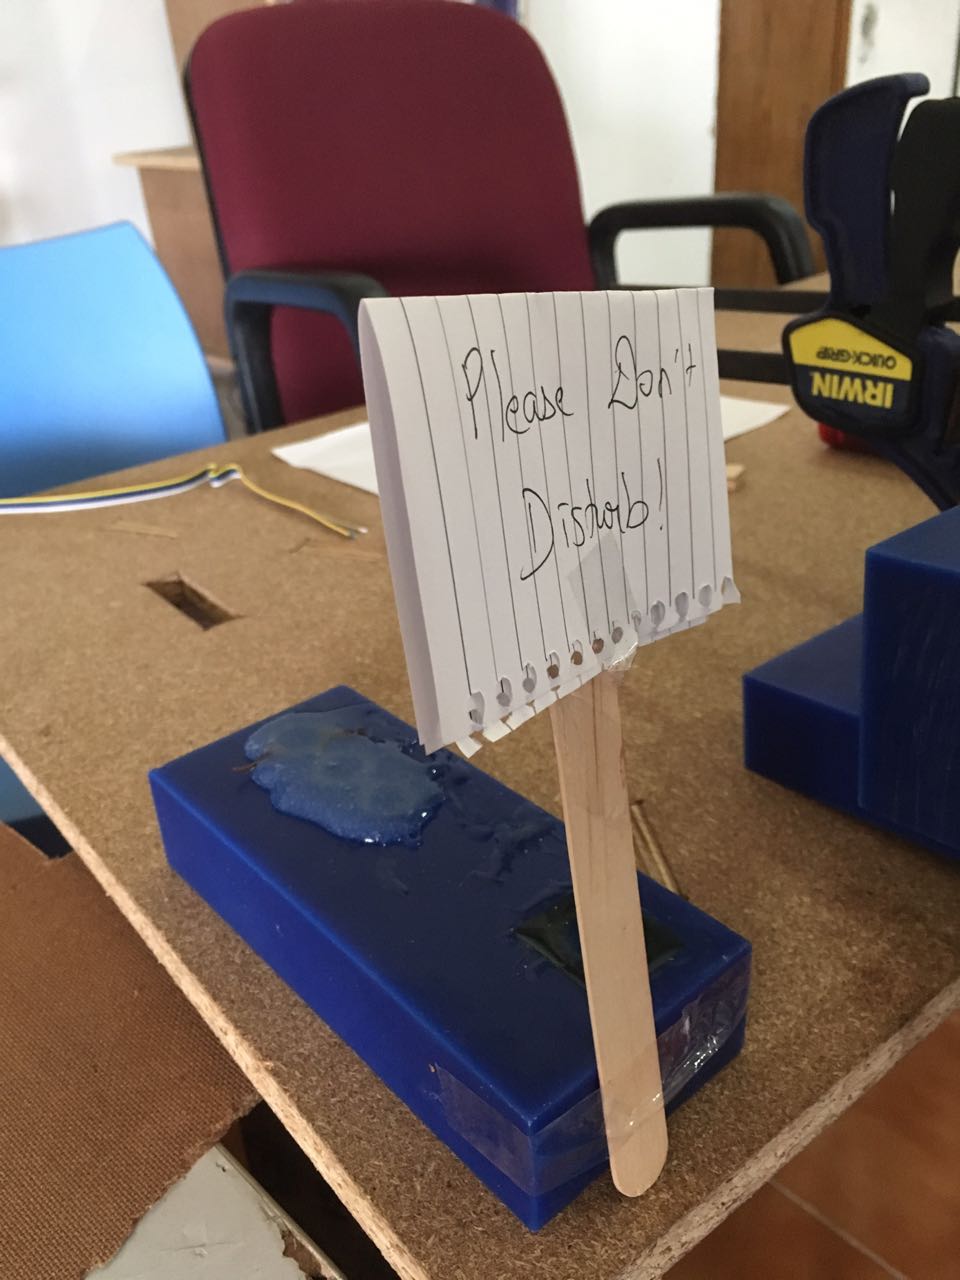
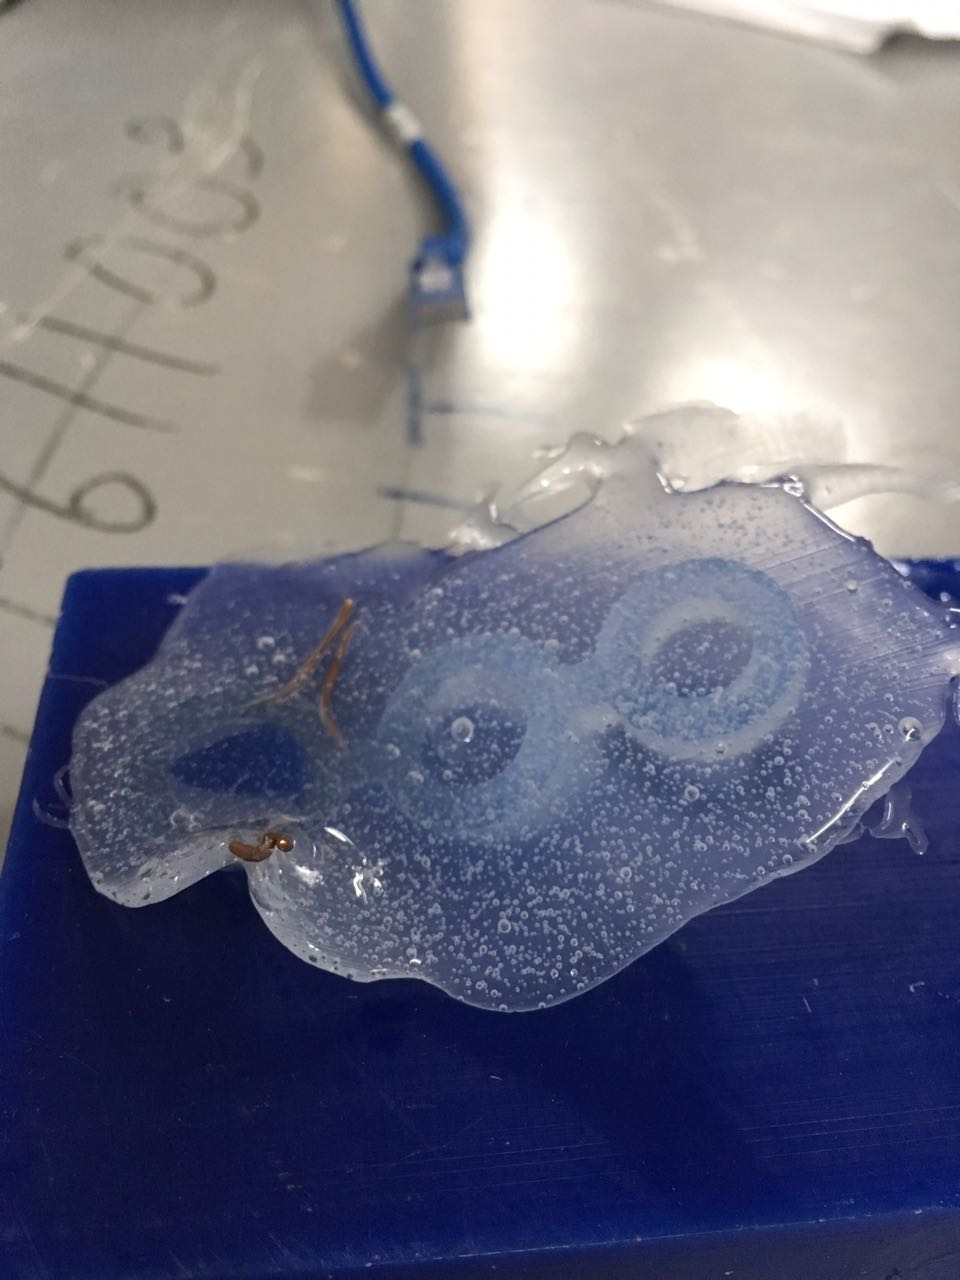
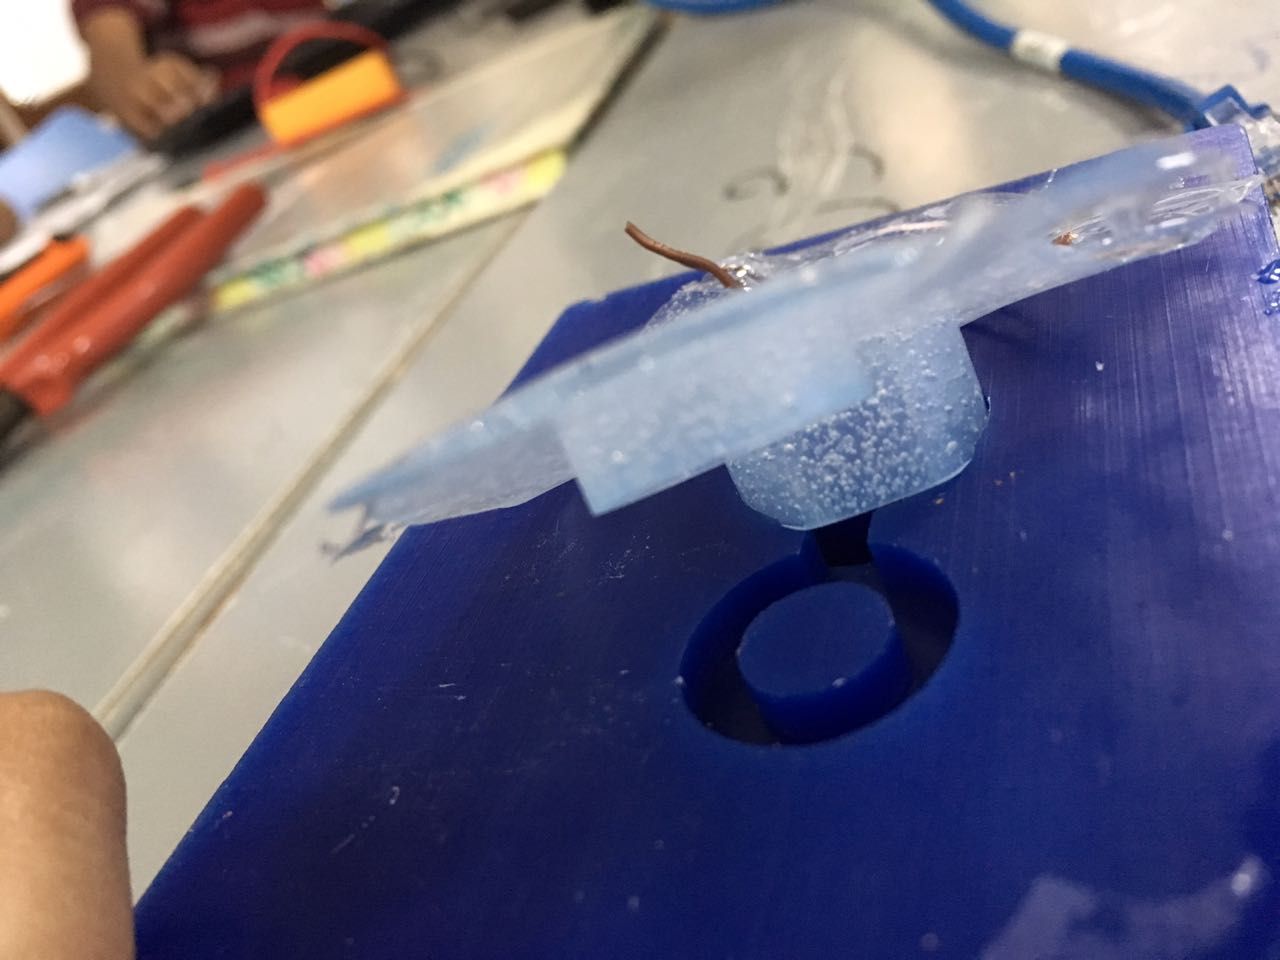
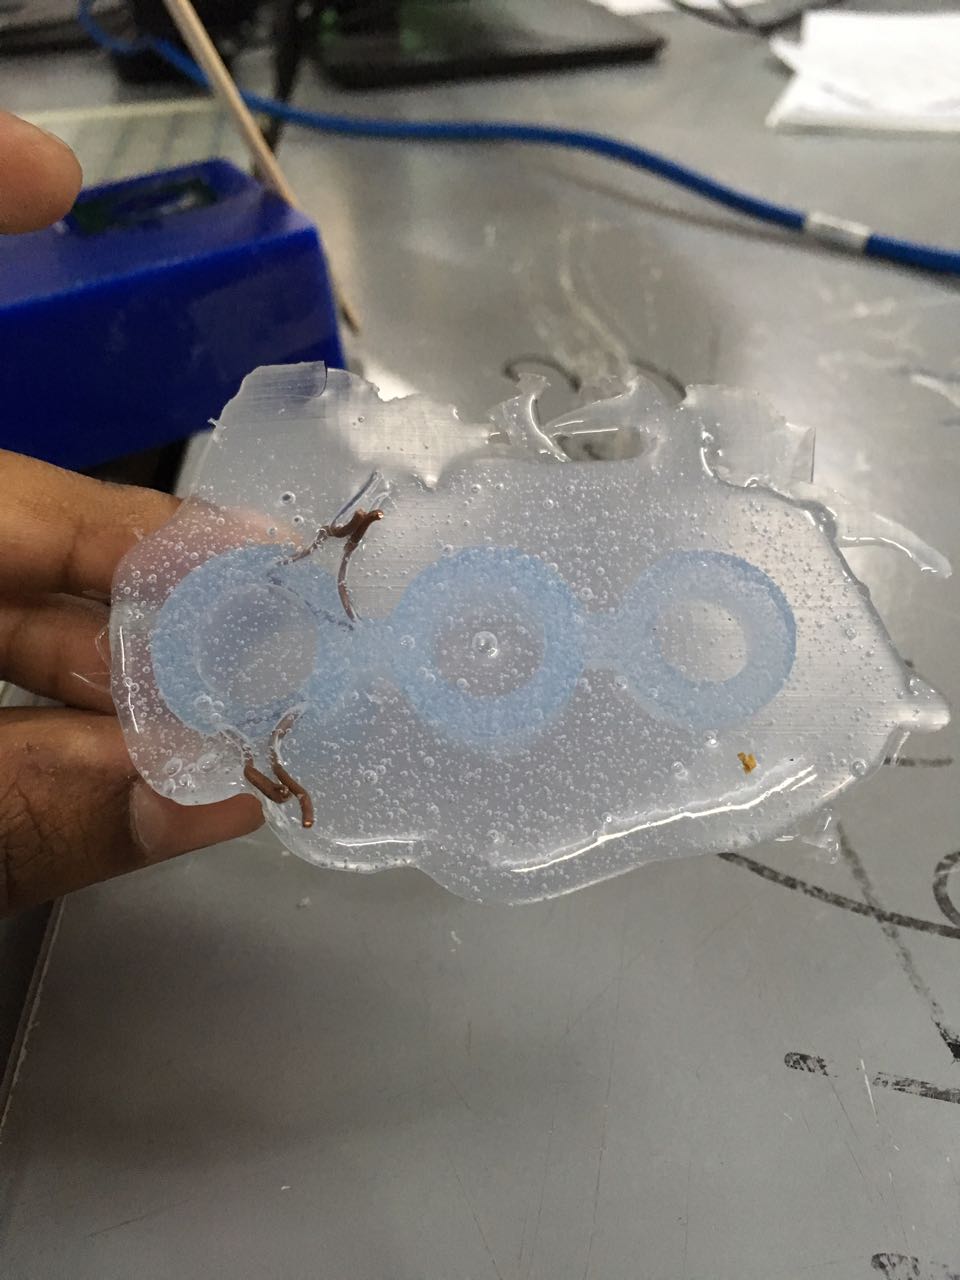
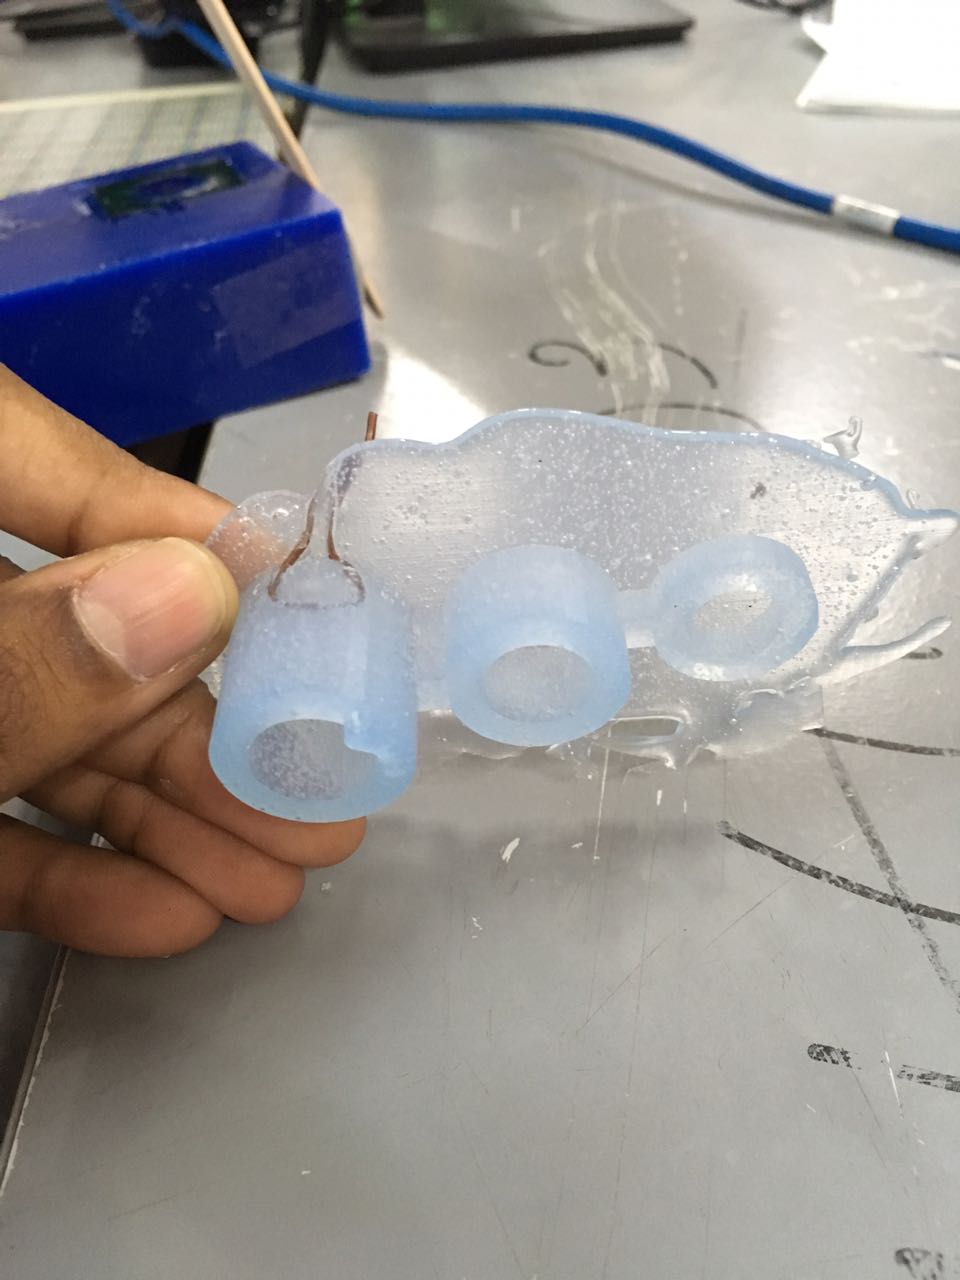
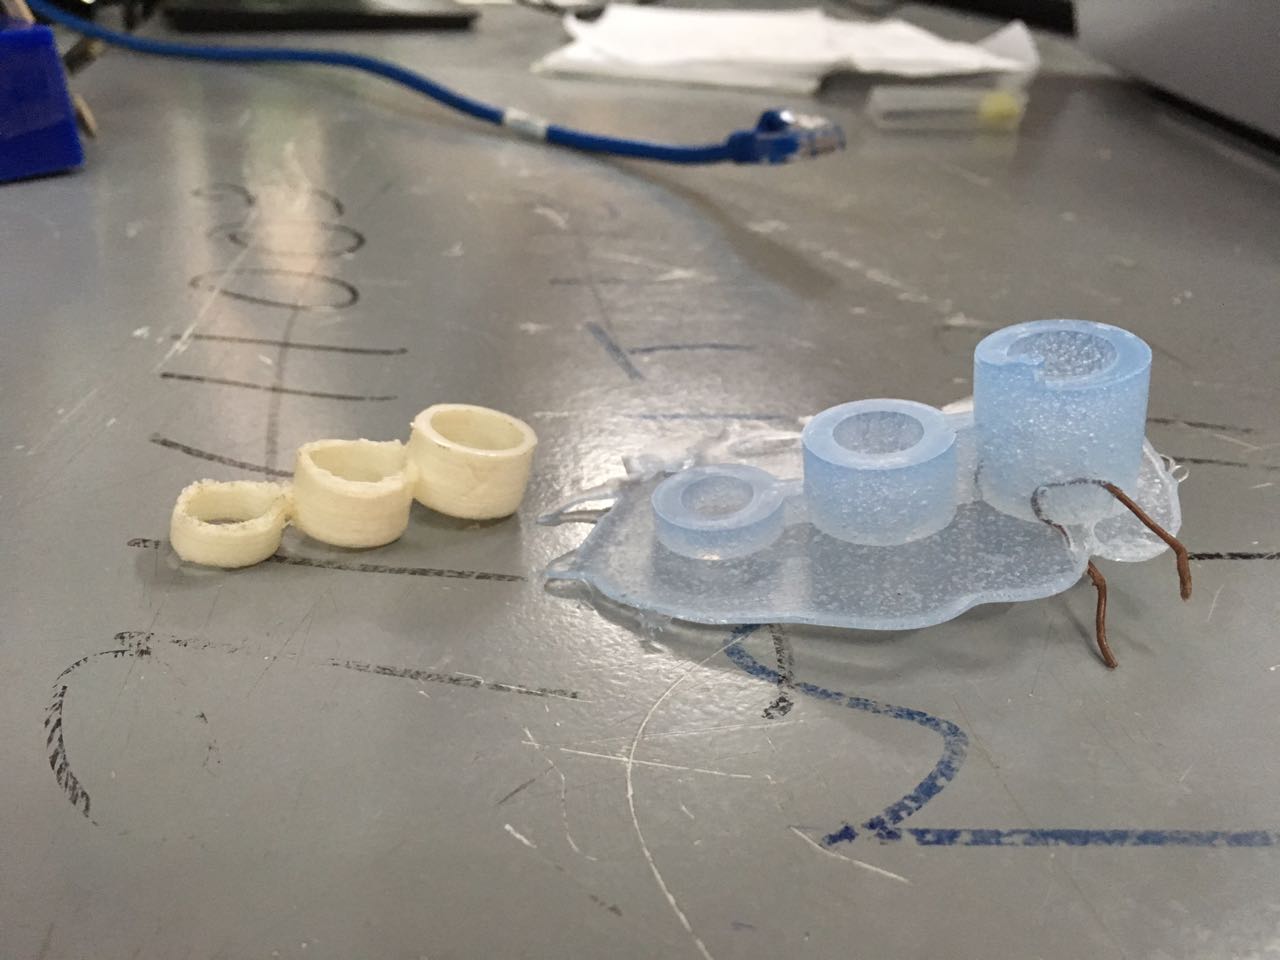
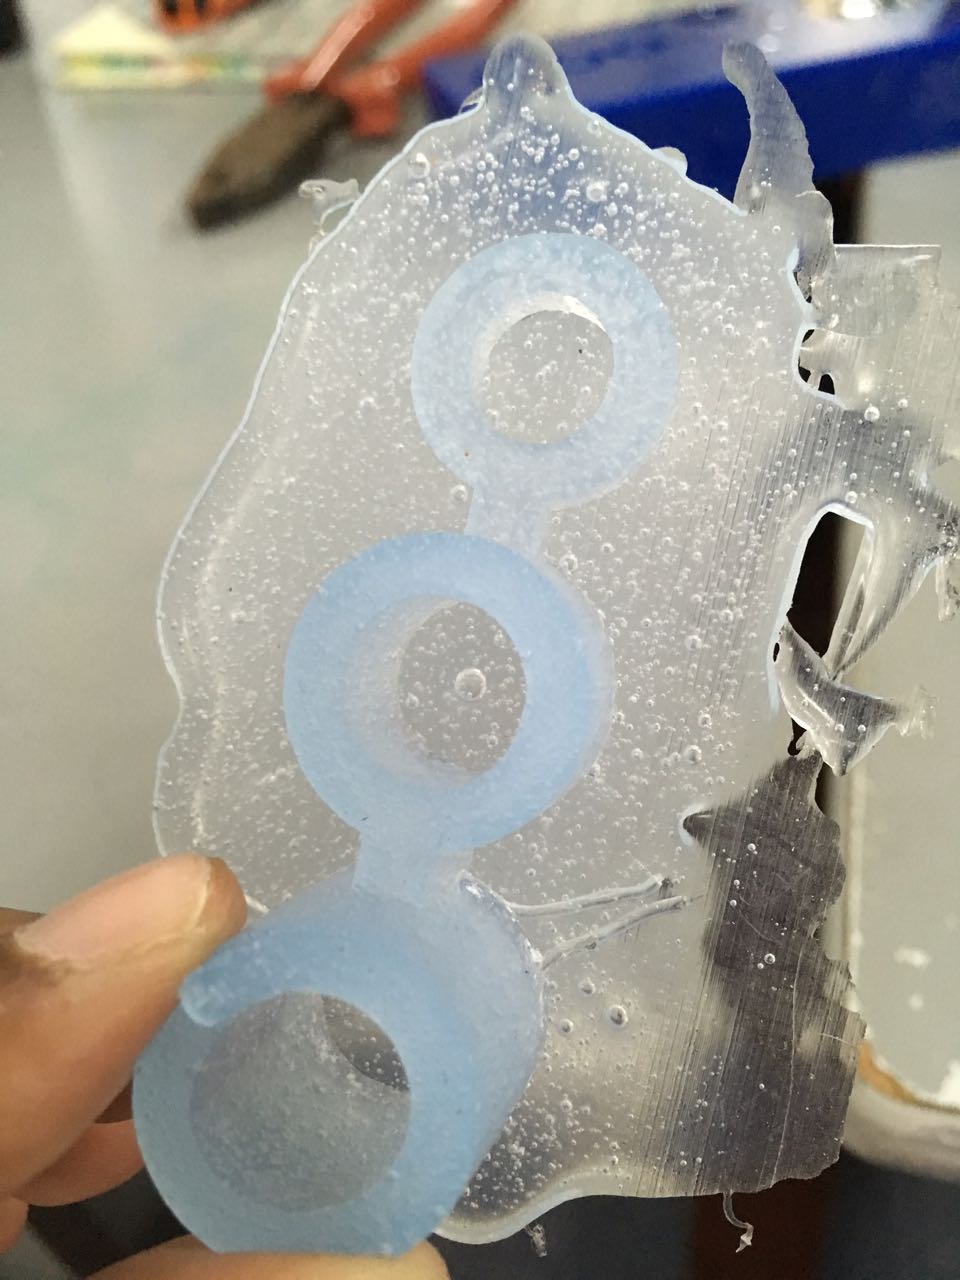
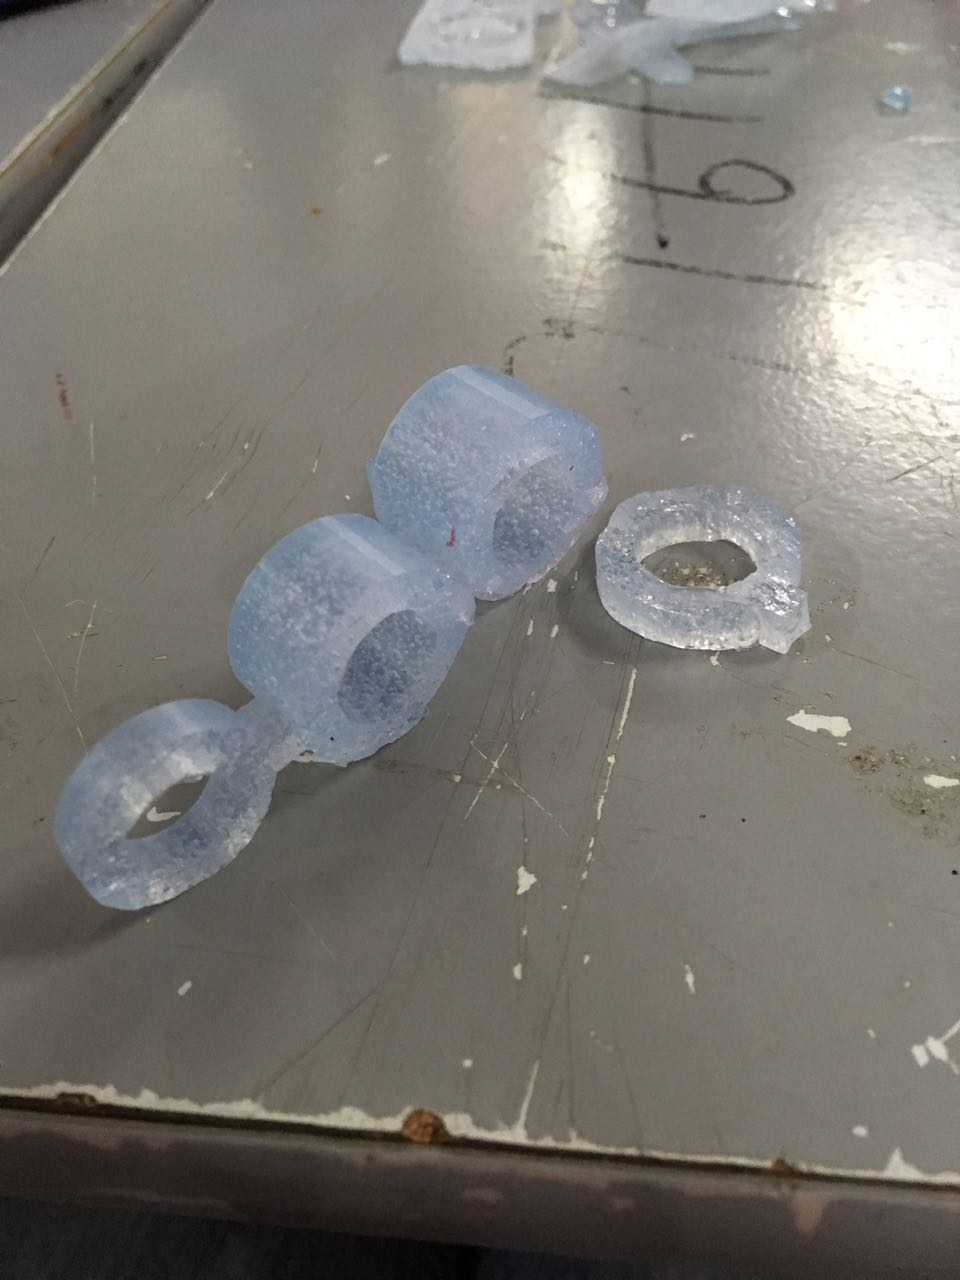
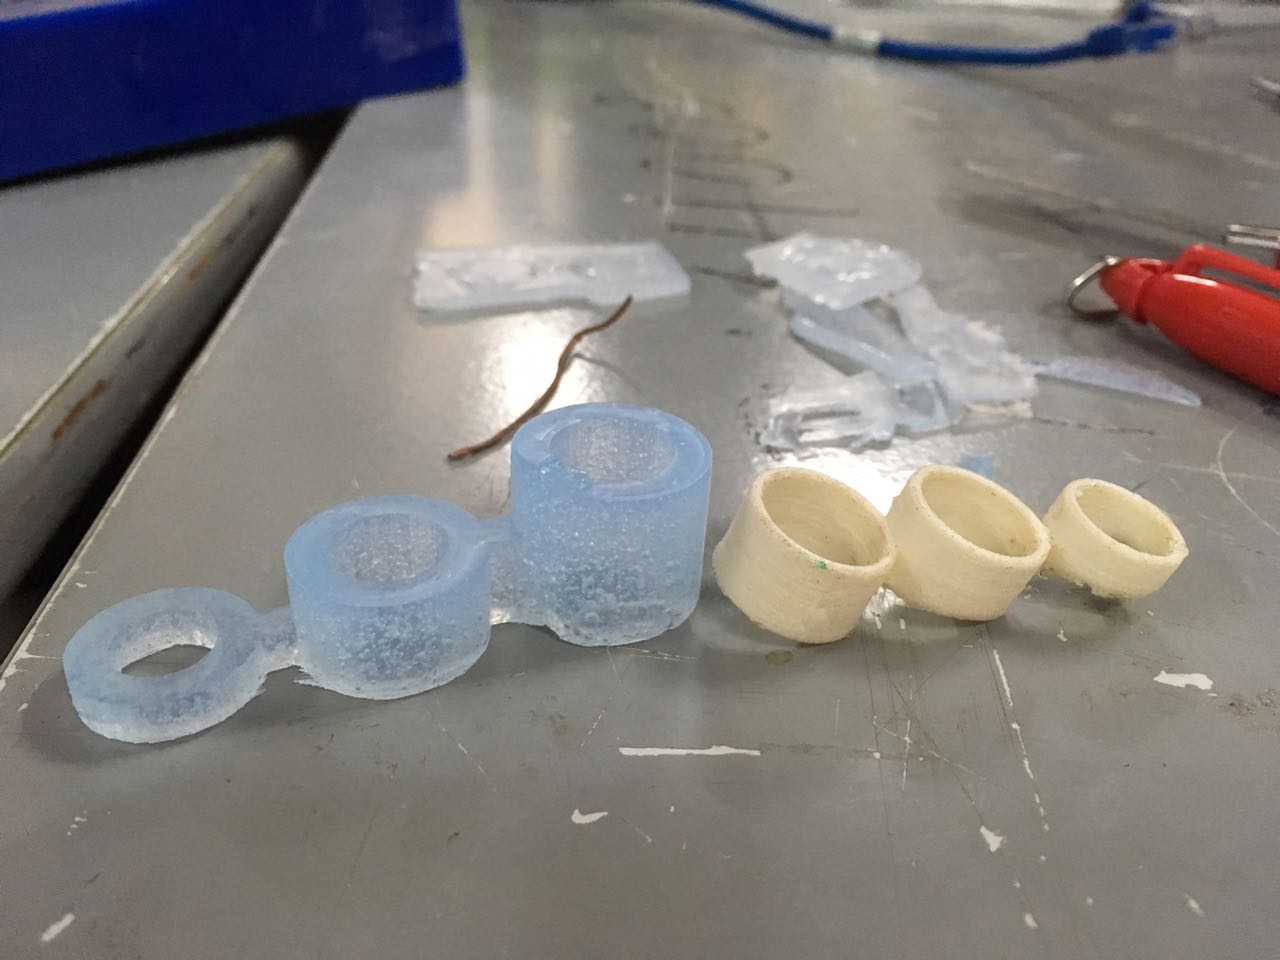
3. Casting
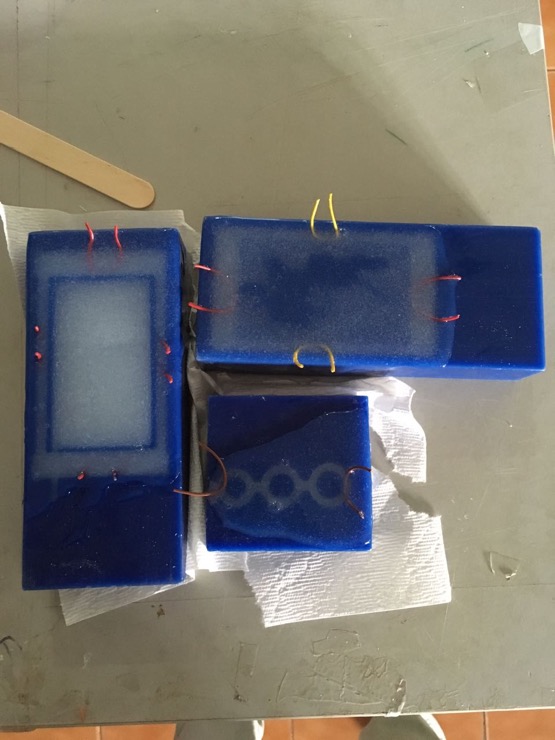
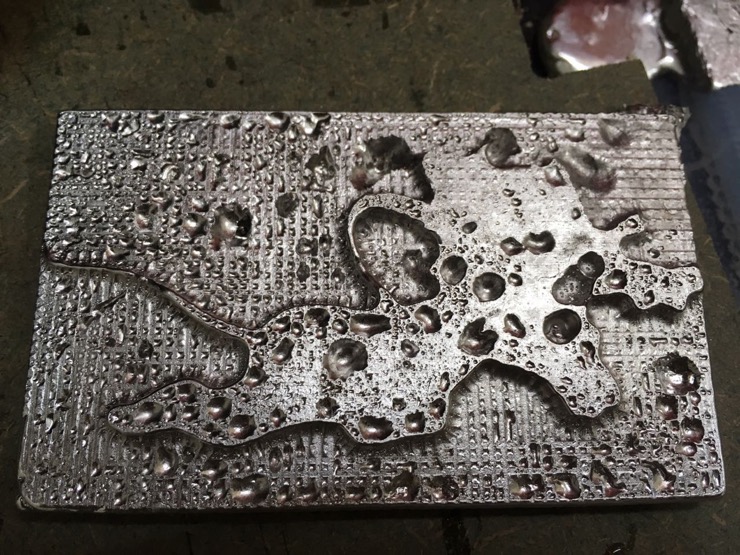
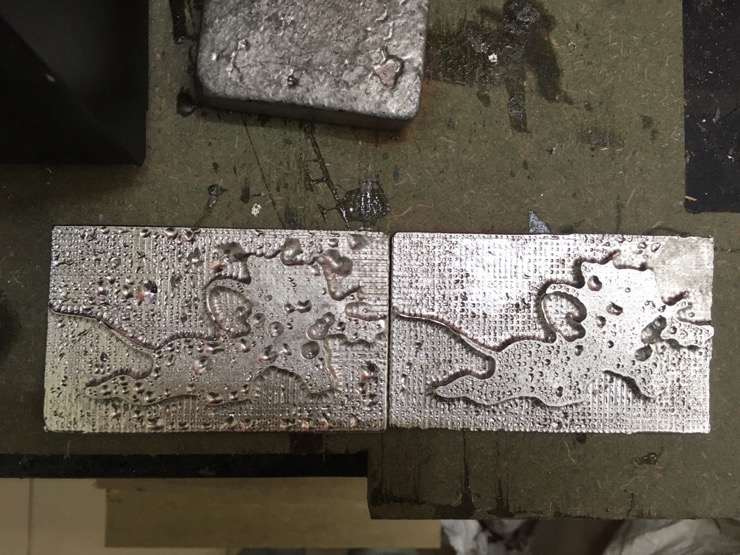
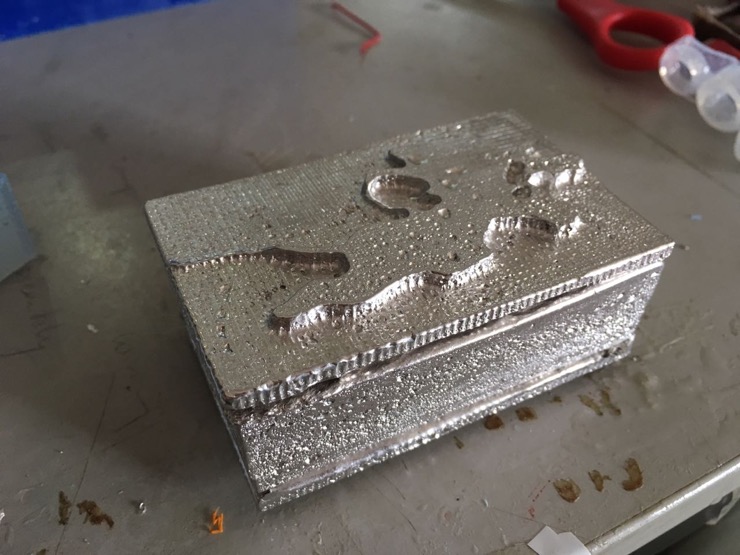
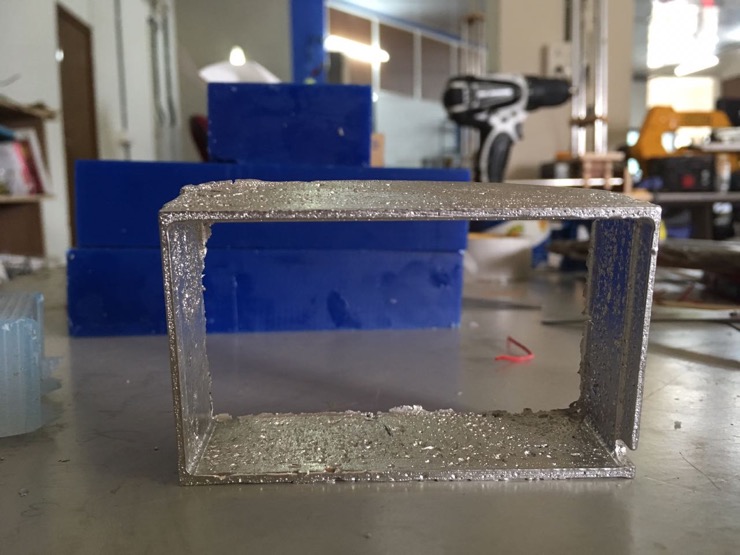
4. Metal casting - From positive mold in wax to negative mold in silicone to model in metal
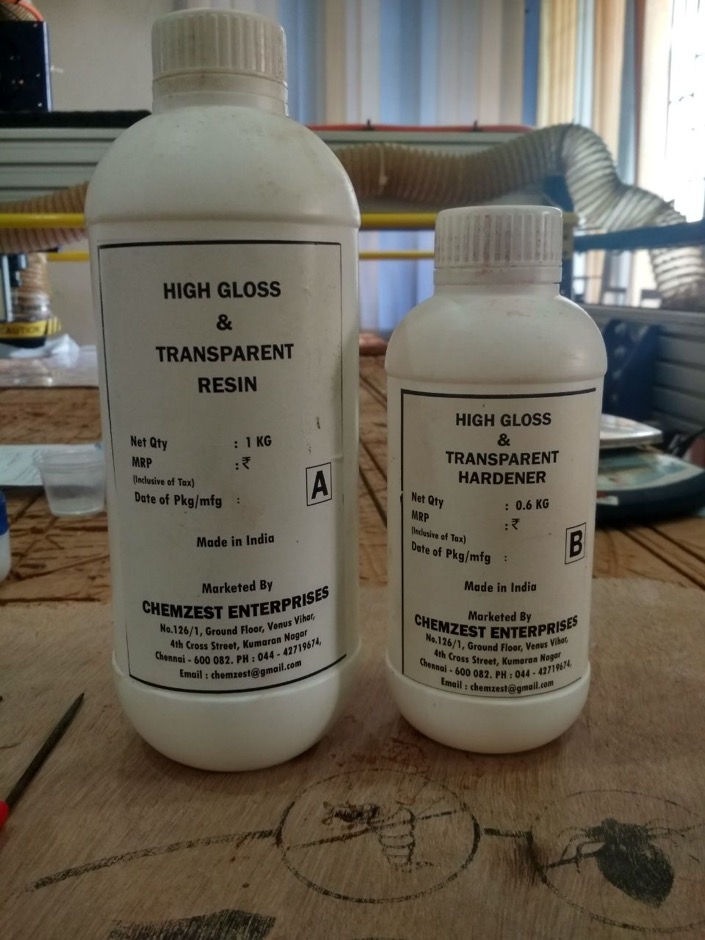
We read the datasheets for liquid silicone, liquid plastic and Moldmax-60 high heat-resistant liquid silicone rubber.

Download the design file (.f3d) here
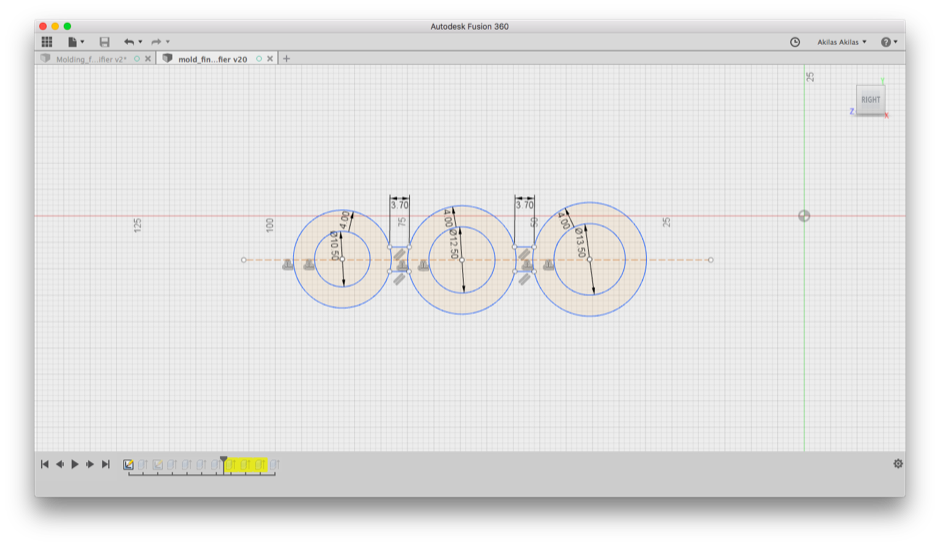
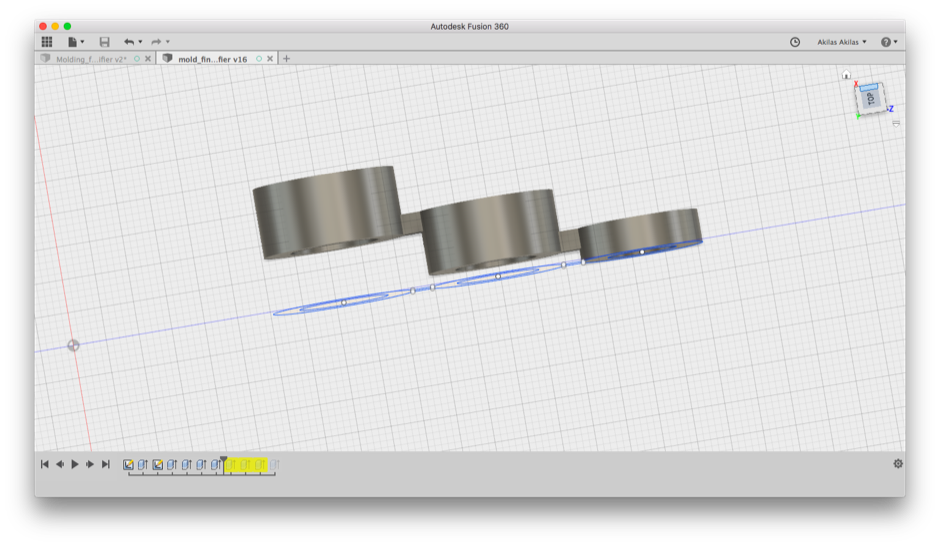
Download the design file (.f3d) here
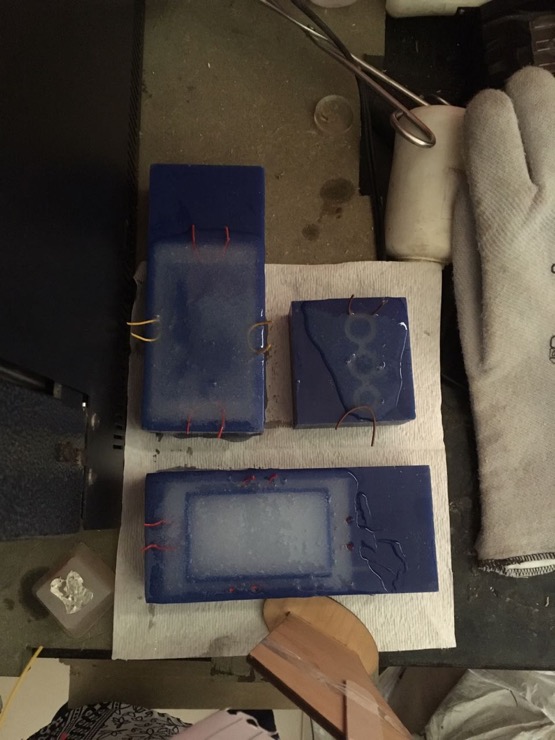
I had to repeat this assignment in the week of 17-23 June because I had earlier not fulfilled the requirements of following a 3-step process, starting from the positive mold in wax. I tried making a hollow box with lids to close the top and bottom. I assumed that the metal I was going to use would be magnetic and I could use magnet pieces to integrate the box. This was a fail. Bismuth is diamagnetic (repels magnets!). Anyways, I learnt the process and looking forward to trying more designs in the future.