Objectives
Group Assignment
Reading the Data Sheets for the Molding and Casting materials available in our FabLab.
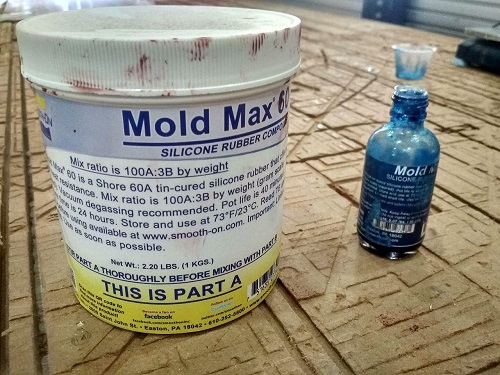
Mold Max 60
Mold Max 60 is a Shore 60A tin catalyzed silicone rubber formulated for applications requiring high heat resistance
(up to 560 degree Fahrenheat/294 degree Fahrenheat).
It features a low mixed viscosity and cured rubber exhibits very low linear shrinkage.
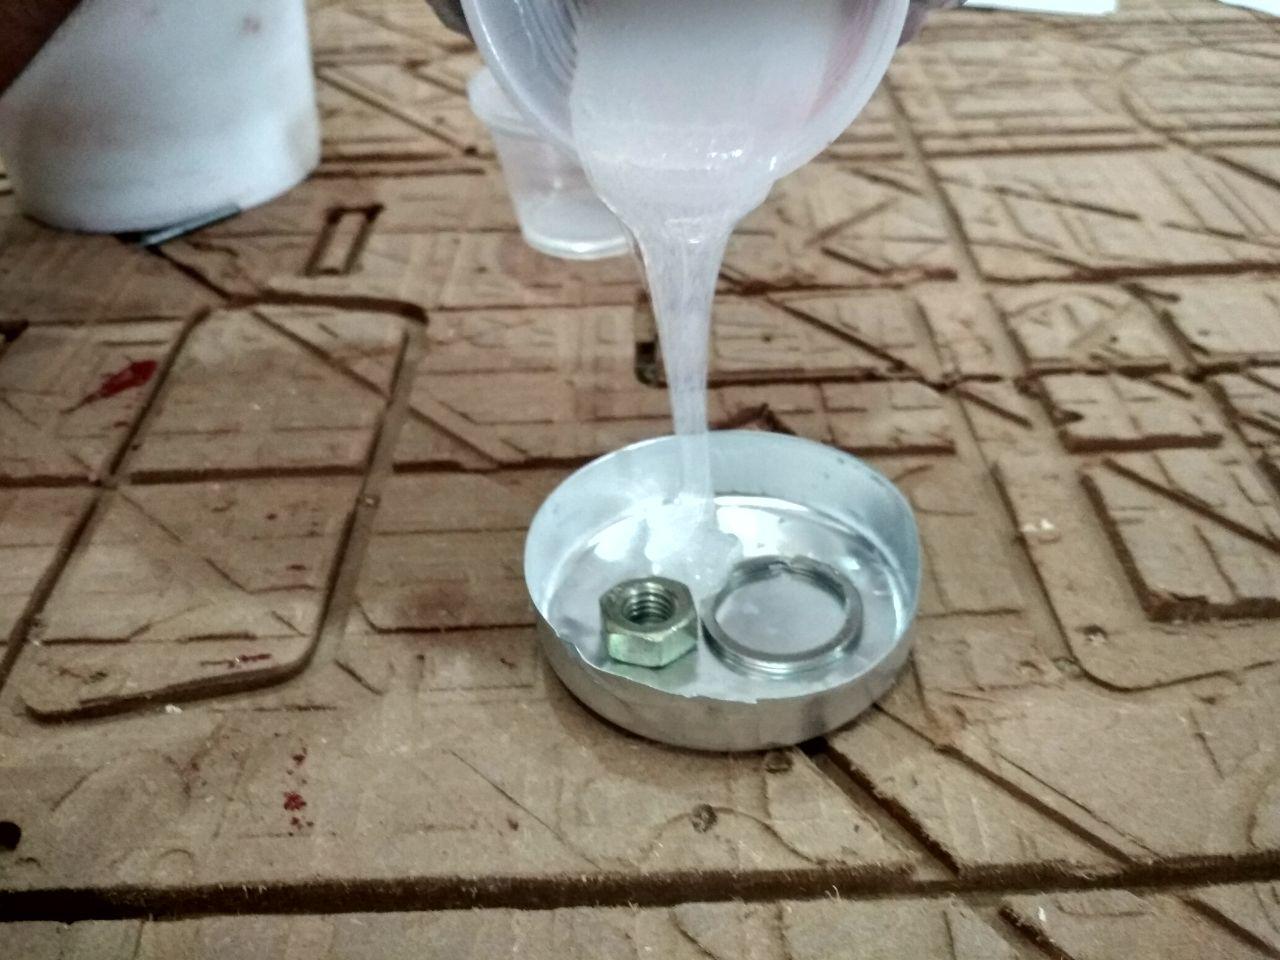
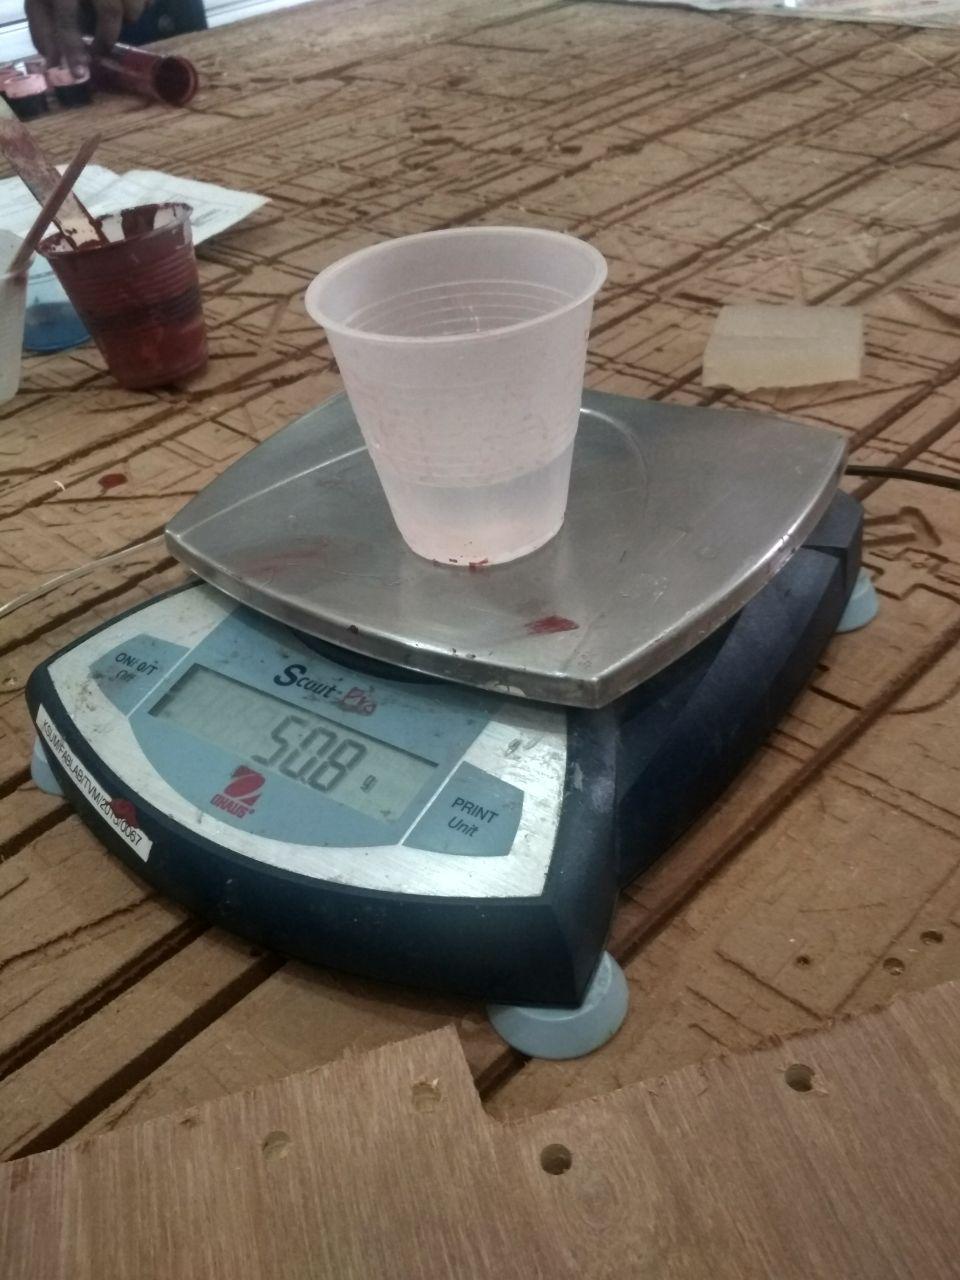
Parts A & B are mixed 100A & 3B by weight - for the test we took 43.5gram of A : 1.6gram of B
Pot life is 40 minutes and cure time is 24 hours. Applications include making foundry
patterns, flat pattern reproductions and casting low-melt metal alloys such as tin and pewter.
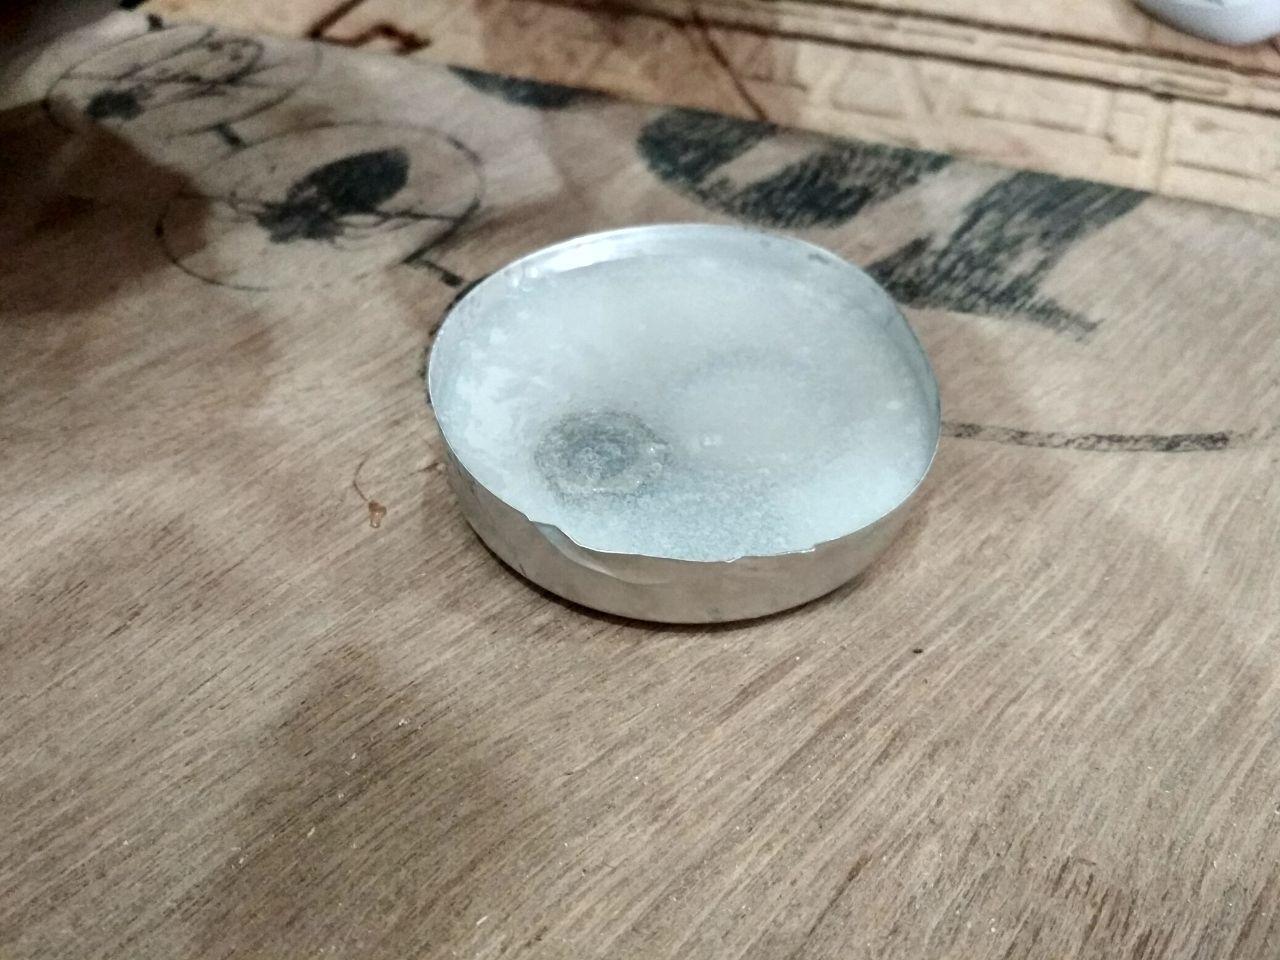
Testing on Mold Max 60

Liquid Silicone Rubber (LSR-1)
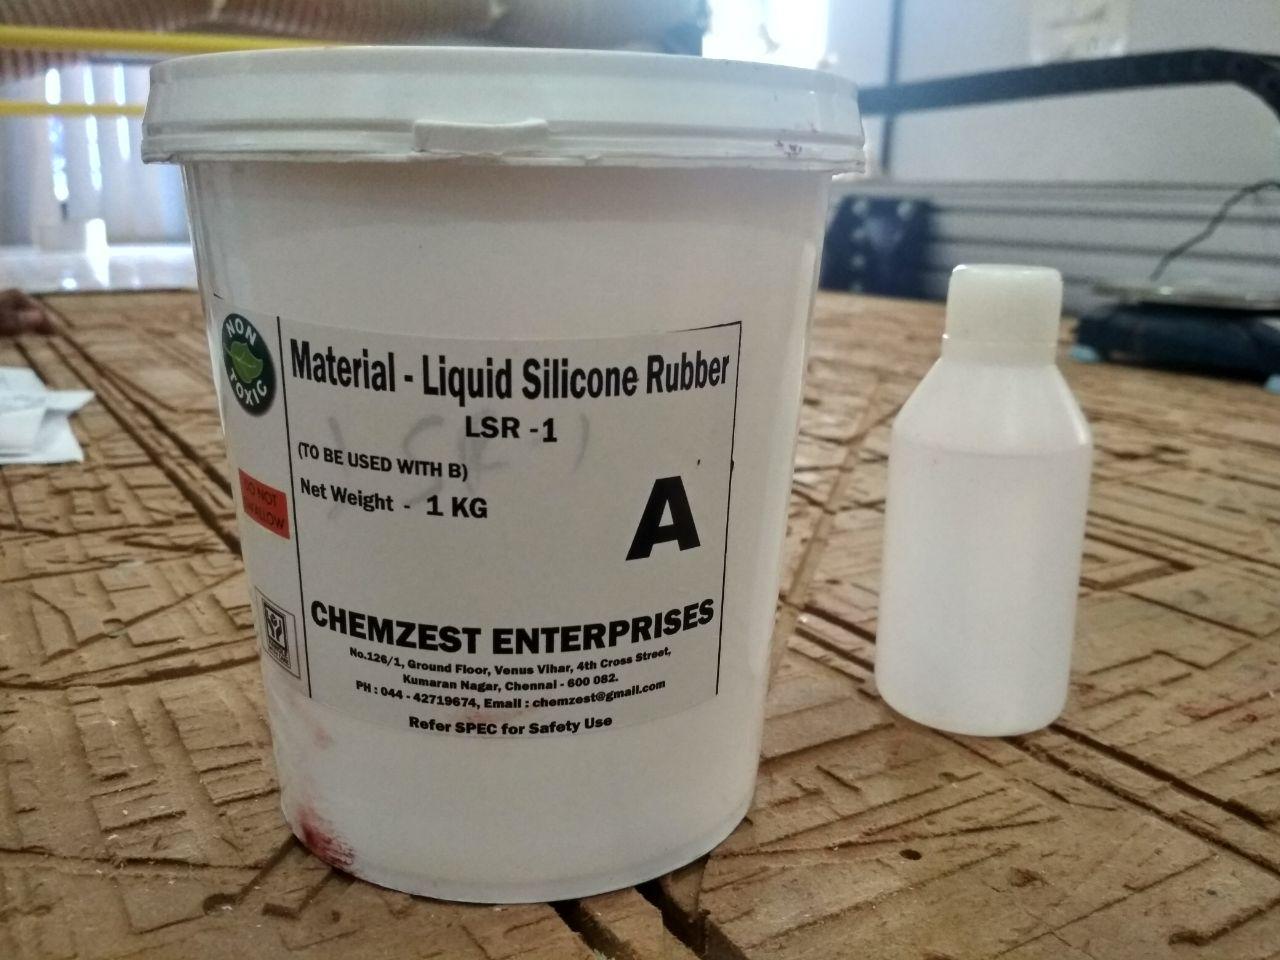
Liquid Silicone Rubber (LSR-1) is a two component, addition cure liquid silicone rubber designed for mold making.
LSR-1 cures at room temperature to a translucent high strength elastic rubber with the addition of curing agents.
Parts A & B are mixed 100A & 10B by weight
Color is Translucent
Pot Life is 120 minutes and Cure Time is 24 Hours
Testing
High Gloss & Transparent Epoxy Resin(HGTE-1)

It is two-part epoxy system with High Glossy , Transparent, low viscosity and UV stable liquid epoxy resin for casting,
coatings, and adhesive applications. It is a range of high-performance user-friendly epoxy resins.
Parts A & B are mixed 100A : 60B by weight
Colourless
Pot Life is 20 minutes and Cure Time is 3 Hours
Tested Results
Designing for the mold
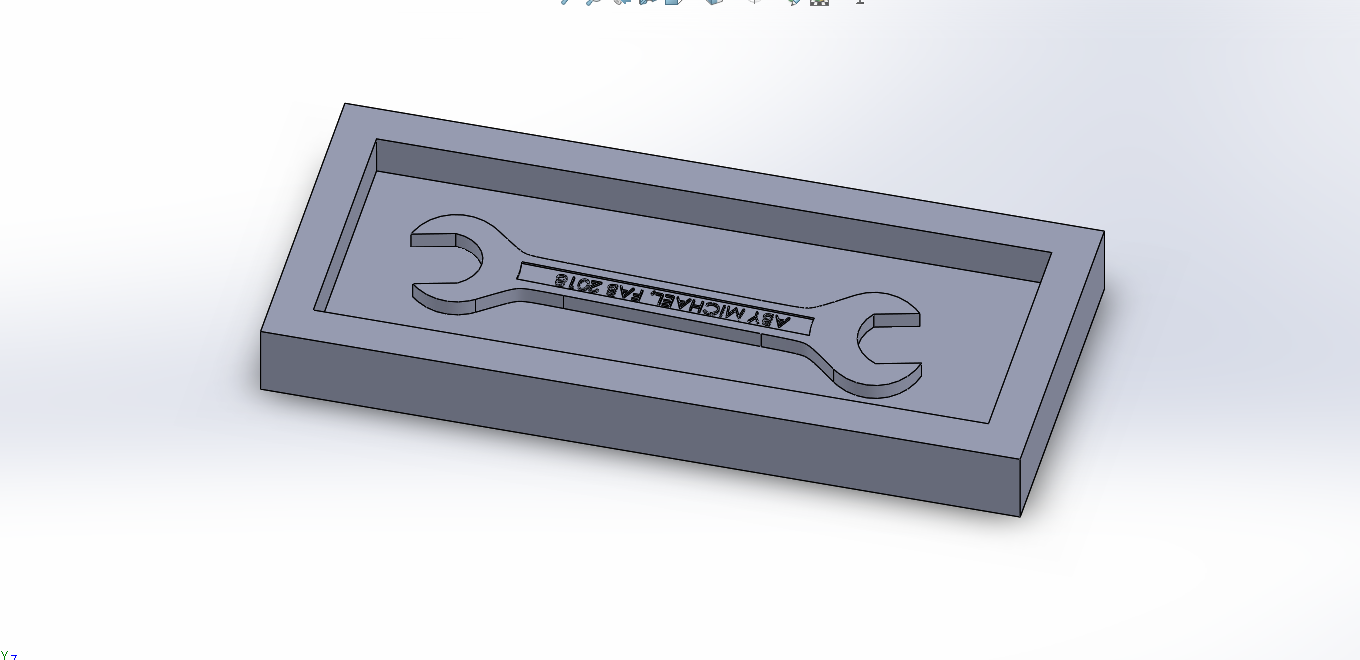
I designed an open-ended spanner(wrench) in SolidWorks
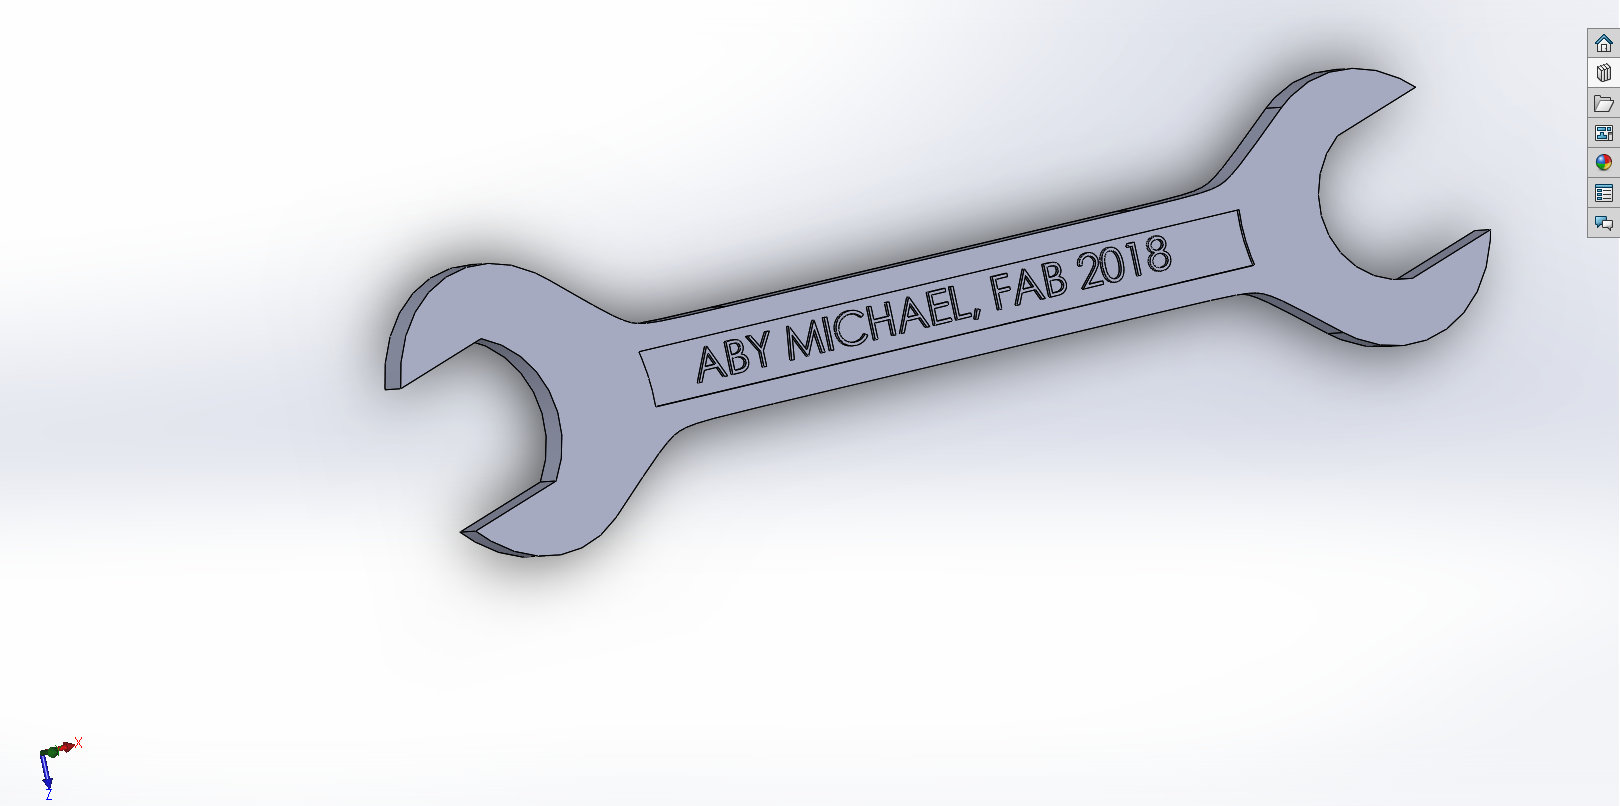
13mm and 17mm Open Ended Spanner
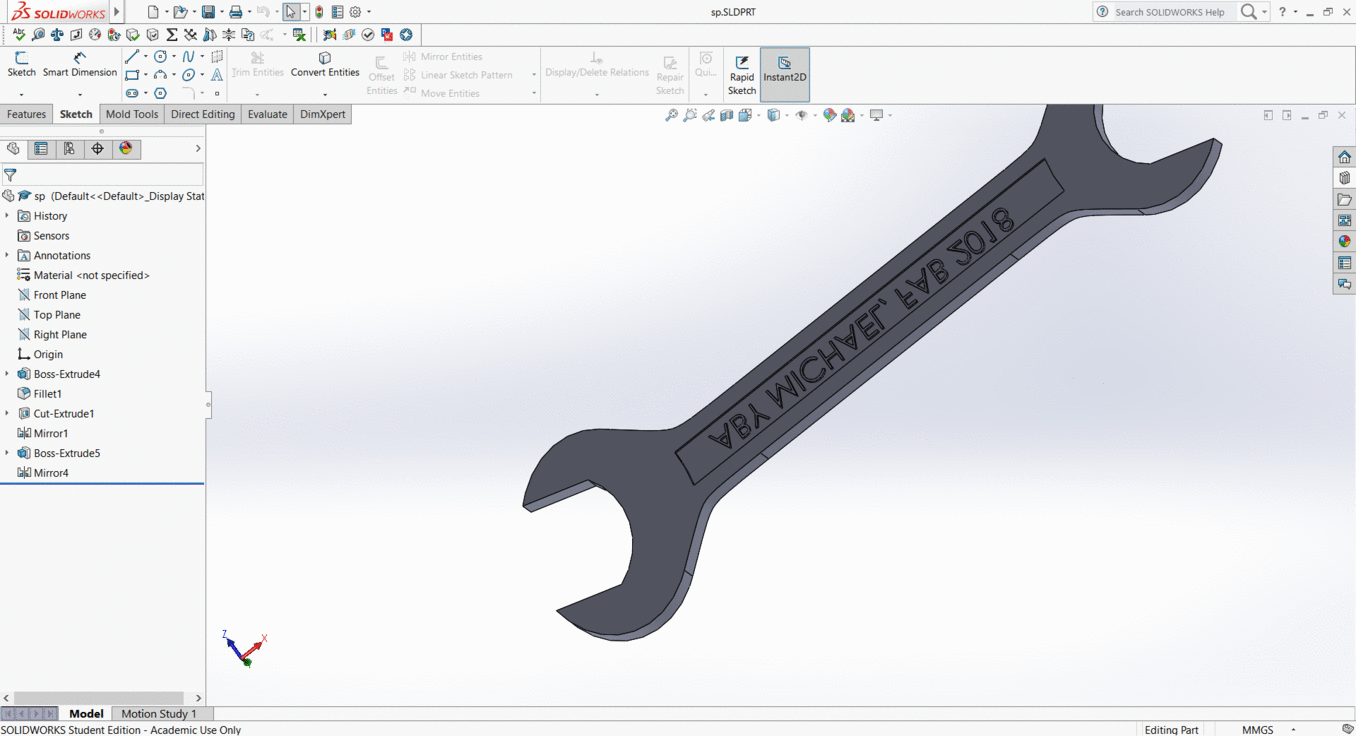
Positive mold for milling in wax
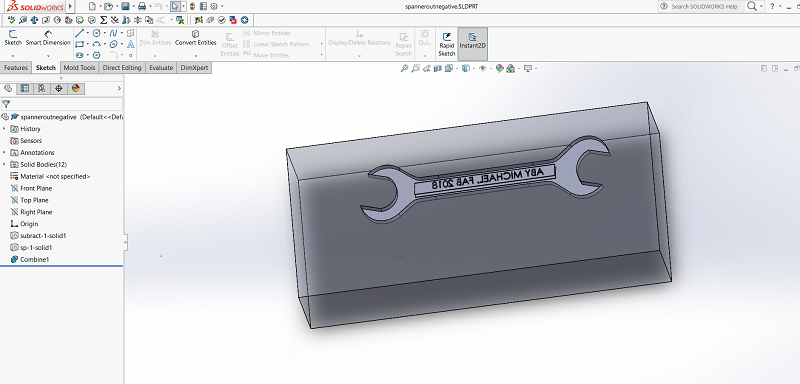
Milling the negative mold in Wax
I used the Roland Modela Milling Machine in our fablab to machine the wax.
I used both 1/16 inch and 1/8 inch tool bits.First 1/16 tool was used for machining the negative mold and 1/8 tool for machining the inner taper surface for negative mold of spanner.
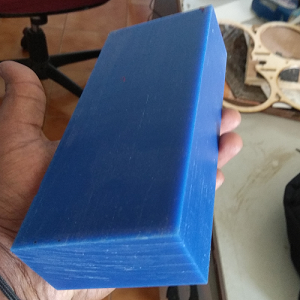
The Machinable Wax box
Fab Mod settings
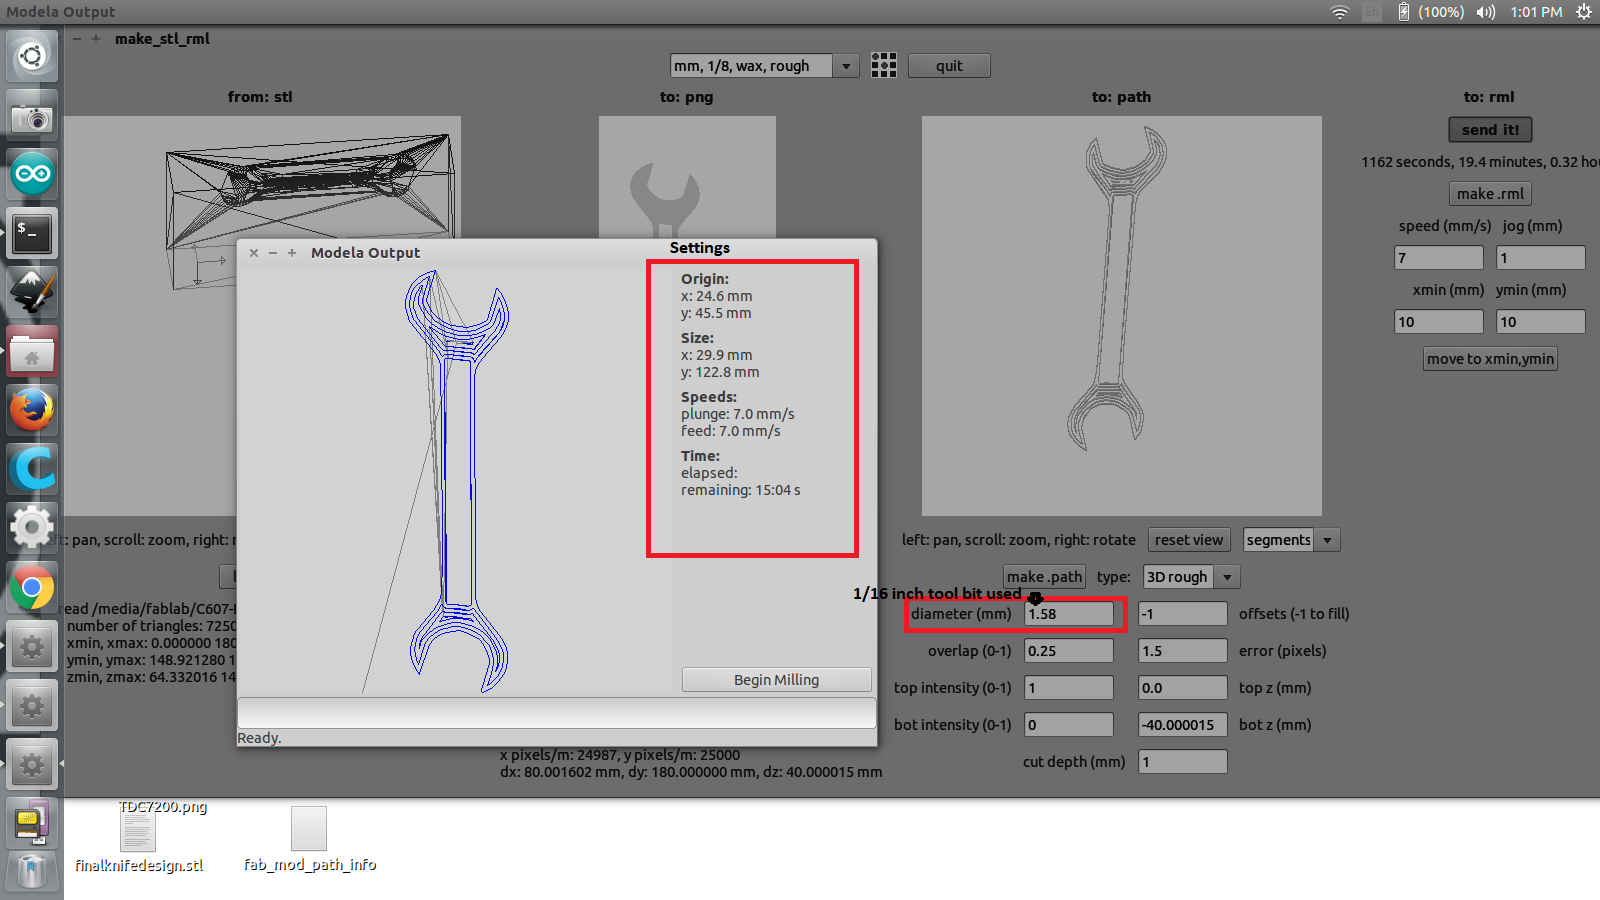
After setting the bed and sticking the machining wax box on the milling bed, I first took out the 1/16 inch (1.58mm) tool bit and fixed the origins.
Machined the mold in wax, it was a rough and fast milling.
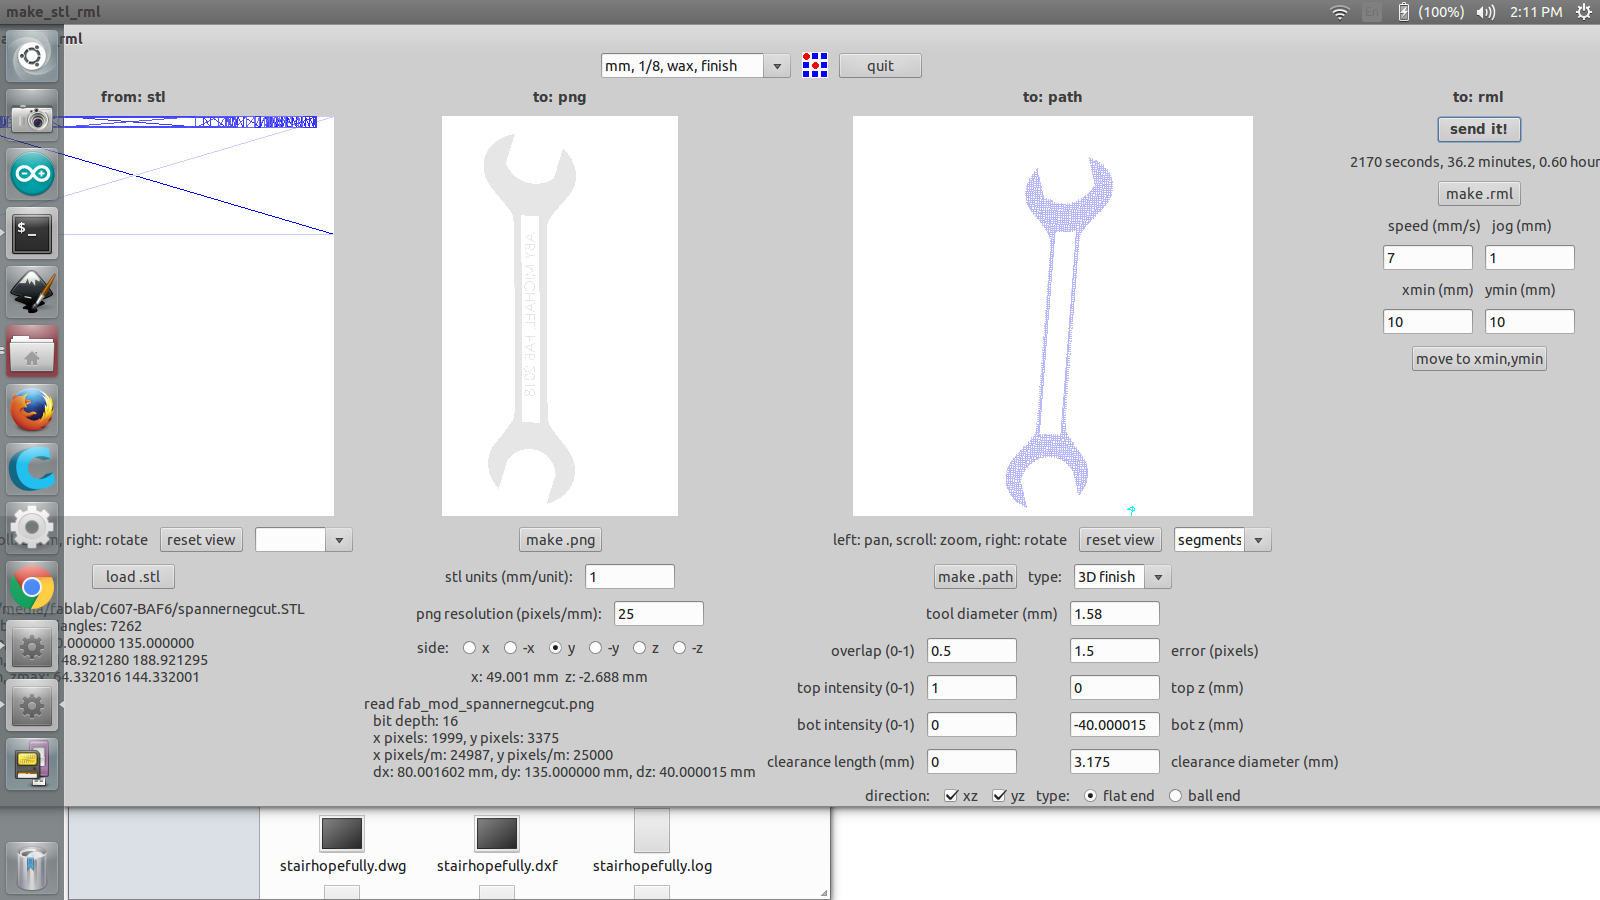
Then I changed the settings and made the finishing cut.
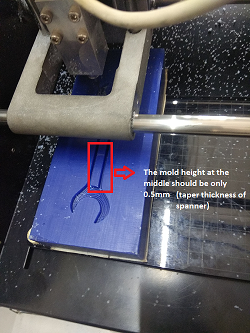
As the Fabmod couldnt recognise the taper in the middle of the spanner,now i have to mill again to make the correct taper or else i would get a hole in the middle of the spanner while casting.
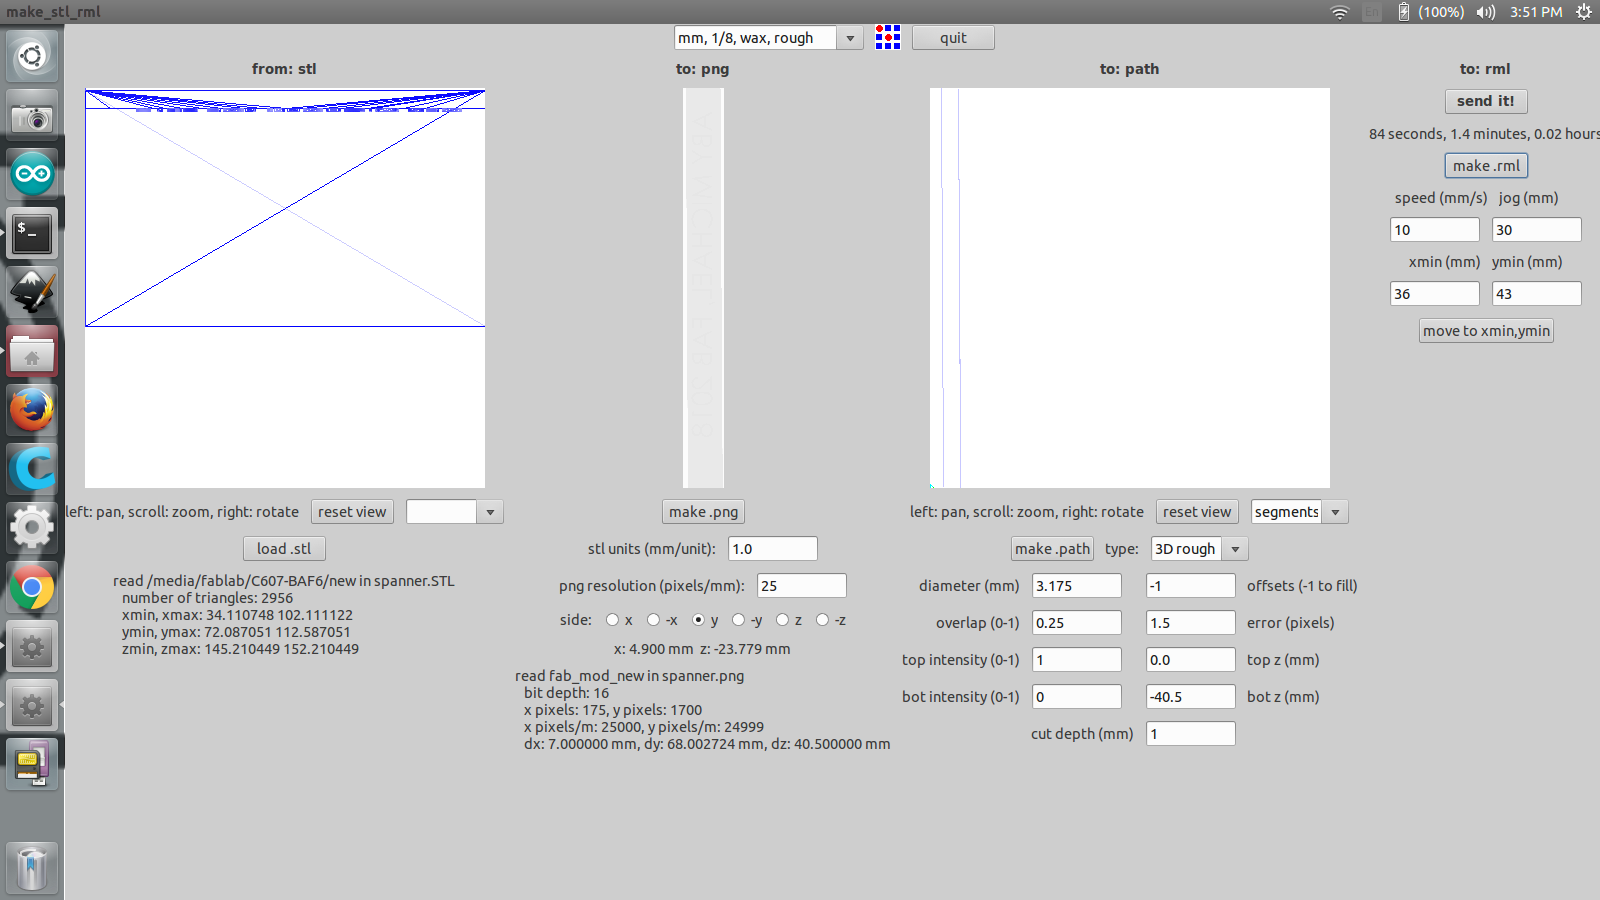
Now without changing the wax position, i opened the nagative mold of the inner taper in the Fabmod. This time i took the 3.175mm(1/8 inch) bit and made the cut.
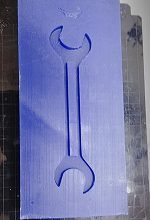
The Wax Mold after milling
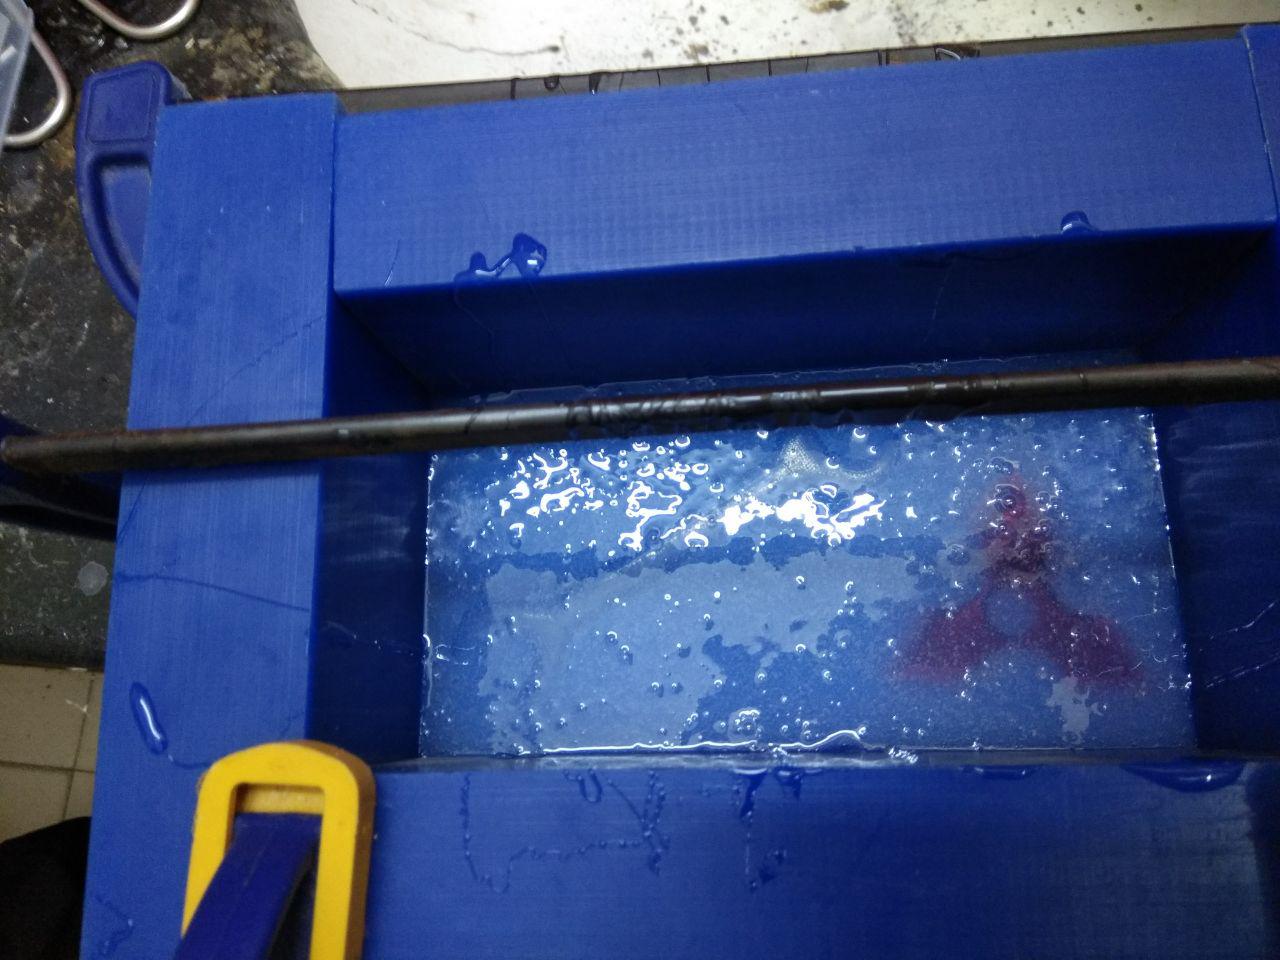
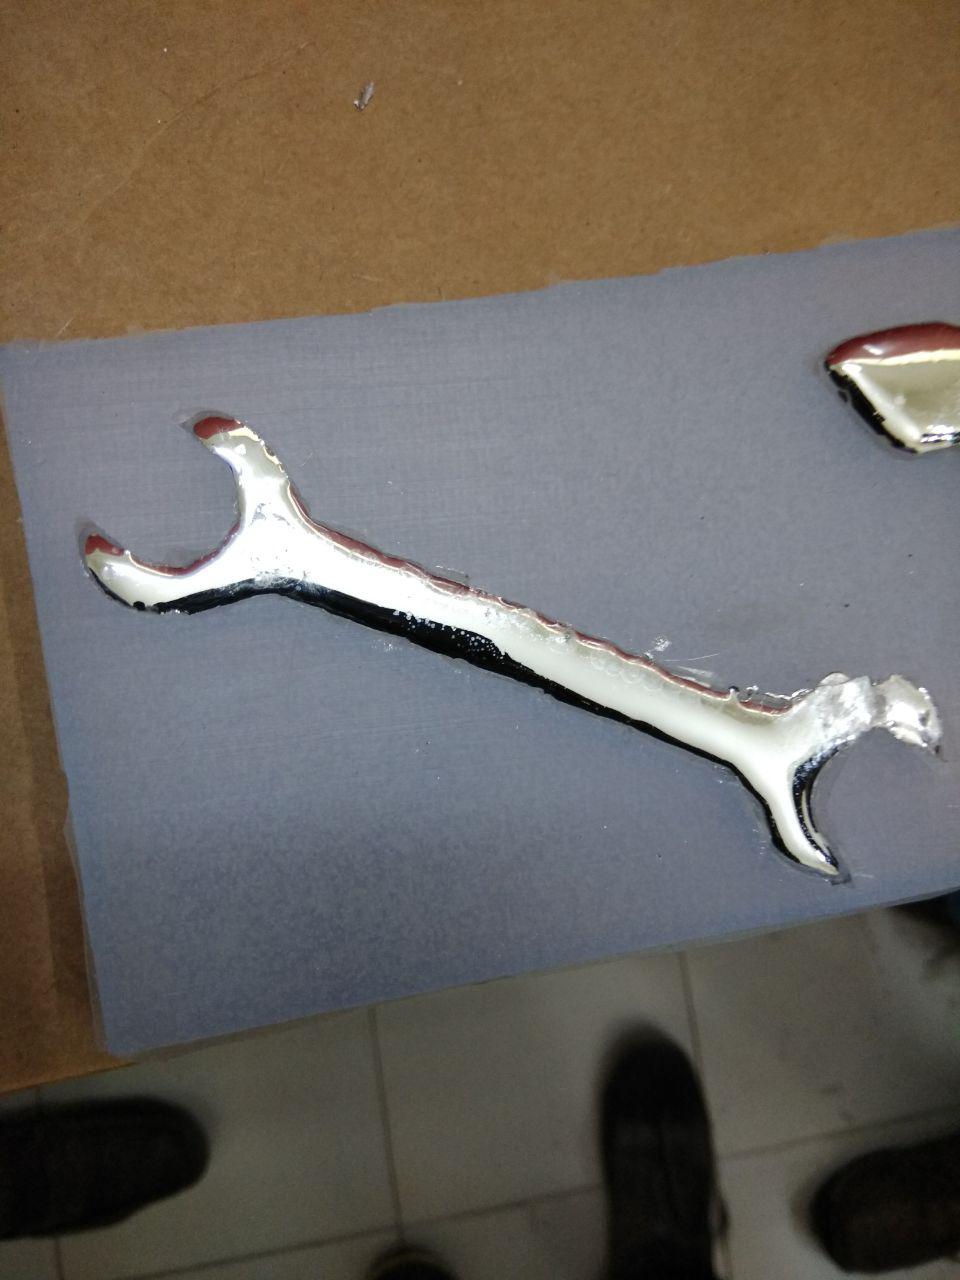
Making the Epoxy Resin cast
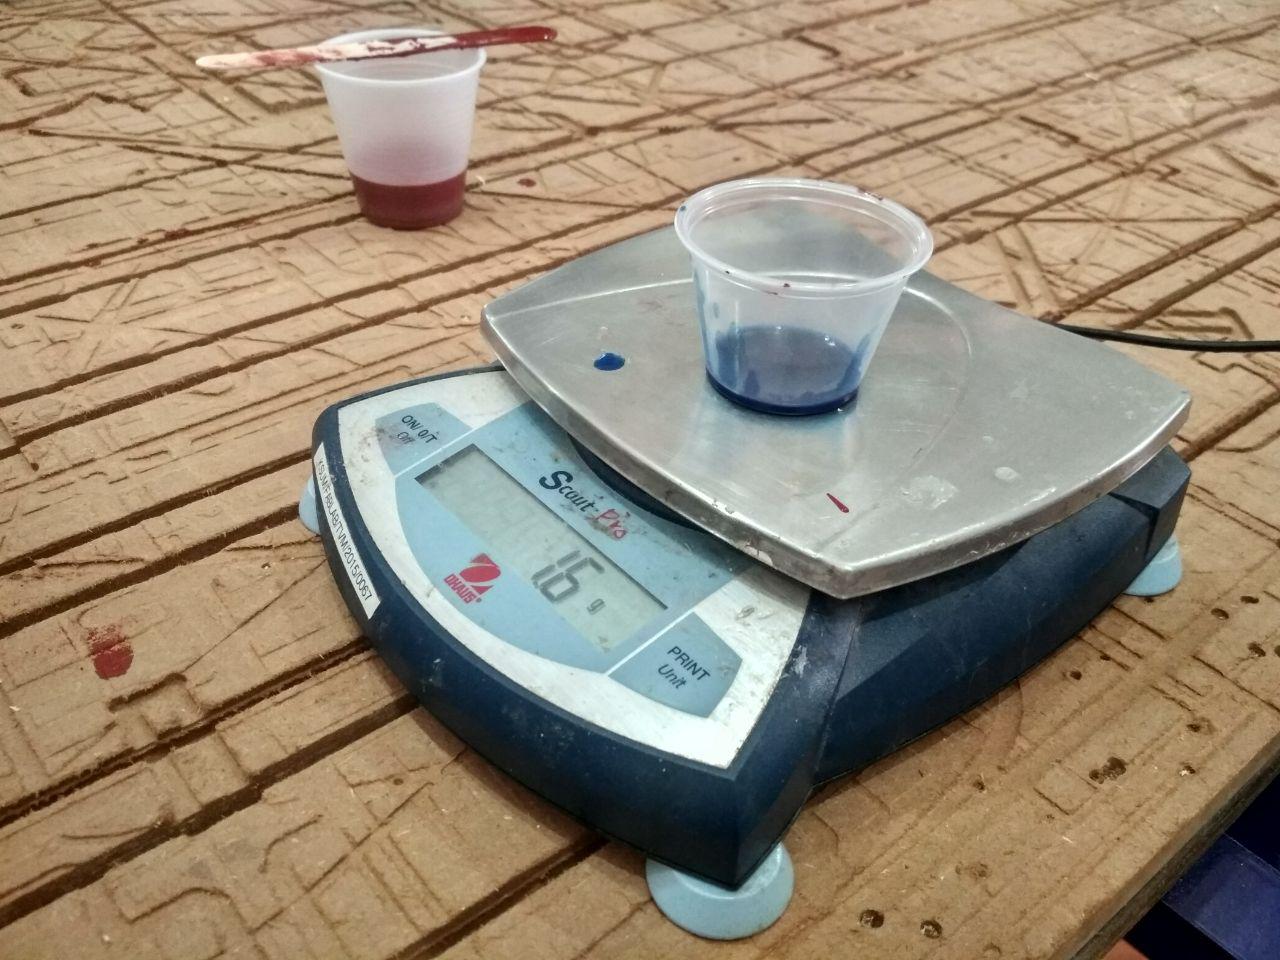
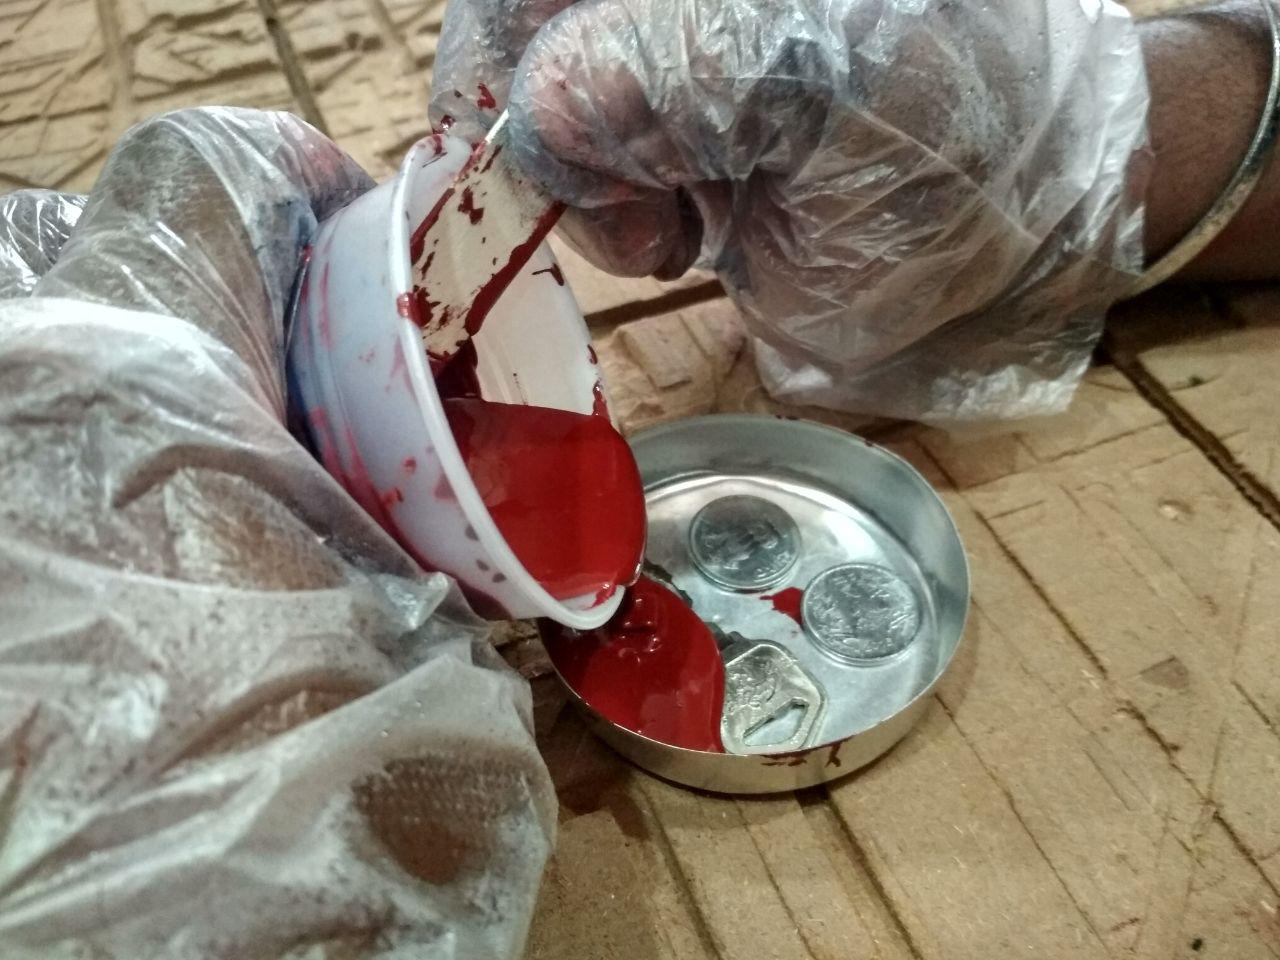
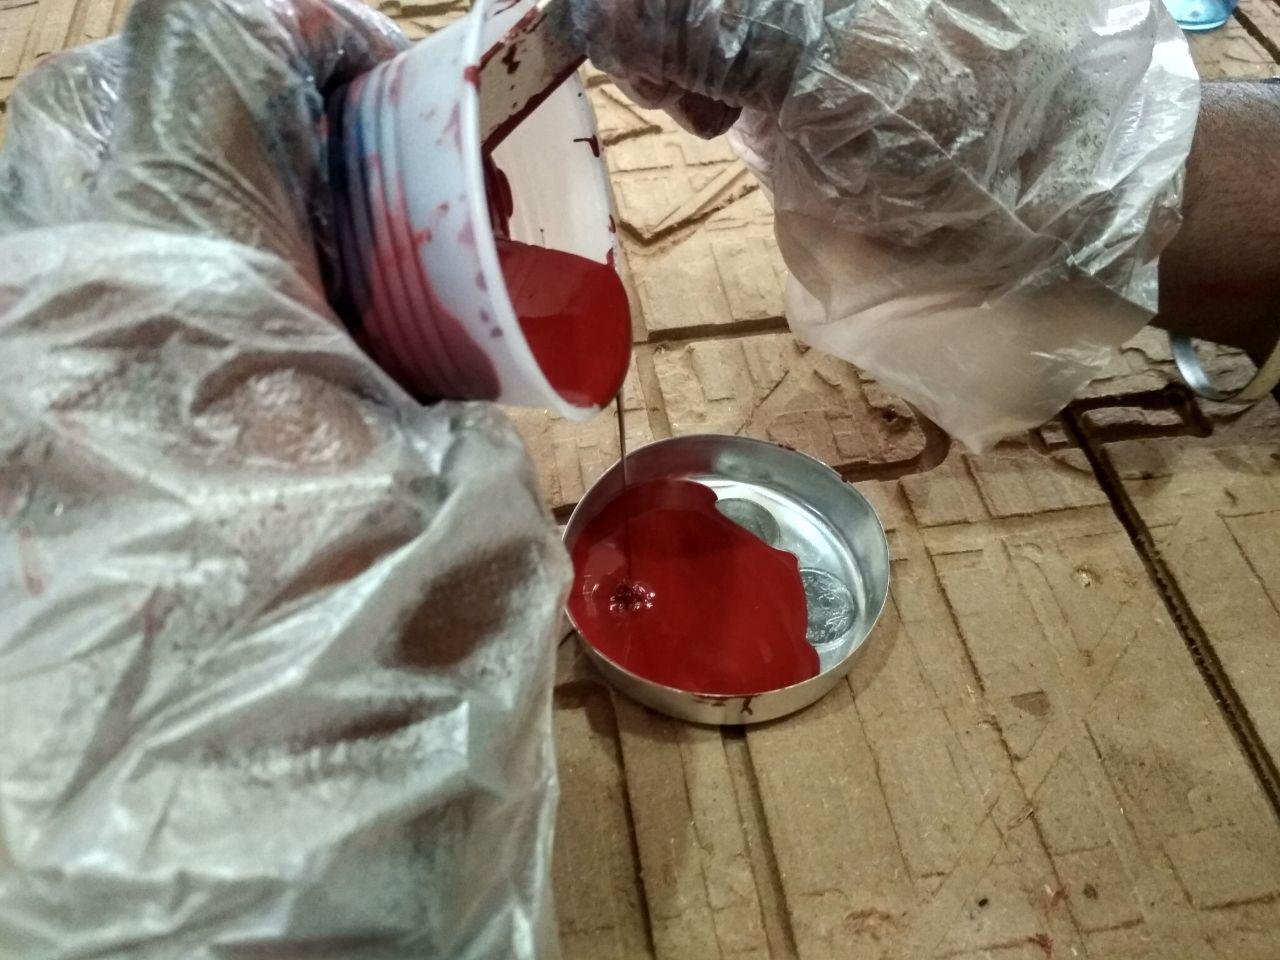
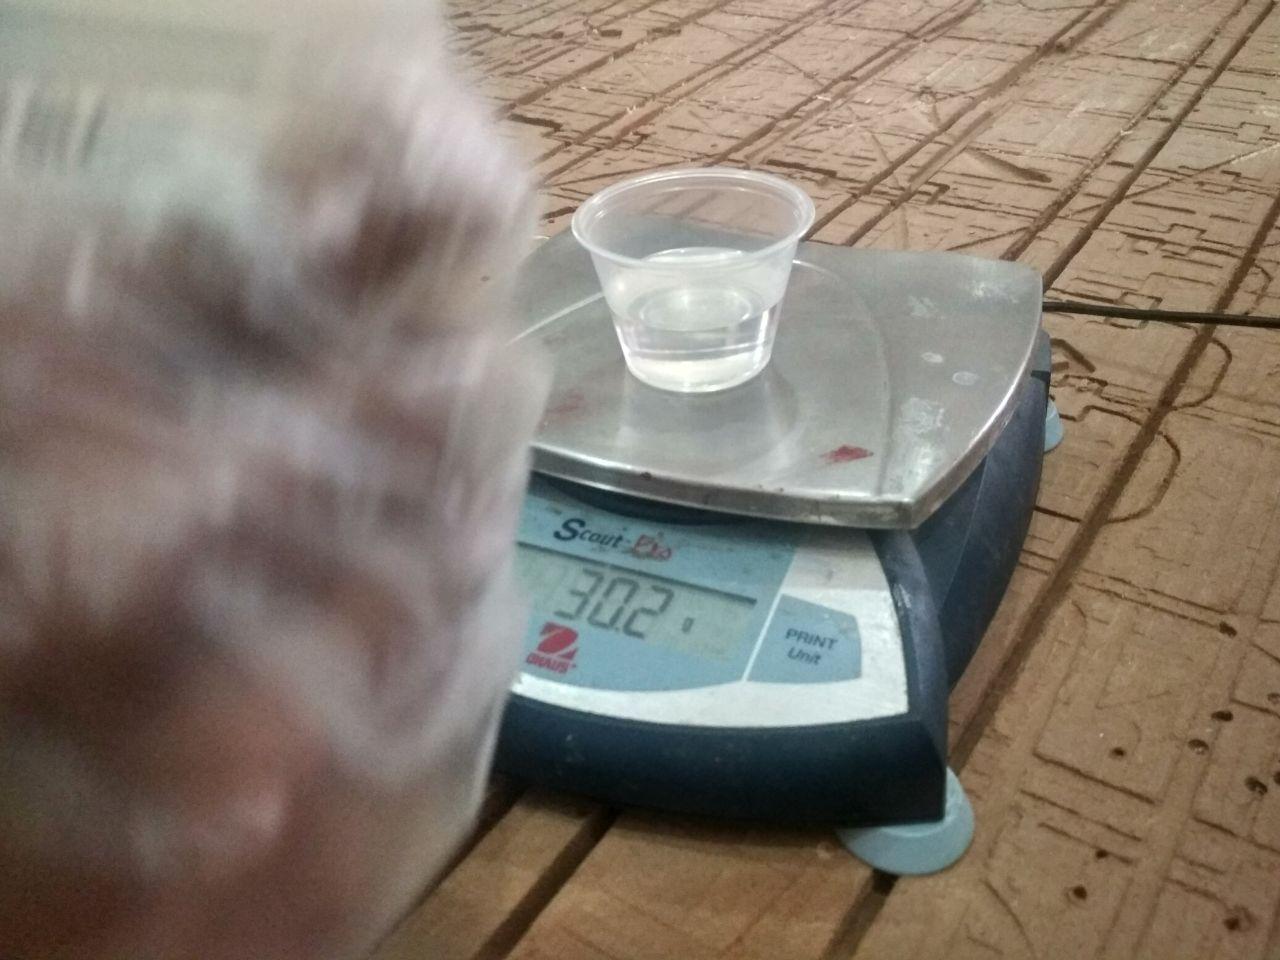
Parts A & B are mixed 100A : 60B by weight, I took 25 gram Part A and 15 gram of Part B and mixed them.
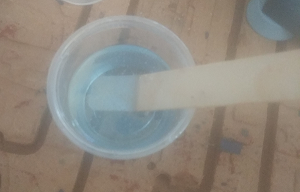
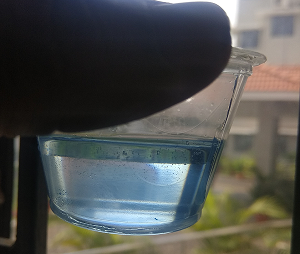
Then added a very little sky blue colour dot and stirred the mixture
Poured the mixture slowly into the wax mold, (try pouring the mixture into the mold at a good height, evenly so no air bubbles or dis orientation is formed )
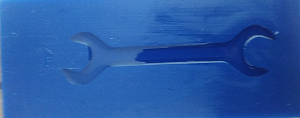
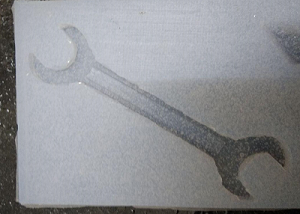
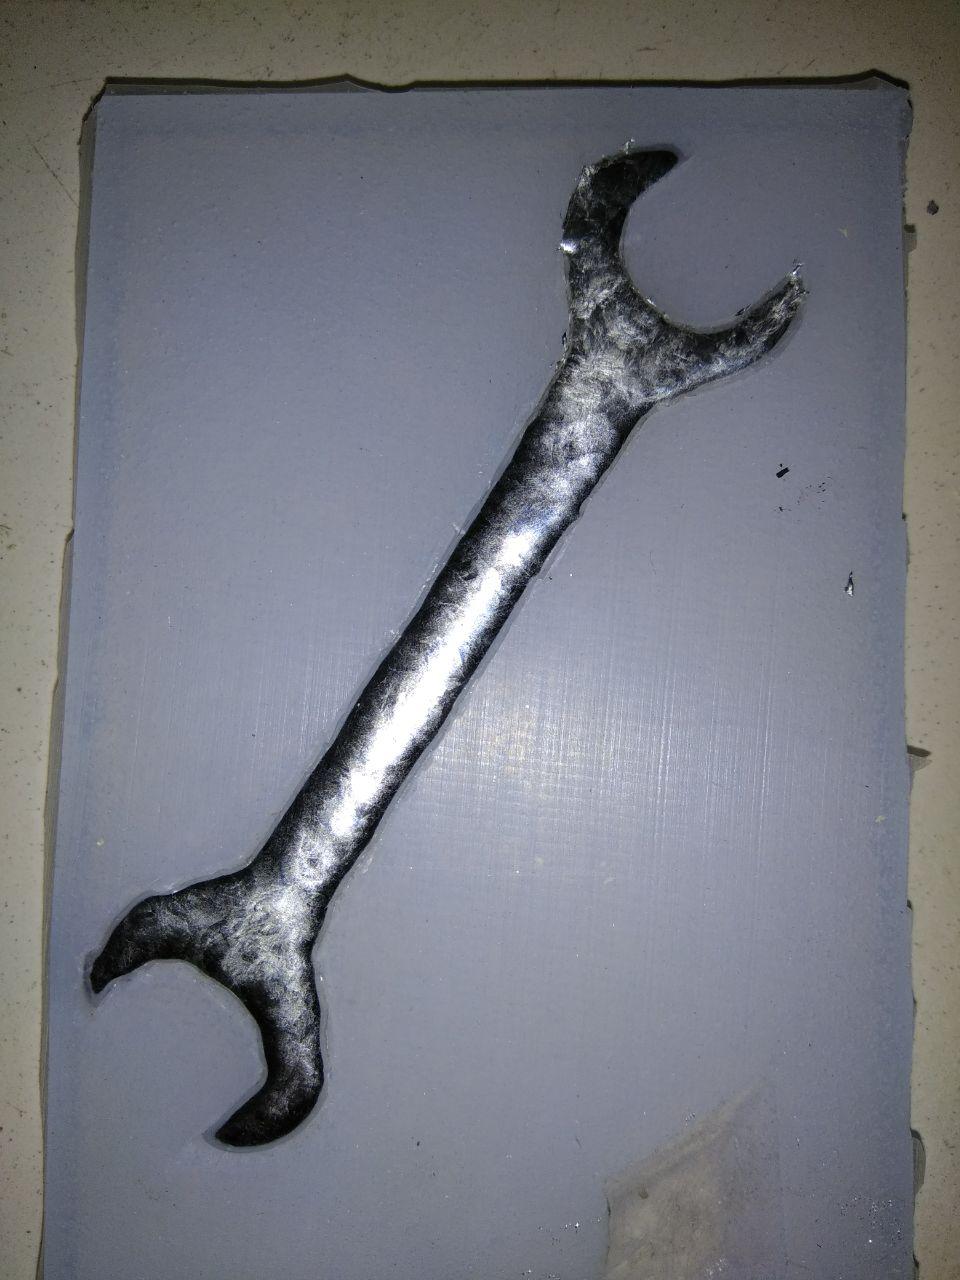
Plastic Spanner
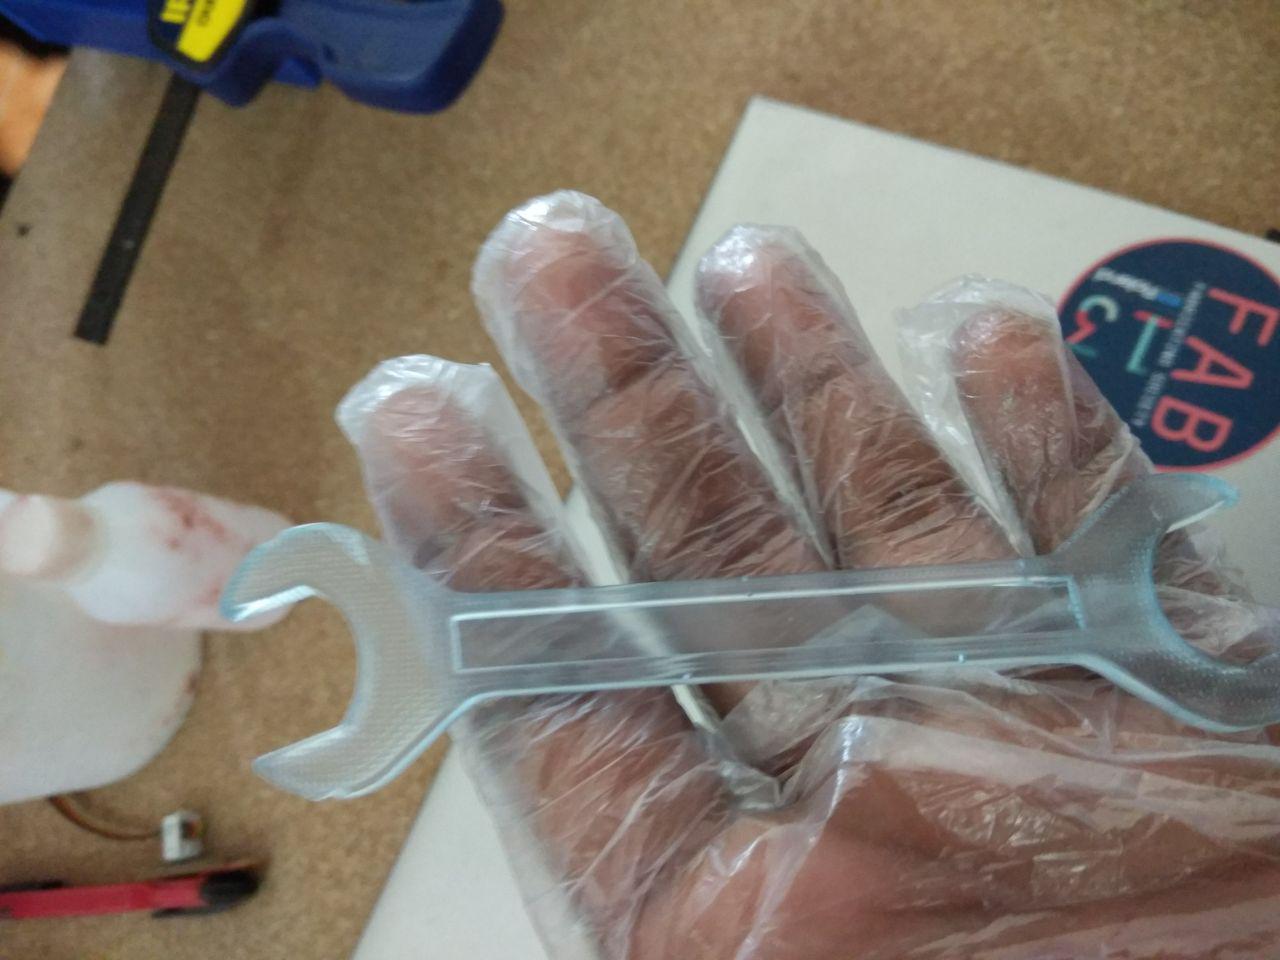
The curing time is 3 hours for the epoxy resin, but it was late in the evening so i left the mold for a night and took it out in the next morning.
It is not a good idea to cast epoxy resin in wax mold, this is because to get the cast out we might have to broke the wax mold.
We should first cast with Silicone rubber or mold max 60, to make a rubber mold and then pour the epoxy or metal in silicone rubber or mold max 60 to get a plastic or metal cast.
In my case, i casted the epoxy resin from the wax mold, still it was lucky for me to get the cast out without breaking the mold . I drilled a hole near the casted part on the mold and got the plastic spanner out(lucky that it didnt broke) And it was almost good.
So I have here included the positive mold design for milling in the wax, Positive mold for milling in wax
Making the Silicone rubber mold
Next step was getting a Silicone rubber mold from the epoxy resin spanner.
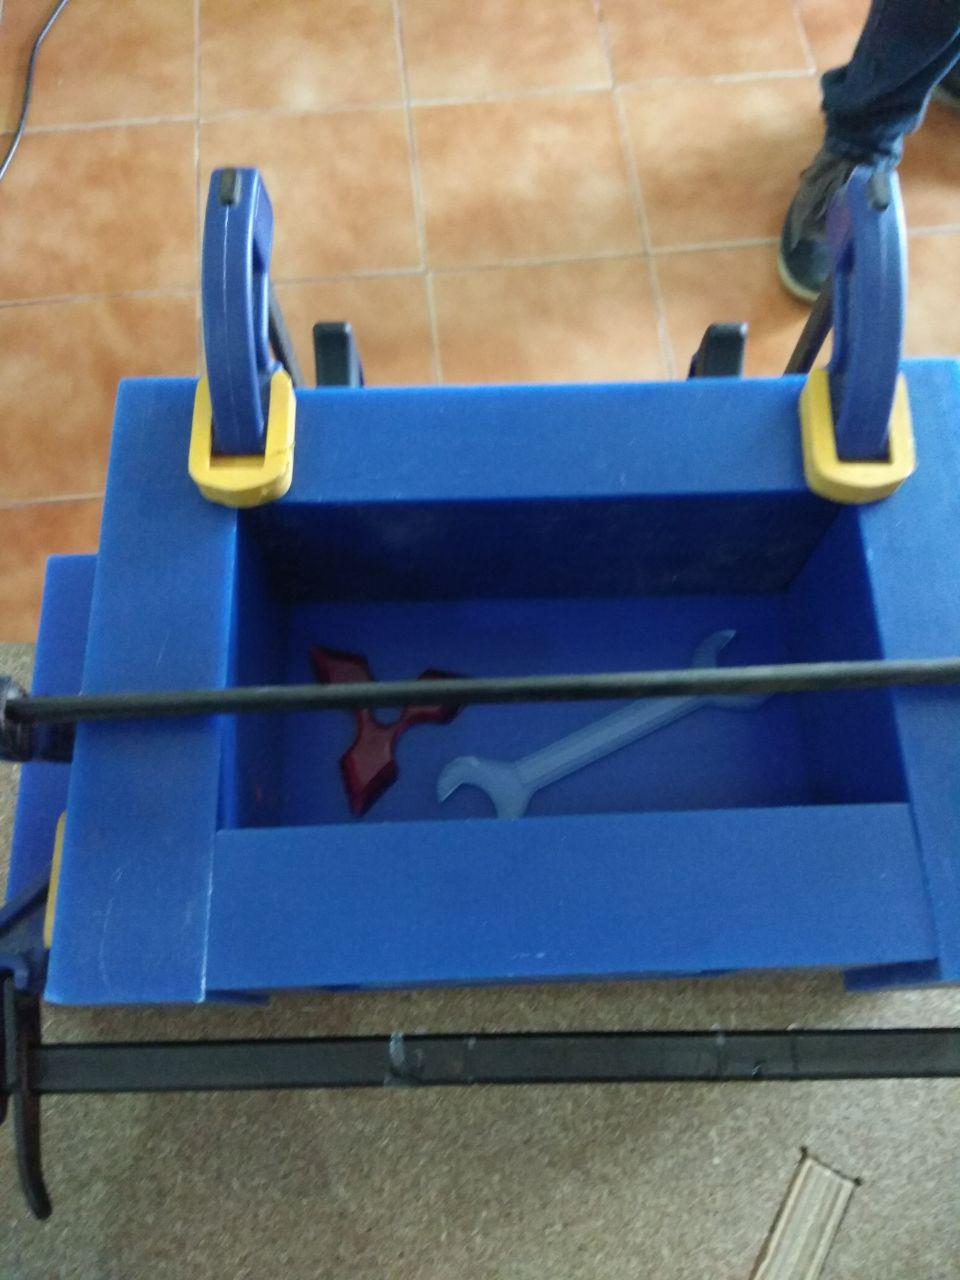
I made the mold space with wax molds (made the floor and the walls with wax boxes) and tightened it with some quick grip bar clamps.
I checked for any dirt and air holes in the mold.
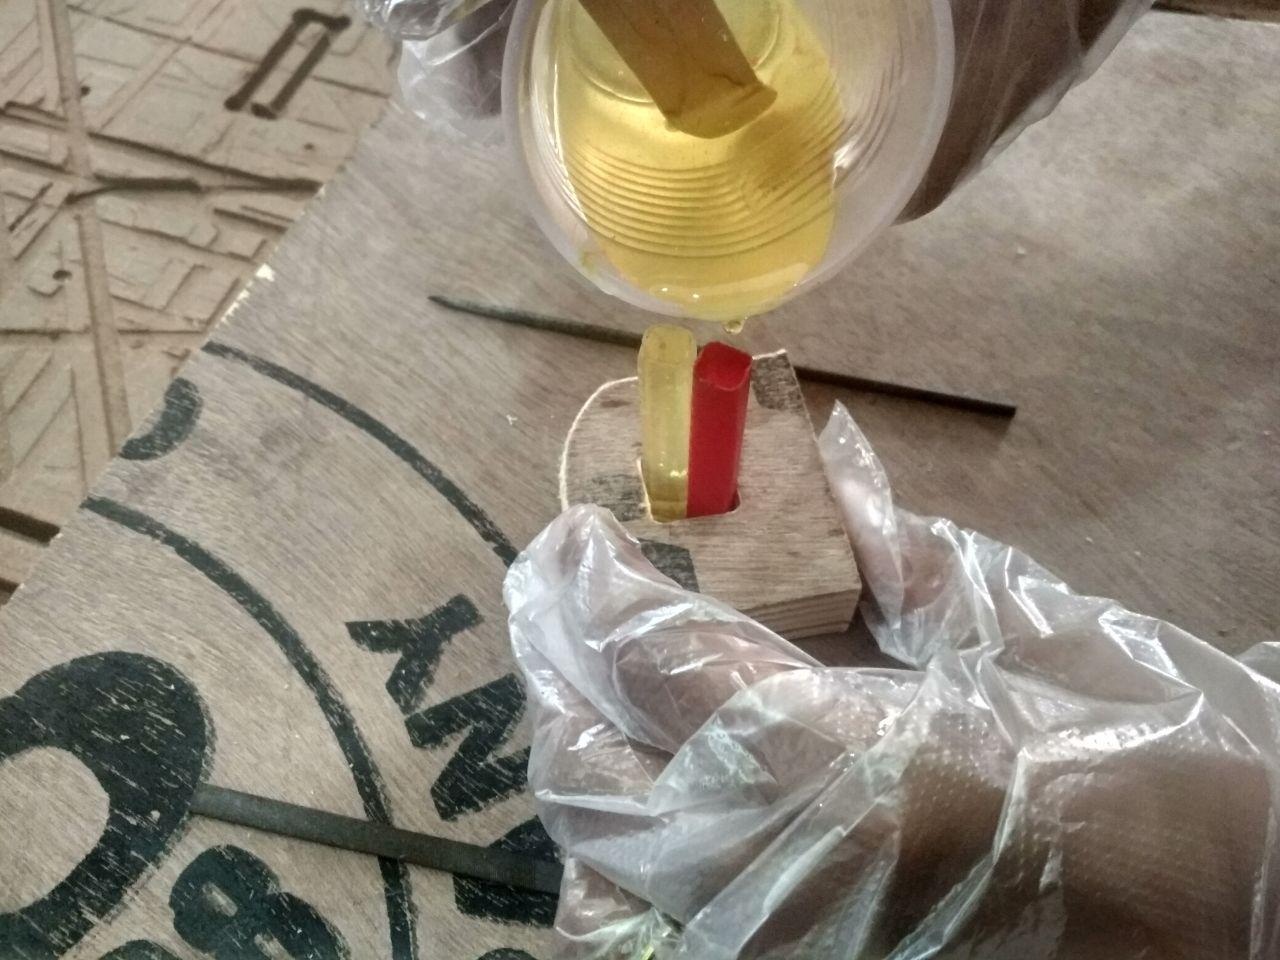
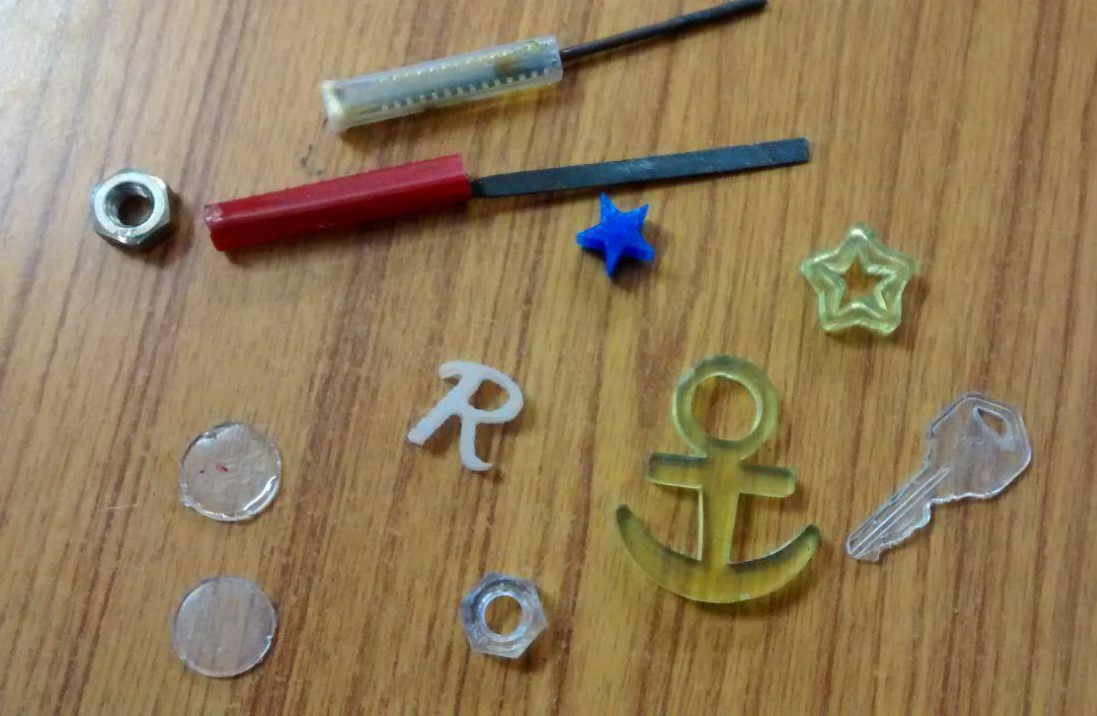
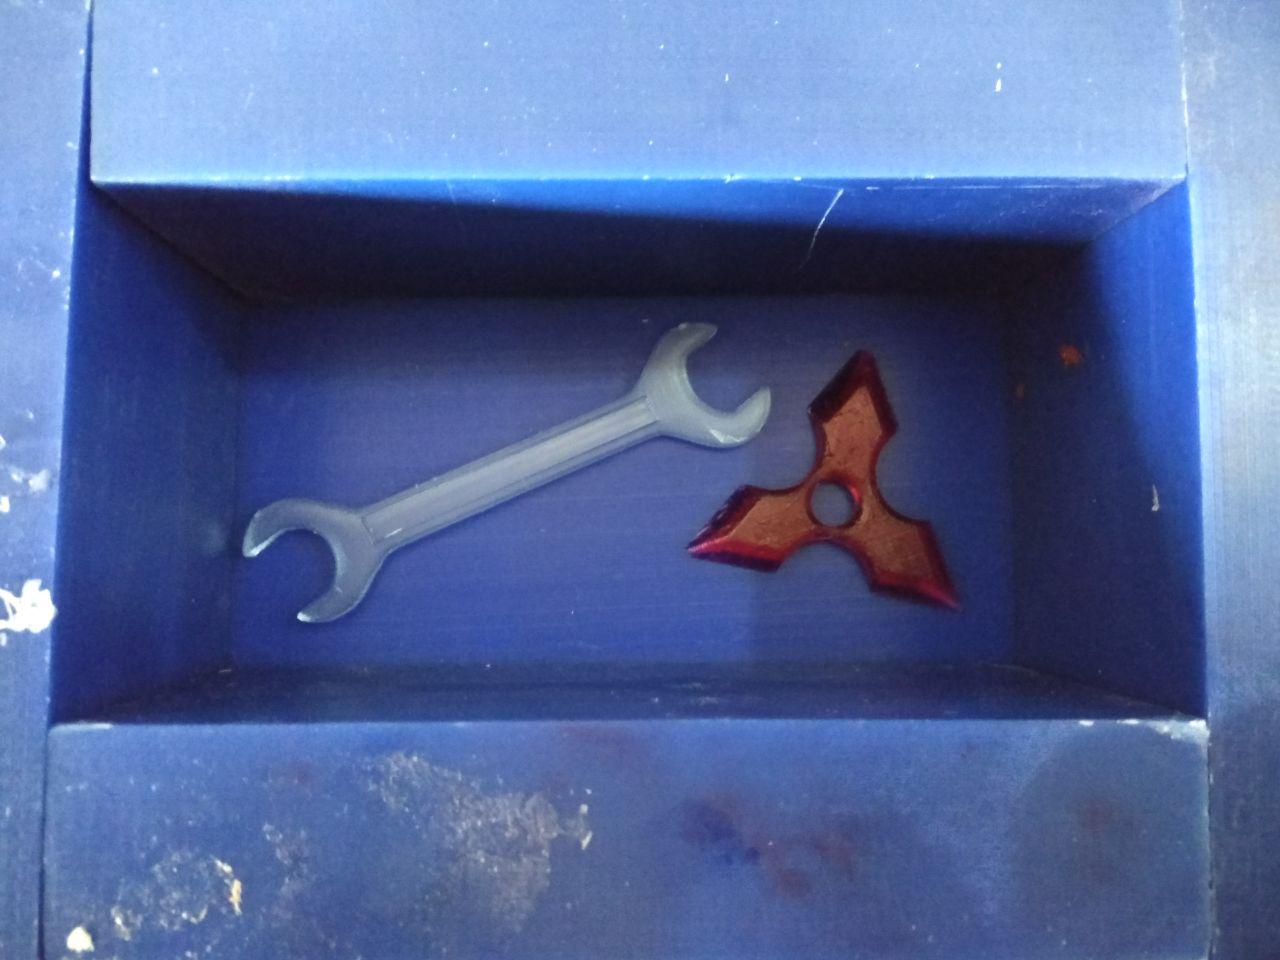
Then placed the plastic spanner ( also placed the ninja knife of my friend Rinoy).
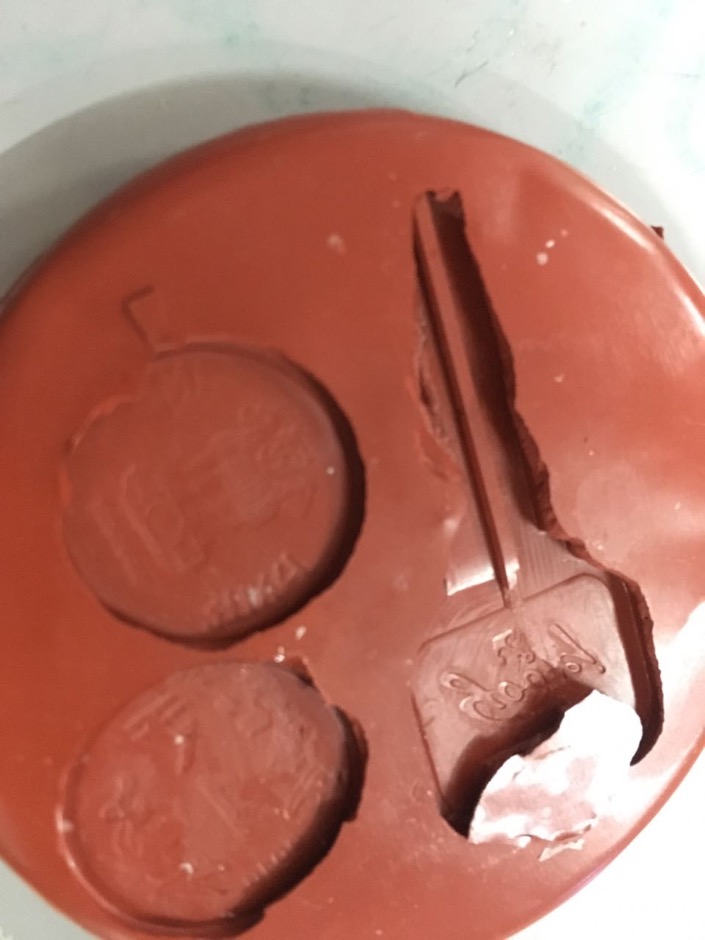
For the Liquid Silicone Rubber, Part A and Part B are mixed in the ratio 100A : 10B by weight. So we took 150 gm part A (LSR1) and 15 gm part B (hardener).
After mixing the epoxy , i poured it to the molding space.
And made it to set for about 24 hours
Silicone Rubber mold
Making a metal spanner
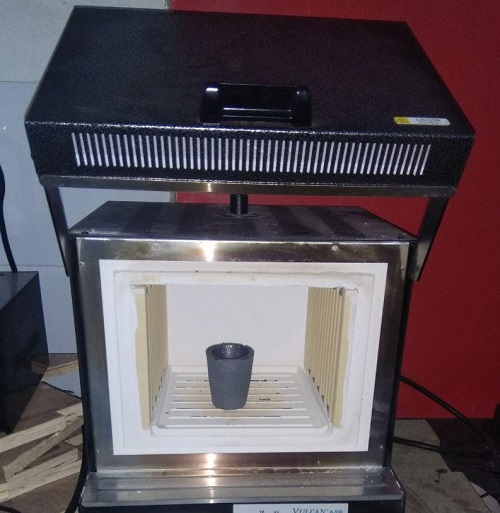
Furnace at our Fablab
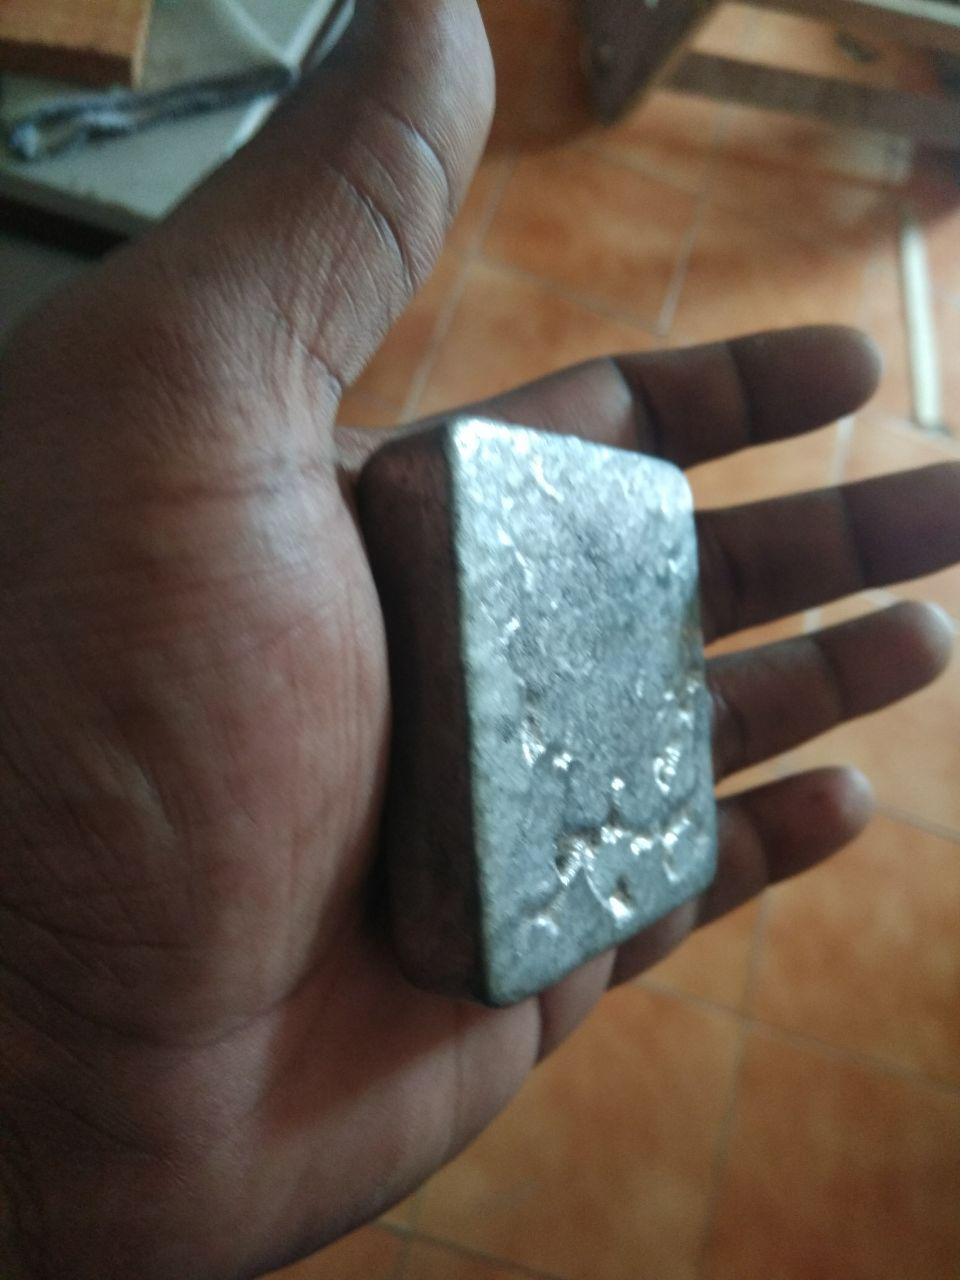
Babbitt metal, also called white metal, is a soft, white non-ferrous alloy used to provide a bearing surface.
It has properties that help reduce friction which make it a good material to use in a plain bearing.
It has melting point 271 degree celsius and boiling point 1560 degree celsius.
We heat our furnace to 300 degree celsius so that the babbitt is molten.
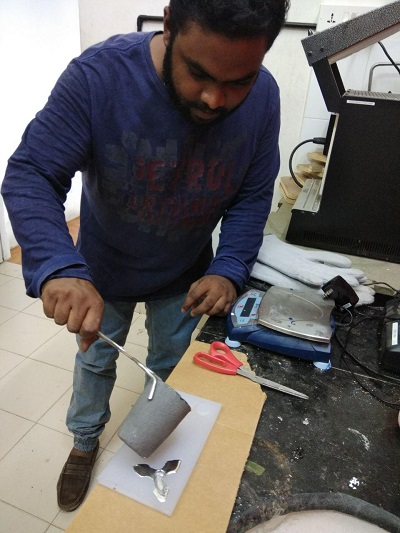
Then we should take the molten metal and pour it to the silicone rubber mold.
Wait for the maetal cast to set in for about 10 minutes,
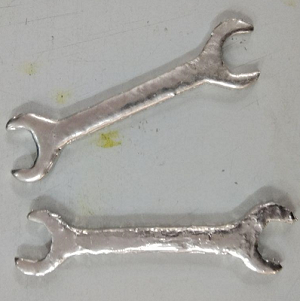
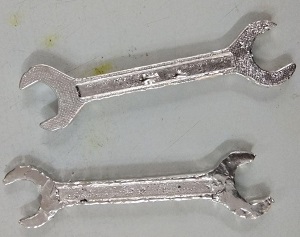
I casted two metal spanners, the first one was a littile rough with air bubbles. For the second one i cleaned the mold and poured the molten metal more evenly.
This work by Aby Michael is licensed under a Creative Commons Attribution-NonCommercial-ShareAlike 4.0 International License.
