3D Printing
3D printing or addictive manufacturing
is a process of making three dimensional solid objects from a digital file. The creation of 3D printed object is achieved using addictive process. In an addictive process and object is created by extruding the heated material such that sucessive layers are fused to create the object from nothing and the entire object is created with layers of the material vertically arranged one top of other. The nozzlehead moves in X-Y direction and the buildplate is capable to move in the Z-direction. 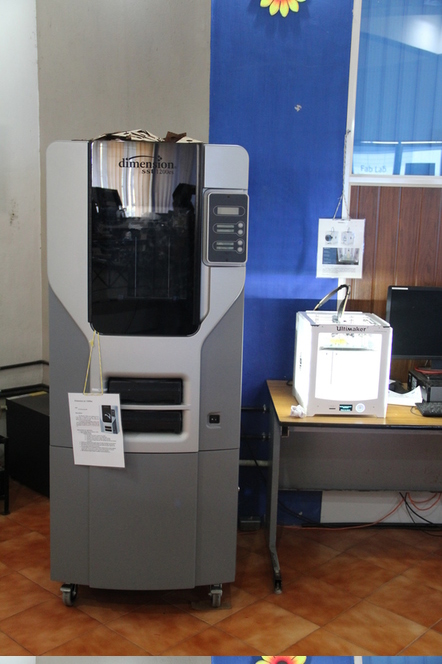
In our Fablab we have the DIMENSION sst 1200es and ULTIMAKER 2.There are several ways to print and all those available are additive, differing mainly in the way layers are build to create the final object. Some methods use melting or softening material to produce the layers. Selective Laser Sintering (SLS) and Fused Deposition Modeling (FDM) are the most common technologies using this way of 3D printing. Another method is curing a photo-reactive resin with a UV laser or another similar power source which cure one layer at a time. The most common method for this is called Stereolithography (SLA). The above two printers use Fused Deposition Modeling (FDM) process.
Ultimaker 2
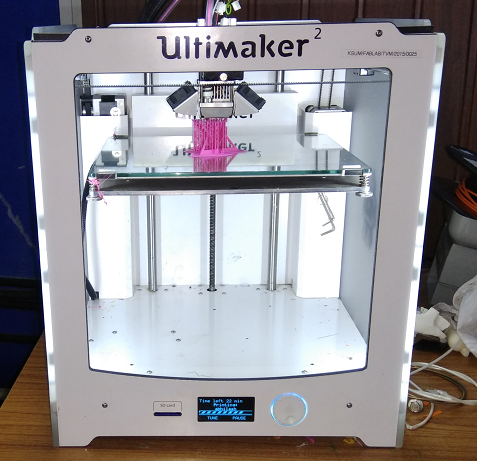
The specification of ultimaker 3D printer is mentioned below.
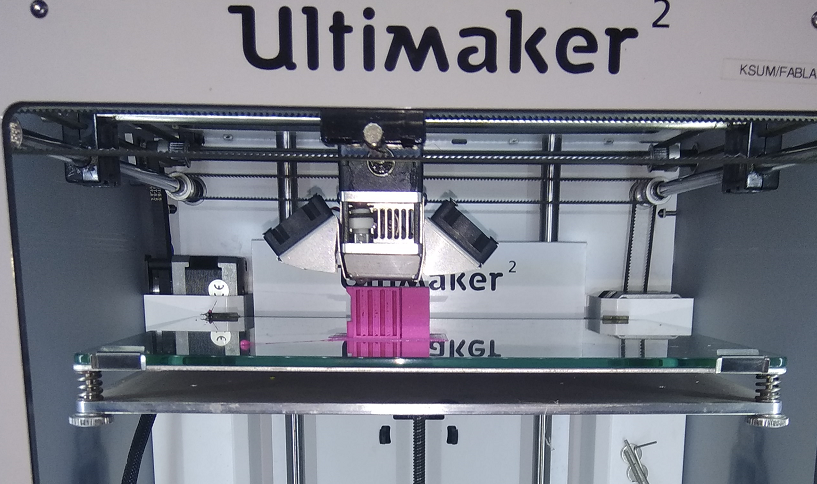
Ultimaker uses ABS Plastics (Acrylonitrile butadiene styrene), PLA (Polylactic Acid), and CPE (Copolyester) mainly as material. Here in our Lab we use PLA.

The material comes in spools and it is loaded through a slot in the back of the printer
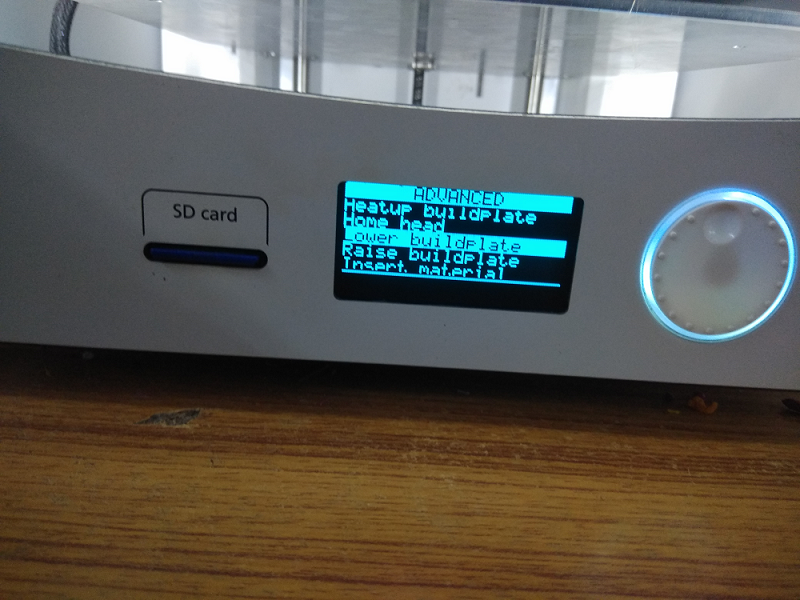
There is a touch sensing roller button with which we could select different options, before printing we should set the building plate, insert the material to the nozzle and heat the nozzle
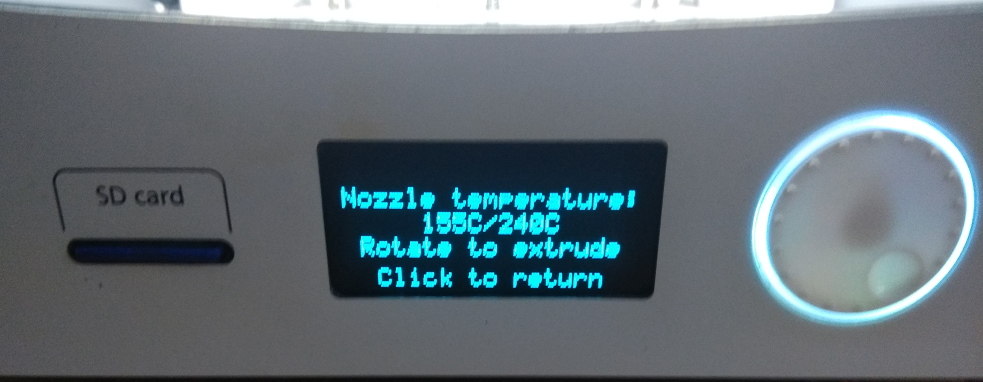
Heating the nozzle to 240 degree celsius (our 3D printer) for the PLA to fuse and started flowing from the nozzle
Testing the limits of our 3D Printer
Test 1

We got the file from Thingiverse
Dimensions
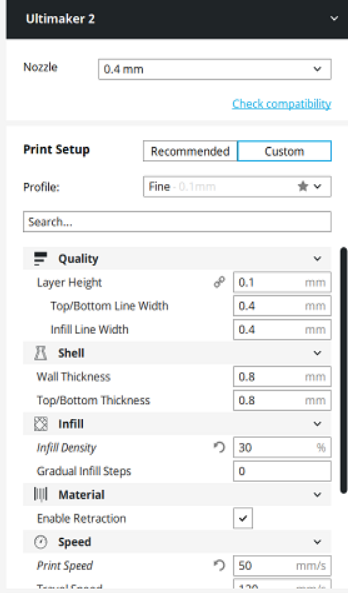
We have given the layer thickness 0.1 mm, 30% infill and enabled retraction with about 60 mm/s print speed
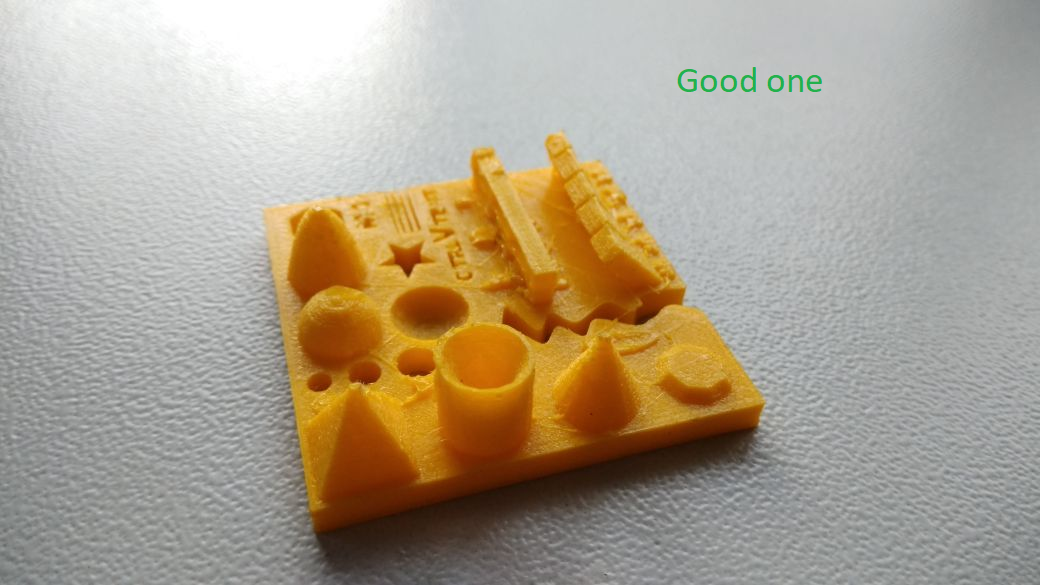
Result
After printing the results,holes were good but not measuring 2.8mm, 3.71mm . The M4 nut is fitting perfectly, pyramid, cone has good finishing. Wave and half sphere is good. Walls have some defects, overhangs cameout well and the bridges were complete apart oneside and fonts were not completely readable.
As we got some defects we decided to go for 2nd test with another design
Test 2

We got the file from Thingiverse
Dimensions

First we printed in the Ultimaker
we used layer thickness 0.1 mm for this test. But the defects were that the wall thickness of 0.1-0.4 mm were missing, the bridges except at 2 mm were not good, and the overhangs at lesser angle need more support.
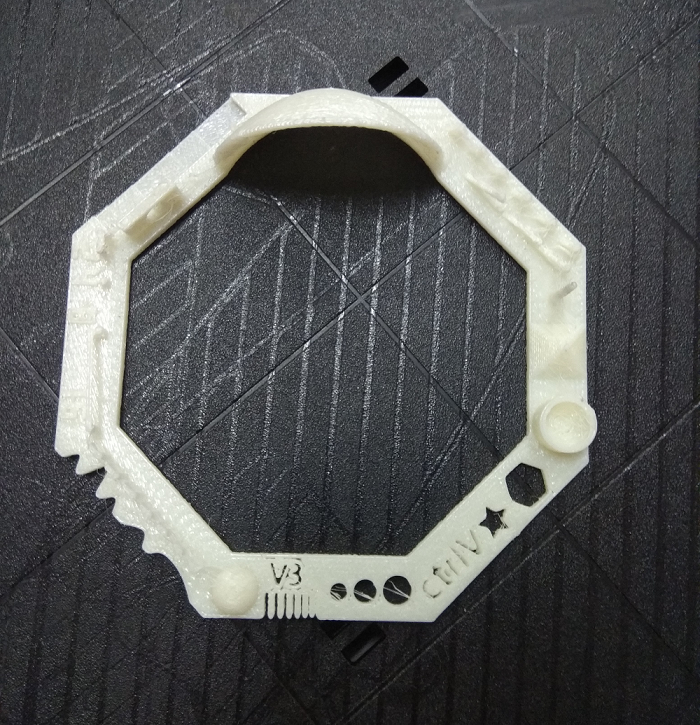
Then we printed another one on the Dimension, the 3D print from Dimension is more finished.
My Work
I designed a dump truck on Solidworks, and decided to print it.Download Design file
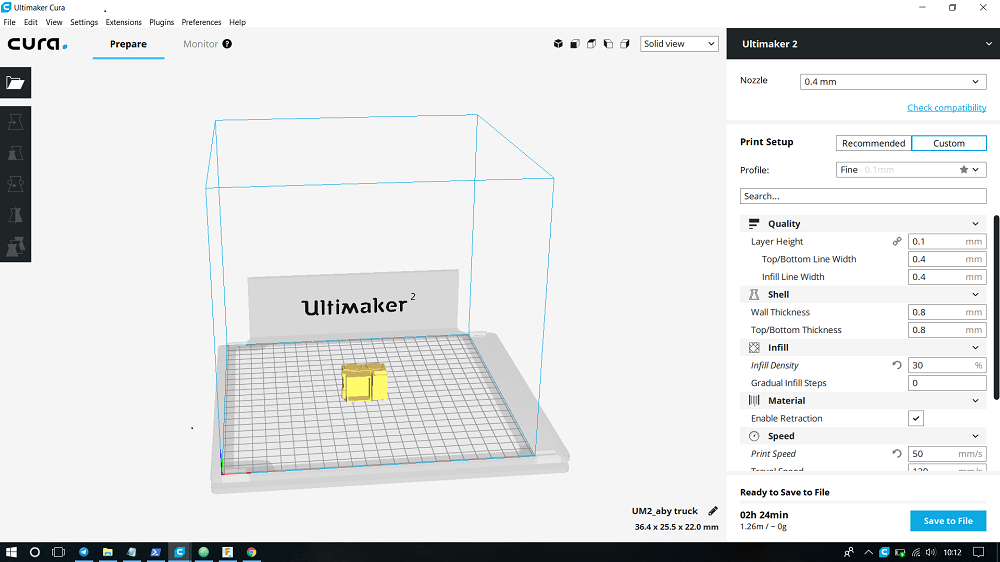
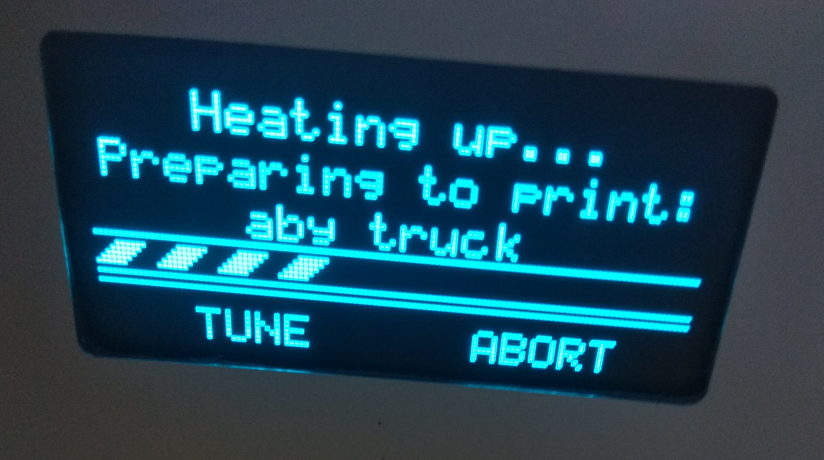
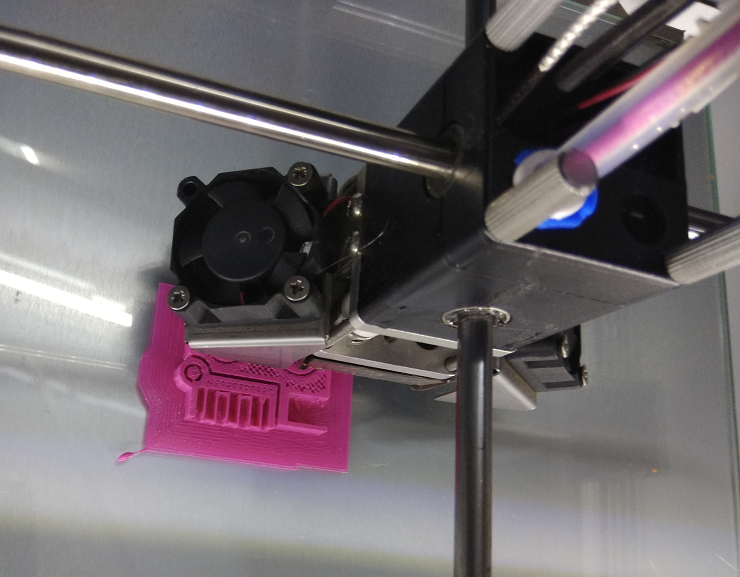
And it was printing
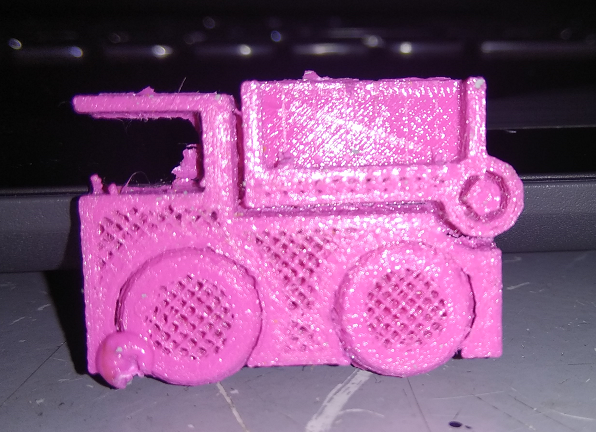
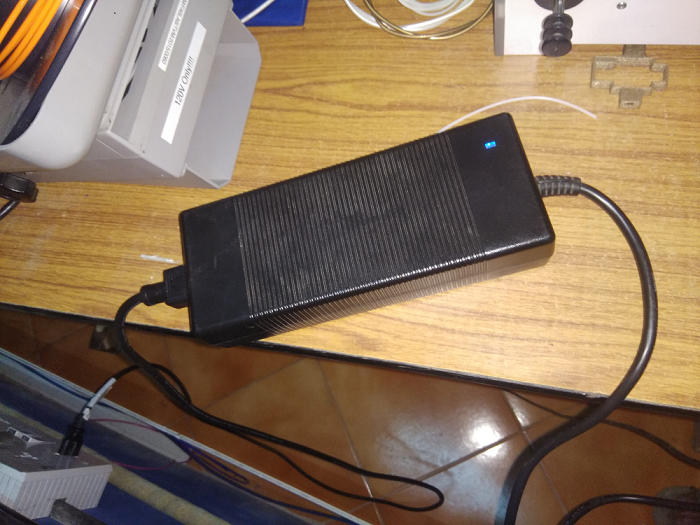
My first printing experiment was failed when somebody switched off the cooling fan of the adapter of 3D printer. In our fablab a separate cooling fan is kept for the power supply adapter of the Ultimaker, maybe it is overheating. My printing was stopped in the middle because someone switched off the cooling fan
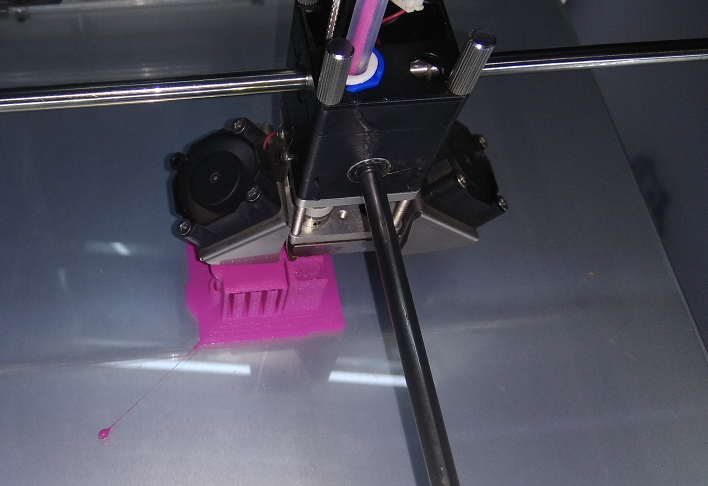
Then i printed again , this time it was fine
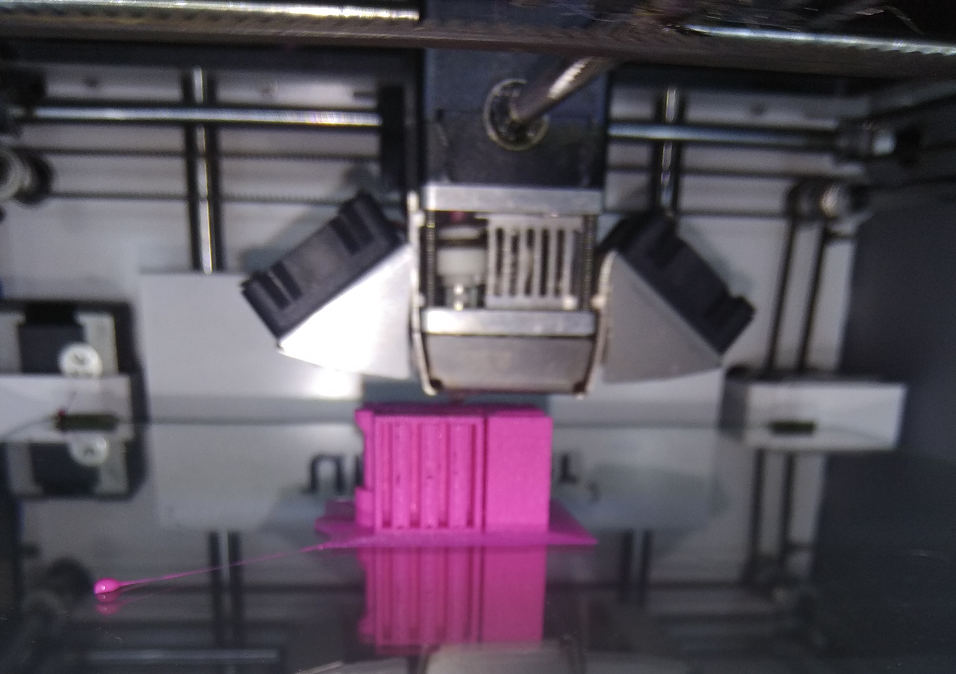

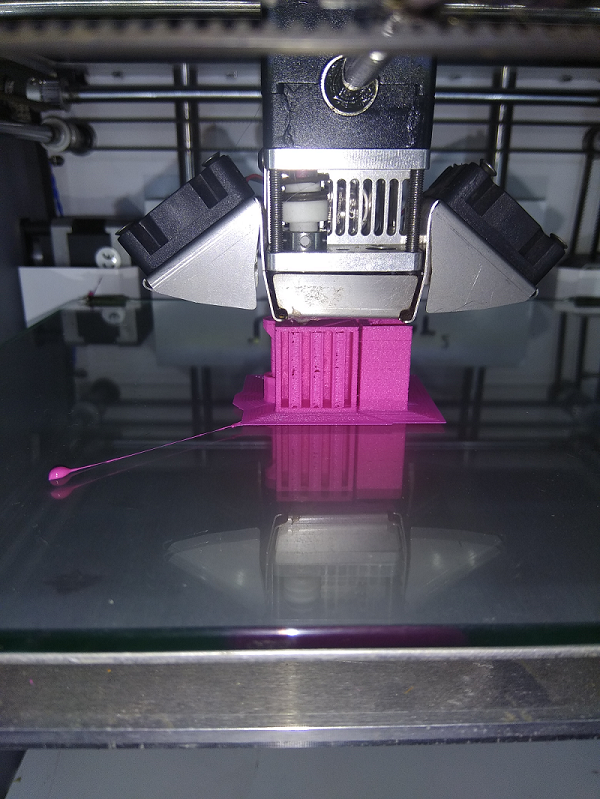
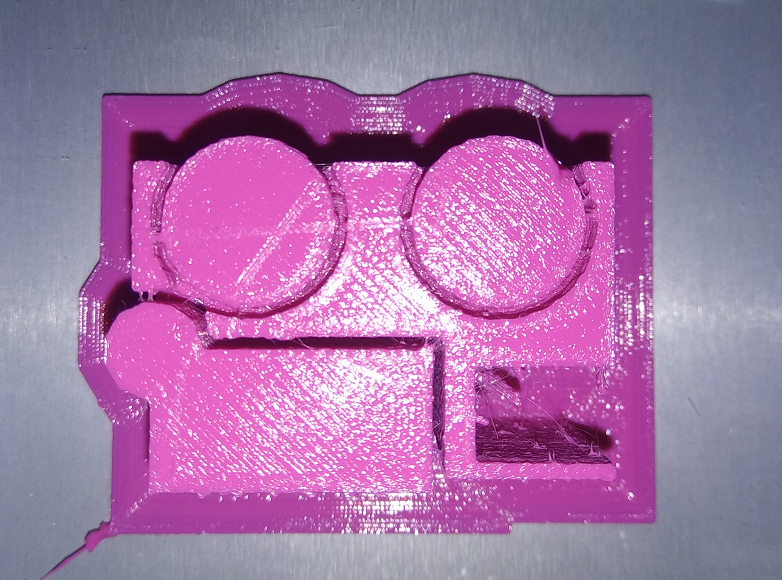
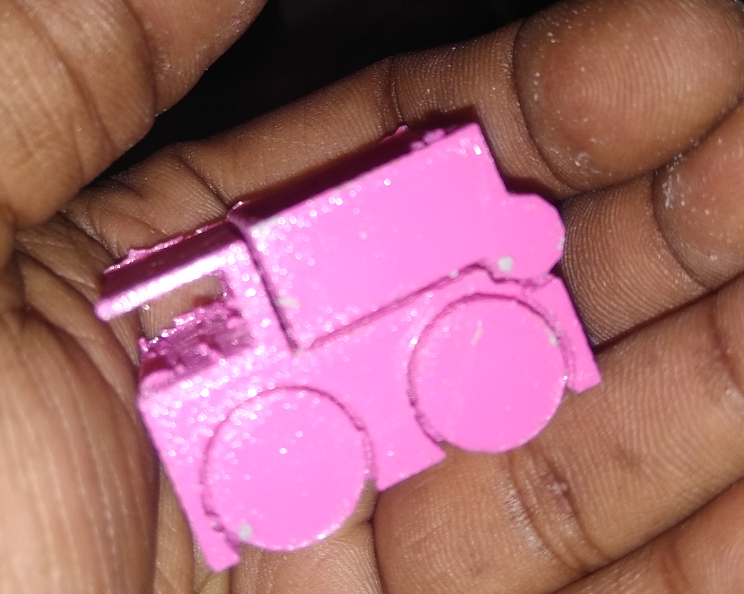
Now my dump truck was ready, dimesion was 36mm x25mm x22 mm
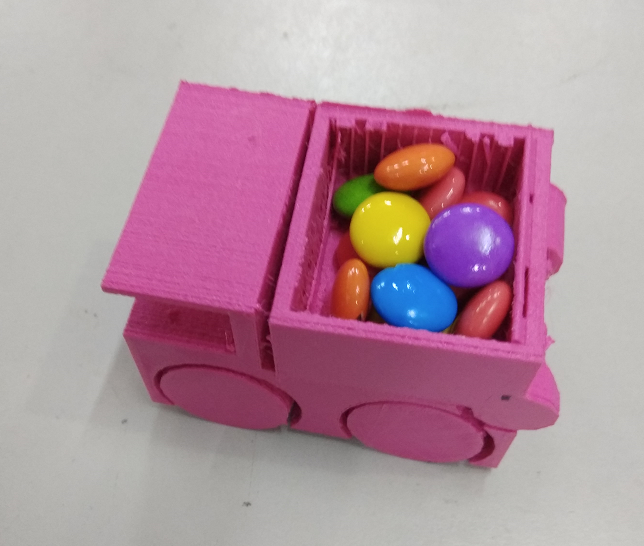
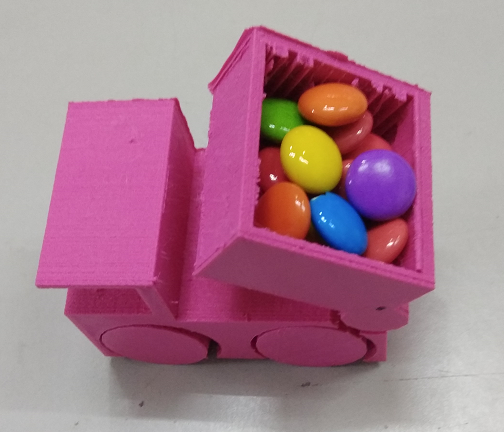
I then increased the scale a bit and made little bit larger version (scaled it double) of the truck. I placed some candys in it.
Wheels for my Project
I designed Wheels for my project( which i never used), See below
I designed it on Solidworks Download files

3D Scanning
3D Scanner
is a device which captures the 360 3d view of any objects or surroundings, the captured data can be later used to generate 3d models.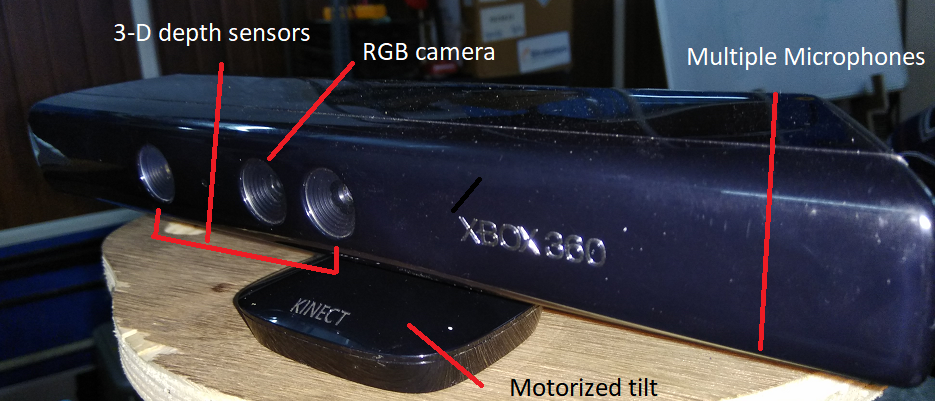
KINECT
Kinect
for Xbox 360 is the 3d scanner used in our Fablab. It is a line motion sensing input device developed by Microsoft for the Xbox 360. Kinect has an infrared projector , a camera and a special microchip that generates a grid from which the location of a nearby object in 3 dimensions can be ascertained. The device features an RGB camera, depth sensor and multi-array microphone running proprietary software, which provide full-body 3D motion capture, facial recognition and voice recognition capabilities.Kinect requires the Xbox drivers to be installed on the operating system, the drivers are free to download in the Microsoft website. Then we should also need a 3D scanning software for scanning. Kinect itself requires a power source and also there is a usb to connect it to the computer system.
ReconstructMe
Reconstruct Me
is a powerful 3D real-time scanning system.Reconstruct Me usage concept is similar to that of an ordinary video camera – simply move around the object to be modelled in 3D. Scanning with Reconstruct Me scales from smaller objects such as human faces up to entire rooms.I decided to scan myself as a model.
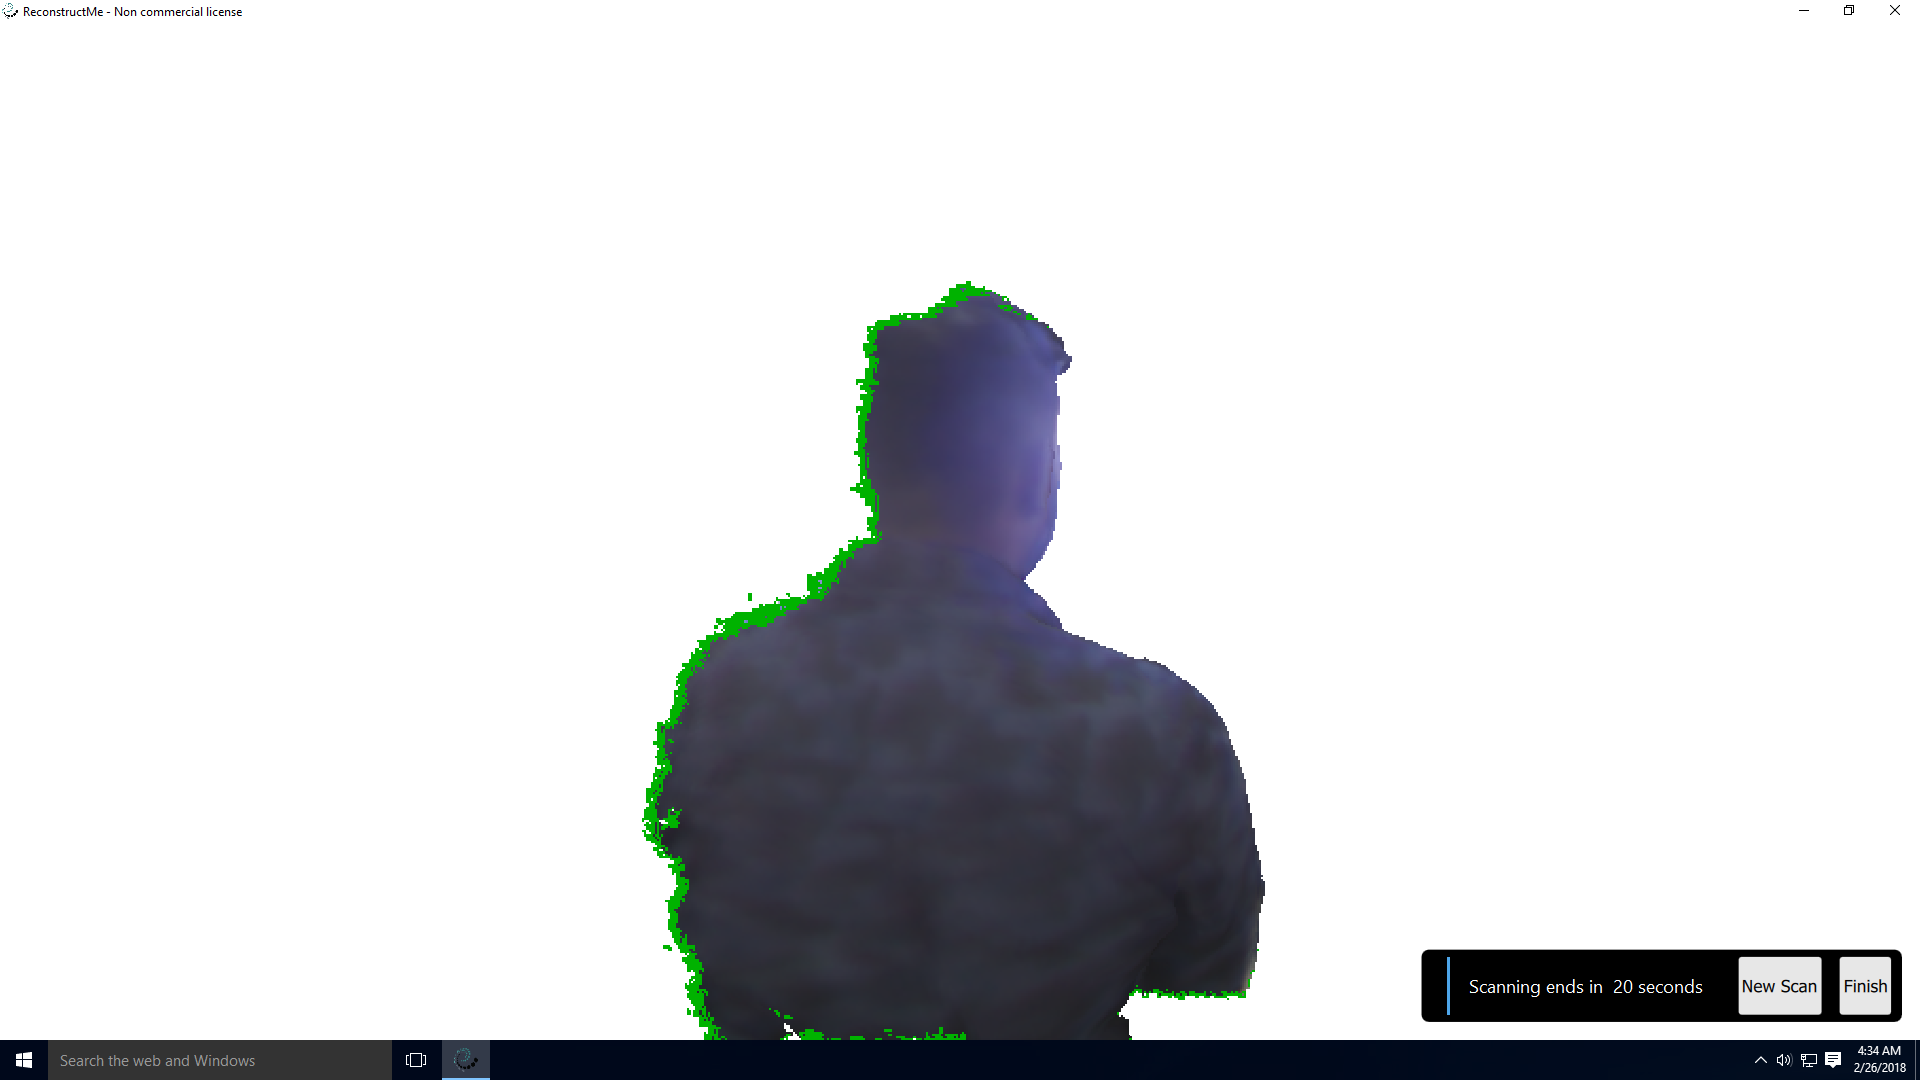
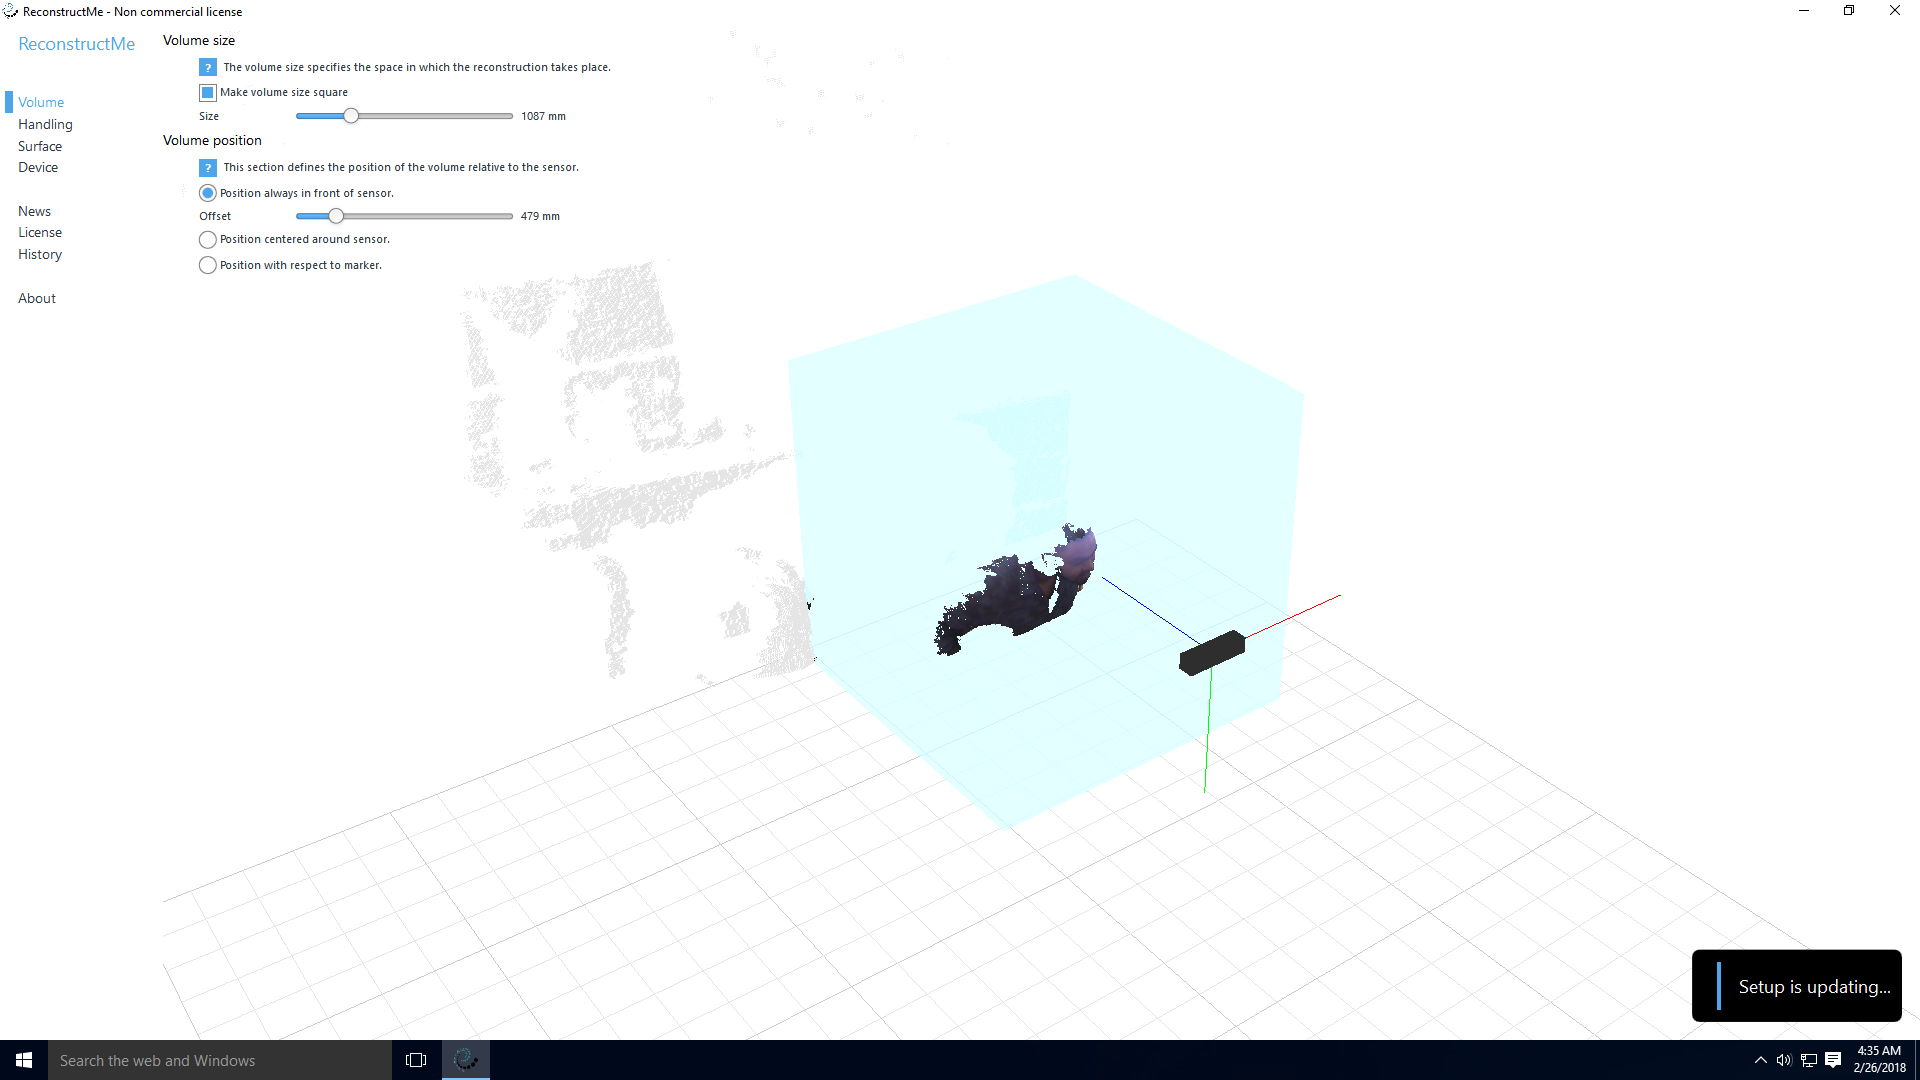
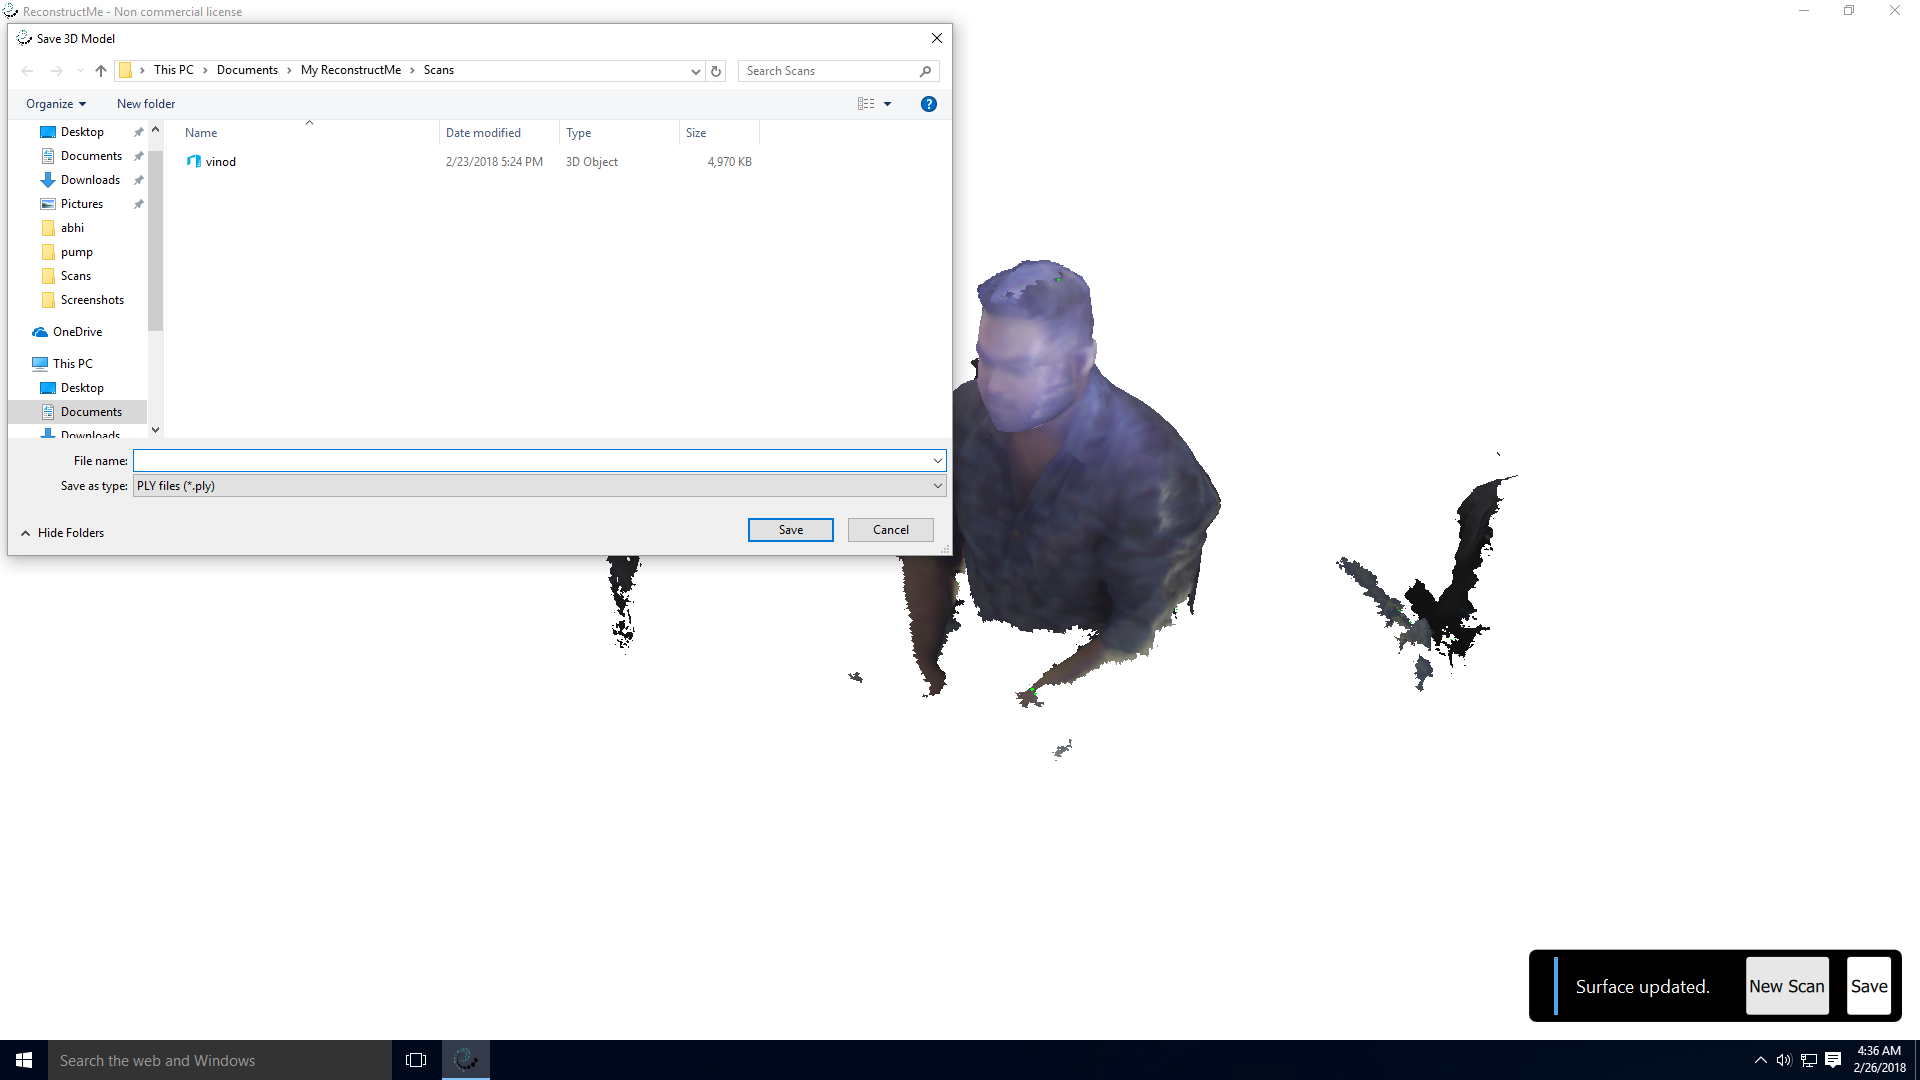
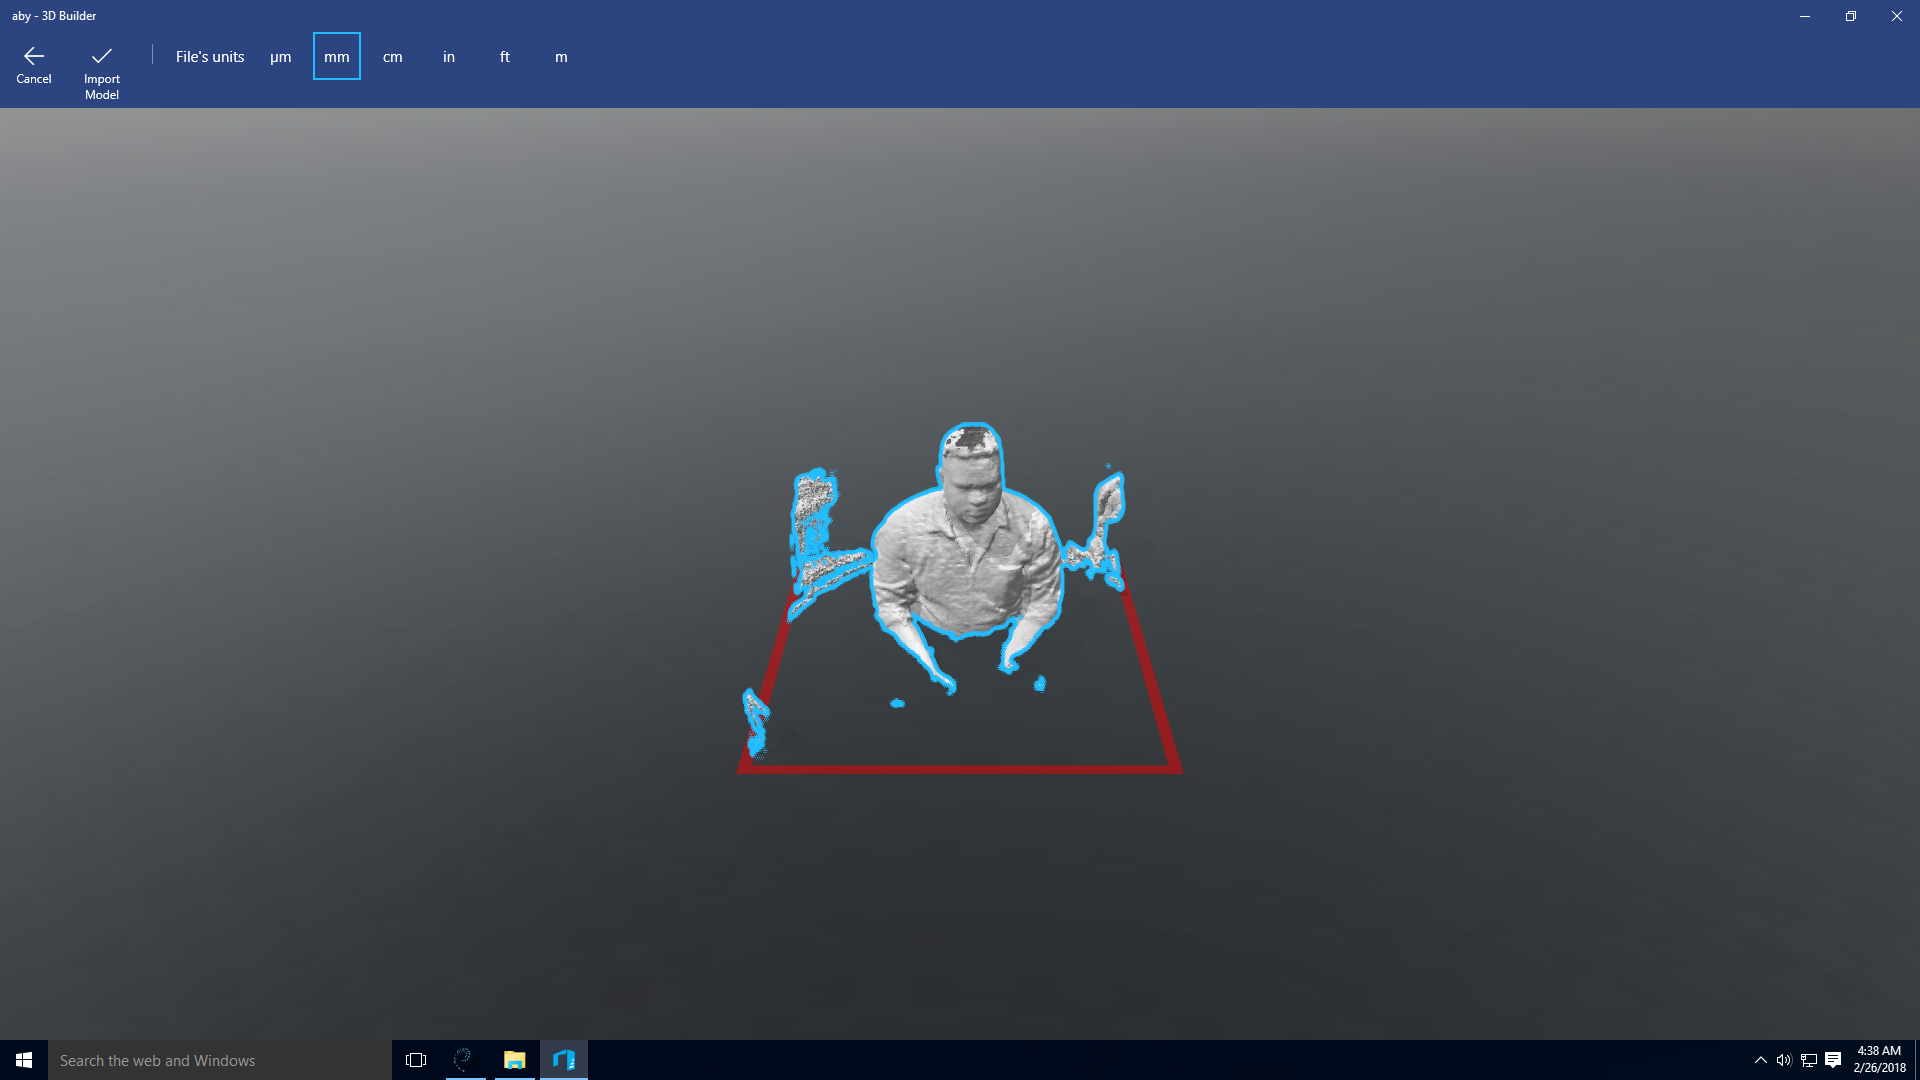
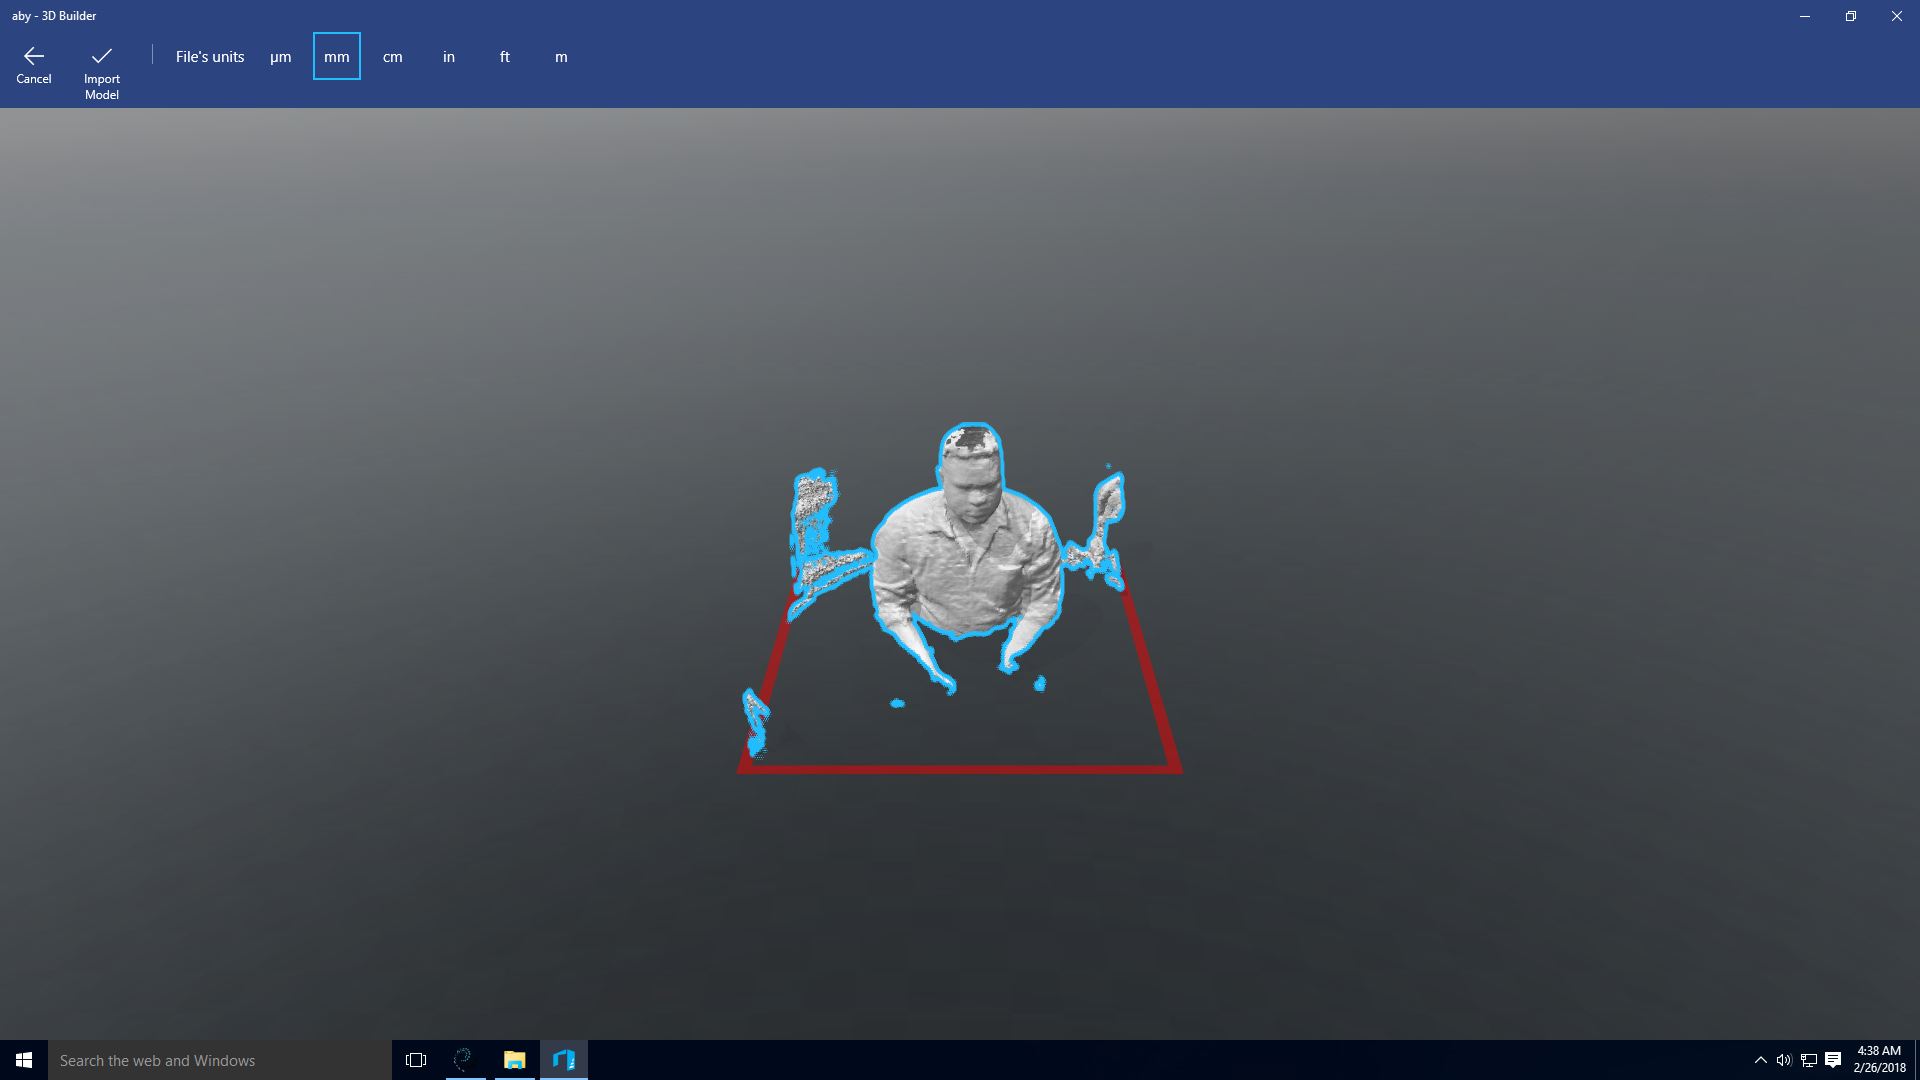
The scanned 3D model in 3D viewer
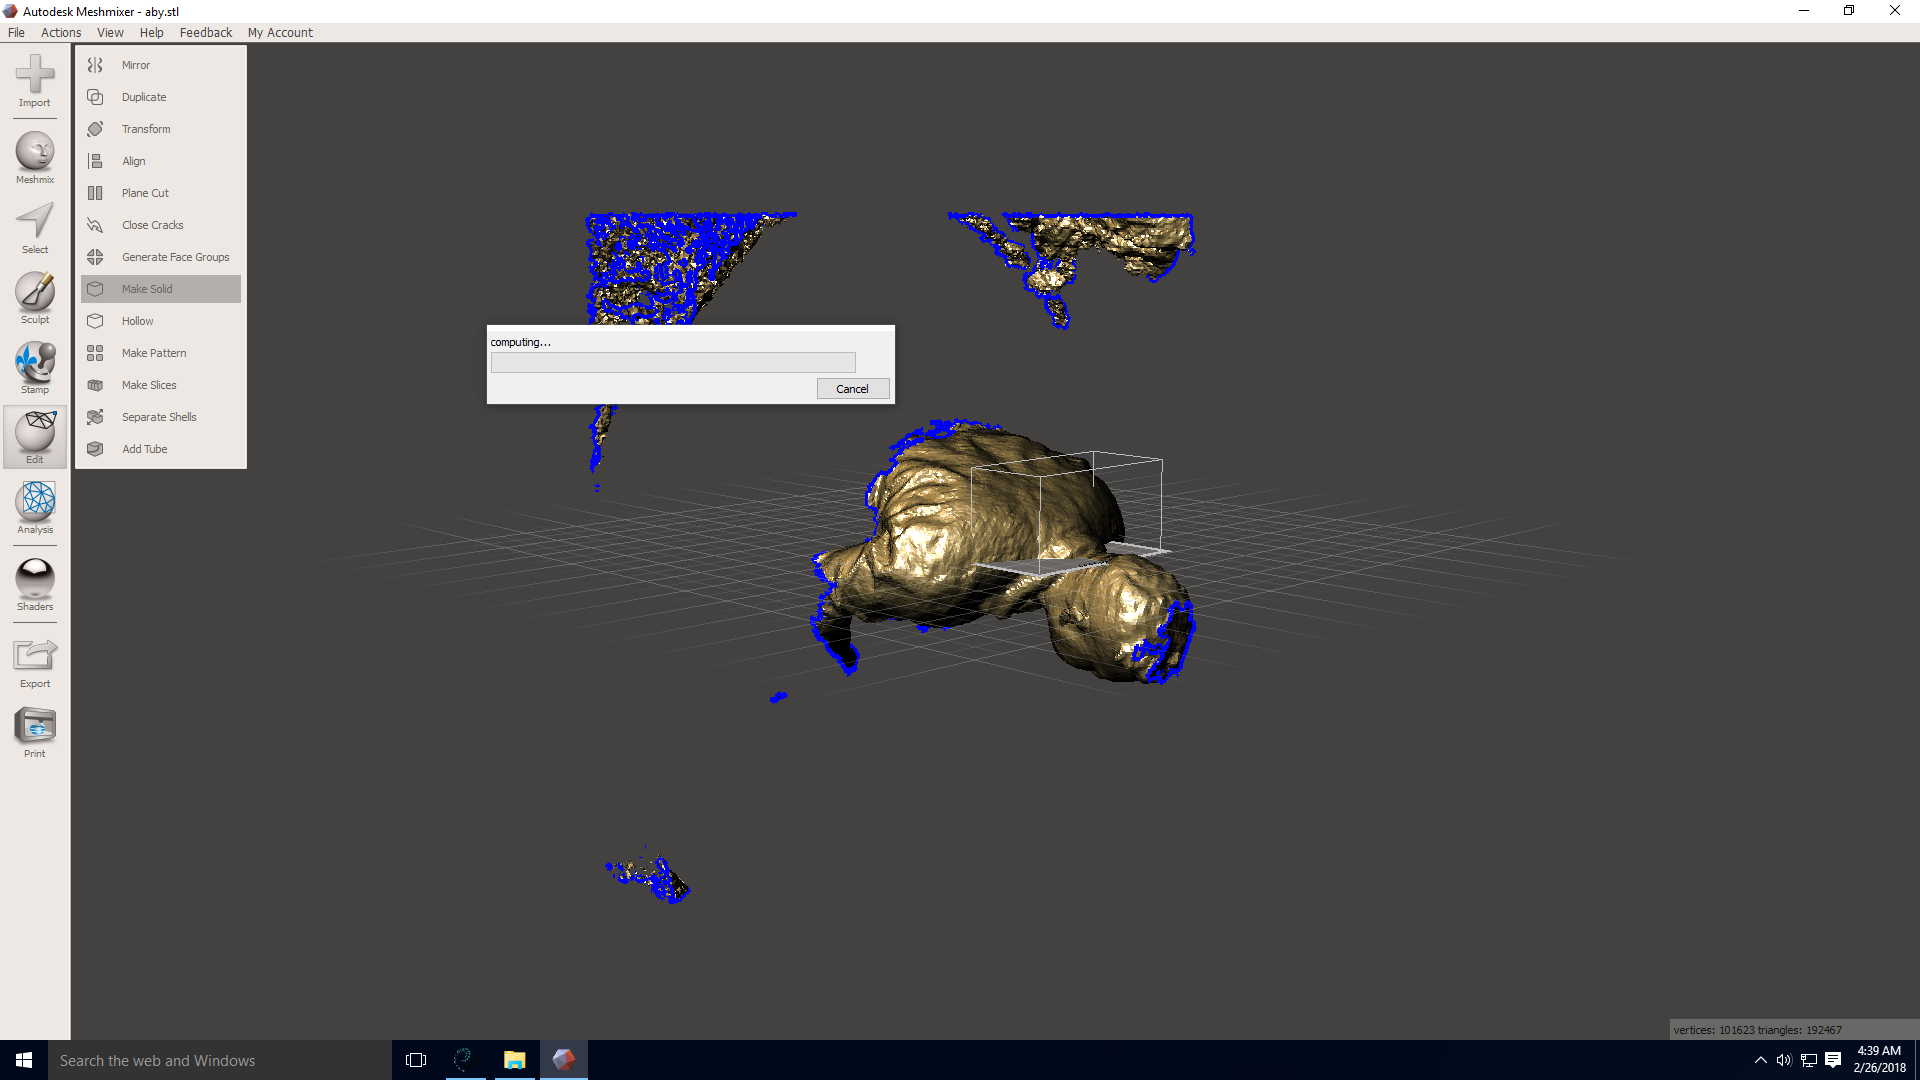
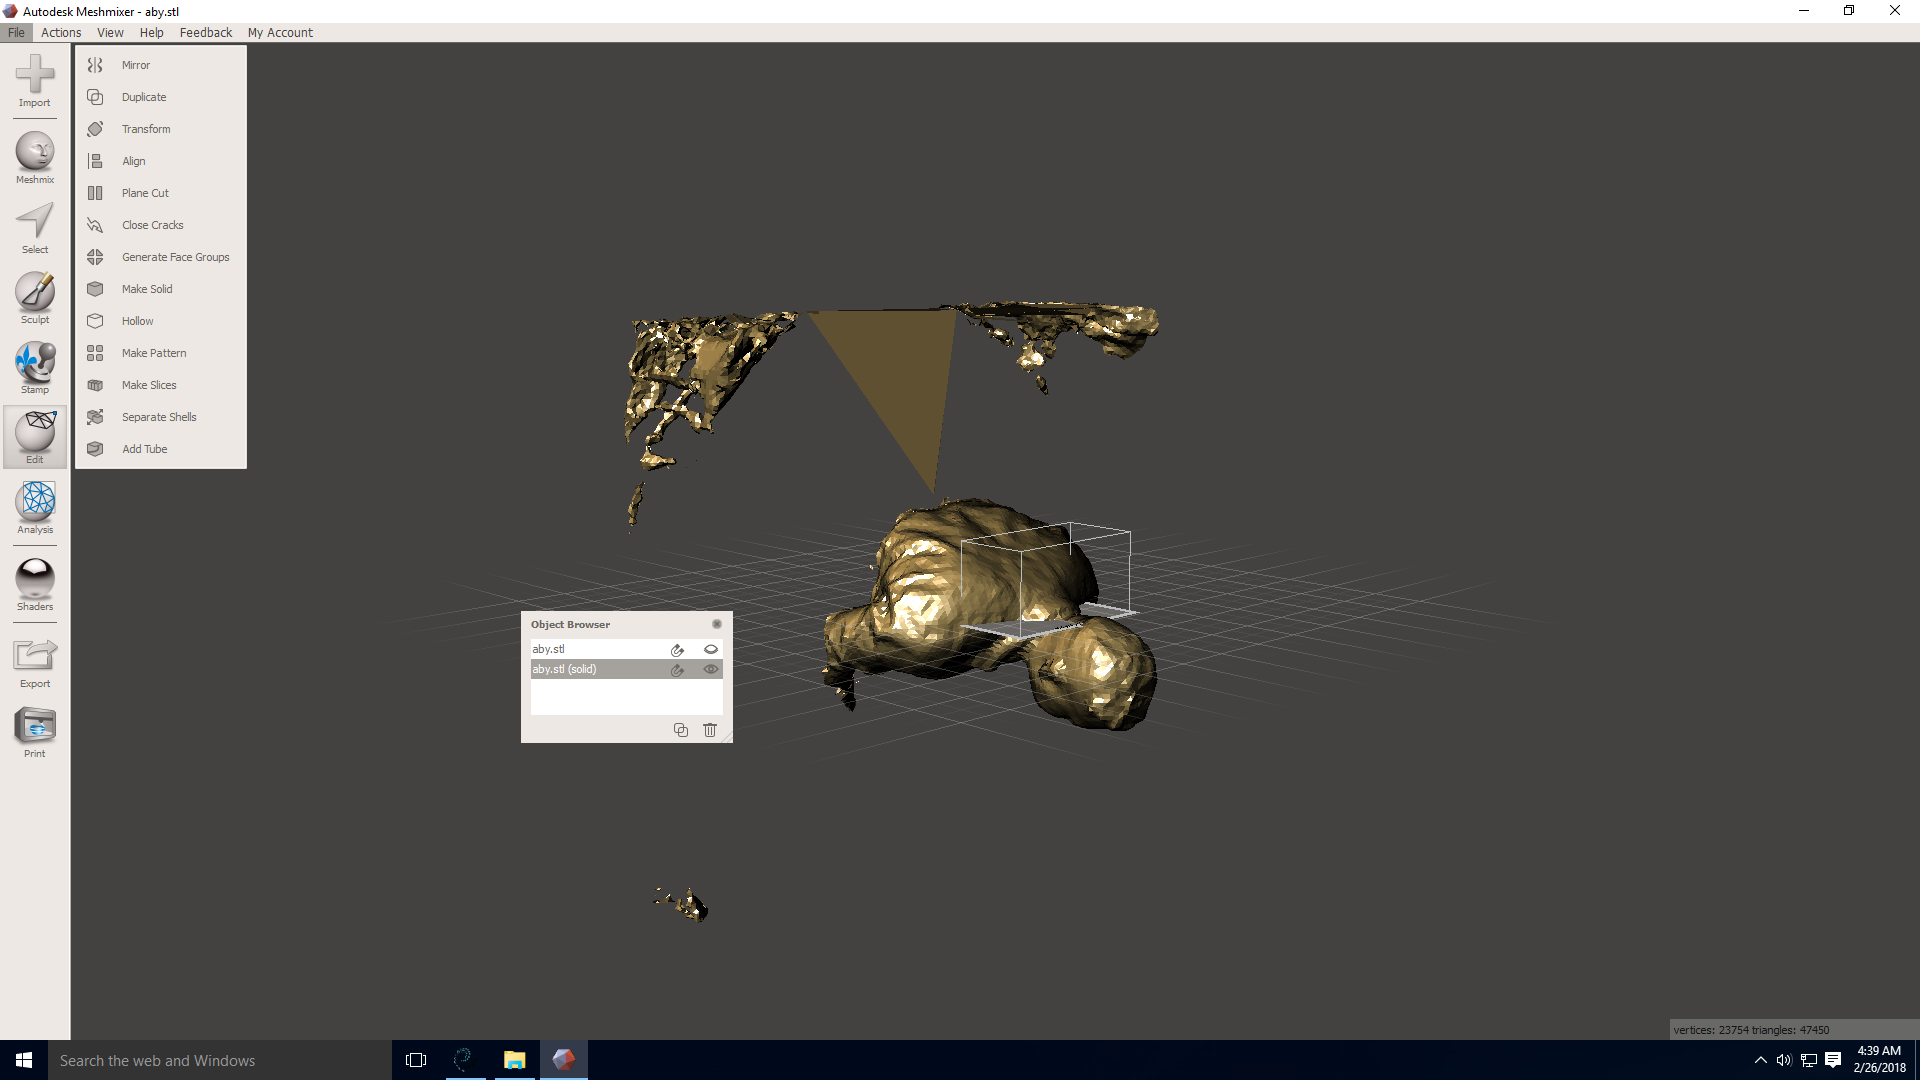
I opened the 3D model in Autodesk Meshmixer for closing the holes and making the 3D model a solid object.

Then i opened the Stl file in Cura to generate a G-code
Conclusion
This work by Aby Michael is licensed under a Creative Commons Attribution-NonCommercial-ShareAlike 4.0 International License.
