Week 13
Interface and Application Programming
The assignment for this week is to write an application that interfaces with either an input and or output device that I made. Having little knowledge in programming and ellectronic, I I seeked help form my instructor who introduced me to some basic processing and how to use it to read informations from the input devoice. To understand a little more about the processing, I also visitted the processing tutoral site from this this link .
Programs and boards used for this assignment
For this assignment, I used Arduino and Processing for programming and for hardware, I used a temperature control sensor I made during the input device week, the light sensor I made specifically for this assignment and I also used the Arduino uno board as an output device for testing with the processing. Below are the links to the software and boards used. Board files for the light sensor and the temperature sensor can be downloaded below.
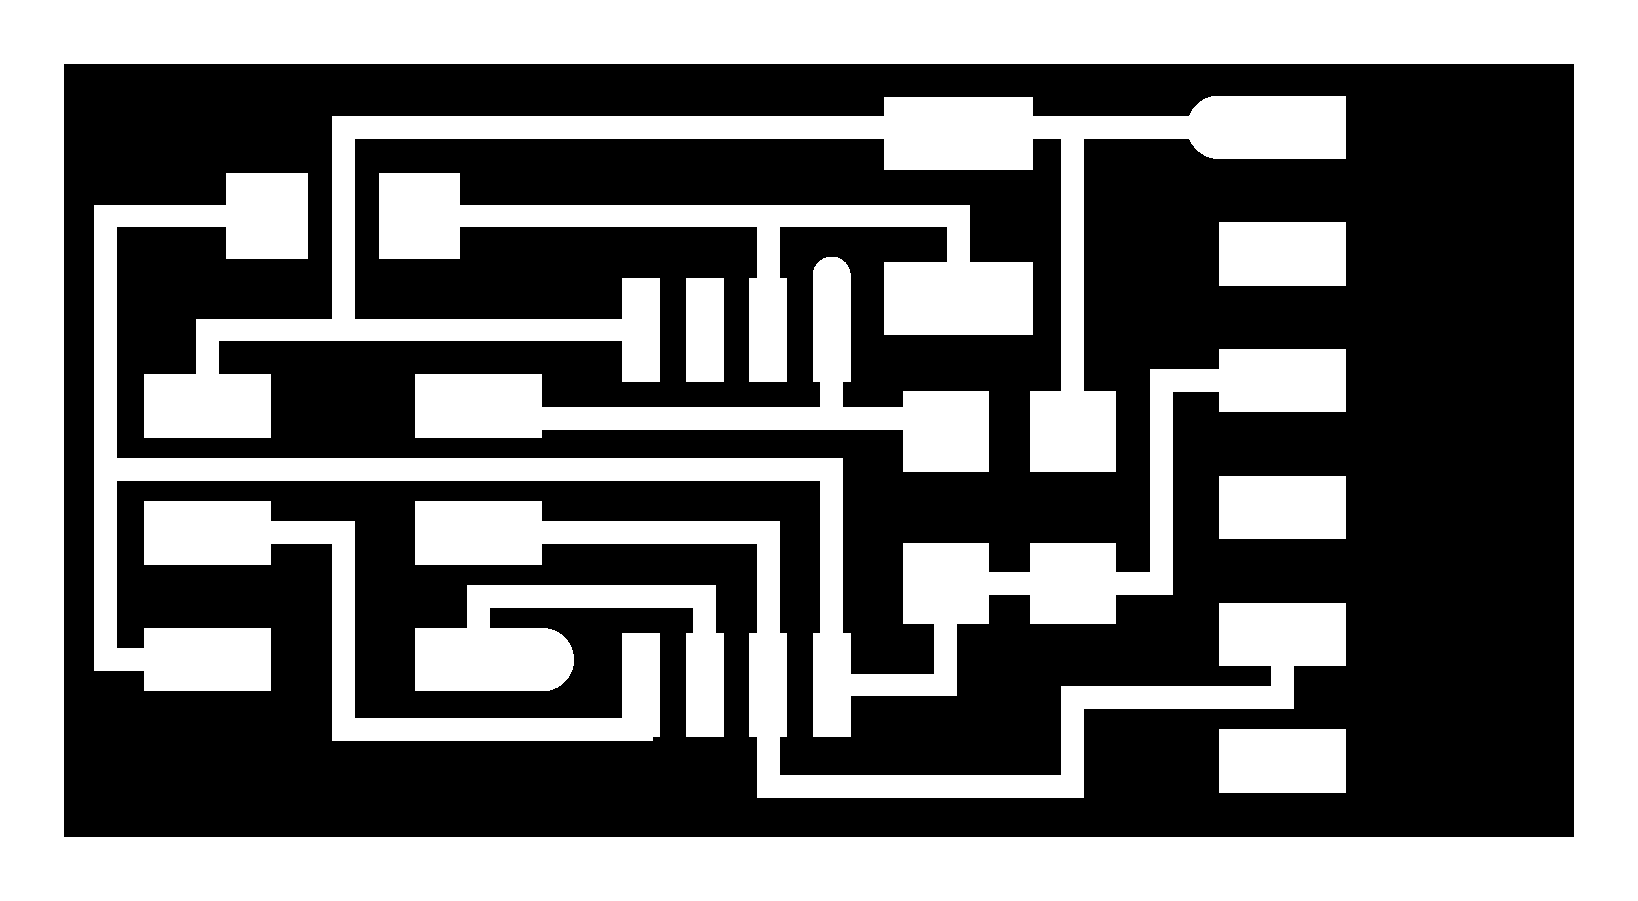
Ligth sensor files

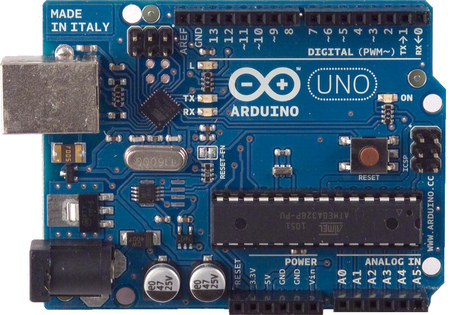
Teating my first GUI using the Arduino
I had to decide which board to use for the assignment. To make things easier, I decided to start by testing the my processing program with the arduino, so I wrote a simple processing program based on knowledge from my instructor and the tutorial site mentioned above to read the serial prot and perform a particuler function based on the reading. Before this I had to program the arduino board to write signal as output to the serial port. Below are the code for the arduino and processing.
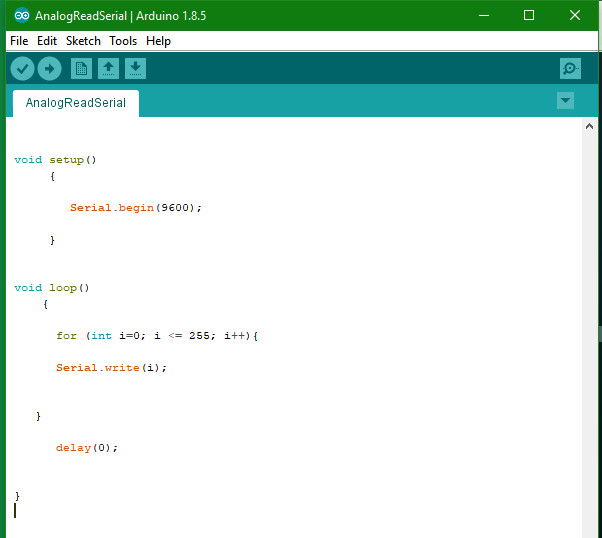
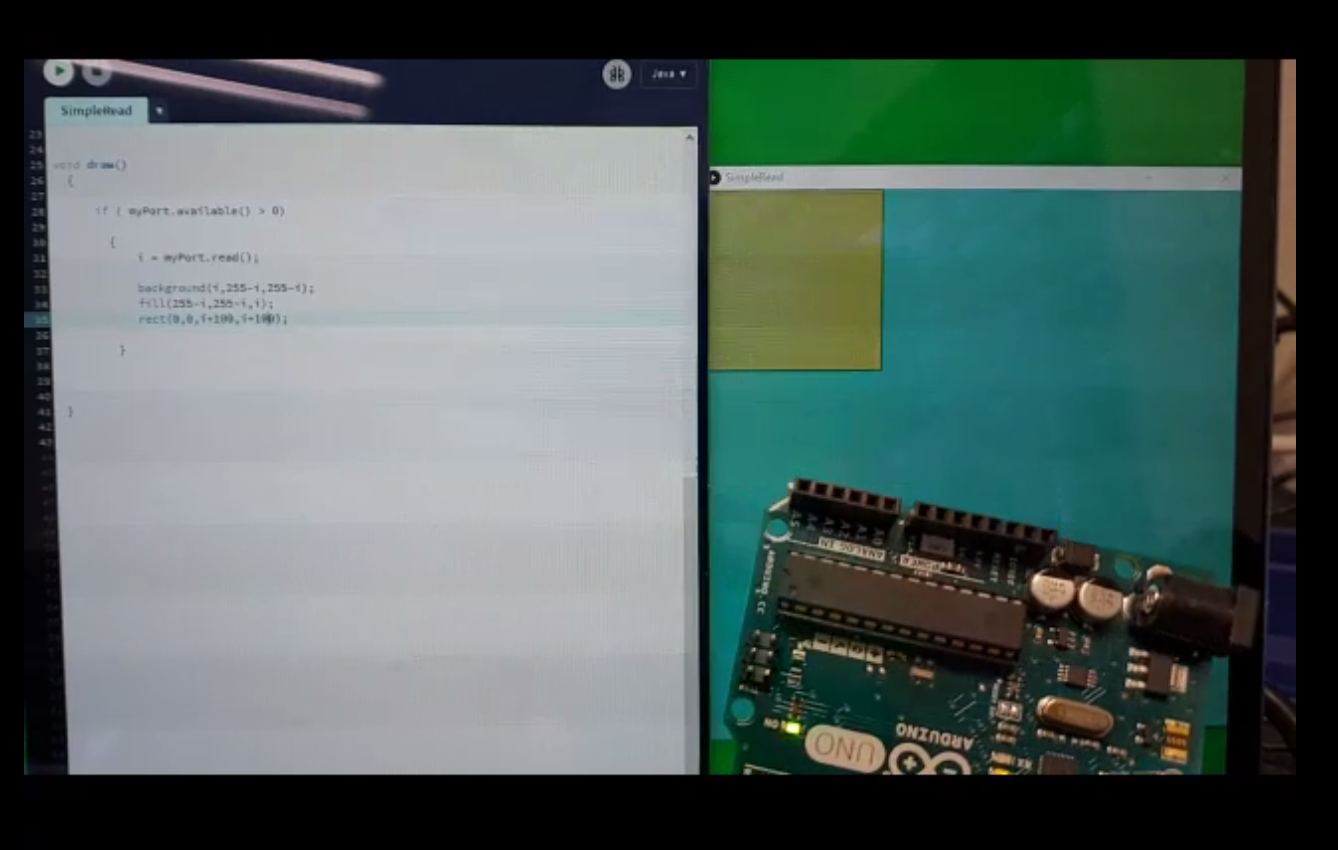
Test with Arduino

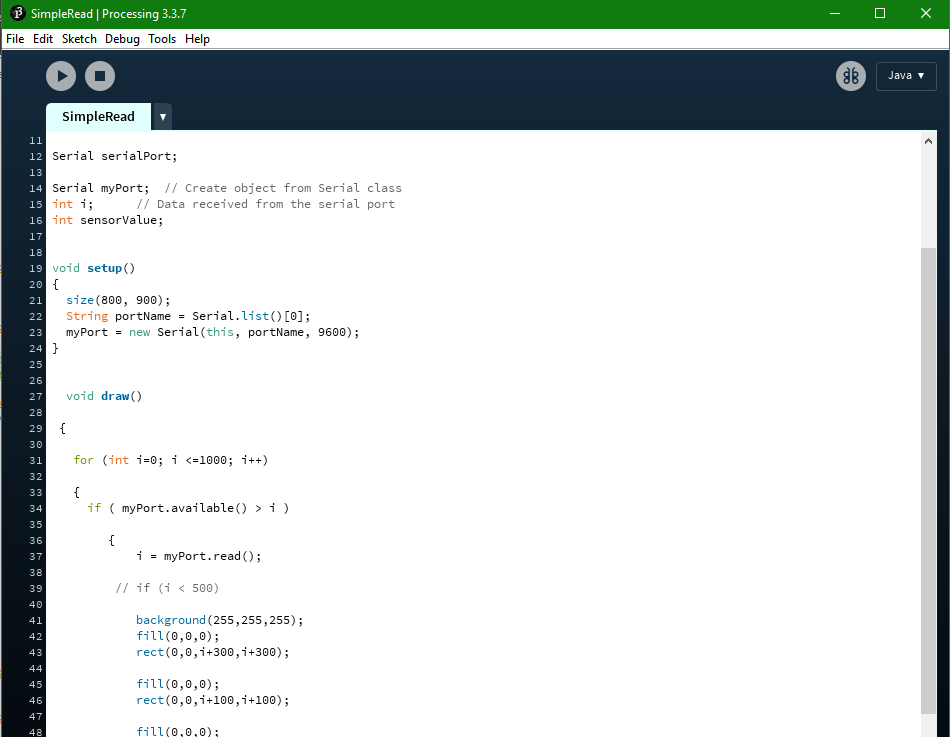
Procesing Code
Ligth sensor files
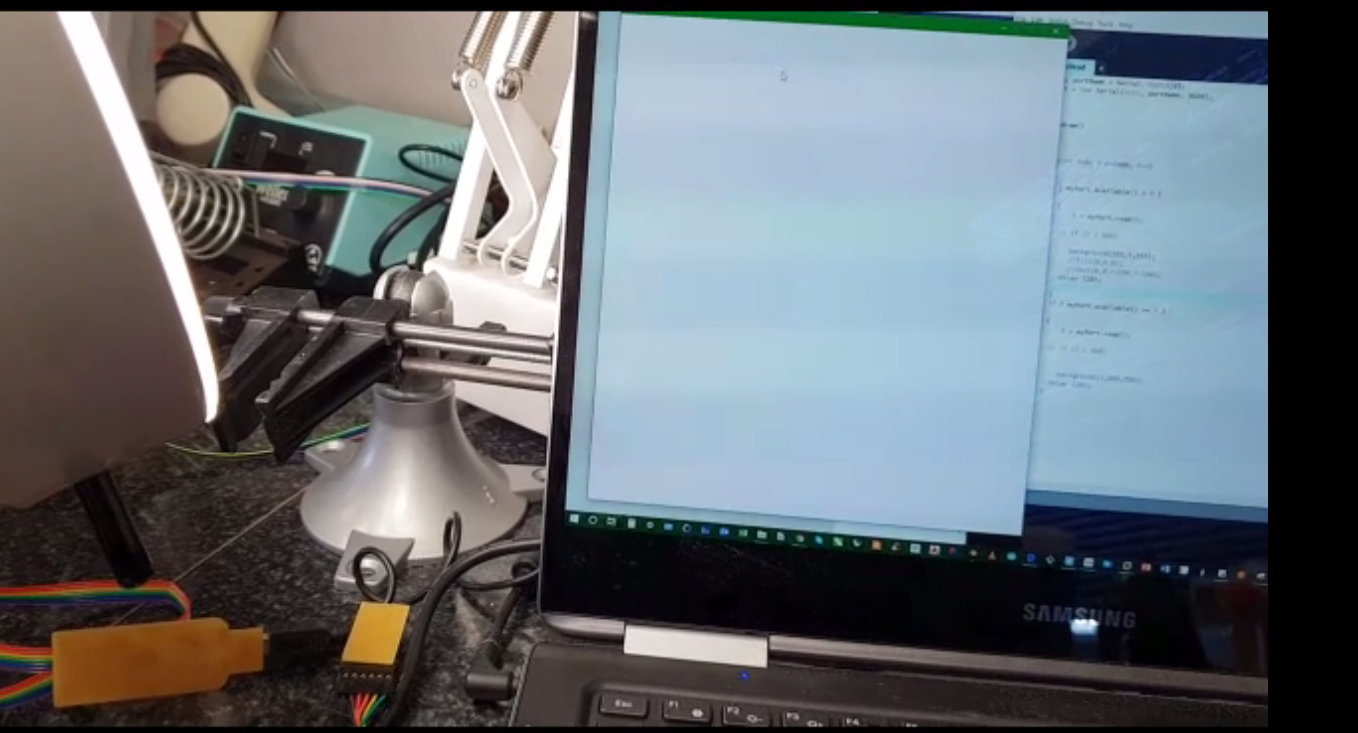
Testing a similar GUI from Processing with the Light sensor I made in the lab.
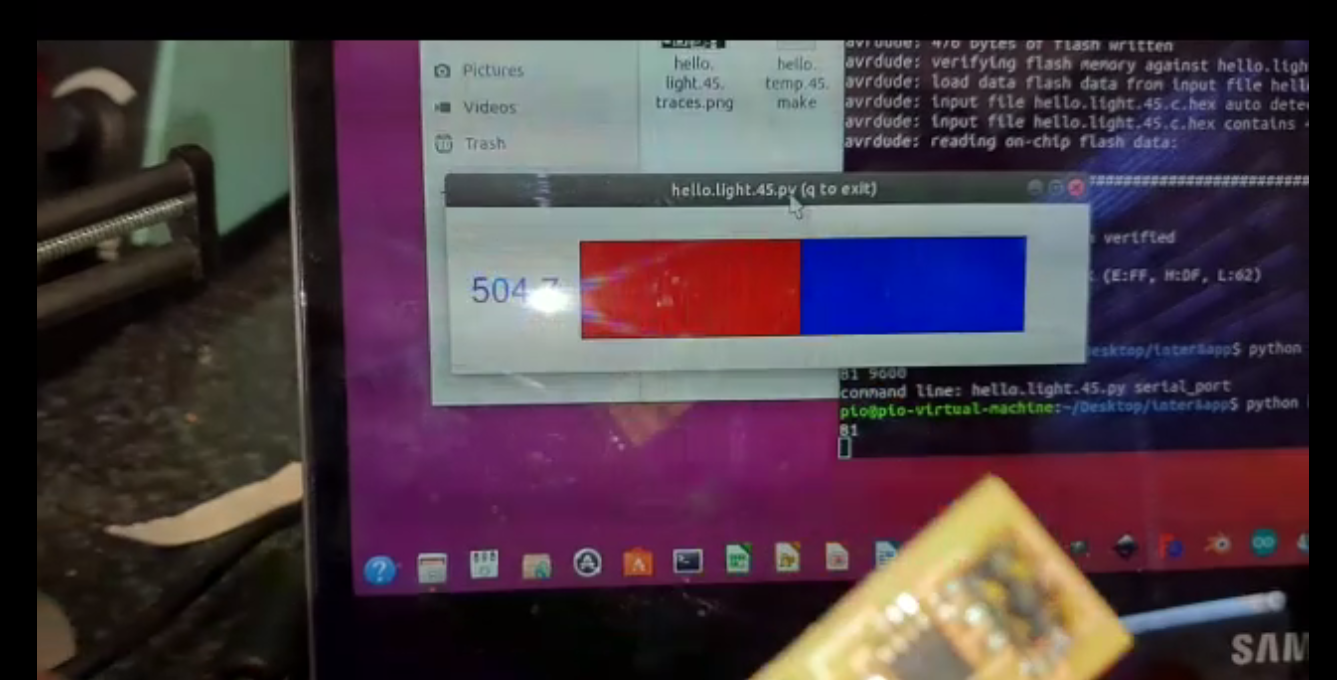
After test with the arduino went well I ddecided to try a similar thing wwith a light sensor I made from the class. I downloaded the light sensor files as mentioned above, made it and programed it using the FabISP and then runned it with a new processing code I wrote. But before running my board with the arduino and the processing GUI, I programed it with Niel's sample program files from the class site and tested it with his hello.light.45.py GUI program to make sure the board work. Find below the files for downlod, programming steps and video demo of the light senssor with the hello.light.45.py GUI.
Ligth sensor files
Unlike my first processing code with the arduino board above, which changed the size and color of a square simultaneously based on the value recieved from the arduino. I decided to program this one to change the color of the background from greenish to white based on the sensor value. find codes and video below.