Week 11
Input Devices
The goal for this weeks assignment is to make an Input Device, program it and then test it by measuring the output signal of the device. I decided to take the copy of the temperature sensor from the class website and then try it out to learn and see how it works with the help of my instructor. So I downloaded the board files from the class website, processed it with the fabmodules and then milled it out. I then sellected all my components and then soldered the board. See photos of step below.
Making my sensor board


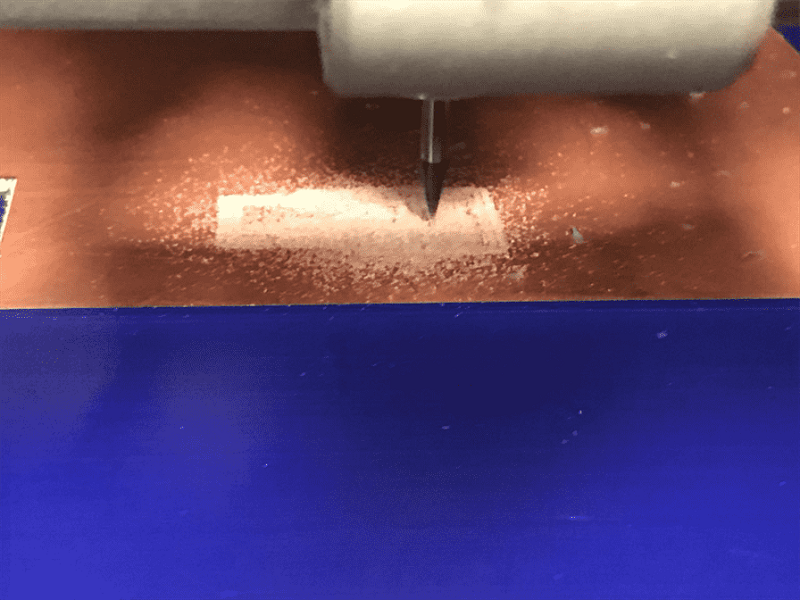
Milling the board with SRM-20
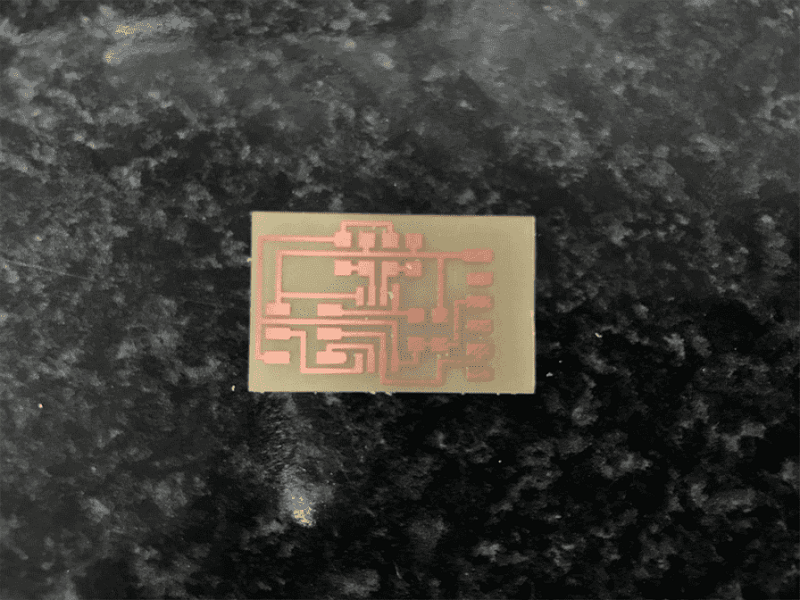
Milled board

Picked all my components
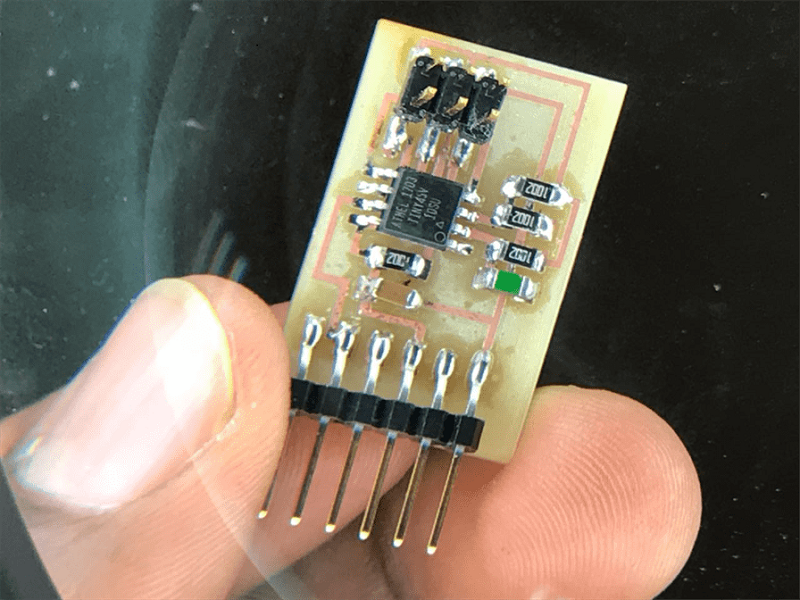
Soldered my components to the board
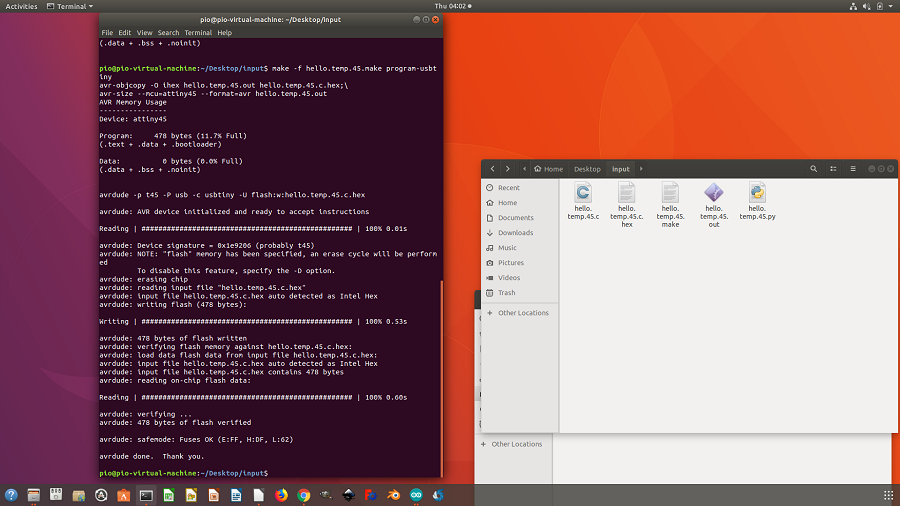
Programming the board
After making the board, I downloaded the .hex file, the make file and the terminal dot py files from the class site to program and test the sensor. I then opened the ubuntu terminal and then programmed the sensor with the help of my instructor. but not after we had a few failed attempts. After programming the sensor, we tried it out by connecting it to the computer with the FTDI cable and then running the term.py file to read the signal from the sensor. Links below show the programming steps and a video of the testing stage.
Download files for programming and testing sensor

Run the hex command
Programmed hex file to the board
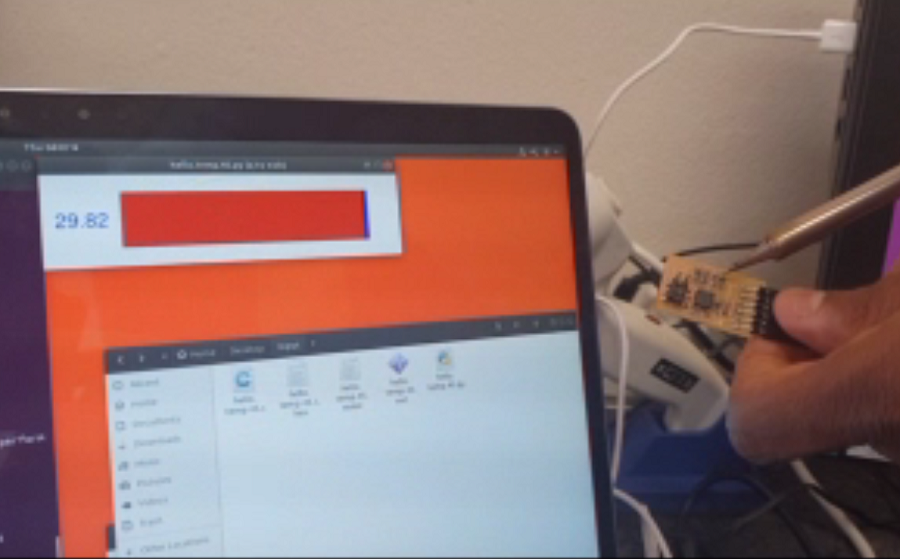
I then tested the sensor with the hello.temp.45.py file to read the output of the sensor from the computer using the FTDI cable. Link to testing video below.