Week 10
Moulding and Casting
For this weeks assignment on moulding and casting is to design a 3D mold using available stock and tooling, machine it, and use it to cast parts. I decided to make a footing for the coffee table I made during the computer controlled cutting week. Before making my 3D molding and casting, I had to test my material to see which once are good and viable for the part. I started by sampling the materails to see how they compare when mixed. The first problem I accounted was that all the low temperature silicon rubber compound we had at our lab had gone bad, they had all solidified due to exposure to the wrong conditions and as such I was unable to use them. We did however have the High temperature silicon rubber which I noticed could serve the same purpose even though it was not meant for it.
Available Compounds and Conditions.
Below are the compounds we have at our Lab for moulding and casting and their condition.

Low Temperature Silicon Rubber compound; (Expired / solidified due to exposure to the wrong conditions)

High Temperature Silicon Rubber Compound; ( In good condition)
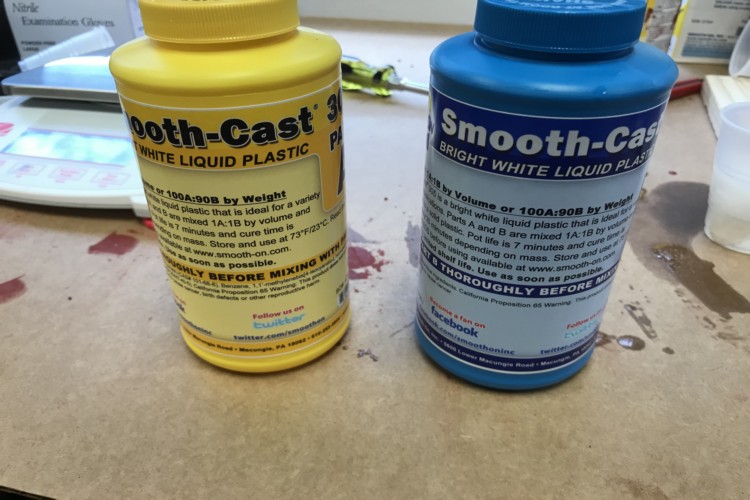
White Liquid plastic compound; (still in good condition)
Testing (sampling) the available compounds
Using small plastic containers, I sampled the compounds to compare the materails. I started by mixing the compounds according to the ratio specified and allowing them to solidify.
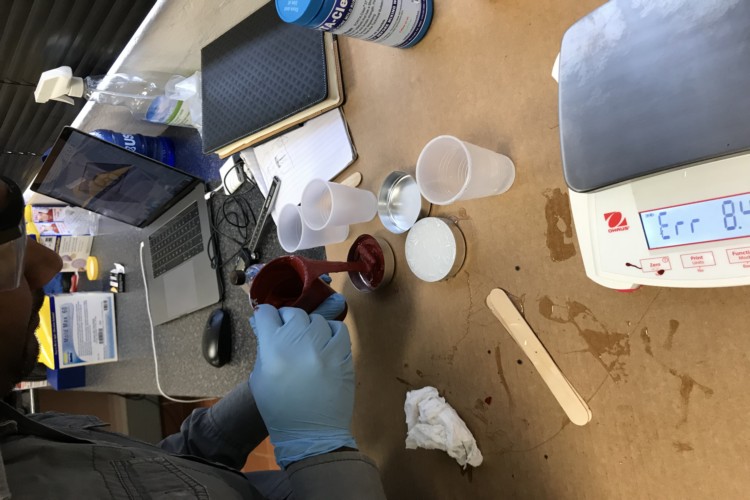
Mixing the High temperature silicon rubber compound.
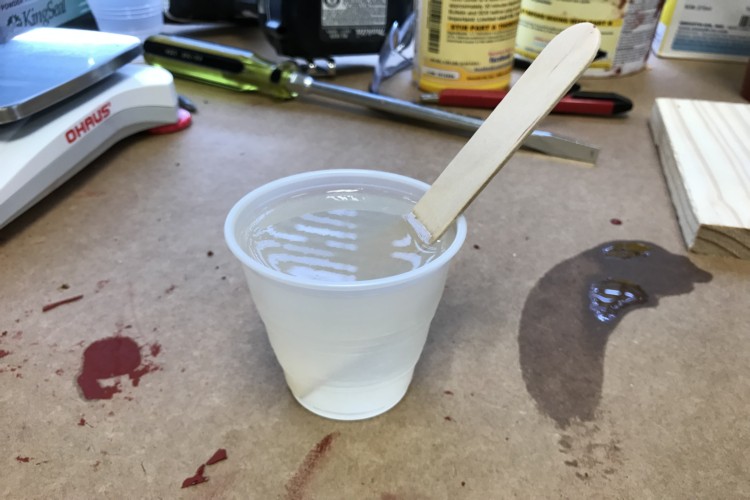
Mixing the white liquid plastic compound
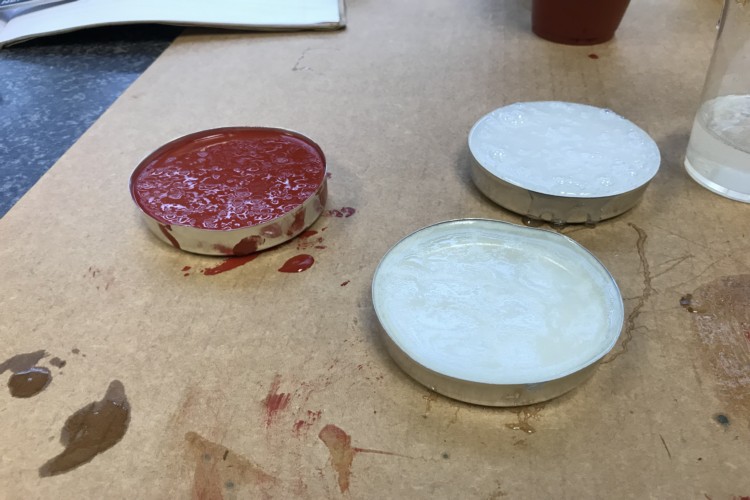
Poured the compound into small container and allowed for solidification.
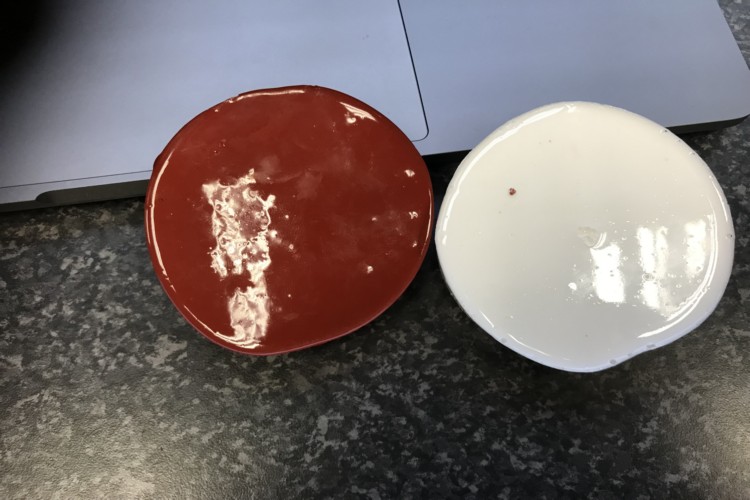
Removed samples from containers after it has solidified
My observations
After taking out the samples, I noticed the sample part from the high temperature silicon compound did not come out as nice and detailed as I expected, this I realized was because I did not mis the compound very well and as such had a lots of bubbles in the mixture which affected the end product. So I realized i had to make sure all the air bubbles are out before pouring into the mold in other to not get a bad finish after making the mold. For the white plastic compound mixture, I realized that it starts to harden quiet fast and becomes hot while mixing. So realize that I have to mix it correctly and qucikly and poure it into the mold before it setts. For the setting time, I noticed the time it takes for the Plastic compound to set and hardeen is much faster than that of the Silicon compound. The plastic come out much stronger and harder than the Silicon compound.
Making my design for the Footing
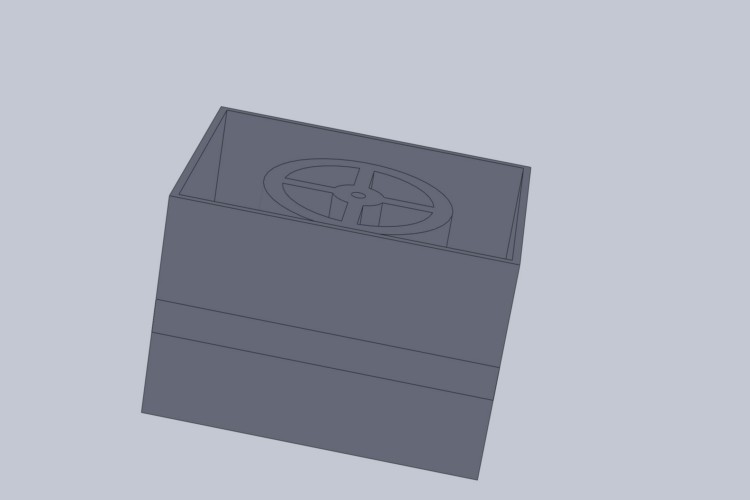
Using solidworks, I designed my footing for the coffee table and was able to create the competed design. I had to make a two part mould in order to make the footing. I designed and the both parts and then superimposed them to make sure they were correct. I then exmported the files in stl format. Below are photos of my design.
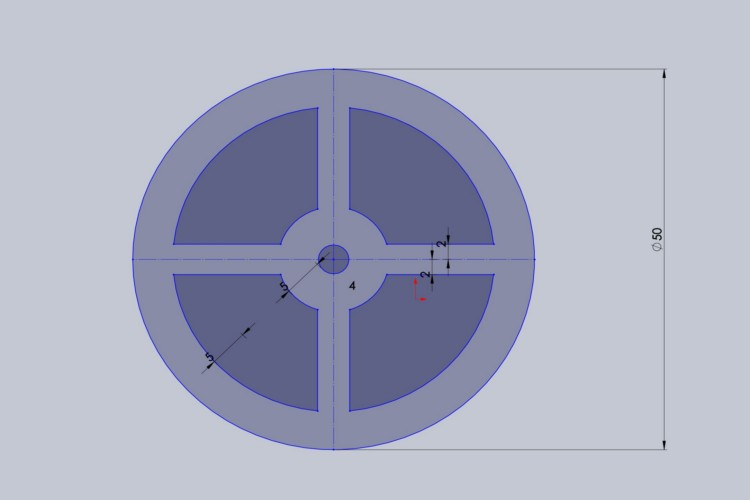
Drew the part sketch
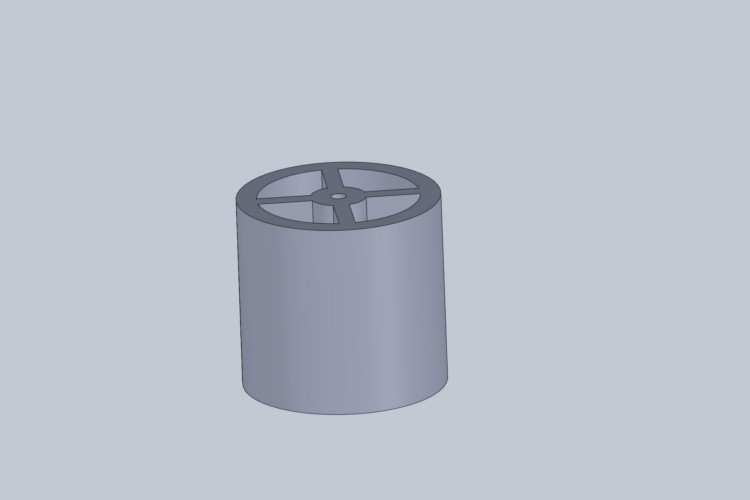
Extruding the sketch
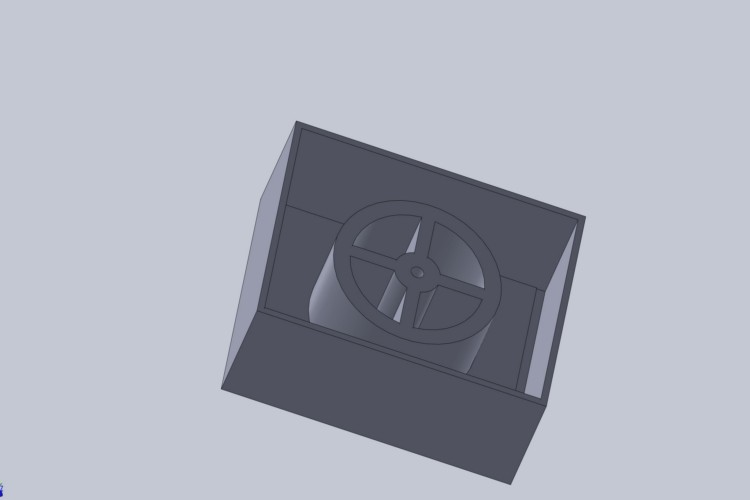
Created a box around the part
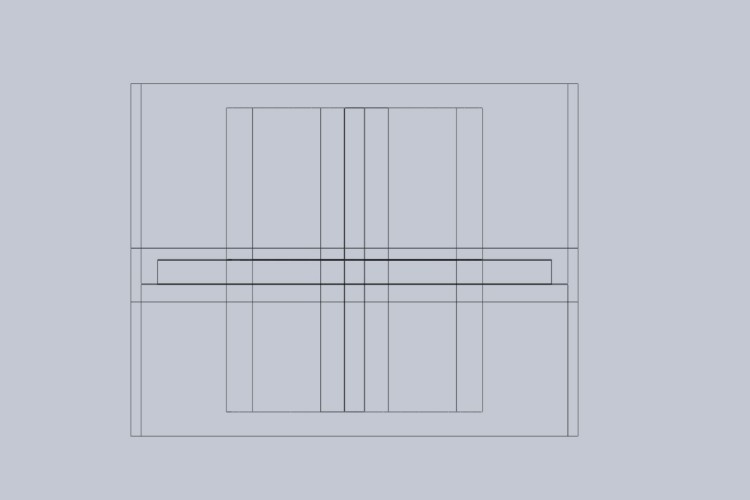
Superimposing the parts to make sure that they lock into each other
Parts superimposed
Making the Mould for Casting
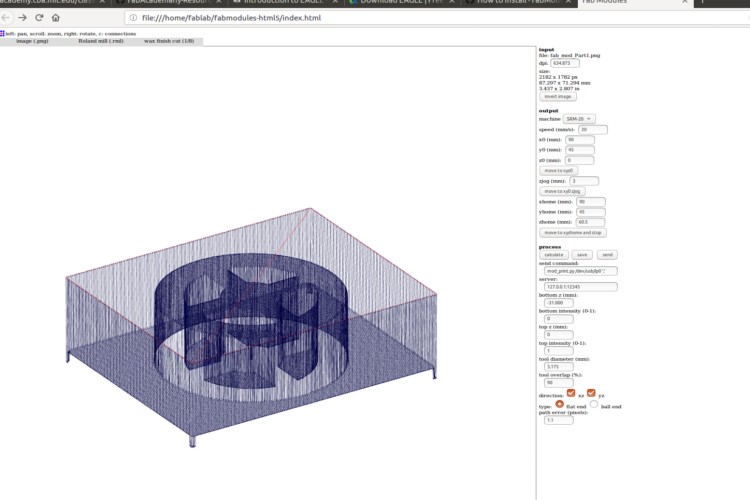
After exporting my files to stl format, I tried using the HTML-5 version of the fab module to process and mill my files but was unable to so because it kept giving me an error. To rectify this, I had to use the old fabmodule to converted the stl file to a png file, which I was able to open in the new fab mod and was able to mill. Below are the photos of the process of milling my mold. for milling the wax, i used the Roland SRM-20. I used the terminal in Ubuntu , and used the fab module. i then brought in my STL file and selected my printer(Roland Mill) and selected the Wax Rough Cut(1/8) , settings , tool dia. 3,175, cut dept of 1,5 and top intensity of 1 and number of offsets -1. after completing the rough cut , i followed the same process but this time selecting the option Wax Finish Cut(1/8) and making the final cut. for the material used for my molding, i used the Mold Max 60, as i did not have the normal latex mold material. The mixing ratio was by weight 100A:3B . I pot life of 40 minutes and curing time of 24 hours The liquid plastic used was the smooth cast 305. this was also mixed by using a weight ratio 1A:1B the pot life for this was 7 minutes and cure time 30 minutes . the most hard part for these materials is they dont have a very long shelf life which makes it hard to just procure and store.
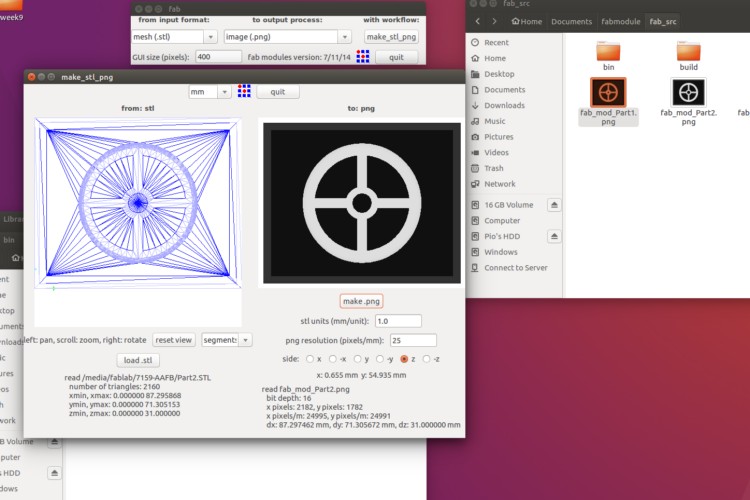
Converted parts from stl to png

png of Part 1

png of Part 2
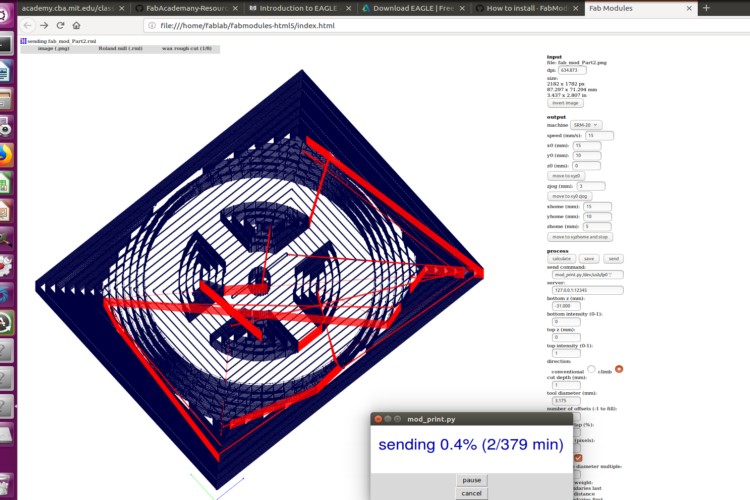
Using the HTML5 fab mod, I imported the png file and then setup all the parameters for cutting, and then sent the files to the rolan SRM-20 to proceeded the milling. Photos below shaow the milling process.
after milling the rough cut, i then did the finish cut.
Imported png and processed for cutting
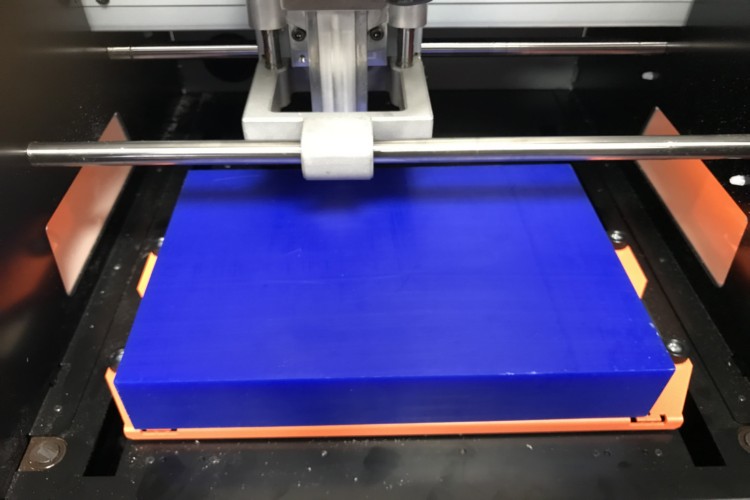
Setup my material (wax)
Sent file to milling machine for milling
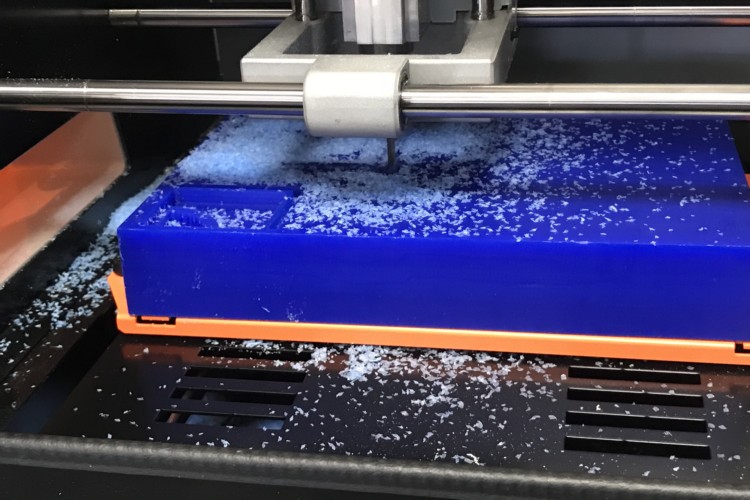
Milling the parts

Parts milled and ready for next process
part 2 wax mould
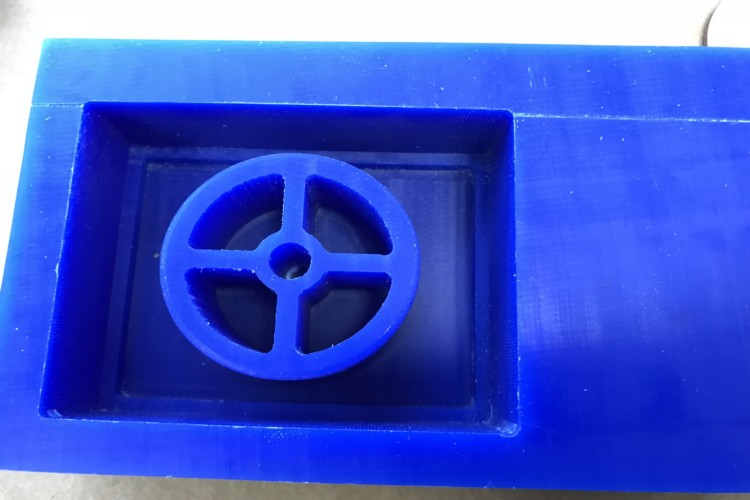
Making the mold and casting the part.
Mixing the slicon rubber compound and poured it into the mold.
Left it to settle and solidify.
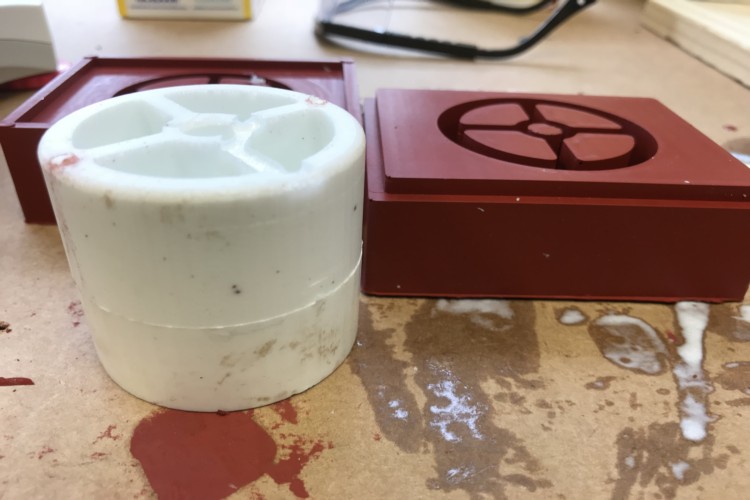
Removed the slicon mold from the wax
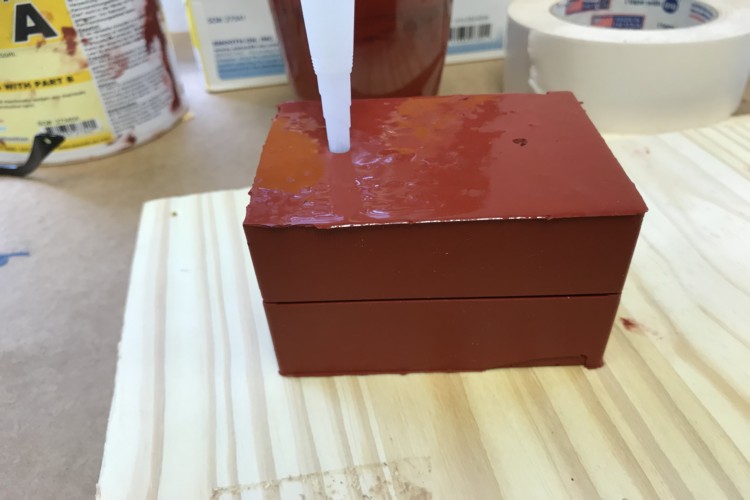
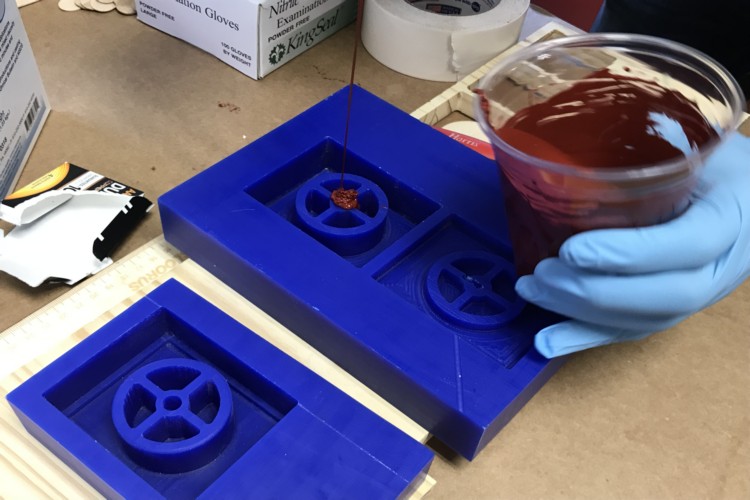
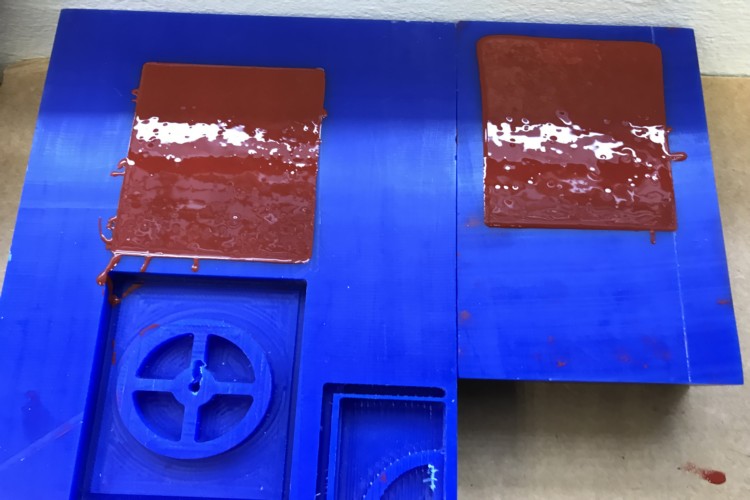
Put the mold together and then poured the mixed white plastic compound
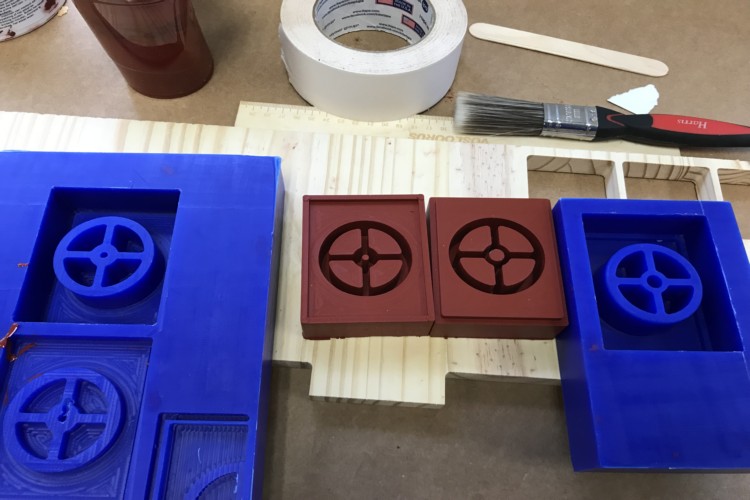
Allowed time for solidification and then took part out of mould.