Week 09
Emberded Programming
For the assignment this week, we are to program our board to do something usinng as many different programming languages and programming environments as possible. To accomplish the assignment, I decided to program my board from the electronic design week and decided to use the avr-gcc environment on the Ubuntu oprating system and the Arduino programming environment.
Before starting with the programming, I had to once again go through the datasheet for the microcontroller used in building my circuit (attiny-44) and also install all the necessary software and thier corrisponding dependencies.
Programming My Board Using the AVRDUDE
It turned out I ded not need install any of the avr packages and thier dependencies because I already installed them during the Electronic Production to enable me program my FabISP. So all I had to do was go through the datasheet for the attiny-44 to understand the fuction of the pin, download the C and make file for the board I designed and the program it. Below are photos showing the steps followed to program the board, the problems faced and how the problens were solved.
Programming Steps Using the AVRDUDE on Ubuntu terminal
-
I downloaded the hello.ftdi.44.echo.c and hello.ftdi.44.echo.c.make files from class website. Get files below.
-
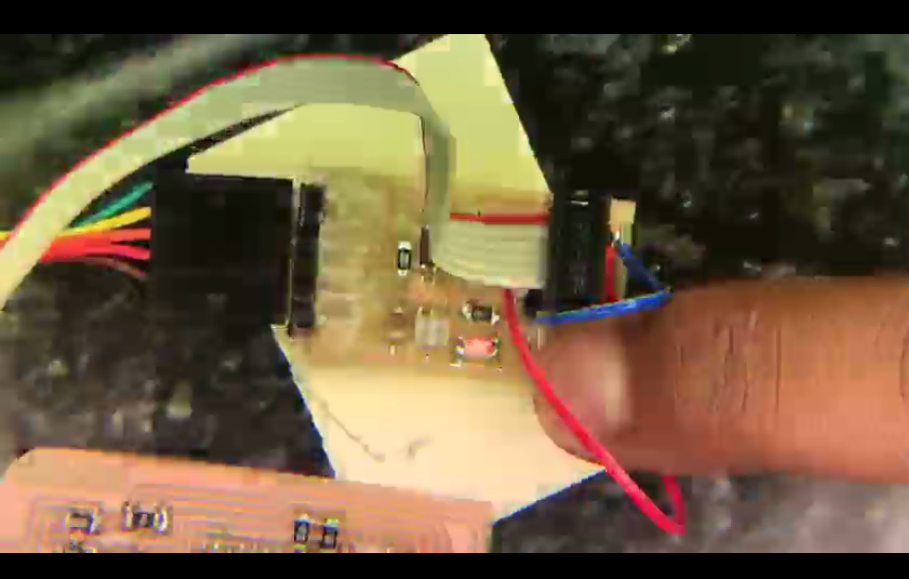
I then run the make command on the ubuntu teminal to make the hex file which will then be uploaded to the board. But I kept getinng connection errors after making the hex file and trying to program the board. I then went back to my board file and datasheet to find out what went wrong only to realize I left out the 10k resistor that connects pin4 of the attiny-44 and the switch to the power. To fix this, I soldered the resistor to the power and connect other pins with jumper cables. I then tried the programming again and it worked out without any error report. Photos below.
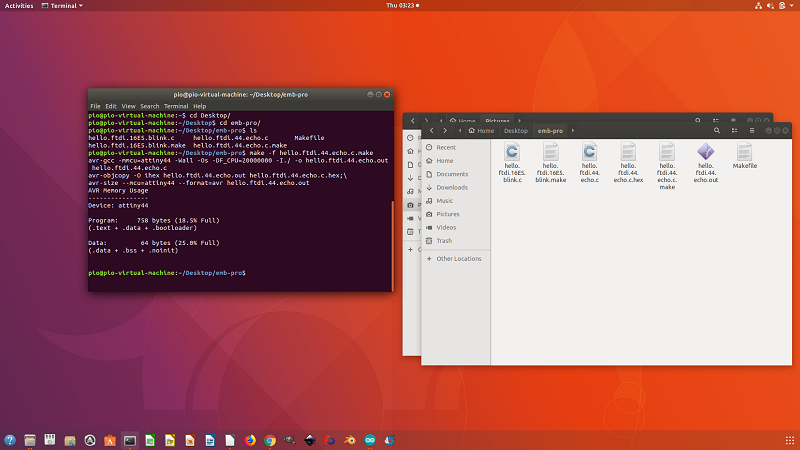
Generated hex file
wiring correction

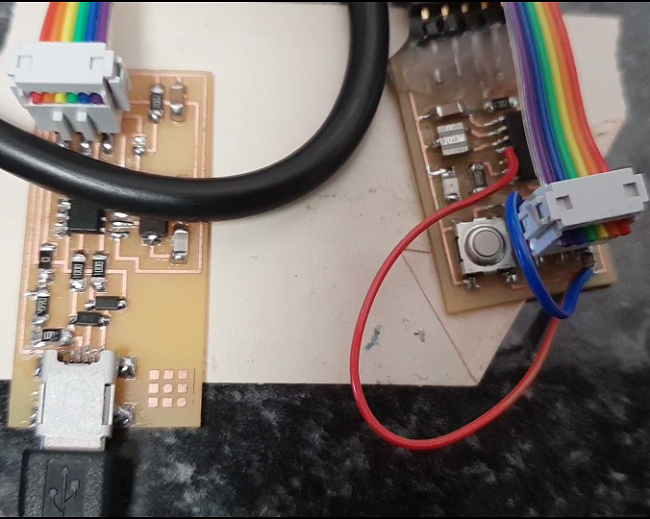
Programed board after fixing wiring mistake
-
After programming the board, I downloaded the term.py file and then tested the board to make sure it is working correctly, and it happened to work on the first attempt. Photo Below.
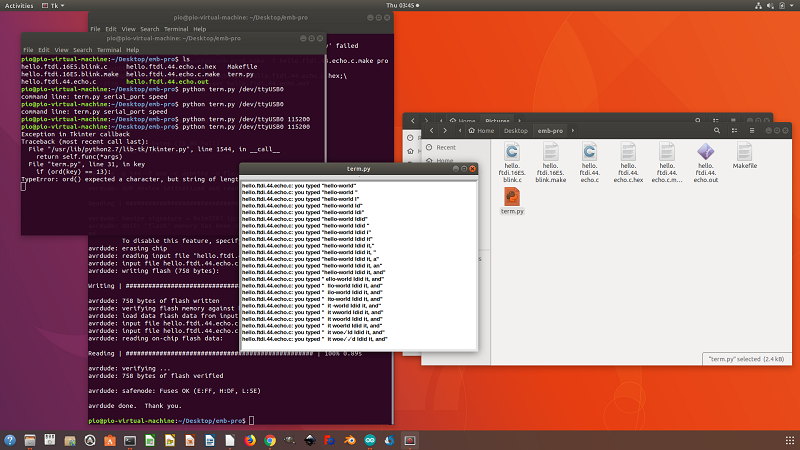
Tested programmed board with term.py from class site
Programming My Board Using the Arduino IDE
-
After programming with the Avrdude from the ubuntu terminal, I decided to try different programs using the arduino IDE. So I downloaded and installed the Aduino IDE from the arduino website.
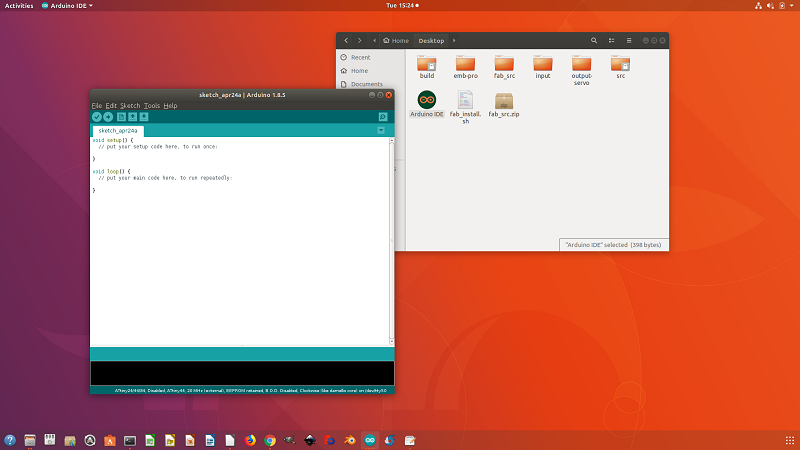
Download arduino here
-
I then added the board manager to the attiny-44 package to anable arduino burn boatloader and program the attiny microcontroller chips.
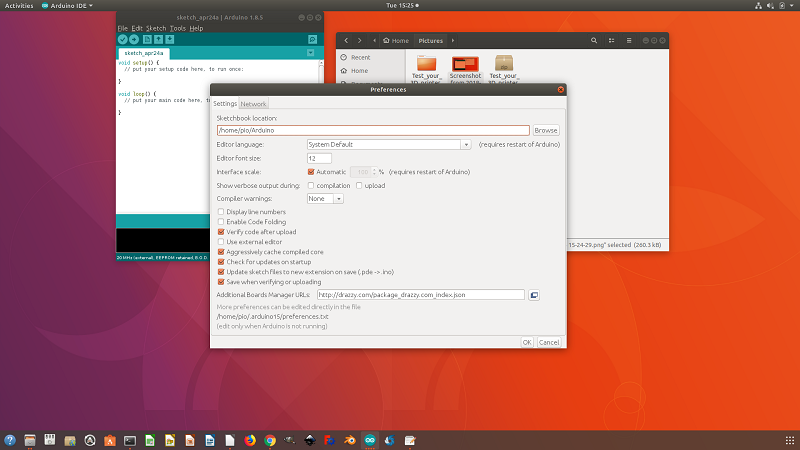
Added board package link to board manager in arduino
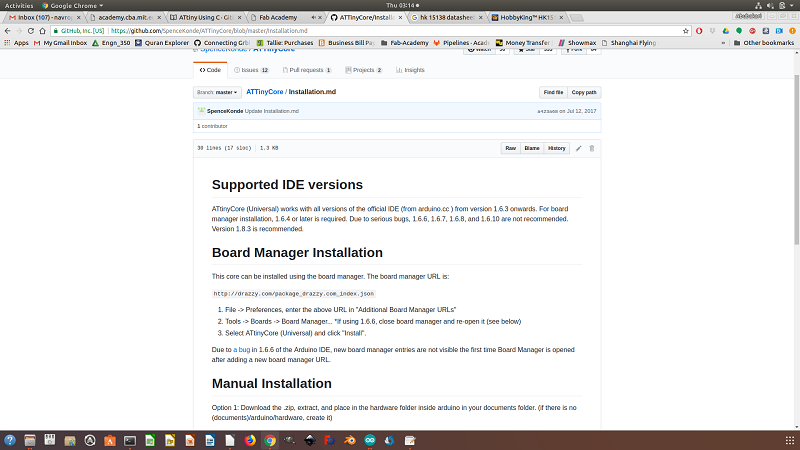
Instructions to installing board manager
-
With my hello-wold board connected, I opened the example blink program in the arduino IDE amd edited it to comform with the attiny-44 pins used as input and output, sellected the correct board from the board list, the correct programmer (in my case the UsbtinyISP), sellected the clock speed (20Mhz), sellected the chip type (tiny-44), sellected the usbport connected to my board and then loaded the program to the board. See photos below.

Sellected all the programming parameters
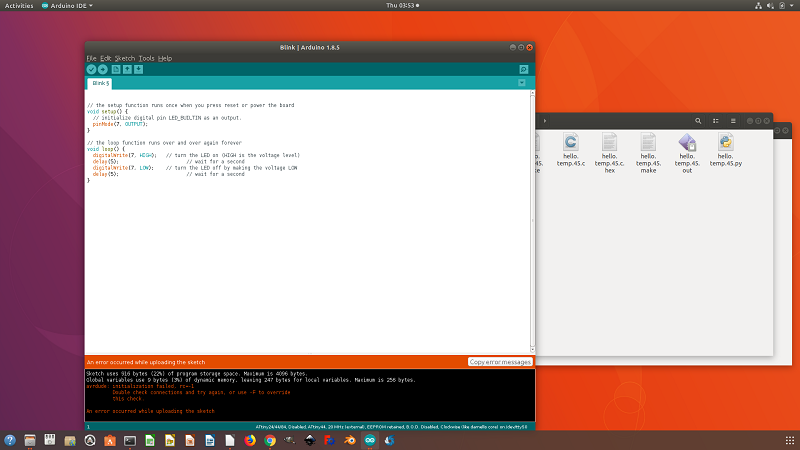
Error when programming without the correct programming parameters
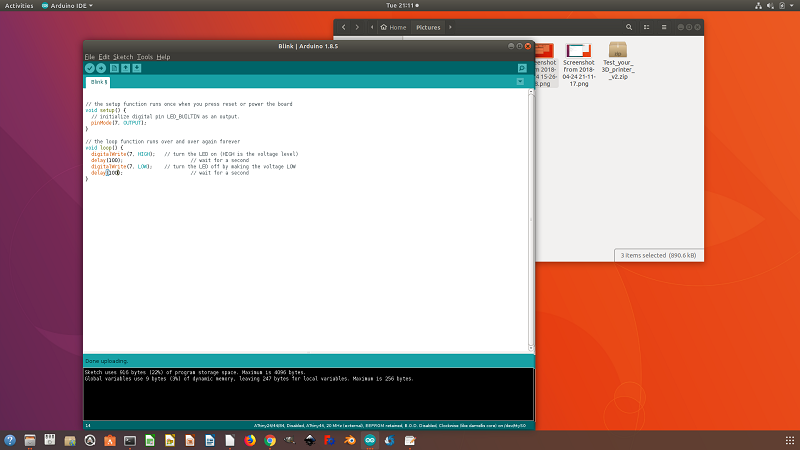
No error after sellecting all the correct programming parameters
Link to blink video
-
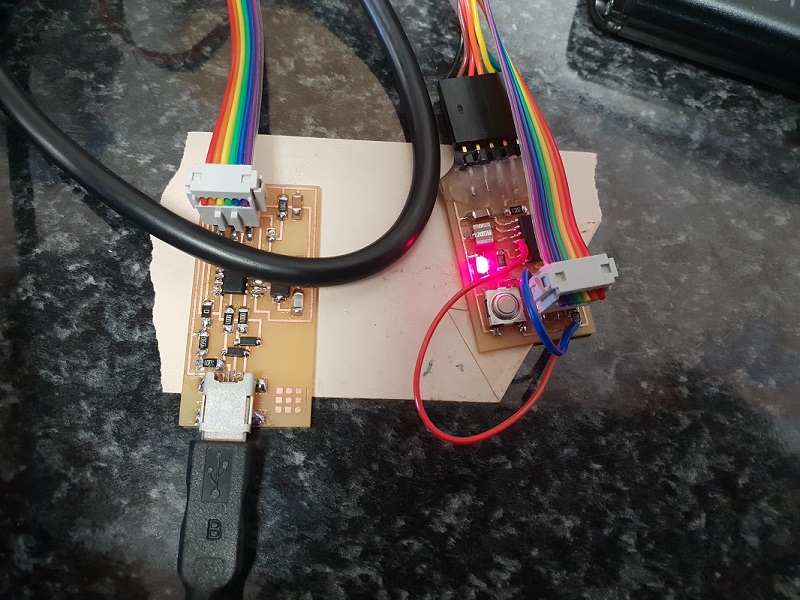
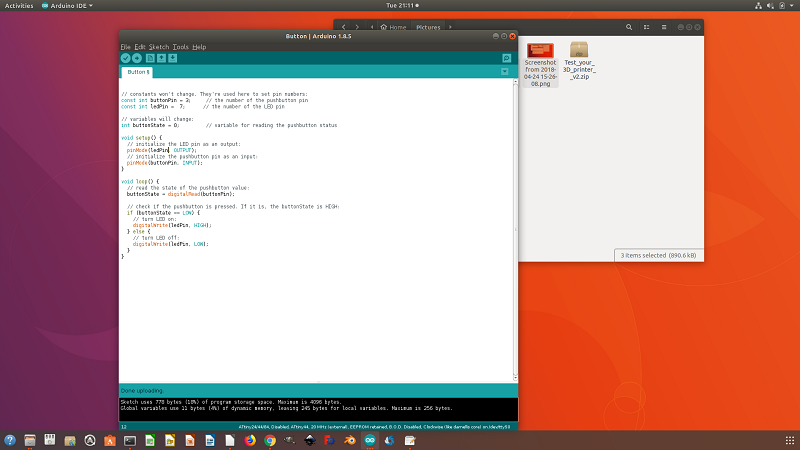
After programming the board with the blink program code, I followed the same process and programmed the push button code to the board to turn on or off and LED when a switch button is pushed. See photos and videos below.
Programmed push button code to board
-
The button turns on and off the light emitting diode(LED) connected to digital pin 13,when pressing a pushbutton attached to pin 2.
The circuit:
- LED attached from pin 13 to ground
- pushbutton attached to pin 2 from +5V
- 10K resistor attached to pin 2 from ground
the LED pin is a PWM pin, which means that is not only a I/O pin, but it also sends signals between 0 and 255, emulating an analog signal.The LED pin is the output pin and the Button pin is an input pin