Week01 and 2
Principles and Practices, and Project Management
This is the first time for me to actually be able to create my own web page and populate it. It was a great challenge to get to this point but I managed to get through it with help from my Guru. I began the process by first signing into my Git account to make sure I have a student project for me. Folloming the instruction for generating SSH-KEY, I generated the a public SSH-KEY for for my account Using the GitBash, which I had after installing the windows version of git, the image below shows the screen shot of the SSH-KEY generation. Once I had my SSH-KEY added to my account, I was ready to proceed with creating my class site.
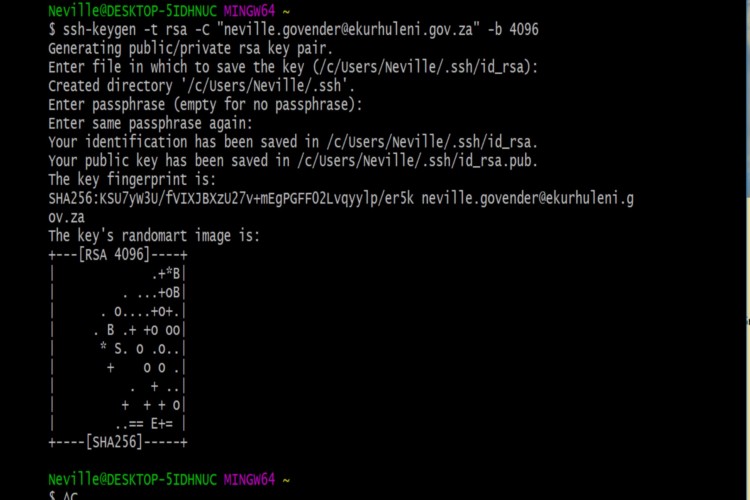
Generation SSH KEY
CREATING MY WEBSITE
From the many web development software that Neil spoke about, I chose to use Brackets for my web development. My main reasons for using the Brackets software is that, it allows for local preview of the website as you design it making it easier for people with less knowledge of web development to download web templates and editting them. I started by looking for a simple template that i could use. I went to Bootstrap and downloaded a simple template to use.
(click here for Bootstrap Templates )Once I downloaded the template,I started to experiement and get used to the HTLM functions. It was my first time creating a website, so it took me some time to figure the commands and functions .
I had to learn the diverent dividers(containers) and what they do? I used the website to learn and fimilarise myself with the different commands (click here to see Html commands)
Using Bracket
Uploading My Class Website
Version control
Version control is a system that records changes to a file or set of files over time so that you can recall specific versions later.
there are many systems but I chose GIT
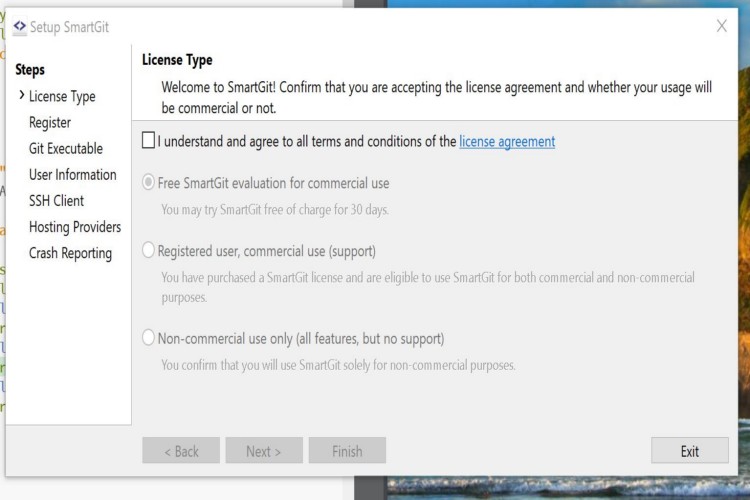
Choosing SmartGit
I have tried using the terminal , but find it more dificult to do so, so i decided to use smartgit.
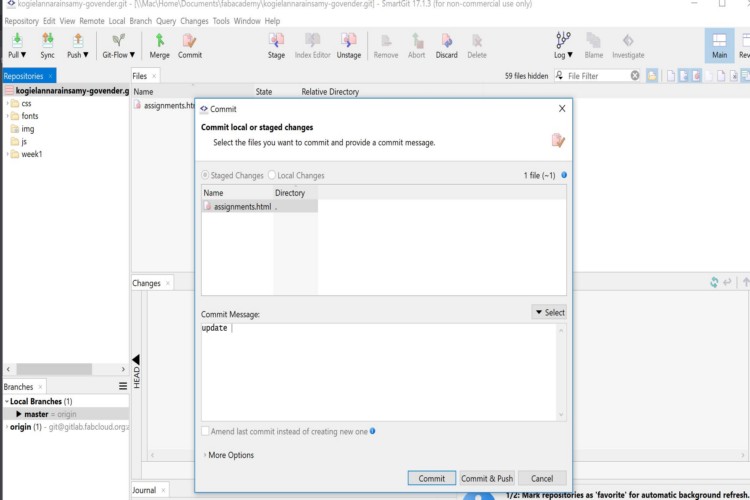
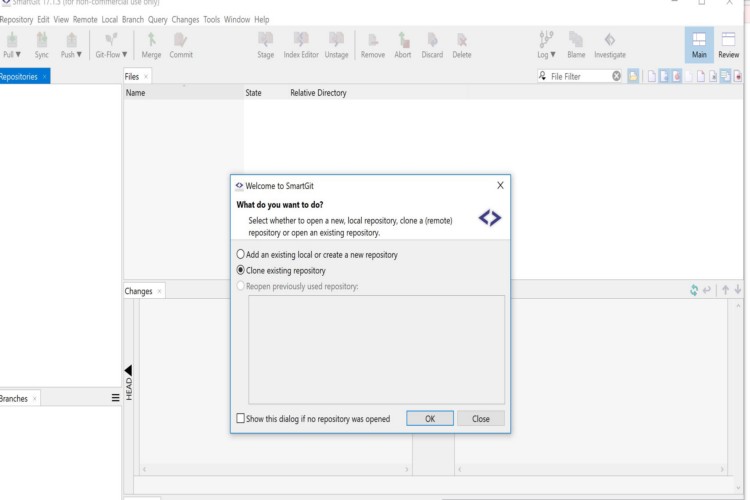
In order to upload my class website file to my class repo., I had to either use command line from git-bash or a graphic user interface (GUI) version of git to clone my repo., add files to my repo., remove file from my repo. among other. Feeling more comfortable using GUI's, I decided on the advice from my istructor to donload and install a git GUI call SmartGit. Using the SmartGit, I was able to Clone my Class Repo, add my web files, stage, commit and push my files. The photos below shows the stages in the SmartGit.
Setting Up Smartgit
Cloning files with Smartgit
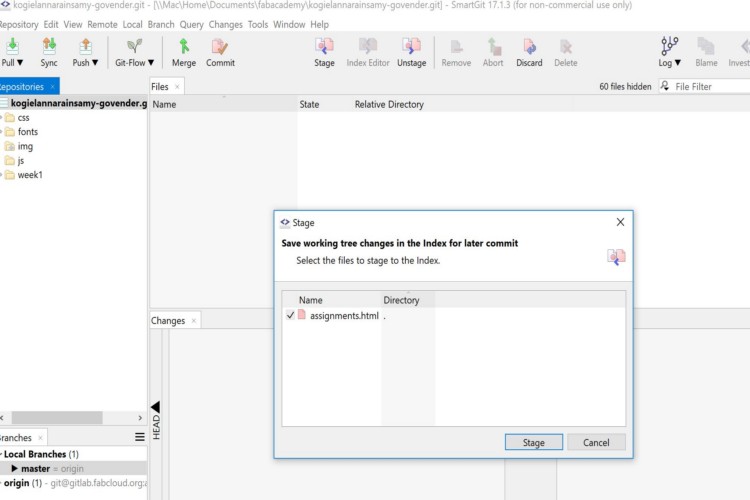
Adding and Staging files with Smartgit