
Computer Controlled Cutting
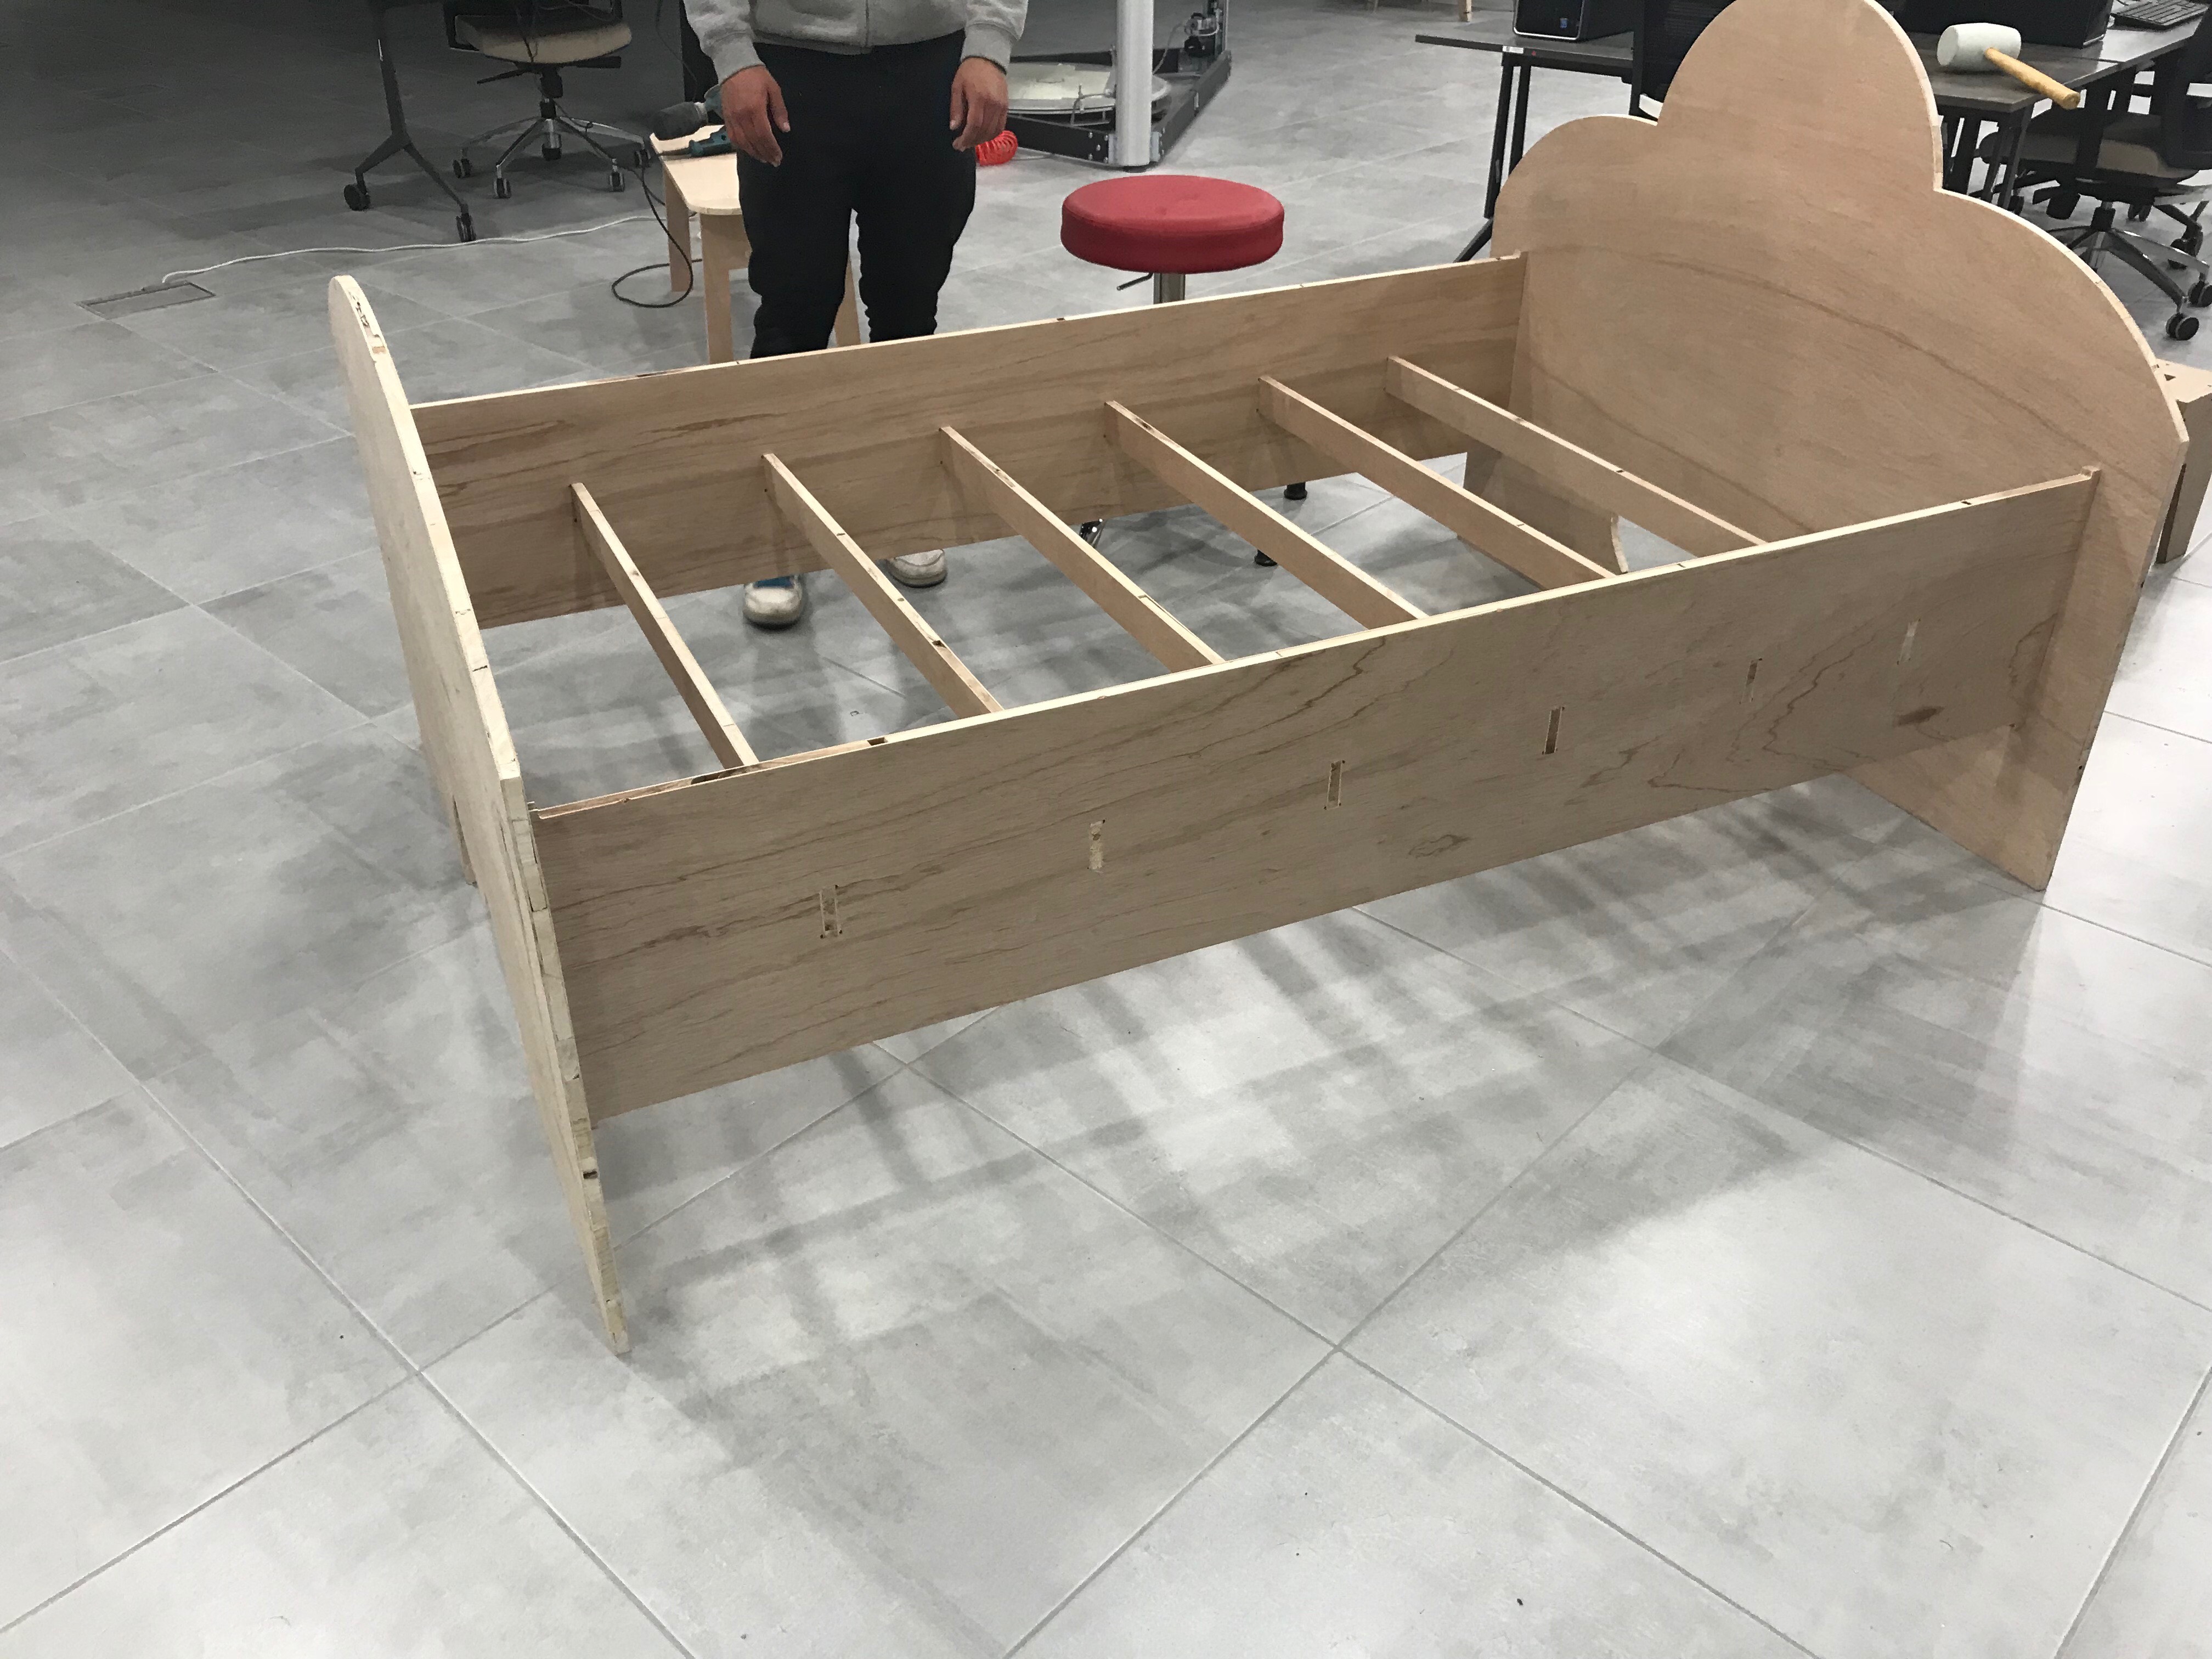
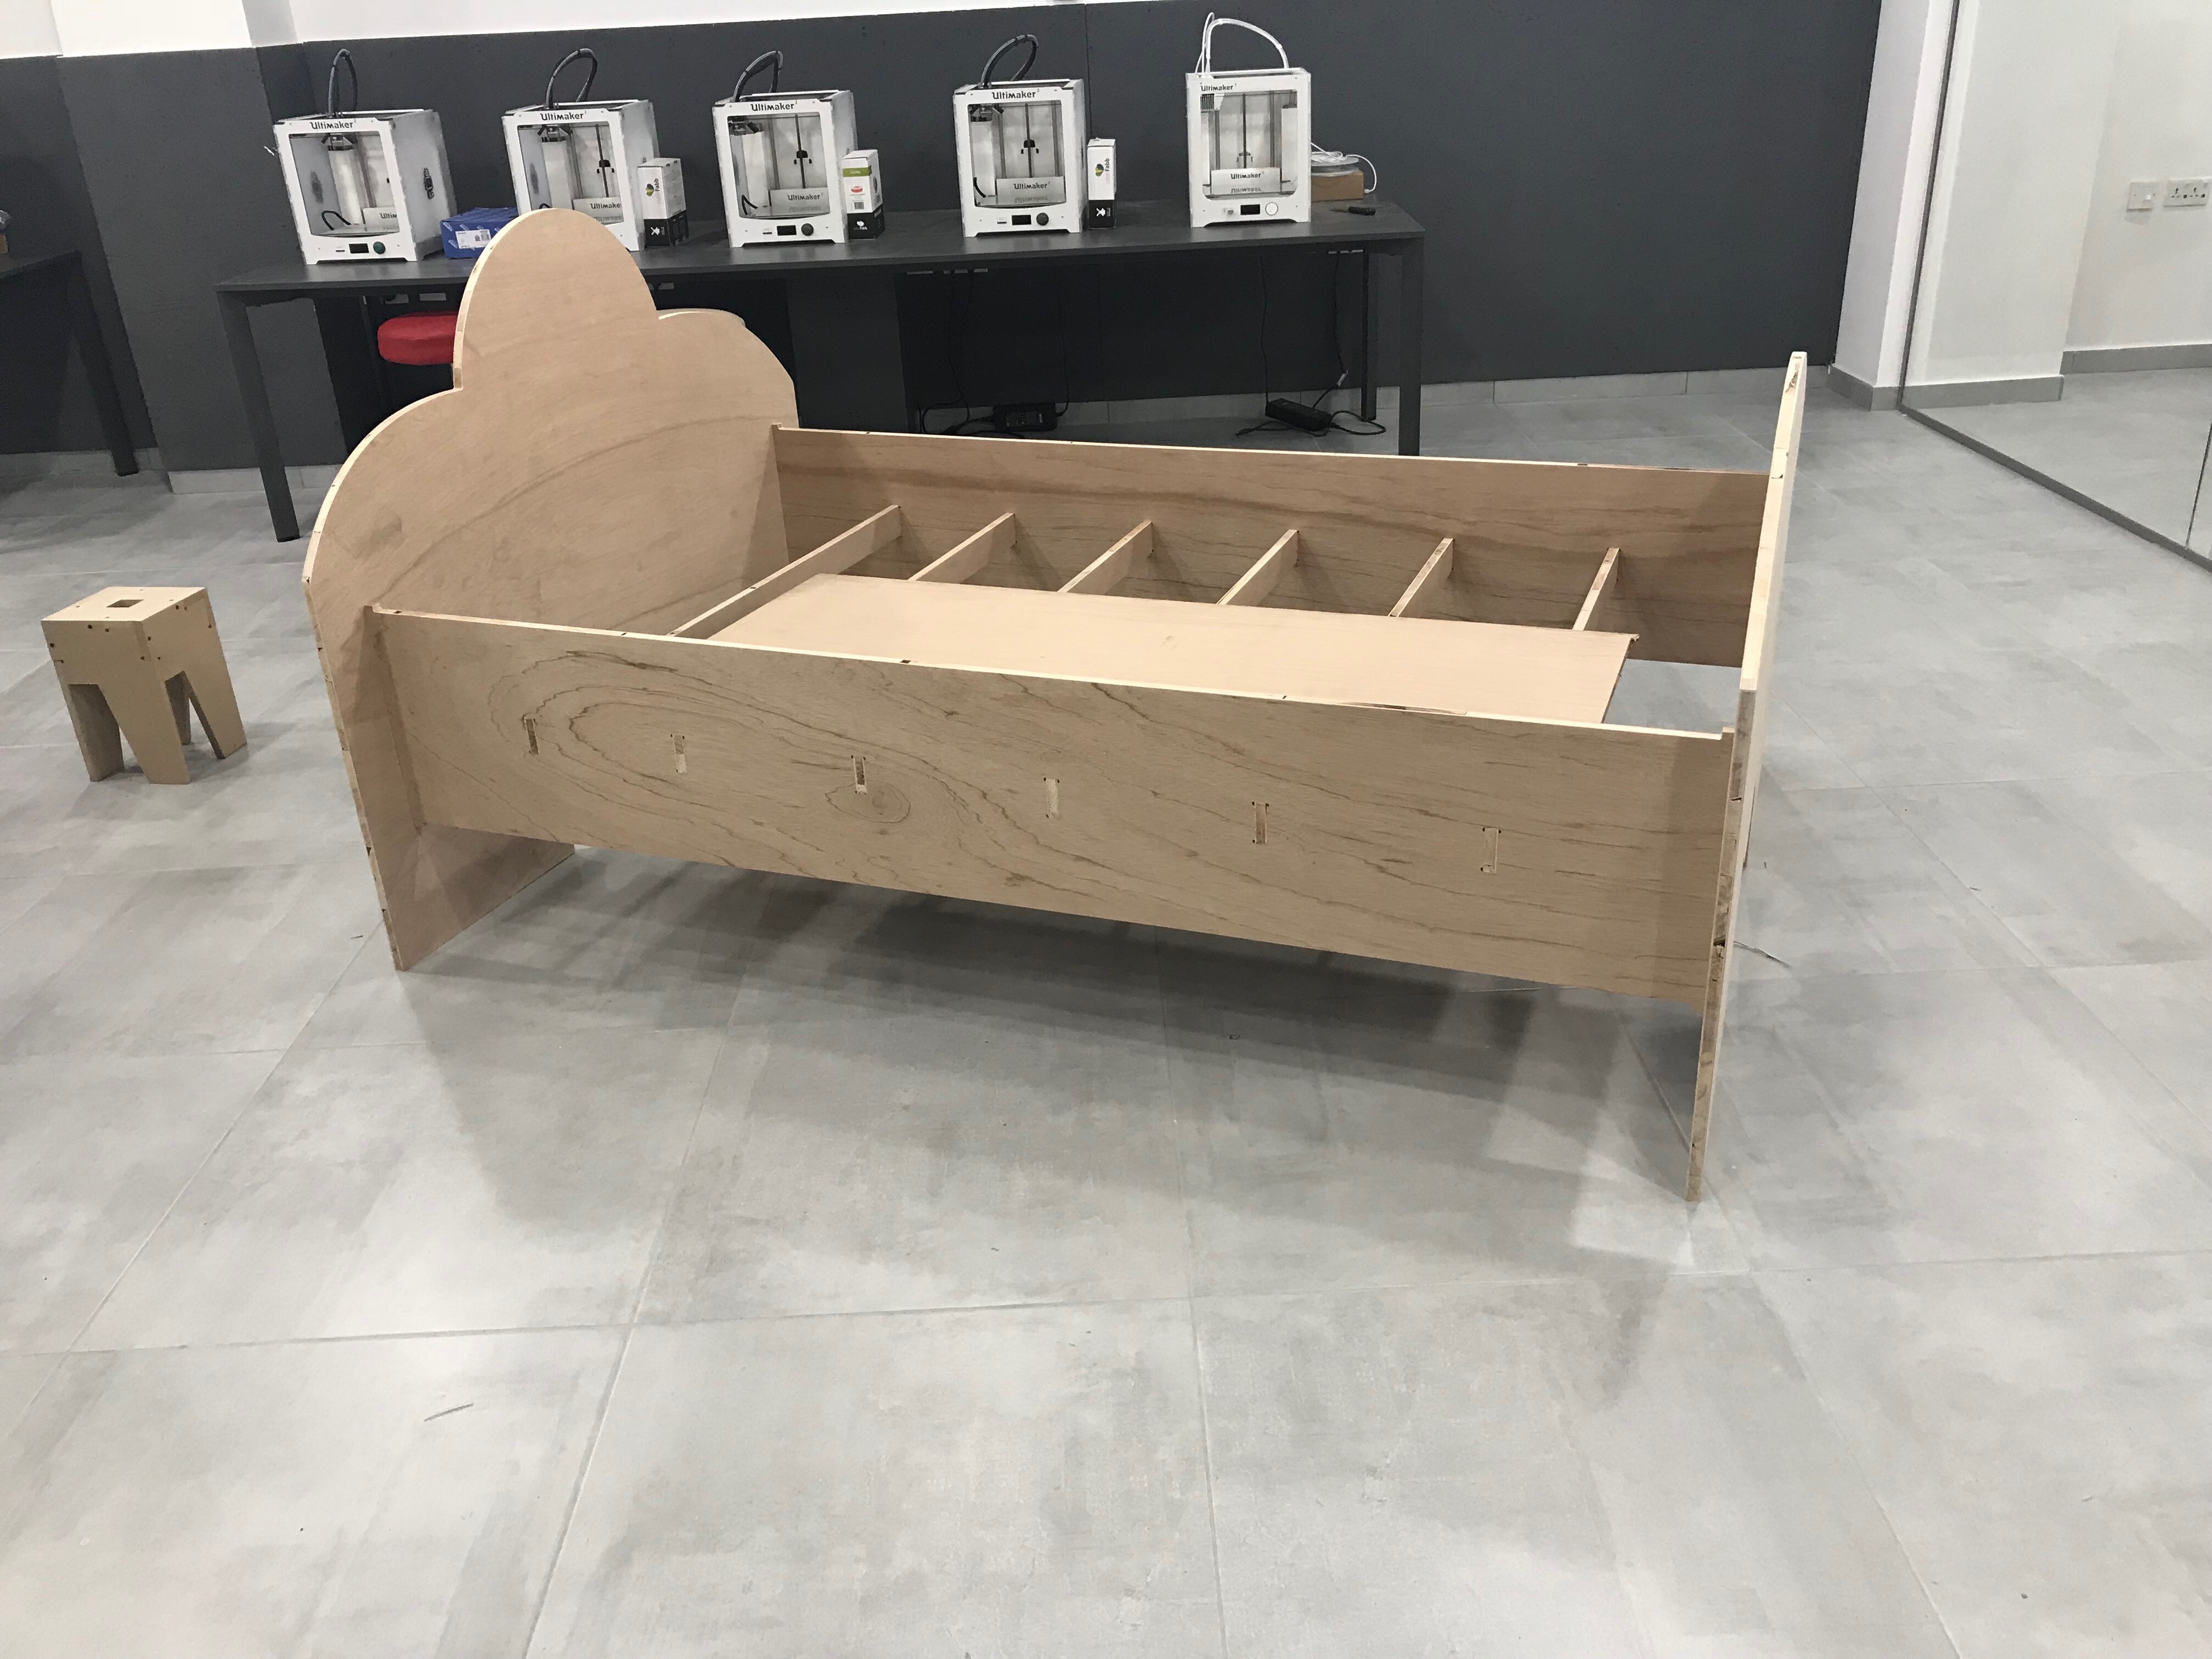
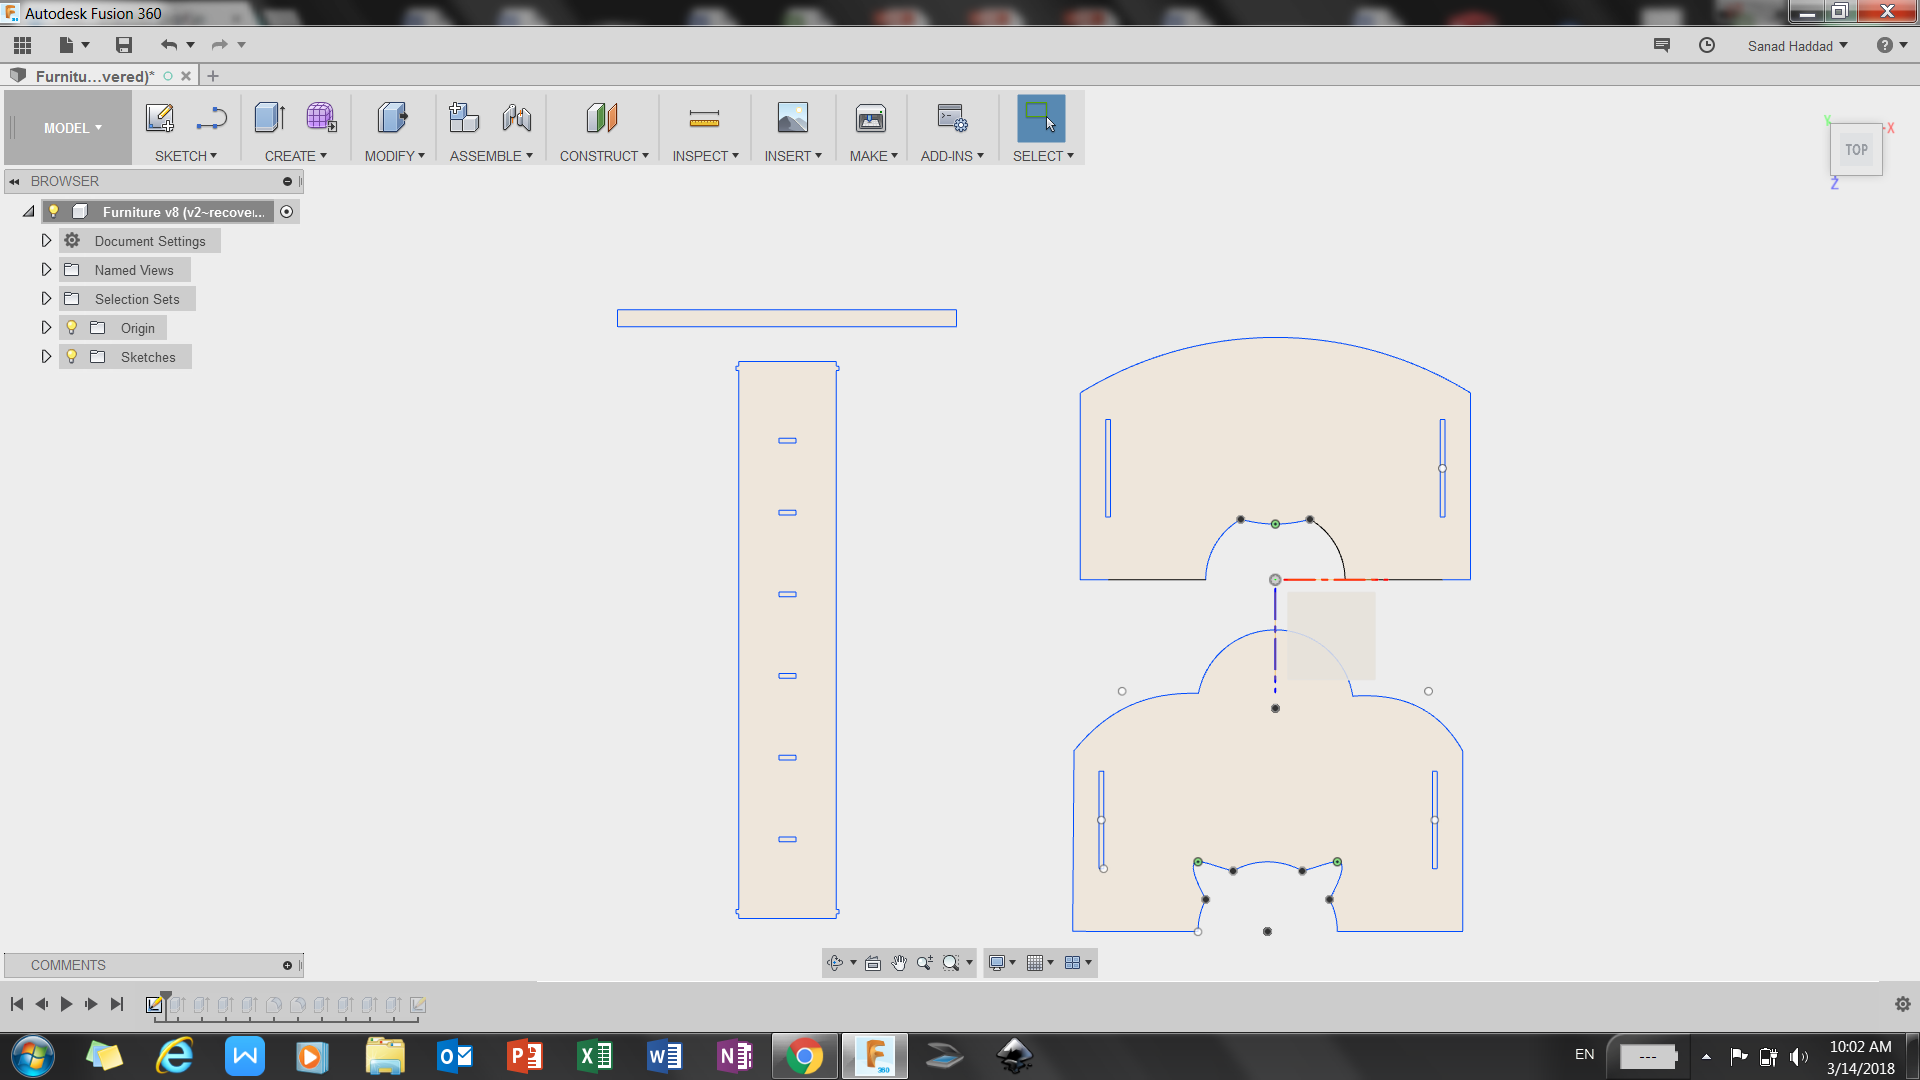
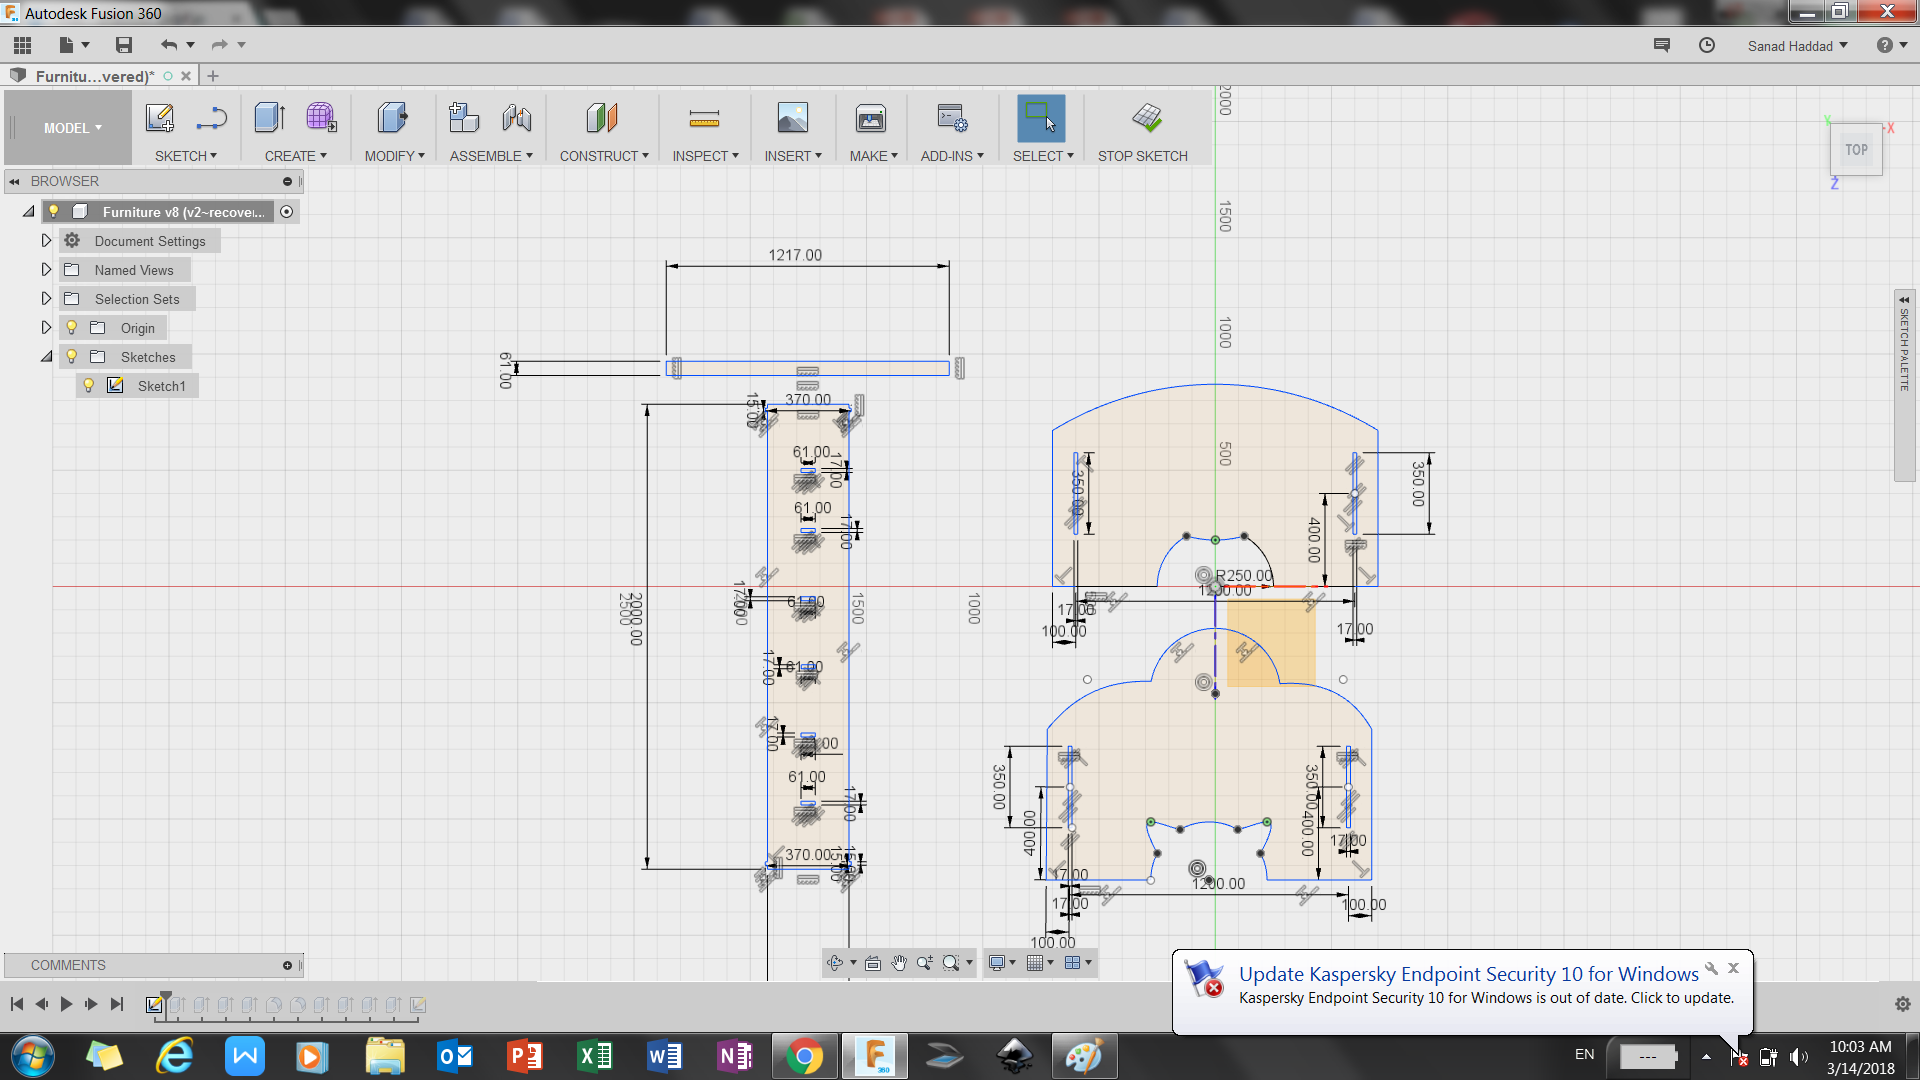
we started this week with designing a 2D model of something big, as we are in the lab most of the time I thought of desgning a bed using Latte wood and the Shopbot router, I used fusion 360 to design that. I started with sketching the final product on a papaer to imagine the parameters. my design consist of 4 parts,the two side of the bed, two supports on the sides and 6 vertical support between the support as shown in the below picture.
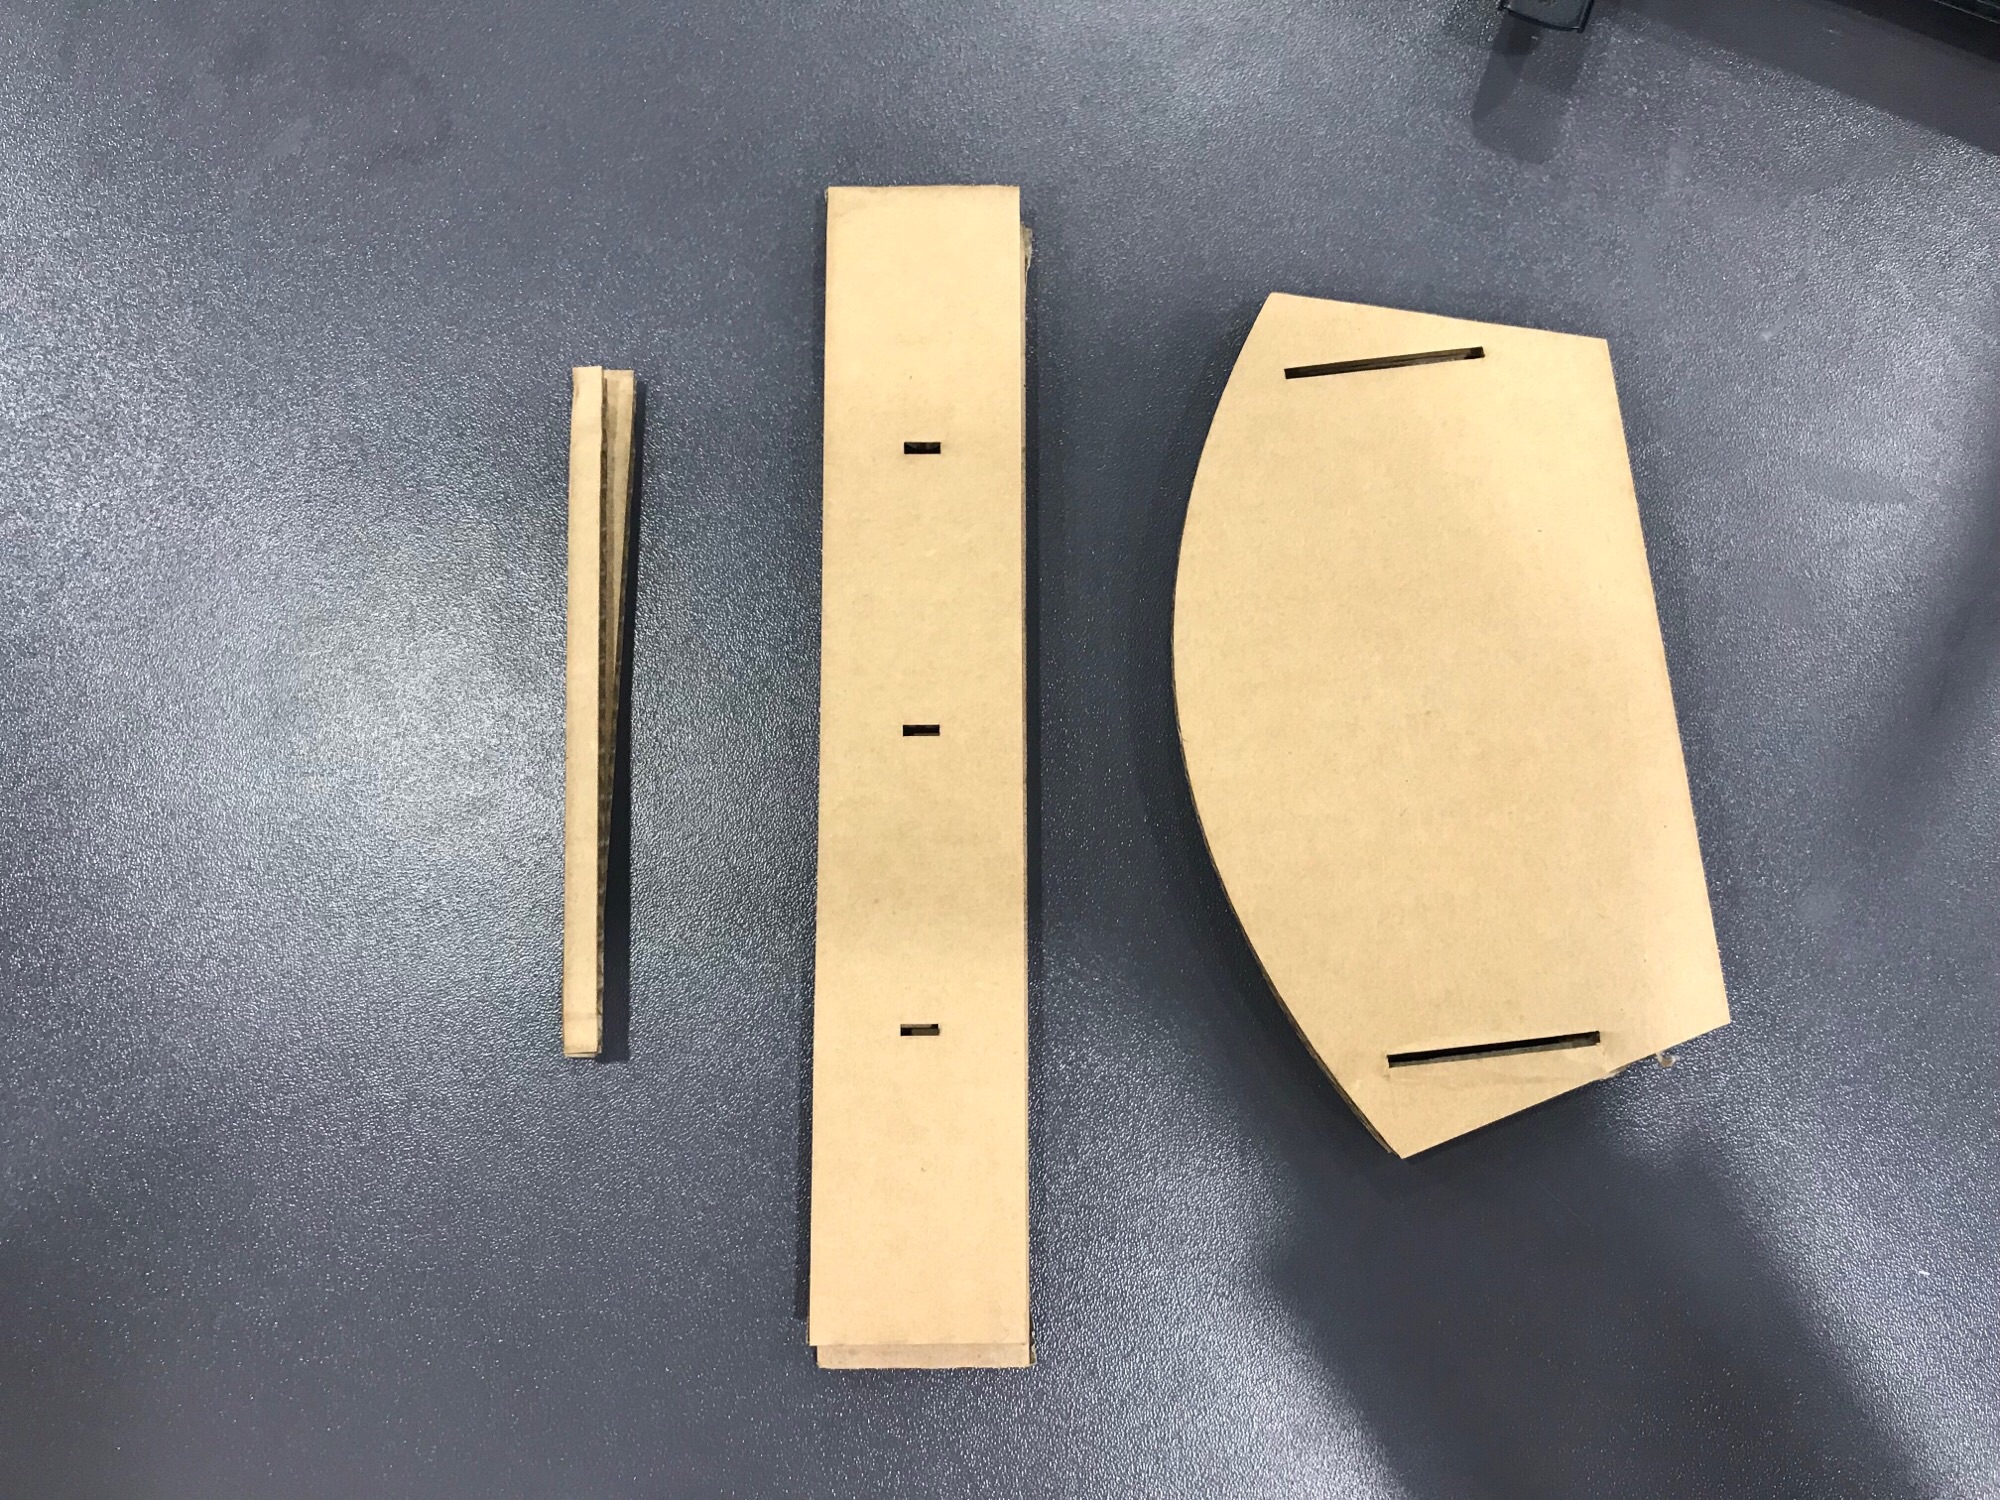
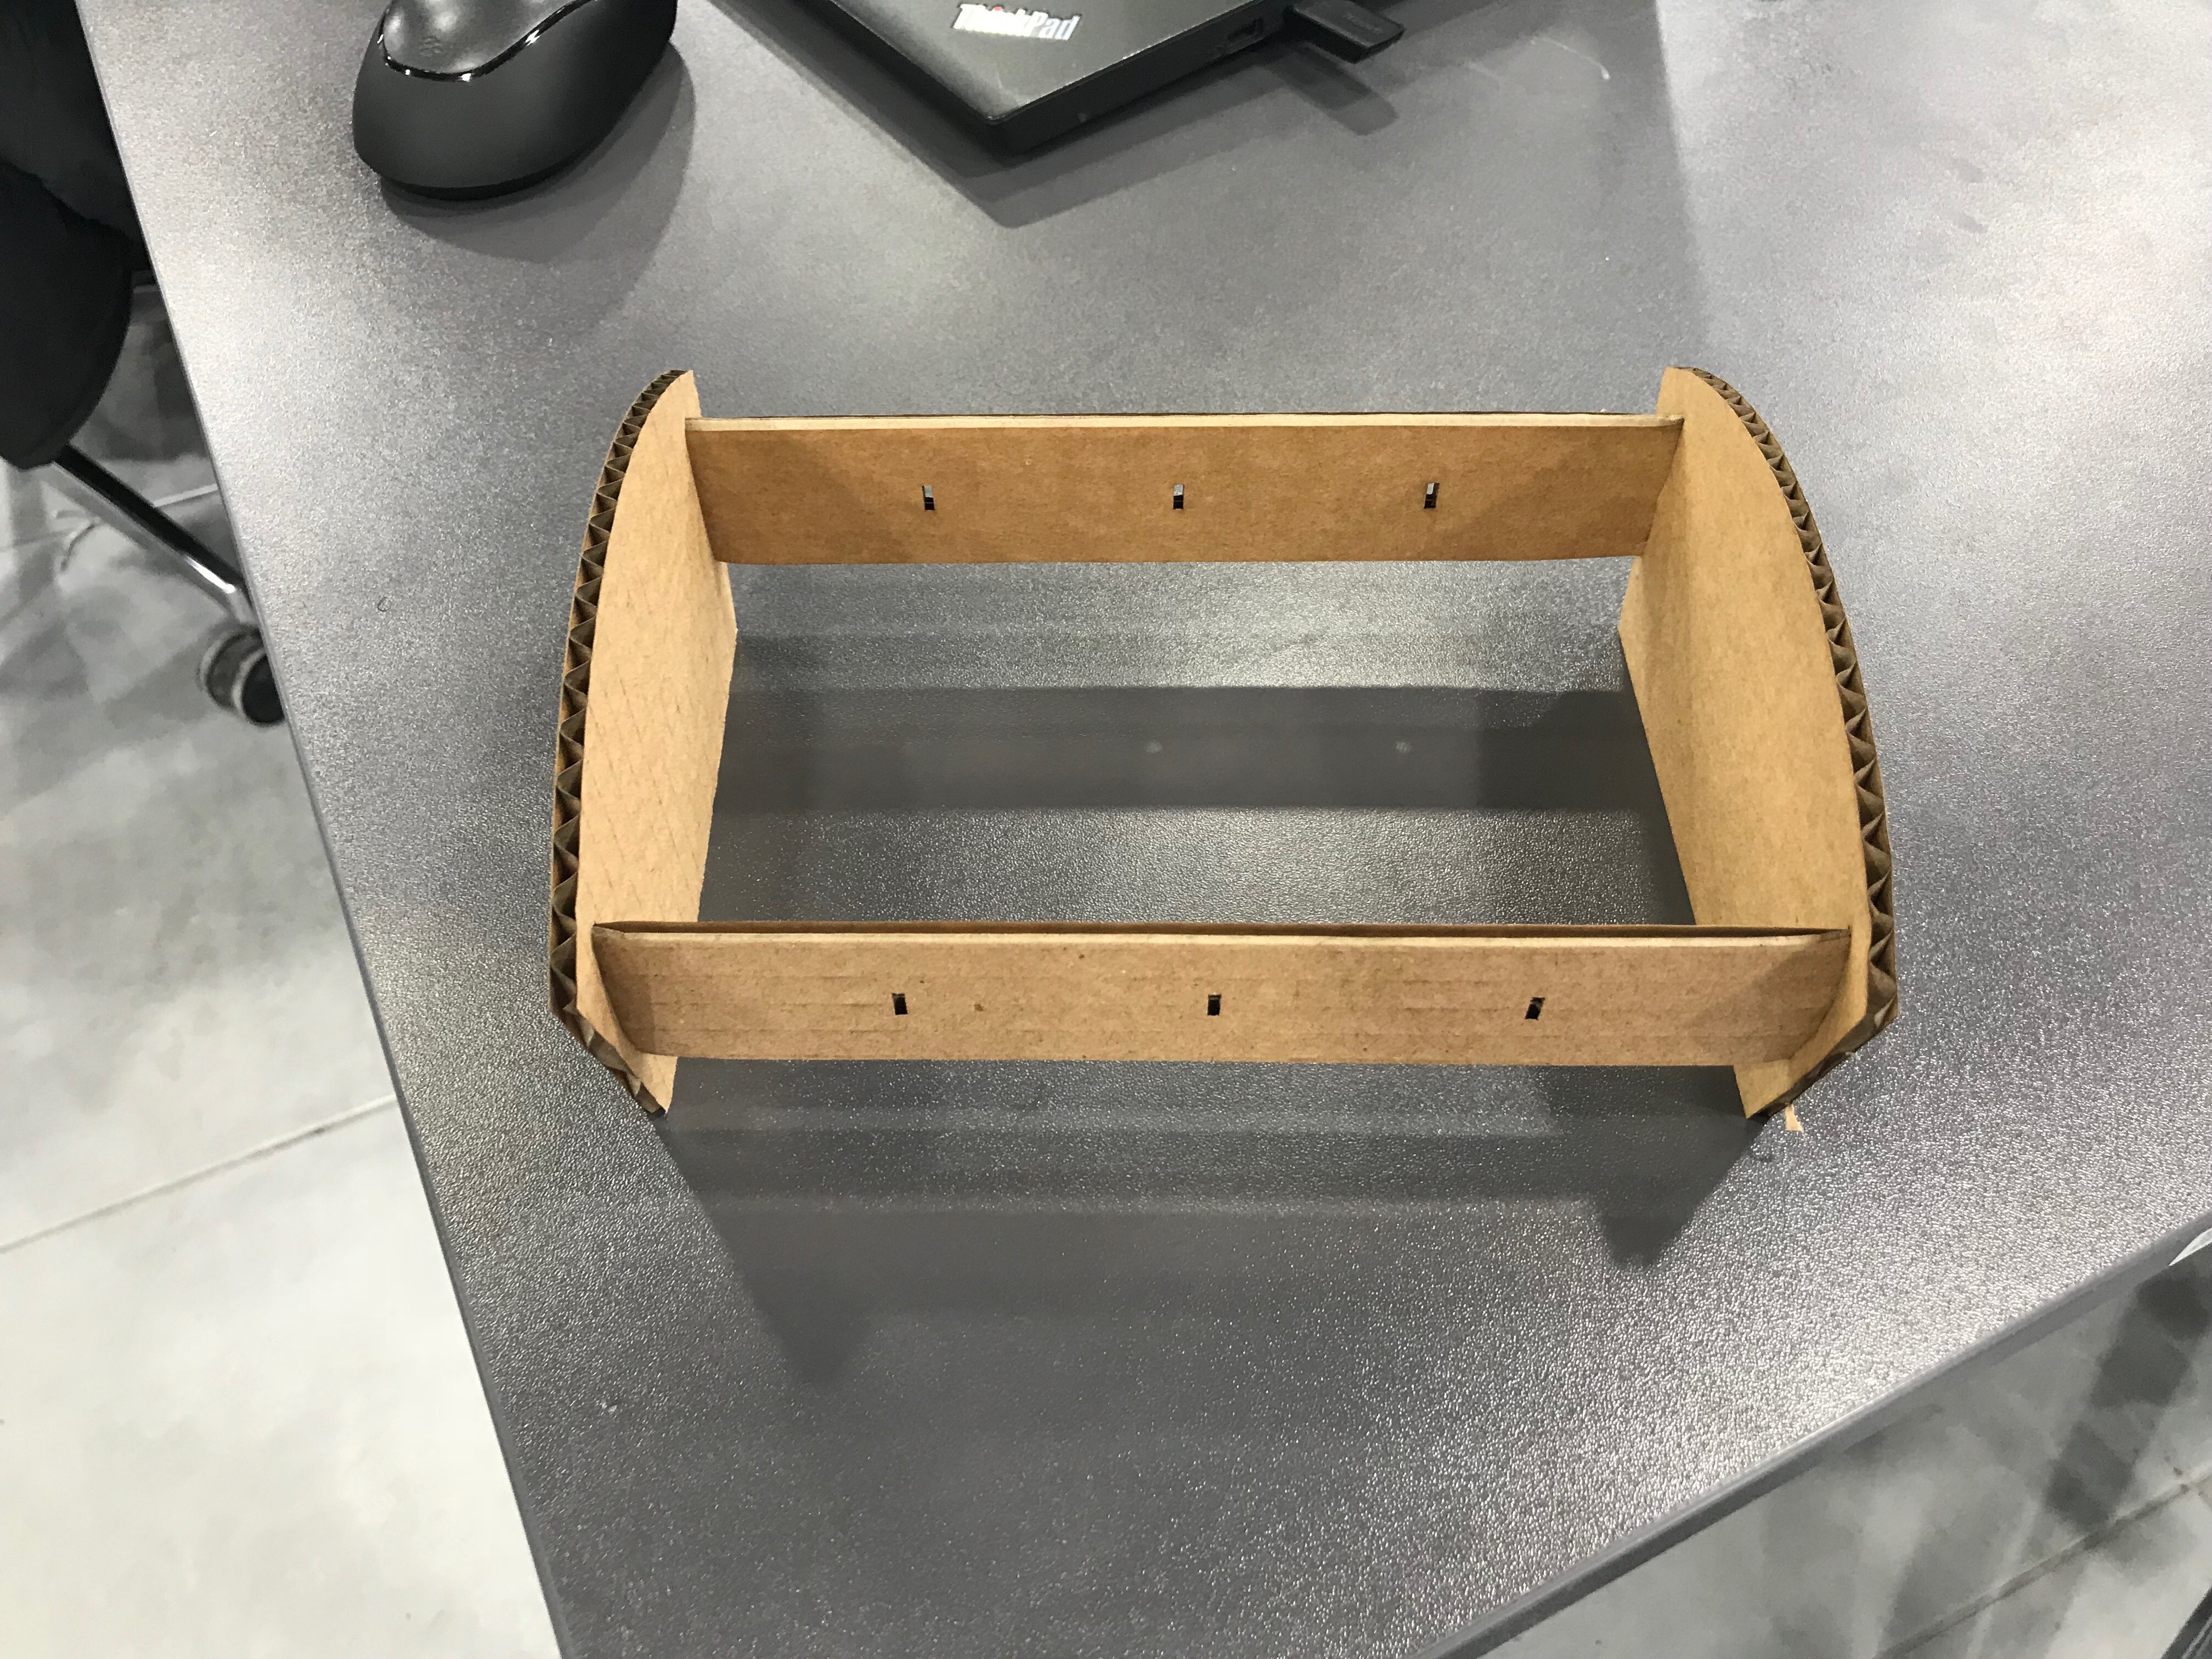
As for the paramters, we did the group test earlier to put the paramaters in consideration, the groupd assignment contain mroe details on the test procedures (below a few pictures taken during the test). I tried the dobbone feature on Fusion but it did not work for me, so I the dog bone was added using Vcurve. the vertical support is neccessary to carry more laod than the horizantal supprots. after I was done I tried the model on the laser cutter after scalling it down as shown below in the picture
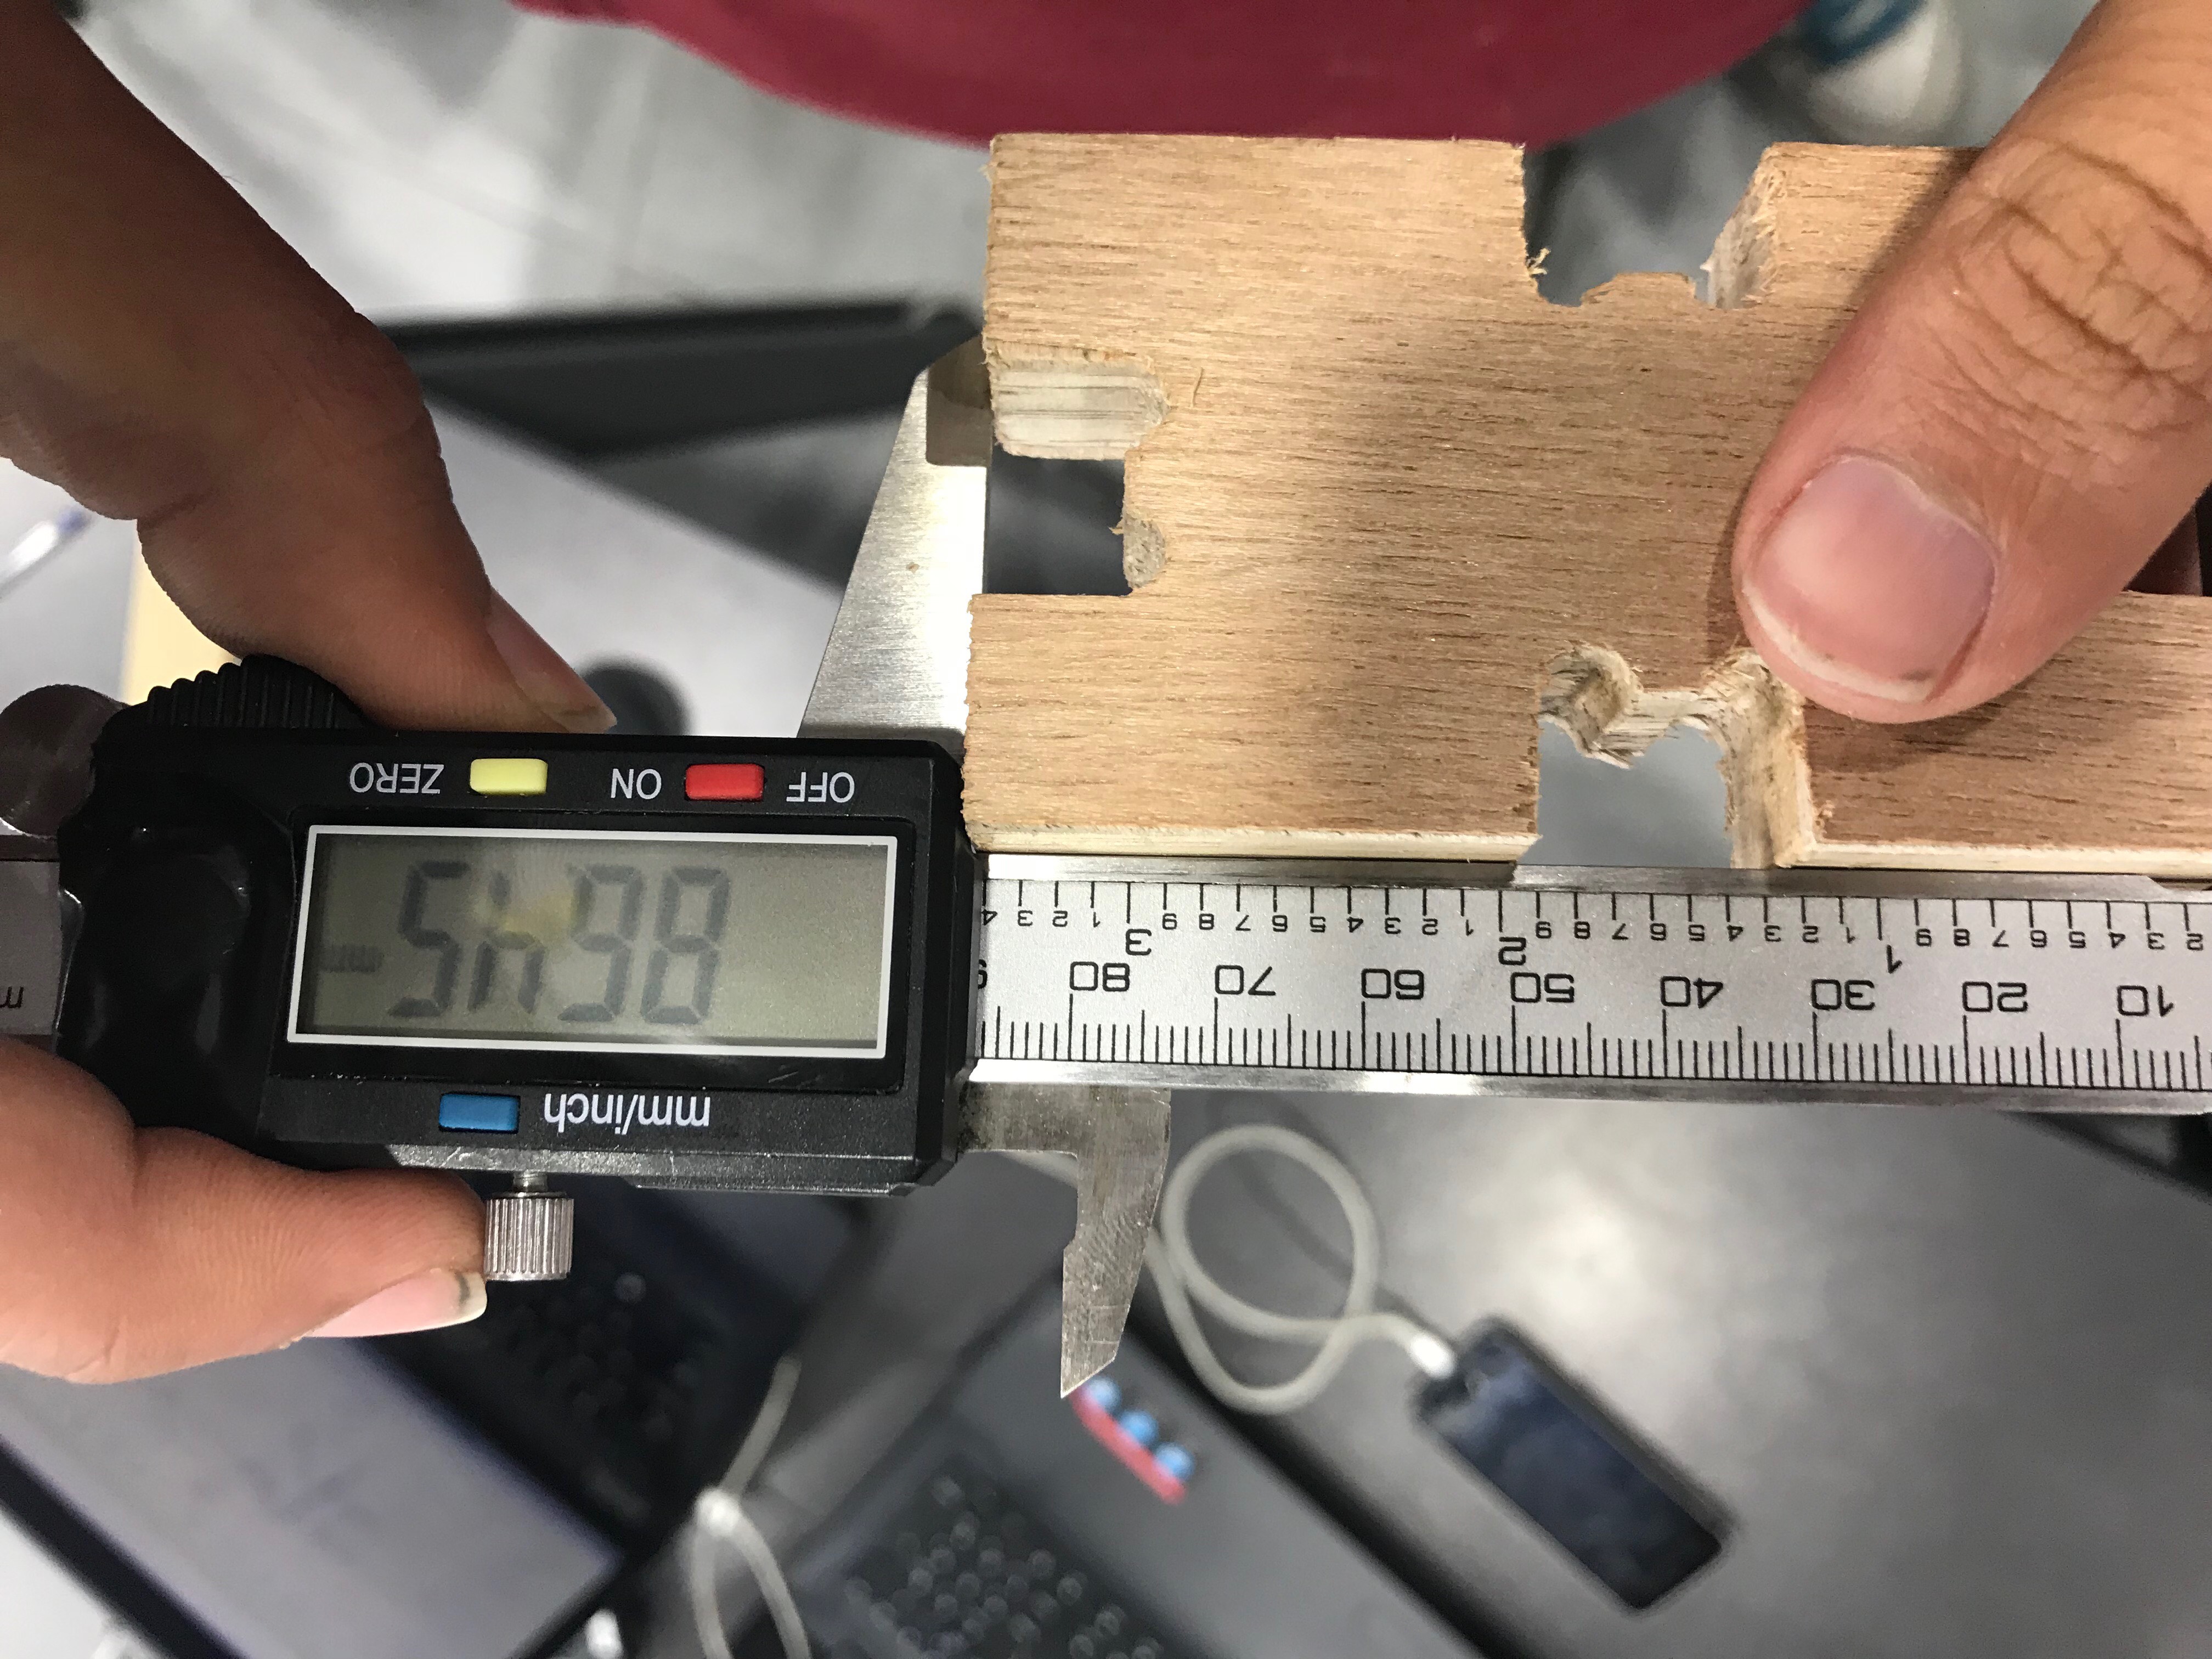
As a simple test we cut a rectangle with different slots (17 mm, 17.1 mm, 17.2mm, 17.3 mm) to decide on the press fit. First we desgined it on onshape. The design is based on the material that is latter with 17.3 mm thickness, in the next picture you can see the material and the dimension on the caliper. 17 mm were a good press fit for this board
Fabrication
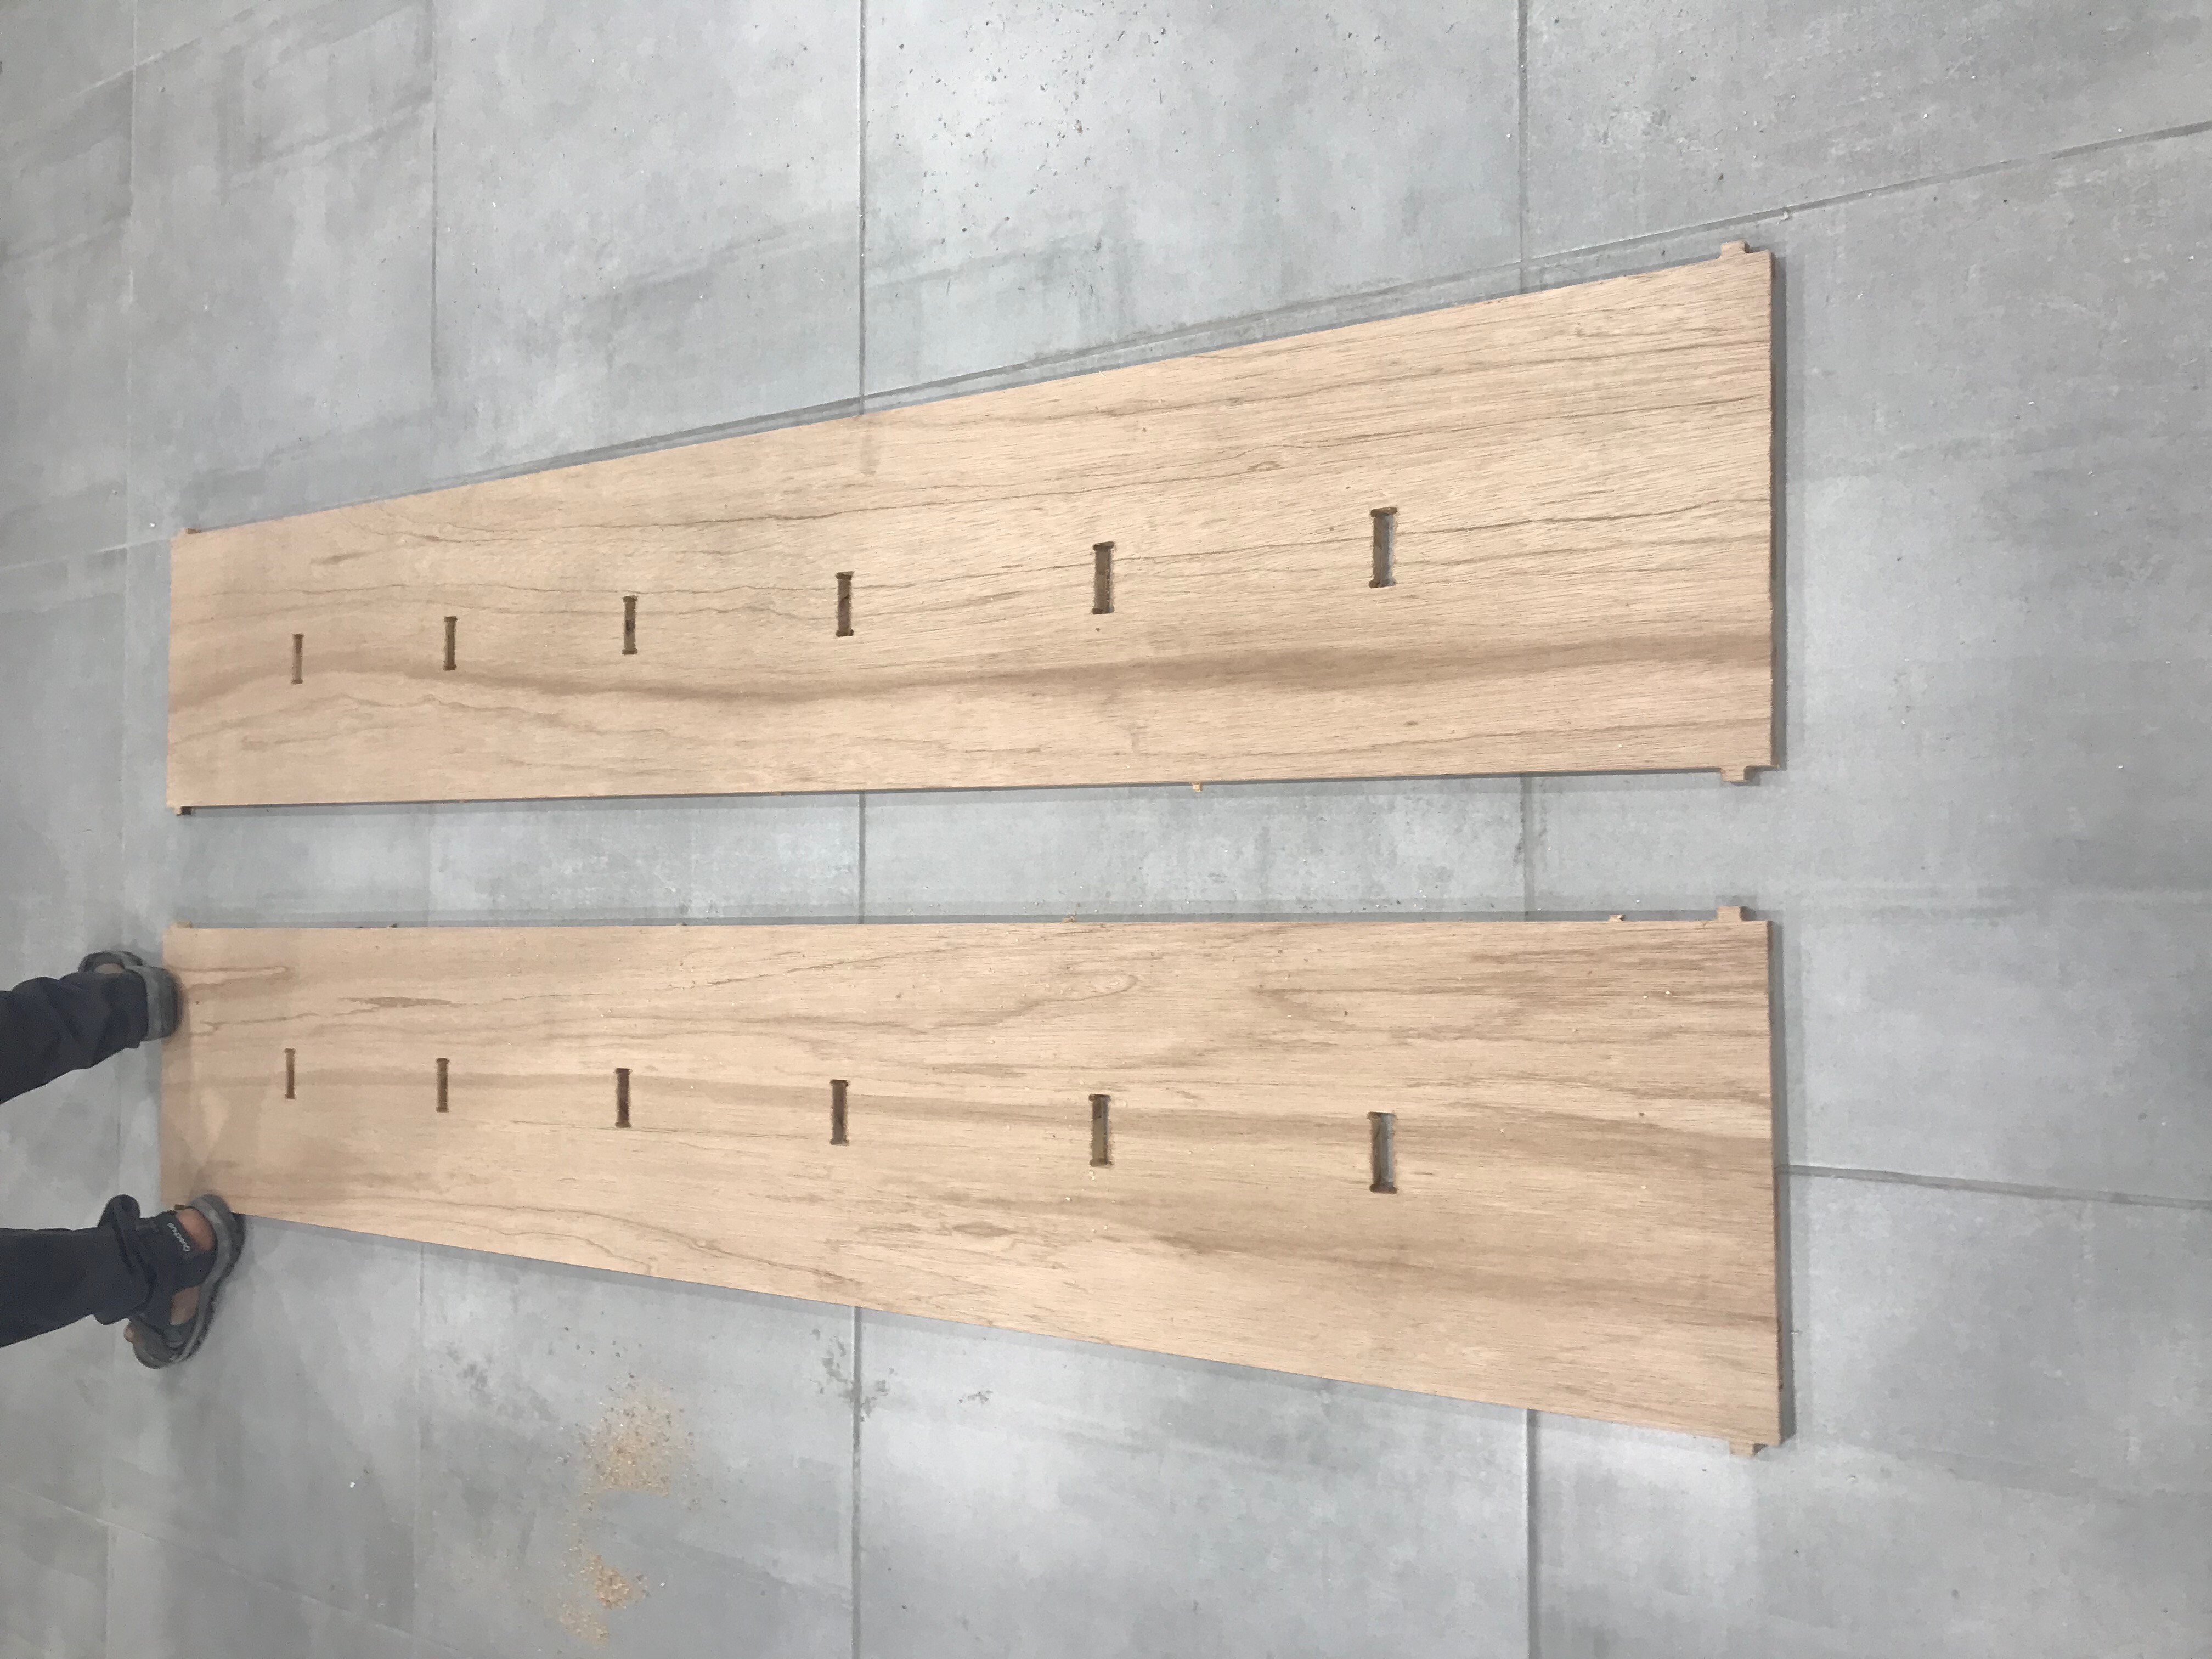
To fabricate the design, first, I saved the design sketch as DXF file. Then I opened VCarve Pro software that comes with the shopbot to generate the toolpath. I needed three boards to actually fabricate my design. First, I started with the supports using pocket toolpath. Then I generated the toolpath of the sides of the bed. I also used vcurve for the dogbone joints but we faced a lot of problem in detetcing the dogbone using vcurve. After opening VCarv2, I sat up the material dimensions to be 2400 x 1200 x 17.3 mm then I loaded the DXF file. I needed to join some open vectors before placing the parts in their place on the material. Then I started by the pocket toolpath
Then I made a toolpath for the inner cuts as well as the outer cuts. For the inner and outer cuts, I added taps that help in keeping the cut piece in its place while the tool is cutting
I used 6 mm up cut bit with 18000 RPM, 2.5 mm/s feedrate speed, pass depth: 0.25 inch
I used 17.3 mm Latte as the raw material of my project. I started with mounting it using drill hole and screw.
Then I switched on the machine and pressed the "Reset Button" and loaded the toolpath file from VCARV to the machine and pressed the "cut part" button, then I switched on the spindle and started a run. It started the real job cutting all the parts
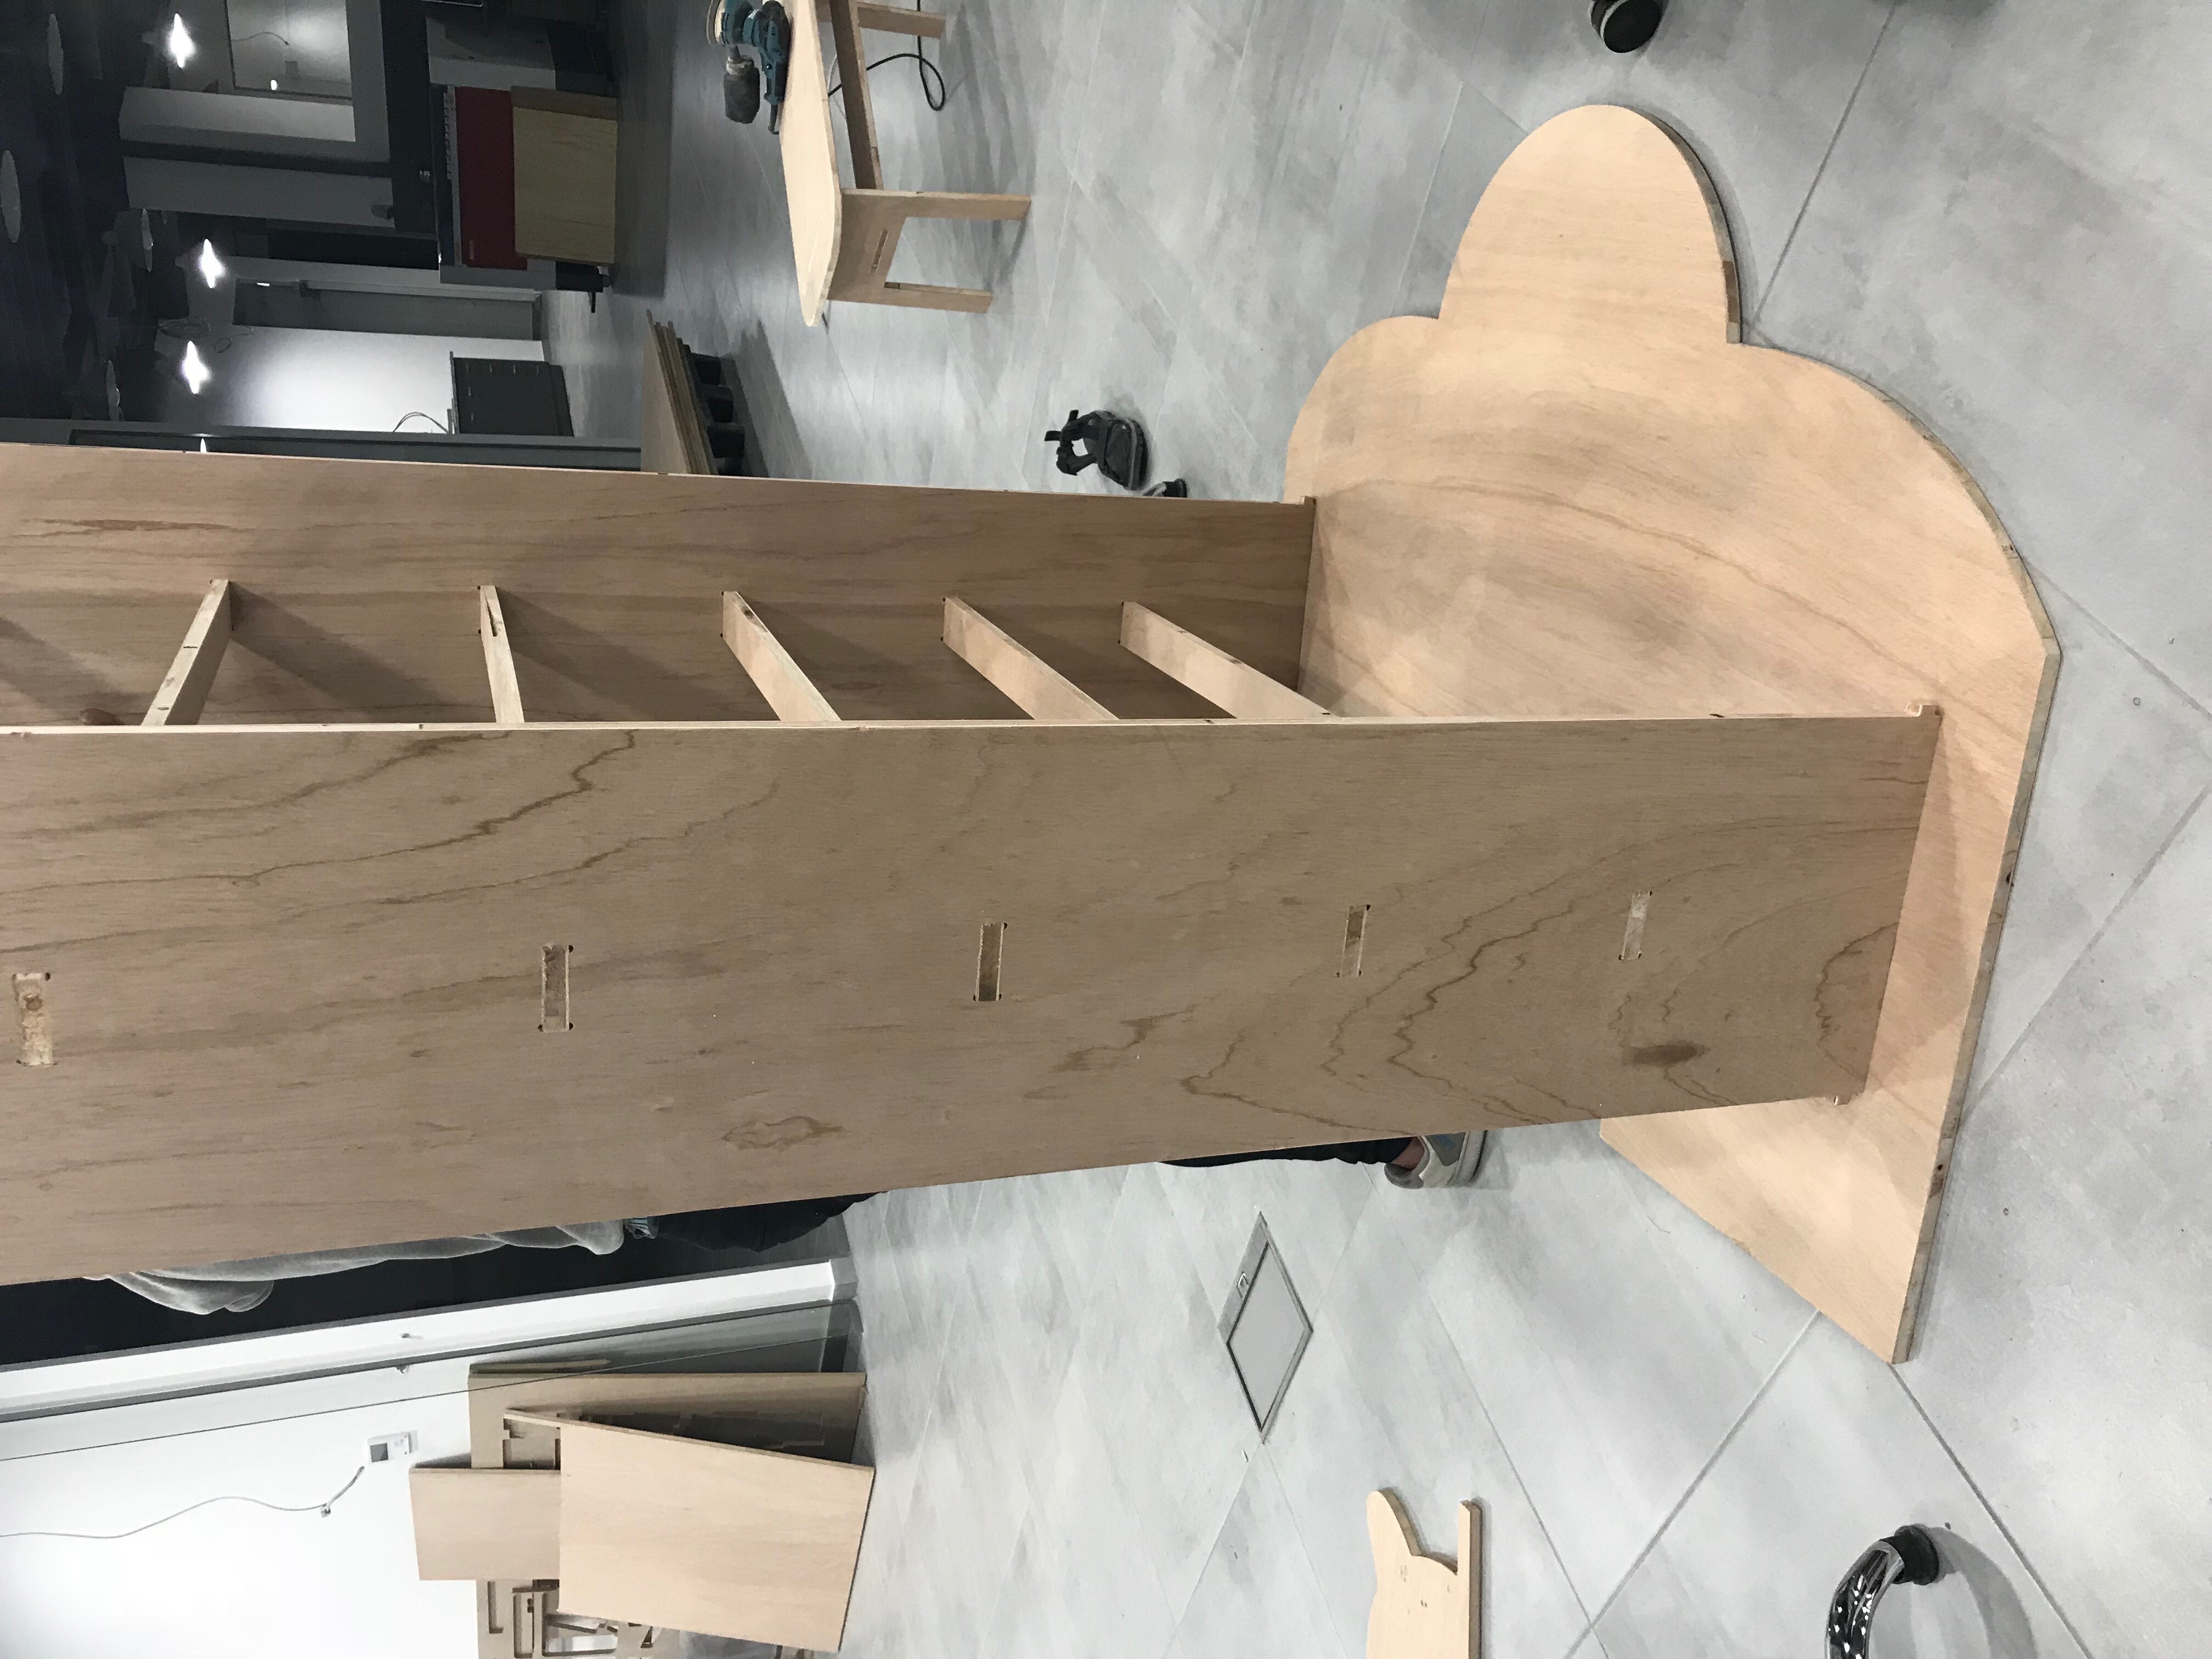
After cutting the parts, I sanded them using the sanding machine to remove the residuals and make them smoother, then I assembled them as shown below:
