Molding and Casting
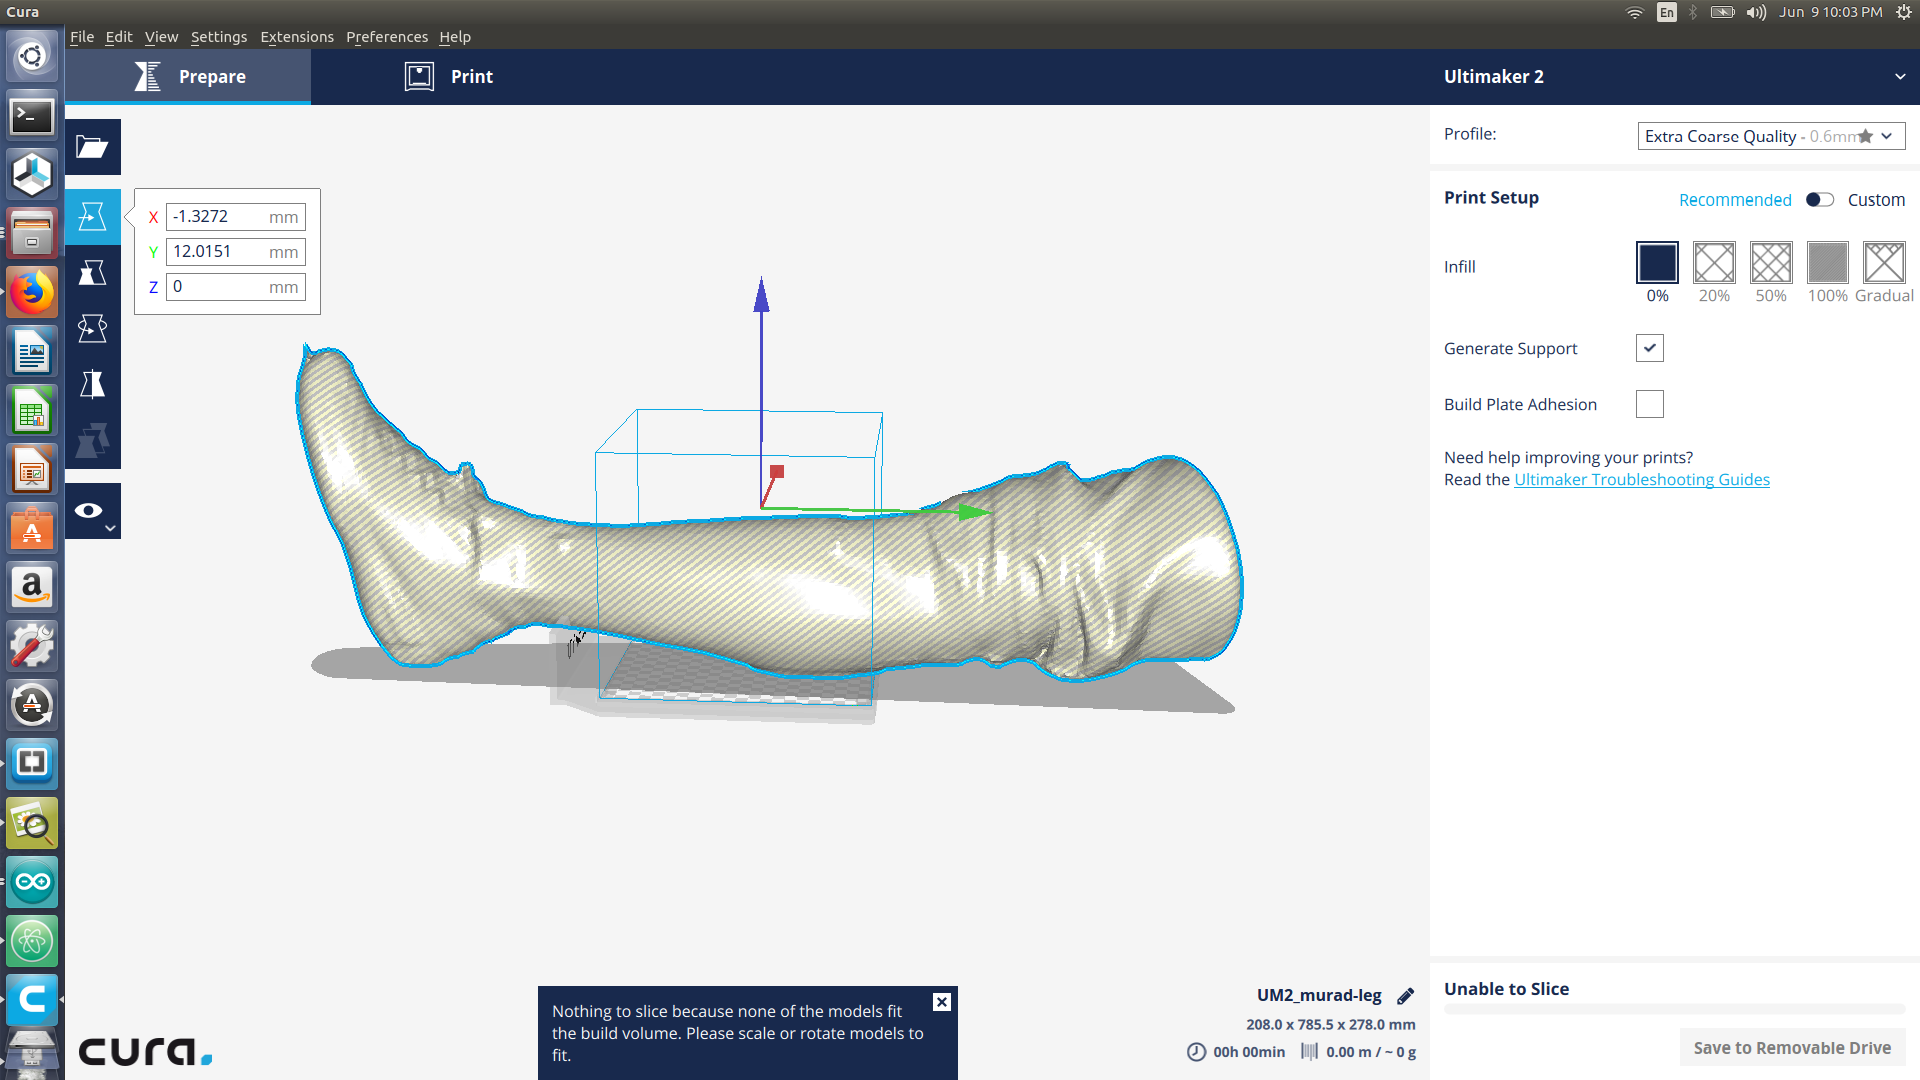
For this week, I ll start by designing small ball and mold and cast it using wax and roland SRM20. however my main aim is to design a football shin-guard specialized for me, as a regular football player I never felt comfortable playing with a shin-guard as it always restrict you , specially as there is no actual one that fits my leg perfectly. Thus for this week I decided to 3d scan my leg and and mill the cast and then mold it with silicon. I did choose 3D scanning as it give me a very precise results please do refer to my 3d printing and scanning week for more information on 3D scanning
Shin-guard
I have tried several software to deal with my 3d scan mesh, Solid works and fusion were not unable to control the large amount of faces (polygons) in this mesh. Rhino was pretty decent dealing with such a mesh however I had to decrease the number of polygons from about 60000 to 15000. I started by just choosing the shin area of my leg and discard the rest.
Rhino software ( creating the cast ready)
1- Decrease the number of polygon to 15000 2- Draw a triangle and used it to split (Mesh split command)the 3d mesh 3- Transform the shape to to 2d (make2d command) 4- place the 2d on the mesh 5- Extrude the 2d shape 6- Use split to create the first cast 7- Export the 2 file in an stl format


Source Files
download rhino stl file for the positive cast
download rhino stl file for the negative cast
Getting the cast ready
I have checked my design and both of my cast are about 80 mm thick, 400 mm * 180 mm dimension. So with the help of Sibu, we cut the plywood to small pieces and stack them on each other and glued them to be ready for the cut.
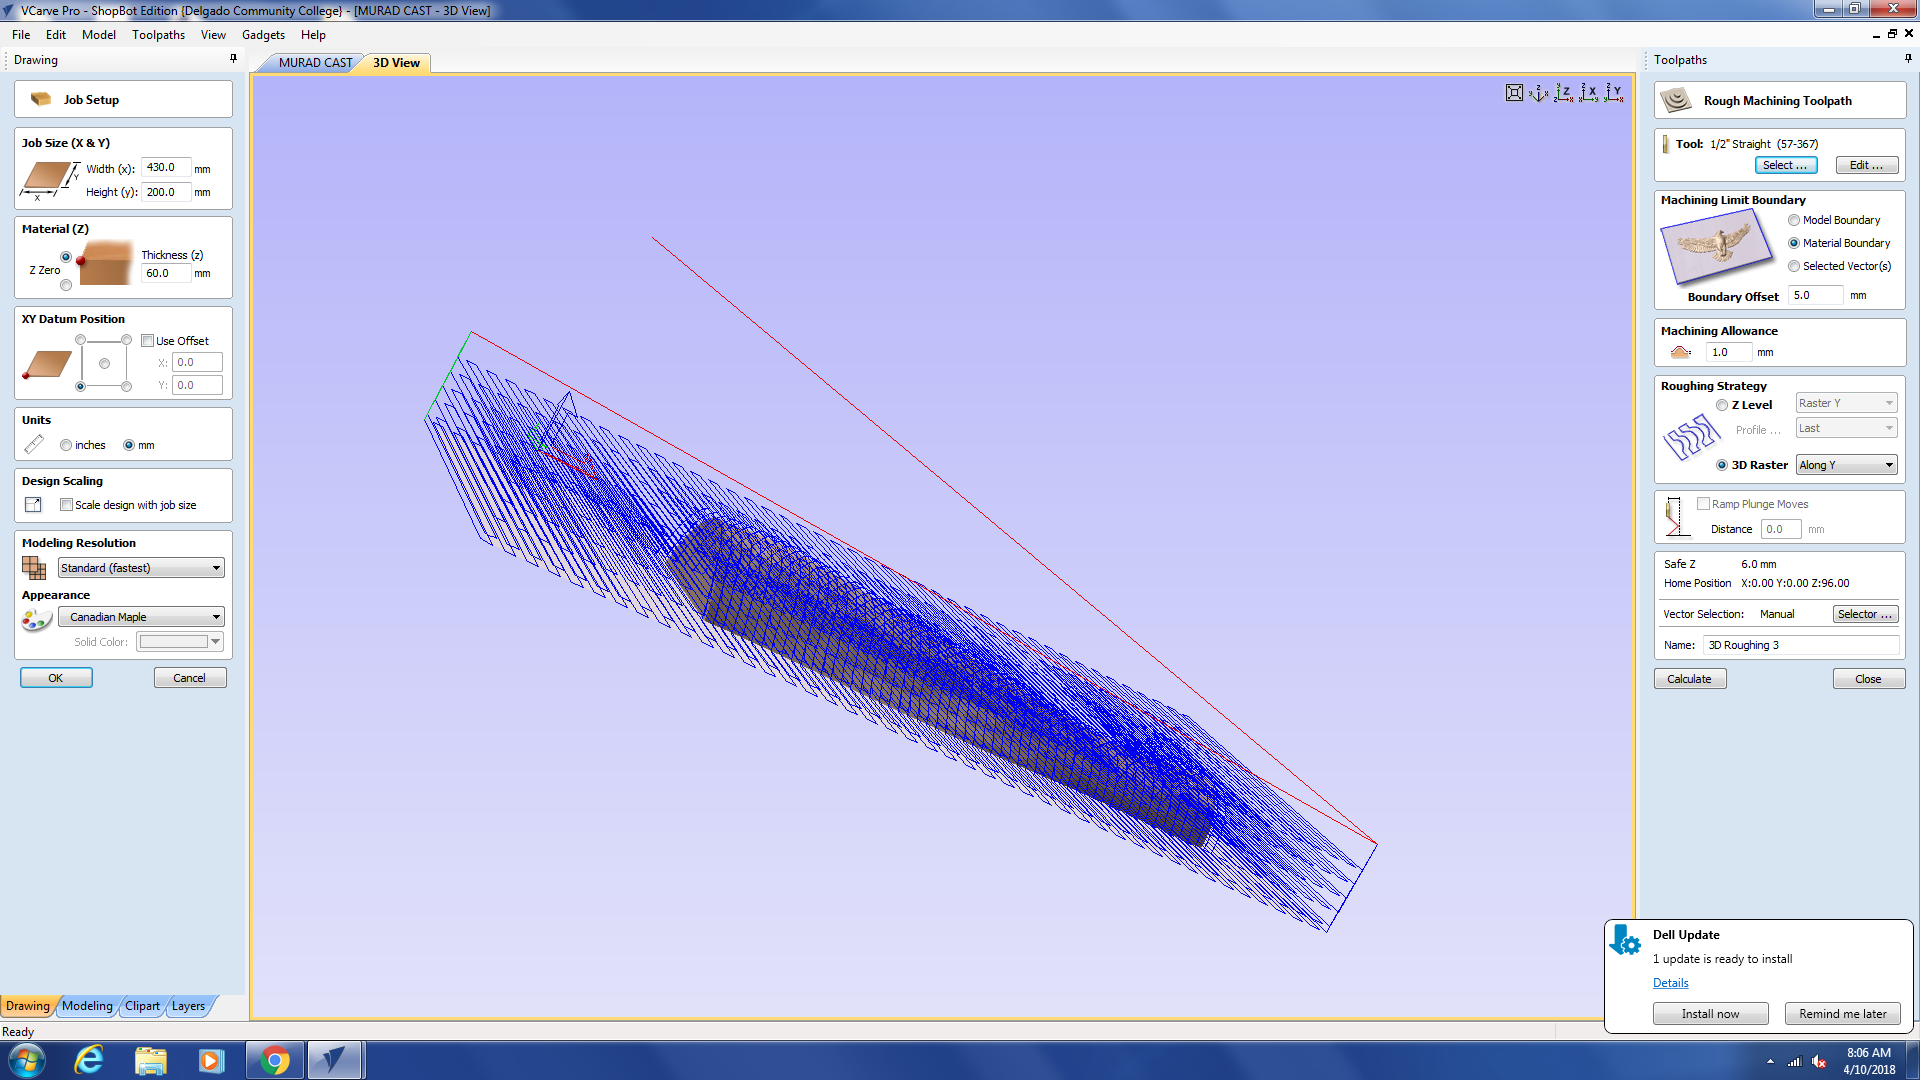
Cutting the cast ( shopbot v-carve)
I ll be using the shop-bot to cut my cast, as my part is actually very big. Using v-carve to cut a 3d model object, is pretty similar to cutting a 2d object, however for the 3d object, make sure you select the modeling tab instead of the drawing tab and choose 3d roughing tool. Always make sure that your tool would be able to get down without bumping into wood ( we replaced our milling bit to 1/2 inch straight cut).
Safety mold instructions
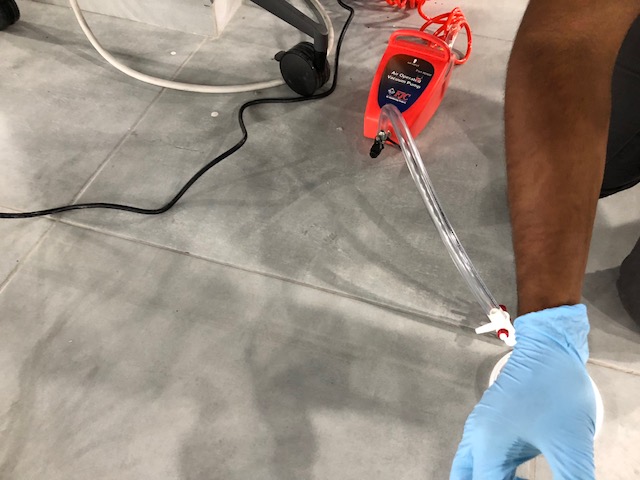
At our lab we have received some expired items, so Sibu have tested the our molding and casting materials. Most of the materials were expired and the status of the material have changed as for example the sorta 37 B material have became very rigid in it got stuck to the outside container. When inspecting those material Sibu has insured the we all wear gloves as some of those materials even though they are food safe, the could cause allergic reaction for some people. During my molding and casting assignment I have read the Data sheet of sorta 37 silicon mold rubber. Sorta 37 is a food safe and can be used for culinary application like molding chocolates, however when dealing with Sorta 37 silicon ensure to use it in a properly ventilated area. Safety dress is a must , user must wear safety glasses, long sleeves and rubber gloves to minimize contamination risk. One important note is to only Wear vinyl gloves as latex gloves will inhibit the cure of the rubber and always do try to have good ventilation system. Allergic reaction could include but not limited to trouble in breathing, itching eye, skin rash, so if for some reason the mold did touch your skin and felt a reaction immidietly do wipe the affected area with solvent and wash it with water and soap. However if it come to contact with your eyes do wash your eyes with water and head straight to the hospital.
Data sheet linkMaking the mold
- I painted the negative cast and added wood glue to the positive cast to create an insulation layer between the wood and the mold (silicon). Please note that glue is was much better than paint. paint took ages to cure.
-
I placed food wrap on the positive cast for the silicon not to stick to it, I used heat gun to perfectly stick it.
- I used silicon mold rubber ( sorta 37 ), where I mixed part A to part B with a ratio 1 to 1 .

- I tried to use the vacuum to withdraw all air bubble (wasnt that effective)
- I added the mold to the material and screwed it down ( I used more material that what I needed so it was kinda messy)
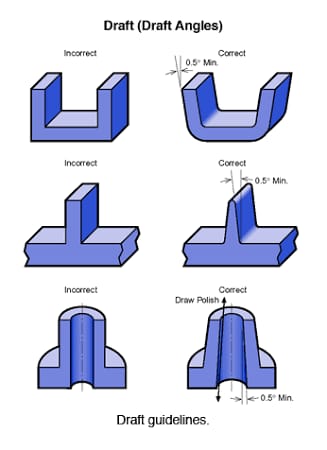
Mold design limitation and requirments
I faced some limitations and constrains when desinging and creating the mold: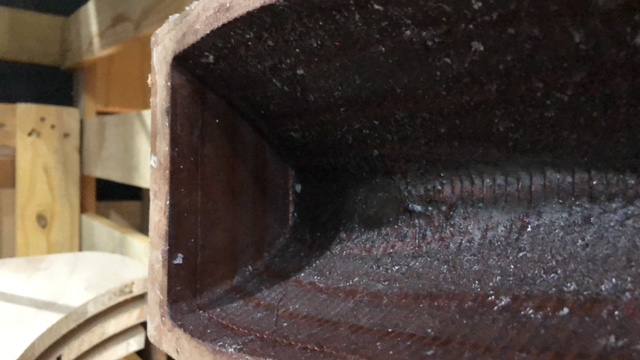
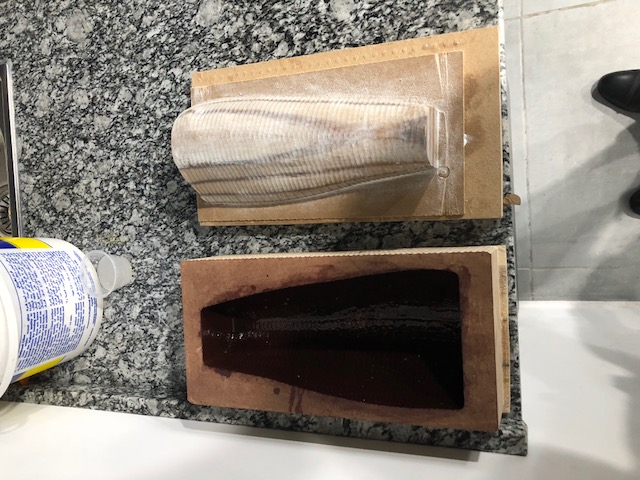
Mold results
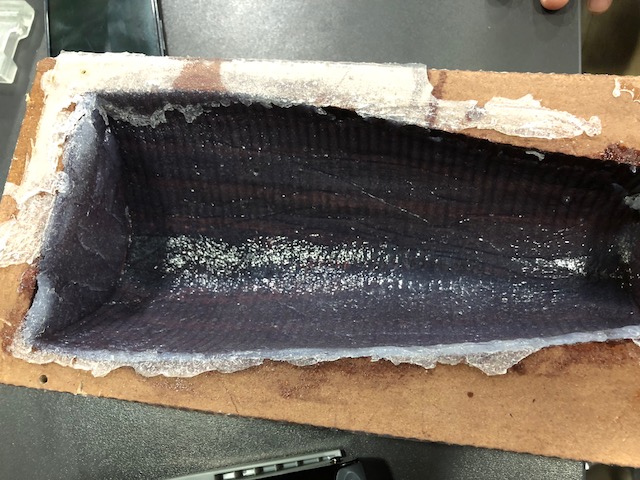
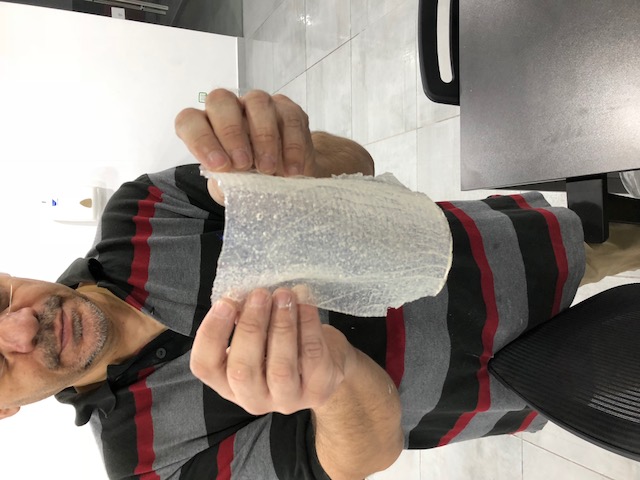
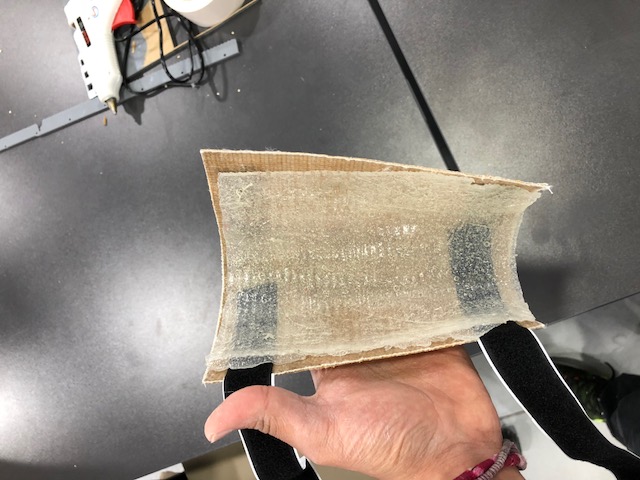
The normal cure time for sorta 37 clear rubber silicon is about 4 hours, however as I added more material than I needed, The mold didn't cure till after 10 hours and it wasnt even fully cured , so I had to give it more time and put it out in the sun, this was because of the paint( I must have used the food wrap on the on the paint as the paint wasnt acting as a good wood insulator). The right side was less thicker than the right side of the mold this was because we might have not aligned them perfectly or due to the excess of resin. However to create the shin-guard I wouldnt need the entire cast, thus the result achieved works fine for my purpose.
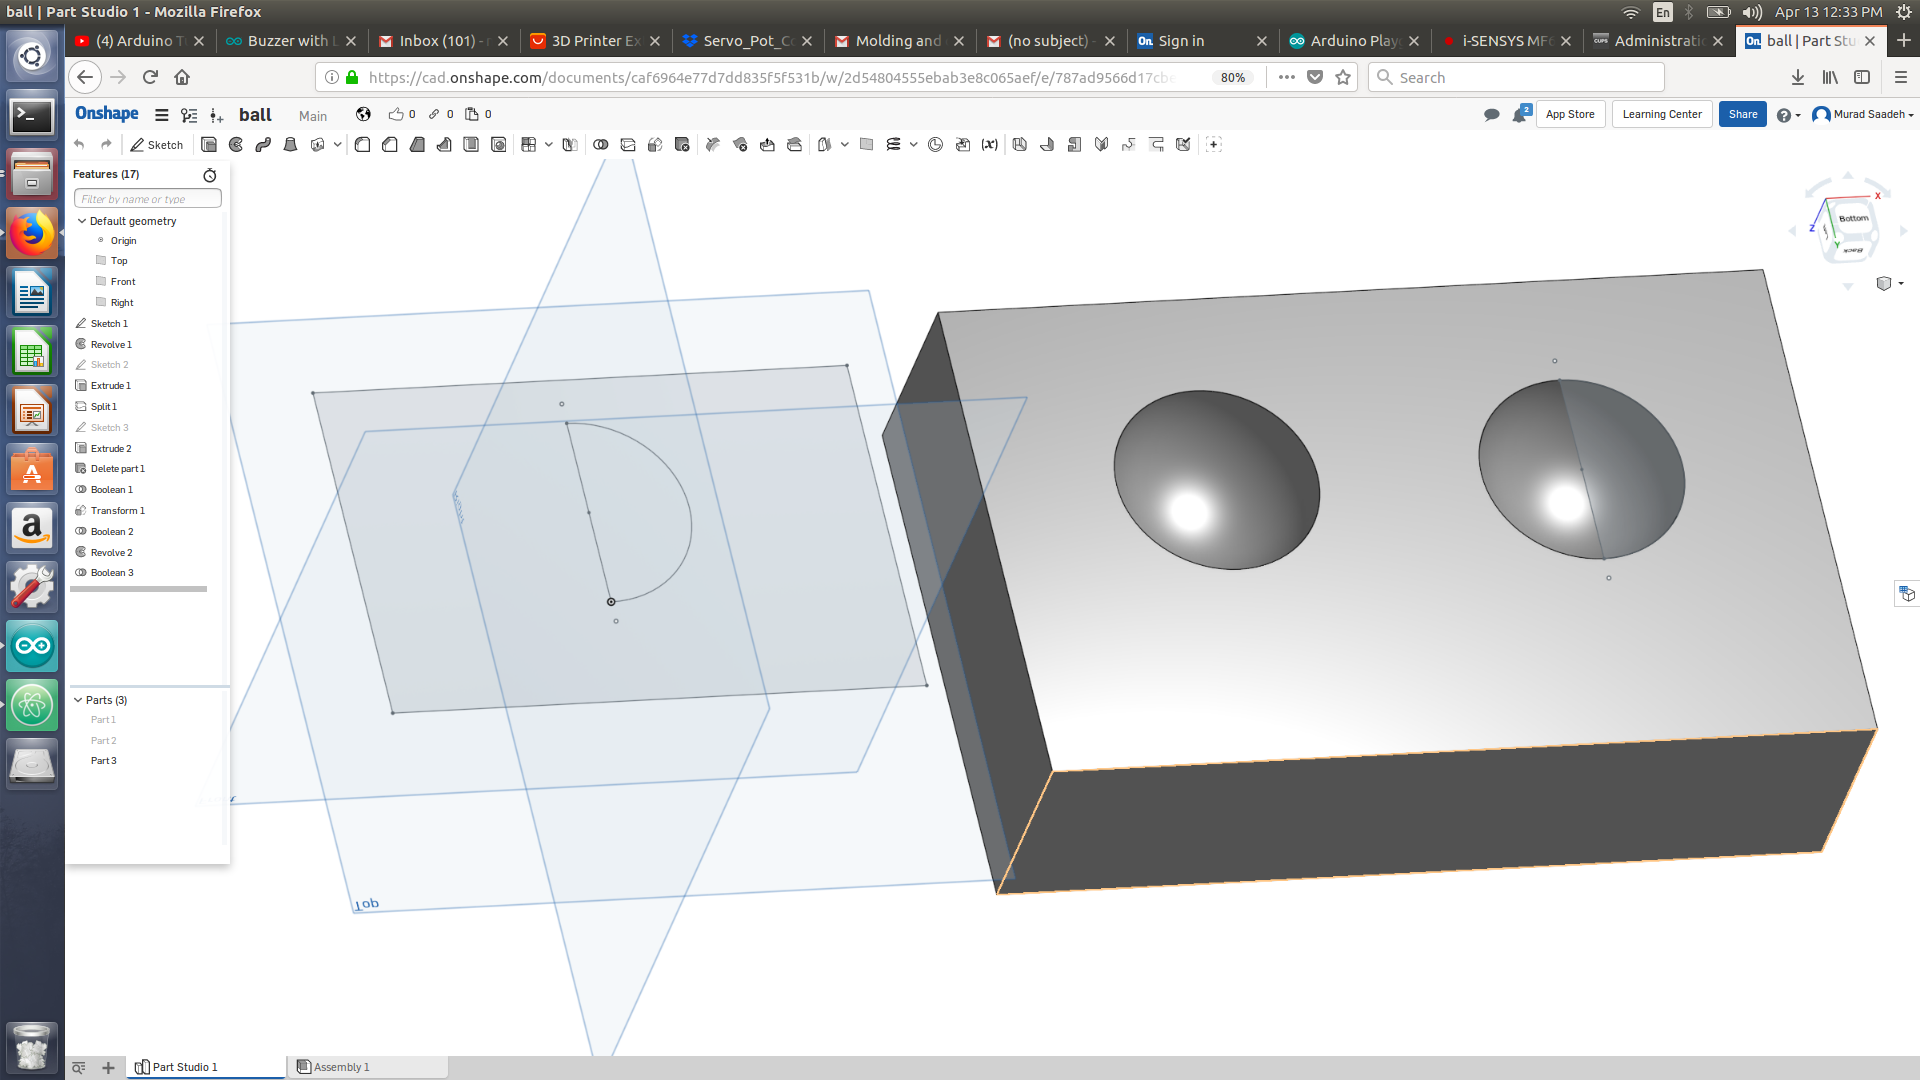
Ball cast
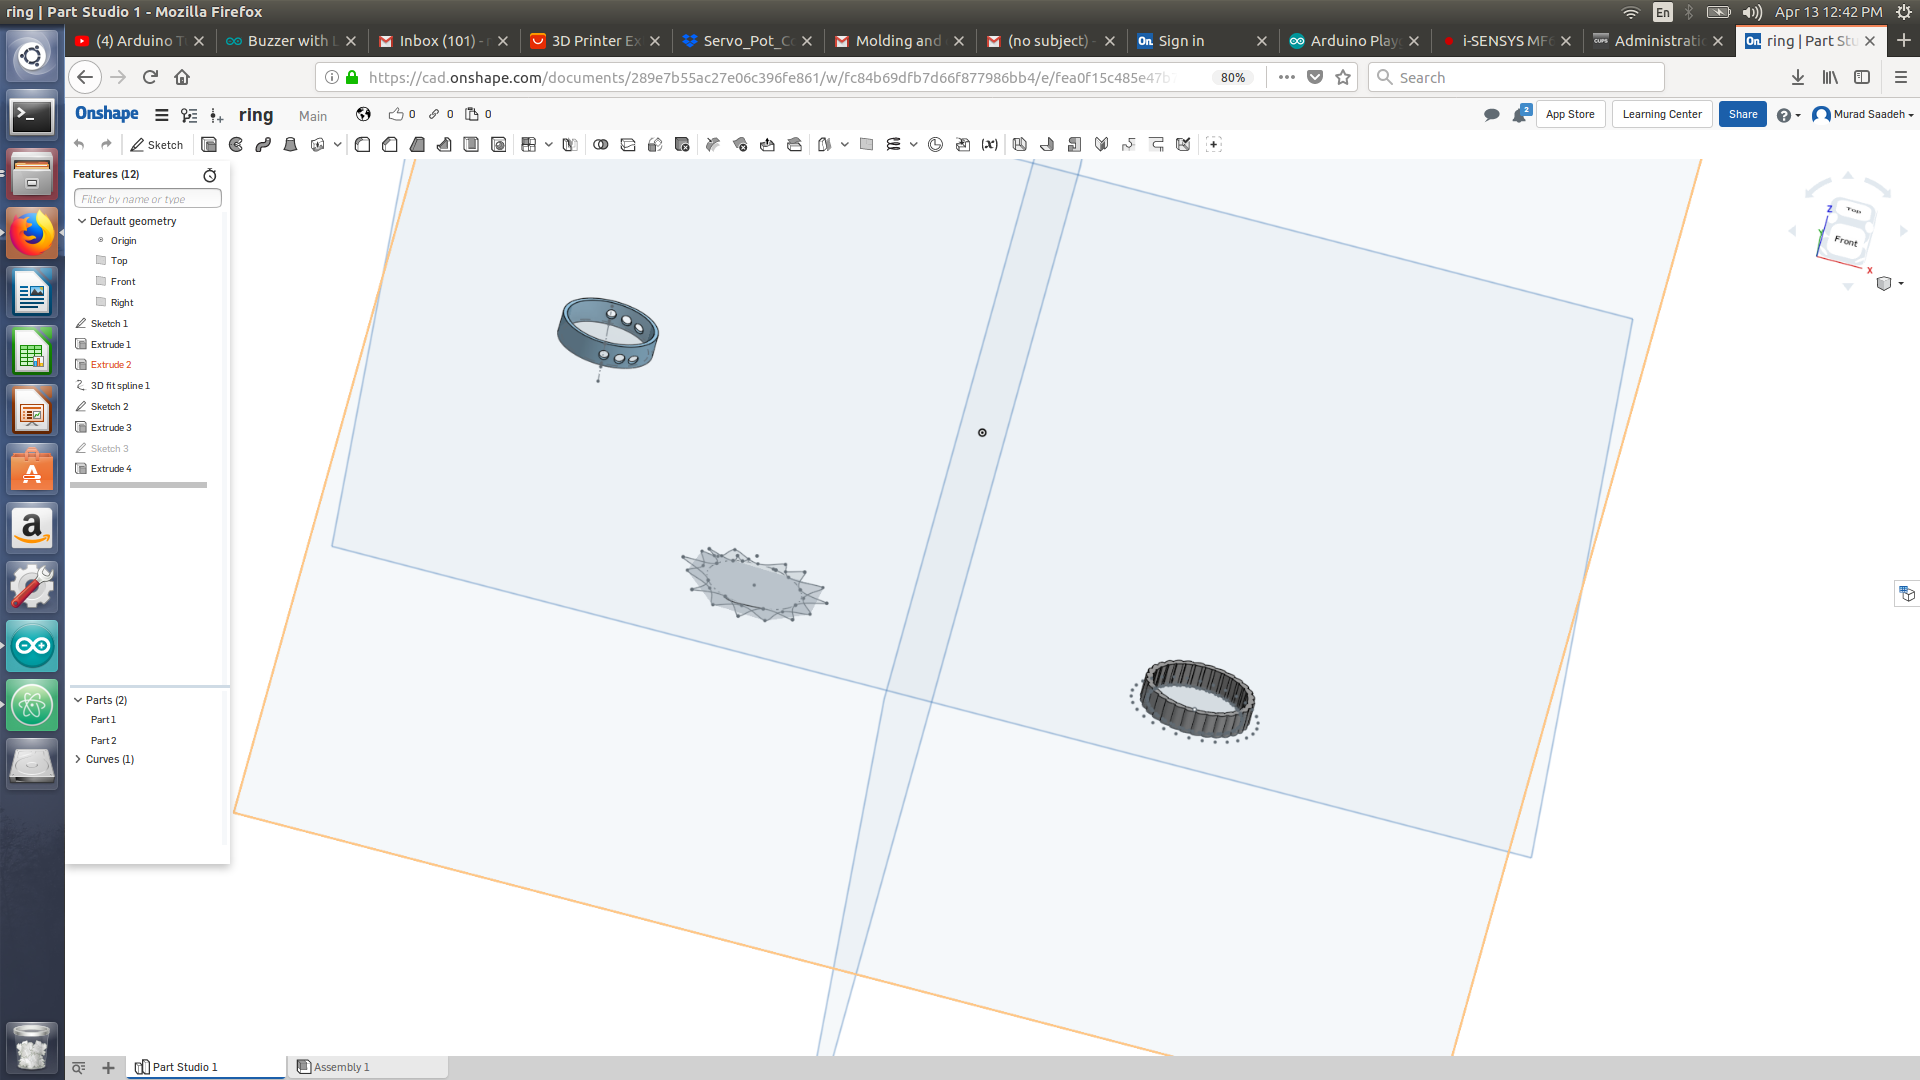
I just wanted to get more familiar with the concept of molding and casting, thus I have created design of a ball on onshape and I have split the ball into two halves. Then I have created a box and used booleon operation to subtract the 2 ball halves from that box. due to the shortage of time, I haven’t actually created the cast yet as the fab mods wasn’t working probably ( TO BE DONE later using the SRM-20 software)
Ring
We were actually doing some experiments on our form 2 castable resin, thus I came with idea to design a simple ring and use the form 2 to print and use it as a sacrifice cast. ( To be done later )