Vinyl cutting
Image prepartion
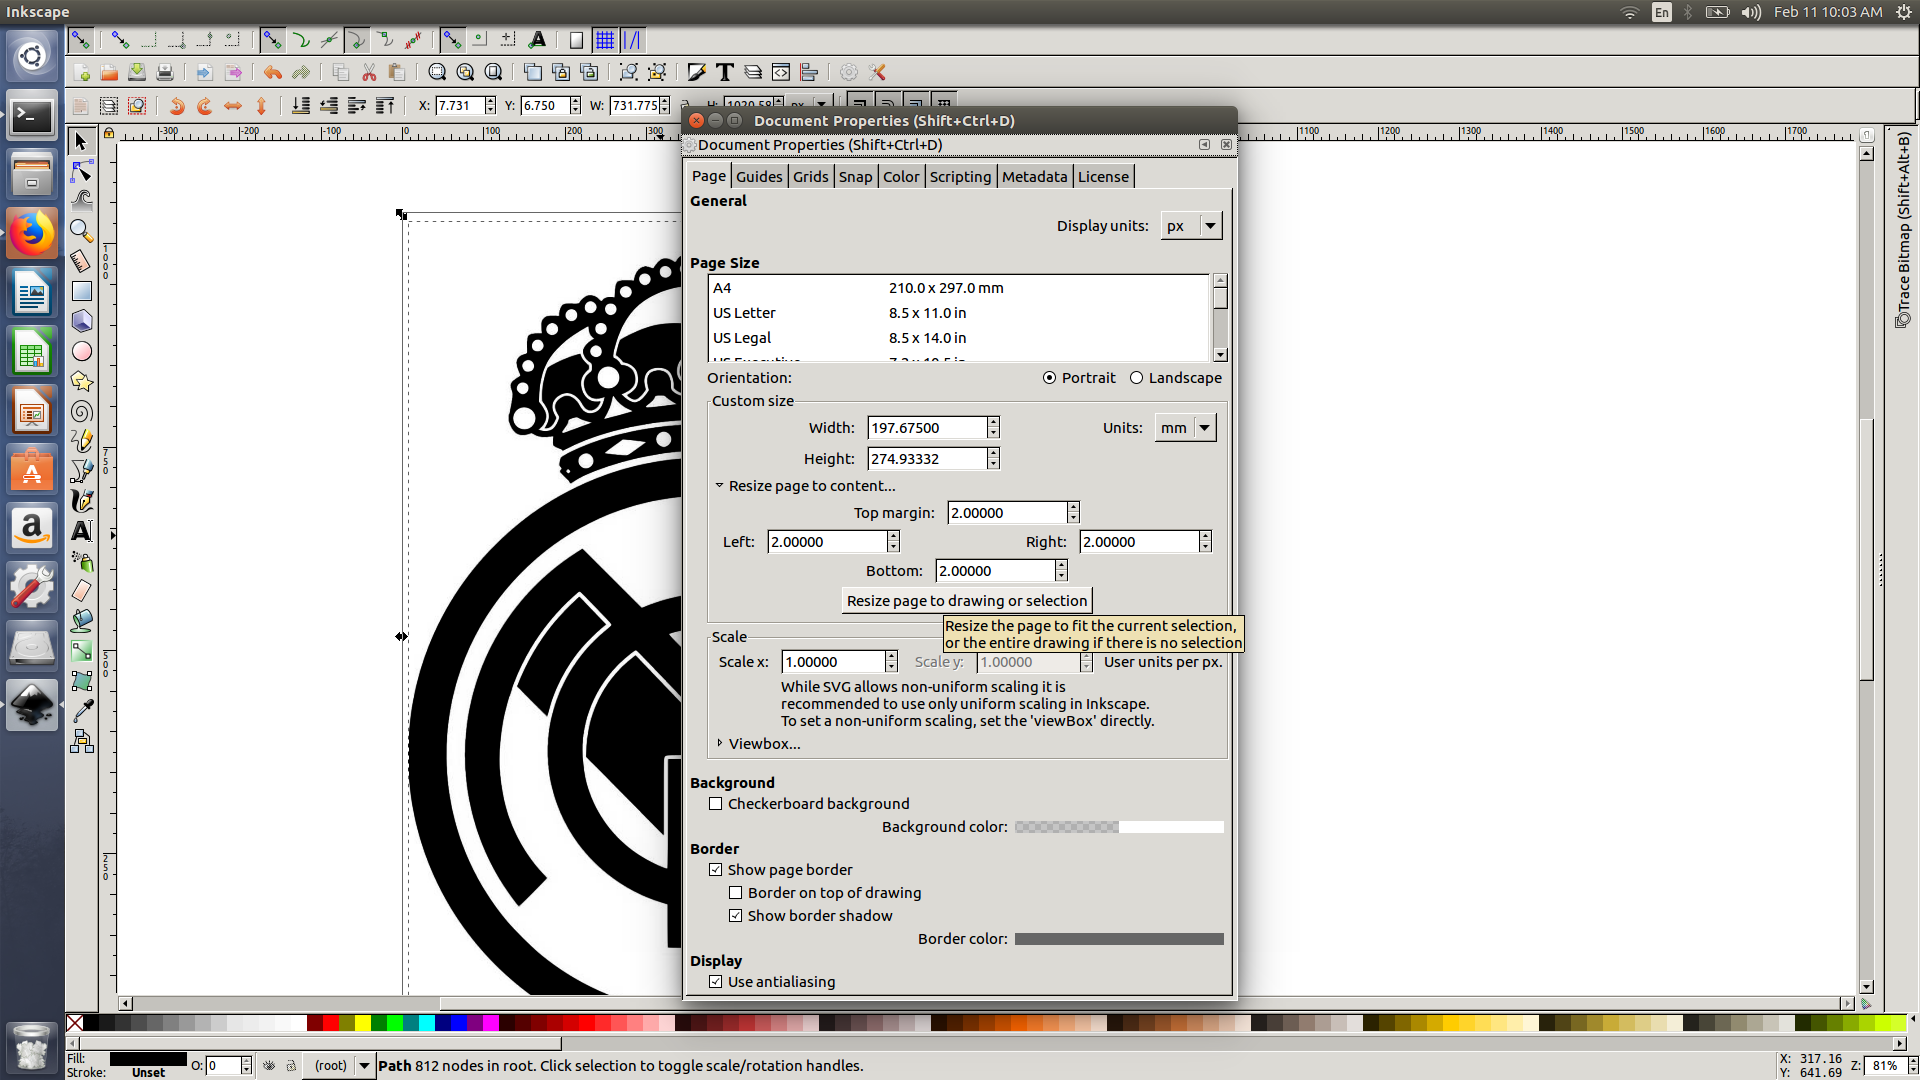
In order to vinyl cut an image it we must use fabmodules to change either scalar or vector images to cam (which contains straight line and arcs). I used inskcape to convert images from a raster image to a scalar image, Inkscape is pretty easy tool to use. .
- Make sure you set the right image size ( to scale ensure to lock the lock to not change the aspect ratio when editting the image size)
- Go to path and select trace bit map, then choose either brightness or cut off edge. (* Do not keep pressing ok as the vector image would be in place of the other image)
- Finally export the image as PNG


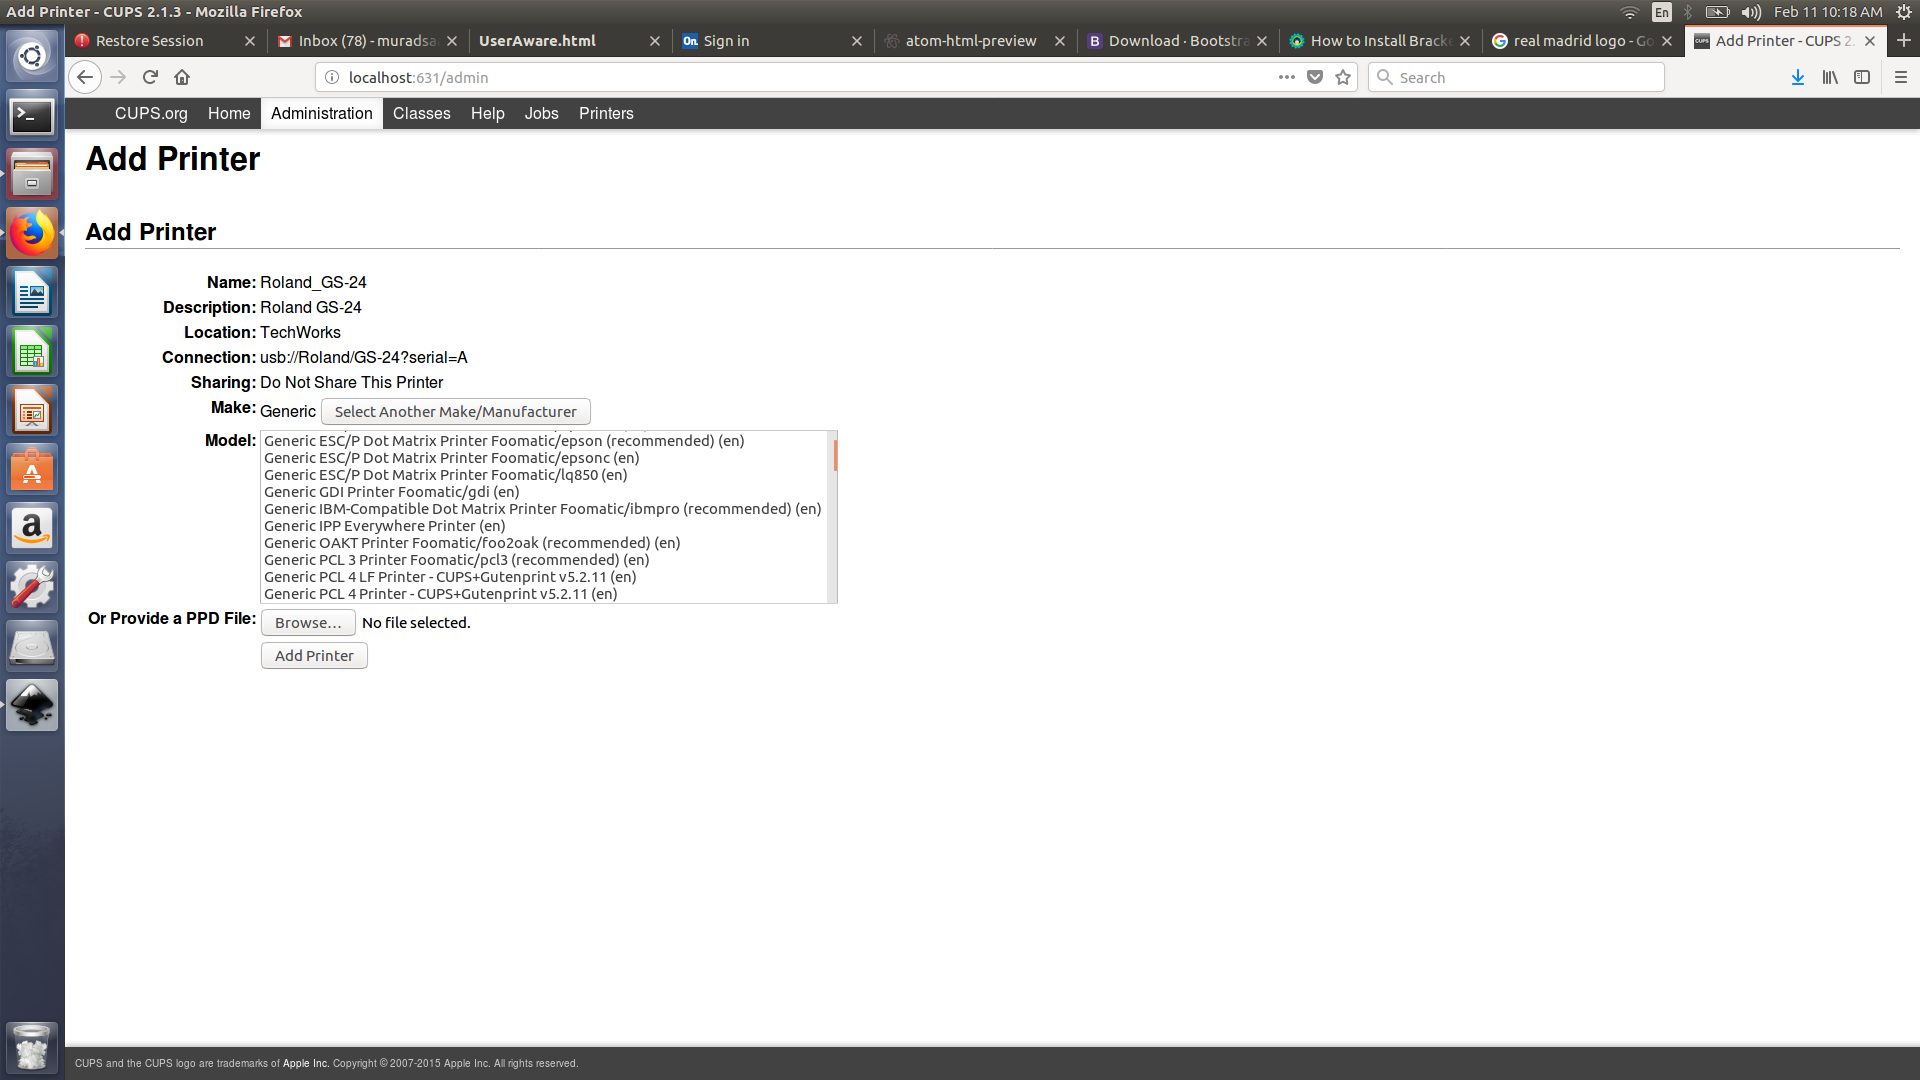
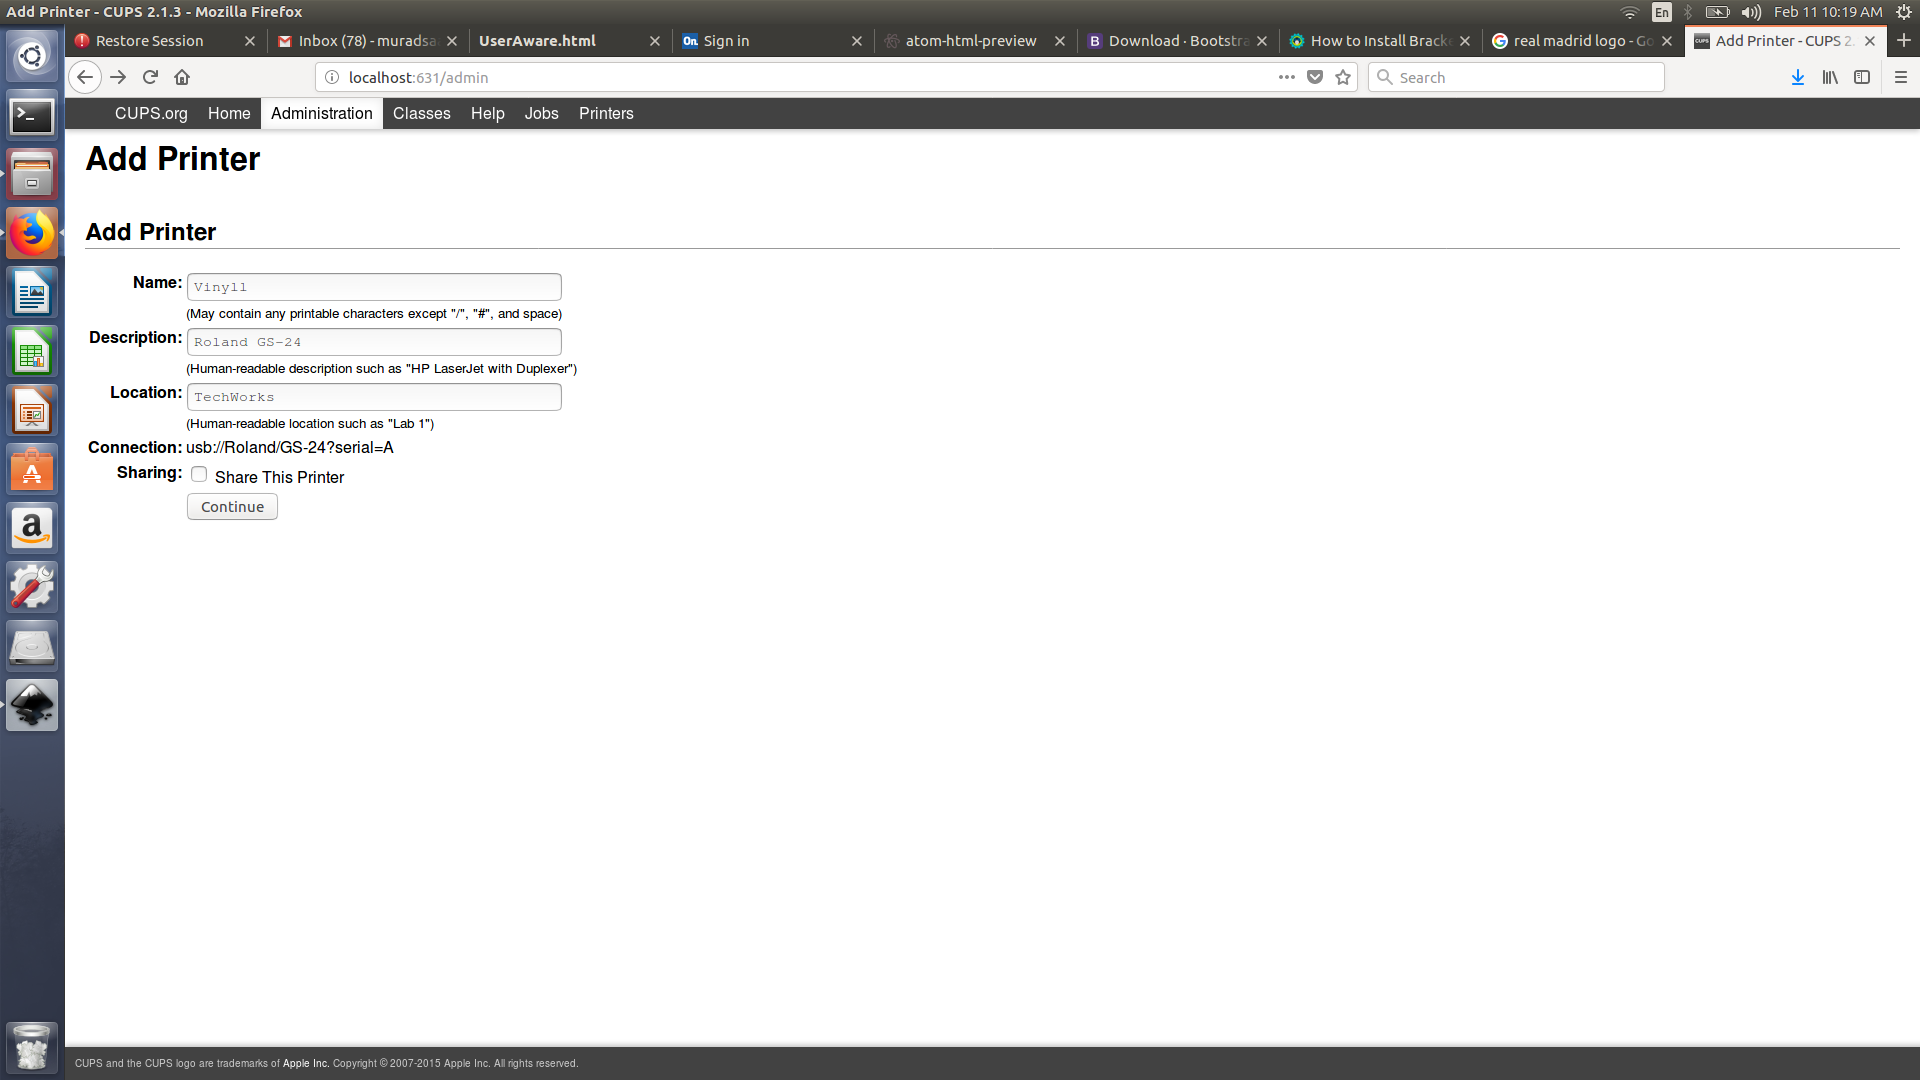
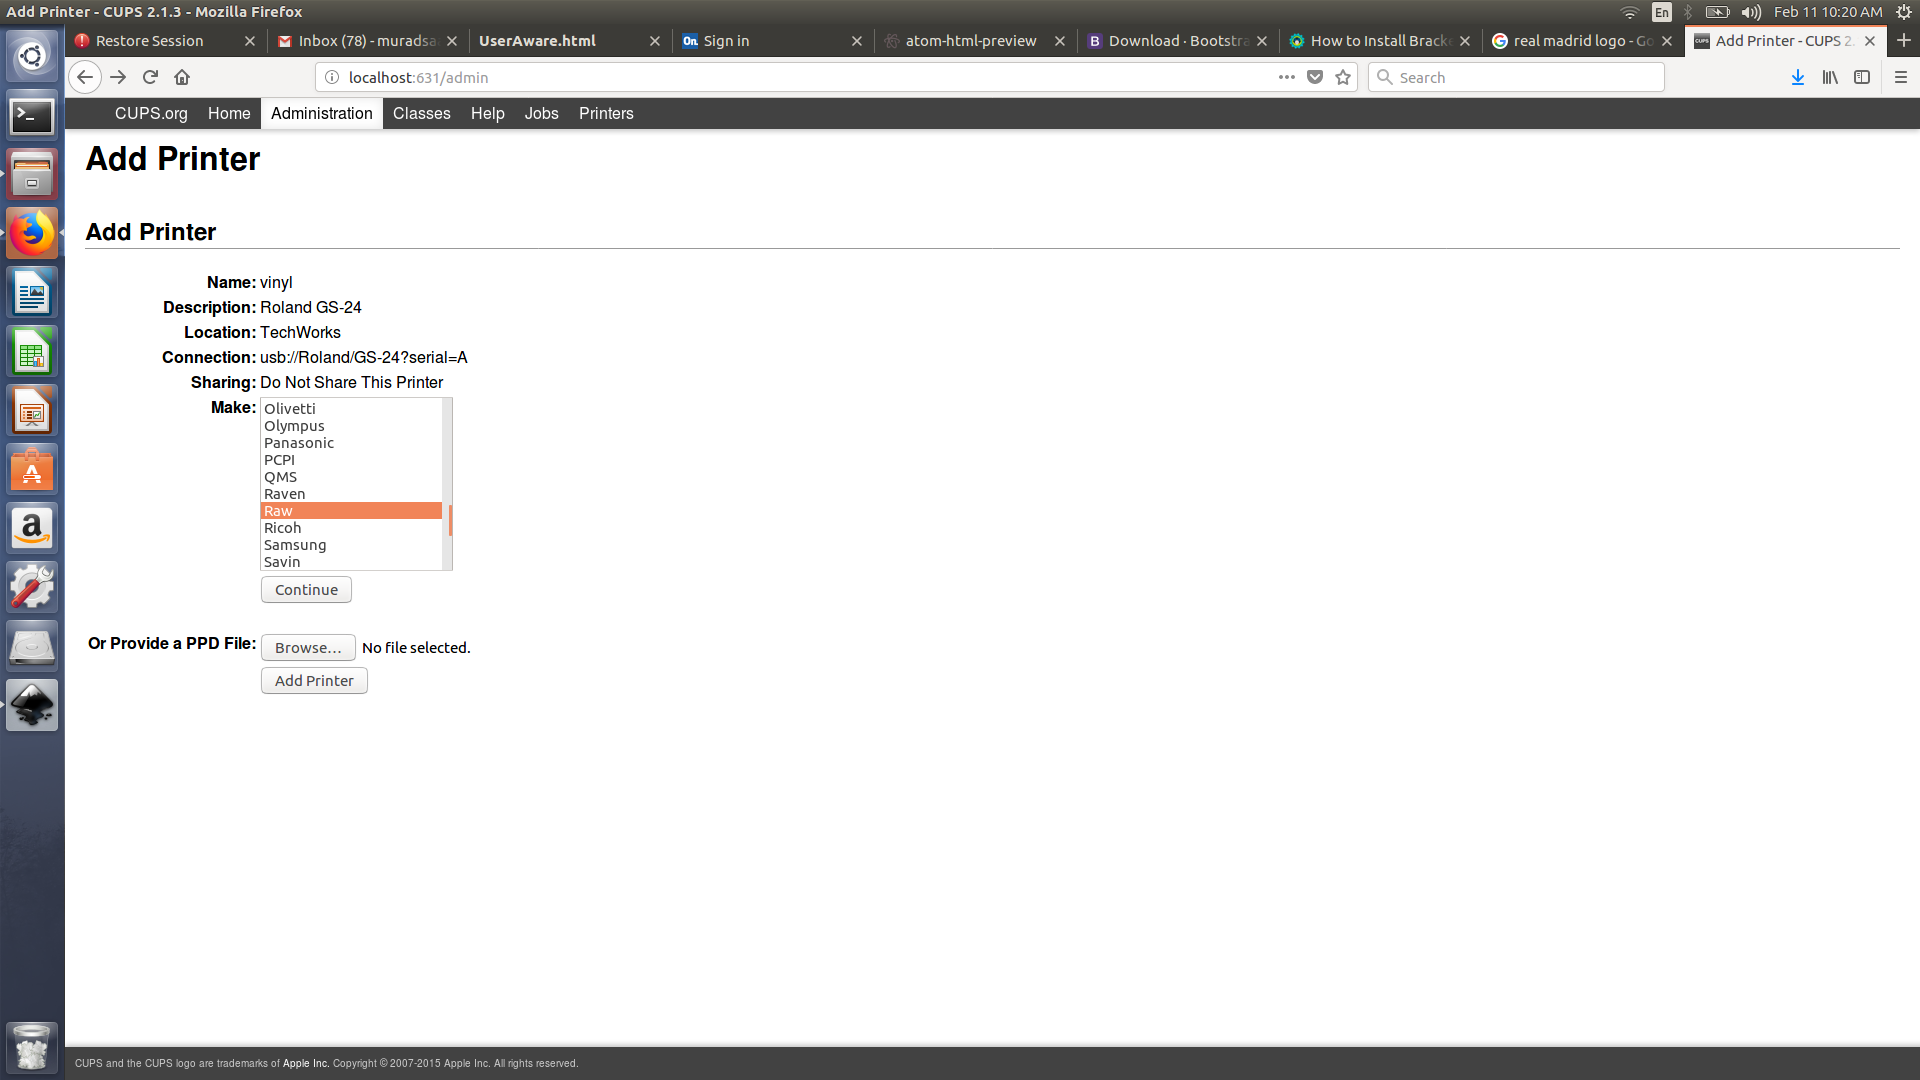
Adding the vinyl printer
- Access this link
- Add printer (Ensure to set the printer name to vinyl ONLY) I made a mistake by calling it Rolland-vinyl
- Make sure to Select Raw
Printing
- Local Fab modules
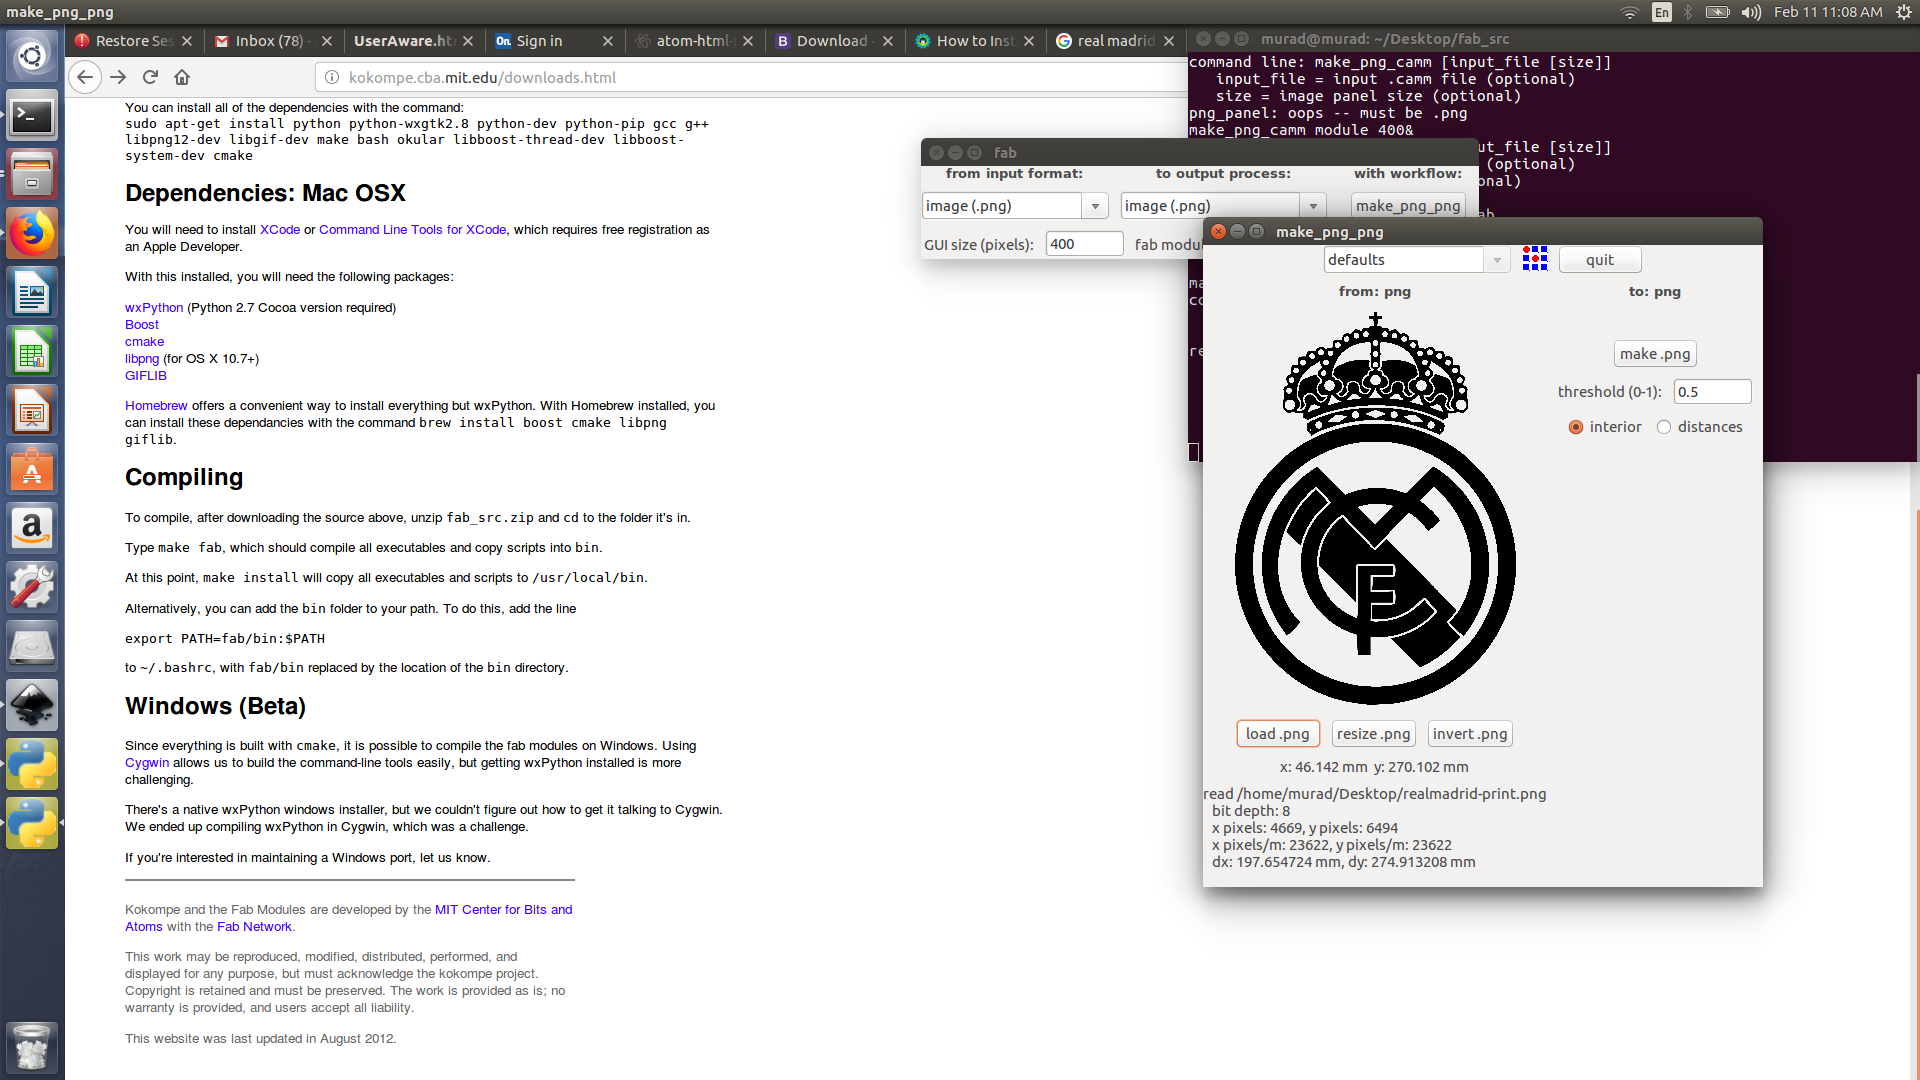
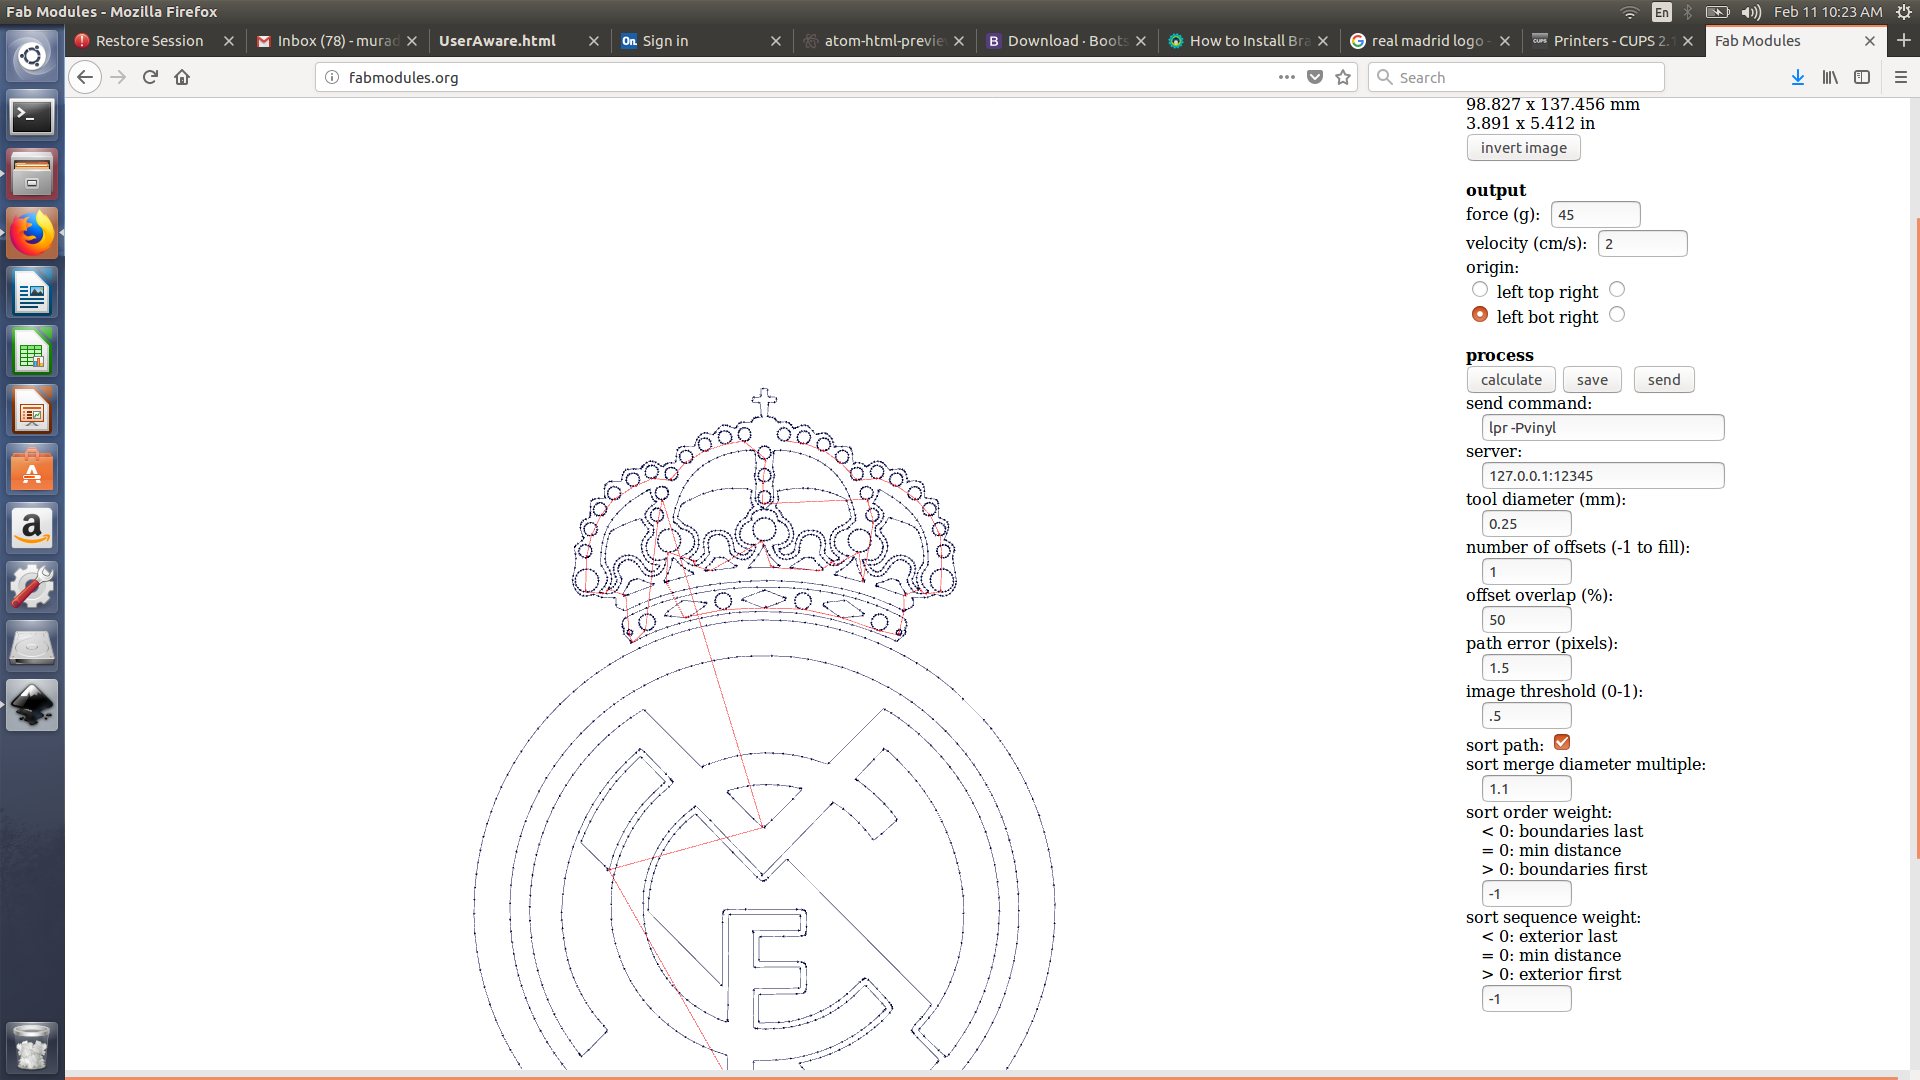
- Using the fab modules link
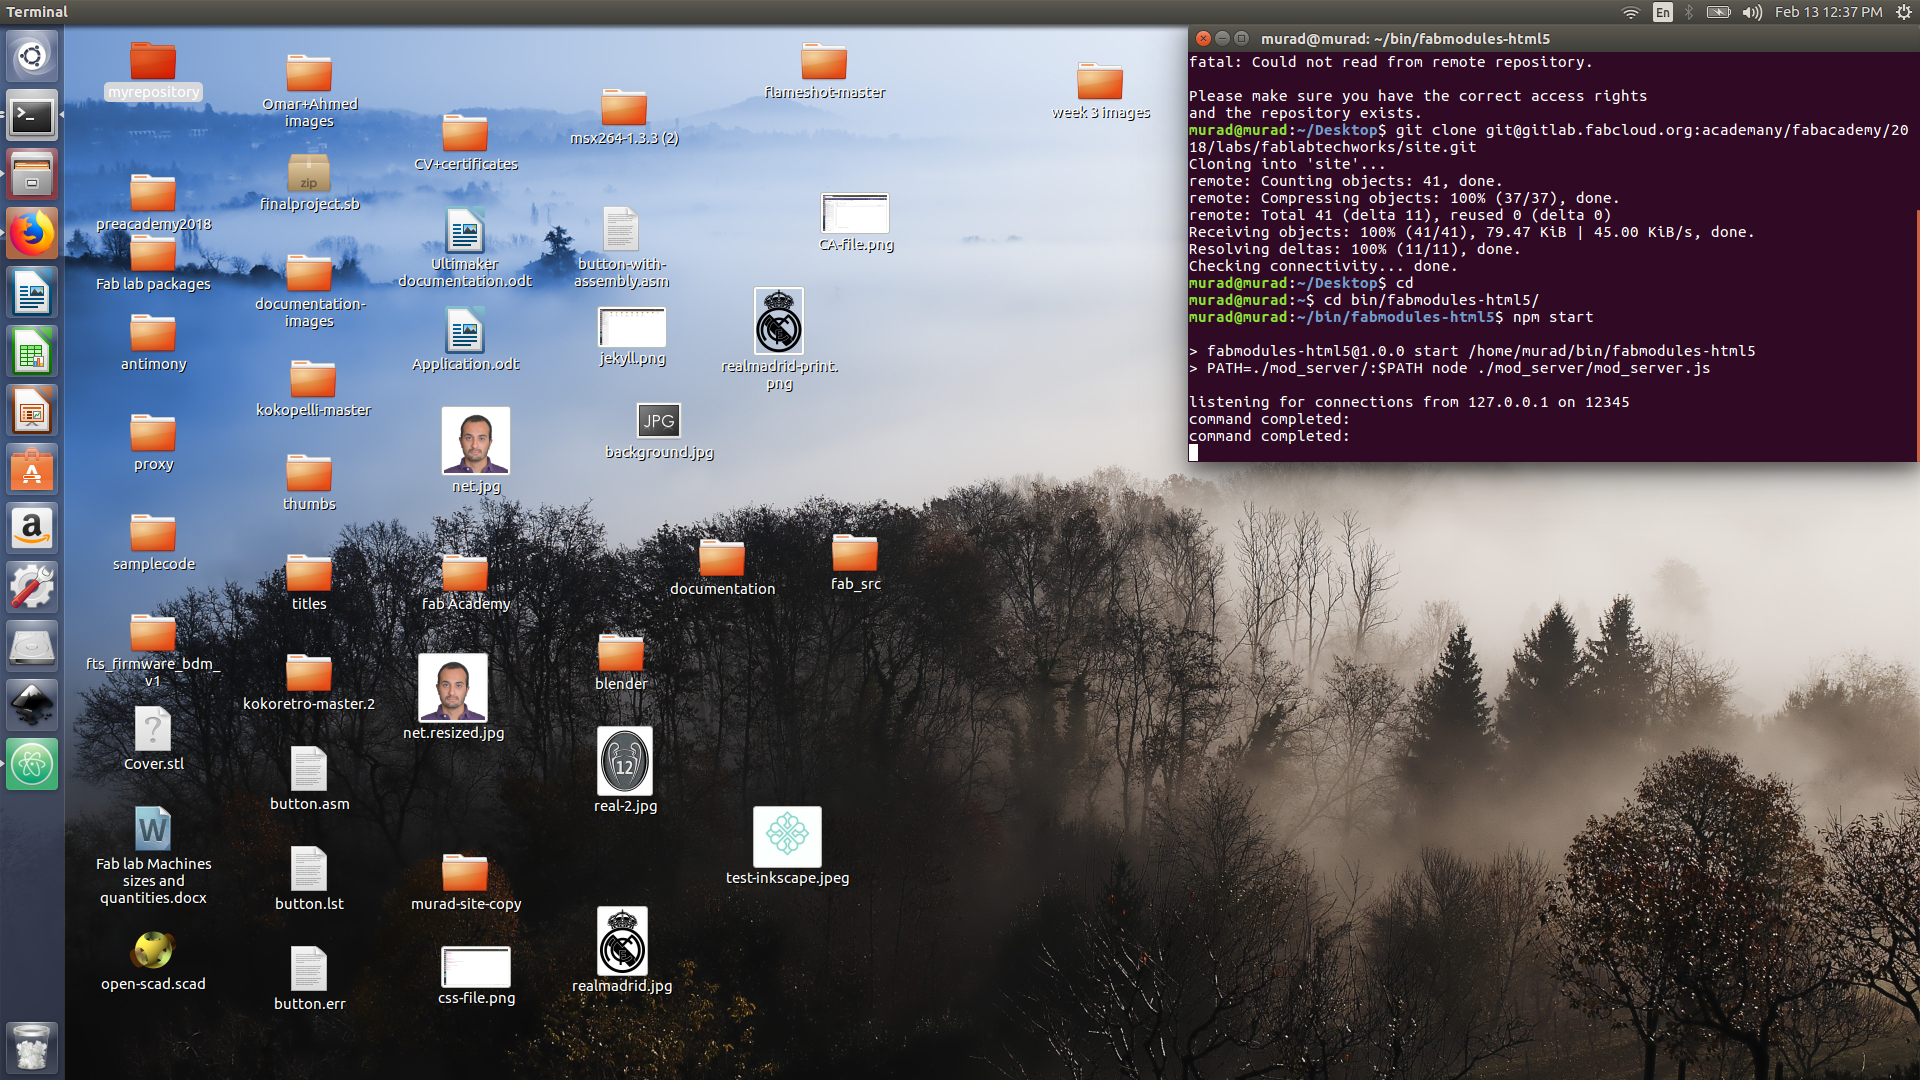
We tried to print, but the server could not be found. (actually we I insisted that we did print before without installing fab modules on my laptop, where our instructor Sibu said that it was impossible ) AS usual Sibu was right, Thus I had to set up new HTML-5 version of fab modules
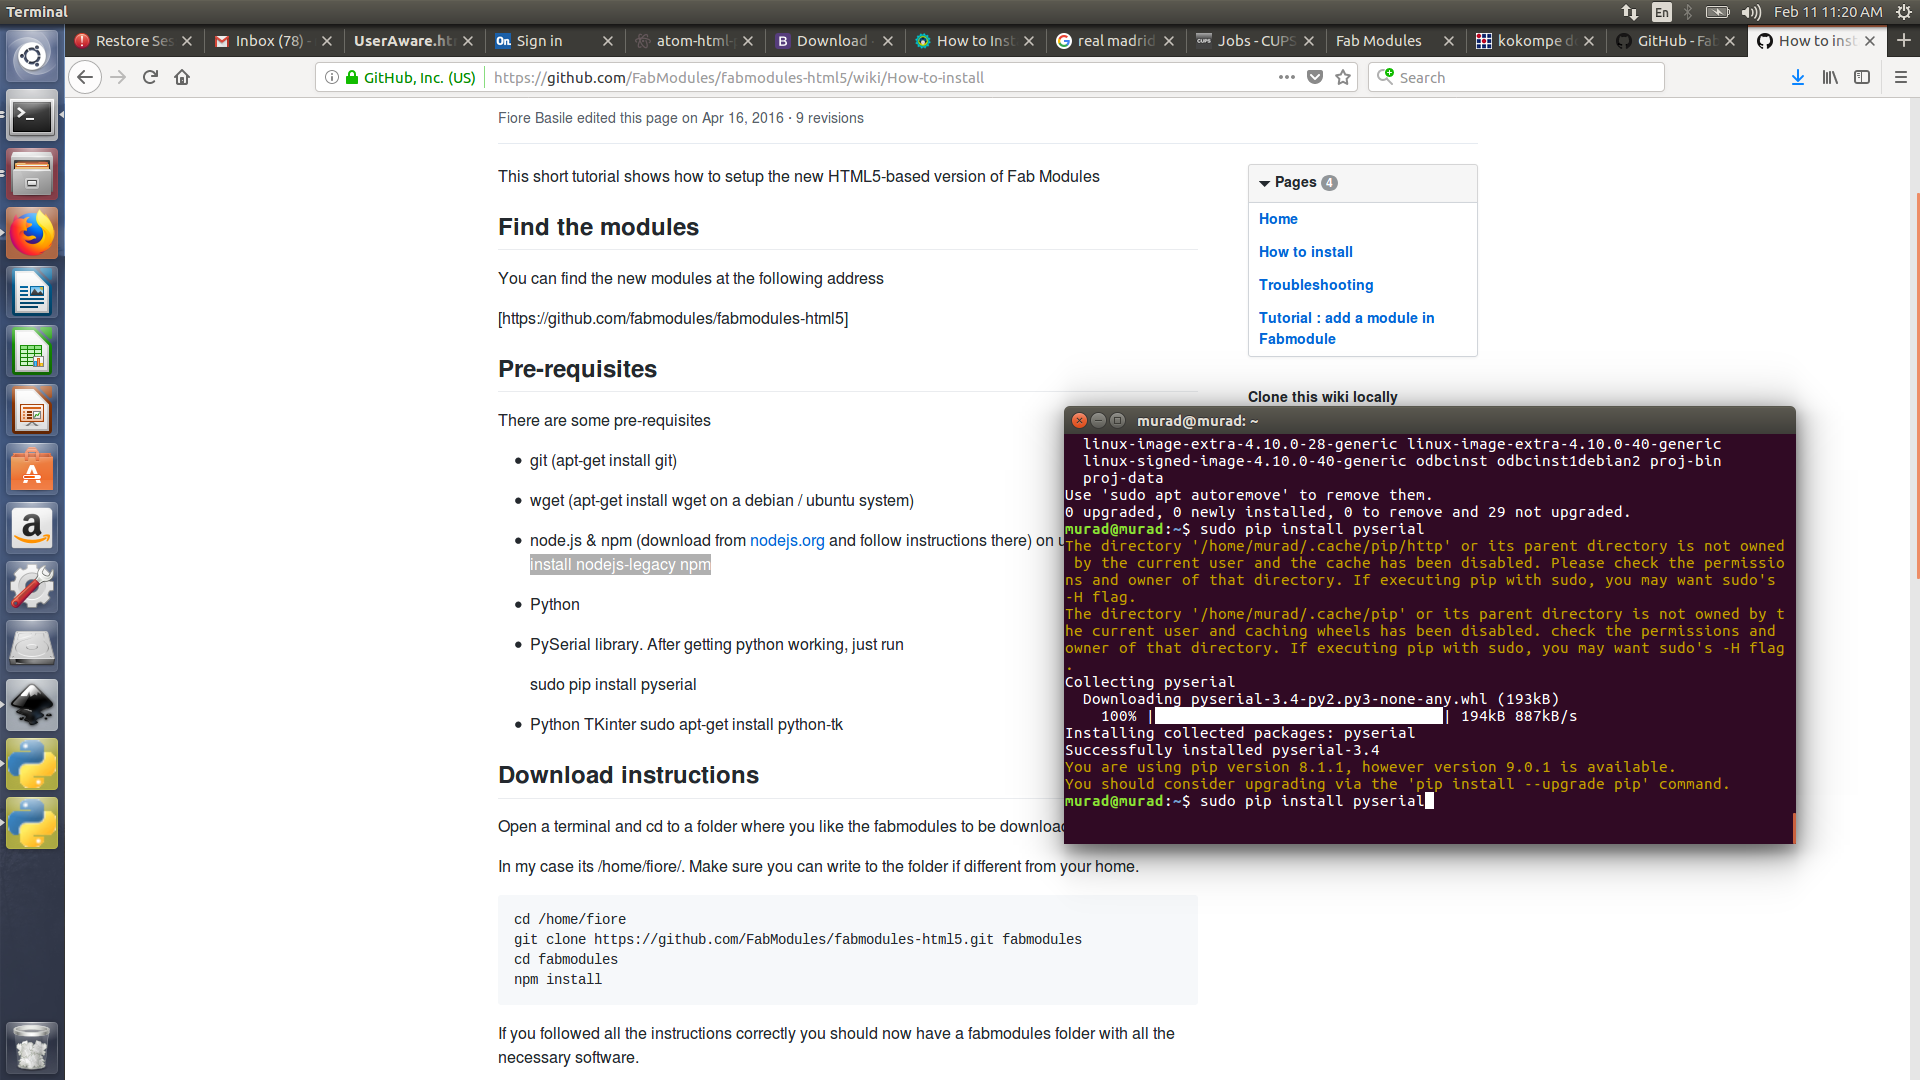
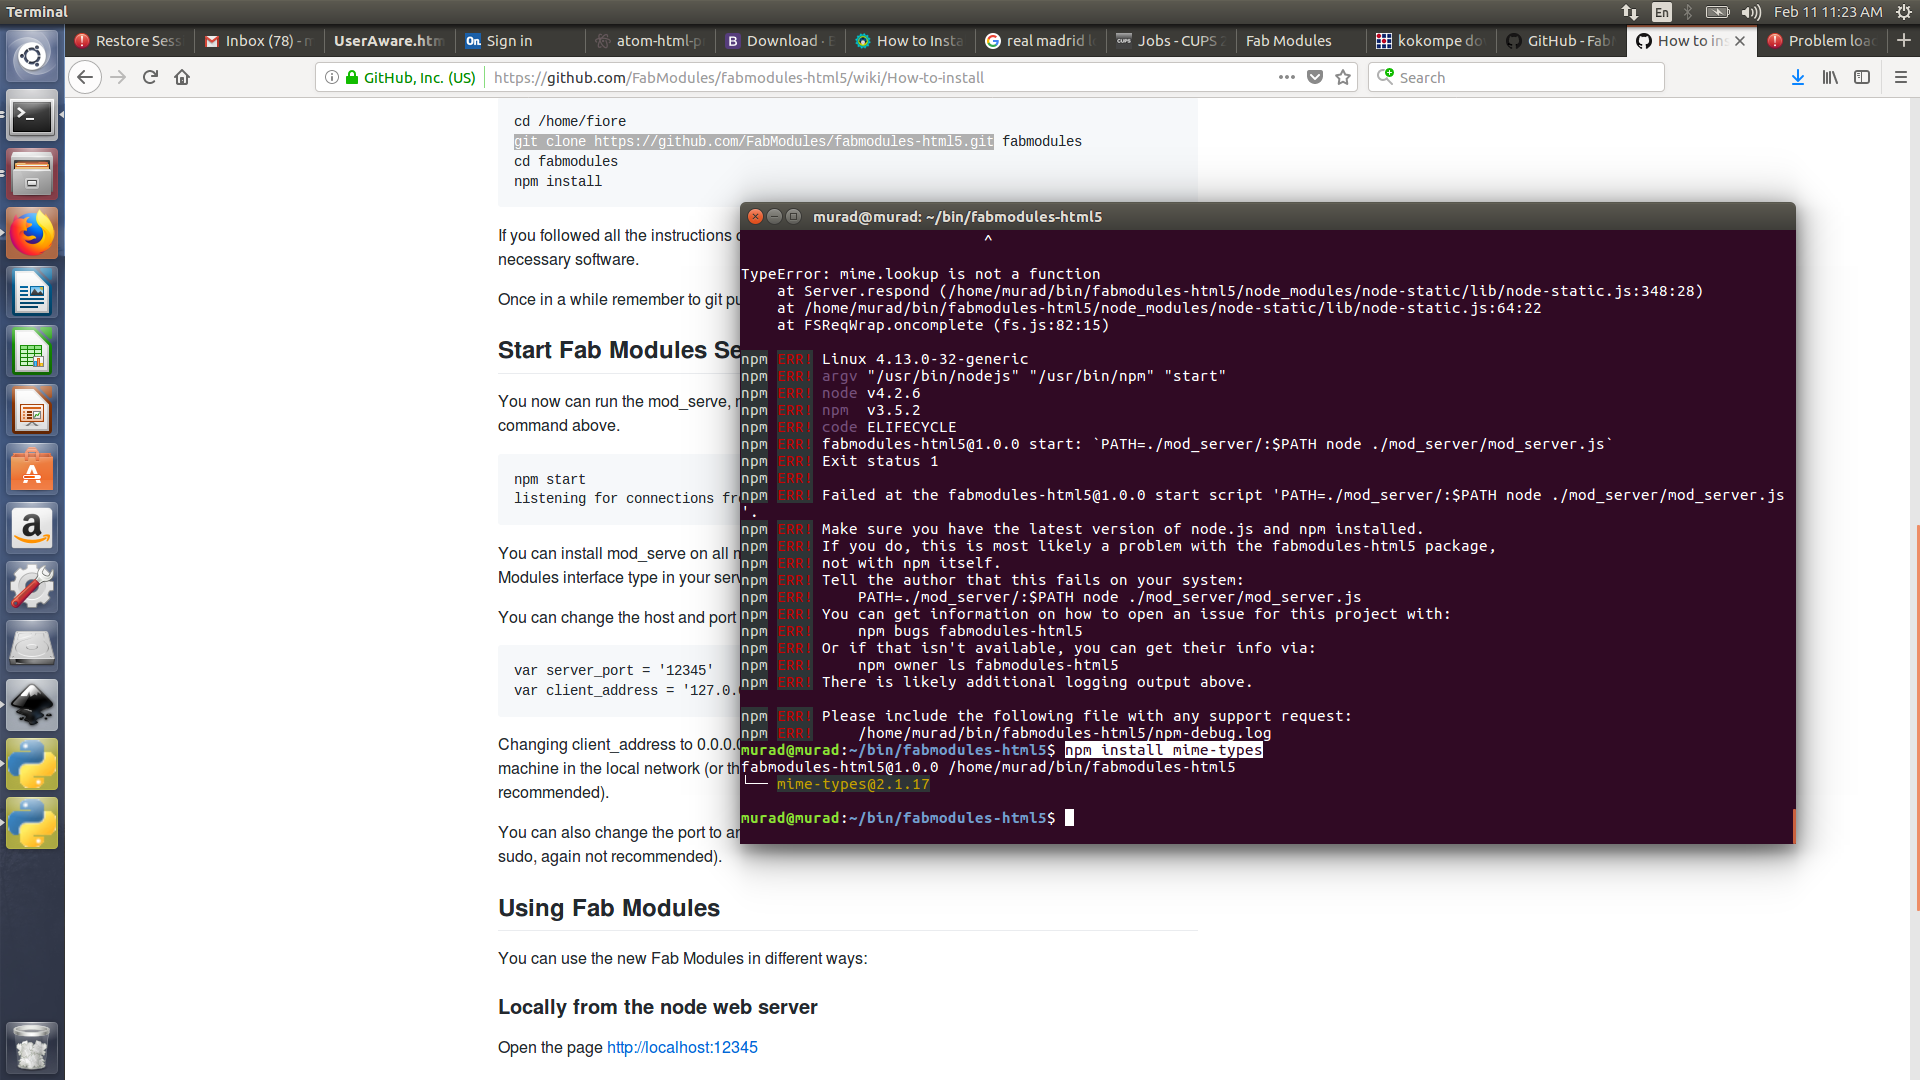
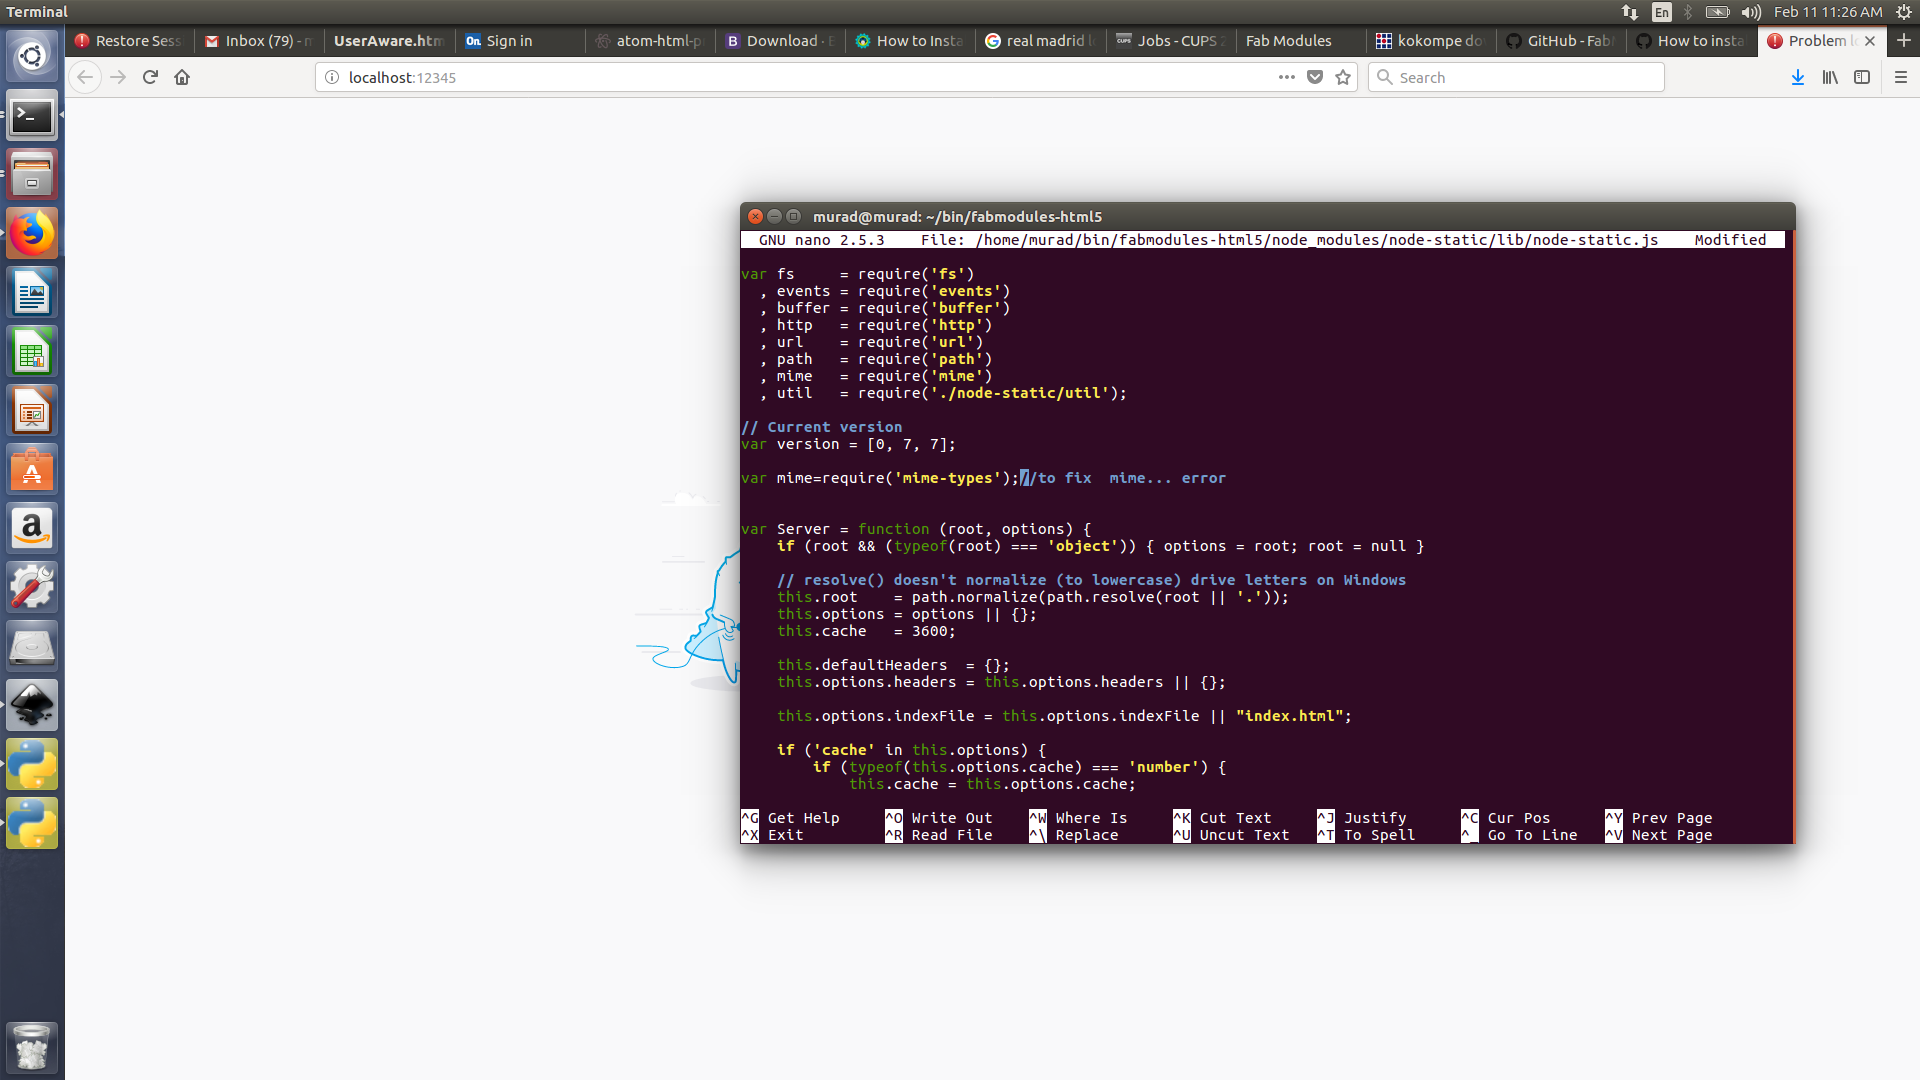
Access this link and follow the procedure, I have faced a problem where mime lock up is not functional thus we had to manually add this to the file (Check the images below)
To print using the terminal
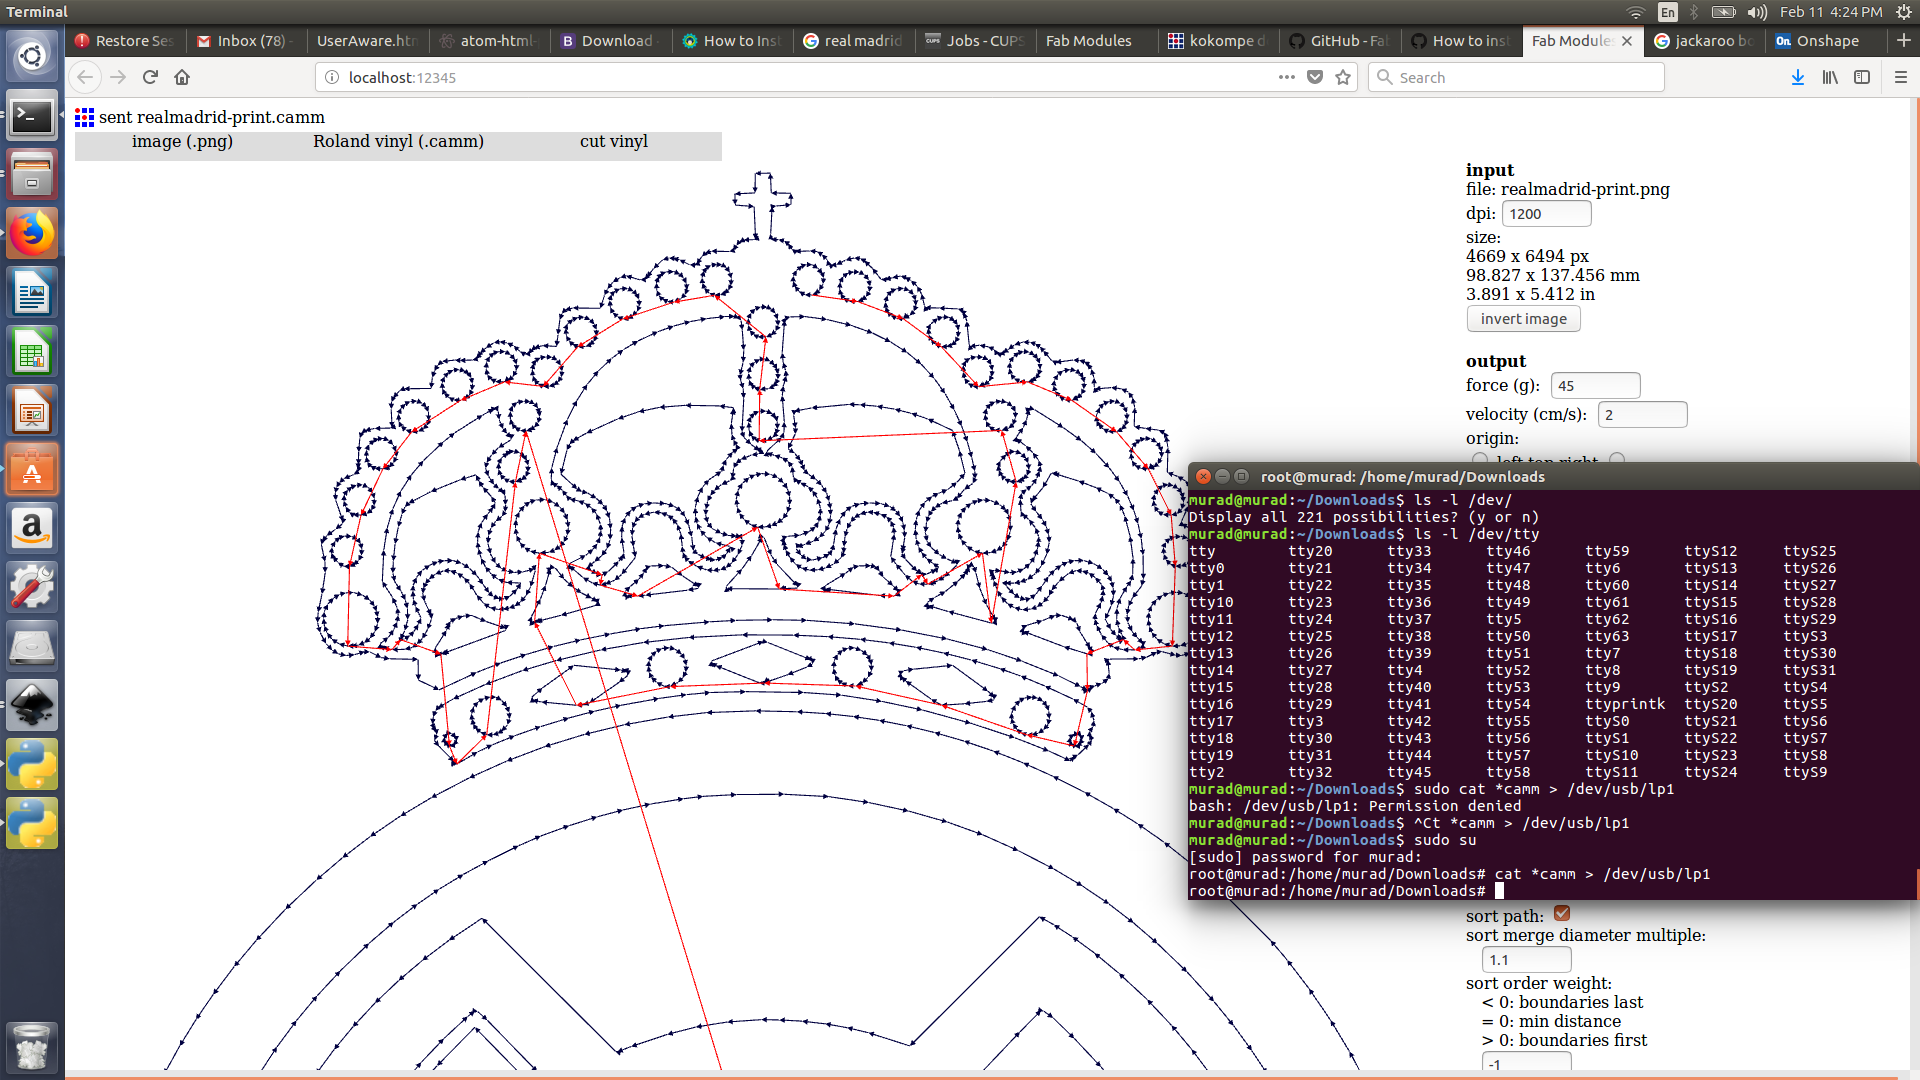
Removing the print
Source file
click to download
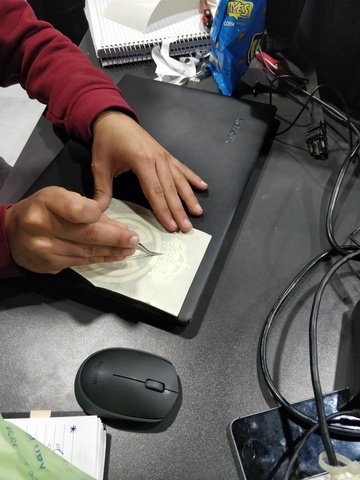
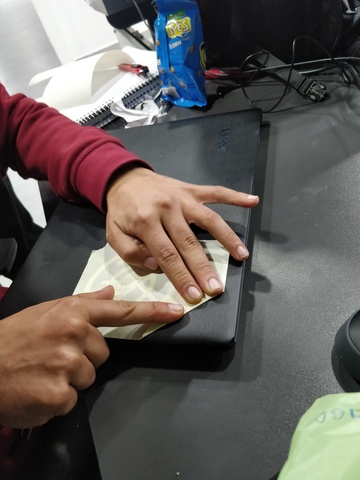
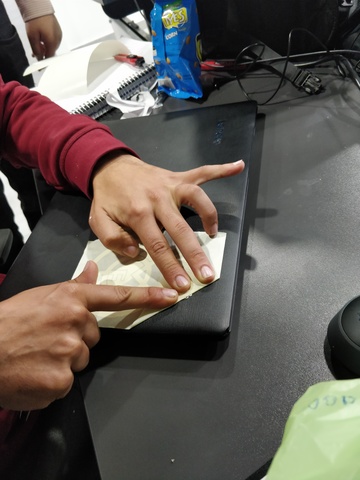
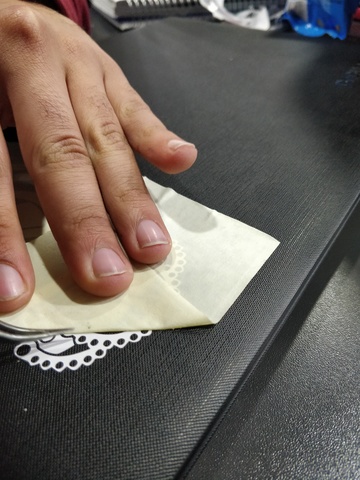
Cutting PCB using vinyl cutter
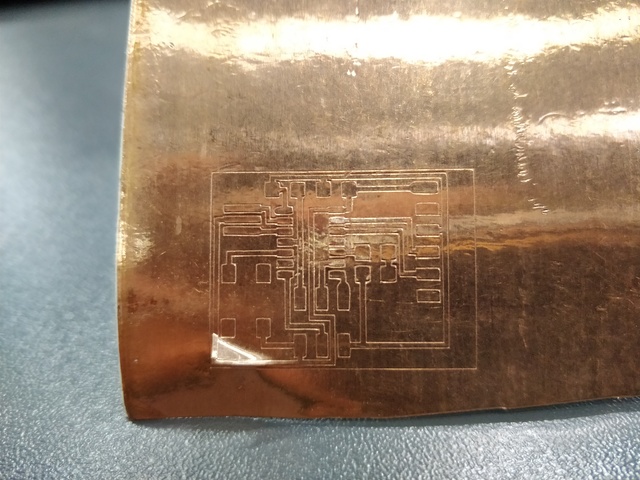
I was really excited to know that vinyl cutter can cut copper, I cut a small piece from a copper tape and placed it in the vinyl cutter. I choose a png circuit image I have designed previously and sent it to the printer. The first cut was a bit messy as the force was only equal to zero, the second cut I decreased the force to -2 and adjusted the cutting bit to perfectly cut the piece.
Note: By mistake I forgot to activate Fab modules before printing using fab modules.org
Laser cutting
Group project:
We had designed 3 circles (1, 2 and 5 ) cm, in order to test our laser cutter specs. We used both cardboard and plywood, we used a very thick cardboard ( 6 mm ) it didnt cut using the usual setting and we had to use (P=100, v= 3.4) in order to cut it, it would also cut using (p=100, v= 4 and 2 passes). For plywood we used ( p= 100, v= 1.2).
We couldn’t actually measure how much does the laser beam reduce from our materials size, as to measure the circle diameter we only had a bad caliper,in addition to that its very difficult to measure circle as you should set the caliper exactly to measure the diameter. I think using a square or a rectangle would be better and easy to measure.
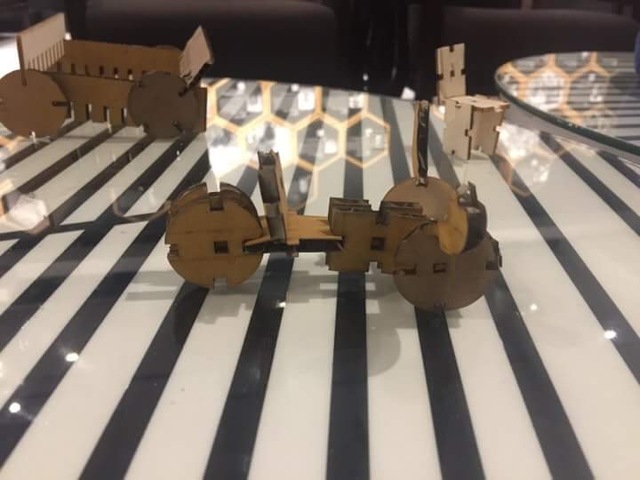
Press fit construction kit
Honestly I thought cutting press fit object would be easy, However it wasn’t as easy as I thought. Our instructor Sibu has shared an amazing method to measure the best fit for each material, he did it using open-cad and I imitated it using solid work where I have designed a parametric rectangle with slots that are changeable according to the material thickness, each slot is decrement of 0.1 mm (for example the first slot is 3 mm -2.9mm - 2.8 — 2 mm ).
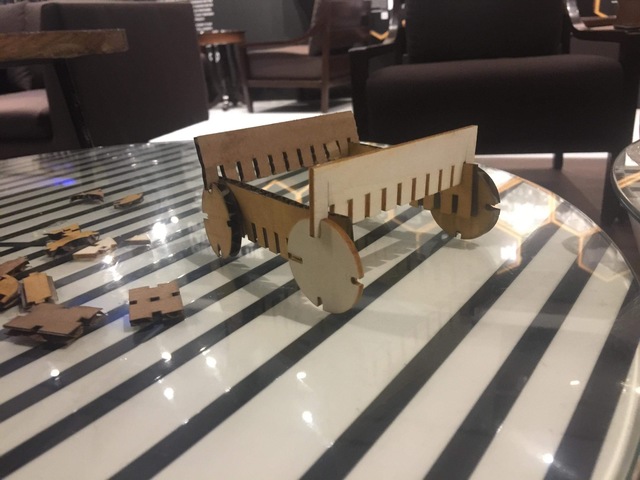
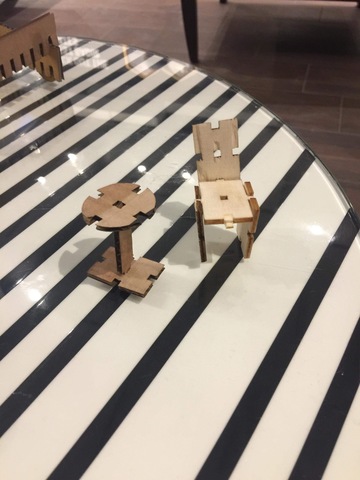
I used solid work to design a parametric press fit construction kit, I started by designing a rectangle one with 4 slots and one with 4 teeth. I also designed a circle and an arc. My main issue was creating objects using this kit, it could be easily designed into a box, I then was able to make a car, chair , table and motor bike (not really hahaha) I am not that creative in these things.
Source file
Open scad: Sibu had showed me how to create a code to generate the test slot, he created variable for the number of slots, rectangle length and width, Slot depth and the spacing between each slot. A for loop is used to decrease 0.1 of each slot using the equation:
Note:
- Its better to export designs as dxf to be easily opened on inkscape
- Make sure to check the scale of the object
- Make sure to group each object as its usually separated on inkscape ( just press CTRL and G)
- Change the color to full red (R=255, b=0,G=0) to cut and full black to engrave
Problems:
- Designing a parametric objects using On shape is very difficult, as using equation to delete one parameter from the other is not applicable
- On shape object constrain make it very tough to reshape and change sizes of objects
- I faced problem setting a slot at the middle of object (By using construction line this is do able)
- I faced a problem exporting file to inkscape such as SVG, PDF and PNG. ( its better to always export using DXF file so you ll have the full flexibility to change the sketch on inkscape)
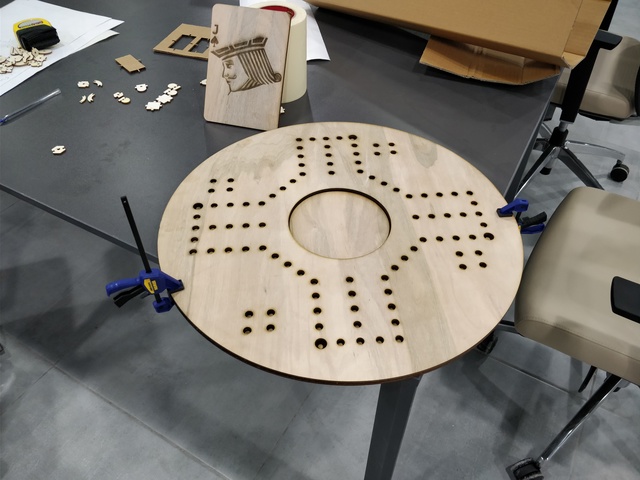
Jakaroo board
Mobile phone and Internet are taking over most of our time, I still cant forgot that time when a group of friends meet up to play a visual board game. I really was amazed of what a laser cutter can do, thus I was like why not to make a board game using the laser cutter, I could easily use cheap cardboard to make it. I started designing a famous board game in jordan (JAKAROO) I have no clue where did this name came up from. I used on-shape to design this board, My instructor Sibu has suggested to use line pattern to speed up the process, I used this to create all the circles for the marbles. Sibu had made the same pattern using mirrors, honestly his way way was faster. I then cut a jack card deck. This board game would be perfect example to teach kids and refugees on laser cutting and 2d design in addition to the possibility of them taking it with them to cheer up.

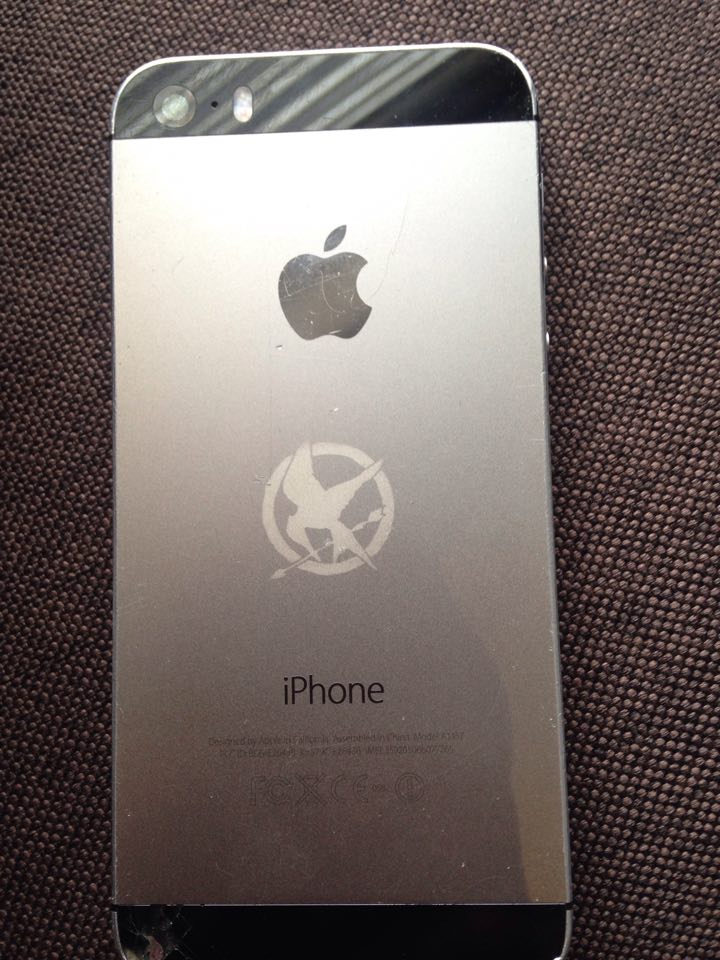
Engraving my phone
I was courage enough to engrave the moking bird logo on my iphone. I changed the material to stainless steel at the speedy software and did decrease the power and increase the velocity to be on the safe side. I used power=40 W and speed= 80 m/s