This week's task is to use a 3D printer to print out my model and also use a 3D scanner to scan something and create a 3D model.
3D PRINTING
TESTING THE ABILITY OF 3D PRINTER
I designed a stl file that lets my 3D printer to print different wides of lines and curves of different angles.
HERE TO DOWNLOAD TESTING STL FILE
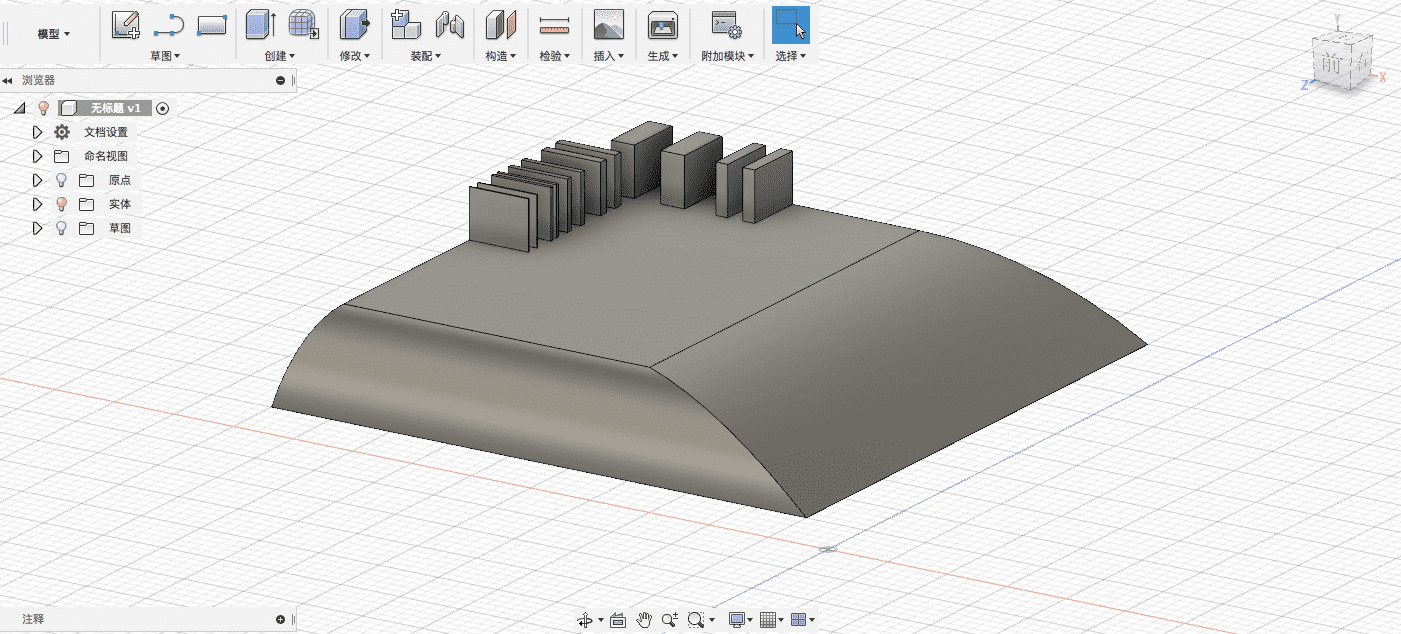
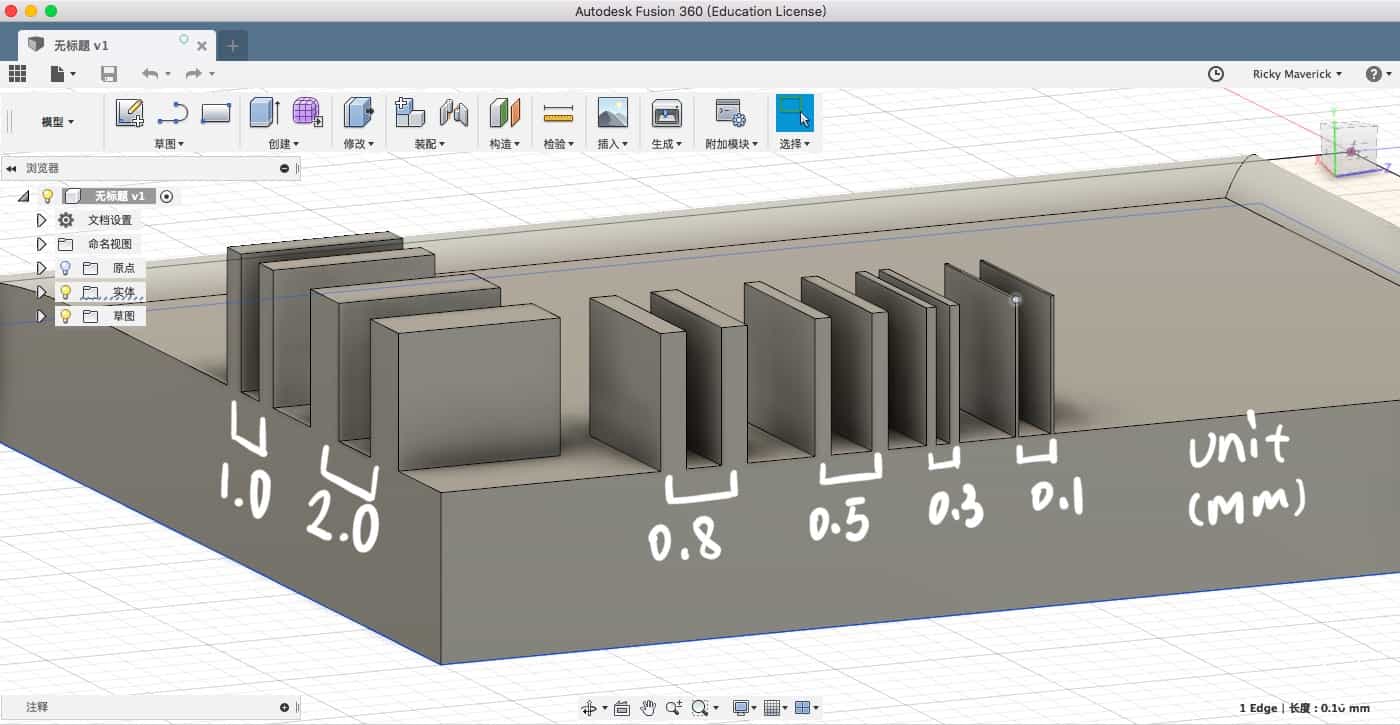
I designed the testing blocks from 2.0 mm to 0.1 mm.
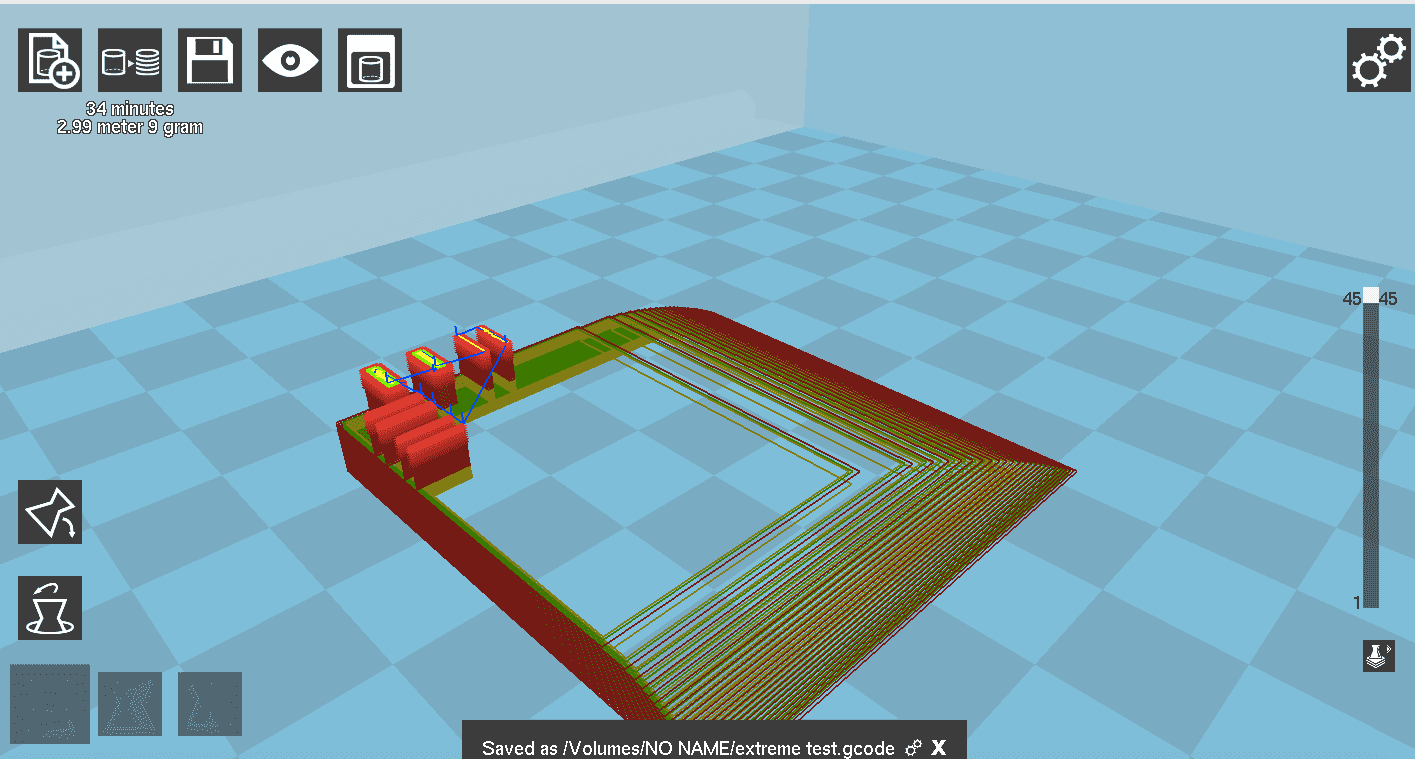
Slice the model (generate gcode) and view live. We can see that the slicer does not generate route for 0.3 and 0.1 mm blocks. Because the machine in this slicer is particularly selected, we can know that the printer is designed to printed no less than 0.5 mm wide route. And we can also see that for the two curves, the printer has to go through layer 4 to layer 36. The bigger the model is, the better the effect of printed curves will be.
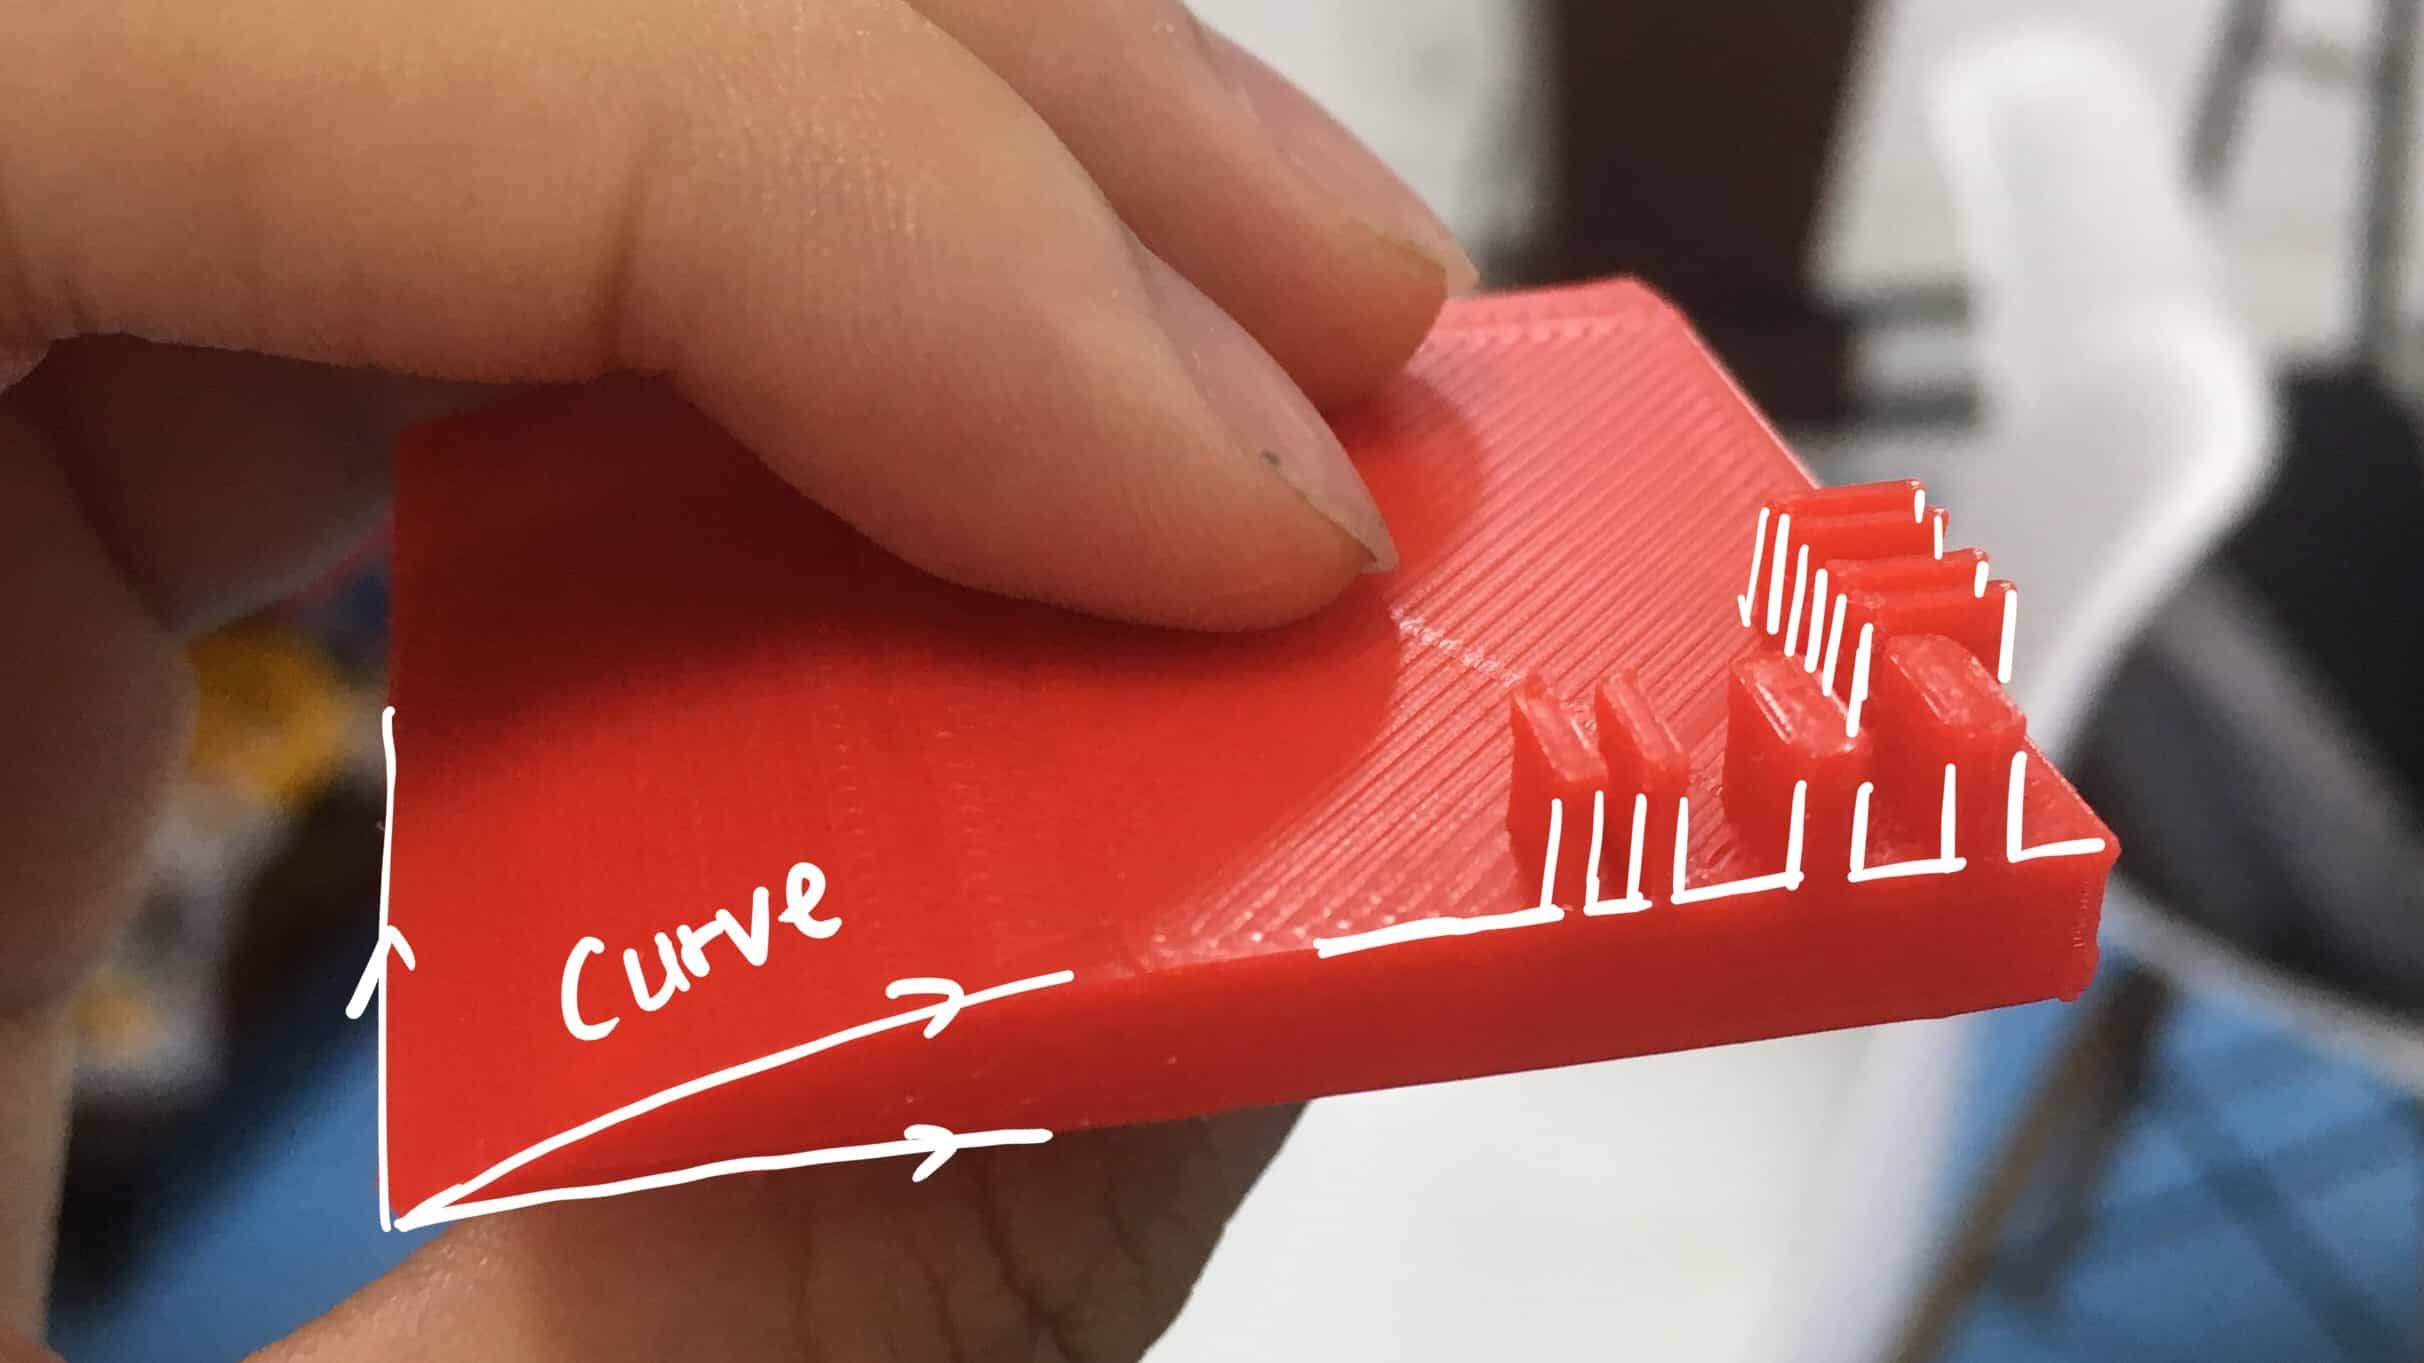
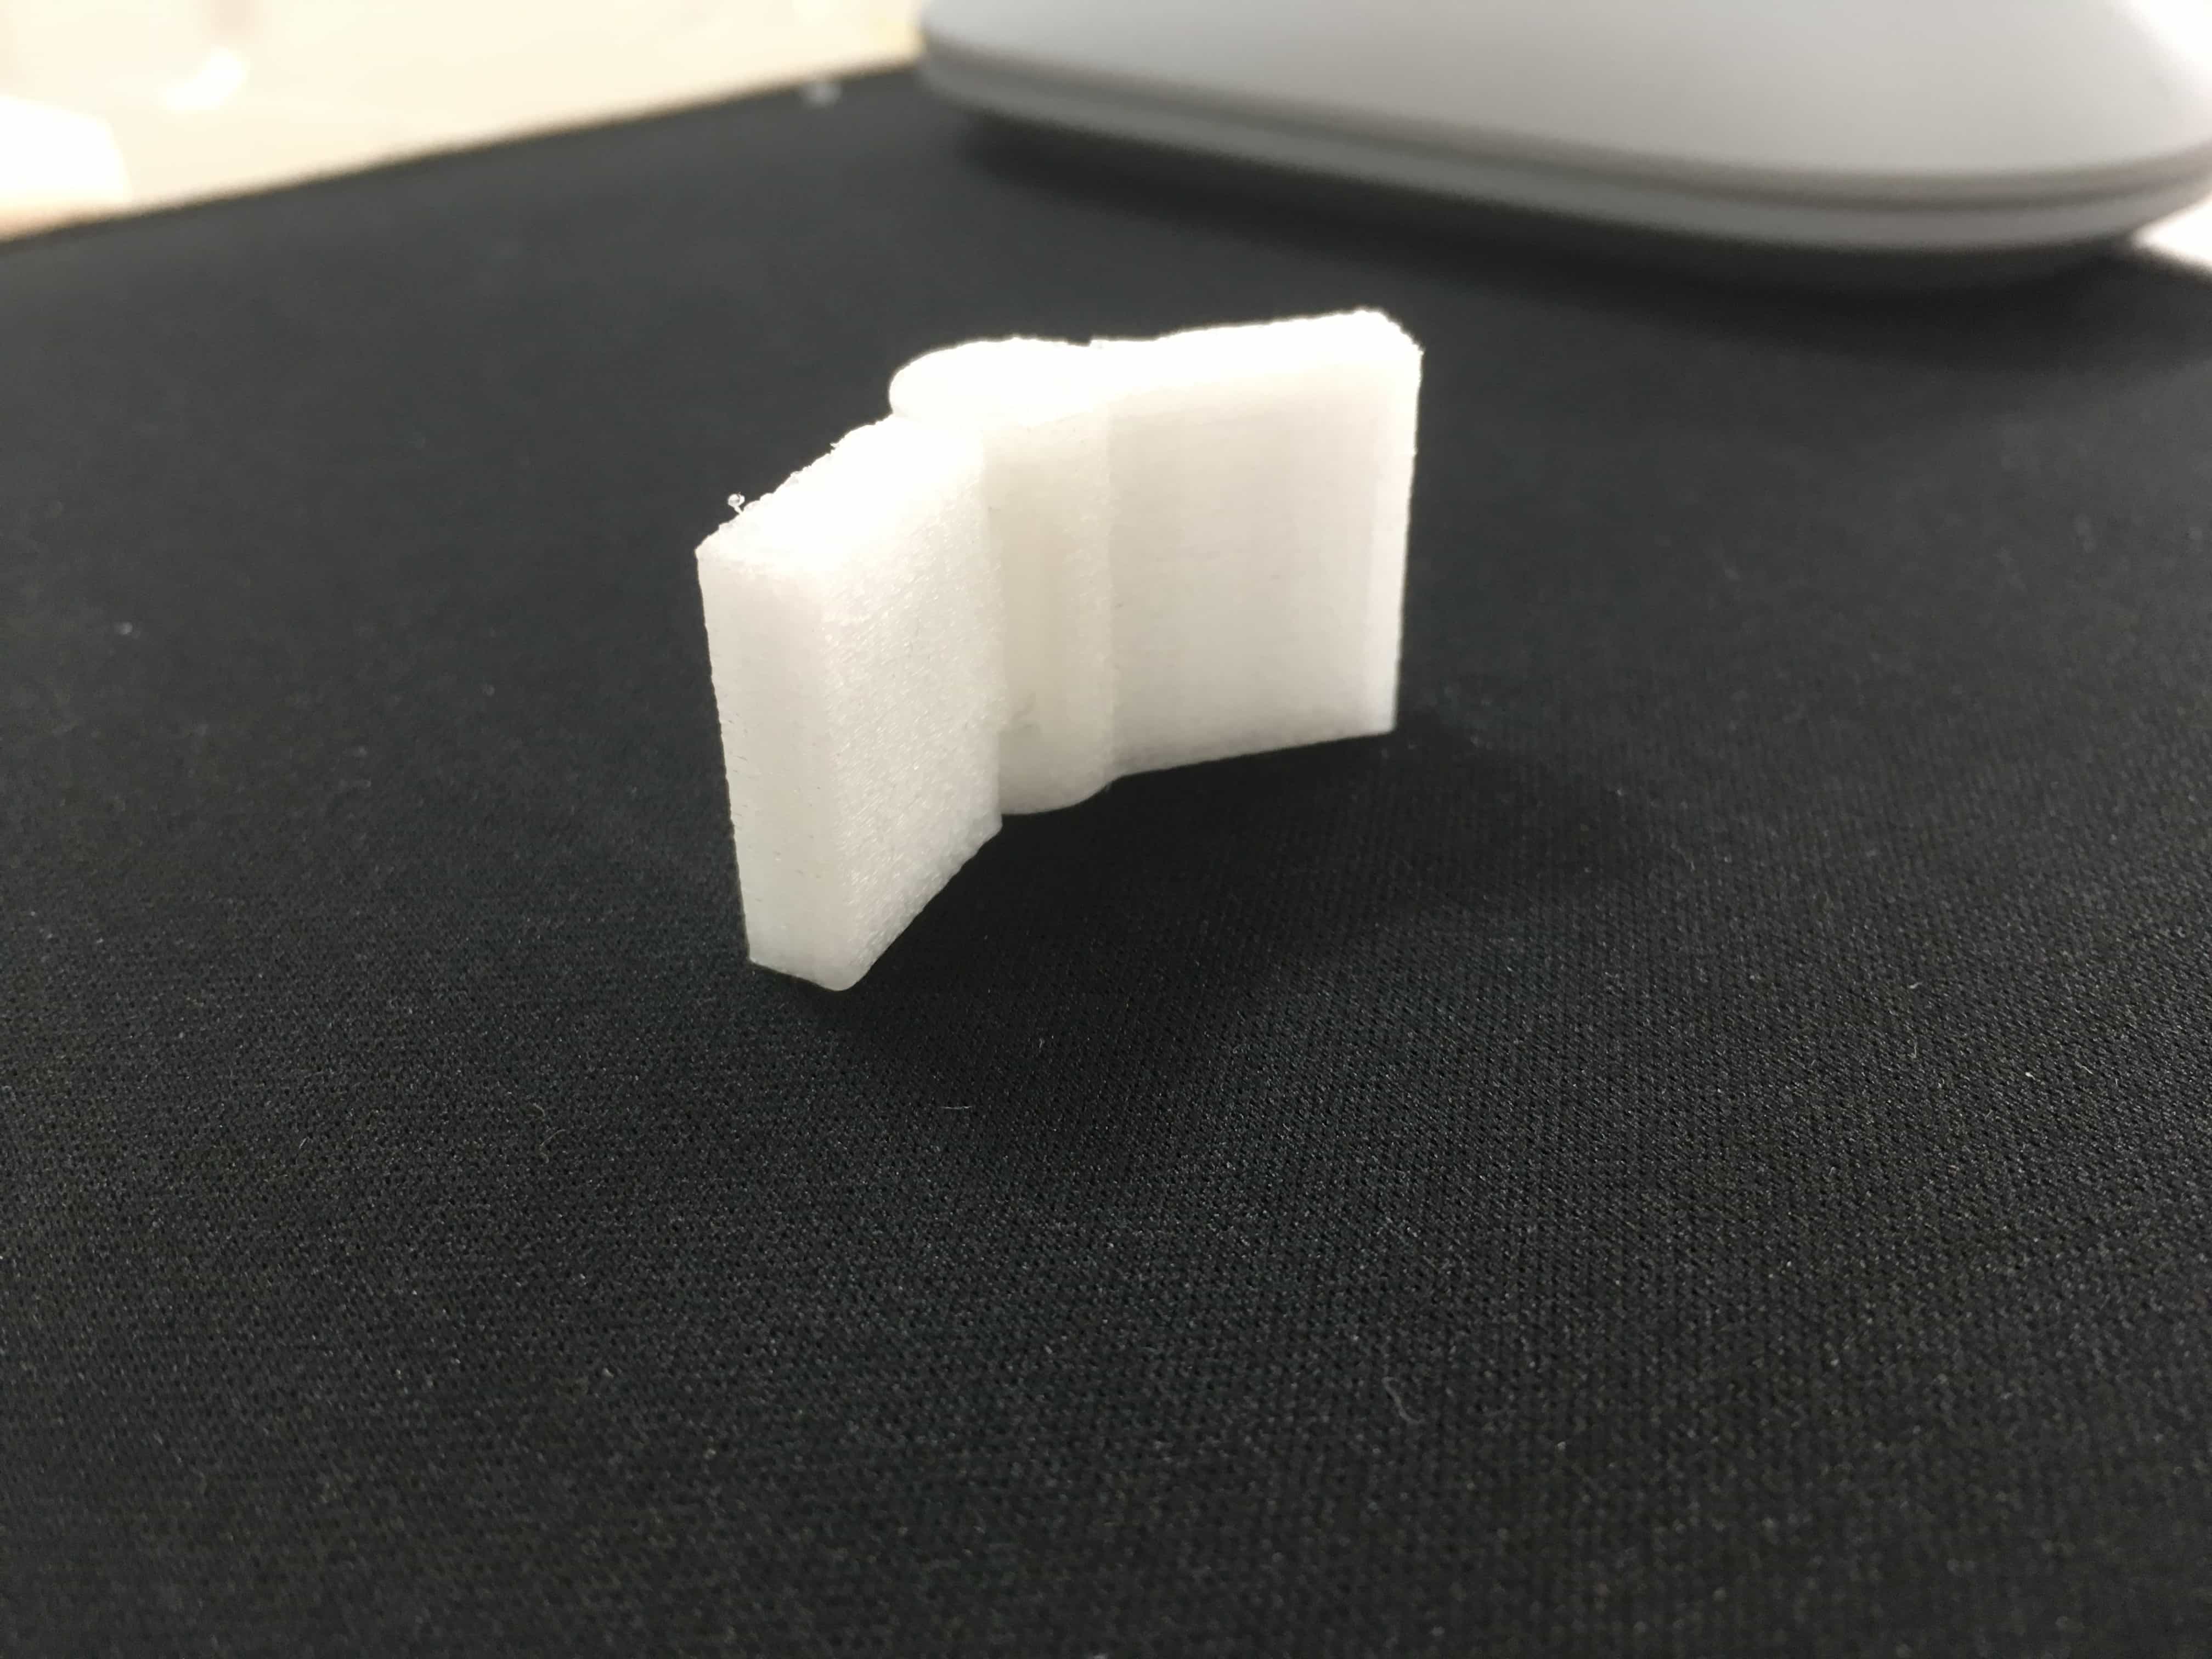
The printed testing part.
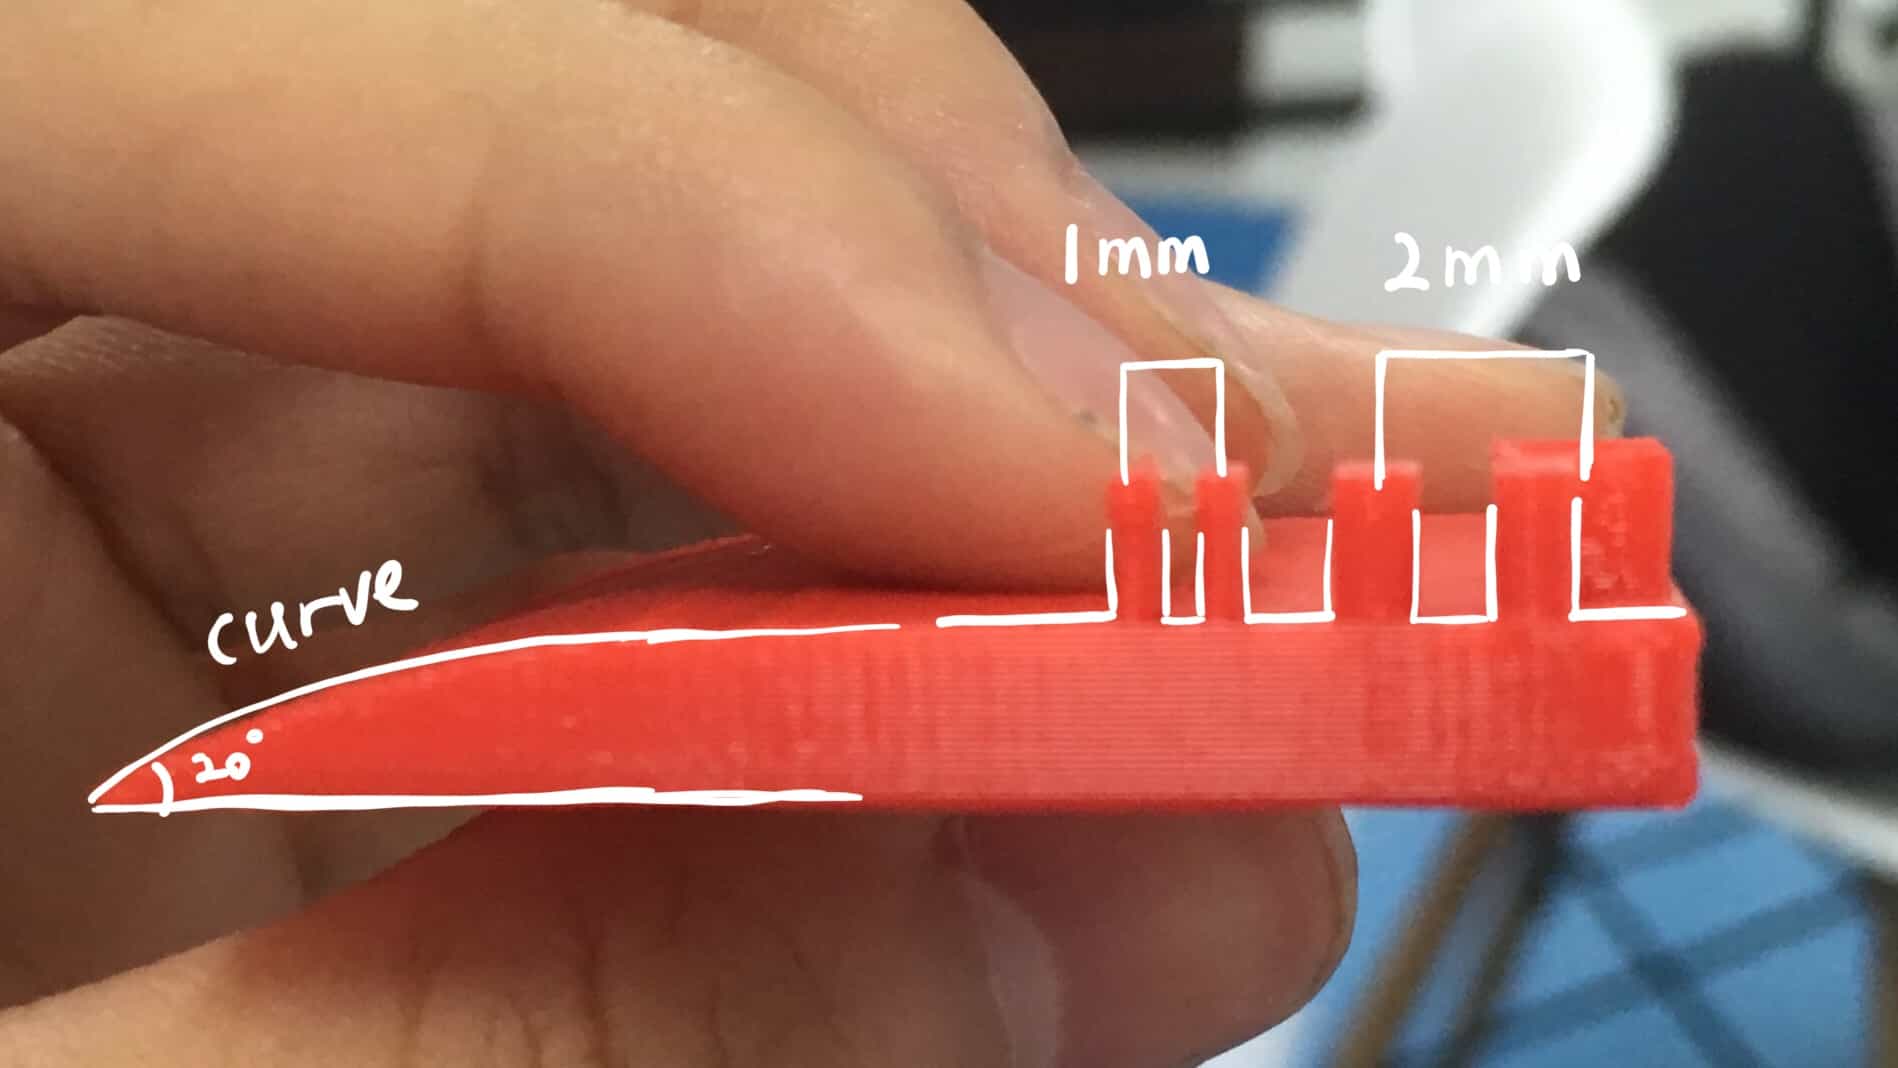
Well done in 1.0 mm and 2.0 mm, and the curve is nice.
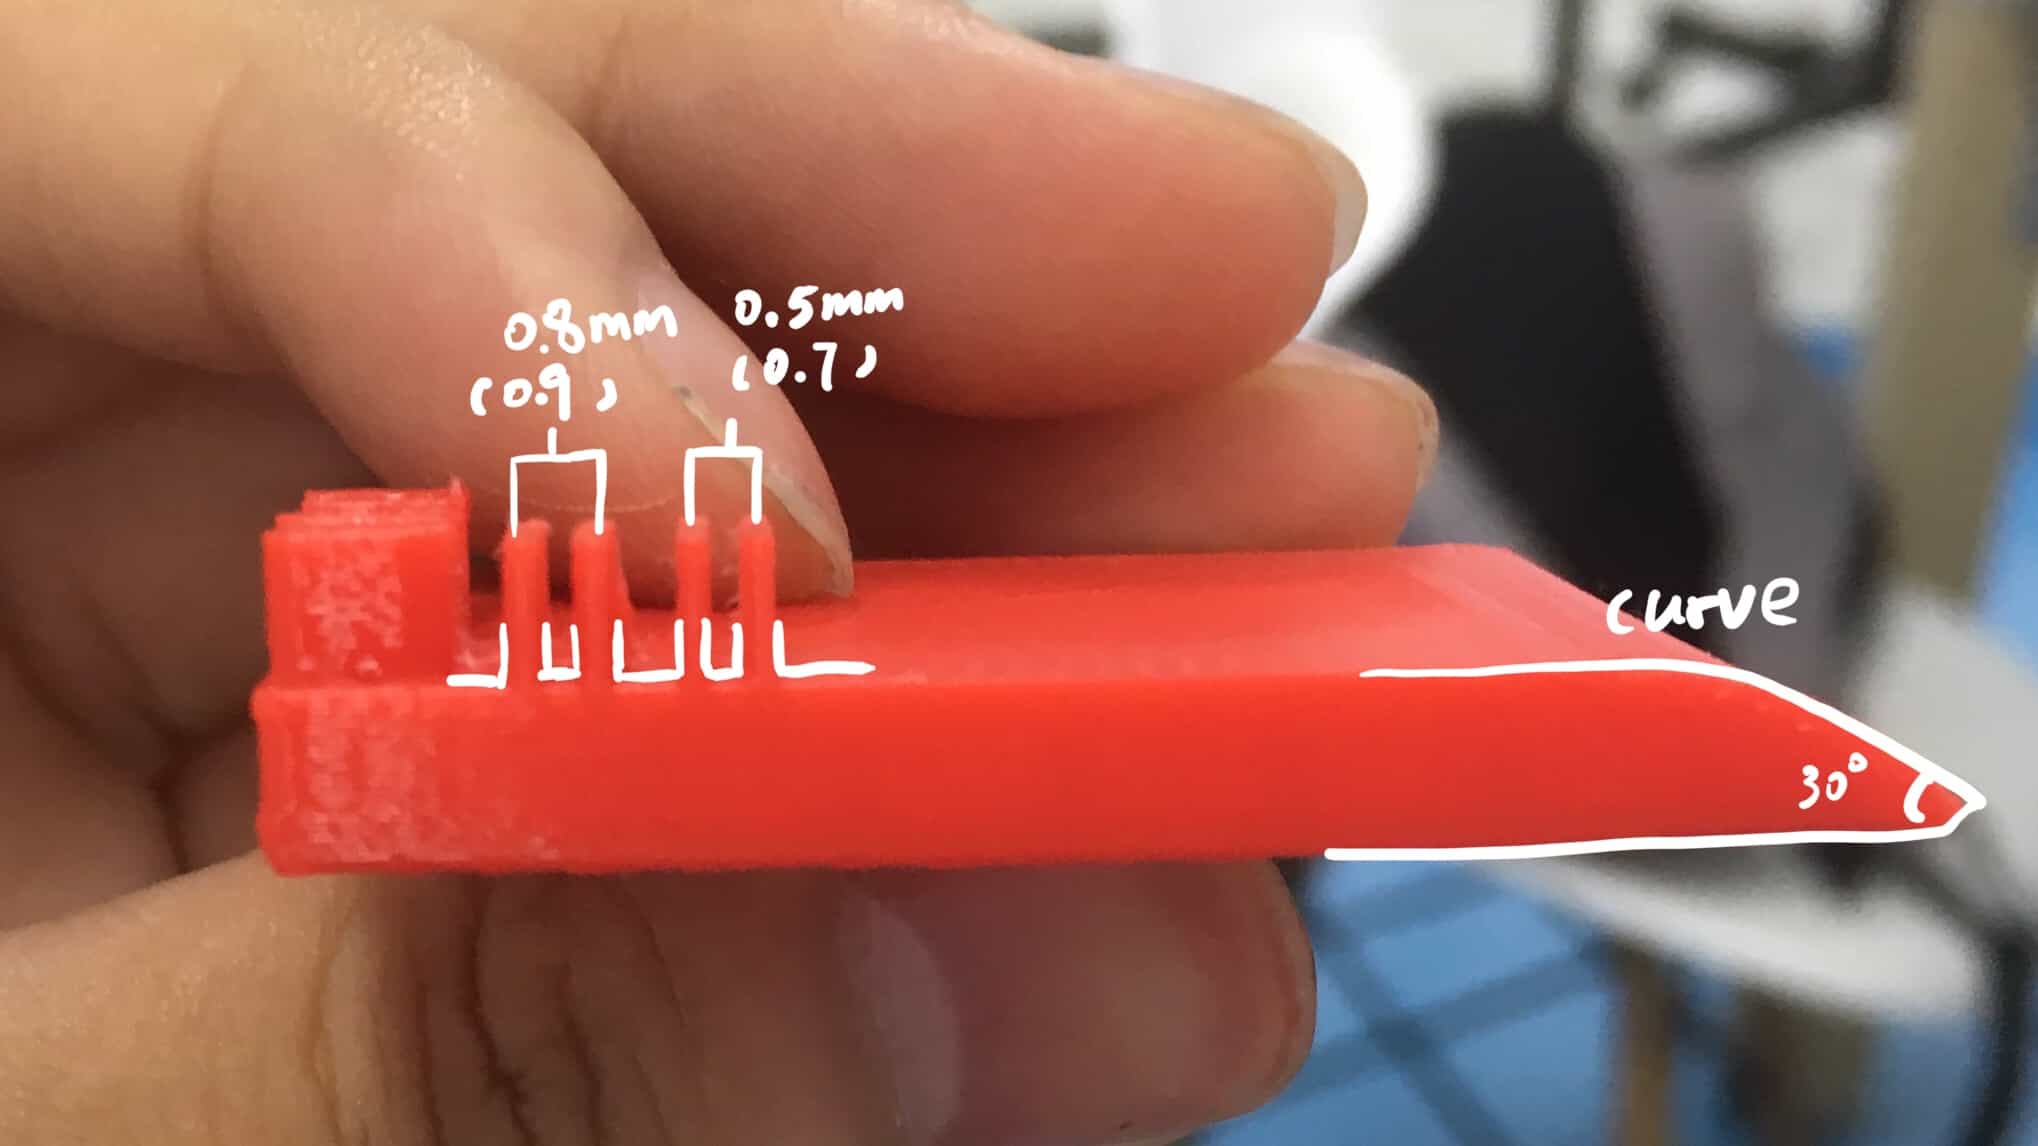
However, 0.3mm and 0.1 mm cannot be printed. And machine's short of accuracy reveals: the actual width of 0.8 mm block is 0.9 mm, and the actual width of 0.5 mm is 0.7 mm. The data is measured using vernier scale.
From this test, we can know that Mostfun Slim 's designed accuracy approximates 0.5mm, while its actual accuracy would be 0.1 or 0.2 mm more. It is good to print some simple 3D parts though it may lack of details.
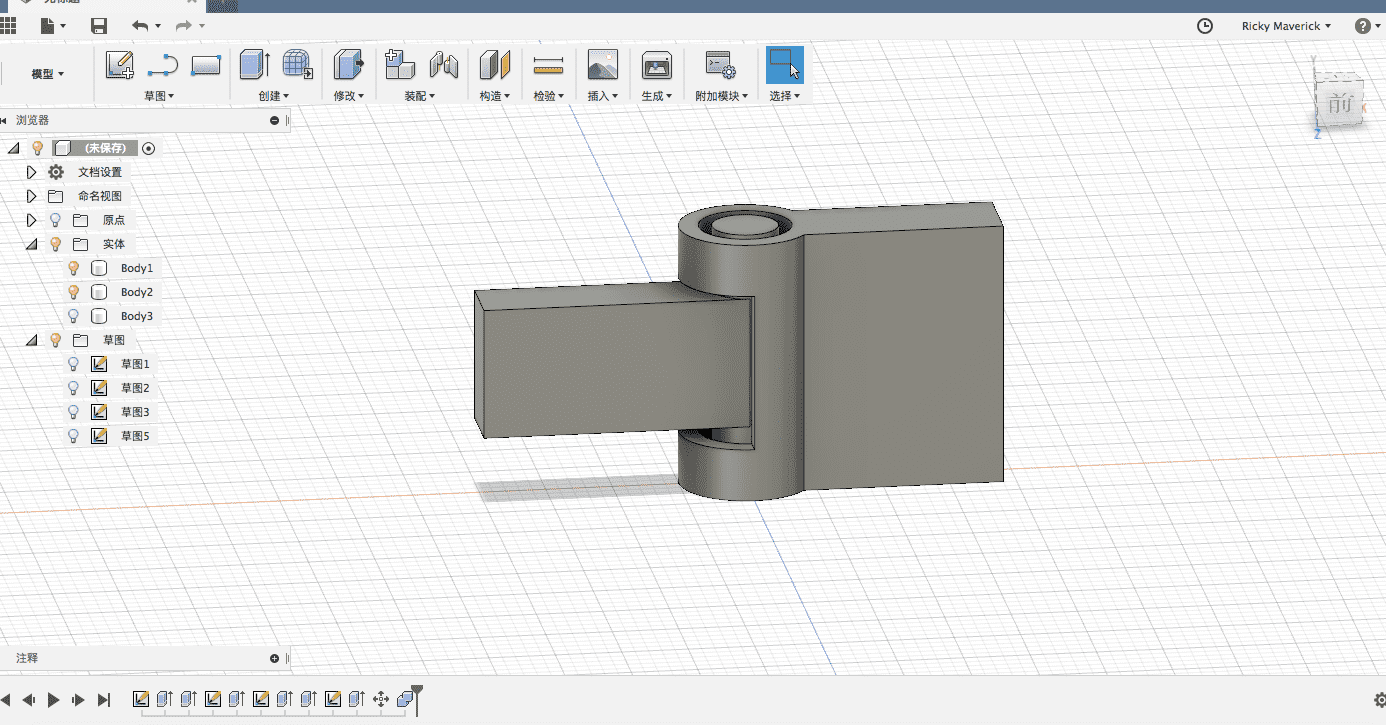
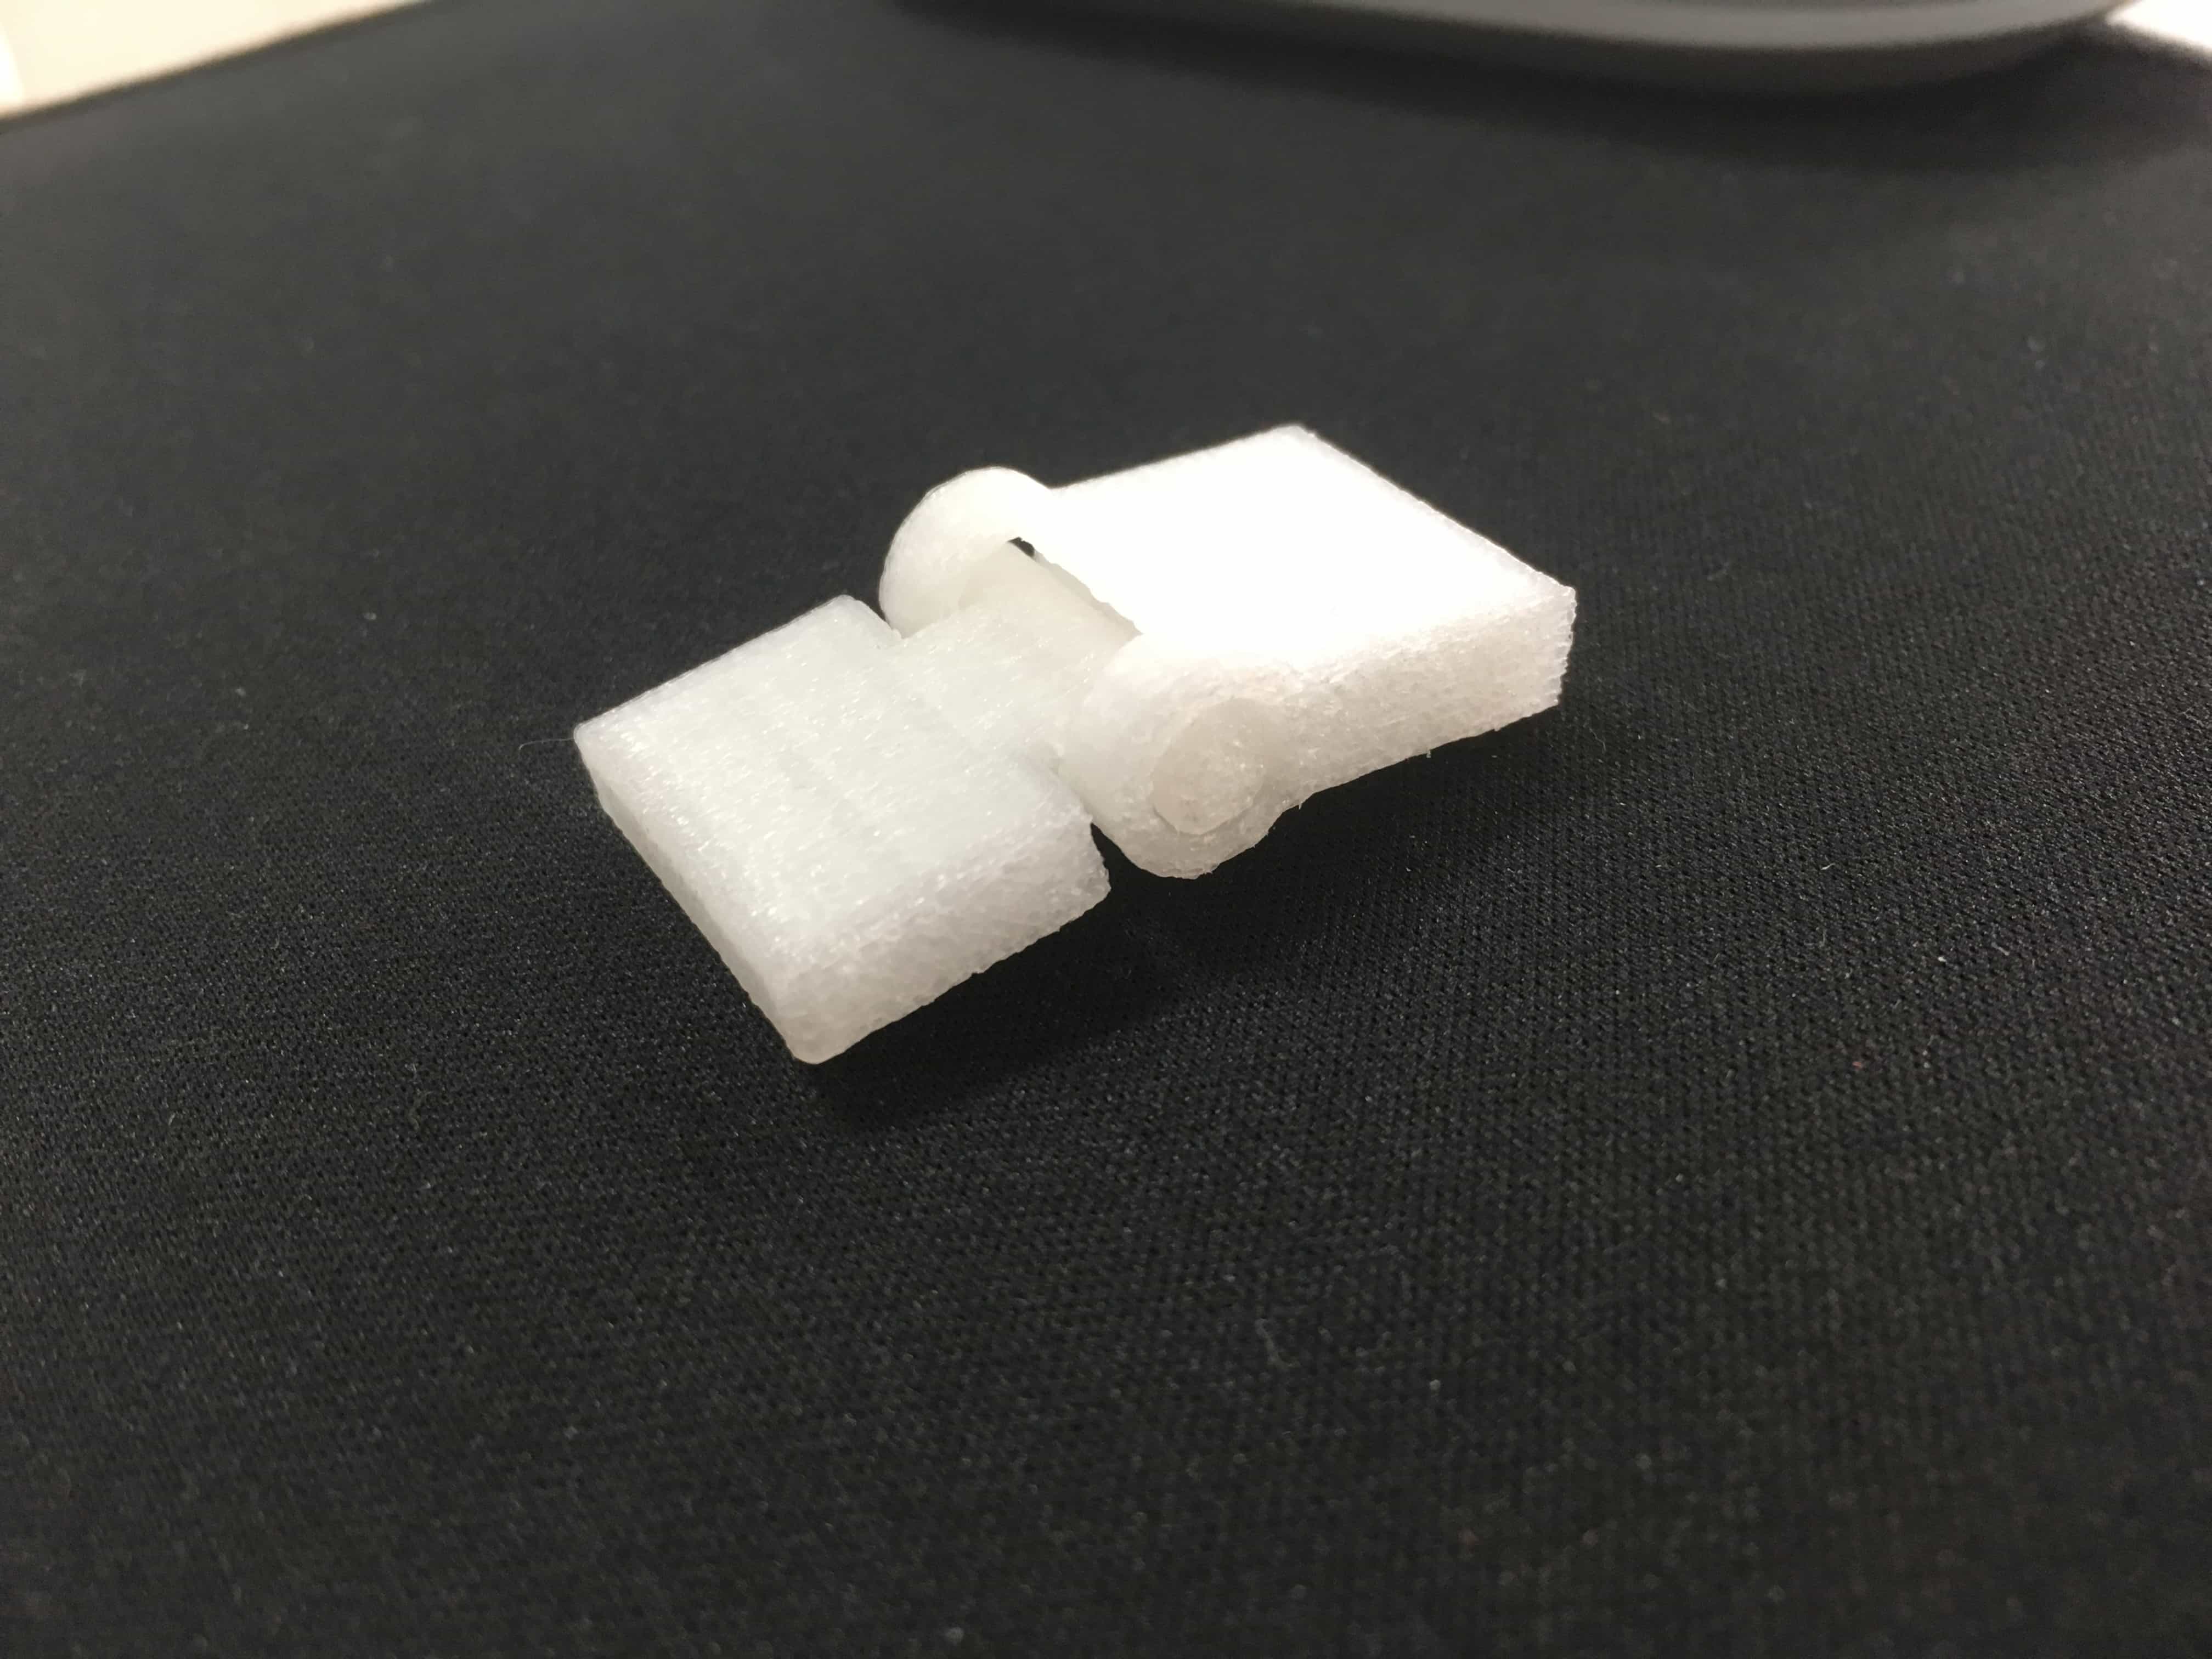
DESIGNING A HINGE MODEL
For the first place,we have to output the file in fusion 360 to stl, only which can be recognized by a slicer (gcode generater for 3D printers).
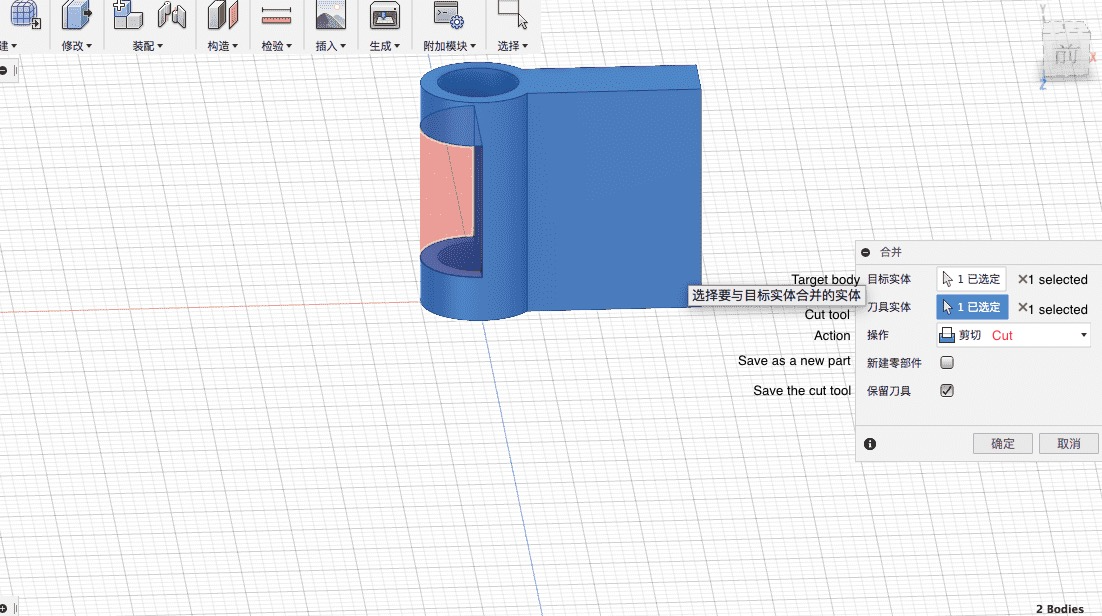
Use "Combine––Cut" to cut out space for rotation.
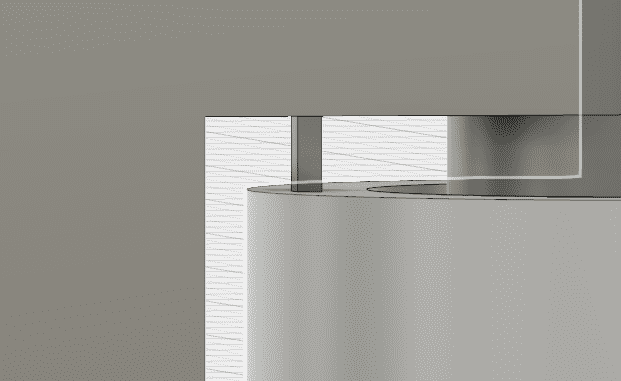
Remember to use very tiny shapes to connect two parts together(they well merge as one body), or you cannot assemble them in the slicer.
Right click and save the body as a stl file.
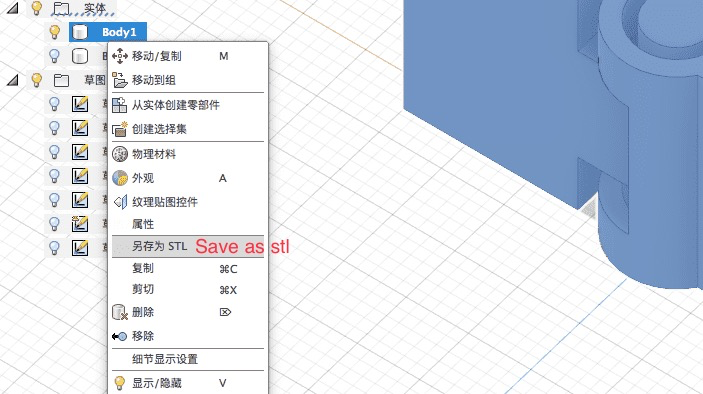
HERE TO DOWNLOAD STL FILE
SLICING AND PRODUCE GCODE
Since we are using mostfun's machine, we have to use a slicer called C4M, which is also developed by mostfun to cooporate with its machines.
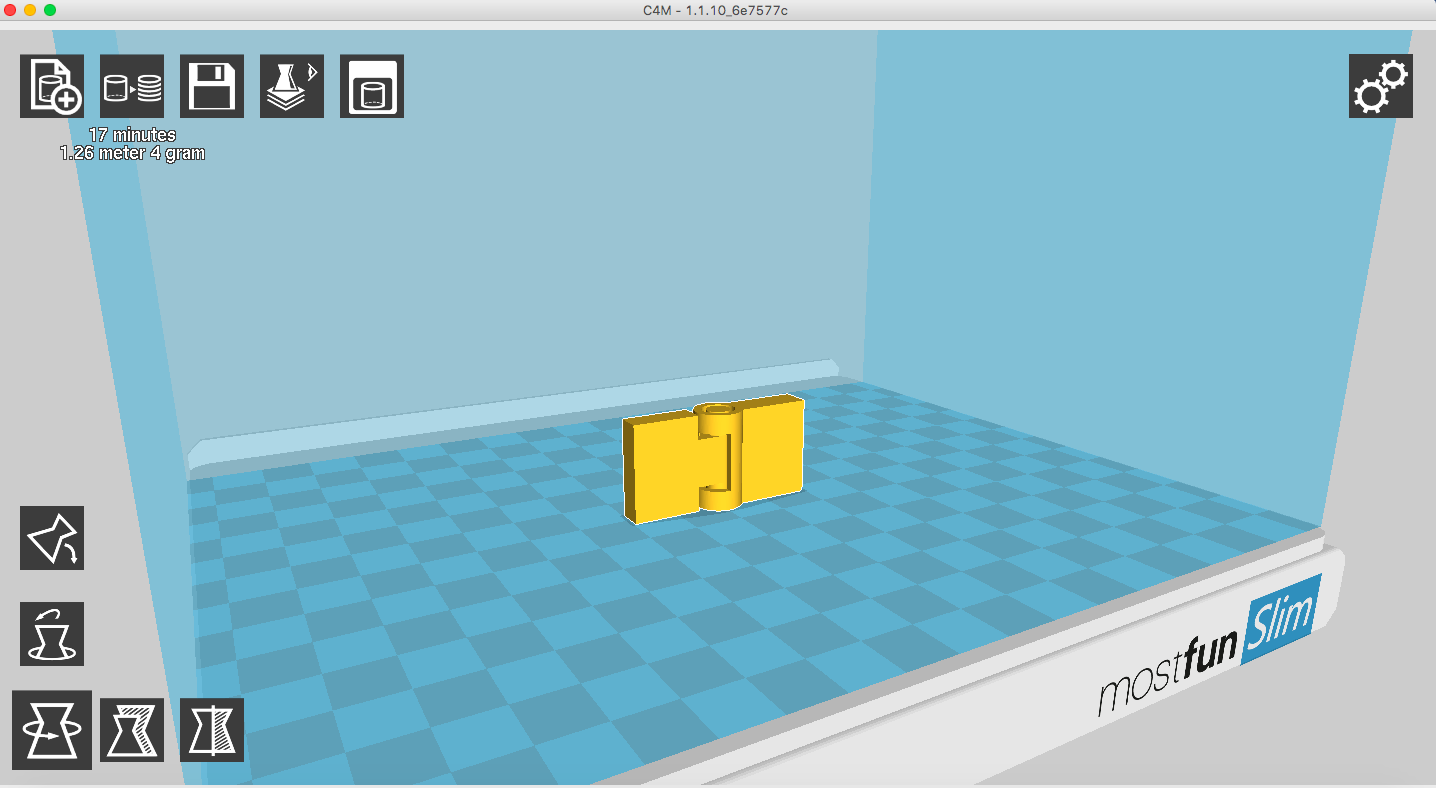
Load two stl files of the chair.
This is the user interface.
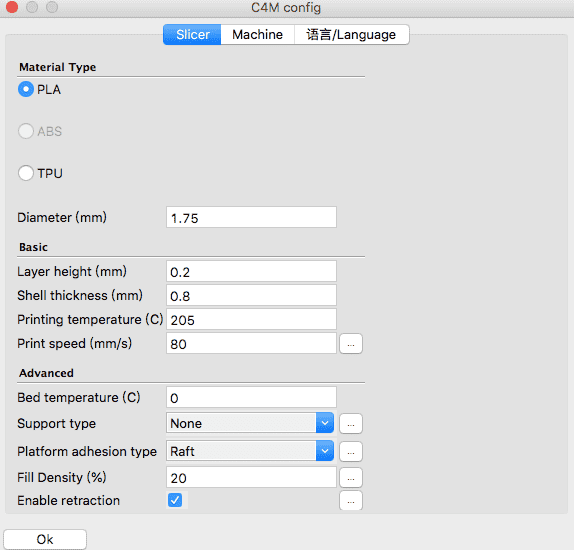
Before we slice the model, we have to go to settings to select the right machine and adjust other parameters, such as printing temperature and printing speed.
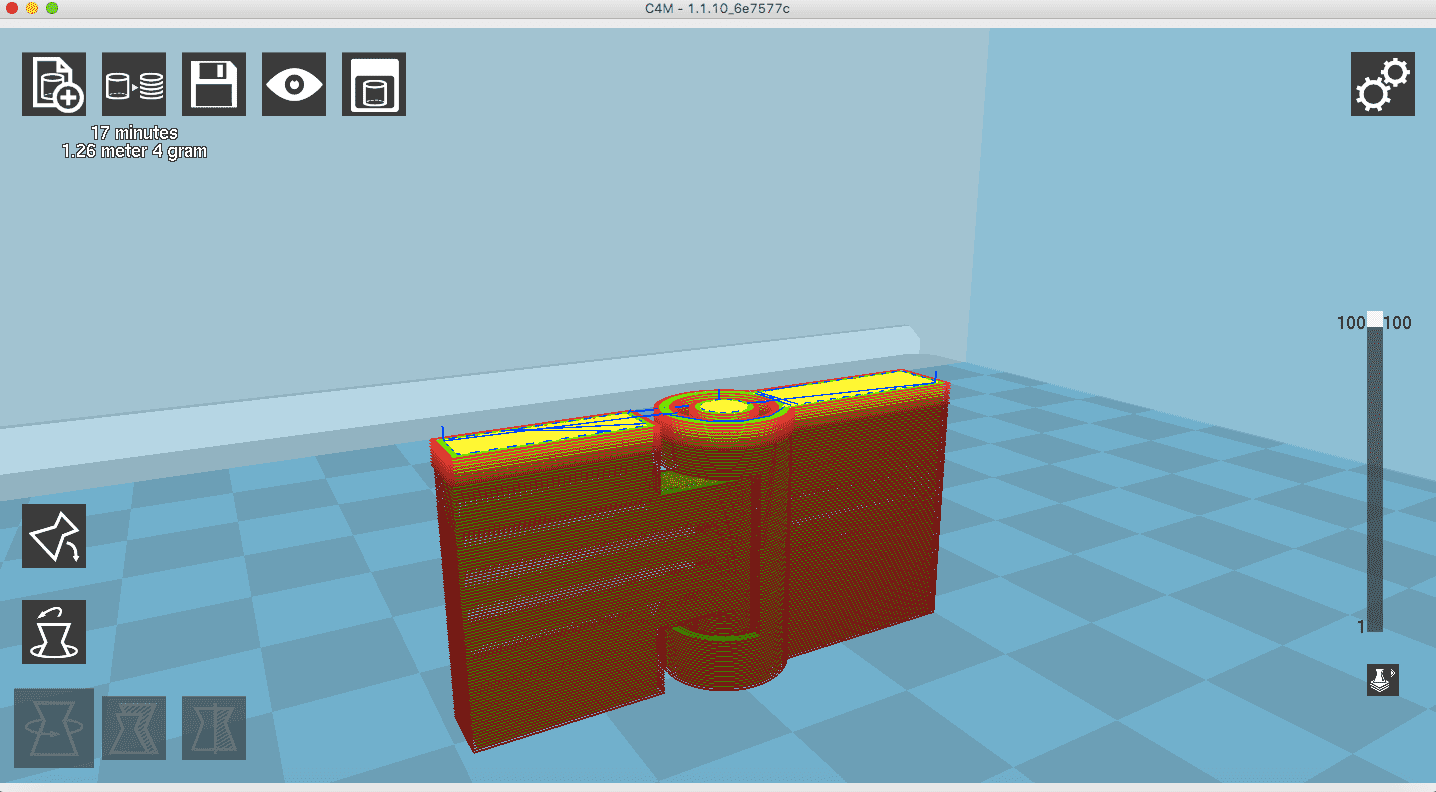
Click slice, then click review, we can see the route and every layer of the model.
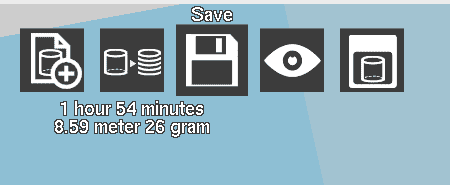
Save the gcode.
Now we can use a SD card to download the file to our printer can print out our model.
Actually, mostfun has made it easy to caliberate: there is a auto-adjusting program which allows the machine itself to adjust the platform and set some height compensation. However, from my failure experiences, it is important to increase the friction of the platform to better hold the printed materials. And if using other 3D printers, calibration can be much more difficult.
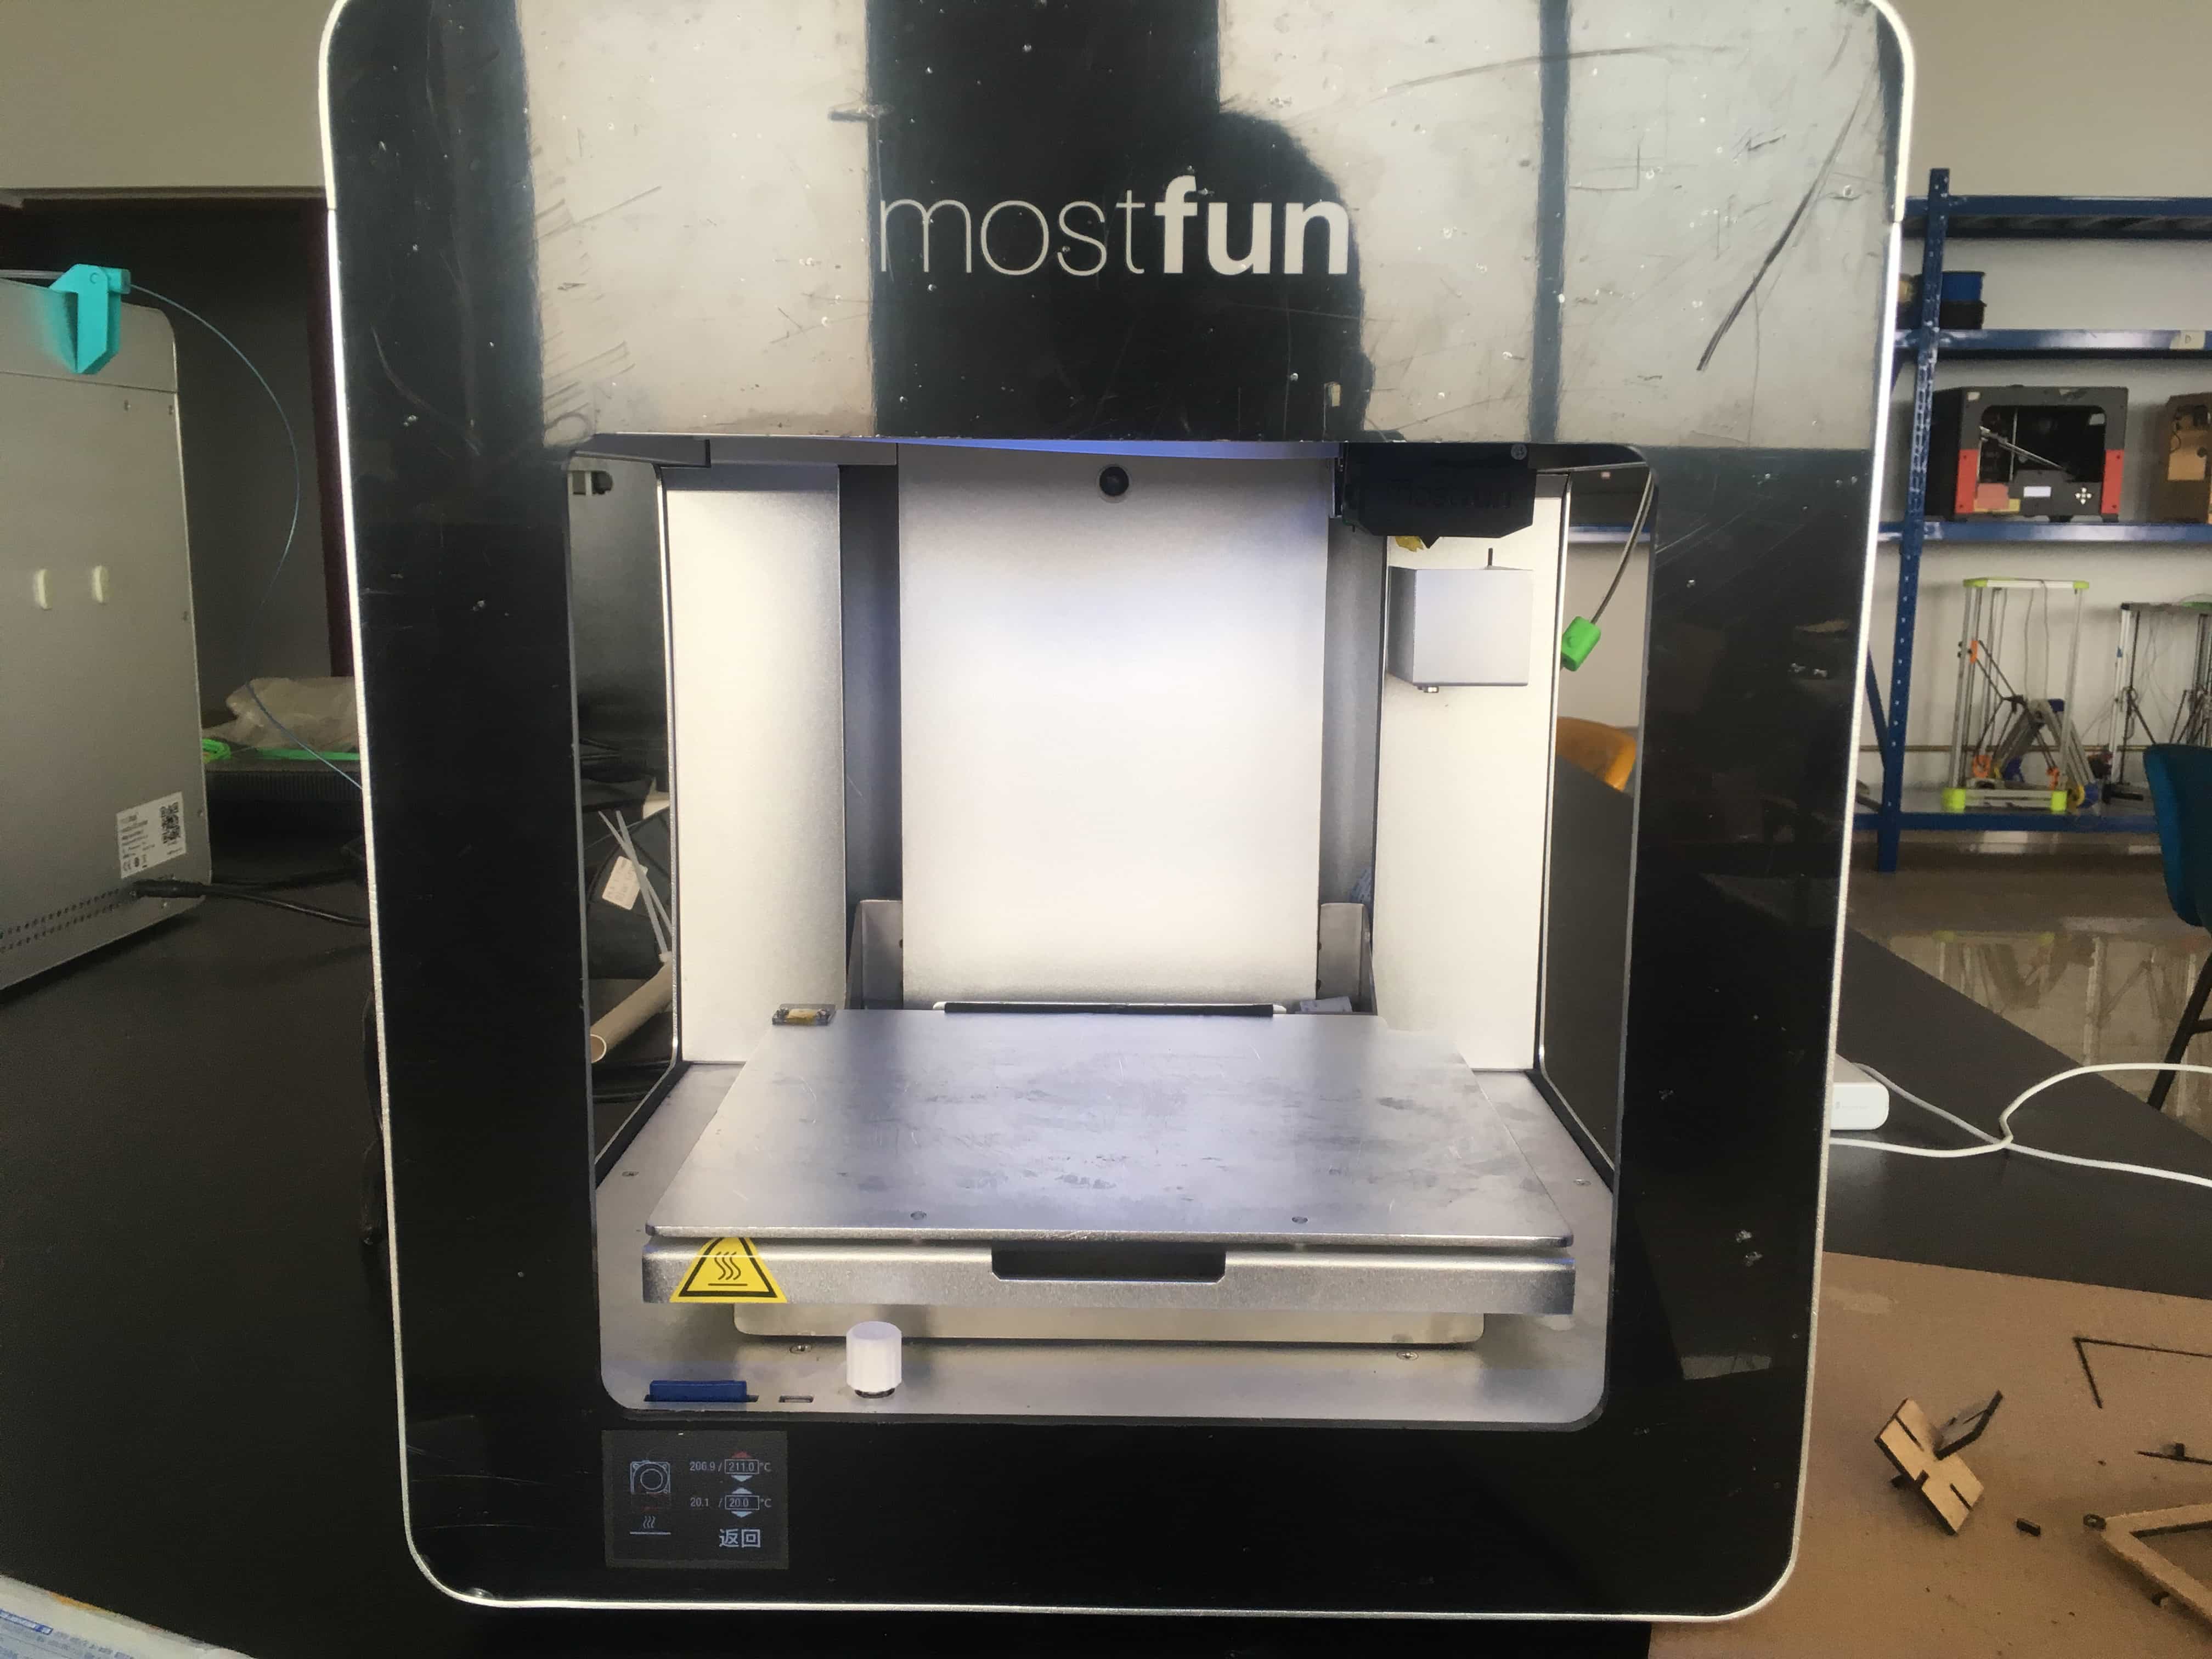
Machine: mostfun Pro
Printing...
Howerver, I failed in the first time because the model was now fixed on the platform and it just slipped when the machine was printing. So I tried with another machine in another place, and this time I used special paper tape to cover the platform.
That's what it should be like.
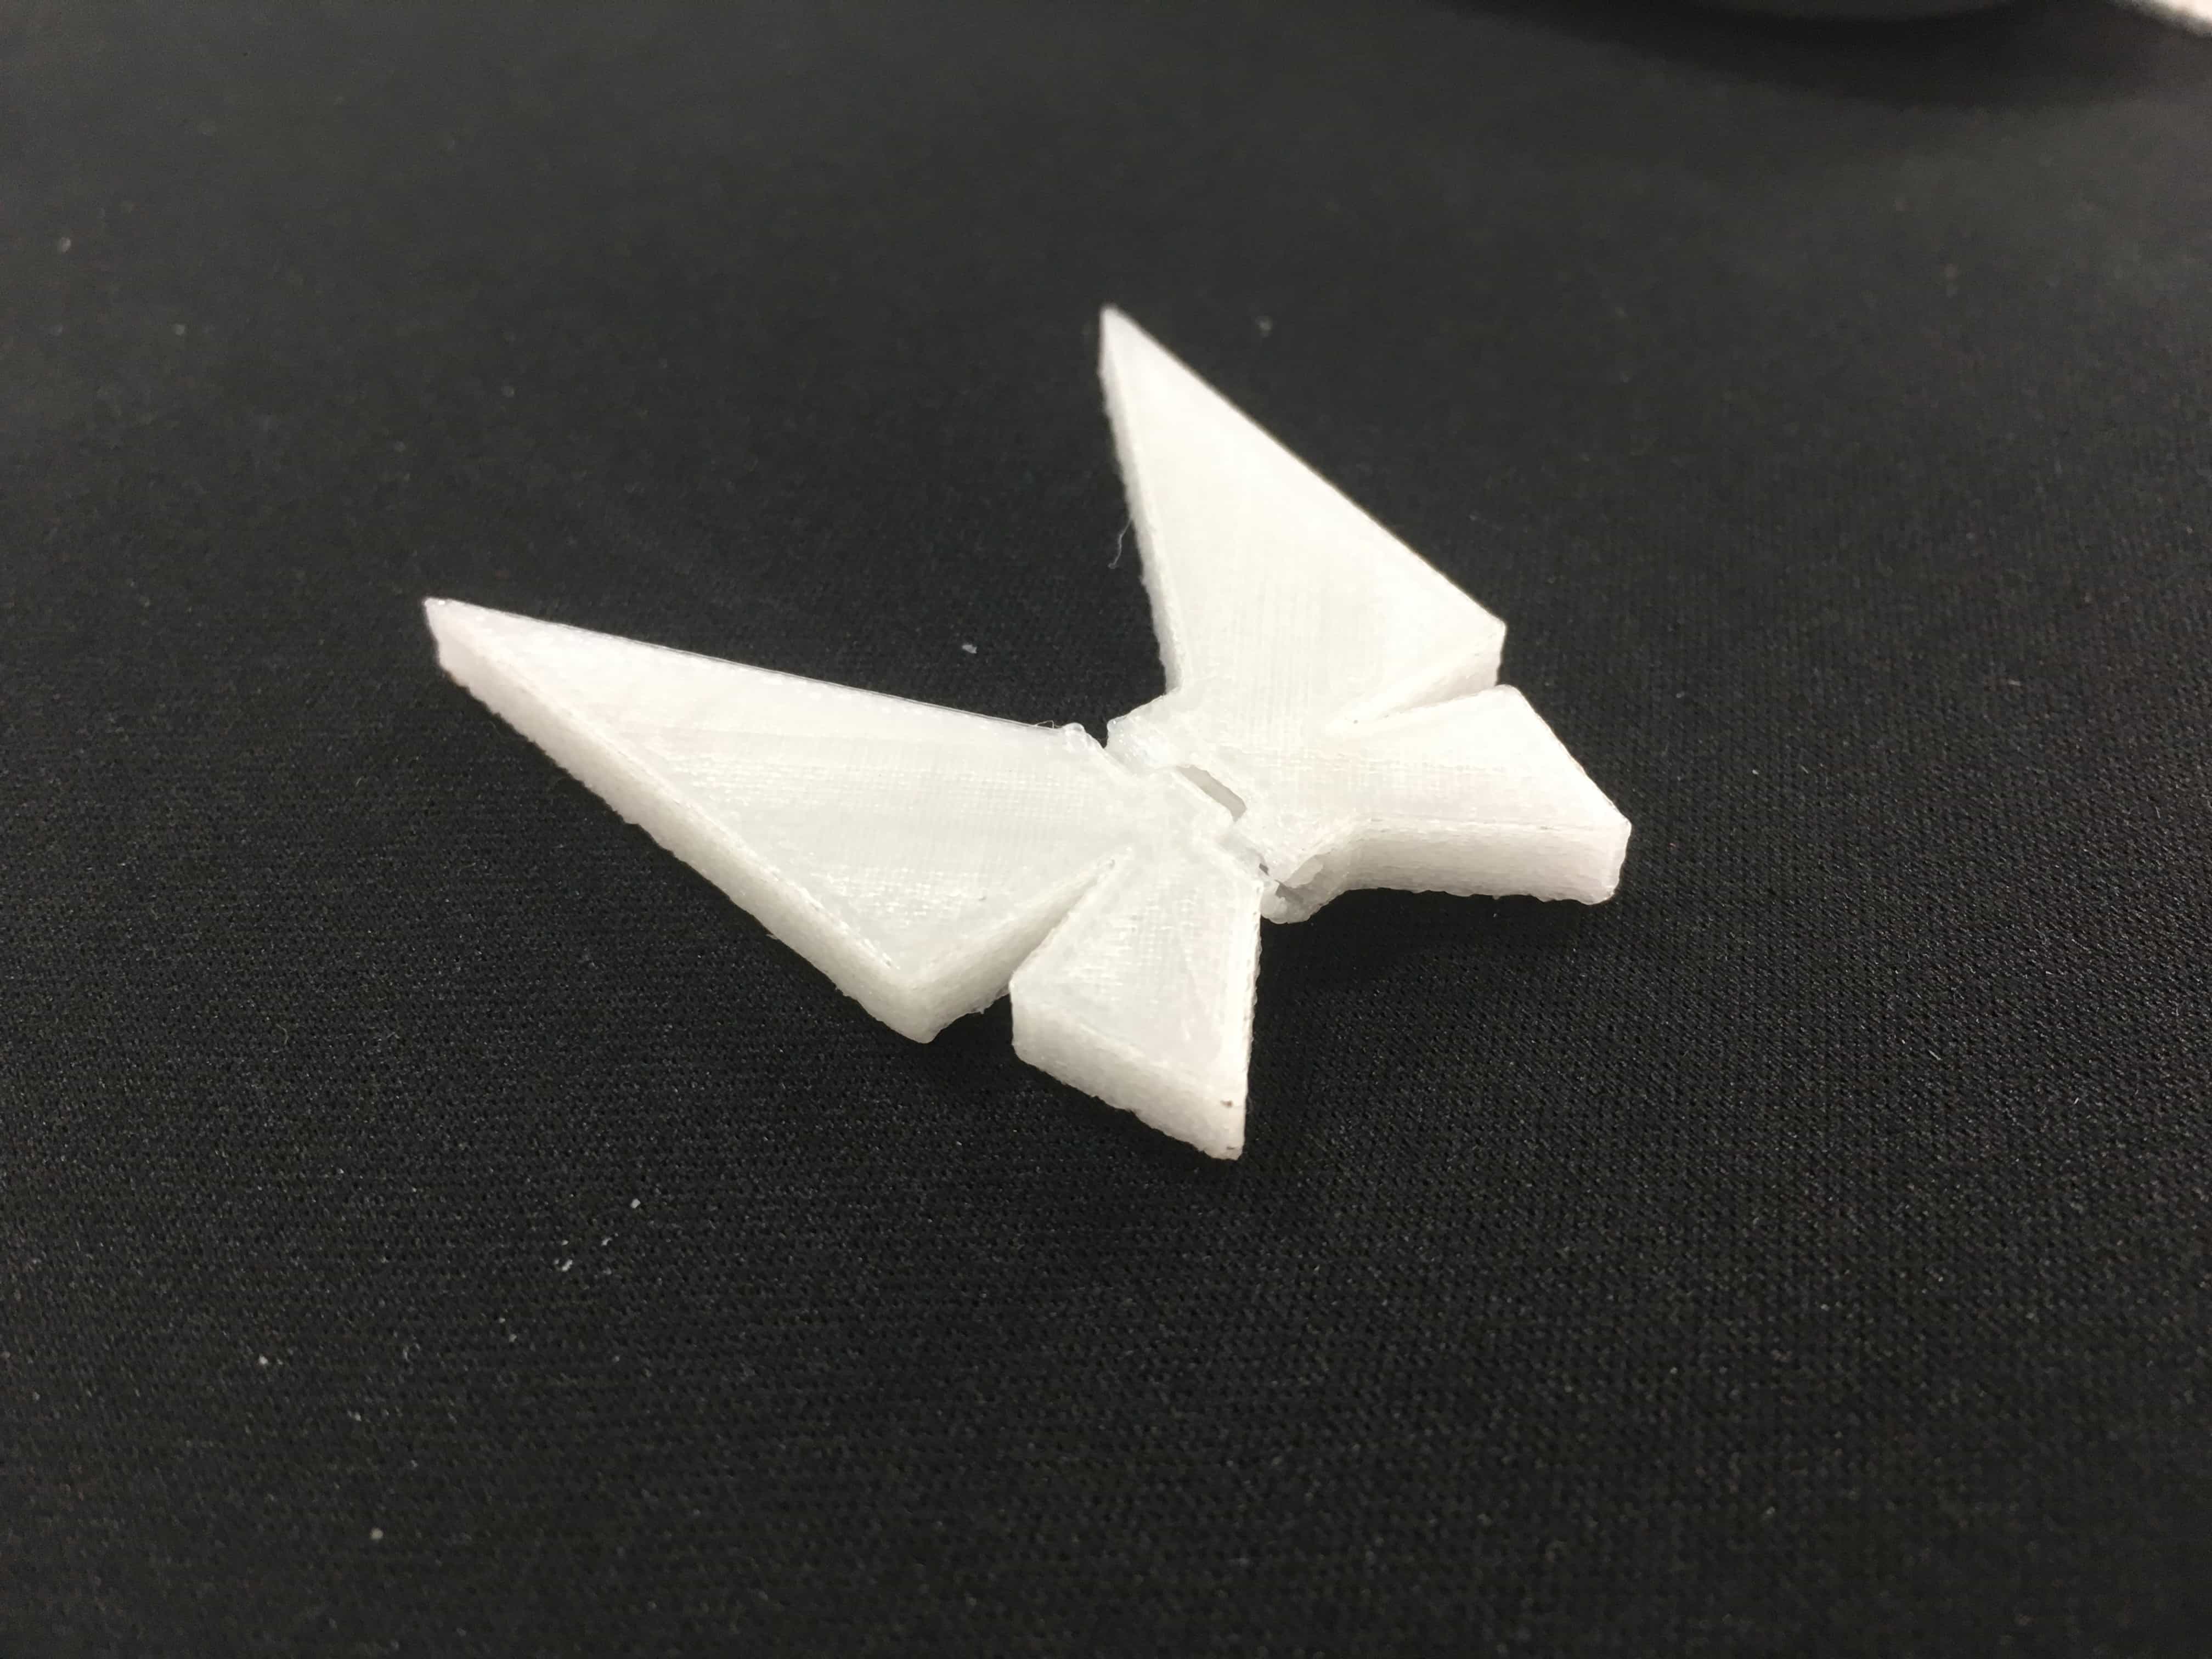
I also made a flexible butterfly, which is the logo of my lab "XMaker school".
3D SCANNING
I am using EinScan scanner to try 3D scanning.

EinScan 3D Scanner
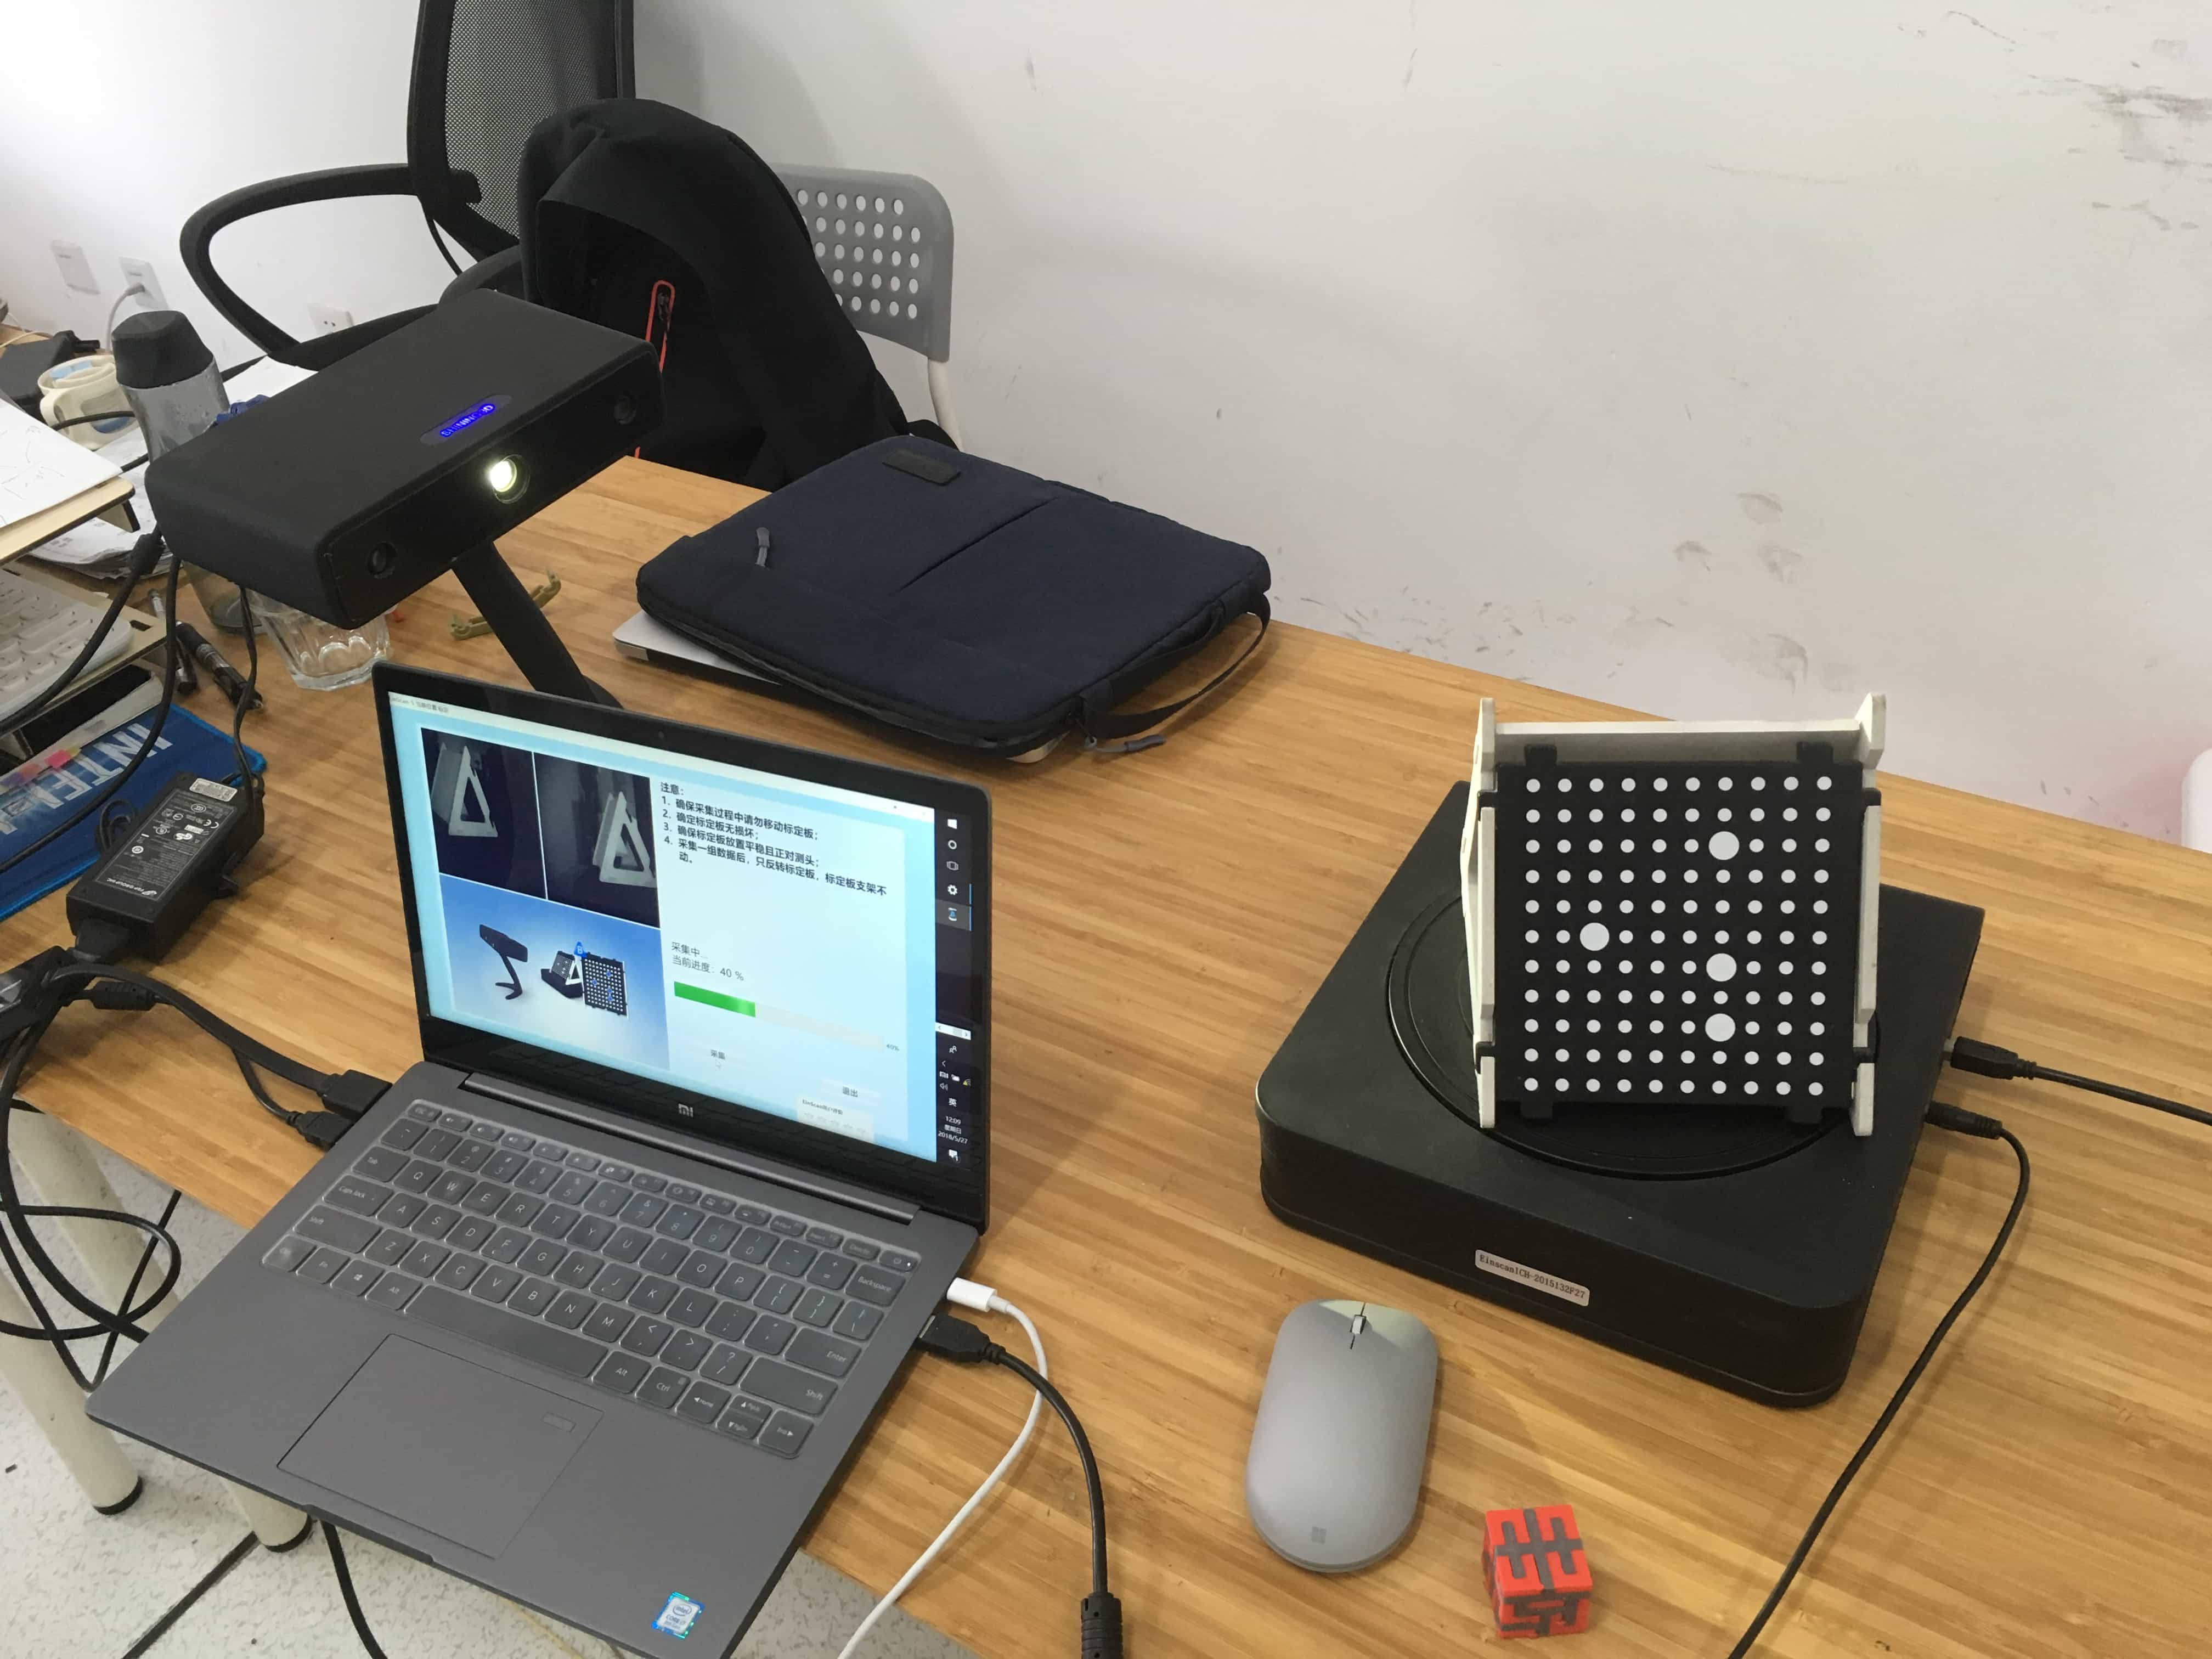
Caliberation of the scanner
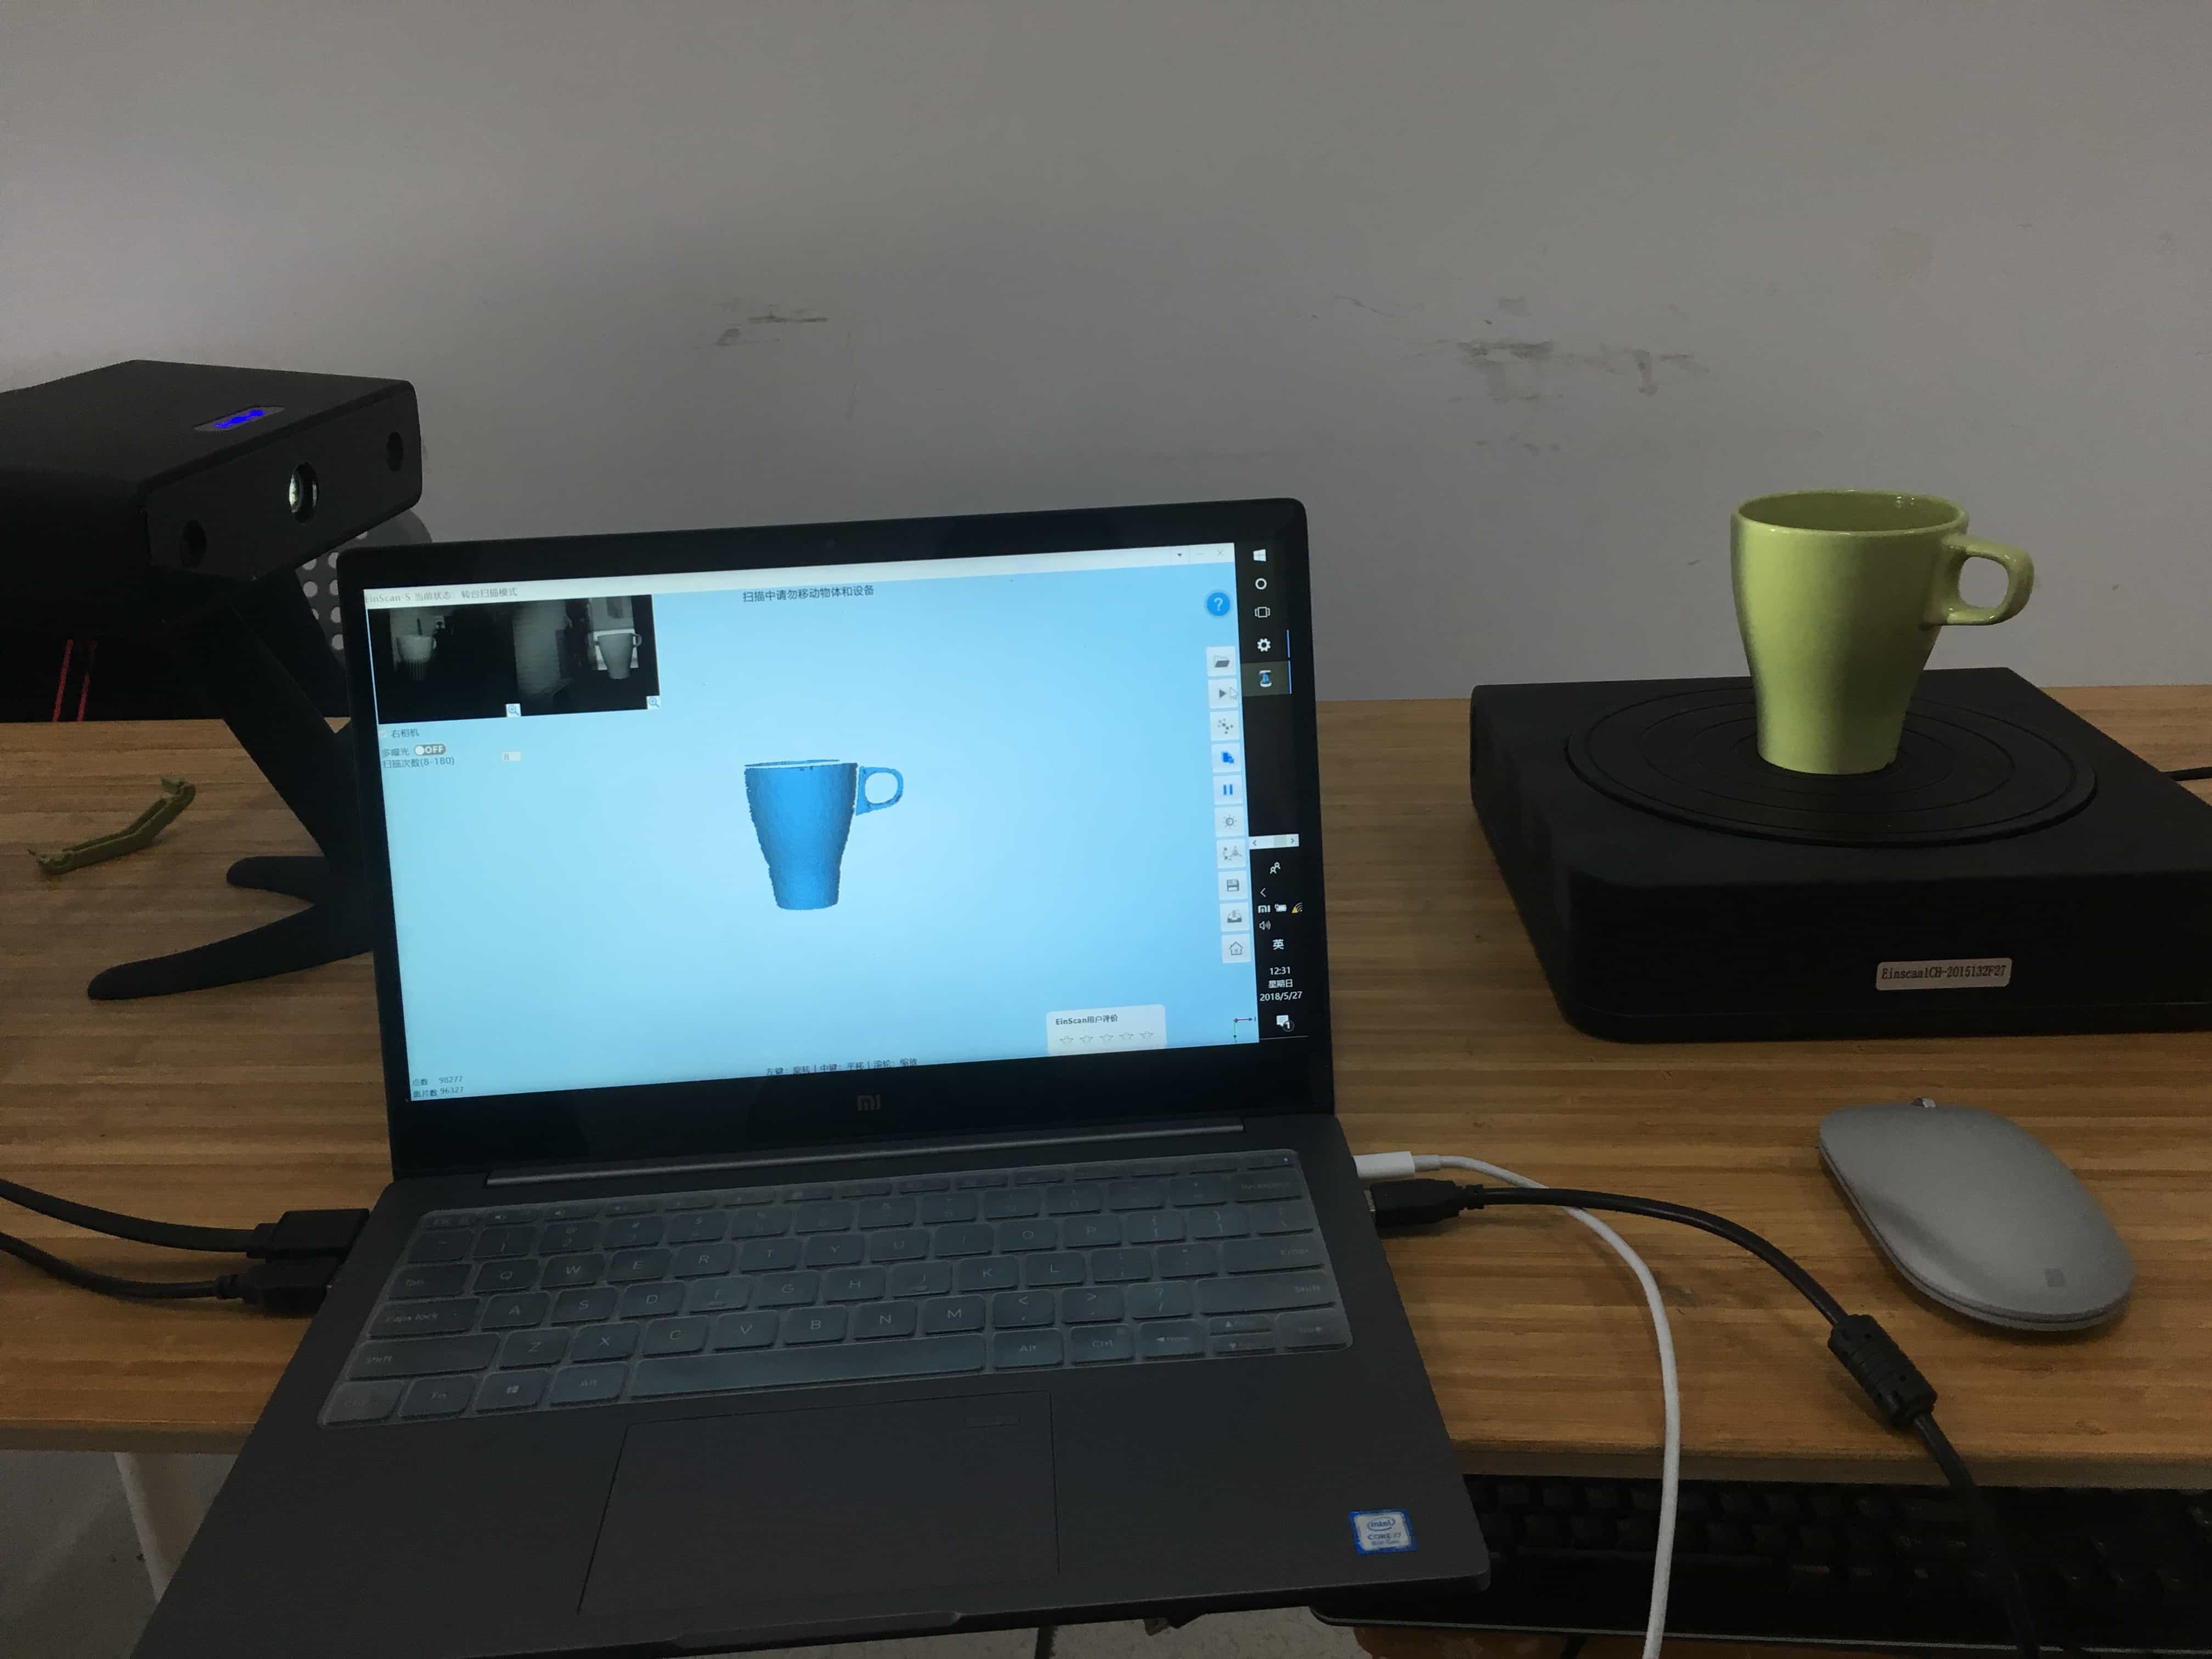
Start Scanning a cup
Interestingly, for the first time I scanned nothing because I did not set the proper light level, which made the image to dim to be recognized. And one more thing: if using the rounding sacnning, you should better put the object close to the center of the rotating platform, or there will be giant cracks on your scanning result.
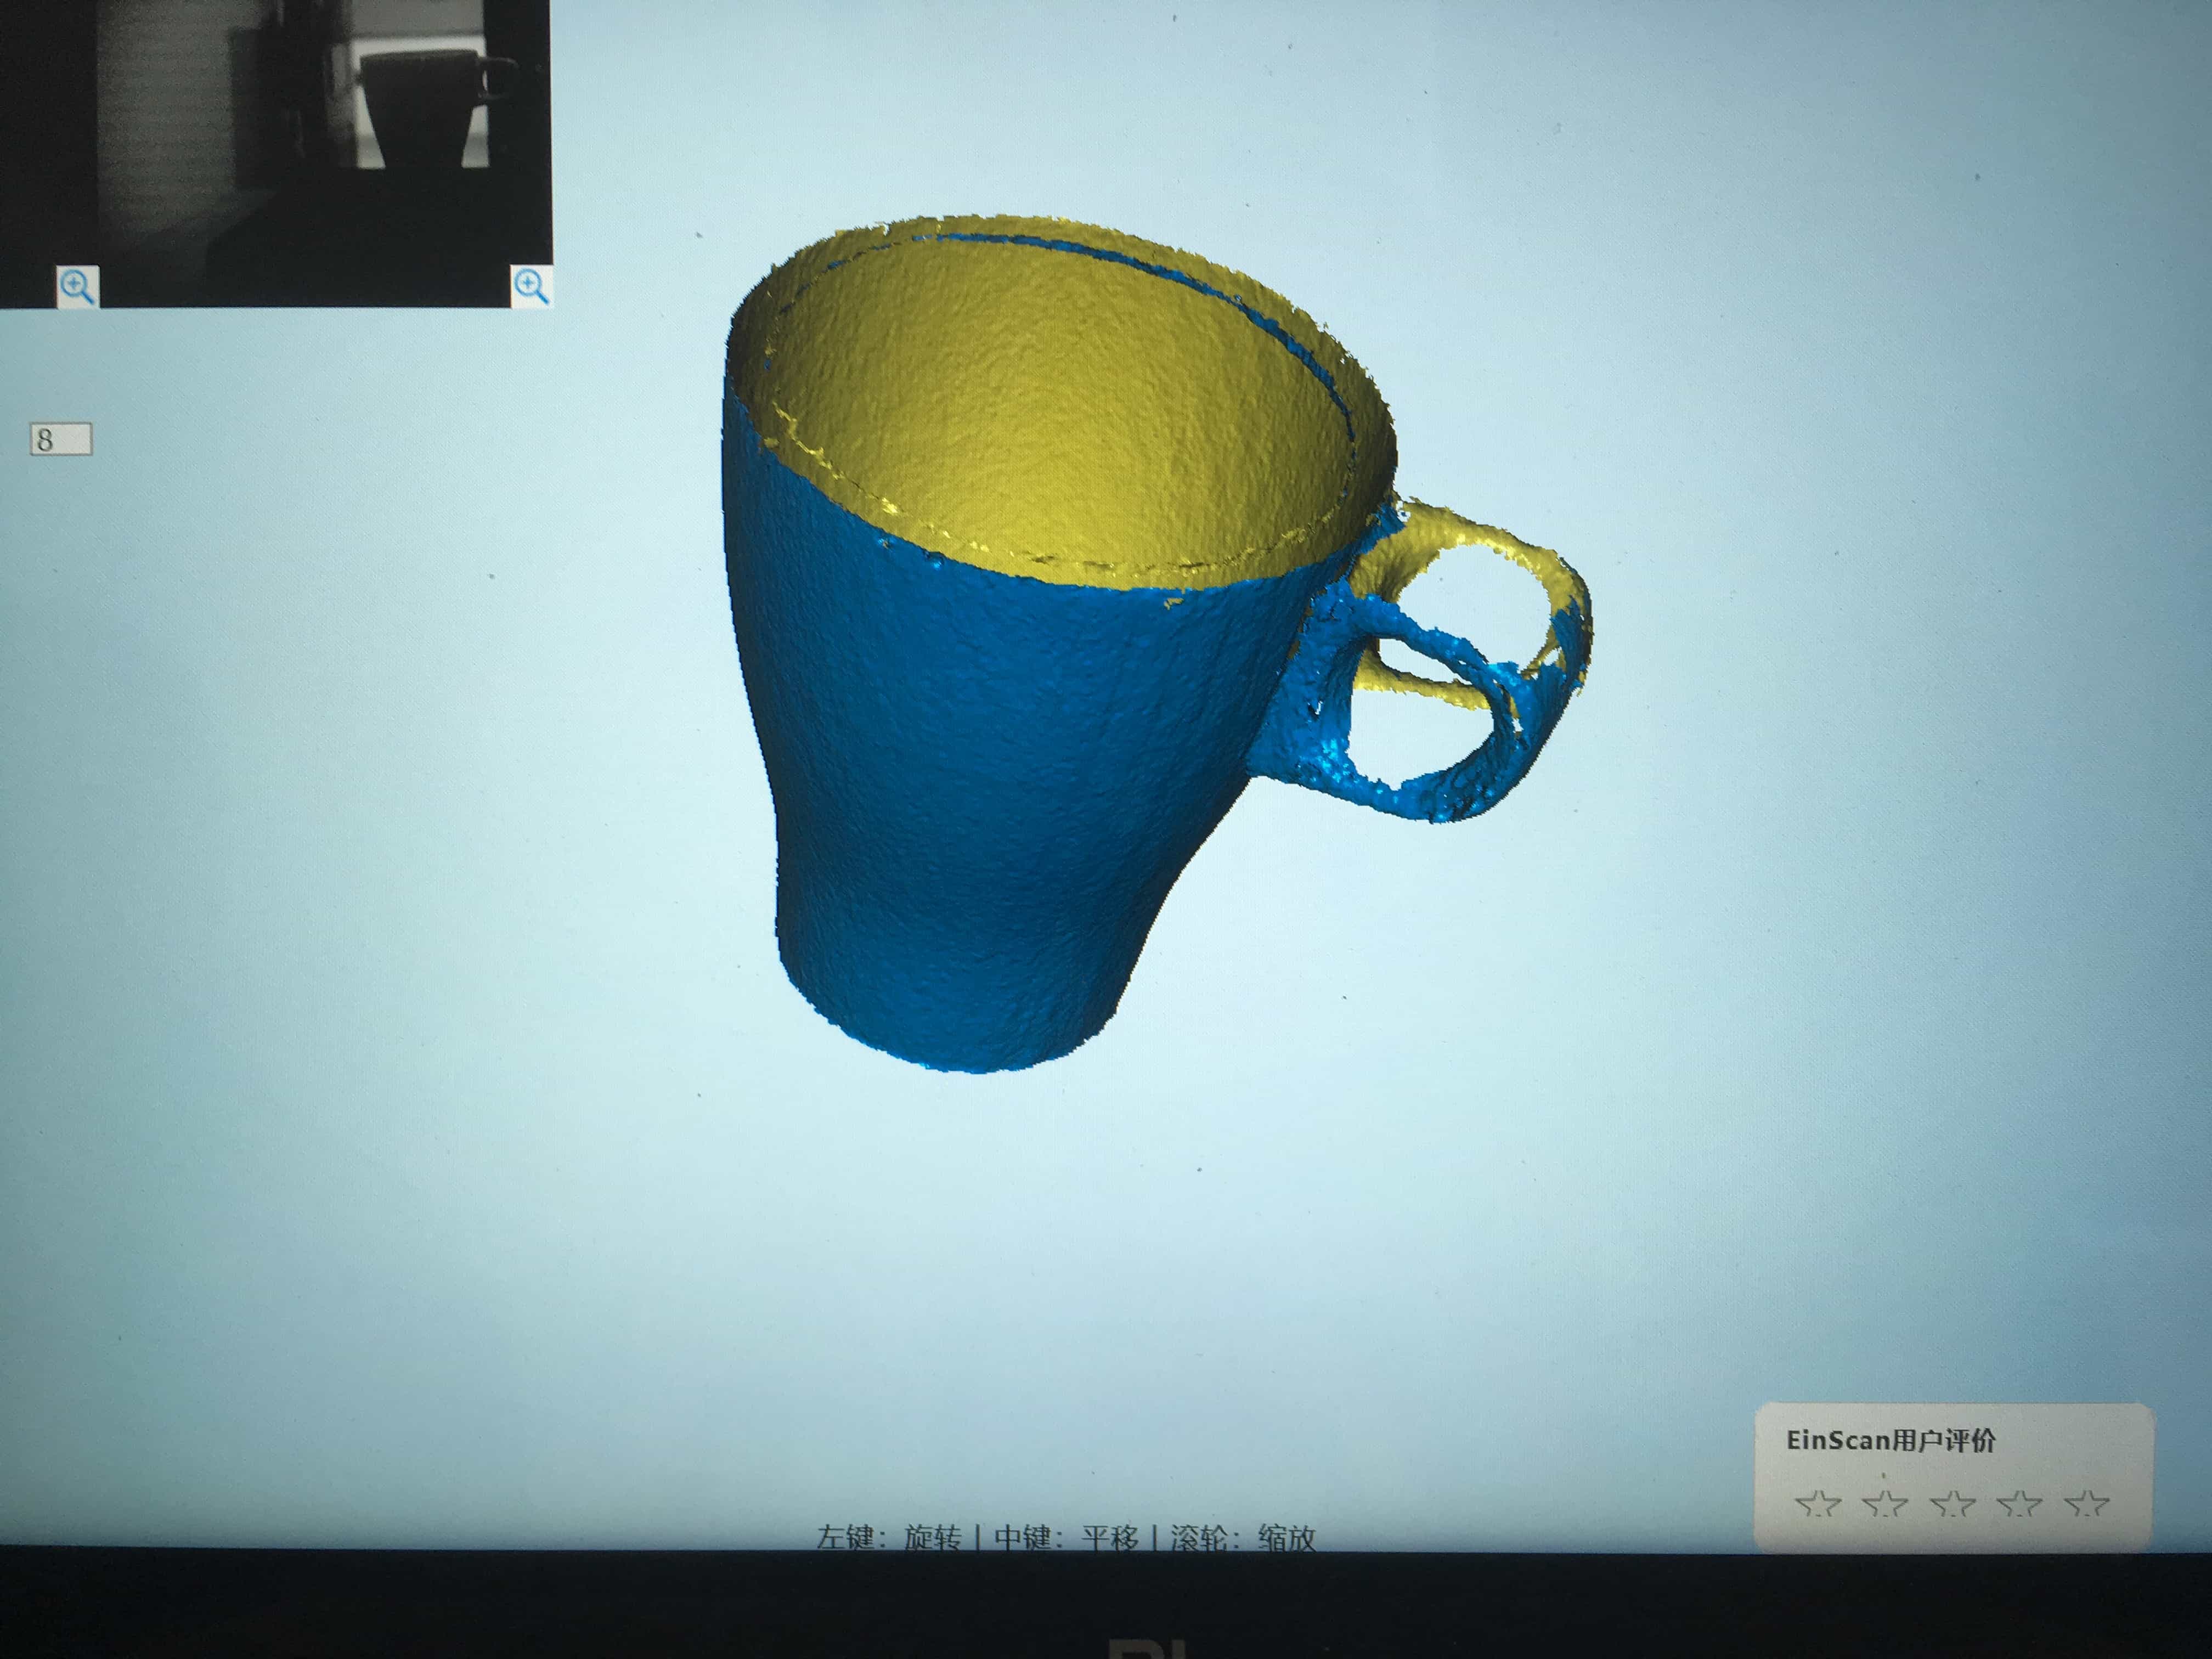
This is the result of the scanning. Of course, the scanner cannot scan the internal space of the cup. Since the sup is too deep, the scanner cannot scan the internal surface of the cup.
