In machine making weeks, we made a foldable two-axies drawing machine. The structural making and system testing was my job, while another student, Lingyu Yue, made the pen holder and found the way to build the system.
Visit group project page: SZOIL FOLDABLE DRAWBOT
Files downlod here: machine making.rar
The machine
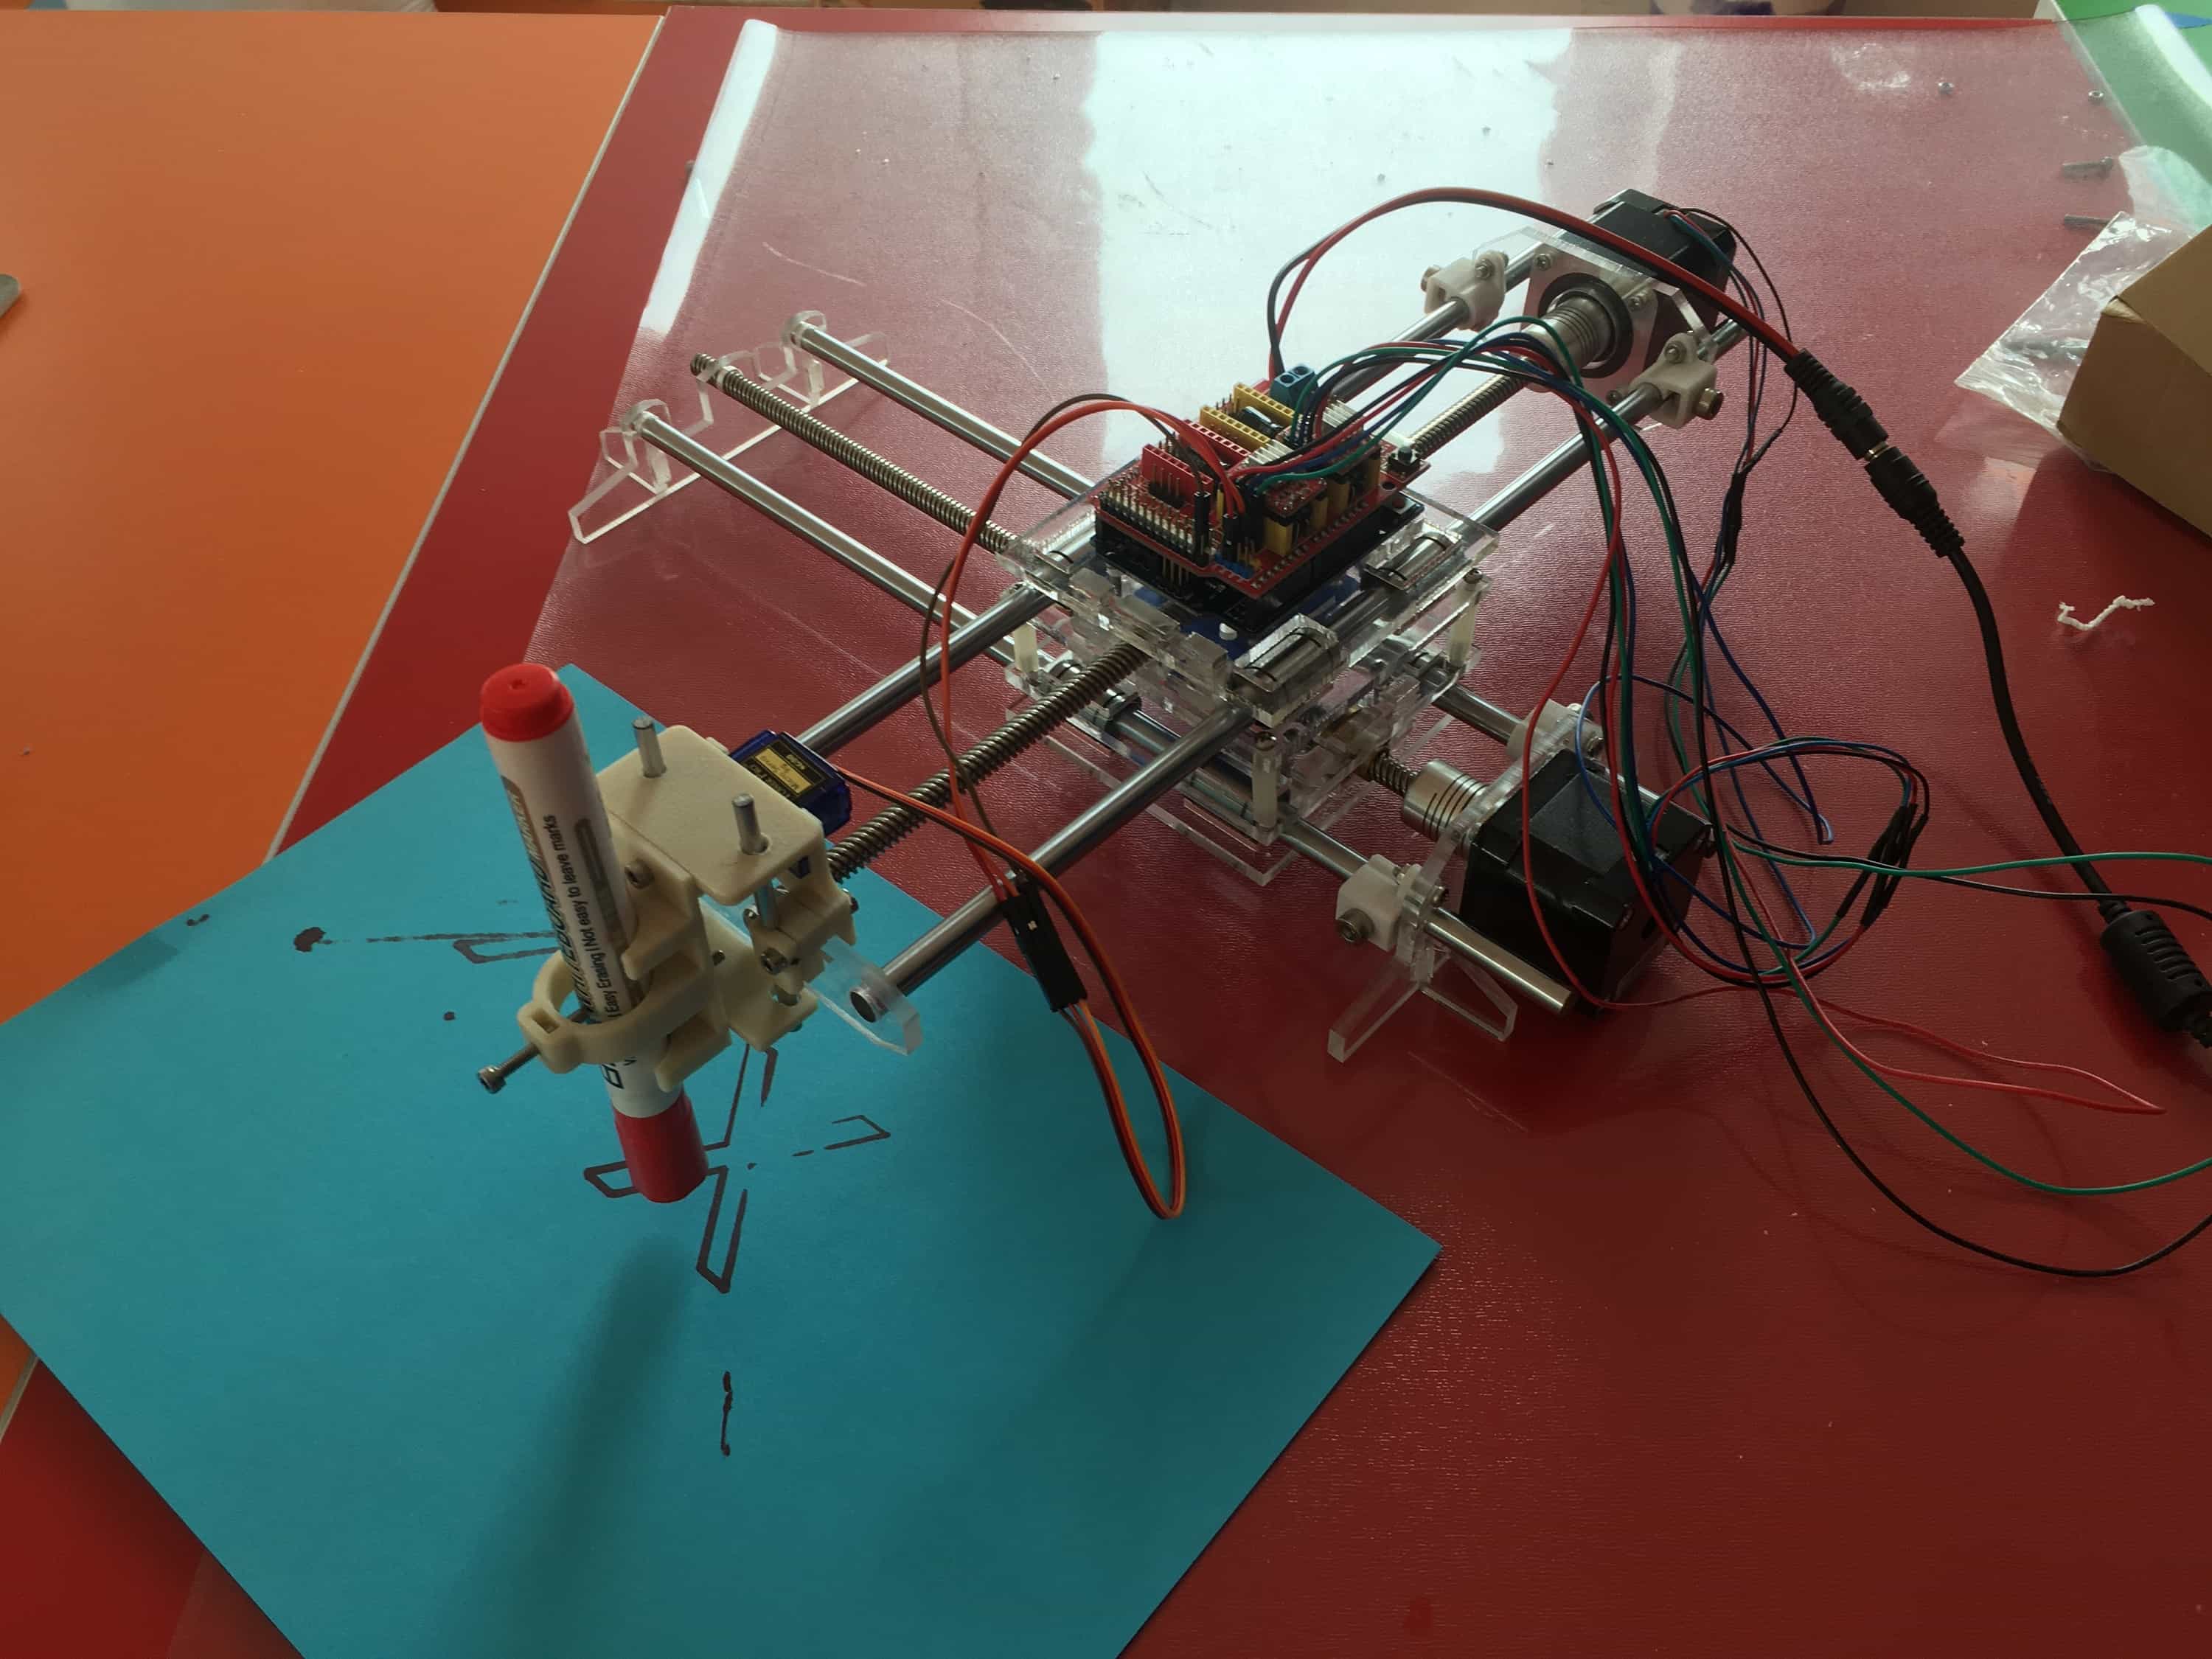
Fablab Szoil's Foldable Drawbot
Mechanical design
Initial Ideas:
Lingyu Yue wanted to design a white board plotter which can write on the whiteboard freely. Ricky Han wanted to design an x y plotter which can etch the PCB board automatically.
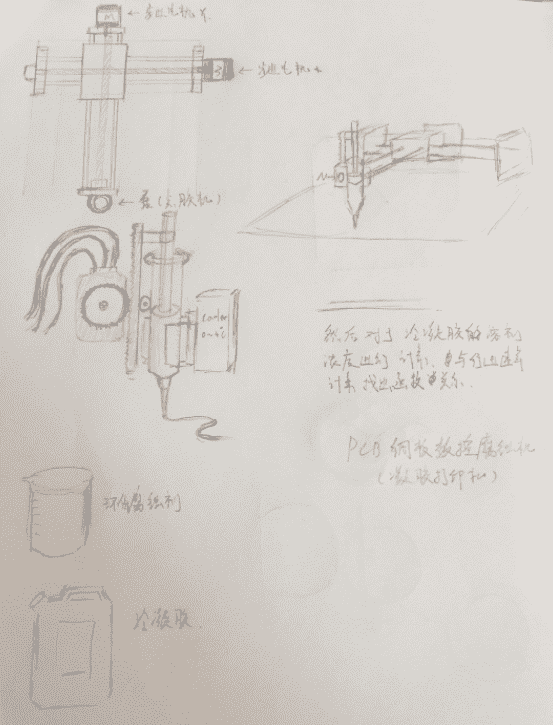
My Original Design Sketch
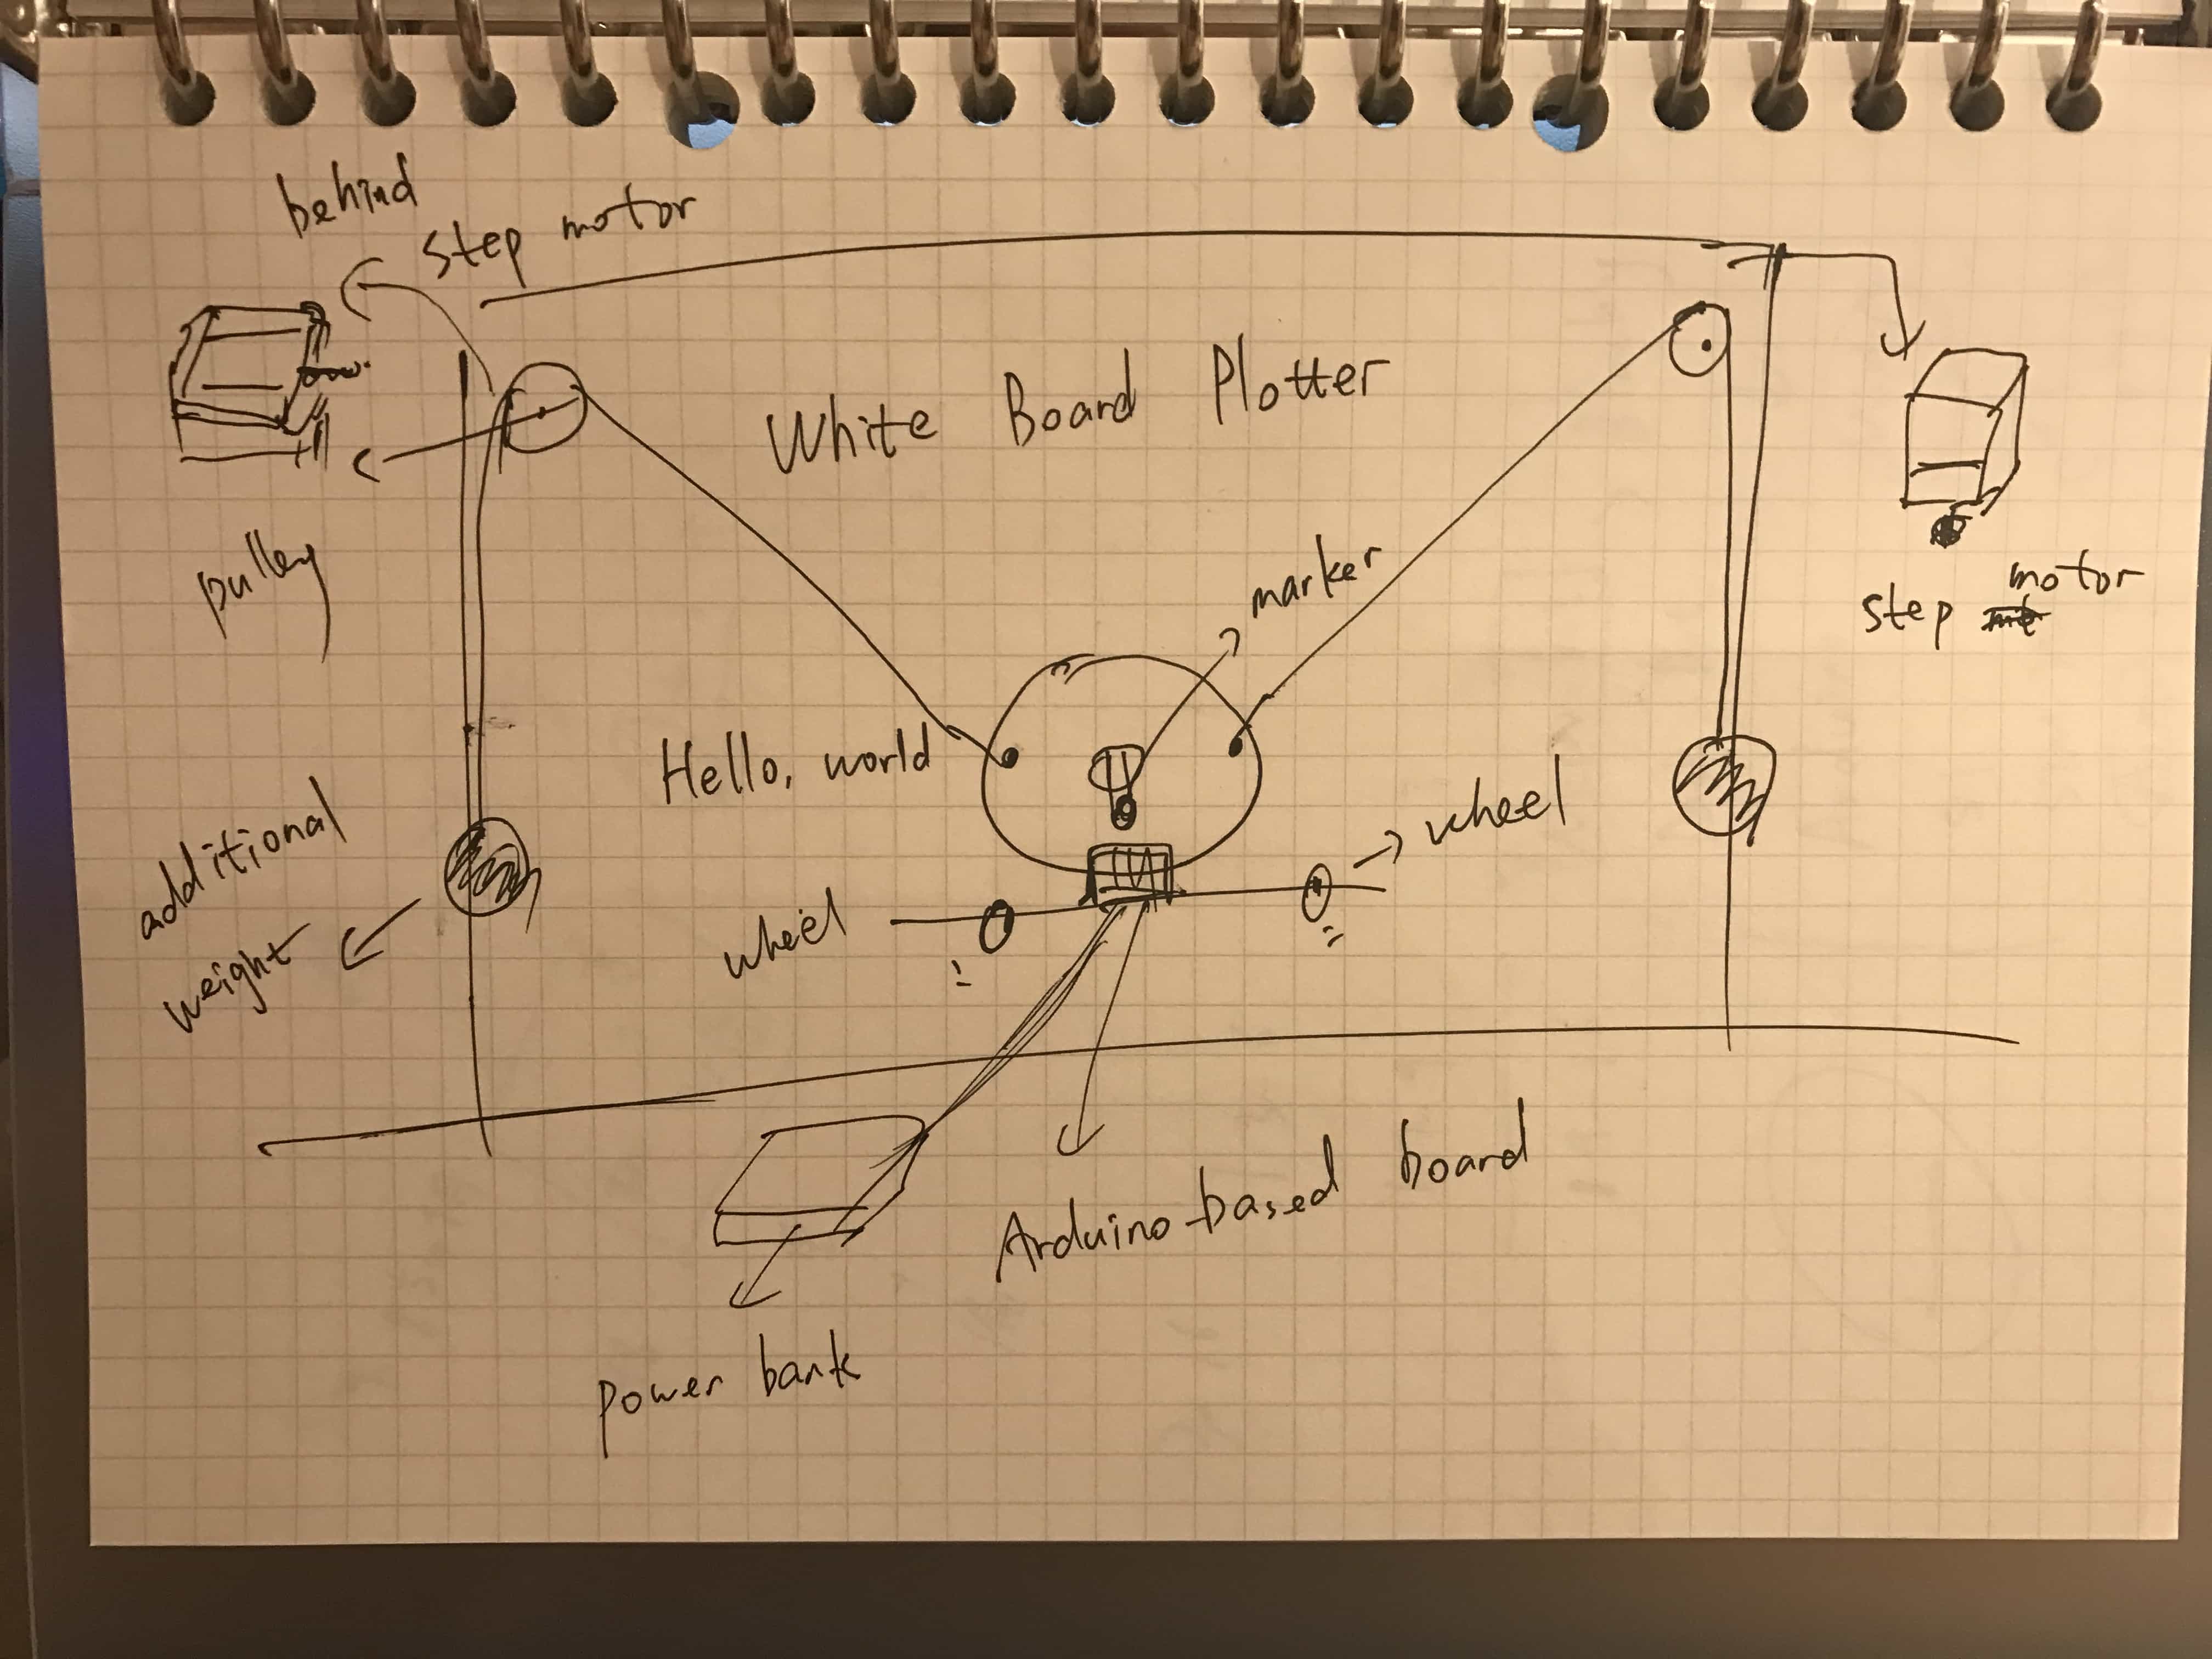
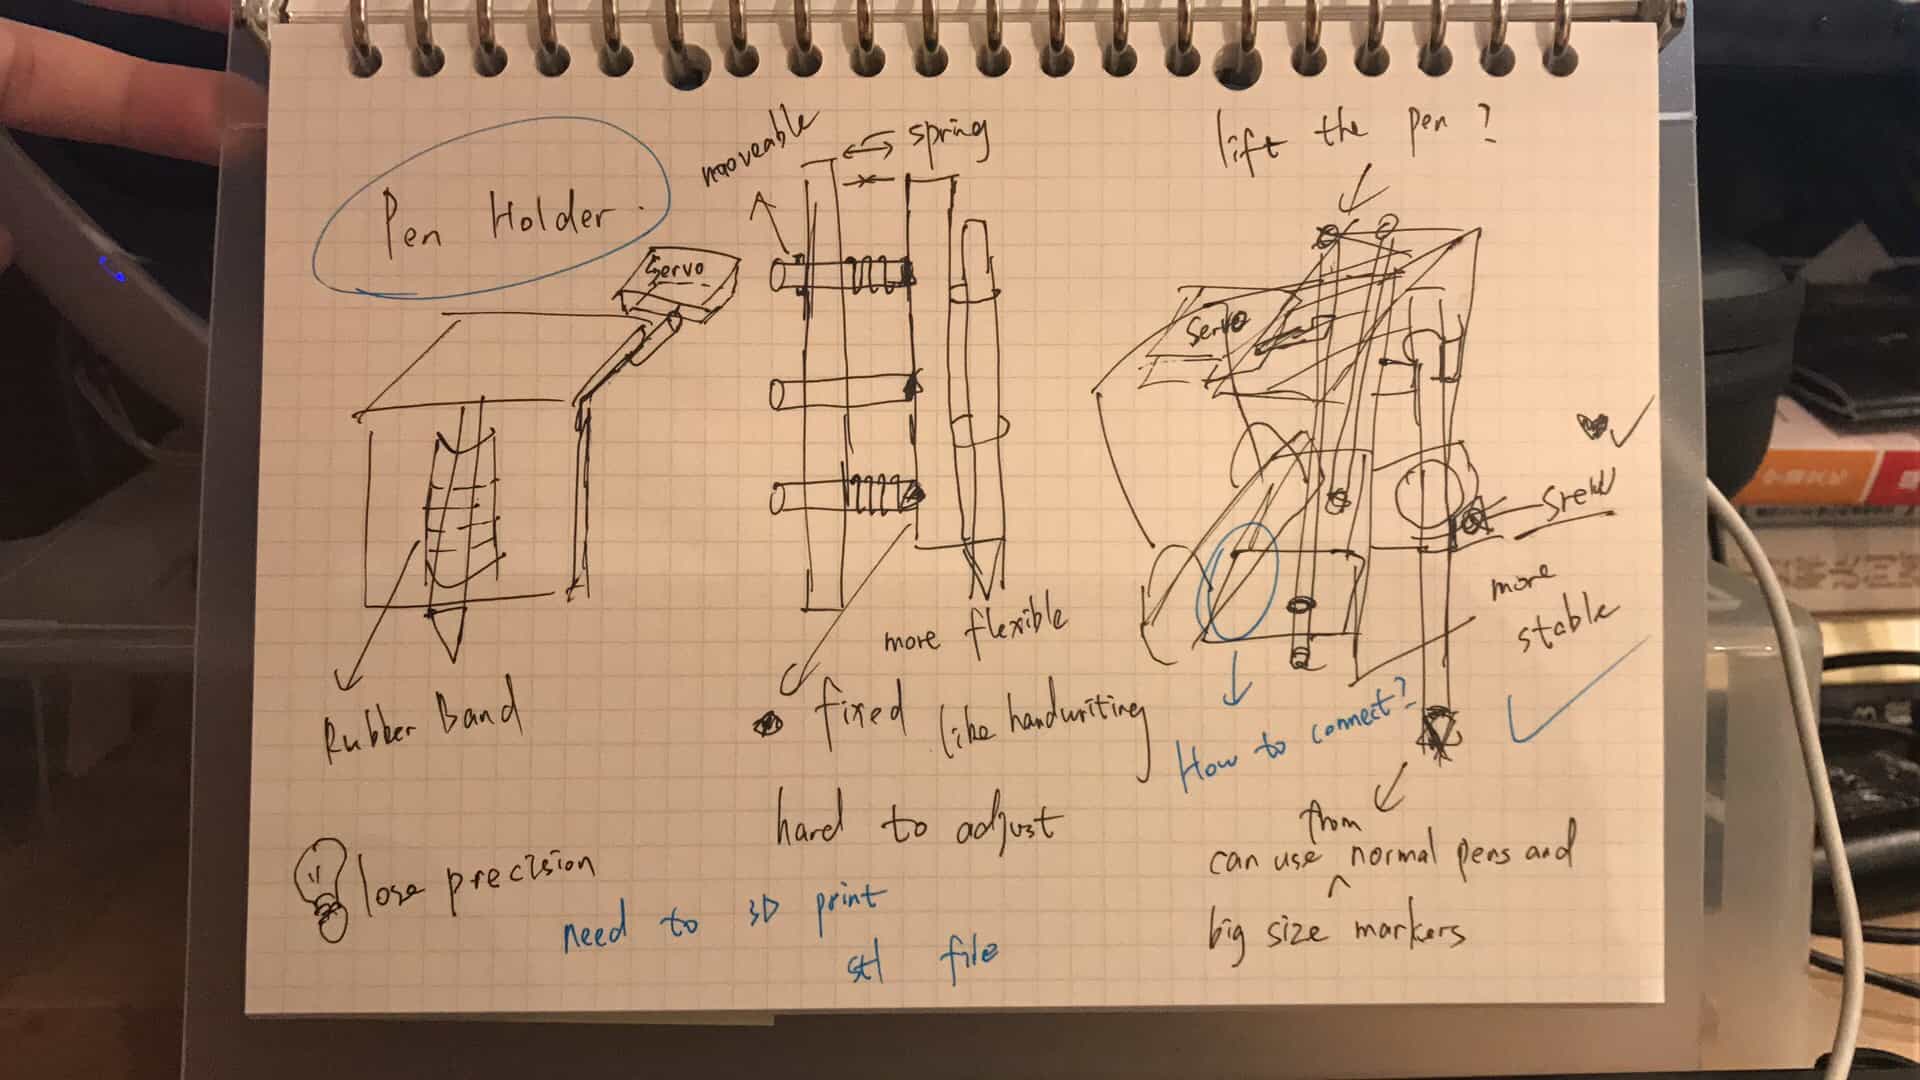
Lingyu's Design Sketch
Finally, we decided to make a writing machine moving two dimensionally. And we want to make the machine's frame foldable and easy to carry.
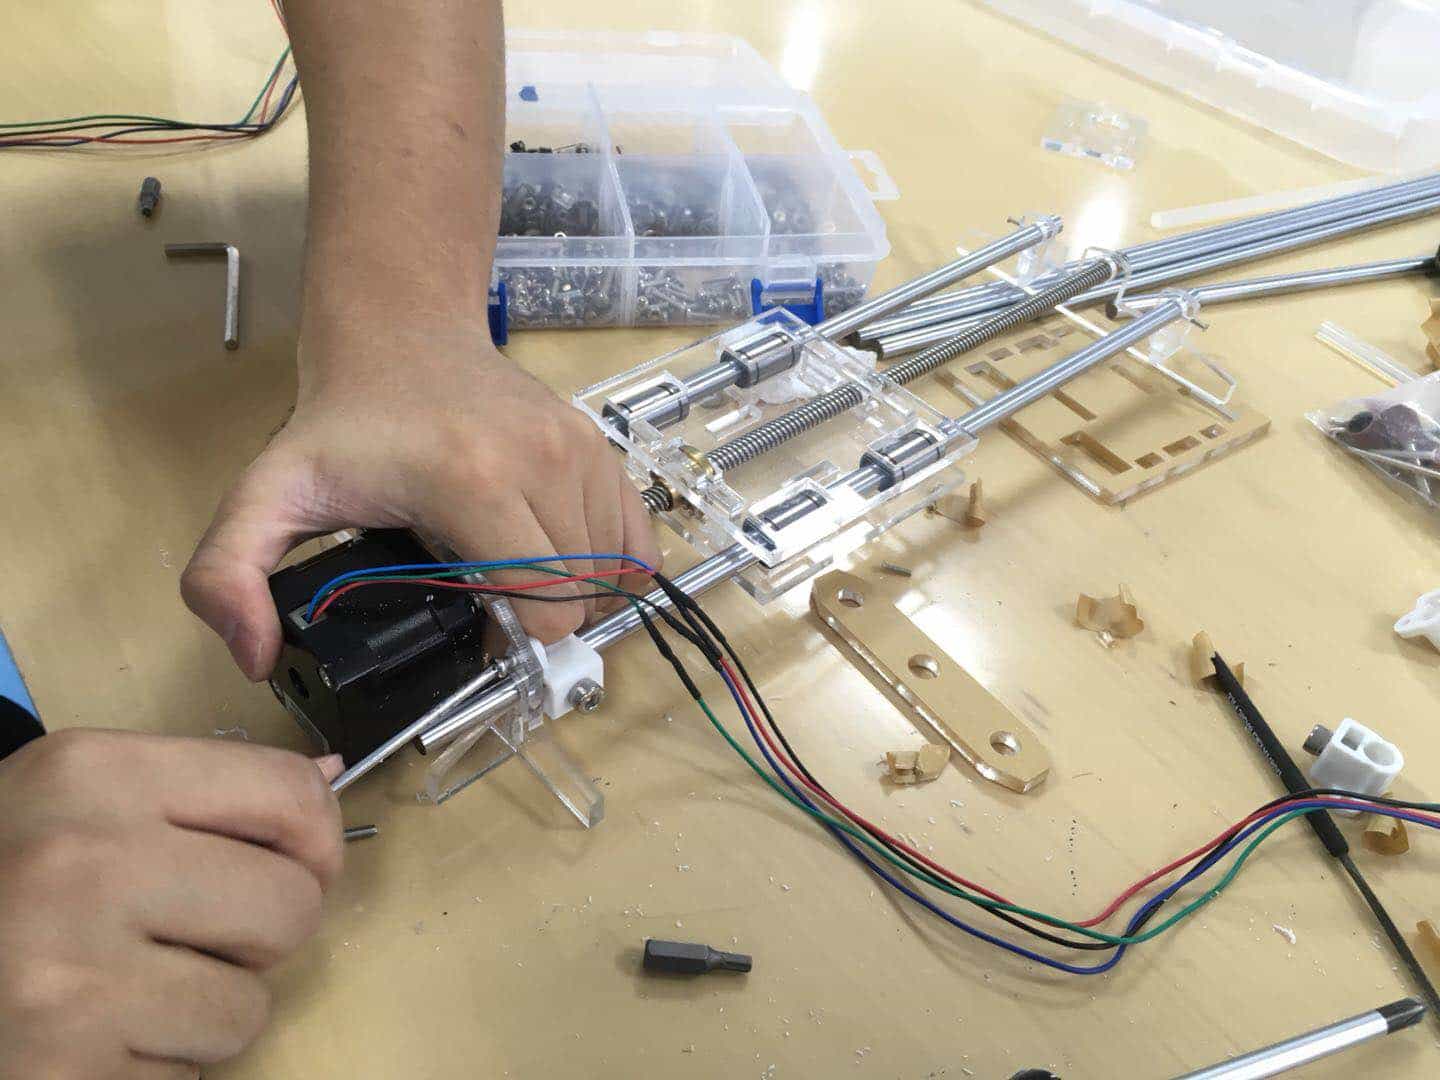
For prototyping this machine more fast , I took apart an old 3D printer and recycled the metal parts.
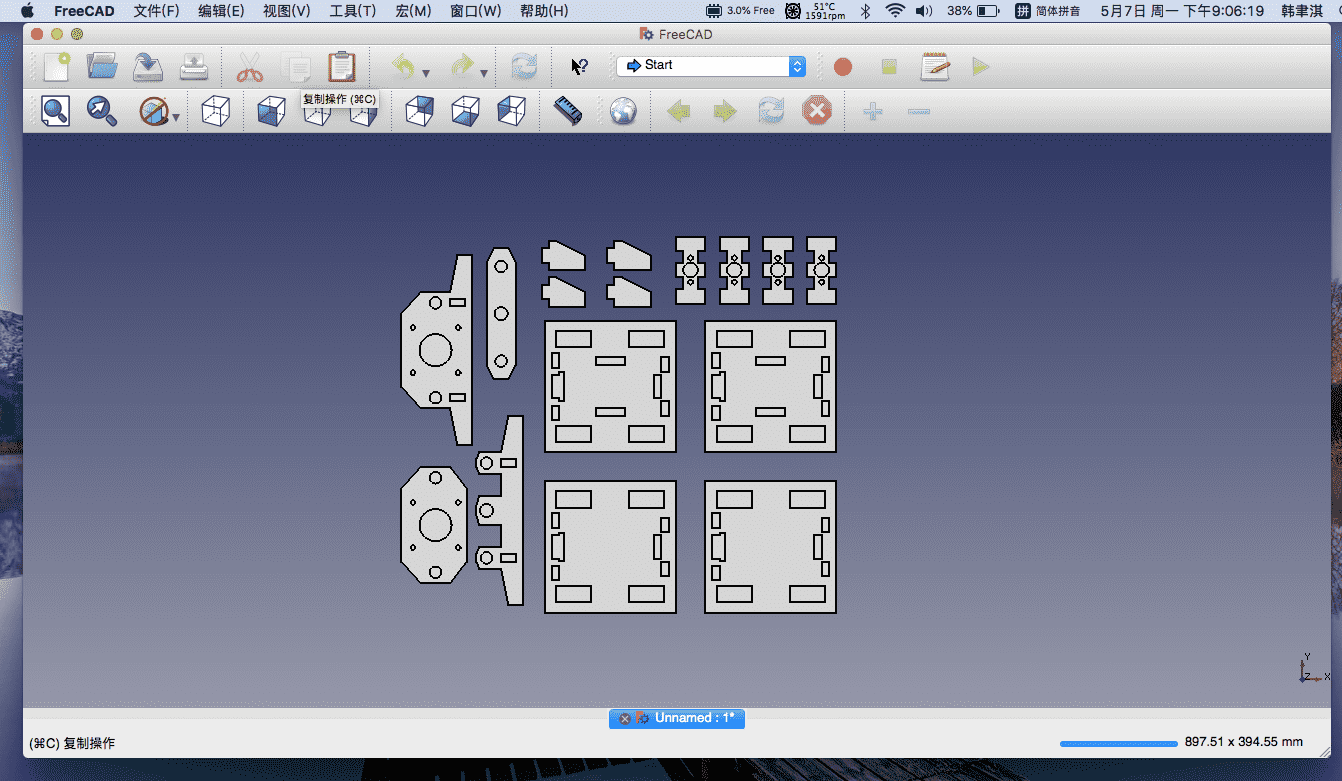
Then I designed the support parts and laser cutted them with 5mm acrylic materials. The four rectanular parts are the fixing platform of the joint between X and Y axis. The four parts on the left are the frame for the stepper motor and the 8mm metal sticks which help hold the machine's moving direction.
Lingyu brainstormed the structure of the pen holder.
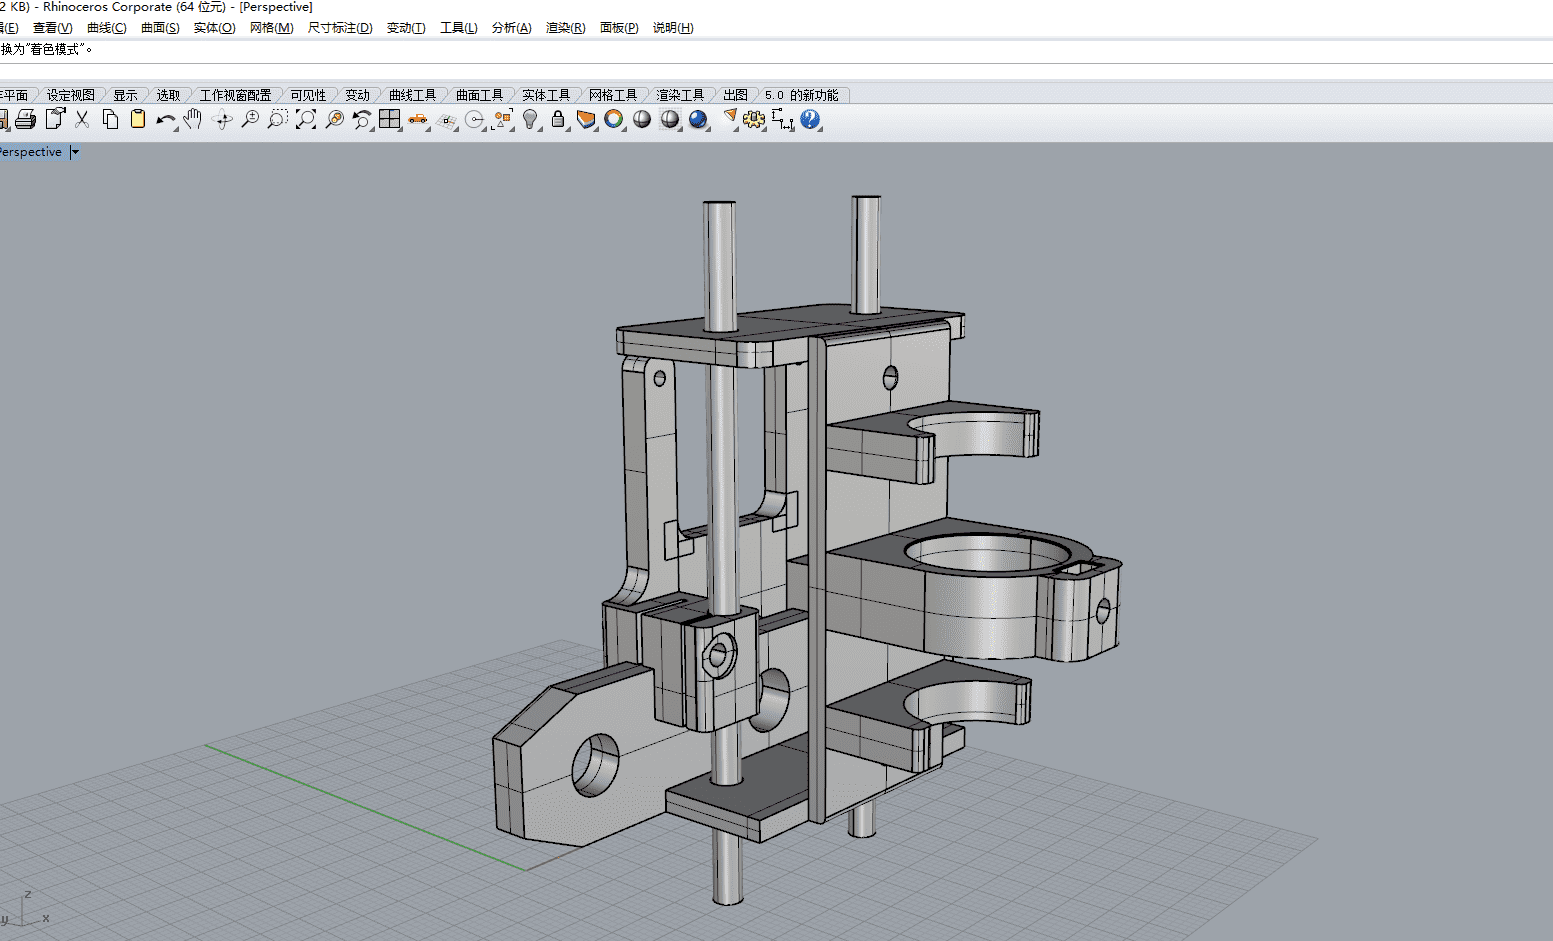
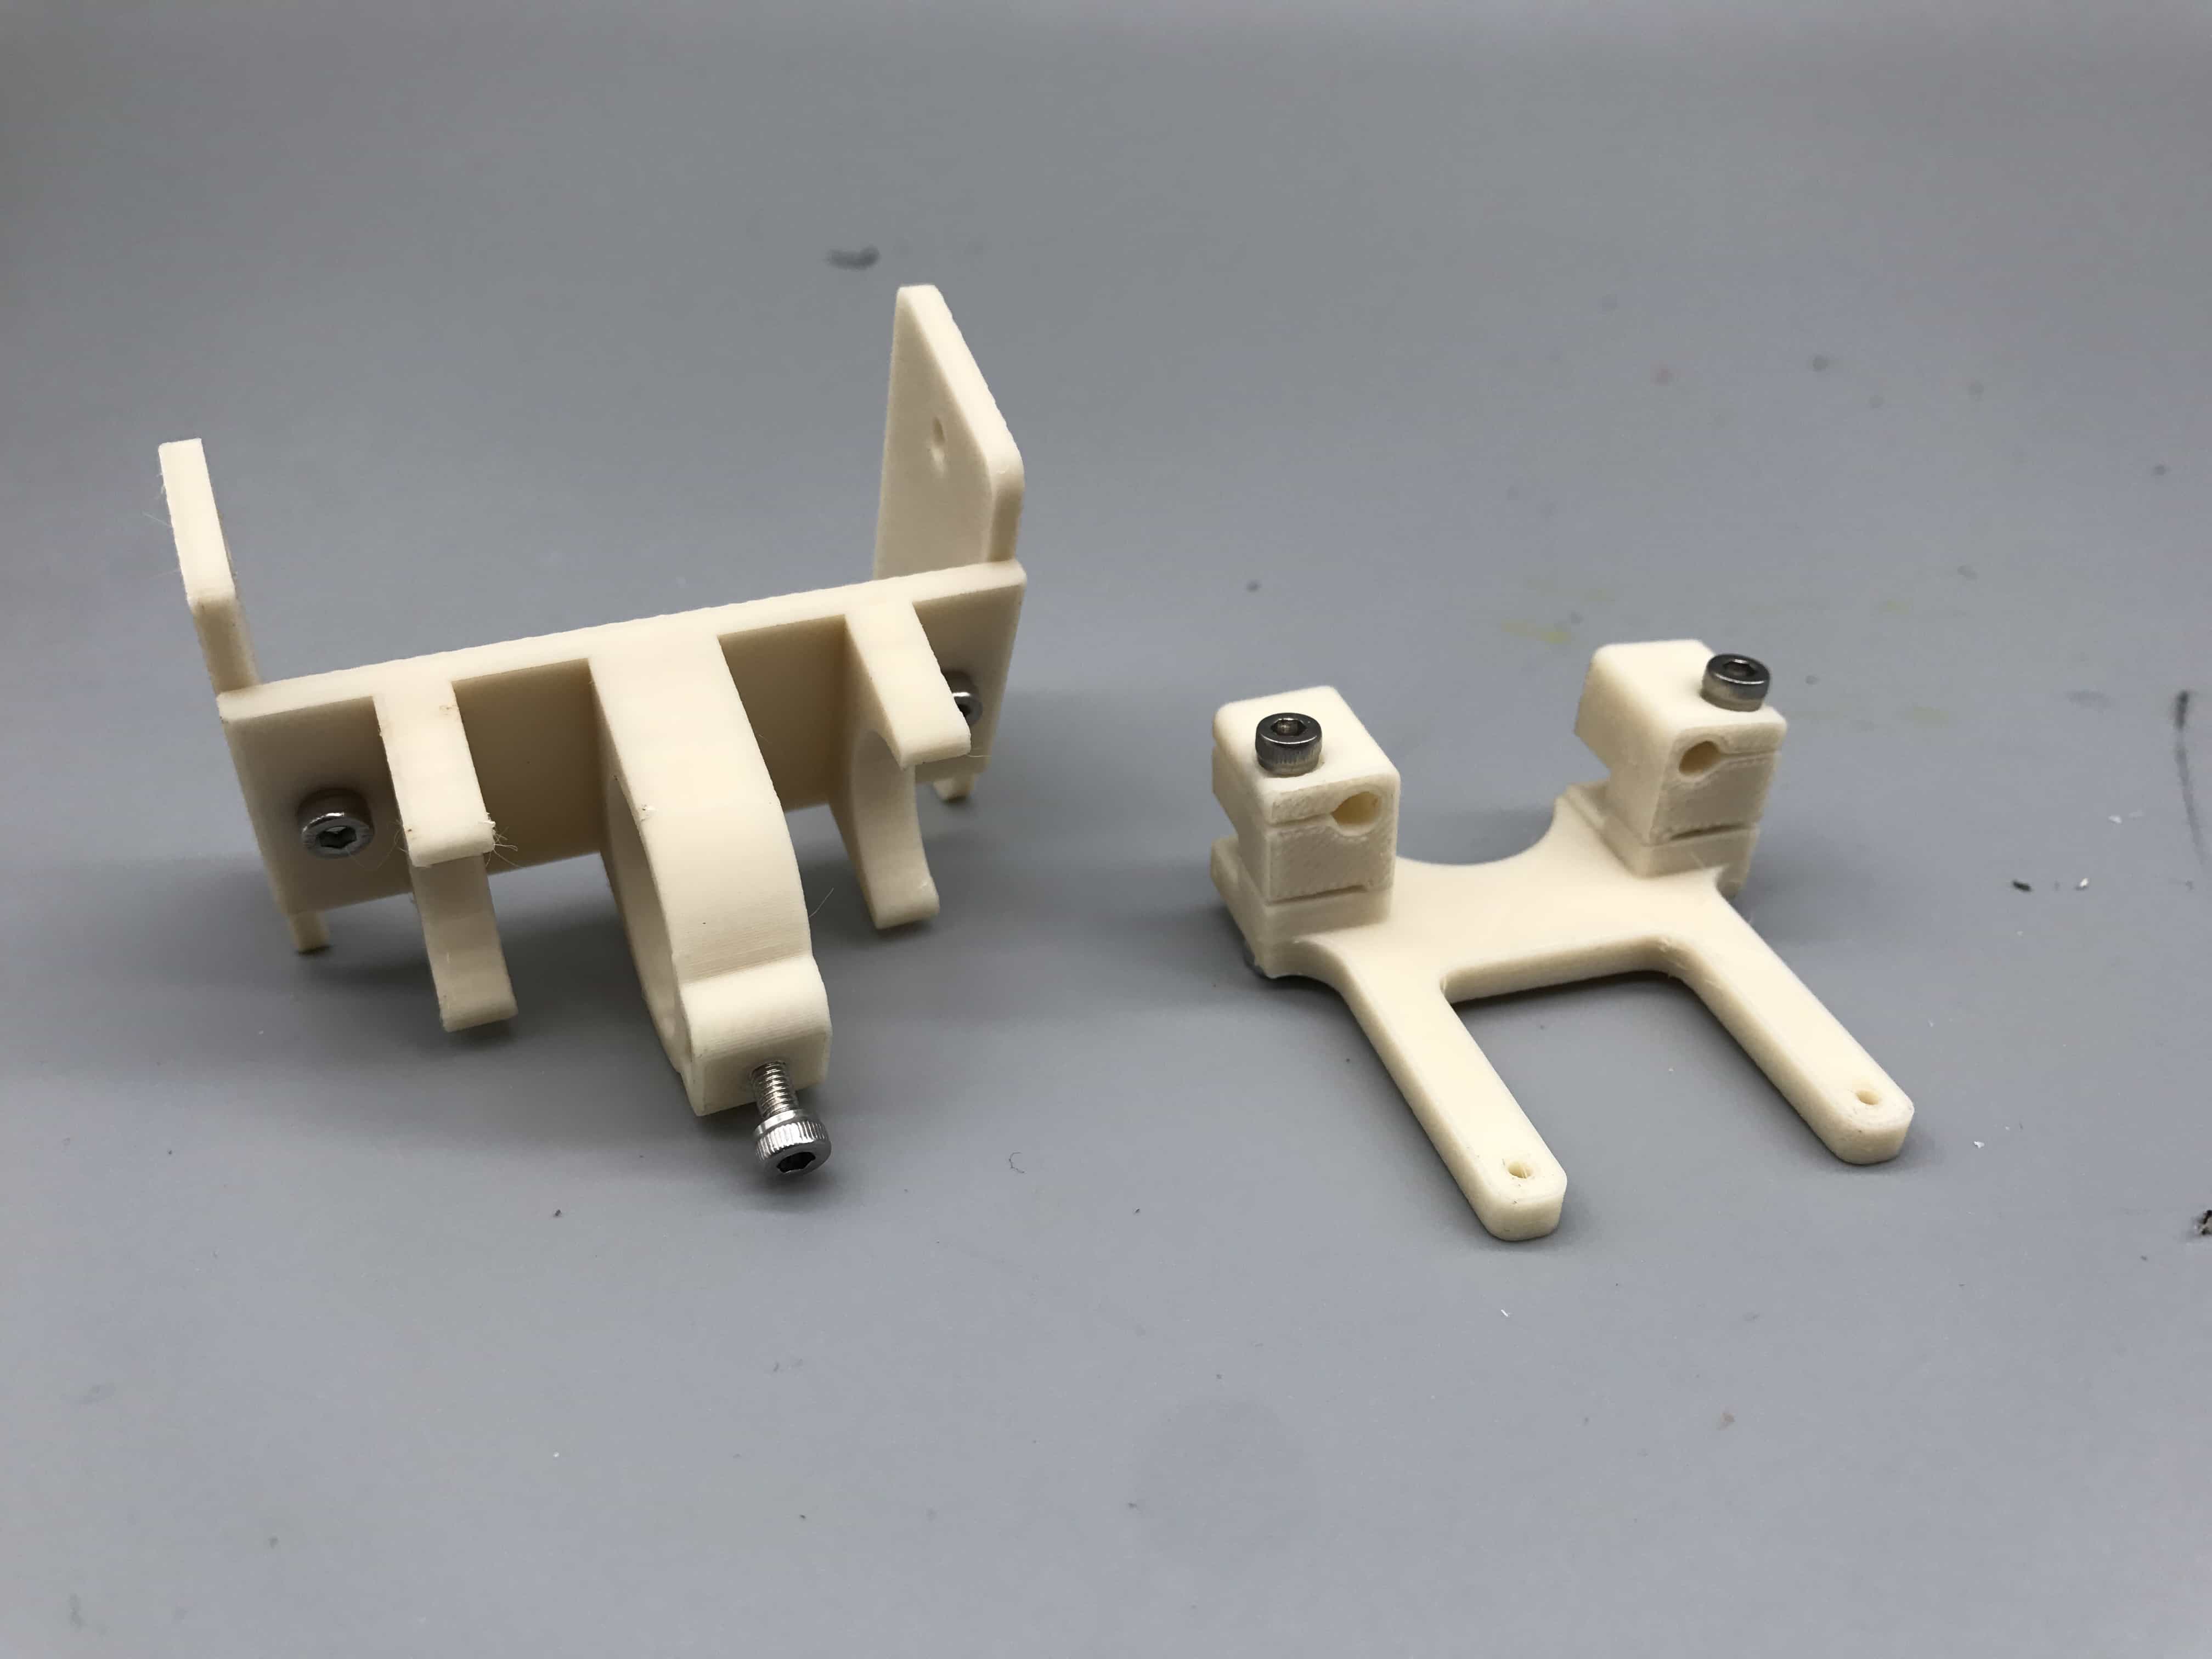
Then she designed and 3D printed the pen holder
Assemble the Machenical Parts
I put all the parts together. All the standard parts we have are two step motors, two spining sticks and their nuts, eight ball bearings, a Arduino Uno and a CNC shield. I got those parts from a broken laser engraver and an old 3D printer.
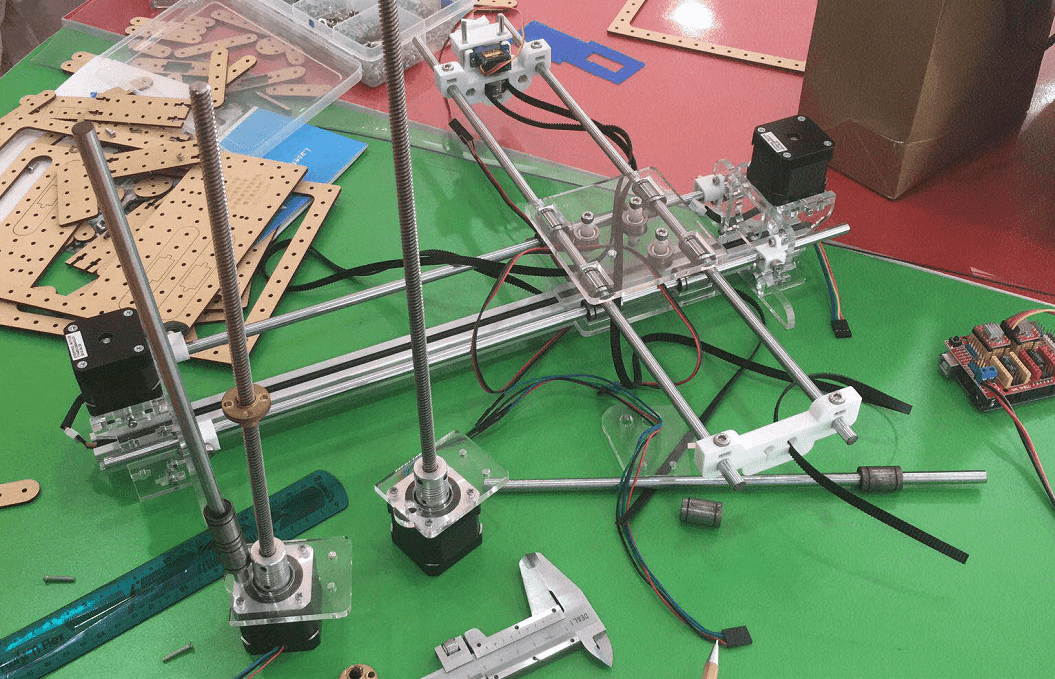
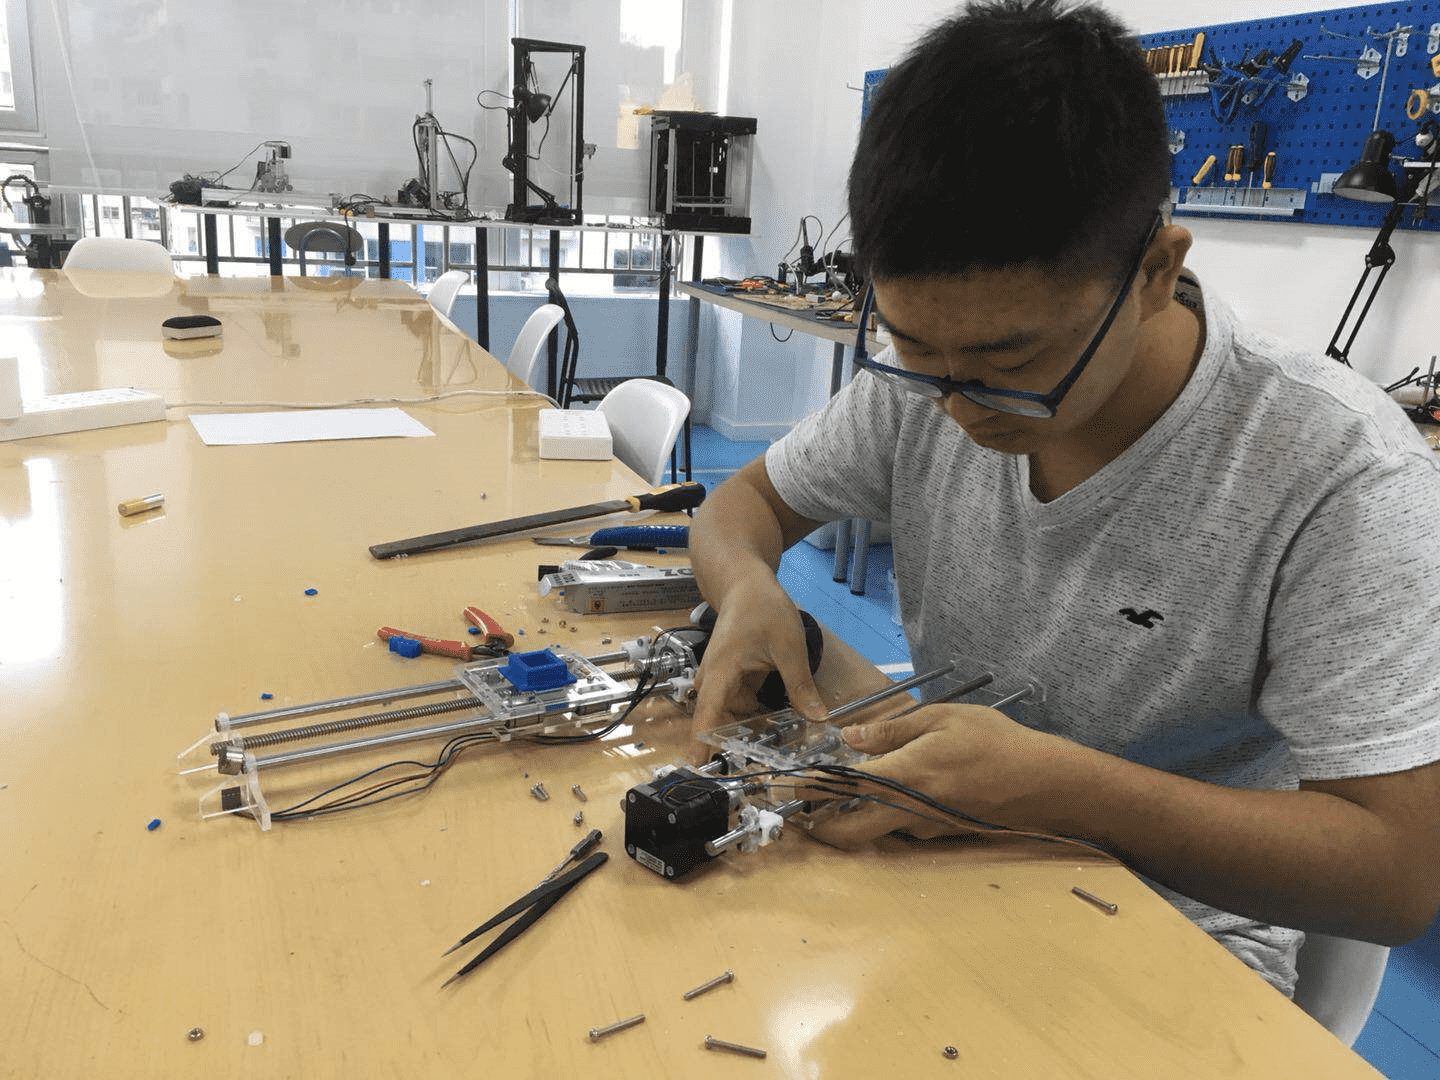
The frame can be folded like this. But the first version is not stable: even though I designed dogbones structure to lock the joints together, because of the inaccuracy of 3D printing, this structure did not work well. Plus, the stepper motor was too heavy.
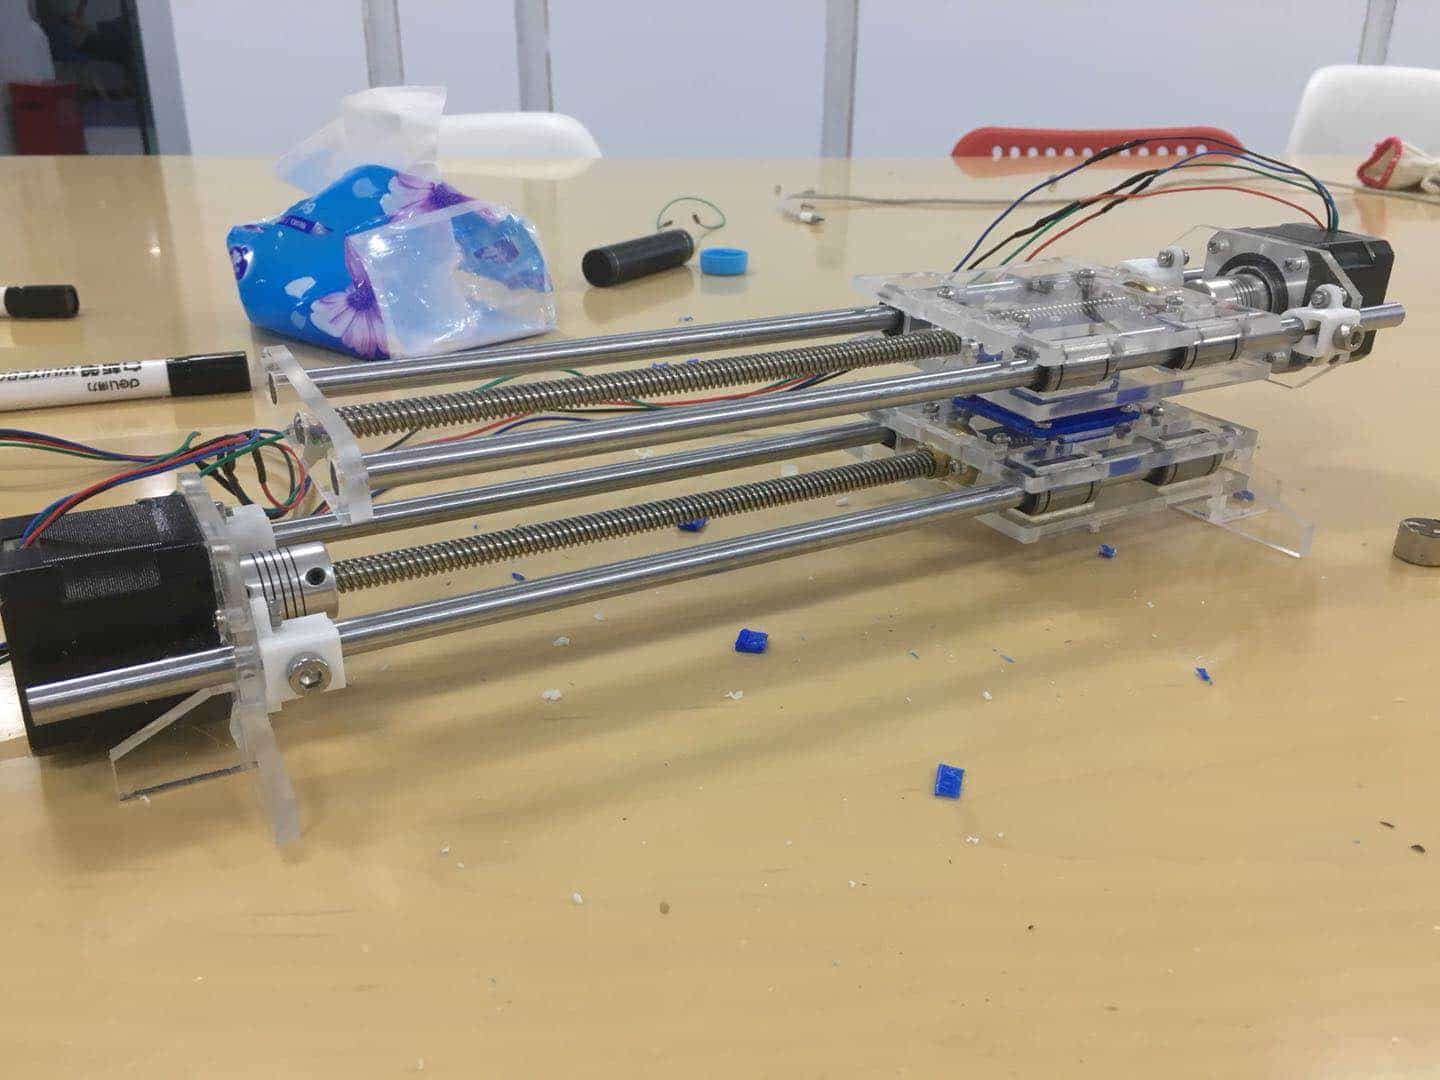
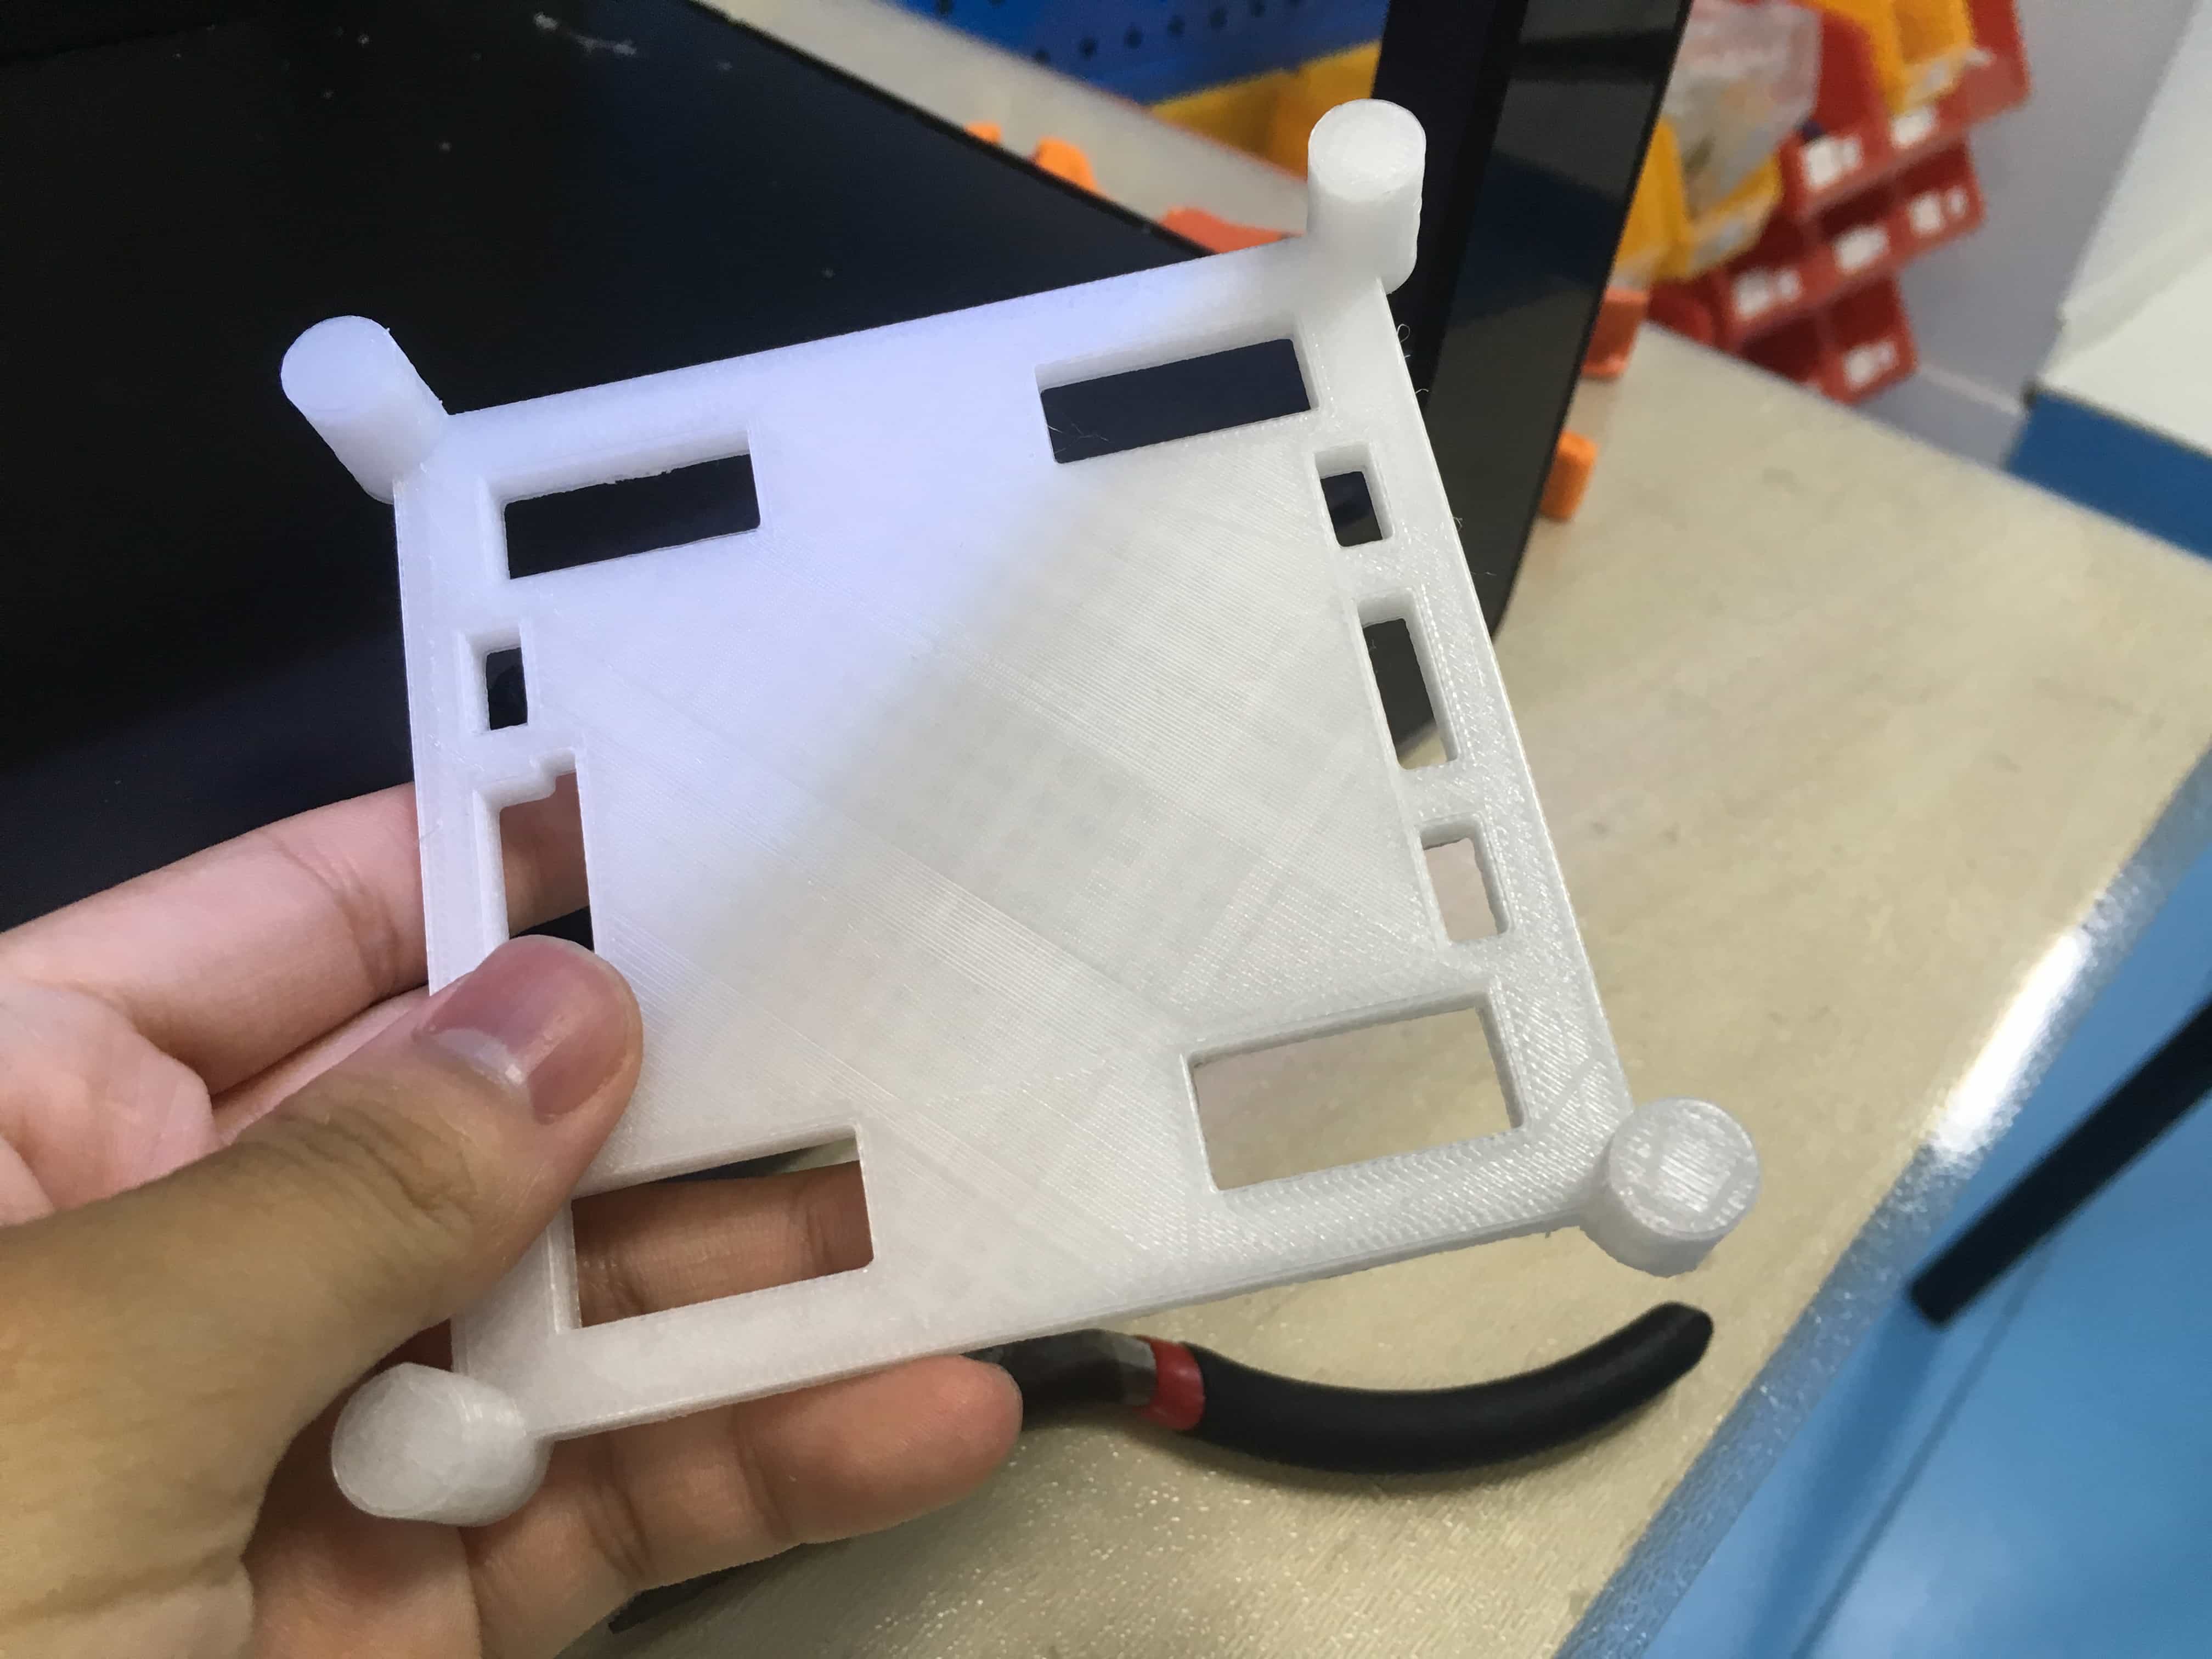
So I remade the 3D parts. The four cylindrical joints instead of one square joint will make the joint more stable.
Then I operated it manually to see whether the mechanics work well.
Electronics and coding
Gbrl
We chose GBRL to control the step motors. GBRL-An open source, embedded, high performance g-code-parser and CNC milling controller written in optimized C that will run on a straight Arduino. We downloaded the Gbrl code here : Gbrl
As our writing machine only have X and Y axles, we changed the Z axle to control a servo. For this part , we took a Crazy Engineer's Drawing Robot instruction as reference.
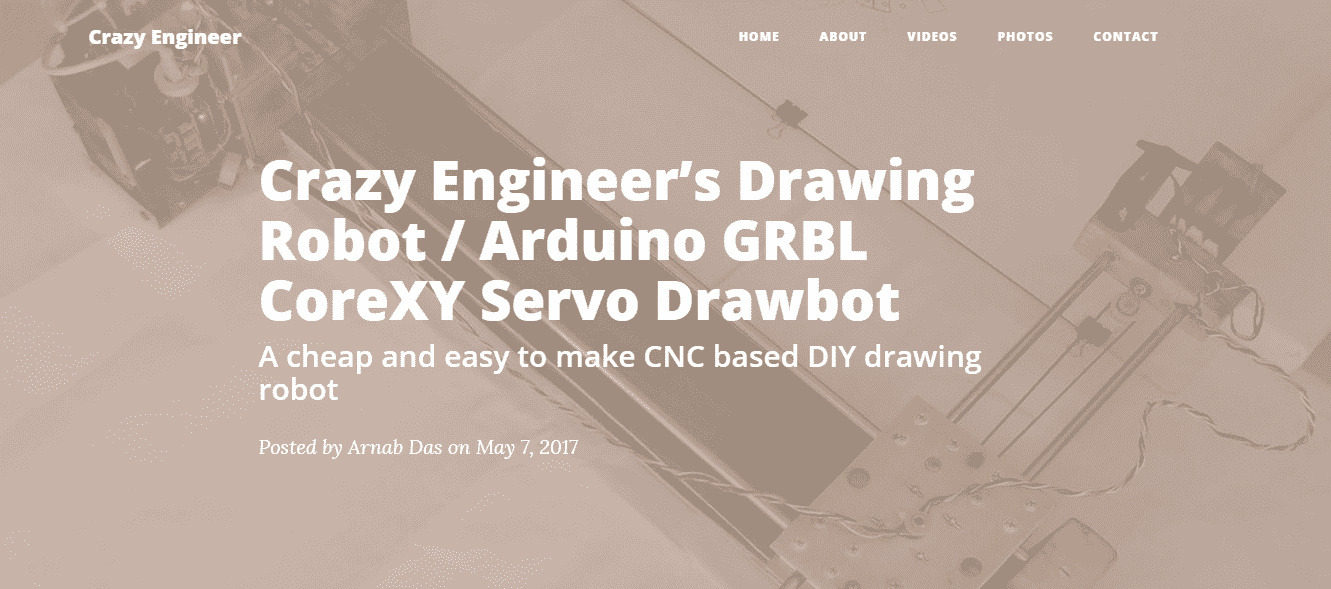
Then we tried to assemble the electronics parts. We used this picture below as reference.
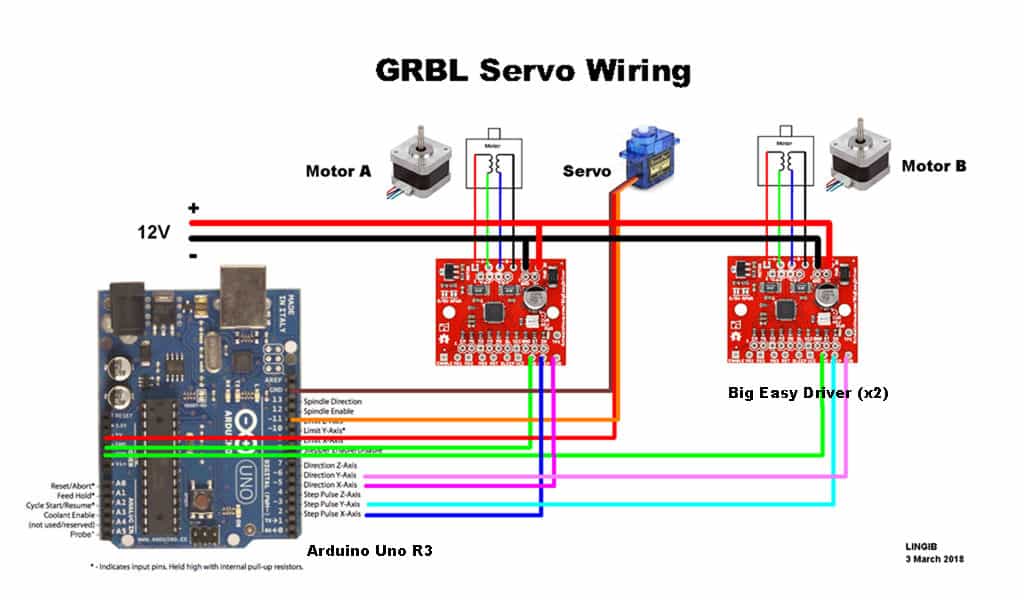
Original website : http://www.instructables.com/id/How-to-Control-a-Servo-Using-GRBL/
We use different boards , but the principle worked. In fact, since we all used the same servo motor, we could directly use that part of the controlling system from that example.
GENERATE GCODE
We first use inkscape to generate the raw gcode (without a penlifting order). Follow the video below.
I first used the inkscape to make. But there's no pen-lift command in Gcode.So we use processing to adjust.
Open the Gcode Post Processor made in the previous example.
It is a software what will automatically insert a pen lifting code if you enter the file name of the original code.
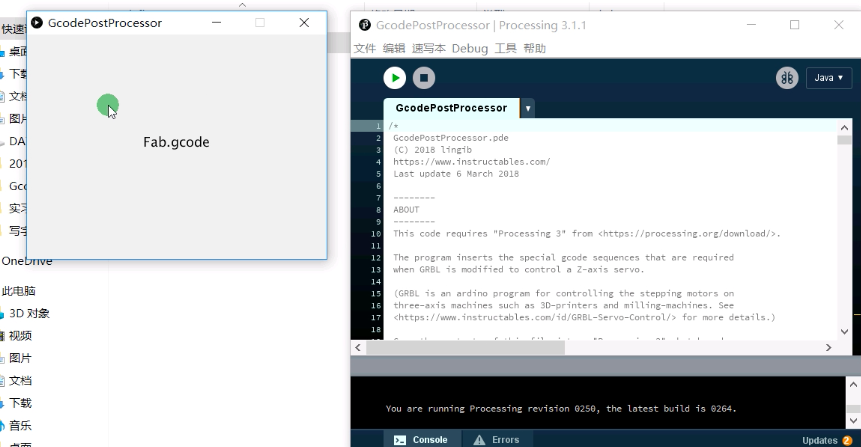
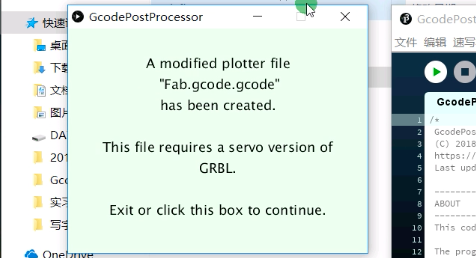
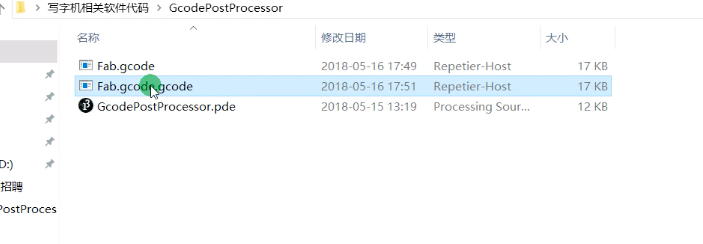
Inkscape- create some gcode

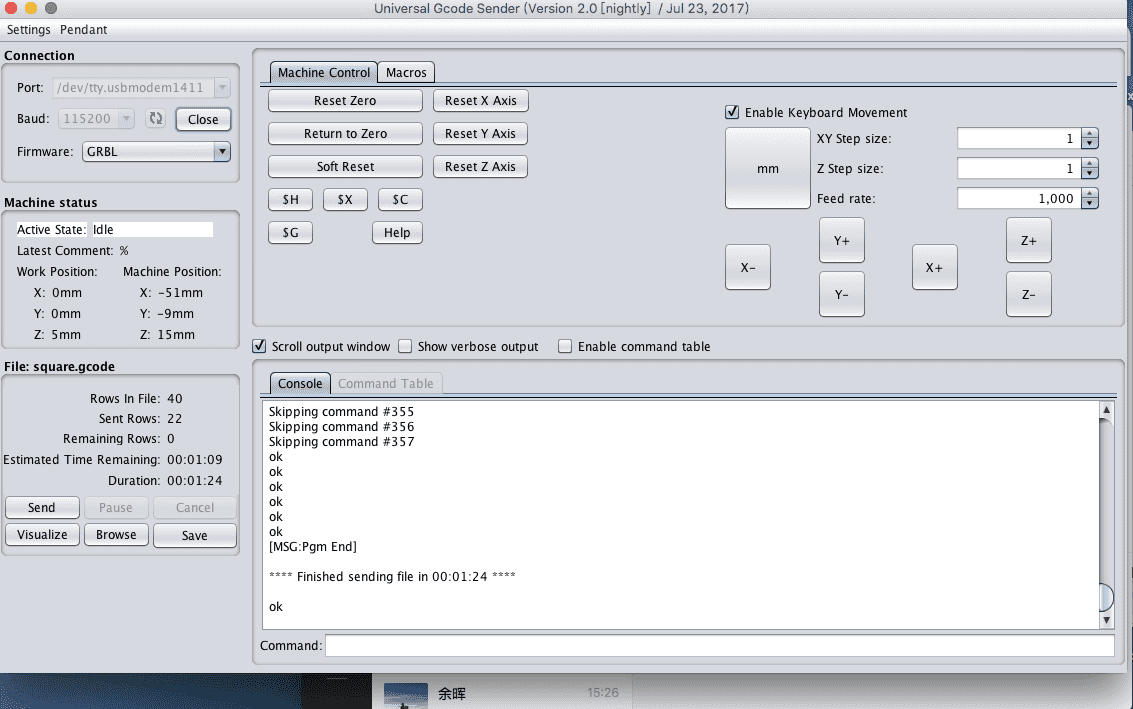
Universal Gcode Sender
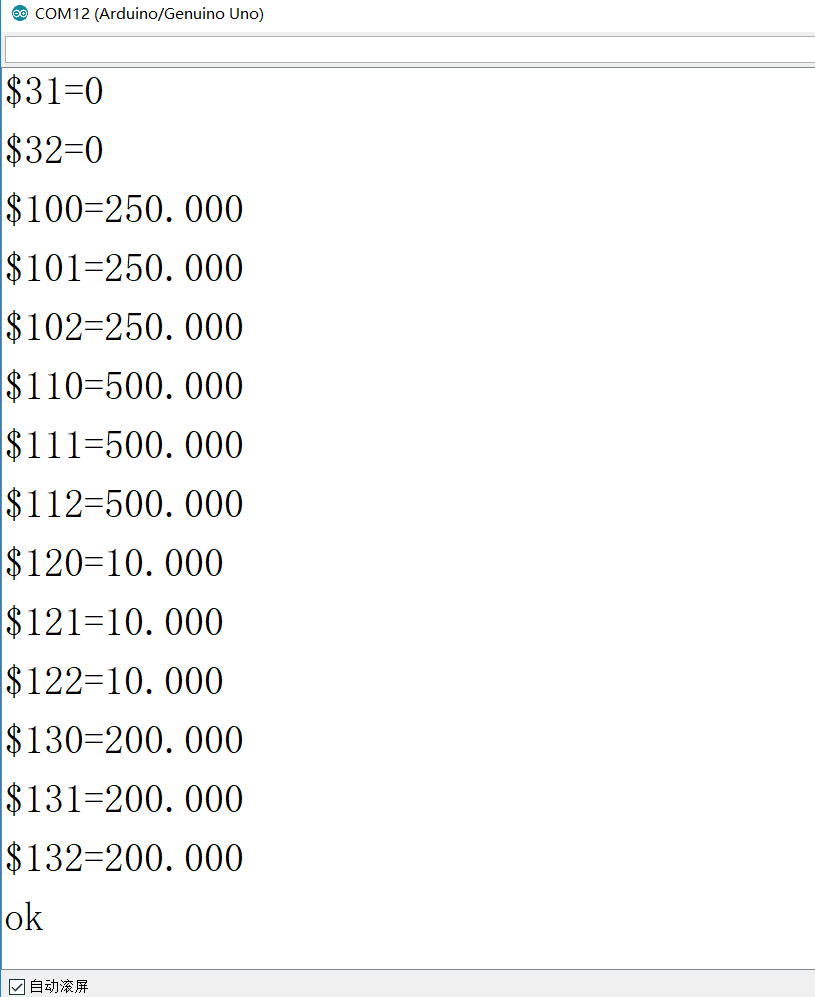
Then I configured The Plotter with Arduino
Plotting. This is how I tested the machine with a simple X image.
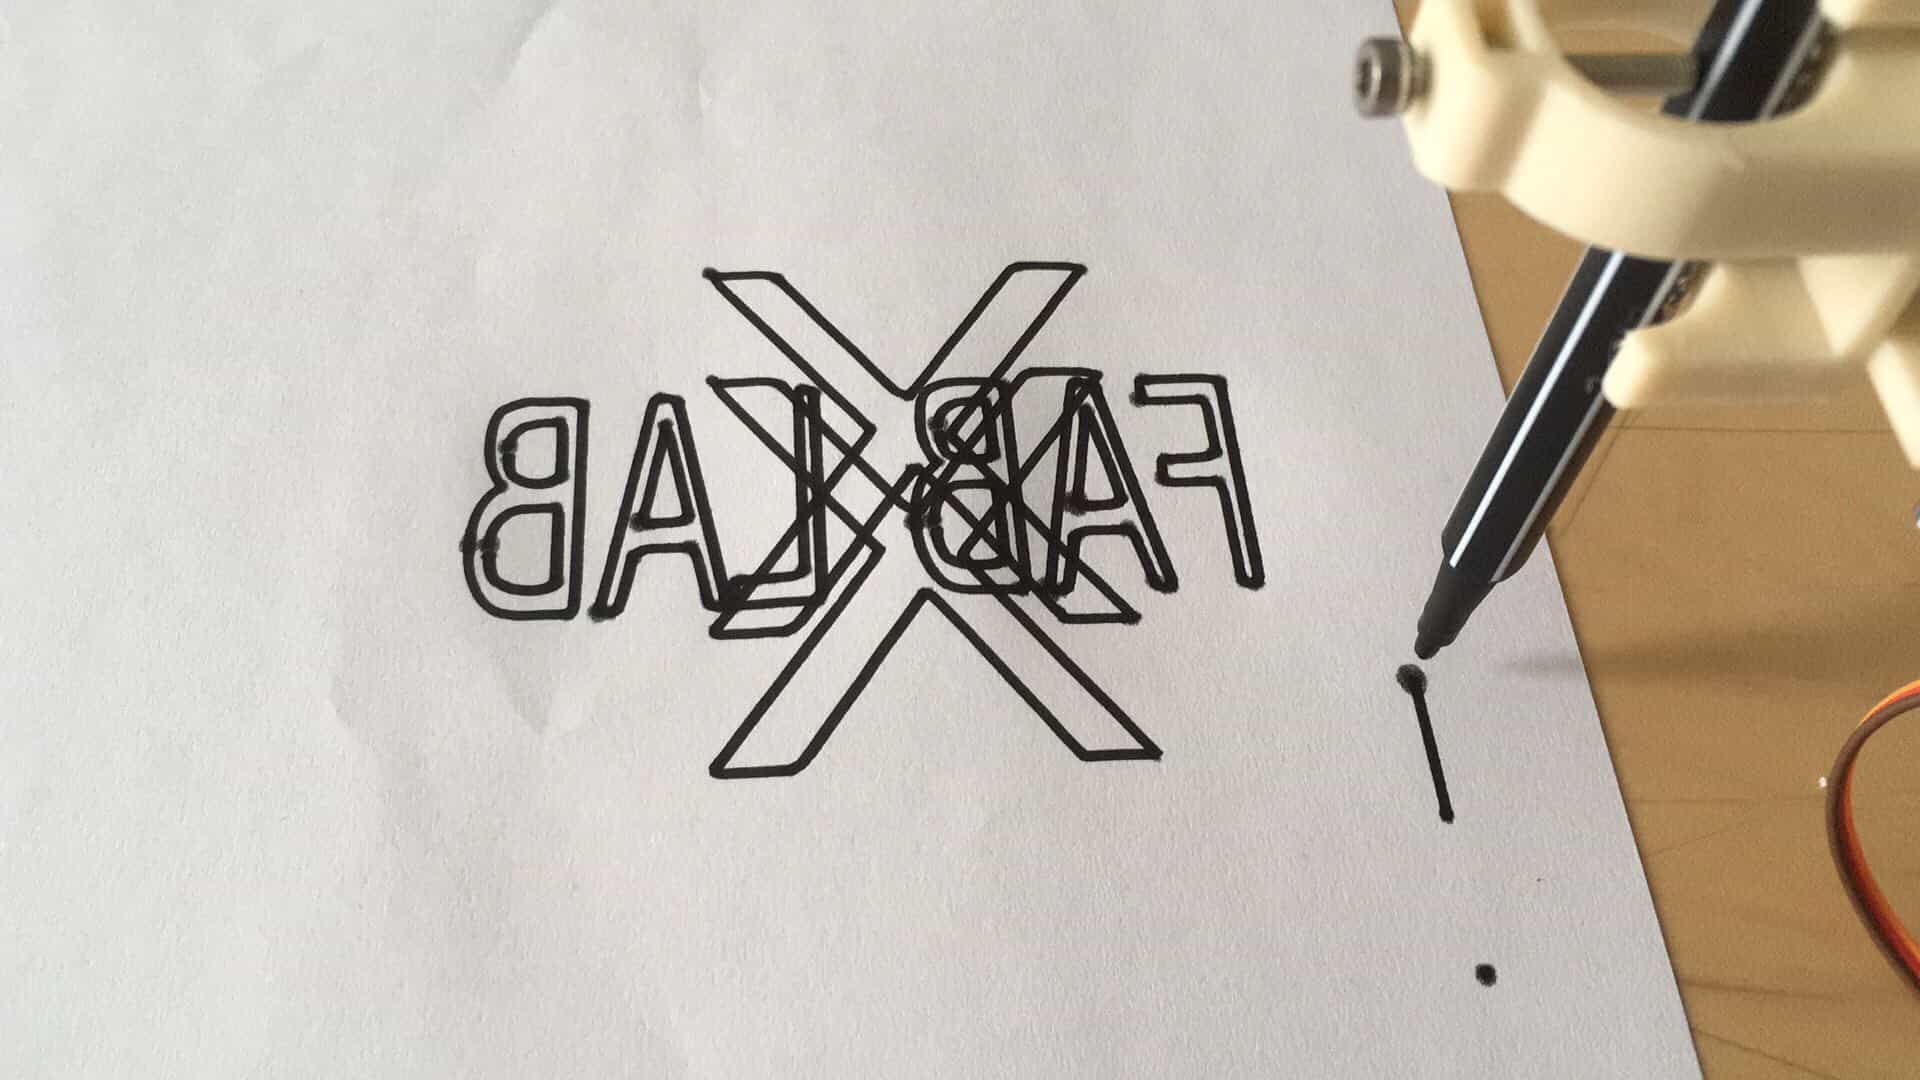
Debug: We got mirror image when testing it. After a while , we figure out that we connected the wires of the step motor of X axle in oppisite direction.

This work is licensed under a Creative Commons Attribution-NonCommercial 4.0 International License.