Moulding and casting is widely used in any industrial production. Curretnly, people use compuer to design the parts and molds and use computer controlled machines to produce them.
When making the mould, we normally follow three steps:
First, make the mould of your mould;
Second, make the mould of your part;
Third, pour the material in the mould to make your ultimate part.
DESIGNING THE MOULD AND PART
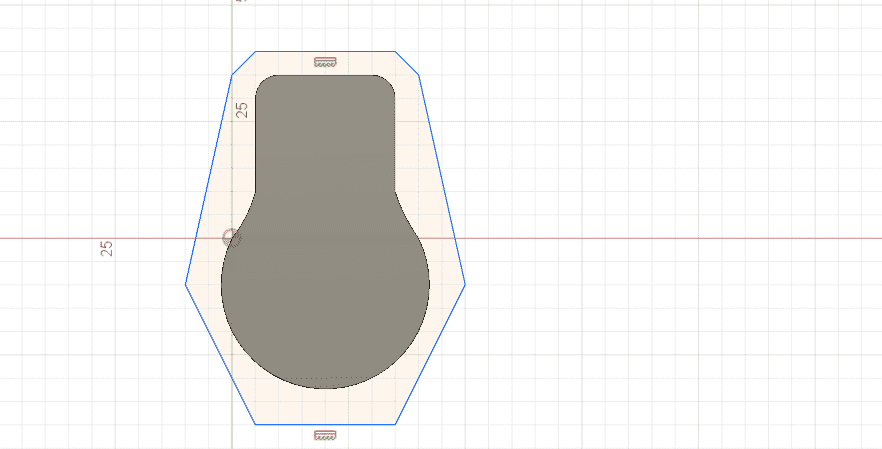
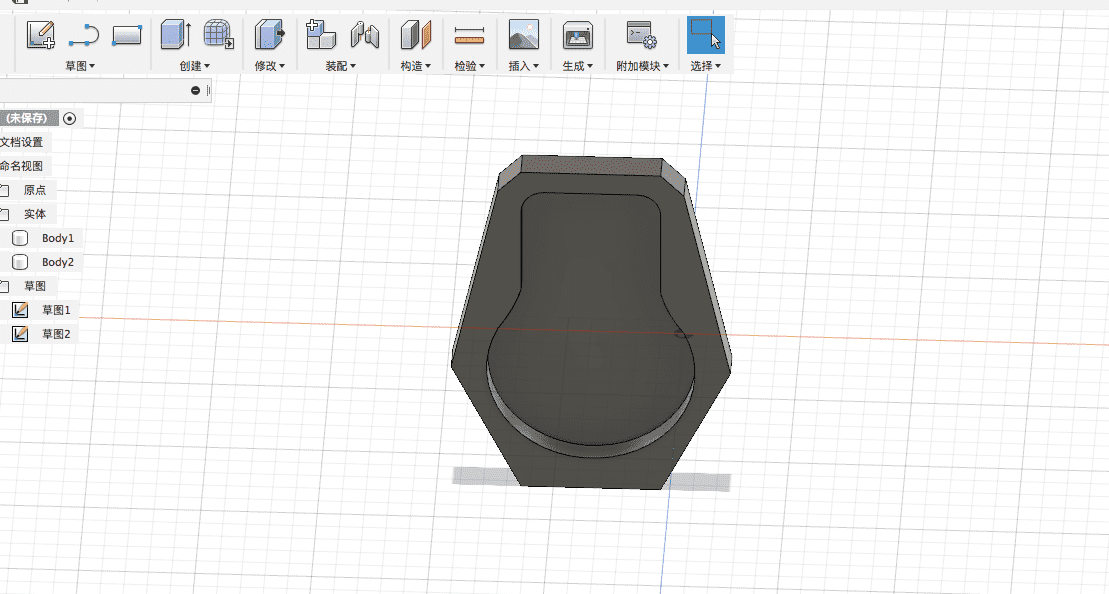
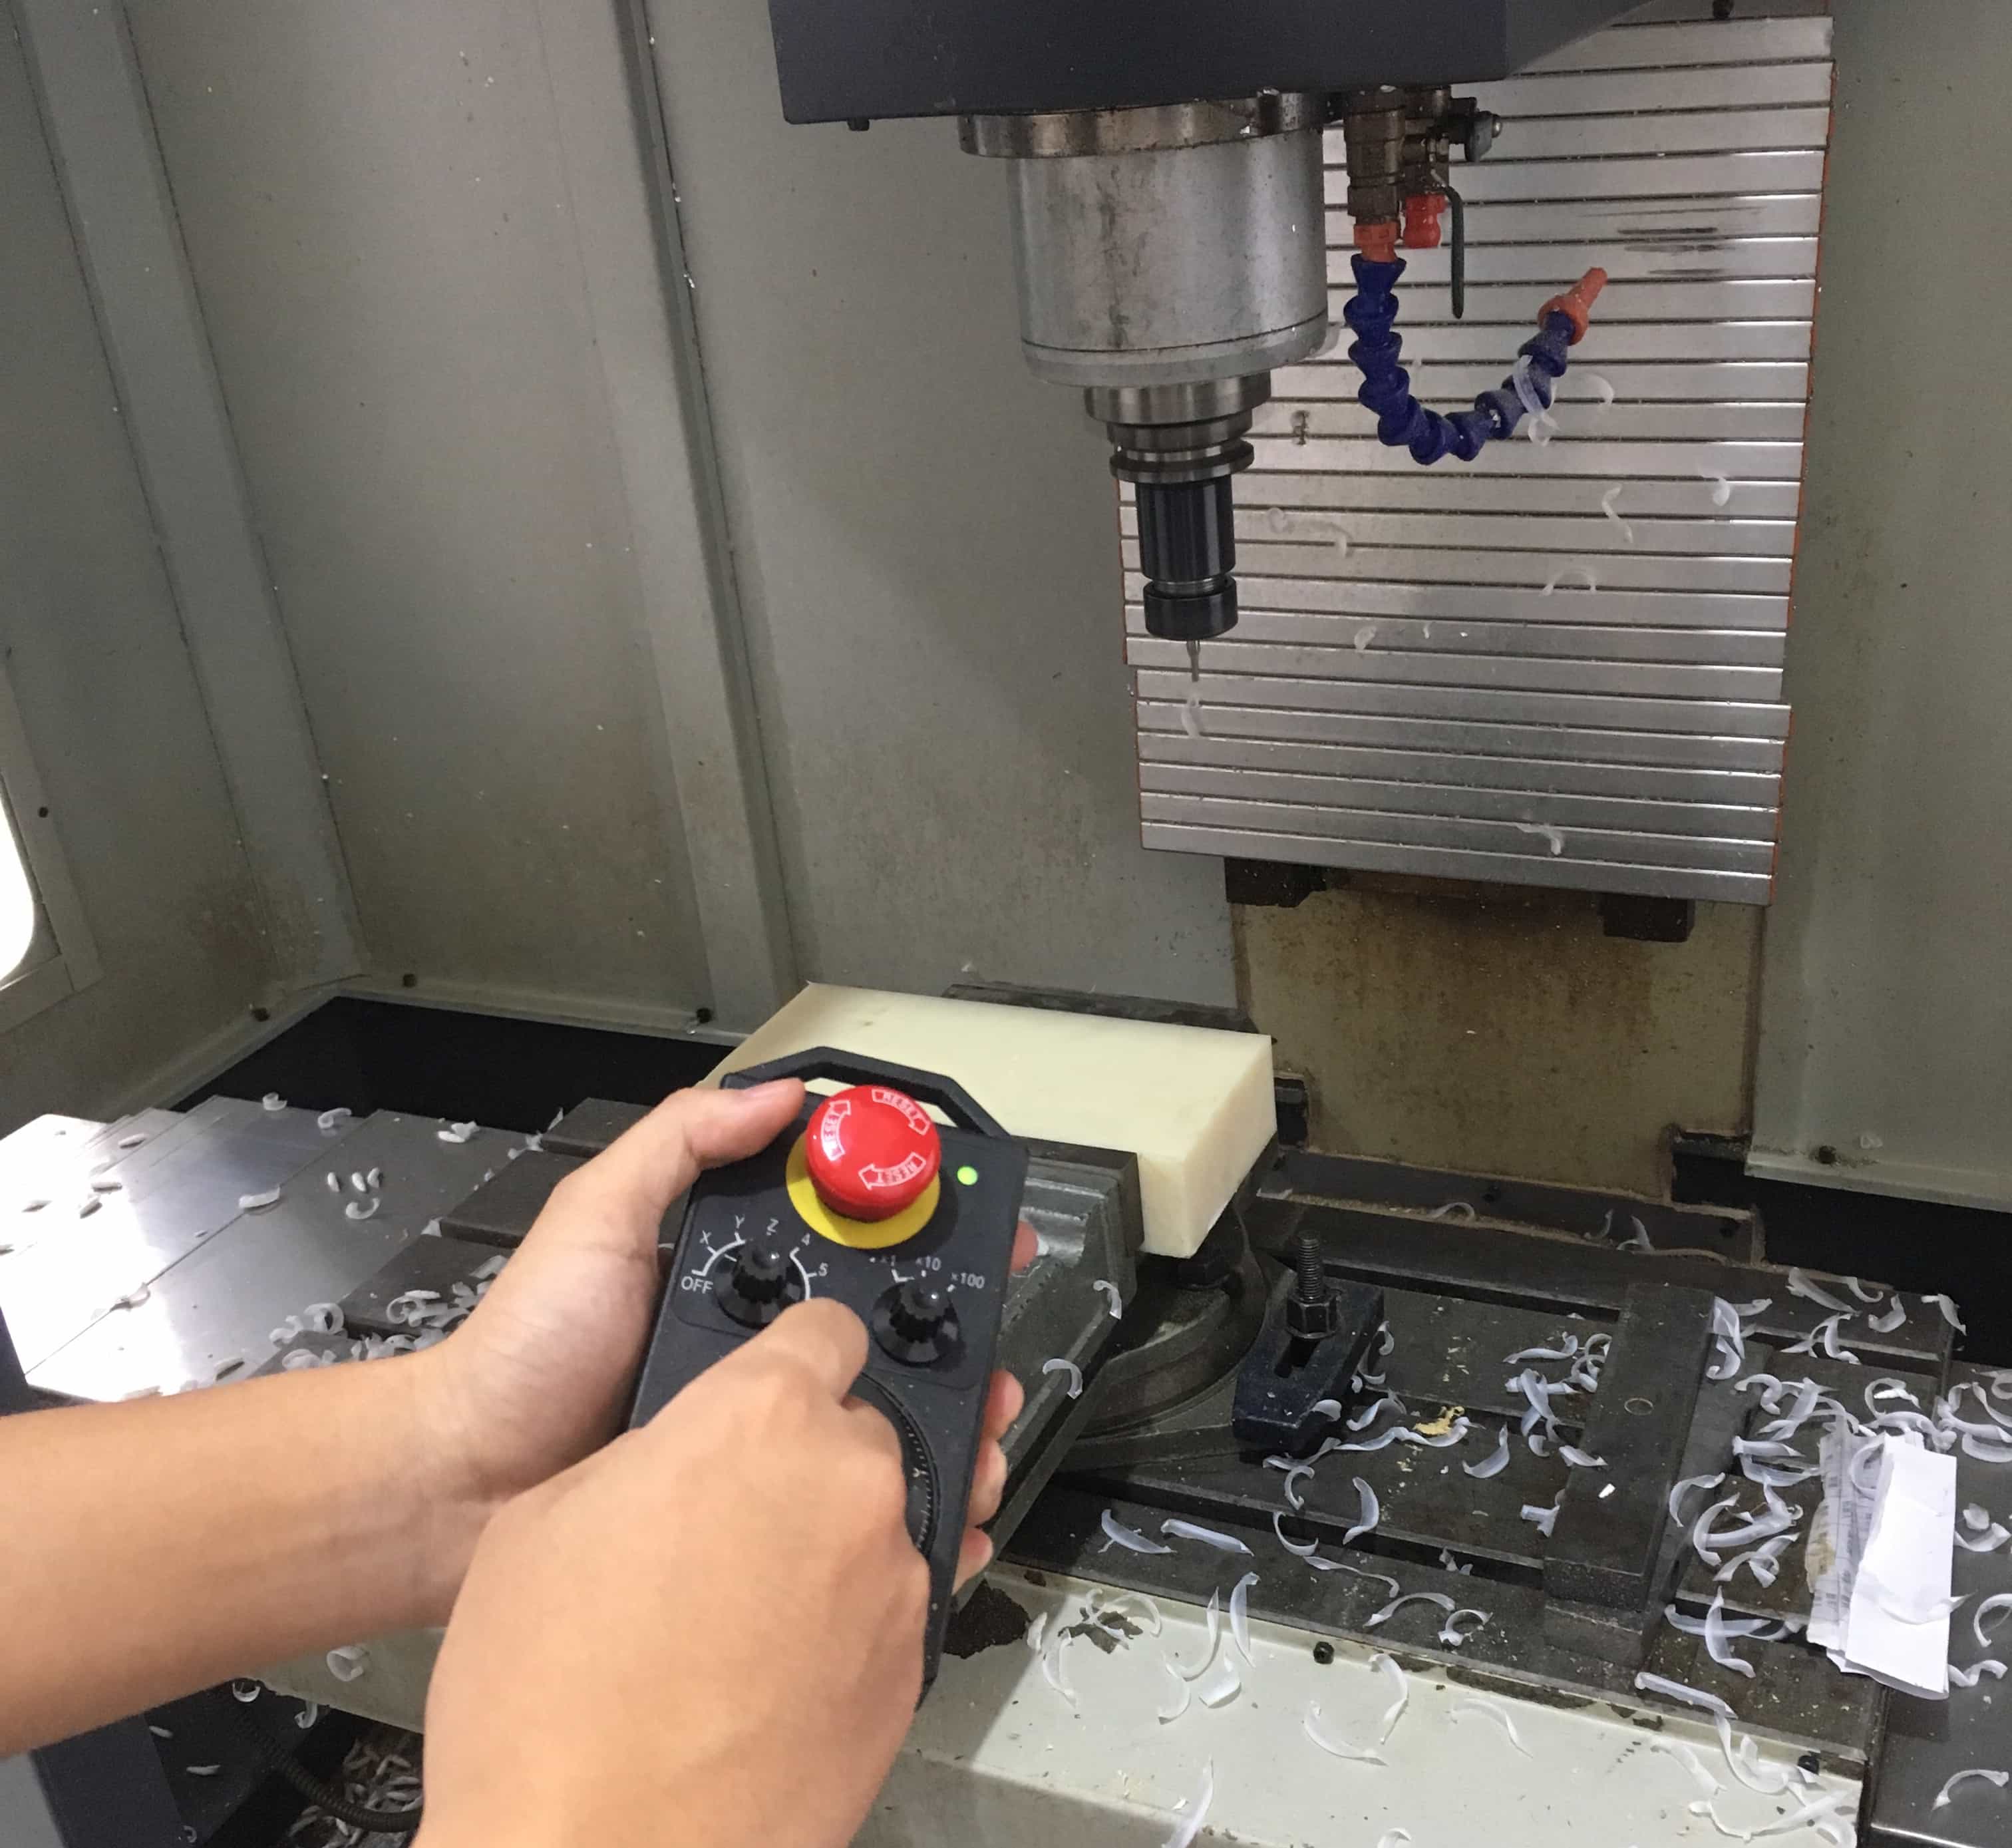
Because our lab in Chnegdu does not have a desktop milling machine like Roland Machines, I used the industrial milling machine in the engineering department od SWJTU (They are often used to mill aluminum). Since the tools for that machine was very shallow and rough (only about 12mm long and 2mm in diameter), I had to design a shallow and curvacious model so that I can be successfully milled by that big machine (2mm diameter means that it cannot mill the sharp angles). So I designed a two dimentional lightbulb figure. Then I use Fusion 360 to design the silicon mould and the ABS outter mould.
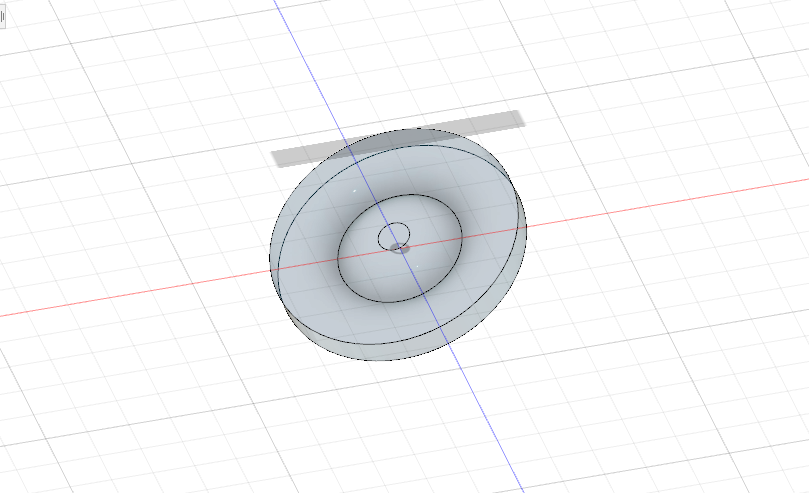 |
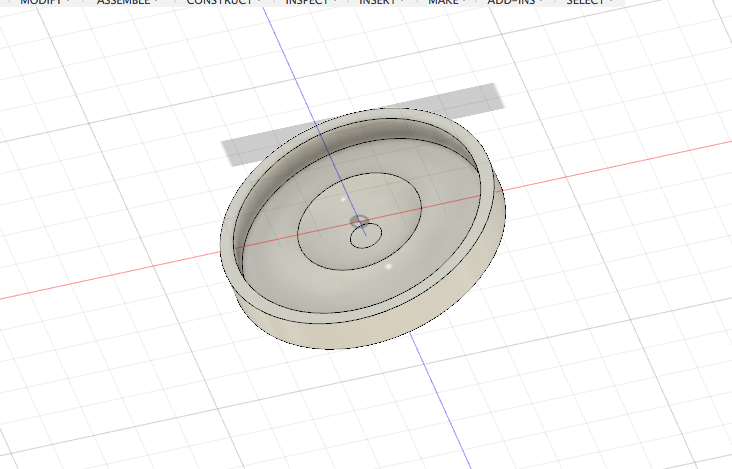 |
 |
| Final Piece | Silicone Mould | ABS Mould |
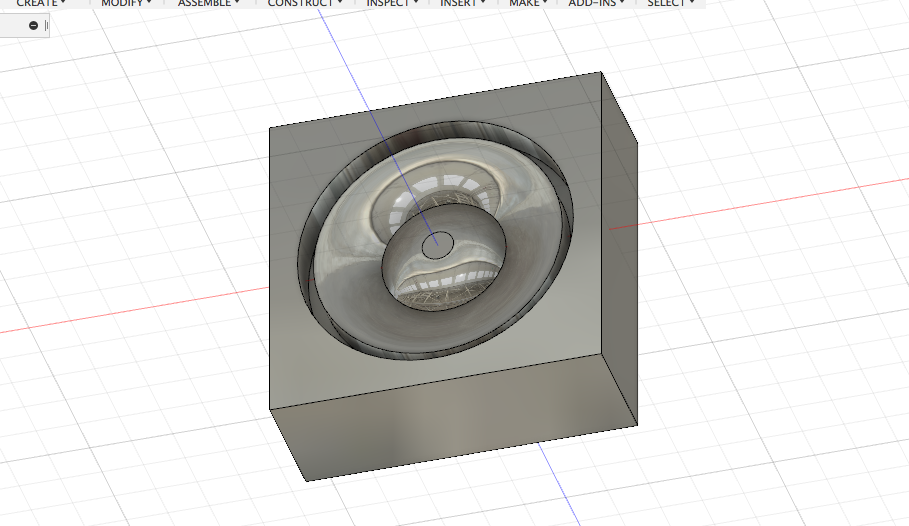
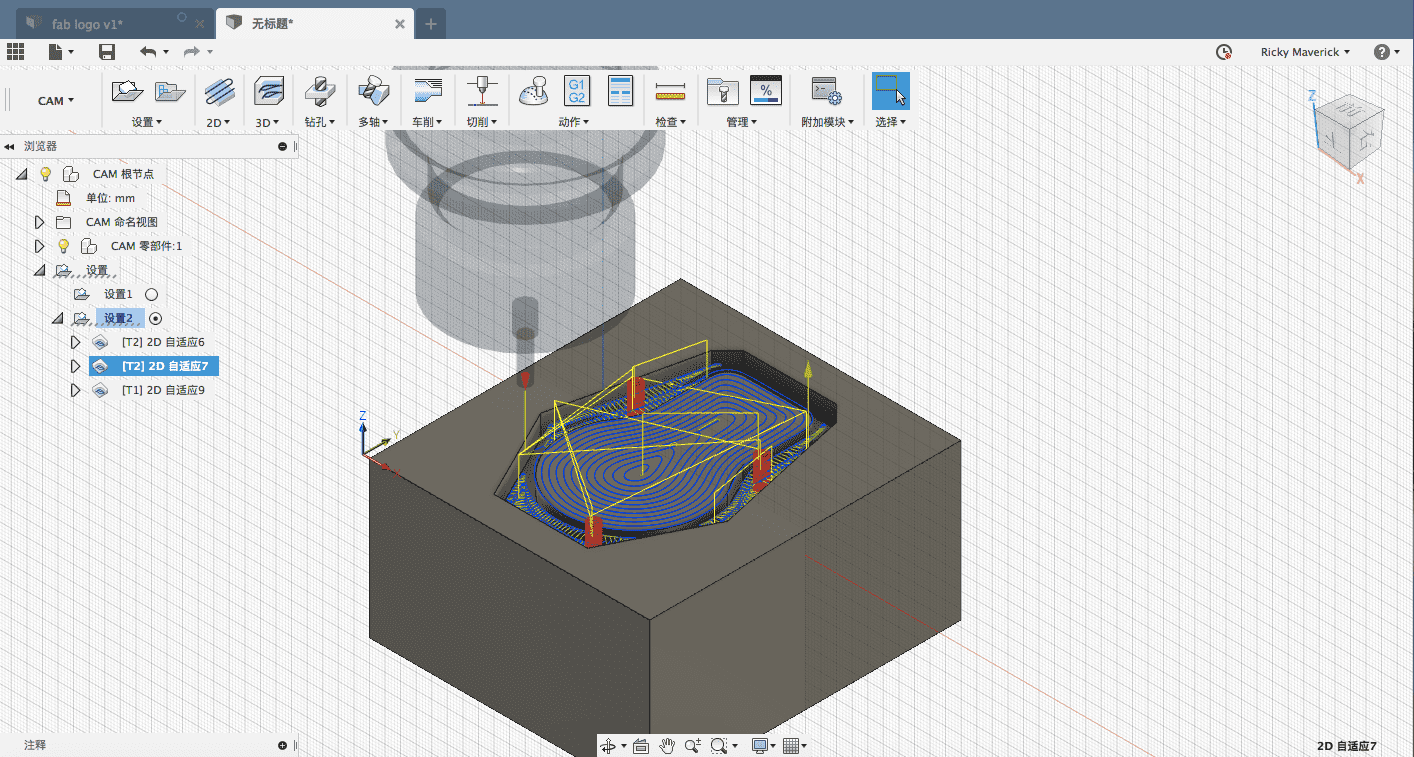
The simulation of this mould with curve surfaces. Two process are chained: Scallop (curving surface) with a 2mm ball end mill and Adaptive Clearing (the boundary pocket) with a 2mm flat end mill.
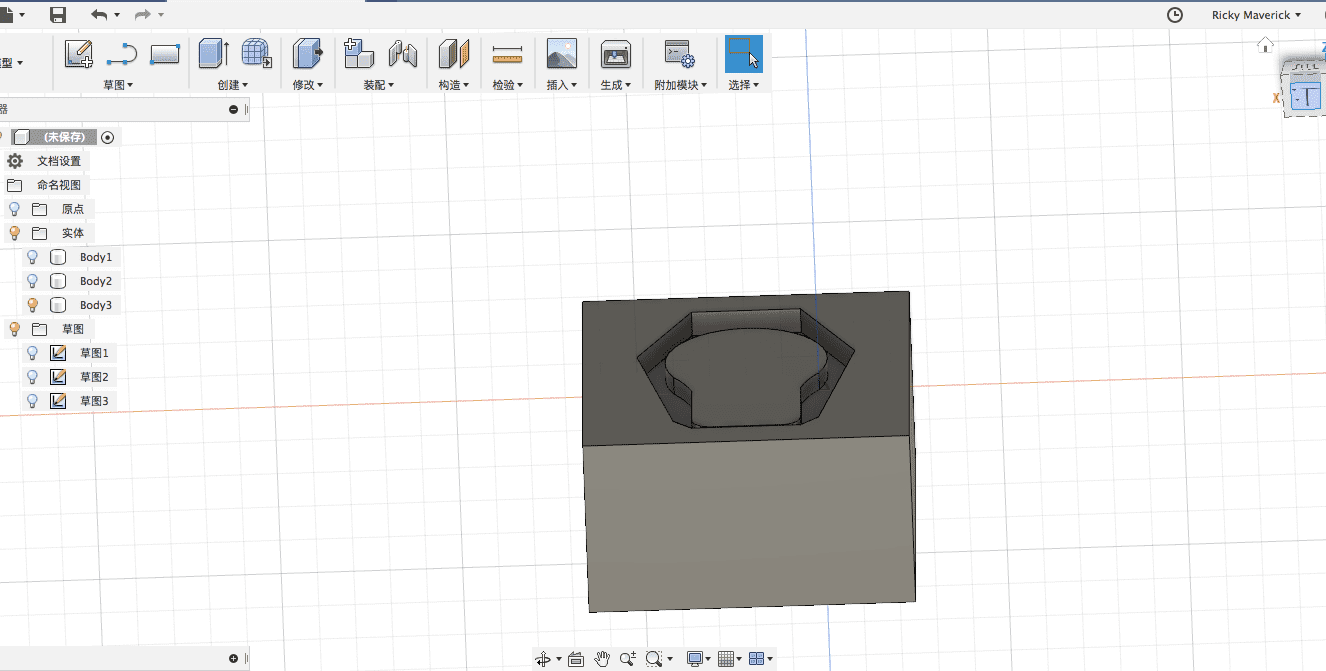
It is easy to cut the shape of your parts out of the mould. First, when you design the mould, place it at where the part is placed. Do not combine or cut it with the part––you should just save it as a new entity. Then, click on "change" and "assemble" the part with the mould. Use the part as a "knife" to cut out a shape on the mould.
DOWNLOAD STL FILES: ABS Mould Silicone Mould Lightbulb
After designing the mould, go to "CAM" in Fusion and start calculation the route and generate gcode(.nc files). One important thing: never forget to add the information of your tool first––it matters a lot on the route!
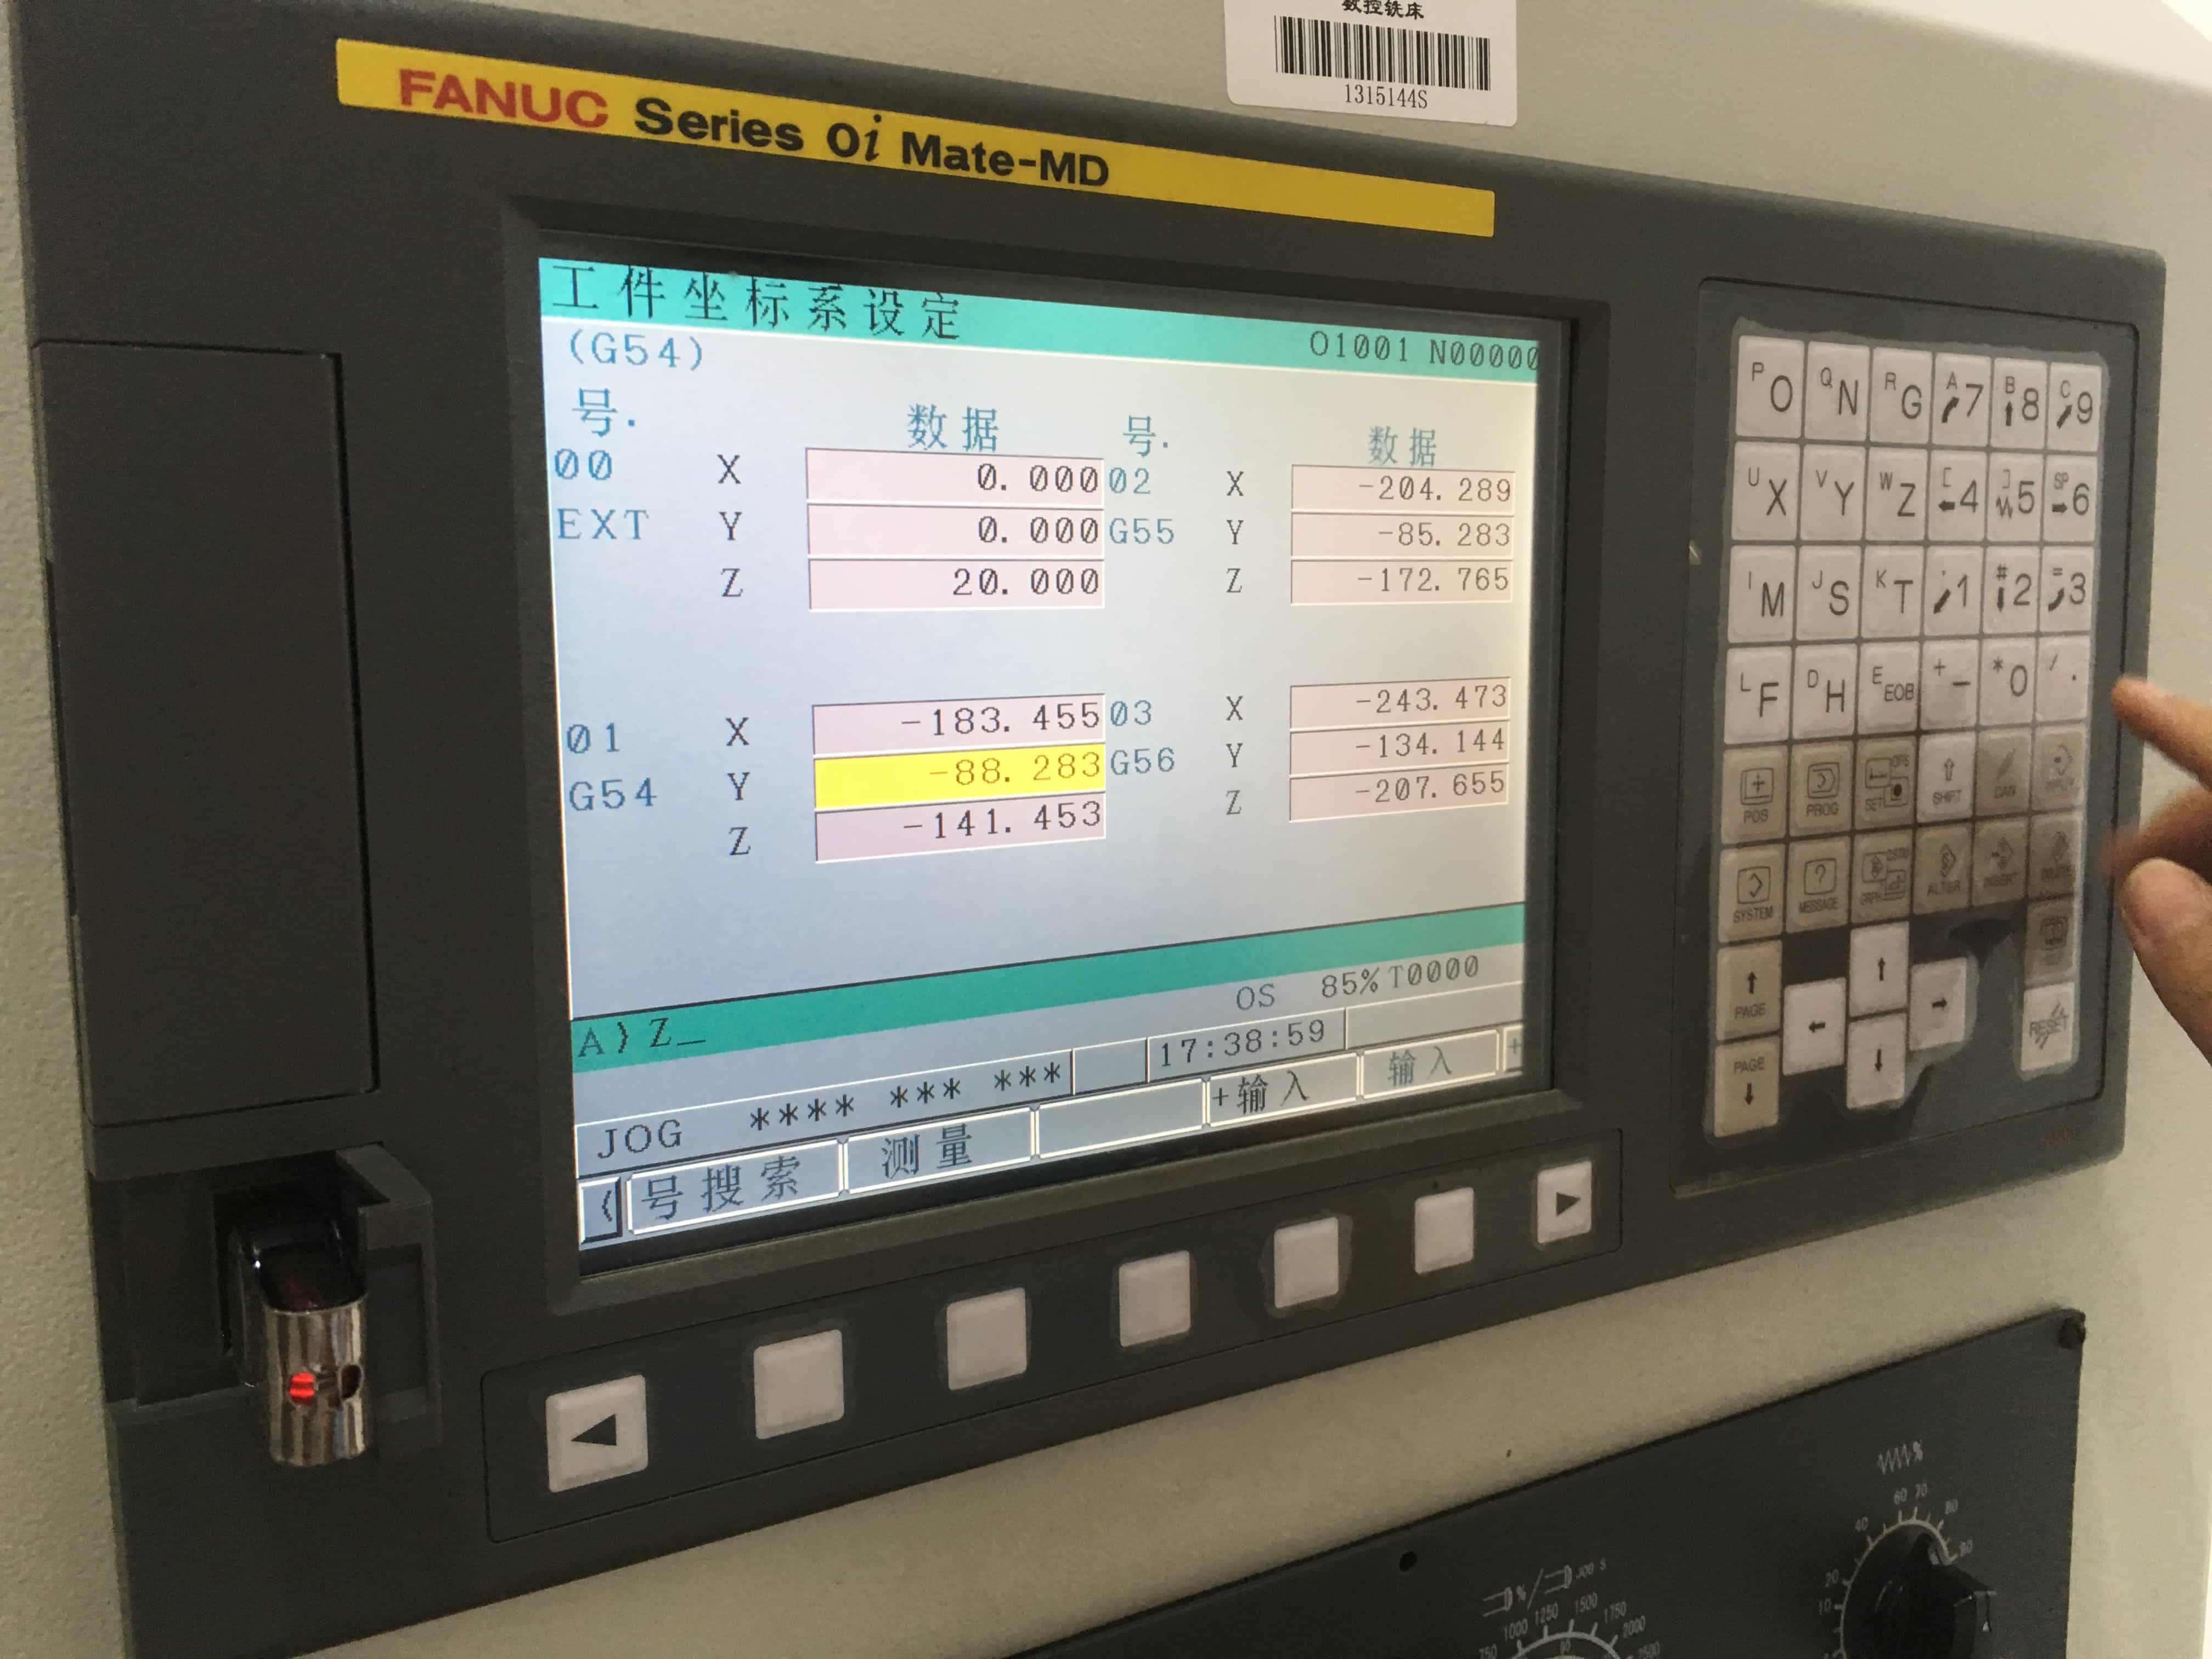
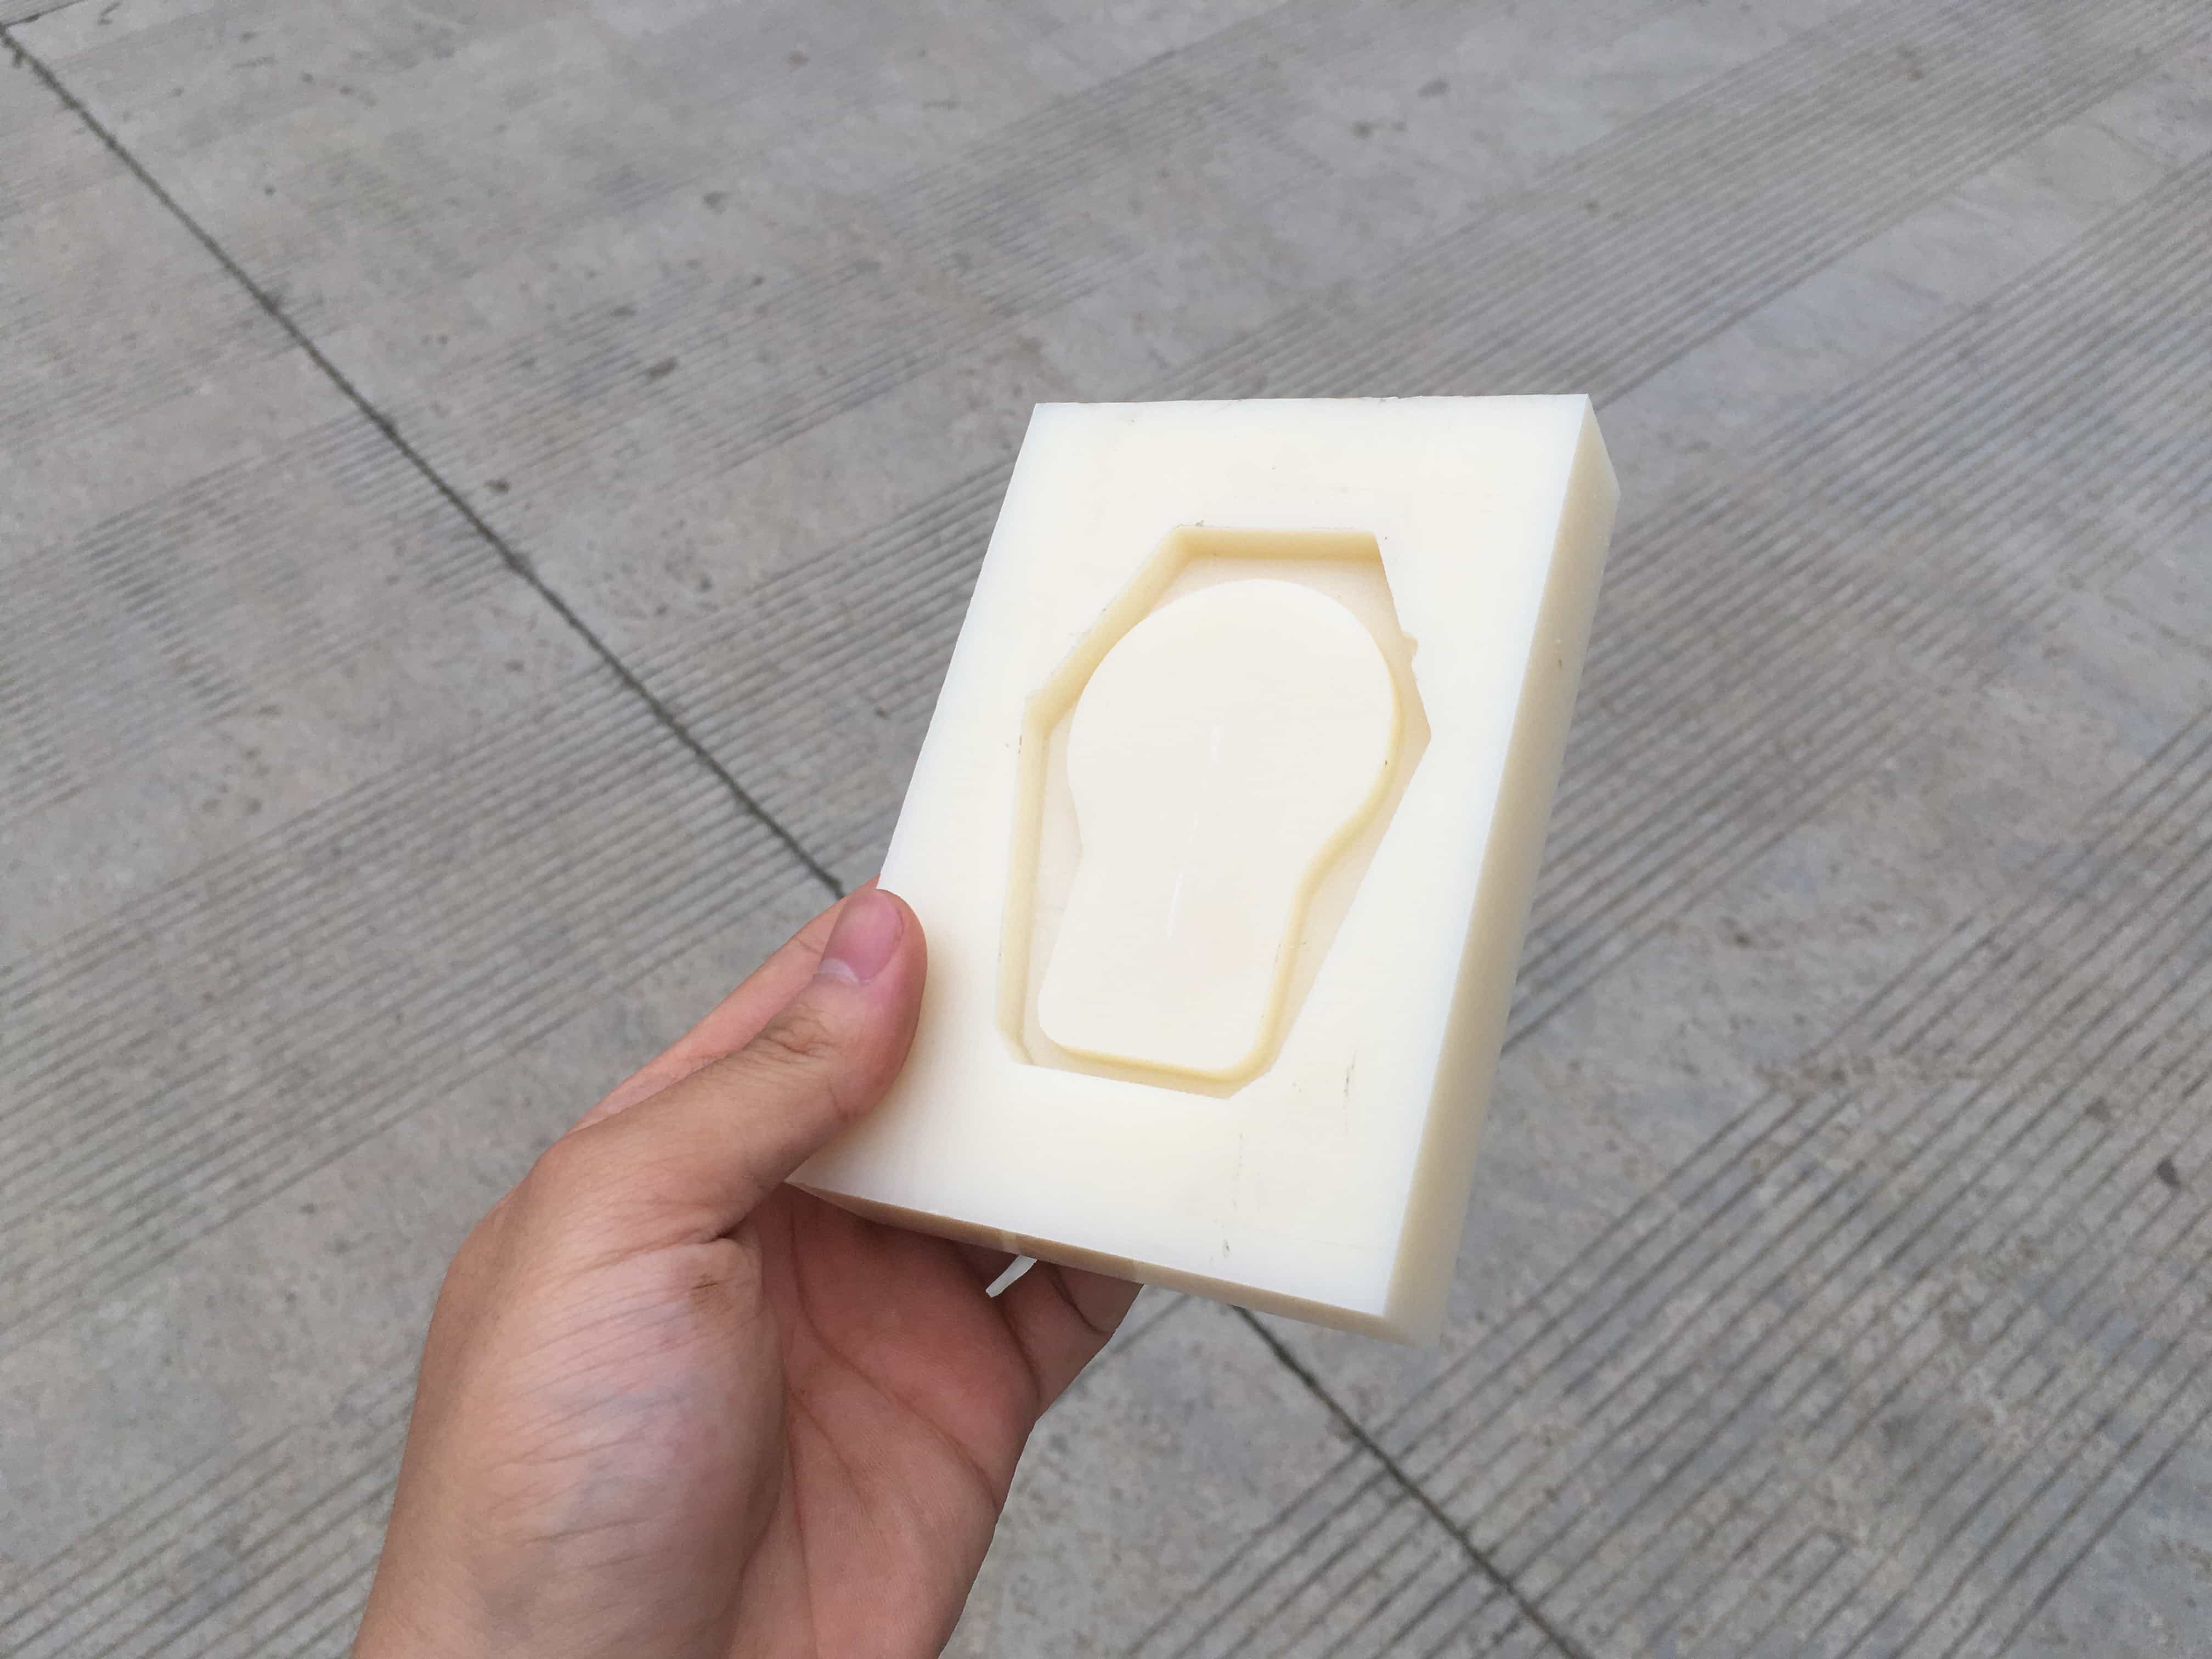
Here we got the finished ABS mould.
MOULDING
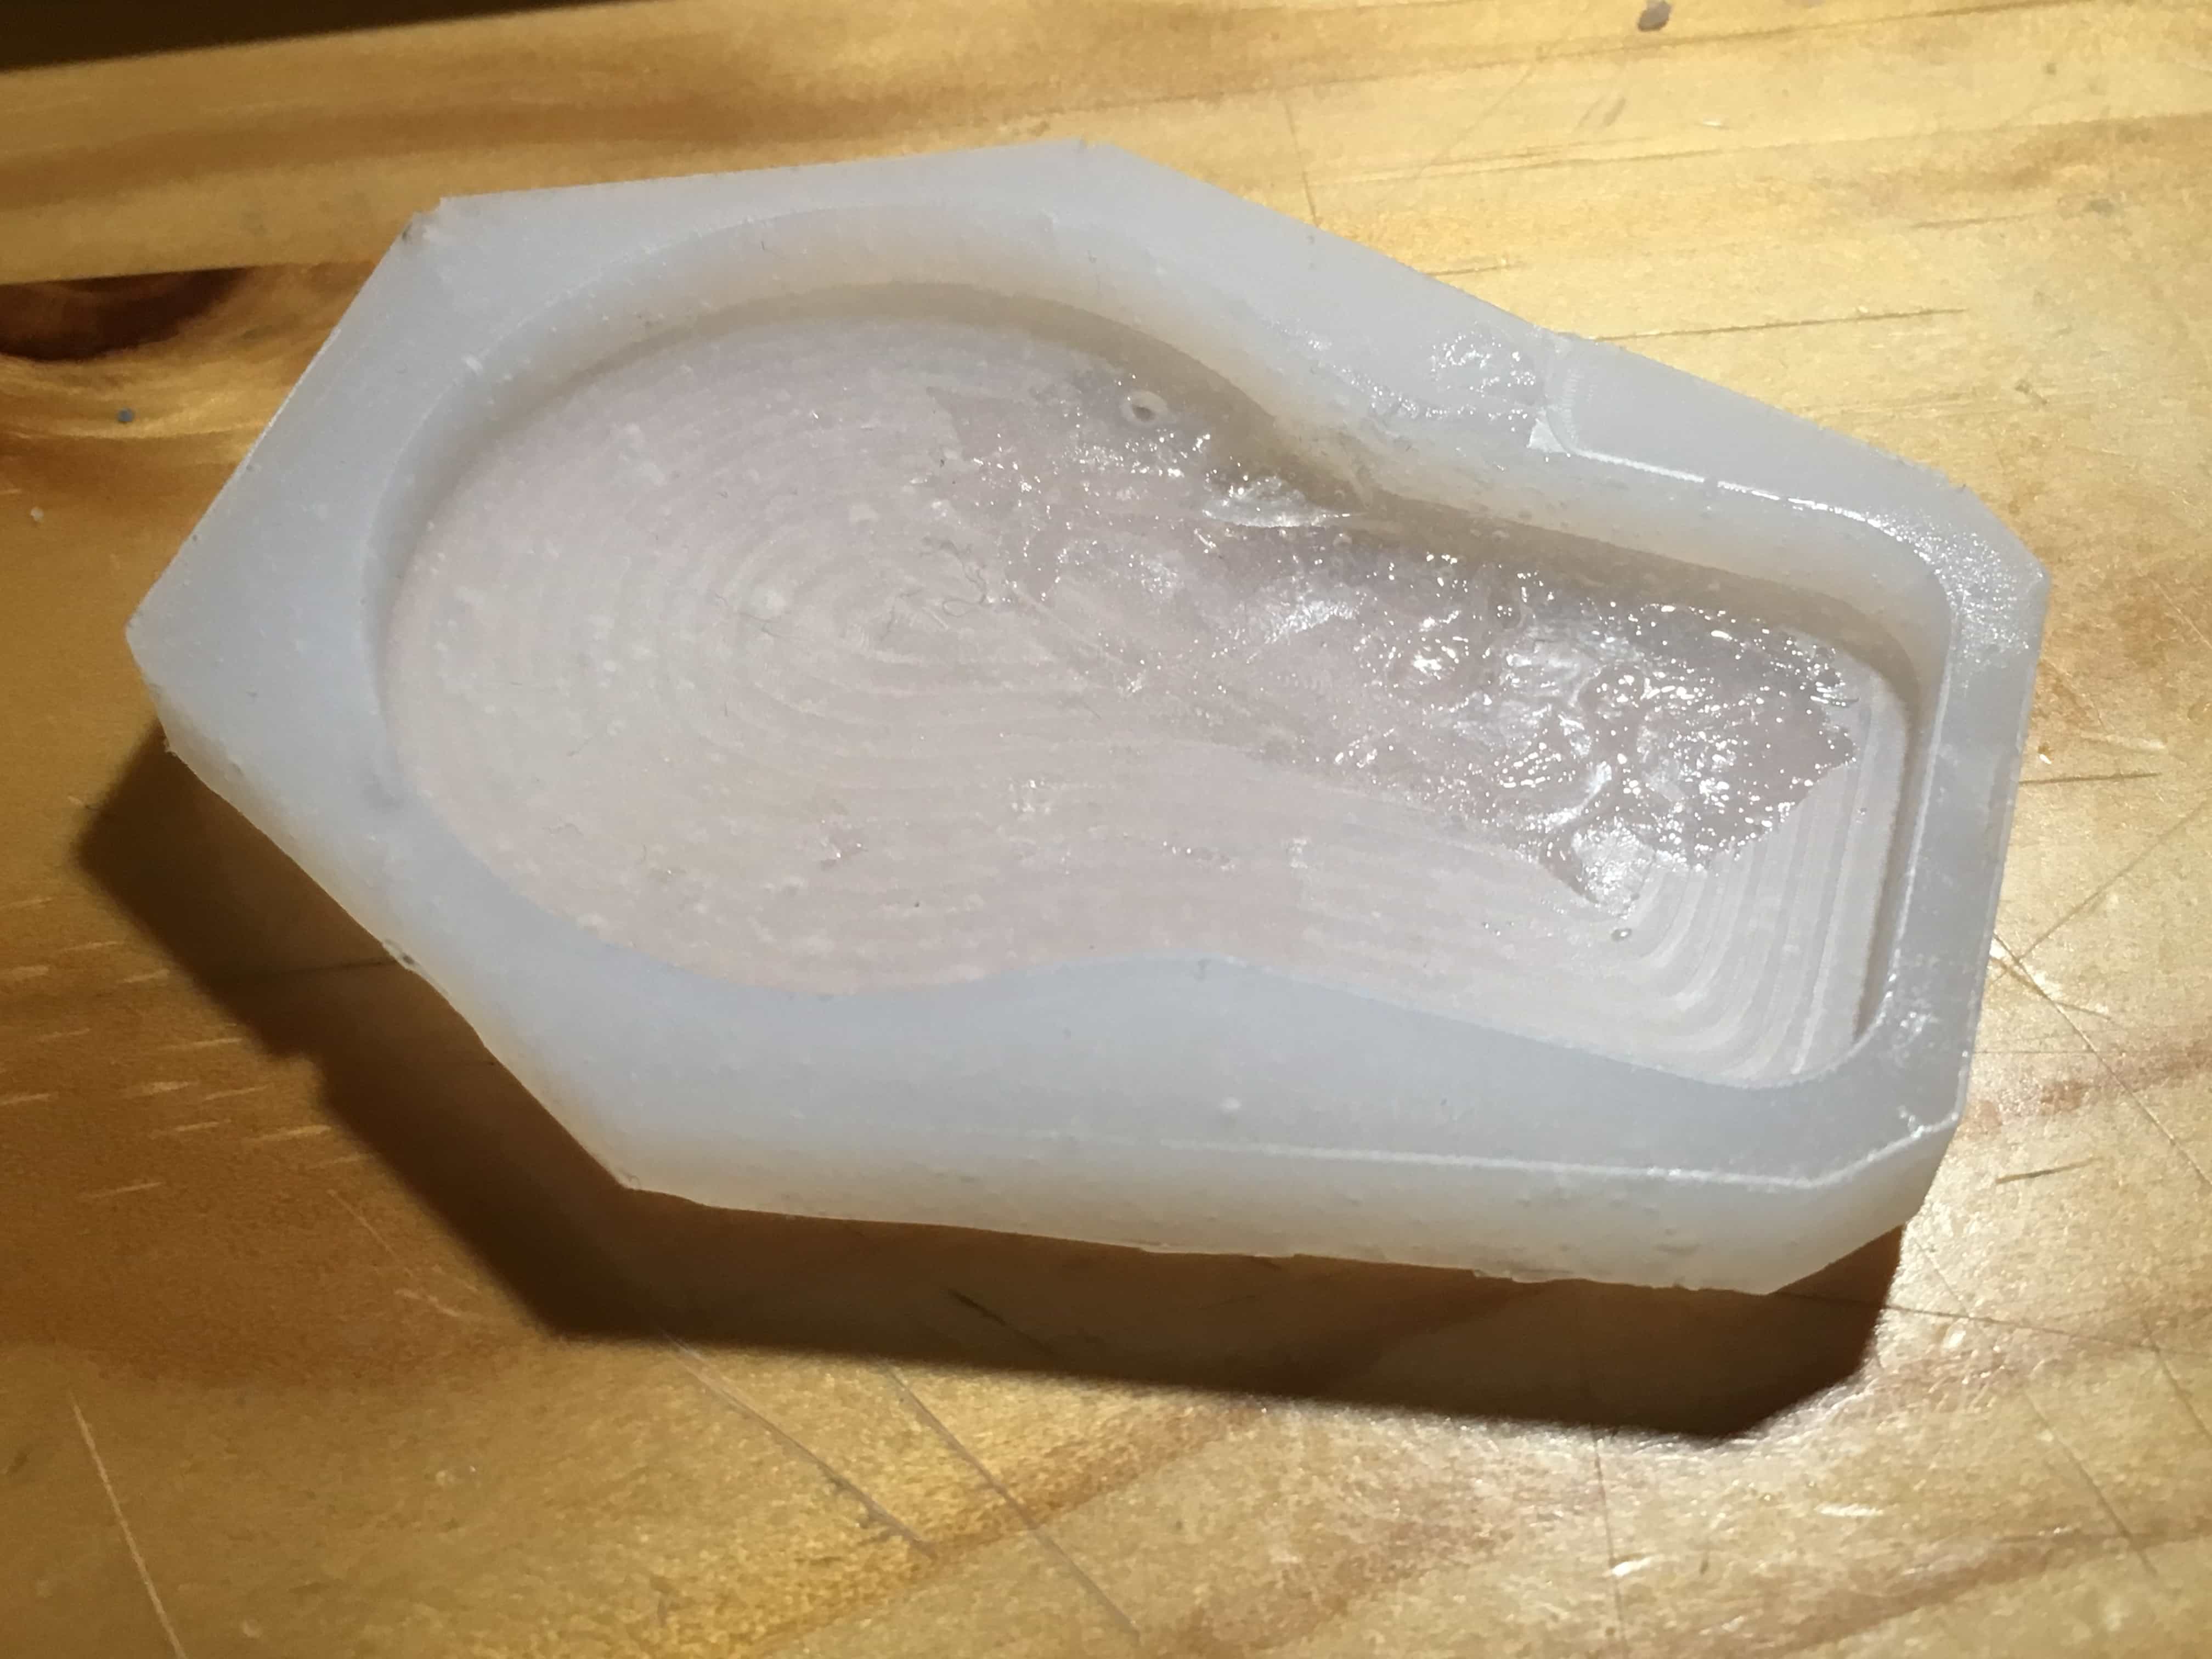
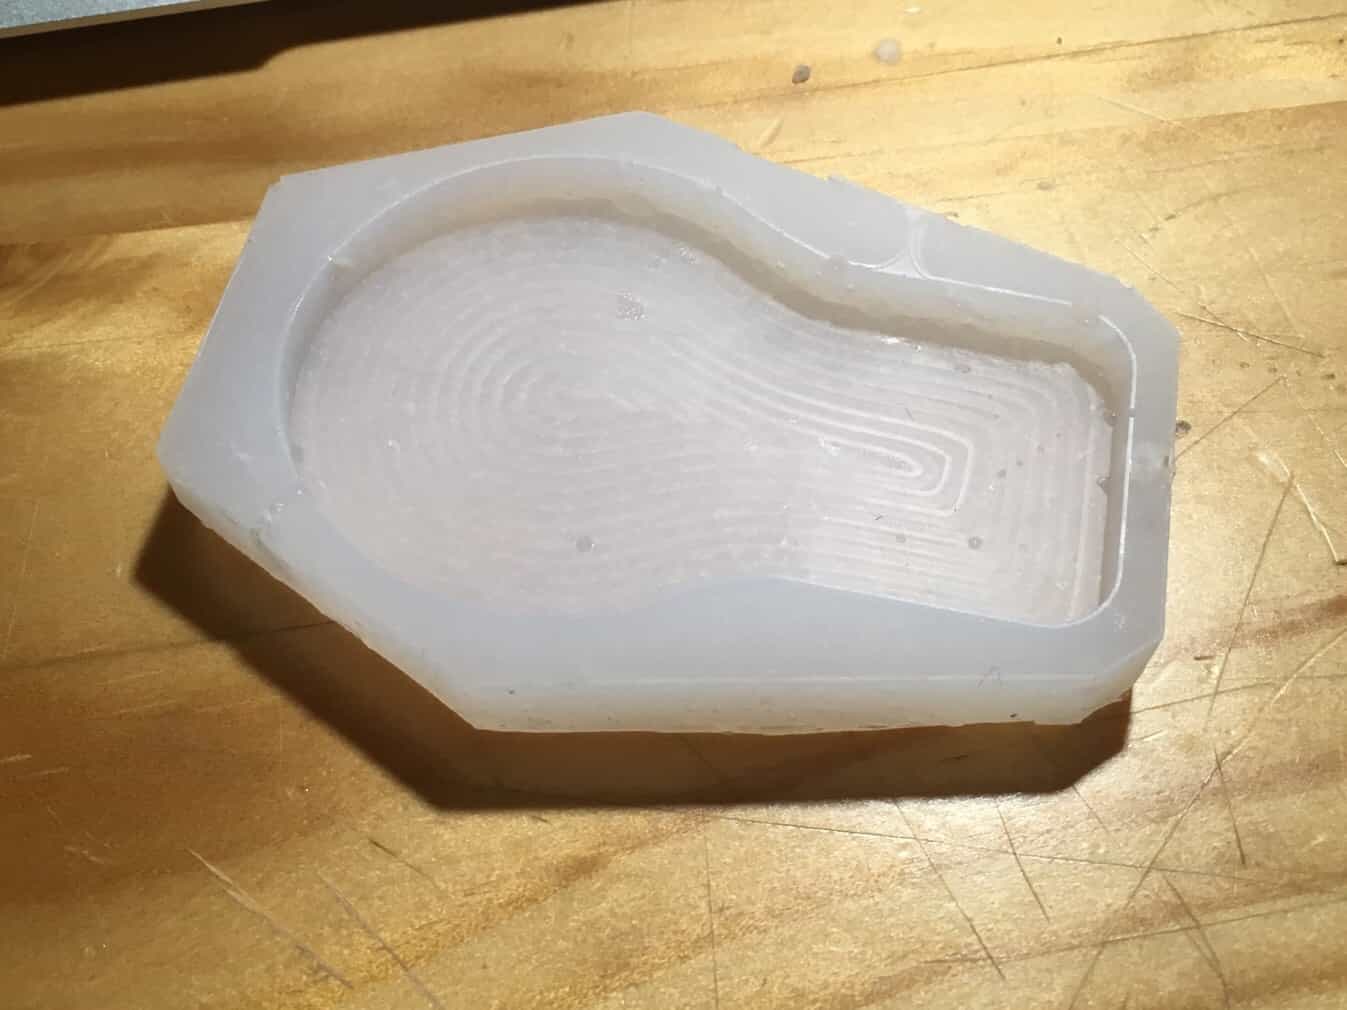
Now it is time to mould out the lightbulb. I am using epoxy to make the lightbulb image, which is not flexible. So I bought some silicone to make the soft mould out of the hard, ABS outter mould.
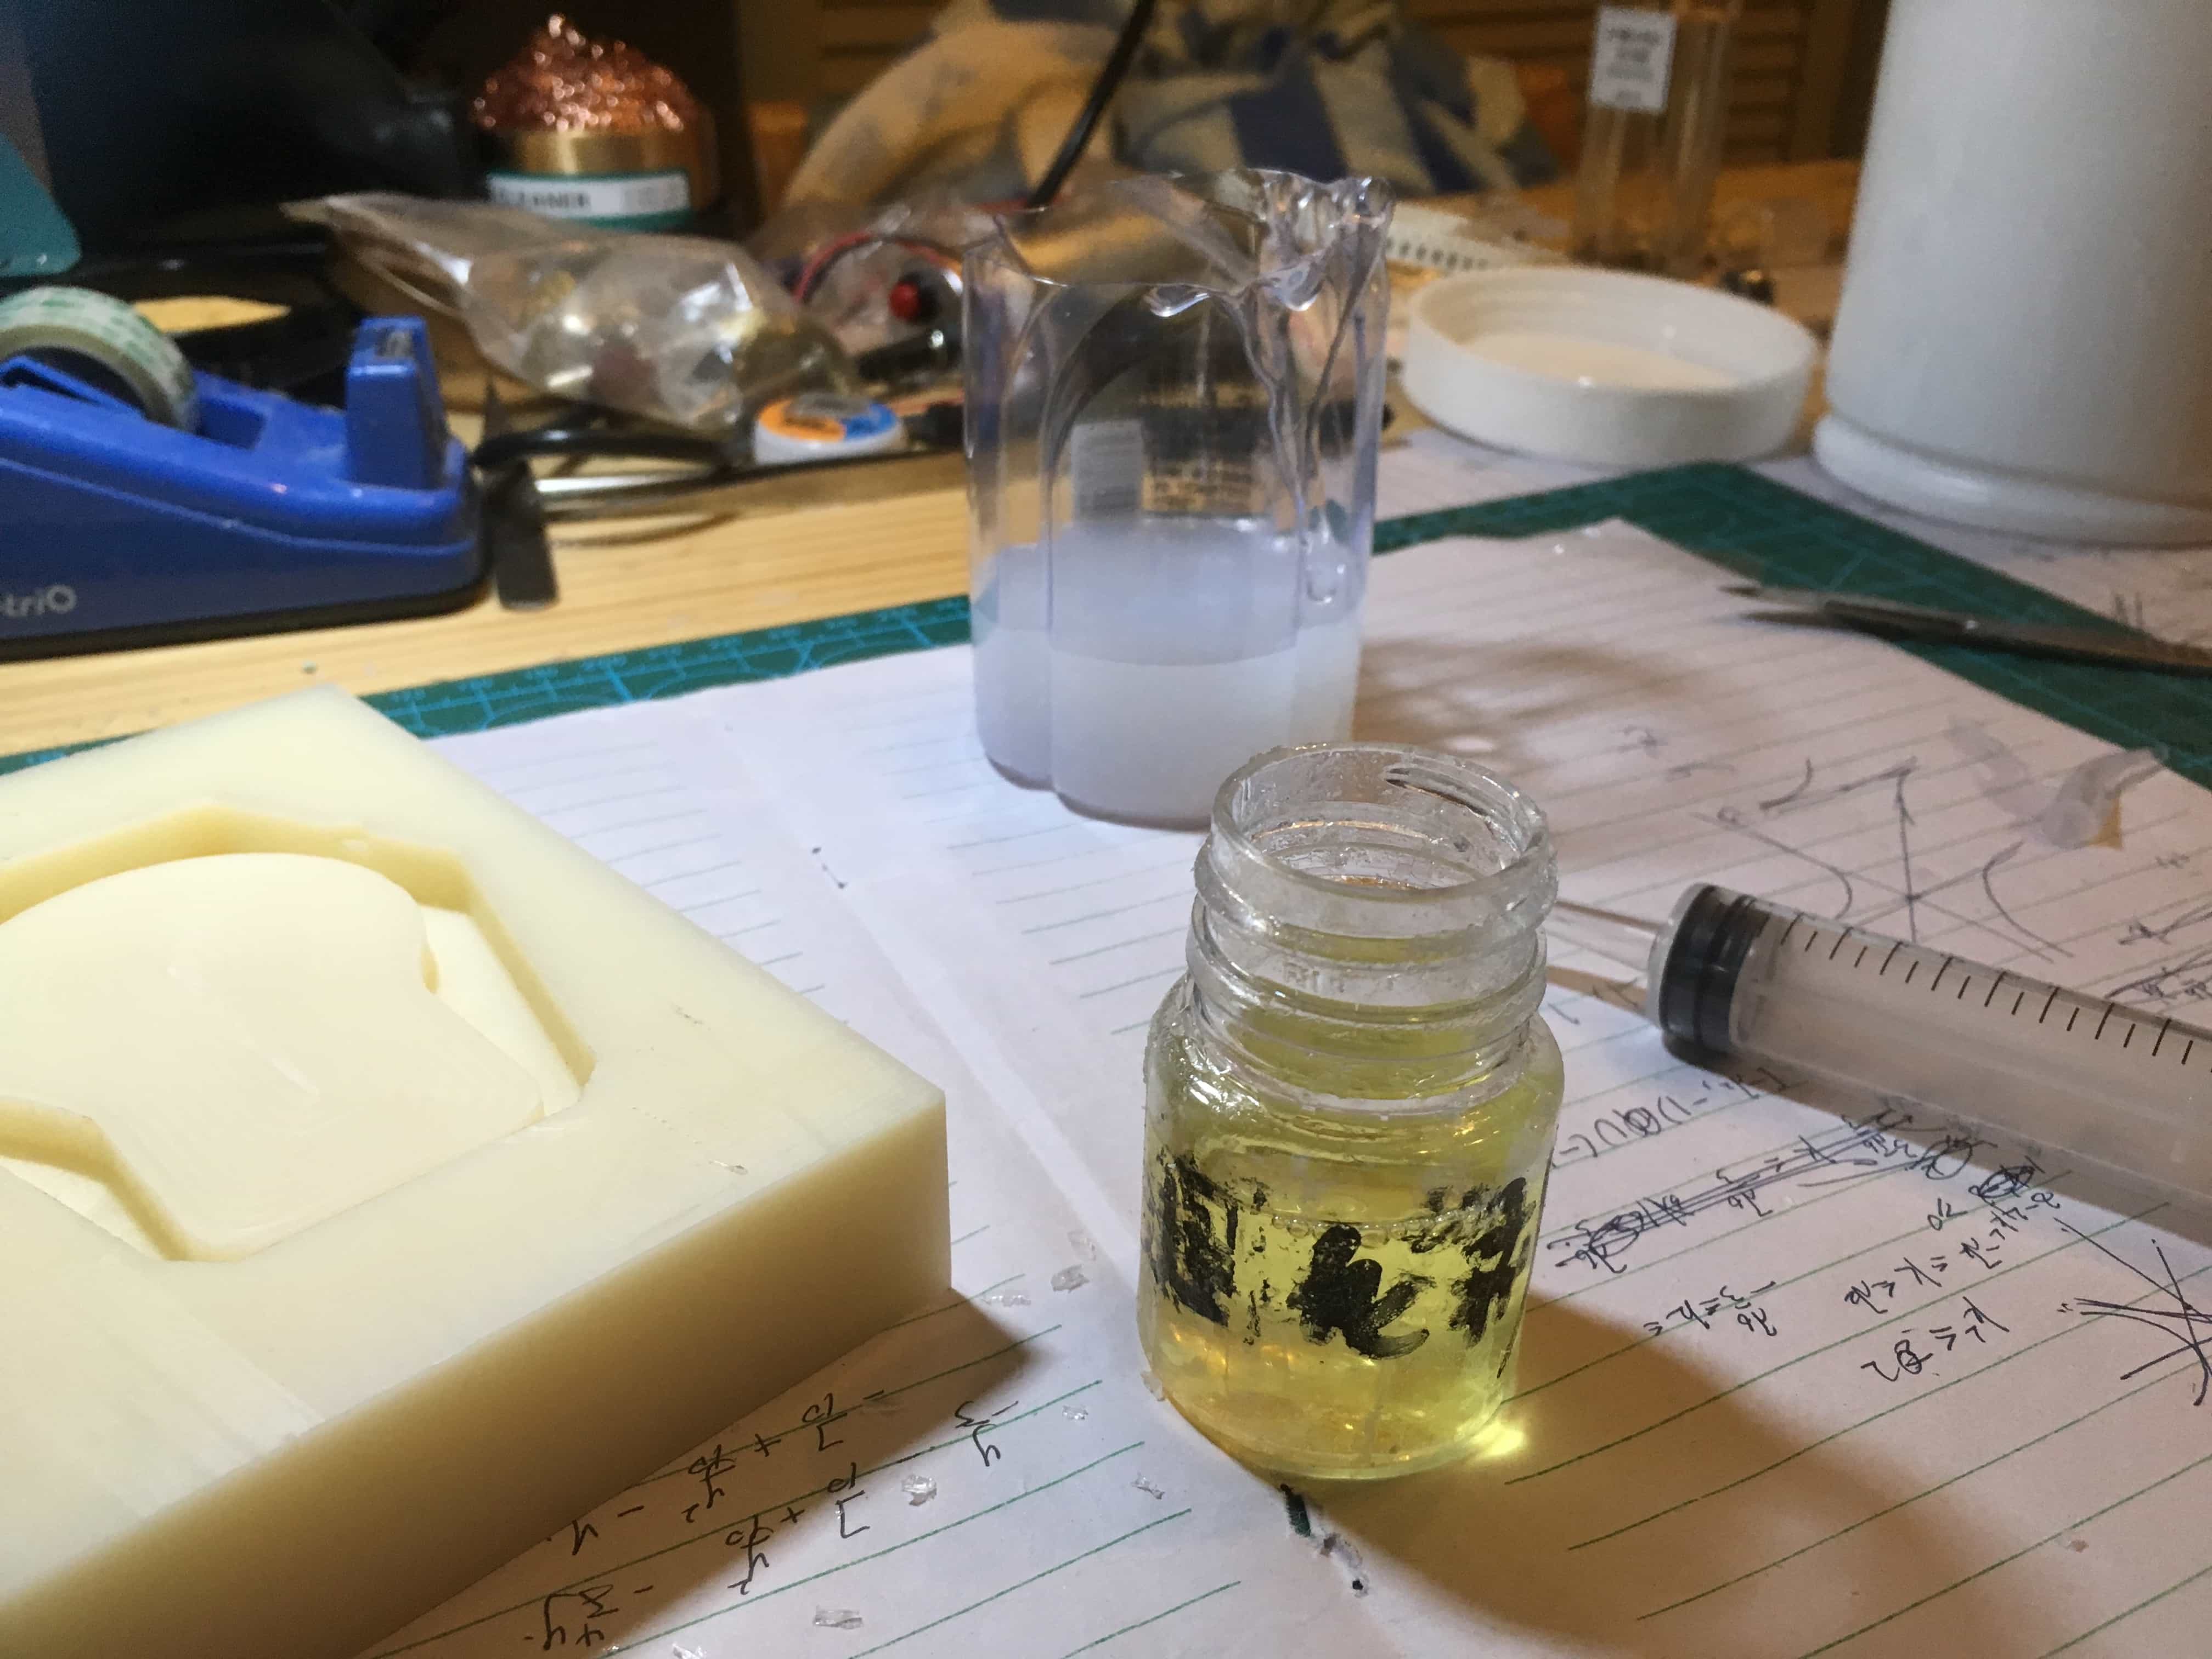
Silicone(white) and coagulator(yellow)
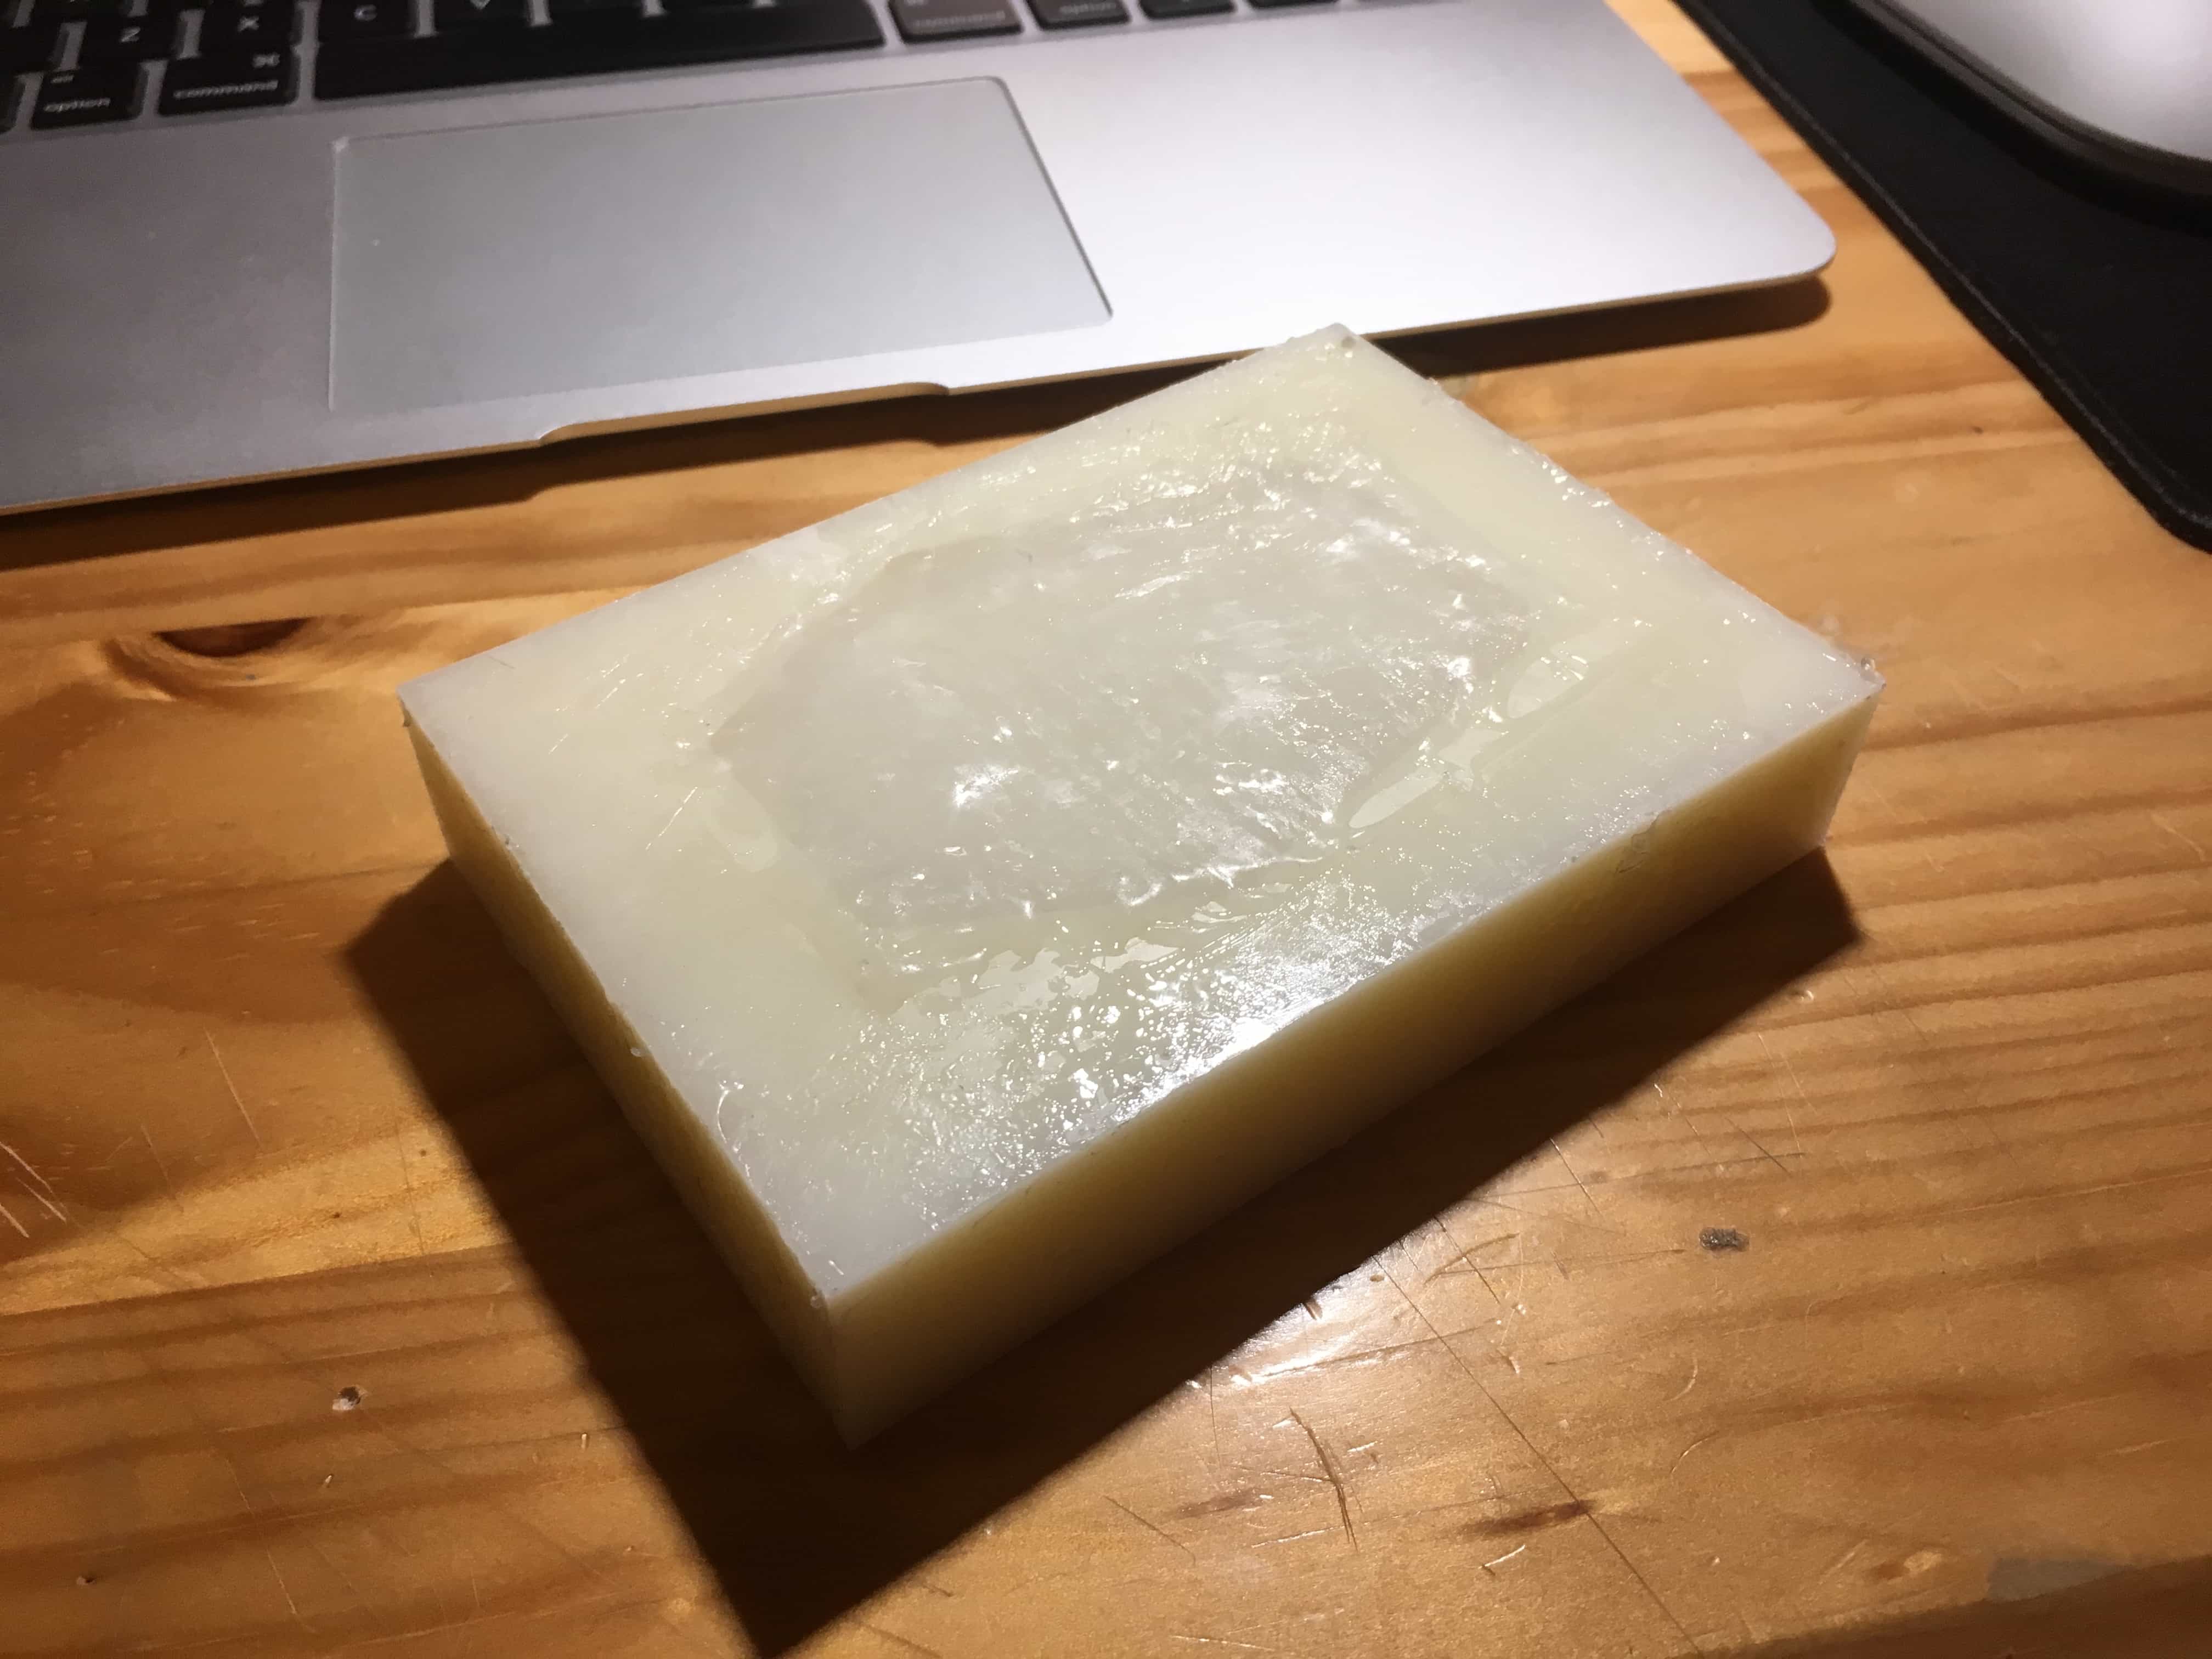
I failed for the first time because the silicone and coagulator was not completely blended together. In the next time, I used a thin metal stick to blend the Silicone and then succeeded.
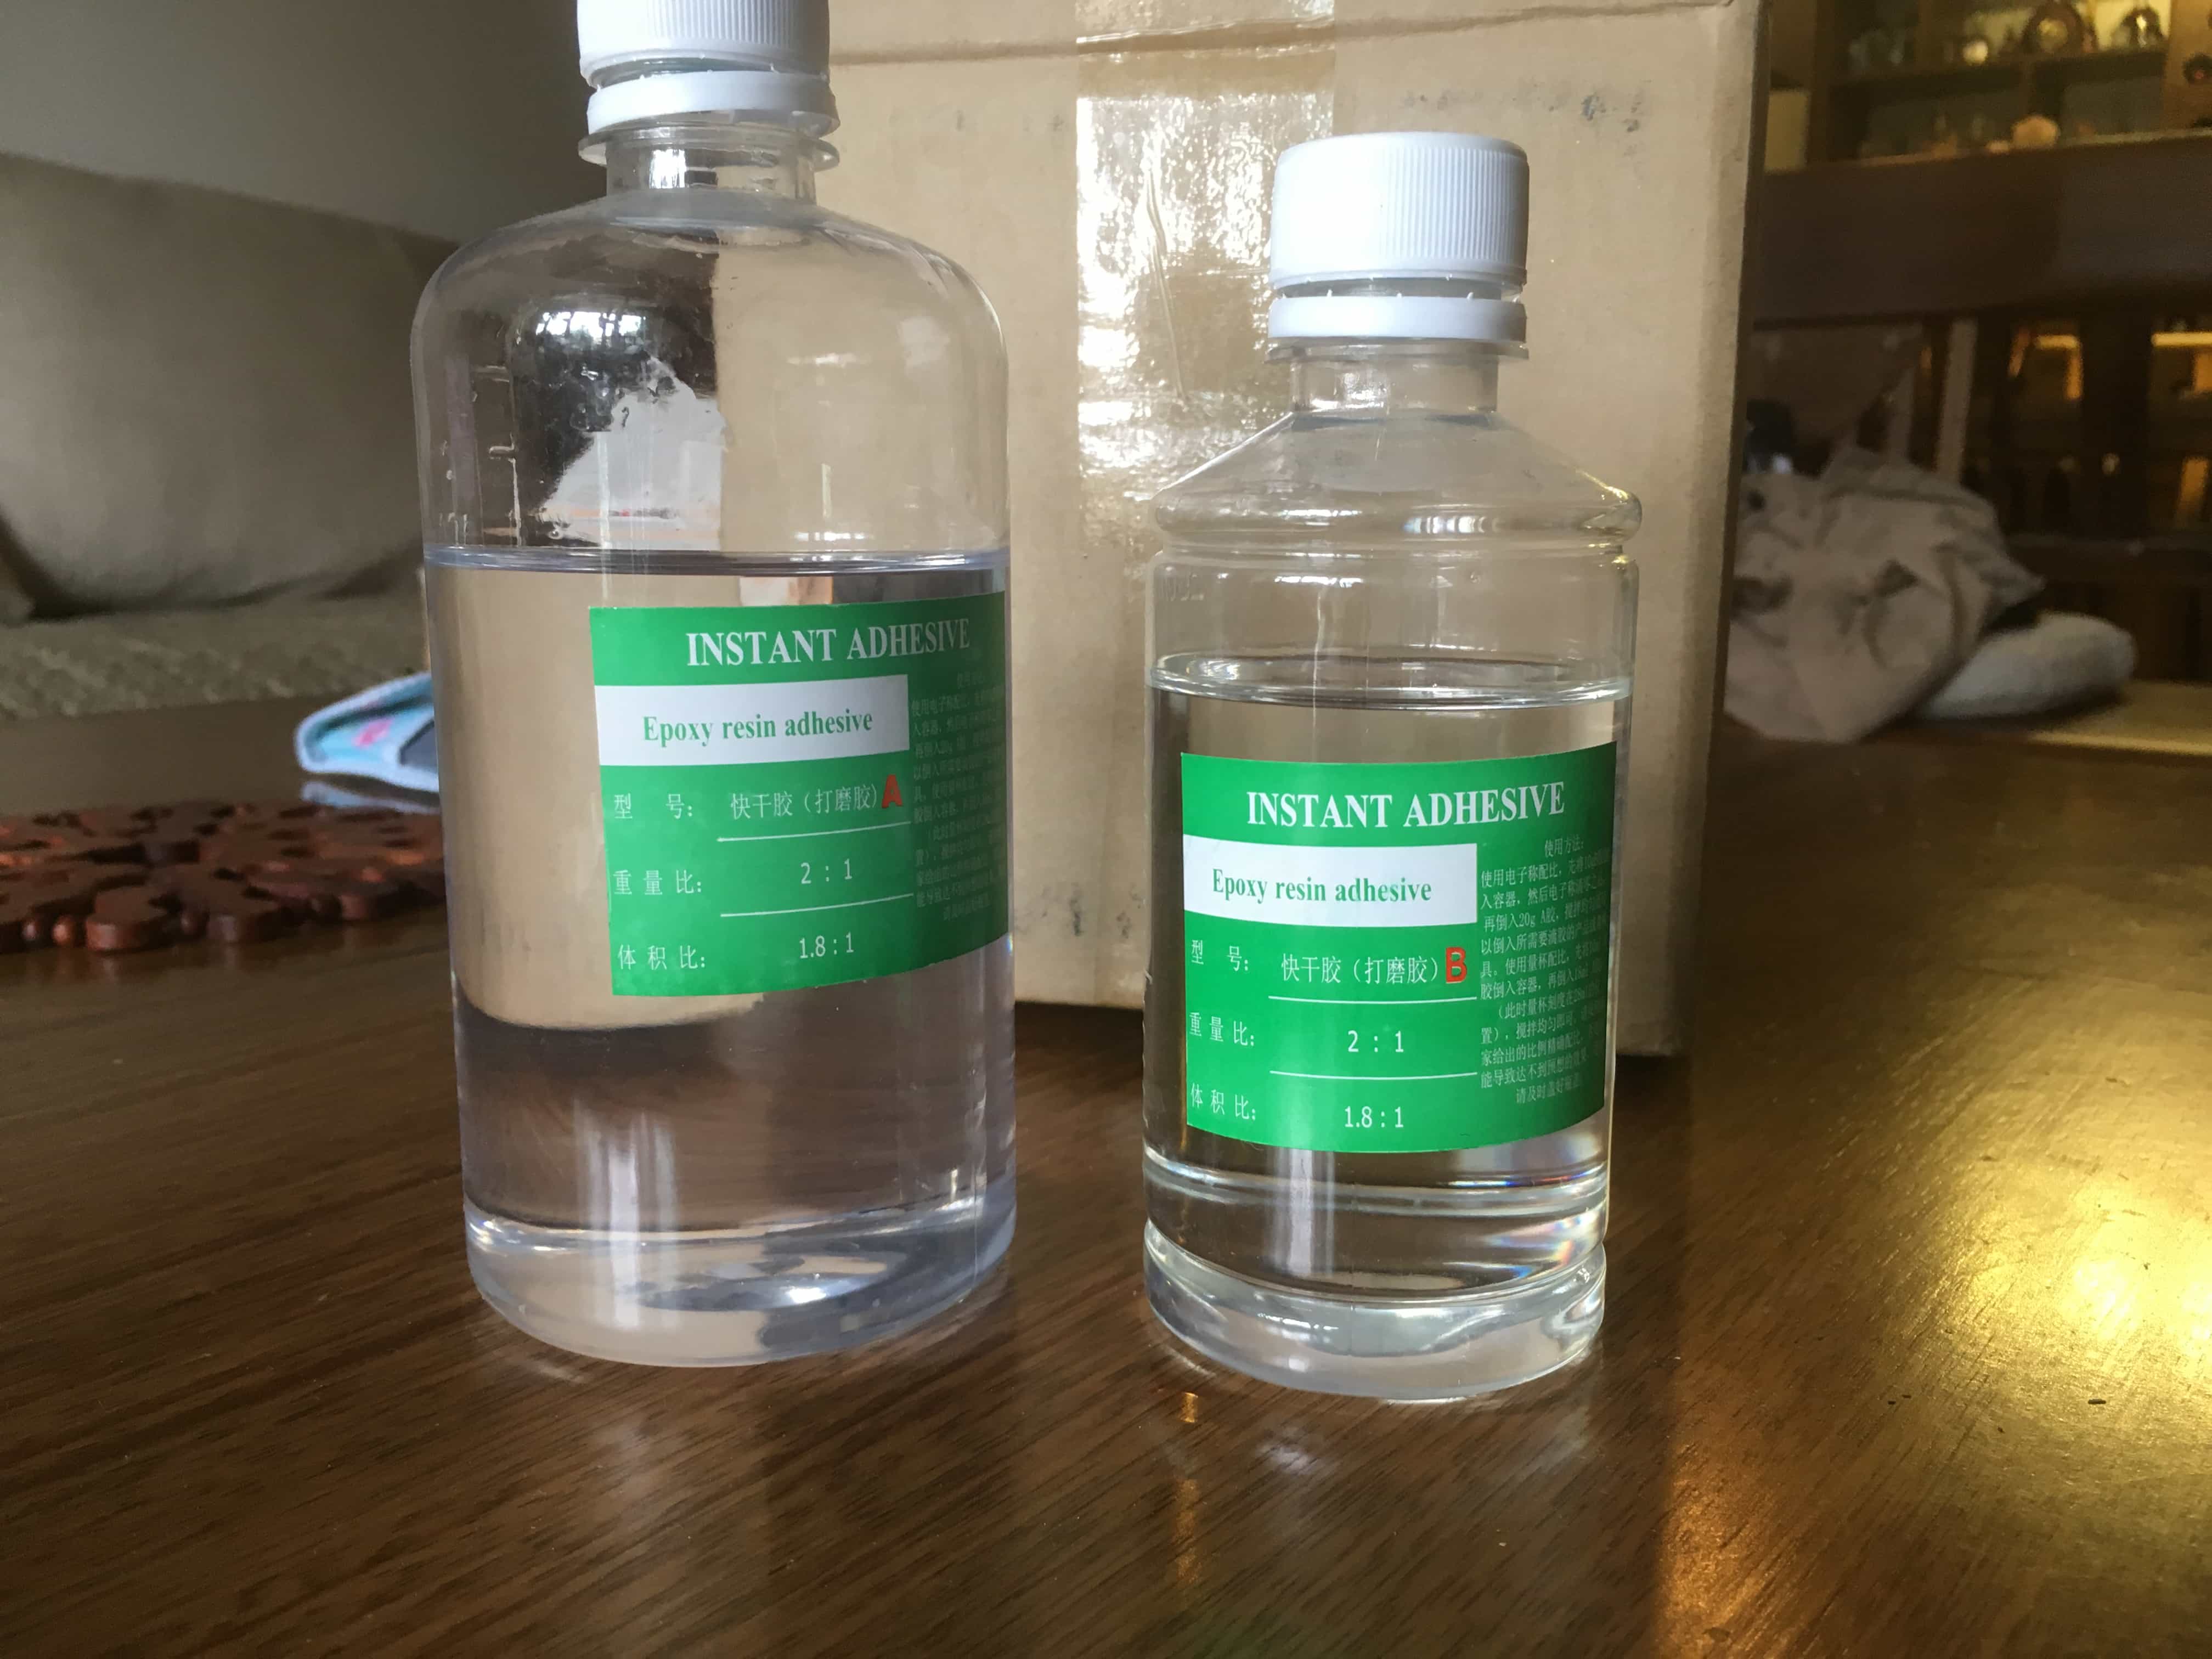
Epoxy
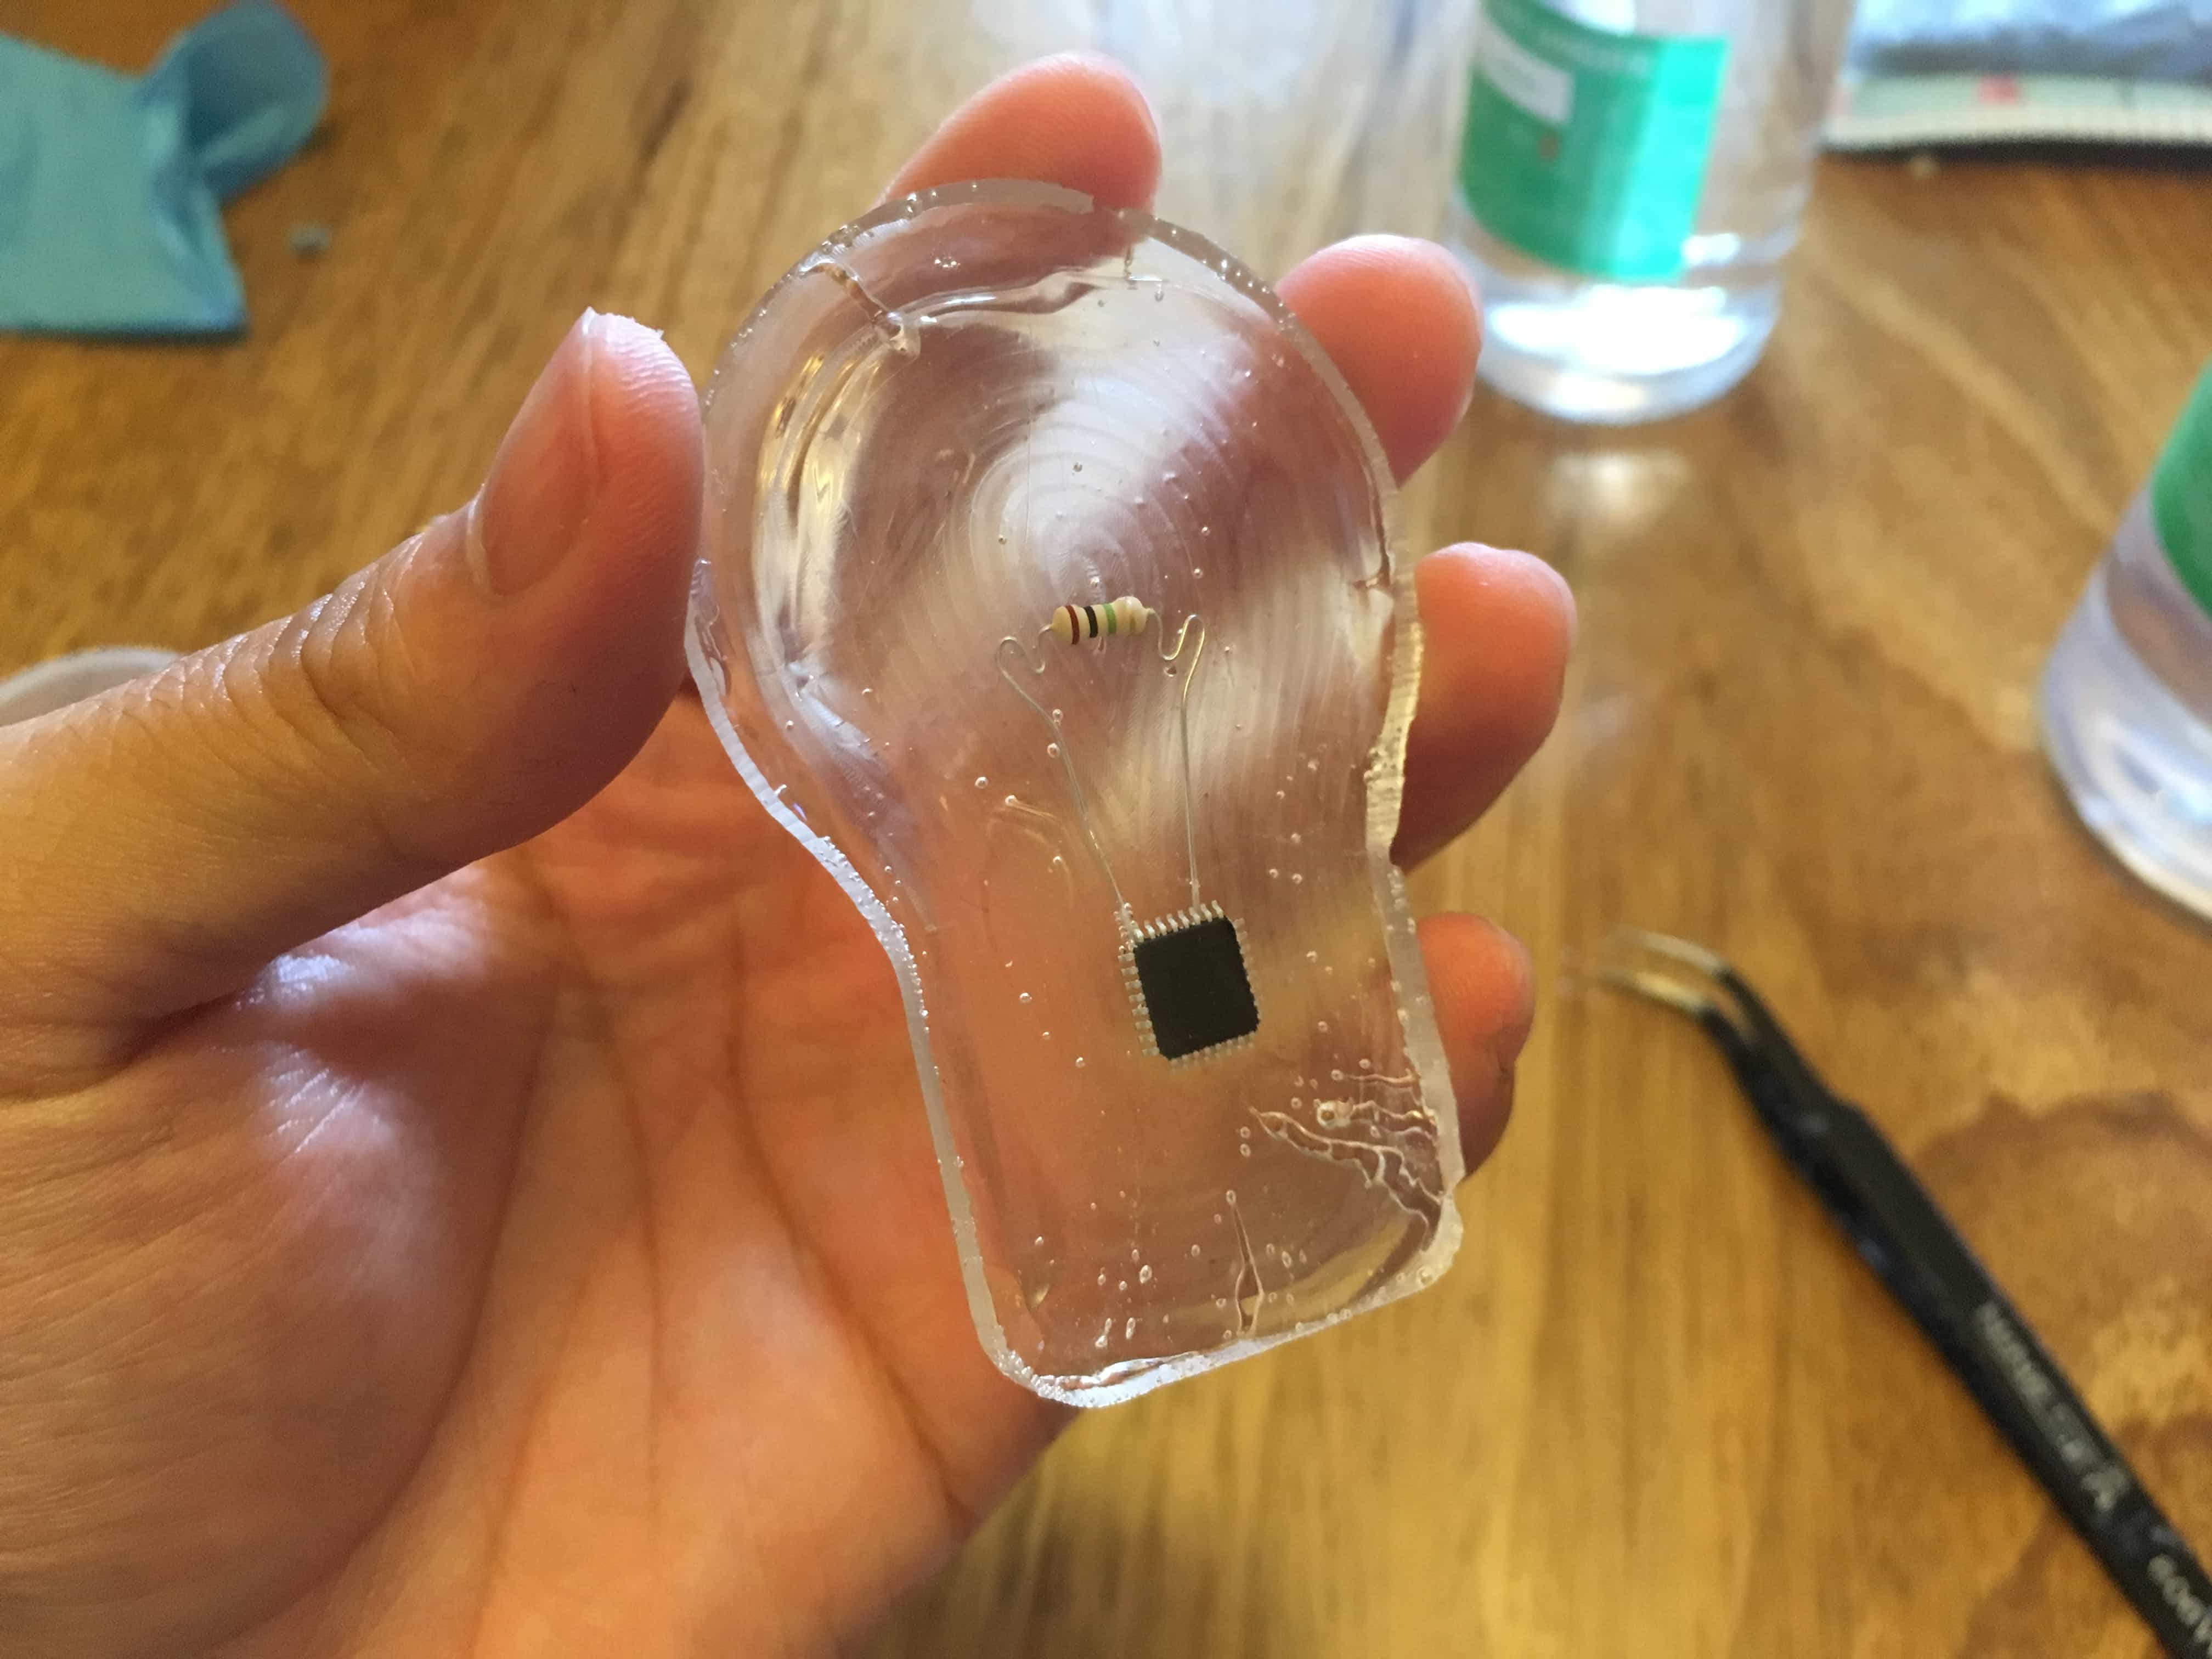
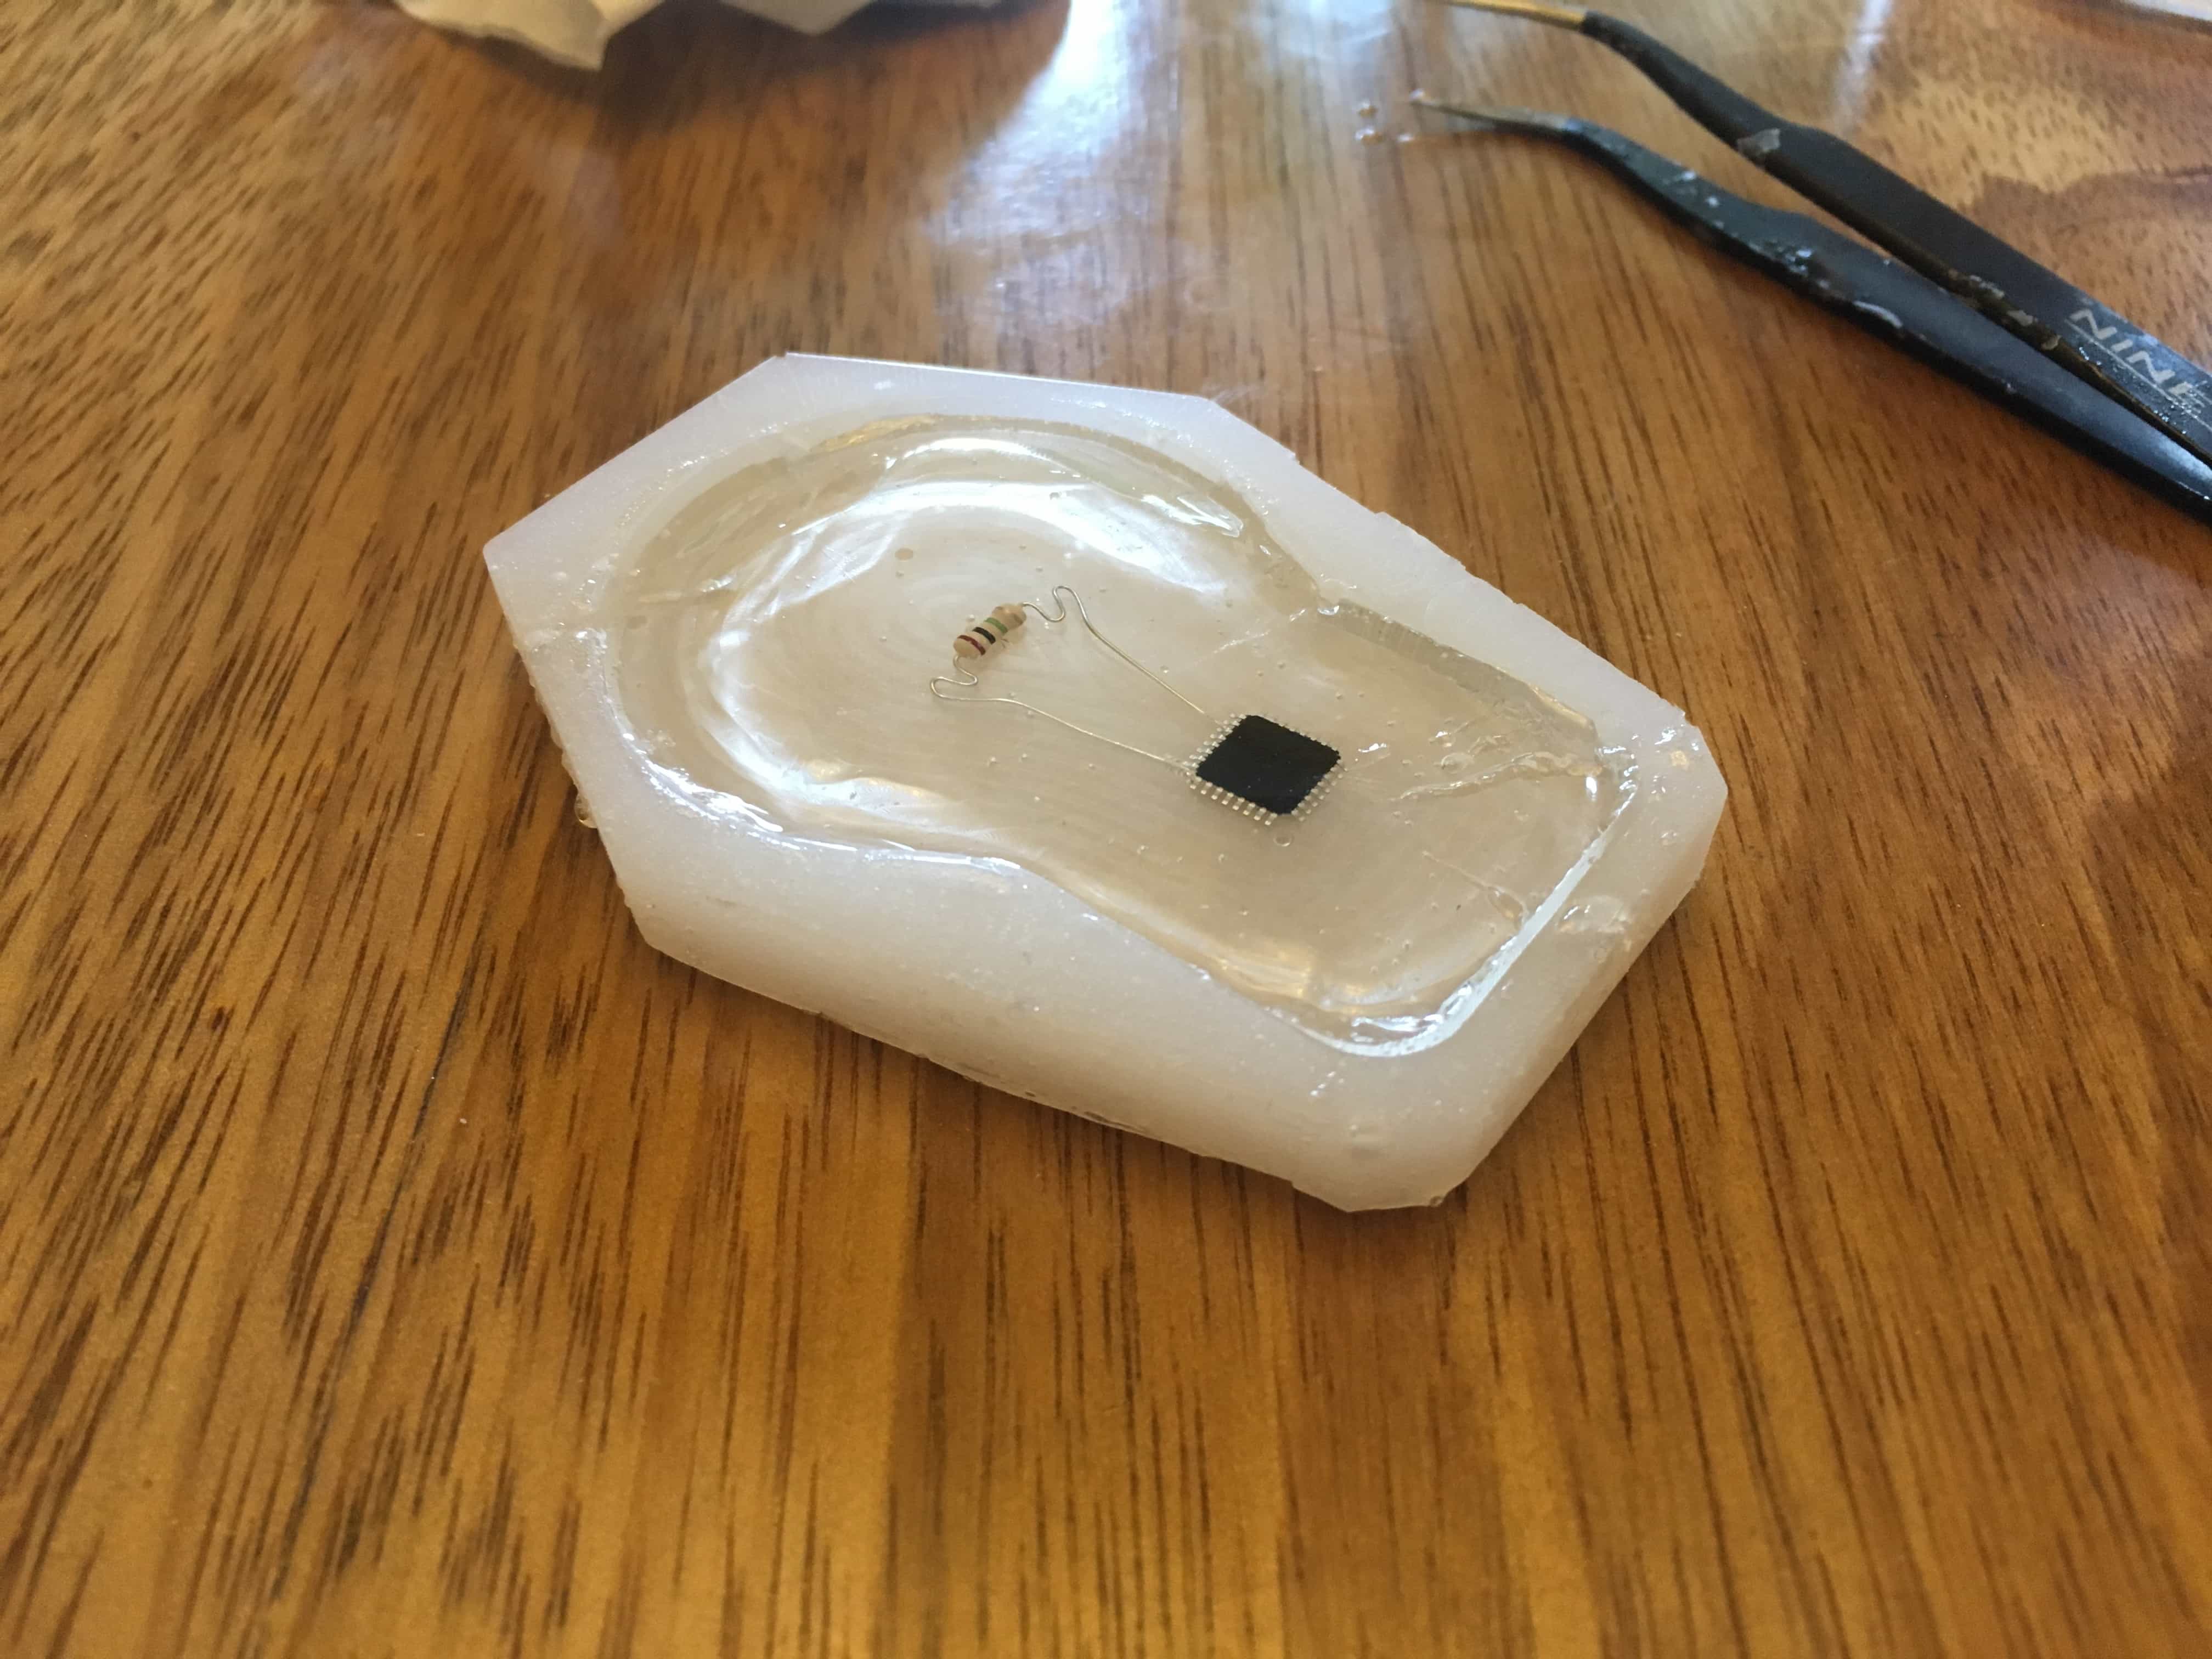
Finally, I add a resistor and a microcontroller into the expoxy to make the model really looks like a lightbulb.
Problems
1. For the designing part, at first I made a fablab logo, but when I checked the machine, I found that it contained too many sharp angles––also, my first design was too deep for the tool to mill. Therefore, I designed a much easier and more shallow figure.
2.At first, I did not wear latex gloves and the silicone and expoxy stuck on my hands. It was really annoying because the silicone does not coagulate without coagulator so it is hard to wash it off. So when using the chemical materials, always wear a pair of latex gloves!
3. Bubbles. If you heat the expoxy when it is coagulating, it will generate bubbles inside itself. So it you are not in a hurry, just take it slow and let it coagulate naturally.
