Assignment
Model (raster, vector, 2D, 3D, render, animate, simulate, ...) a possible final project, and post it on your class pageFiles
VasePlant_pdf
Plant_svg
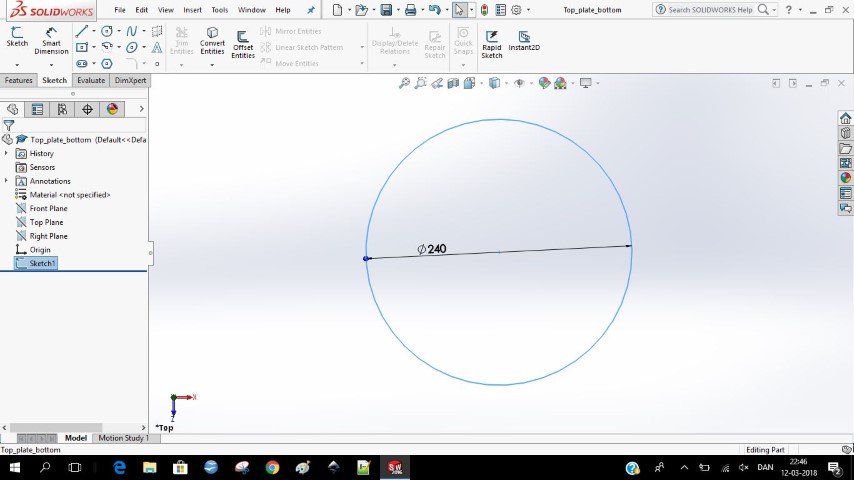
Solidworks
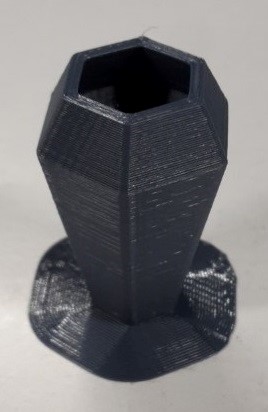
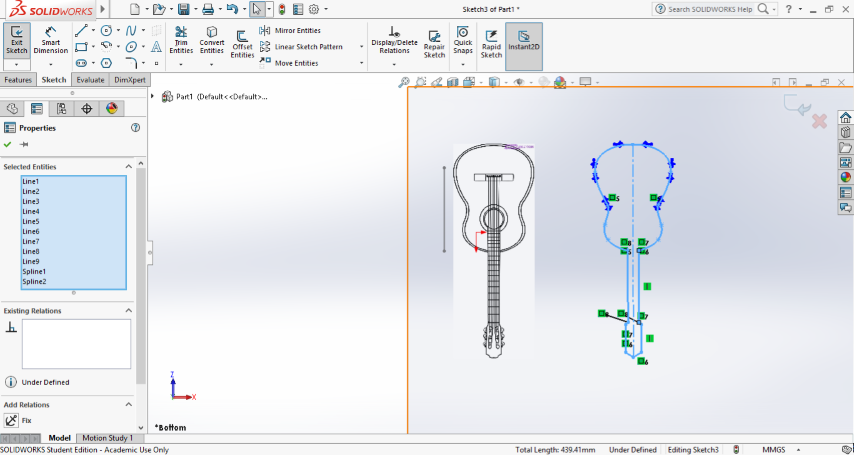
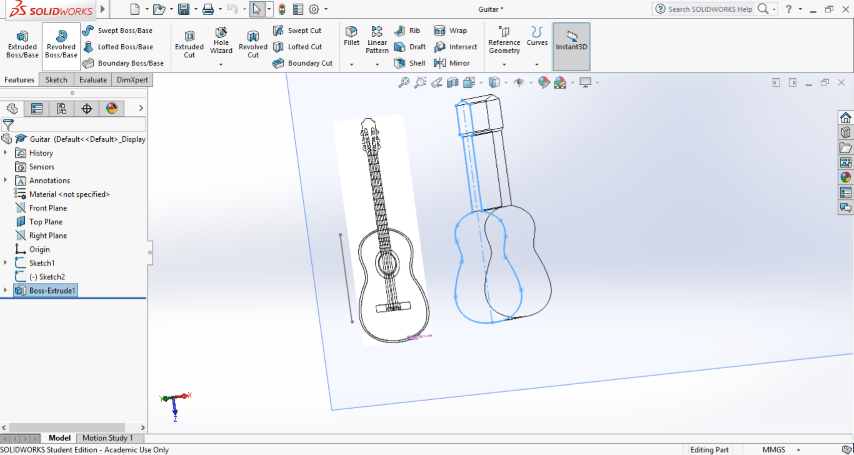
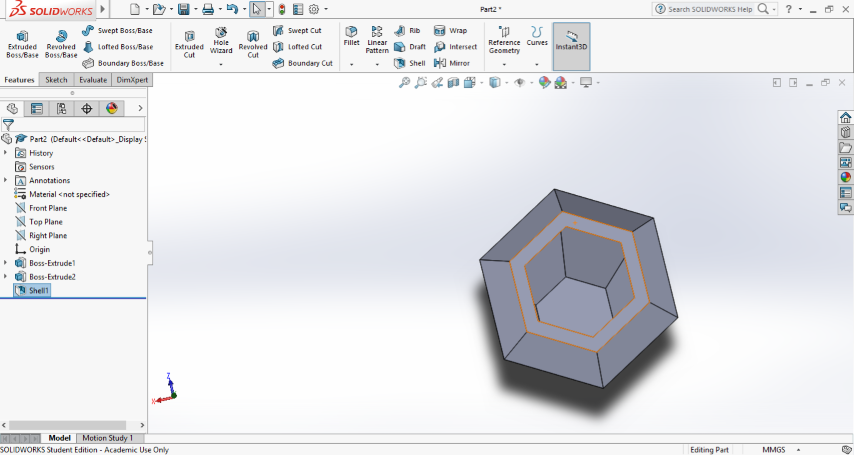
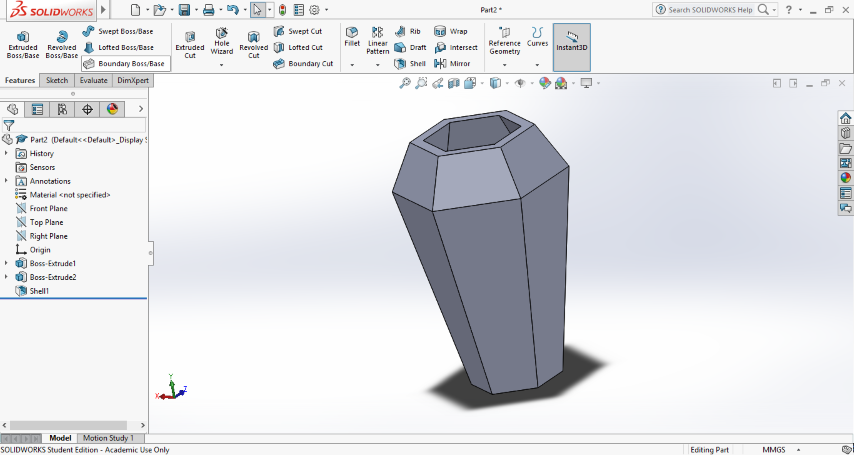
Lorenzo gave us a quick tutorial in how to use Solidworks. I haven’t worked with a 3D program before so it was a bit hard in the beginning. I’ve worked a lot with inkscape, so it was pretty fun when he showed us that we could trace a picture with a vector and then pull it up to a 3D model.I also made this vase that I would like to make on the 3D clay printer. I printed it on the Ultimaker 2 but the drawing had some kind of default so it came out without a bottom. If the drawing didn’t have any skirt on it it wouldn’t have a bottom at all.
In the drawing in Solidworks there was a bottom but when you put it in Cura, the bottom disappears. I’ve added another bottom but haven’t tried it out in Cura yet.
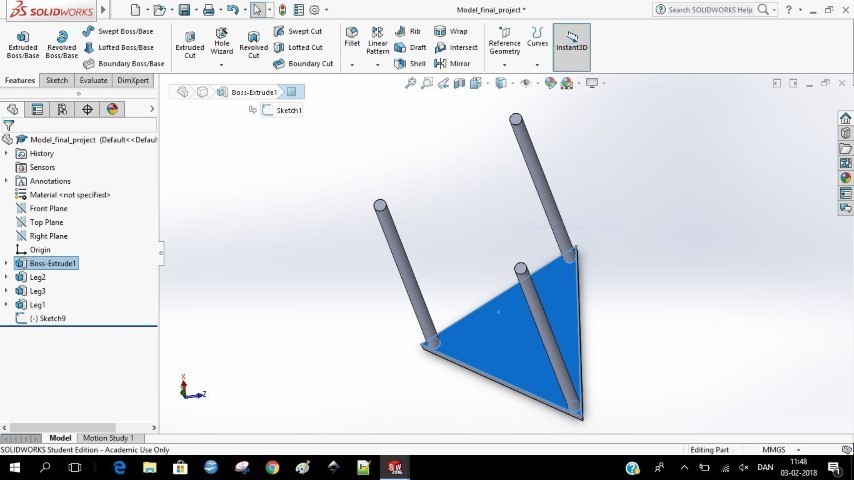
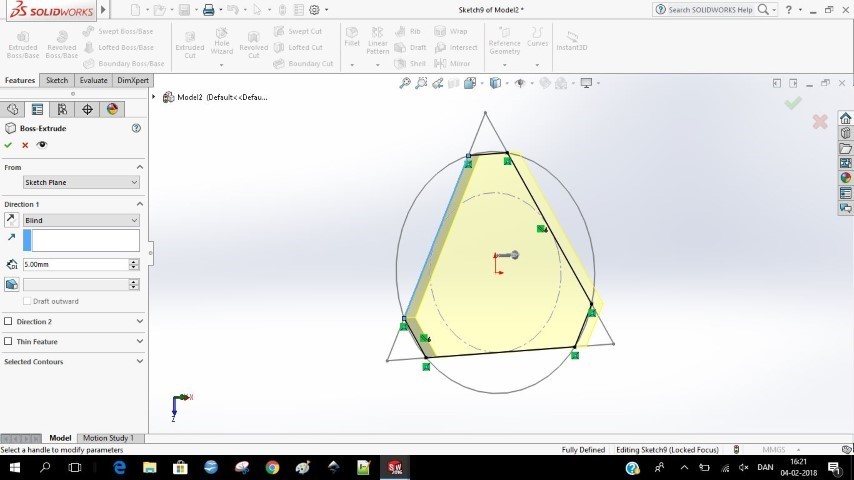
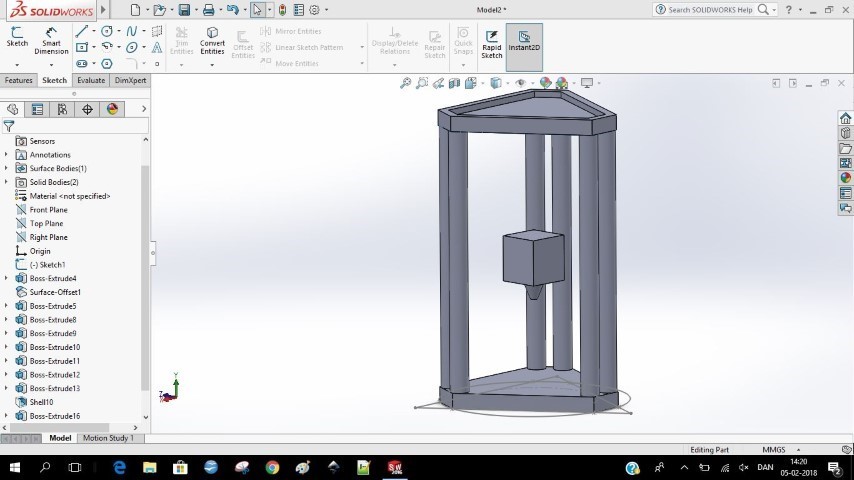
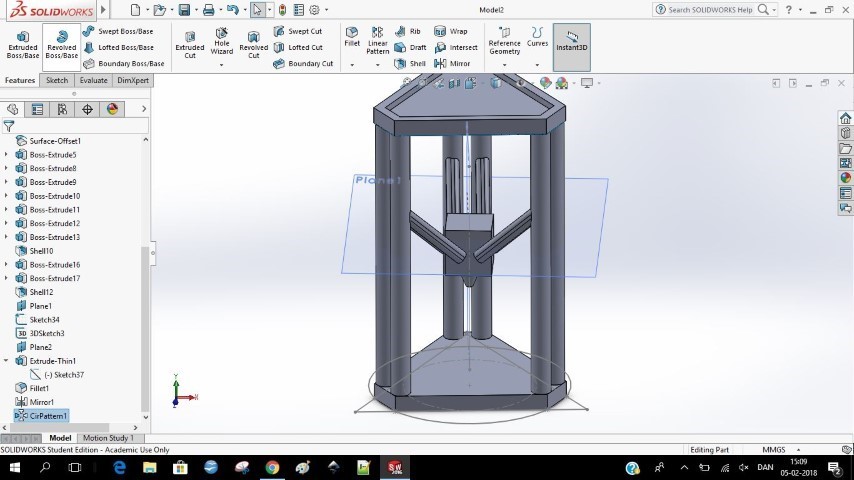
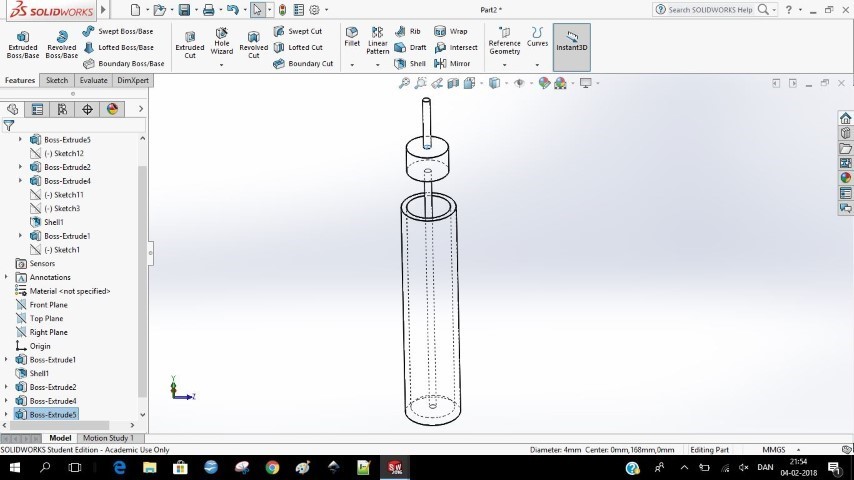
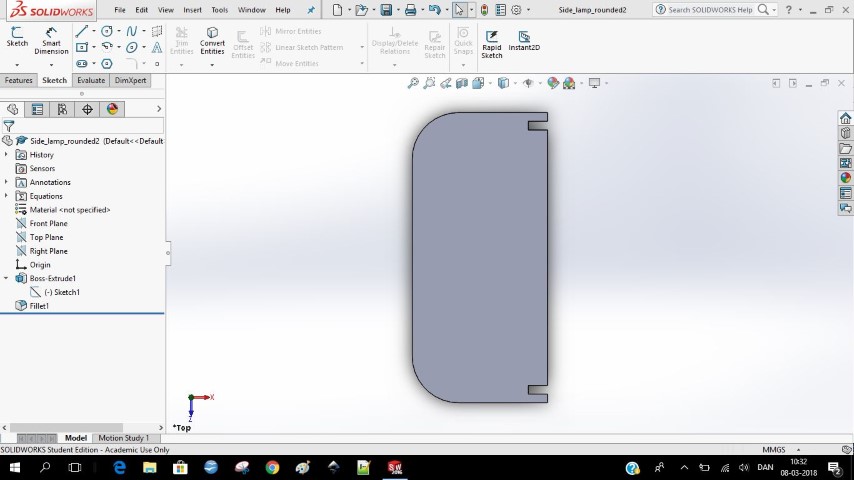
I’ve been trying to make some kind of 3D model of the machine I would like to make. I’m having some troubles with adding things to a rounded side.
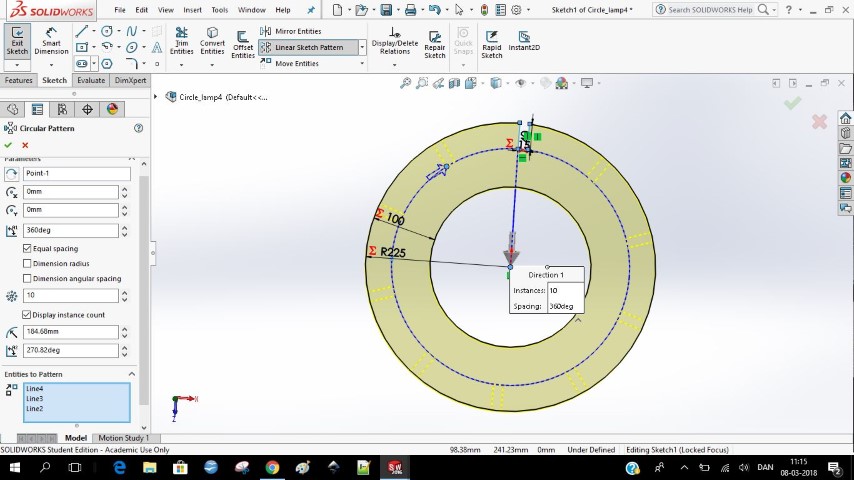
I also want the “copy-paste” feature, but can’t seem to find a simple way to do this. I’ve learned about the mirror effect that mirrors an object. In addition to this I also learned about the “circular pattern”, in this way I could easily duplicate some pillars I wanted to make.
I started with trying to make a model of what I thought the printer would look like. I had been reserching a lot and found out that most peopla had made a Delta printer when working with clay. I decided also to do this.
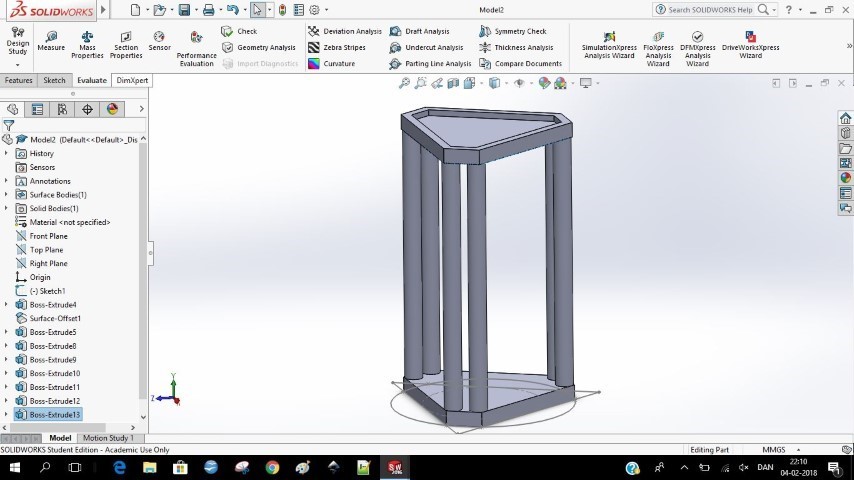
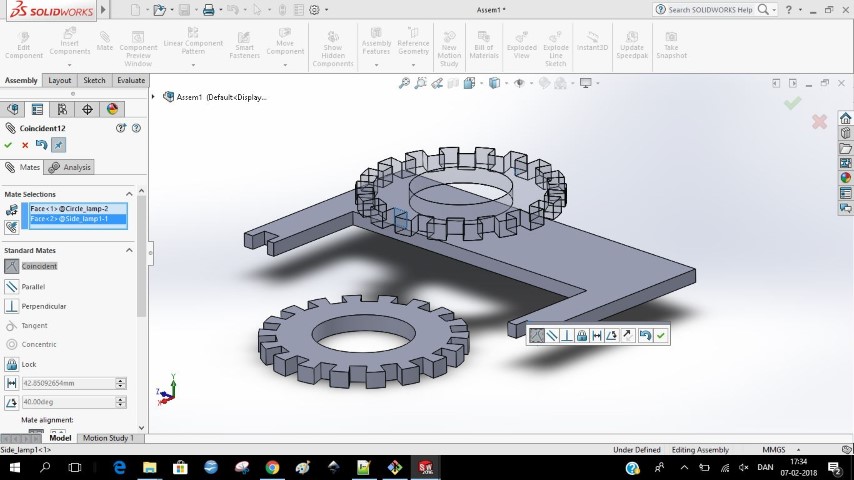
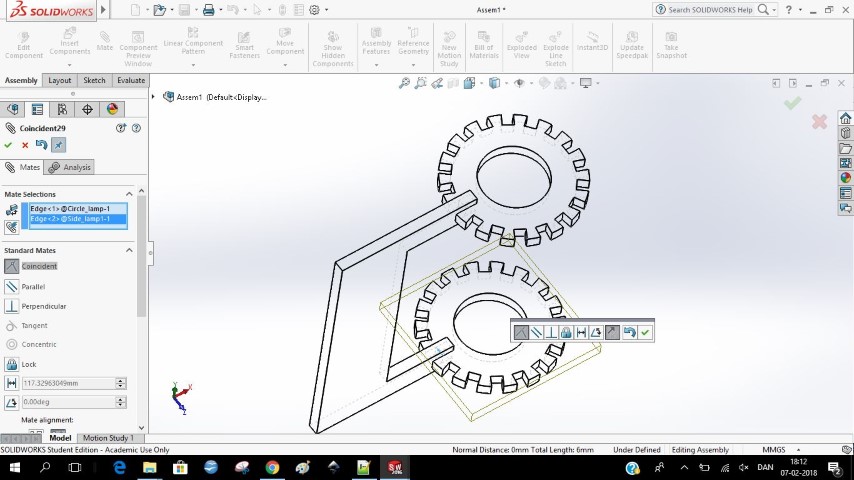
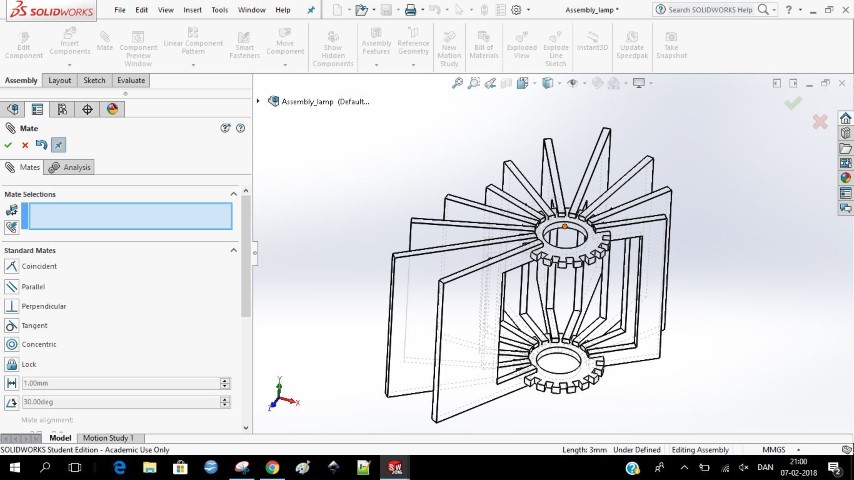
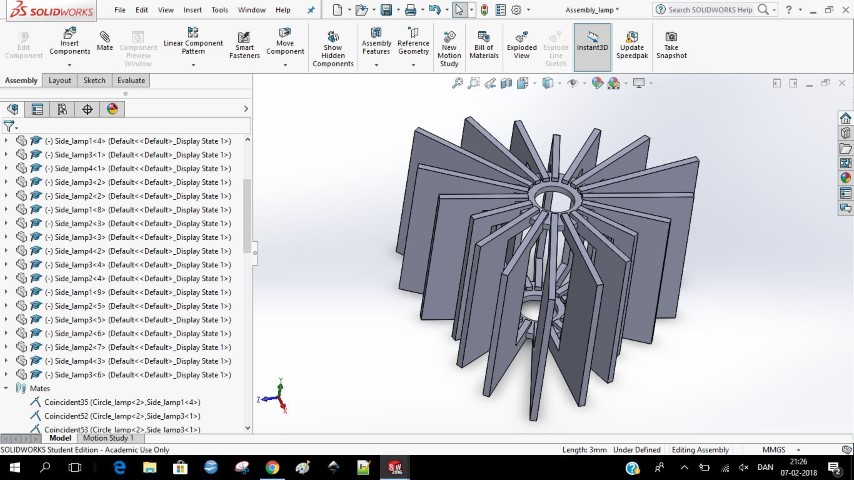
Lamp number 1
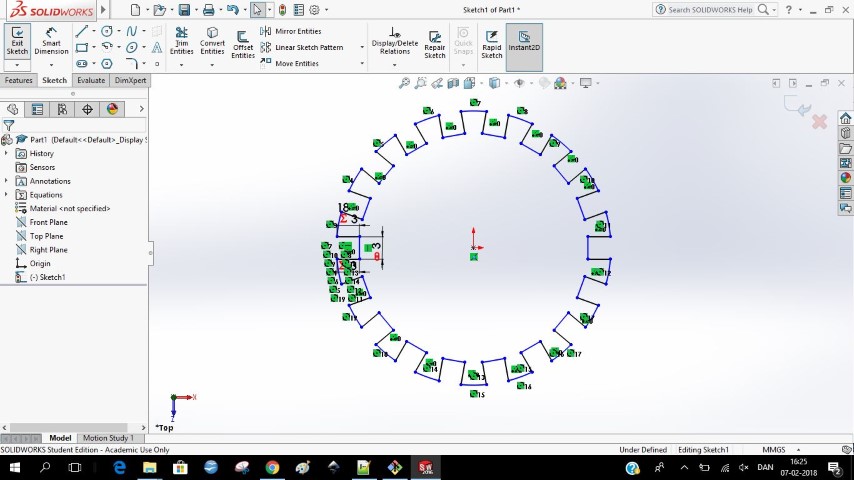
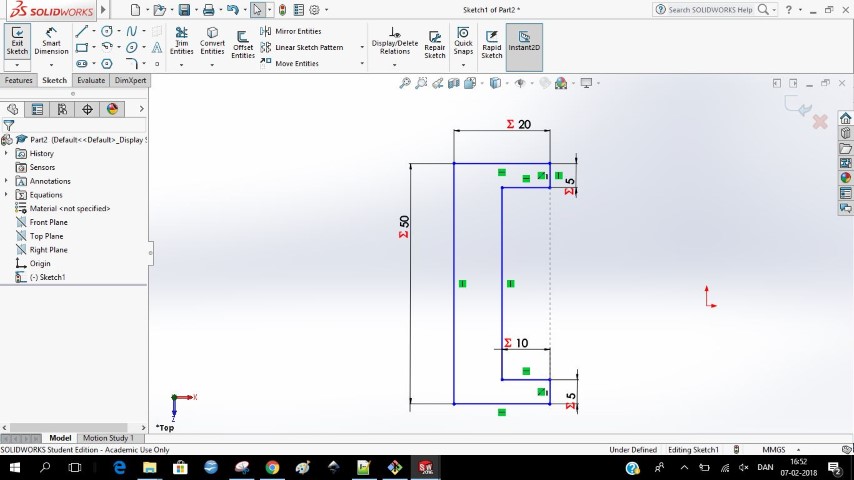
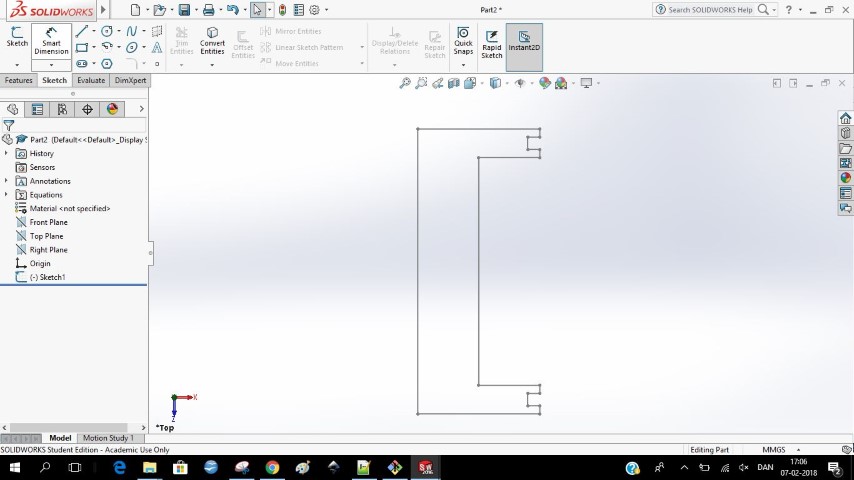
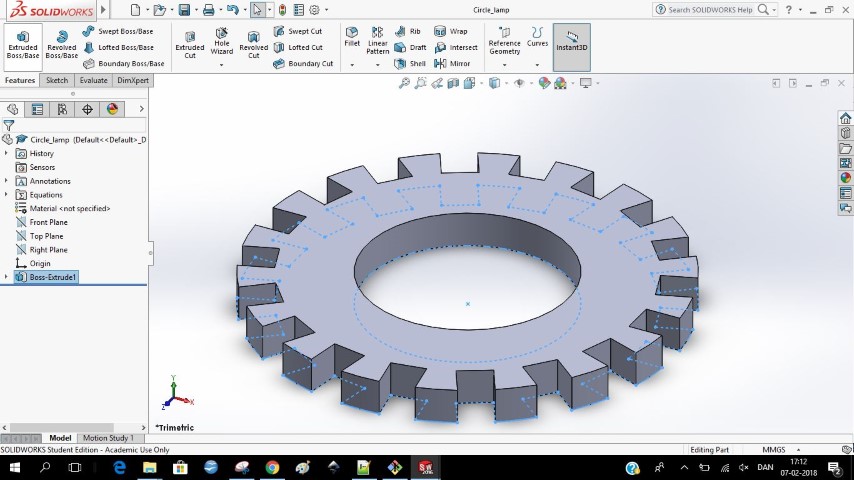
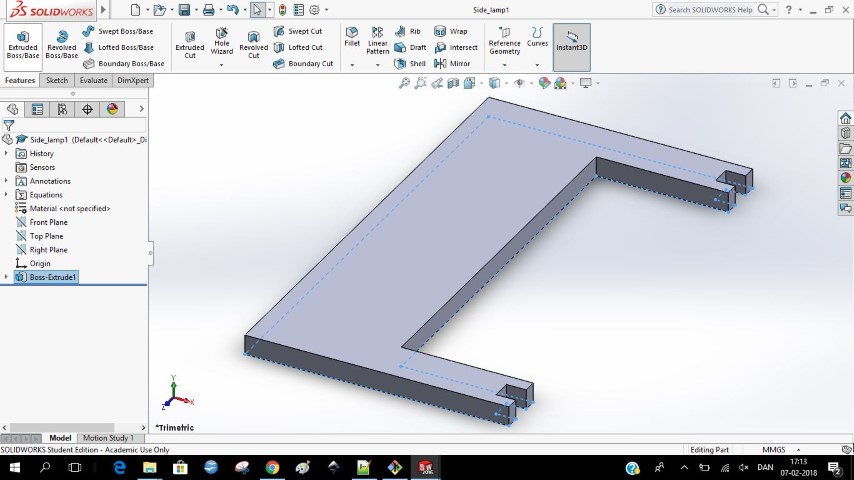
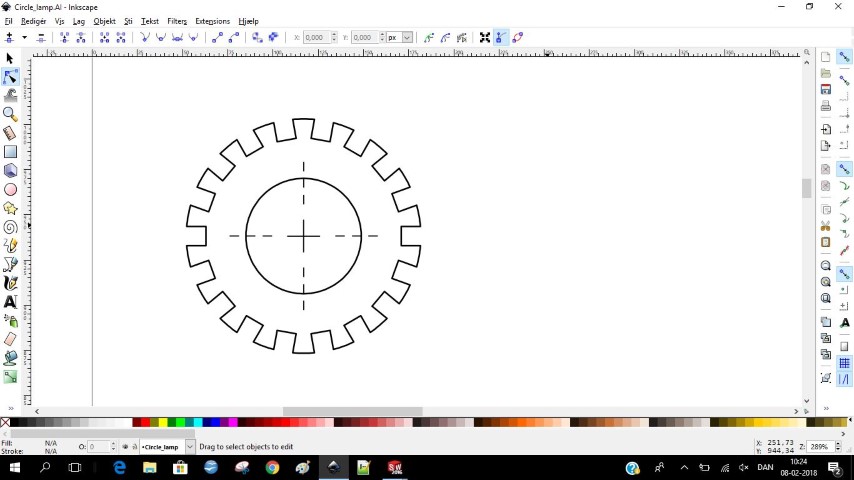
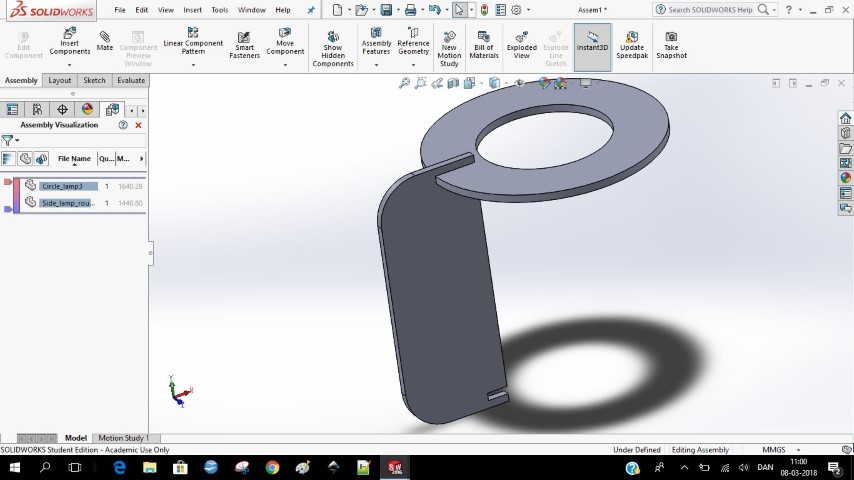
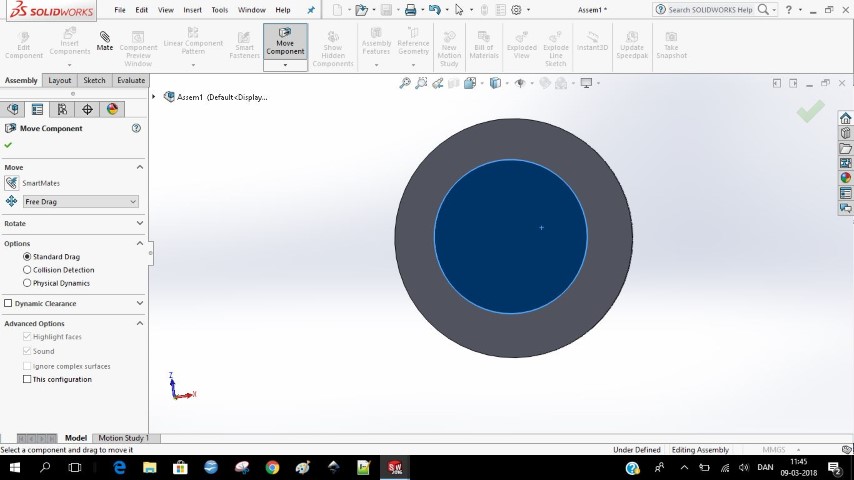
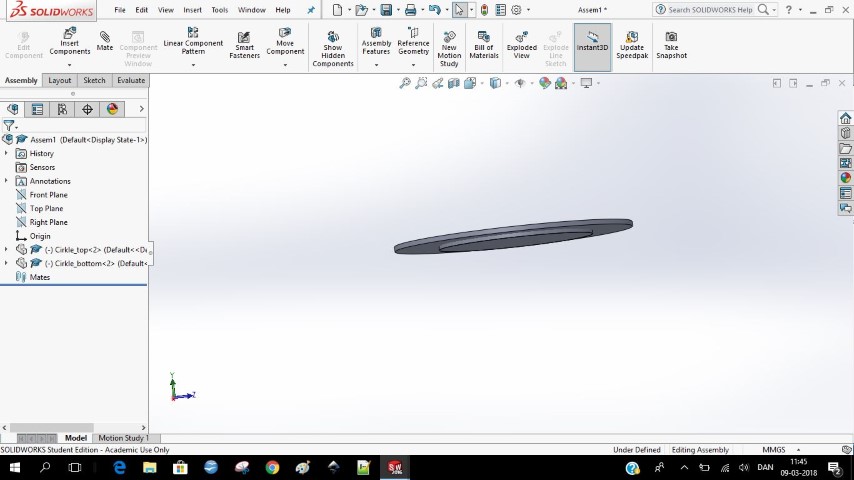
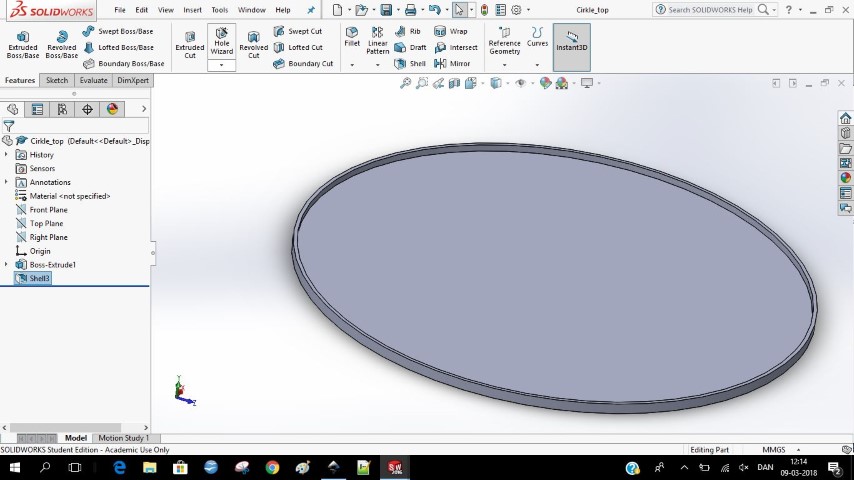
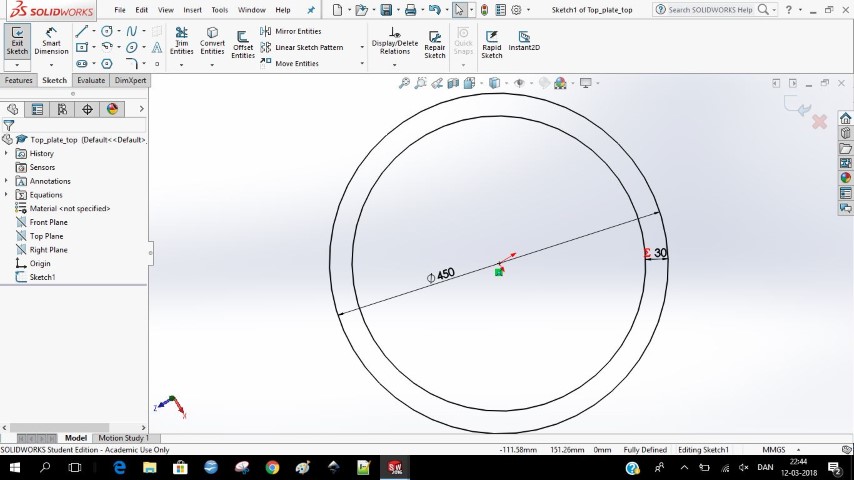
I designed the lamp in Solidworks. I made 5 different pieces. One circle which should be in the top and bottom and this should be where you put the sides on. Then I made one of the sides and saved it as 4 different document, then I only needed to change the width of the pieces. I used the assembly funktion to show how my lamp should look when it is done. I had some troubles with the pieces not wanting to fit together but I got some help and we found out that it was because all the pieces was horizontal, so I needed to turn the side piece vertical. Now I could assemble the lamp piece by piece.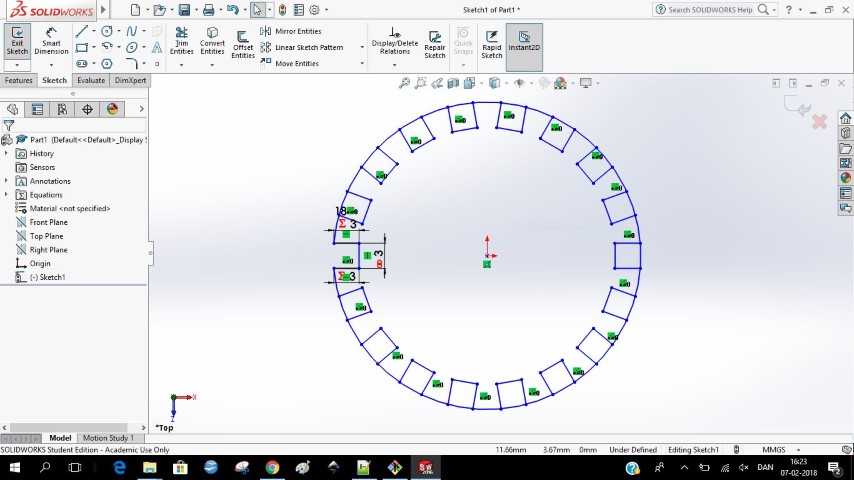


Make something big stool

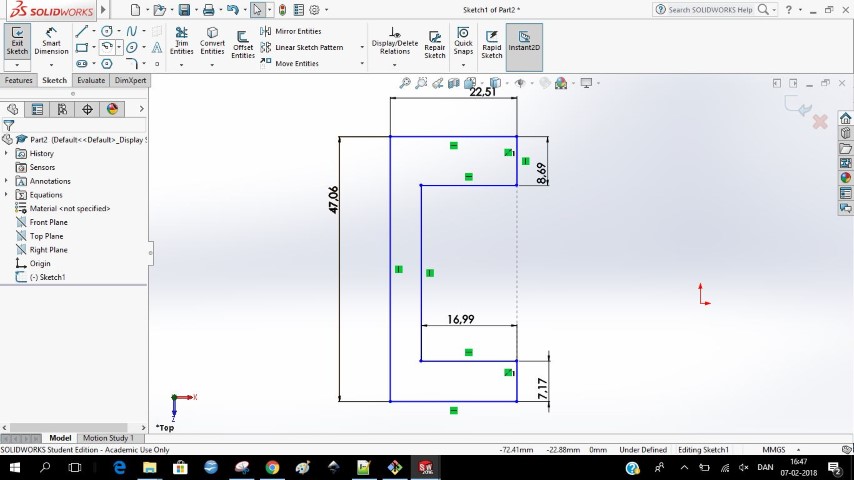
Mold
I used Solidworks to make the model for my mold in Molding and Casting.What do I think about Solidworks
I think Solidworks is a really good program. You have to get to know the program a bit before it gets easy, but that’s how it is with most programs. It takes some tries before you get the hang of it.I think i know the program pretty well now, but I still learn new things about what it can do all the time.
It’s a nice program and has a lot of different things you can. I both use it for making 2D and 3D models. With the 2D drawings I can then make it into a drawing and then transferring it to inkscape where I then make the settings for the laser. I think Solidworks is pretty useful when you want to make a pressfit construction because of the parametric feature. In this way it is easy to change lengths of for example taps to the same, at the same time.
I use the 3D to then get it as a STL and then print it on the 3D printer
Inkscape
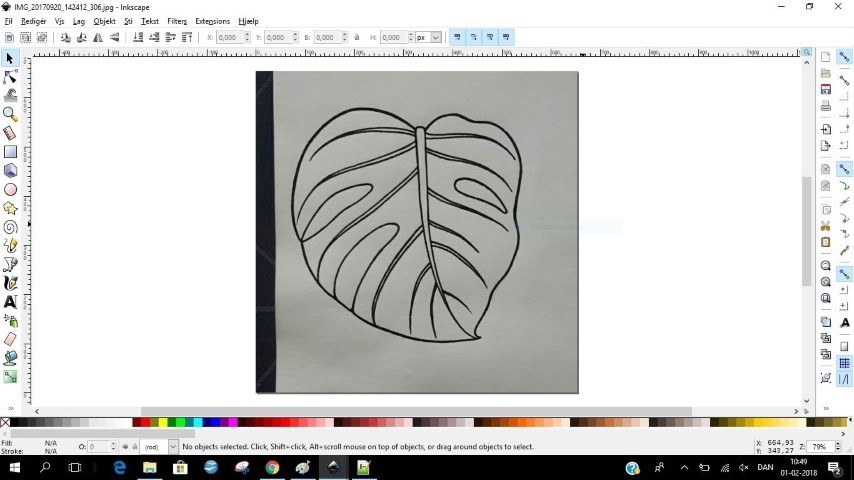
I’ve been working with inkscape for several years because I use it to trace my drawings to make earrings or prints on shirts mostly. I make my drawing by hand or on a tablet and then put it in inkscape to trace it or change some vectors.Picture 1:
Insert picture
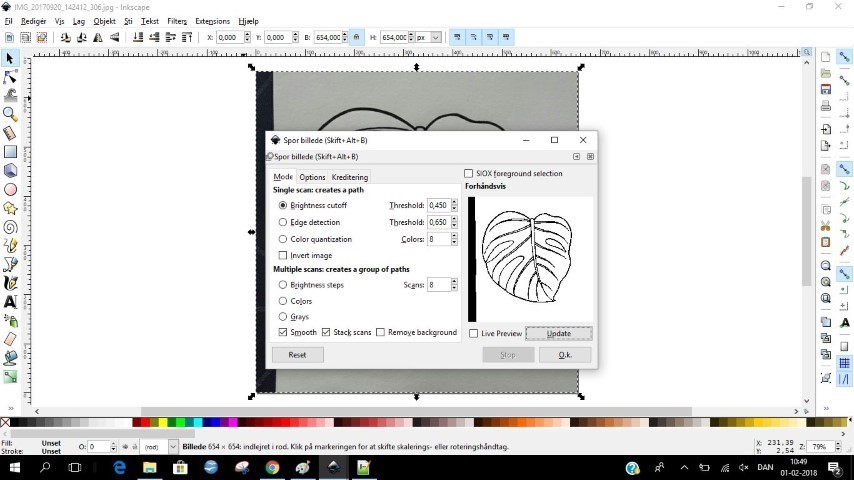
Picture 2:
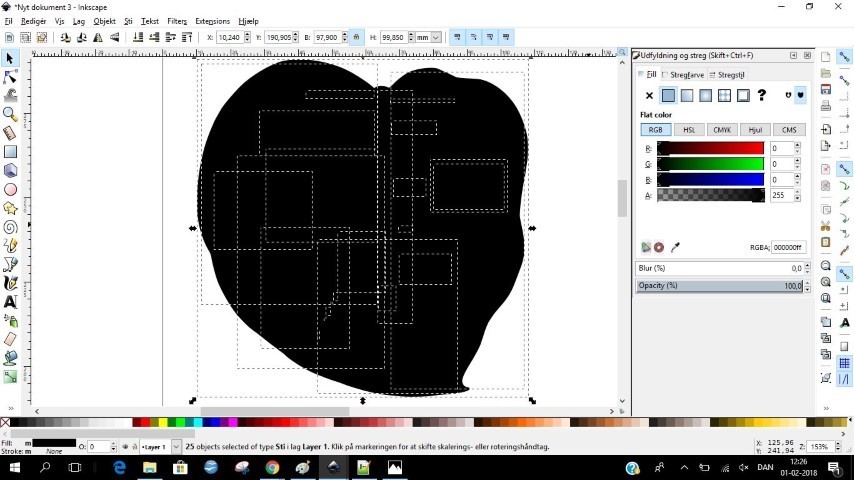
Mark the picture. Trace bitmap. Change the “Treshold” to encrease or decrease how much darkness it scould trace. Click update or “Live Preview”. Click OK when you are happy with the result. There is also an option to “Invert image”.
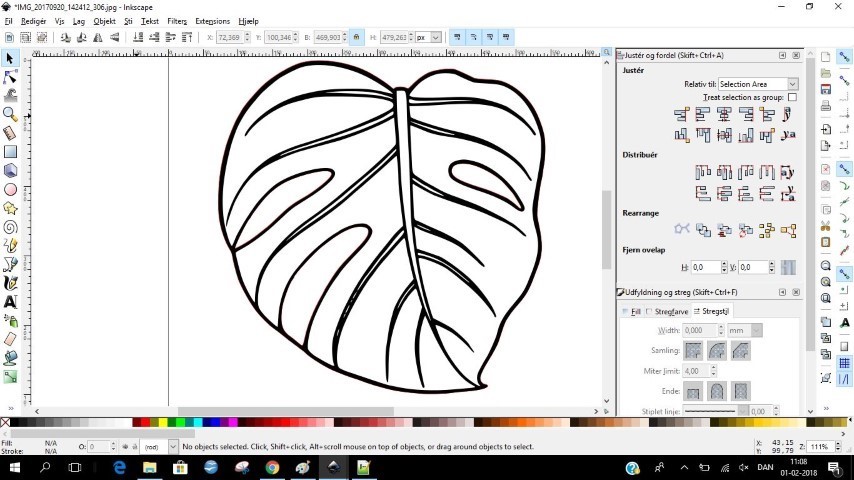
Picture 3-4:
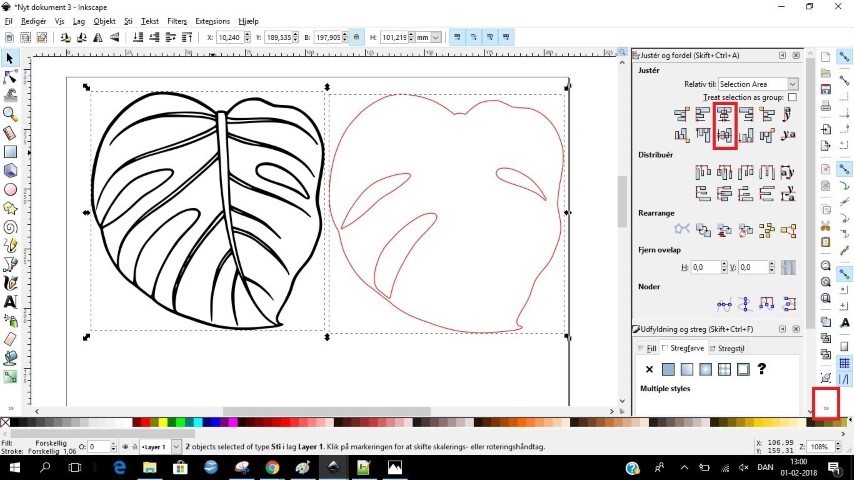
I want to have an outer rim and engrave the black lines. Mark the picture. Path - break up. The picture is beeing devided into pieces. Change the path color to on and remove the fill. Now you see all the lines. Make a copy. Now we have plant 1 and 2. Delete the lines you don’t want (in this case the inner lines) in plant 2. Change the path color to RGB red 255 and path thickness to 0,025 (depending on the settings for your laser cutter).
Picture 5:
In plant 1 mark everything choose no path color and put the fill in again. Go to path - combine. You can also combine plant 2. Mark everything in plant 2, path - combine. Now you can only move the hole thing around.
Picture 6:
Press the >> button in the bottom right corner. Click on “Adjust and distribute”. Mark both objects.
Note: This only works if the two objects are exact the same size and are combined individually.
In the top right corner, click on the “T” to align the objects vertical. Click on the one underneath to align the object horizontal. The two objects are now on top of each other and ready for the machine.
My settings in Inkscape are in Danish so some of the instructions might be translated wrong.

What do I think about Inkscape
Inkscape is a free and very easy to use vector program. The symbols of the functions show pretty well what you can use this tool to.My favorite function might be the “trace bitmap” function. I think this is the one I use the most.
I use it for when I have made a drawing and want to use it on the laser or the vinyl. When I have the photo as a vector I can easily also clean up some line or delete points that should not be there.