Mechanical Design
Assignment
- design a machine that includes mechanism+actuation+automation
- build the mechanical parts and operate it manually
- document the group project and your individual contribution
Files
The Machine
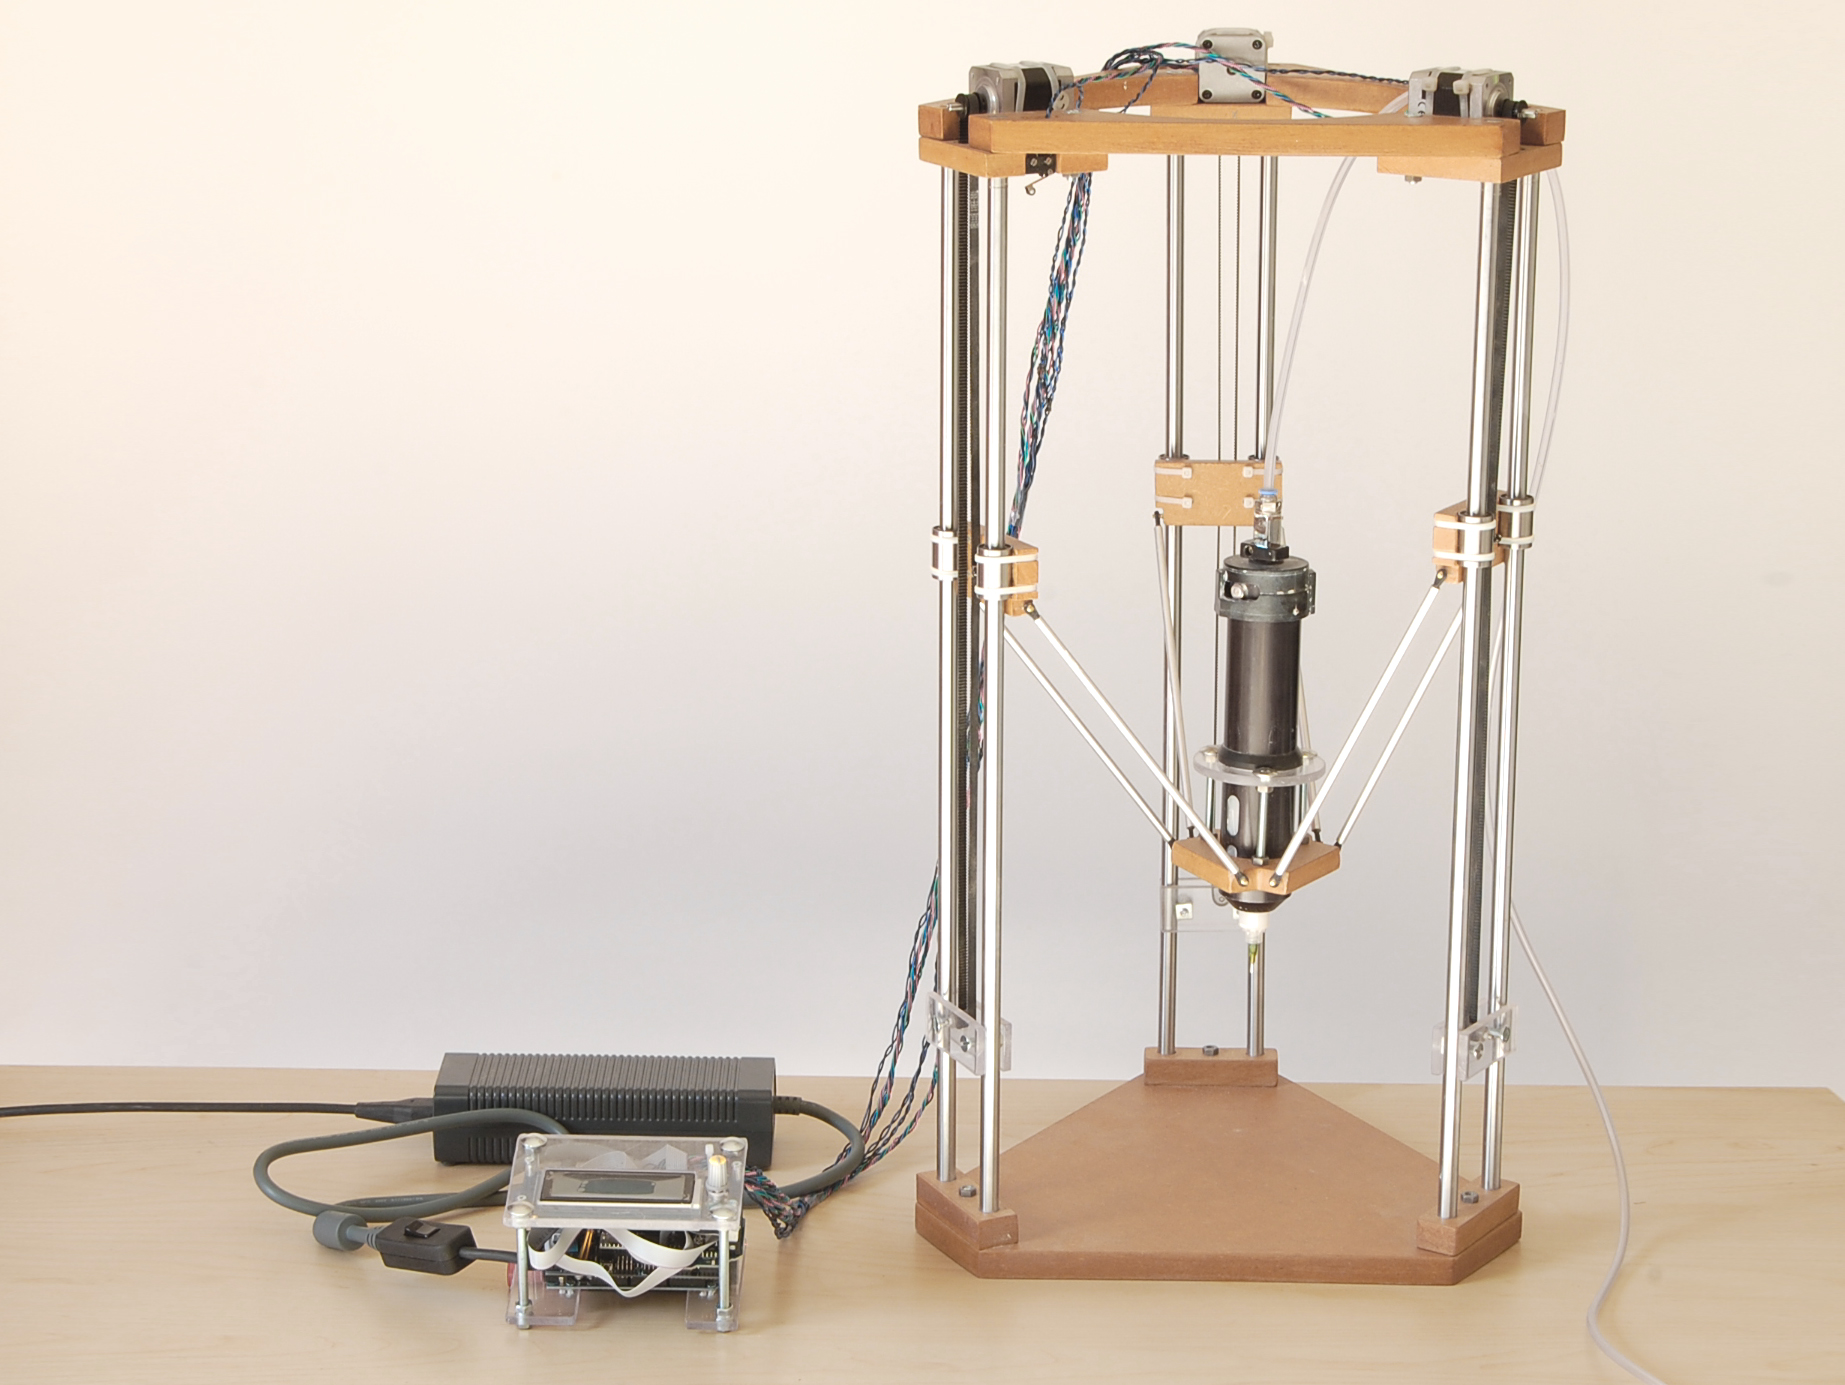
Our group at Spinderihallerne decided to work on making a 3D printer another student Carina Kristensen were going to use for her final project. The machine was going to be a version of Jonathan Keep's 3D clay printer.
The Whole Project
To get an overview of how the whole project is suposed to be layed out, I have made a sketch containing the different parts. As mentioned on this page, this week I have worked with the mechanical parts that the stepper motors will be controlling. The sketch shows how everything is connected to each other(Arduino, Computer, display, RAMPs board and stepper motors.). Next week I will be doing all of the electrical wiring, so to get a more in depth understanding of this sketch I suggest to read the next weeks page.

Group Assignment
As a group this week we had to make a machine that could be opperated manually. In order to do this for the printer we had to buy the following parts:
- Tubes
- Stepper motors
- Belts
- Bearings
- Screws
We had to make the following parts:
- Base and top
- Extruder holder
- Z-axis slider
- Motor belt mechanical part
My Individual Contribution
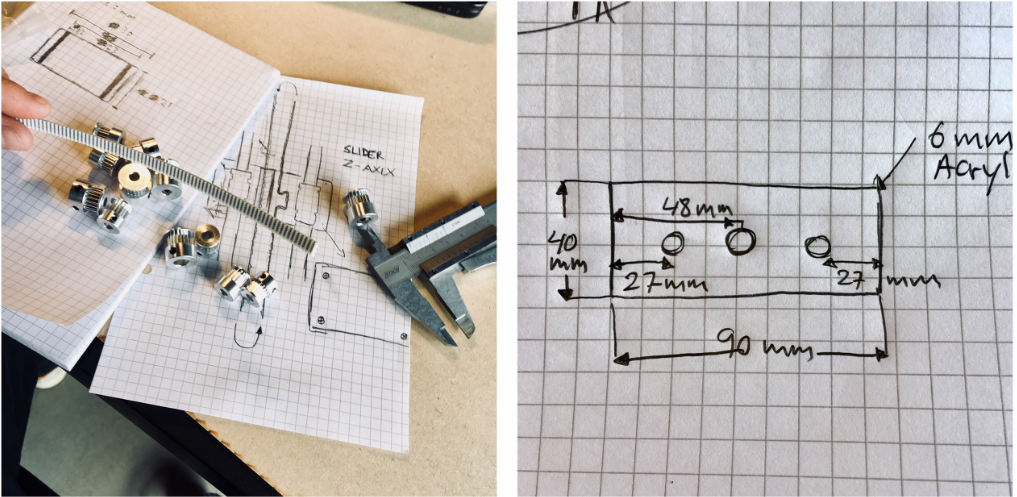
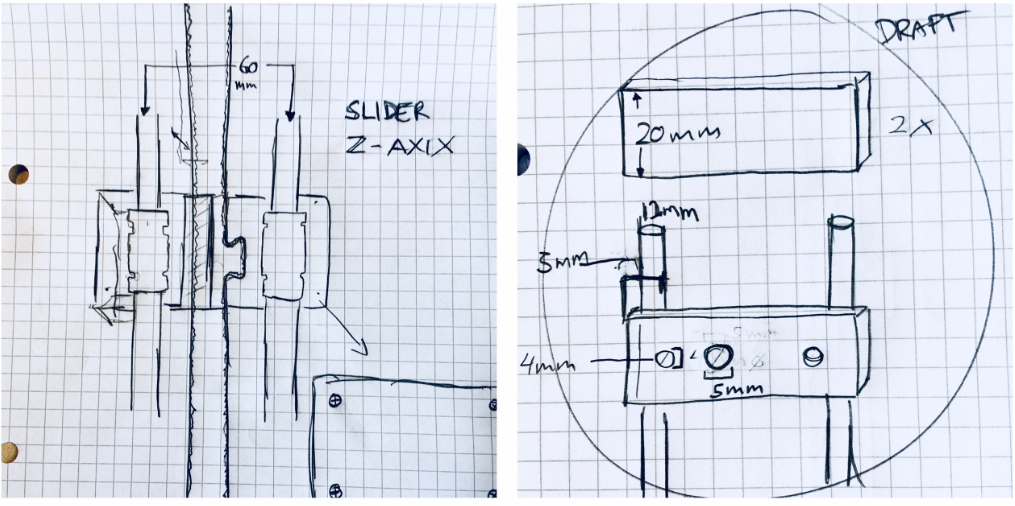
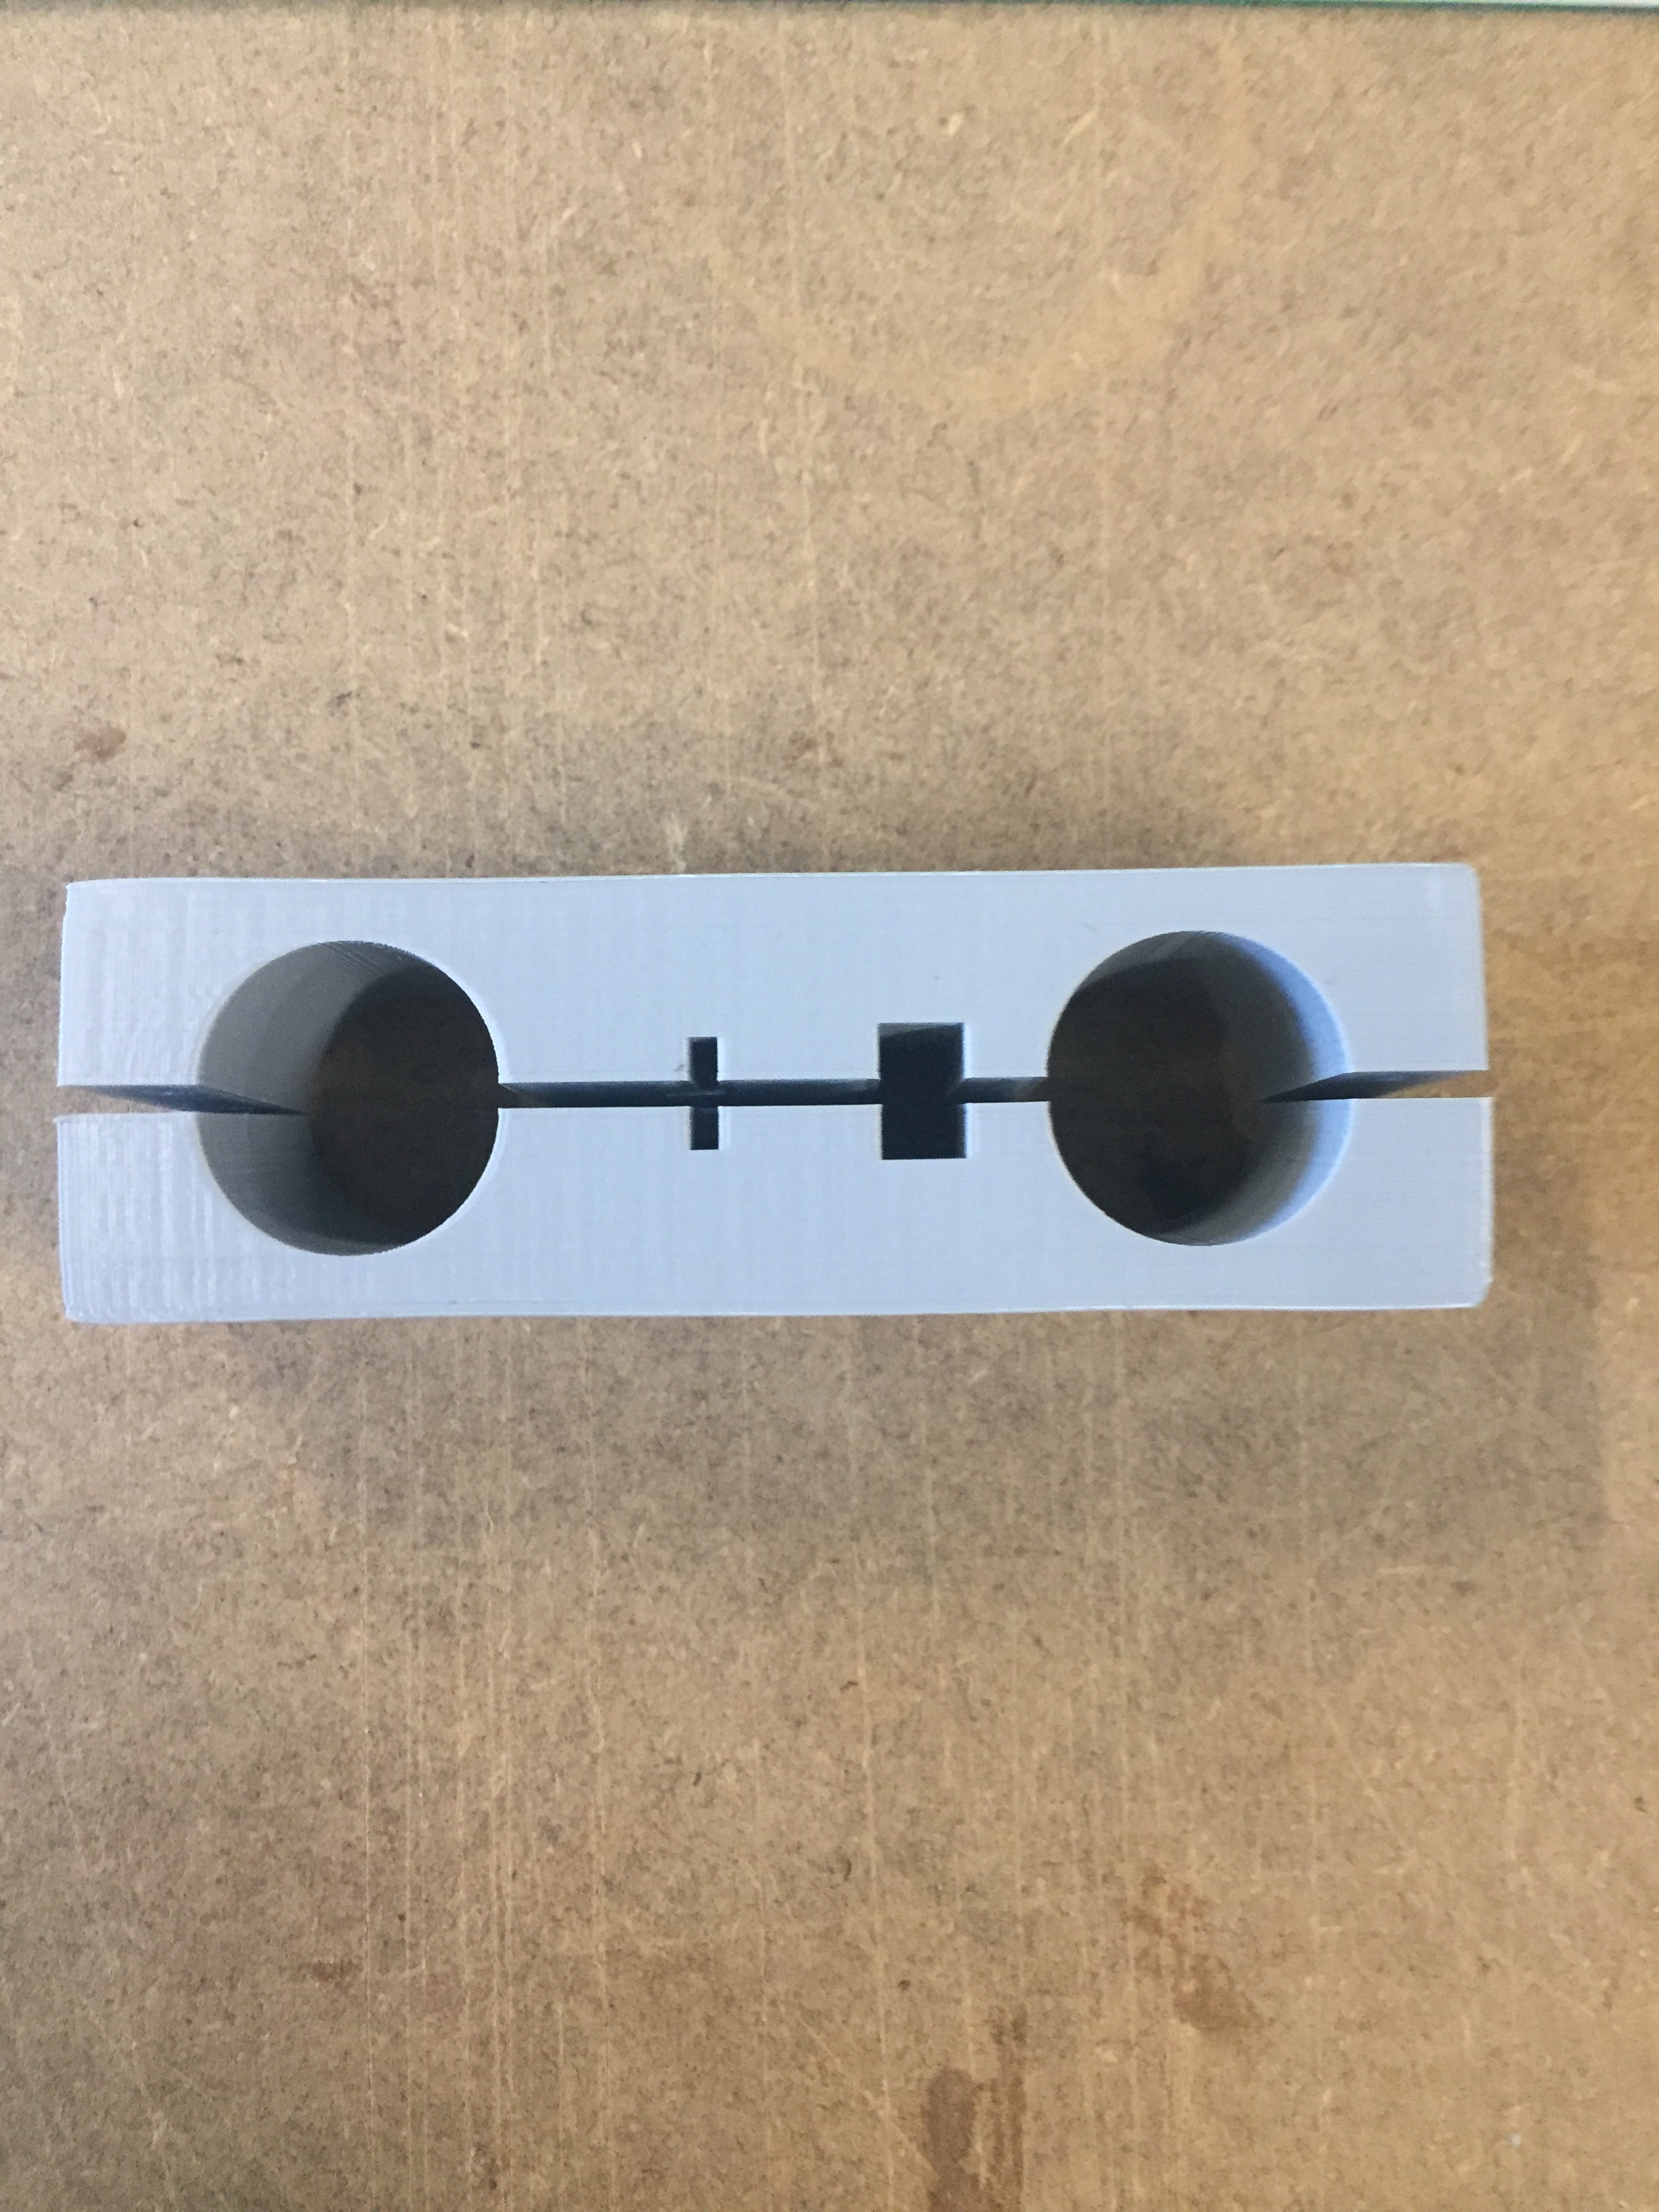
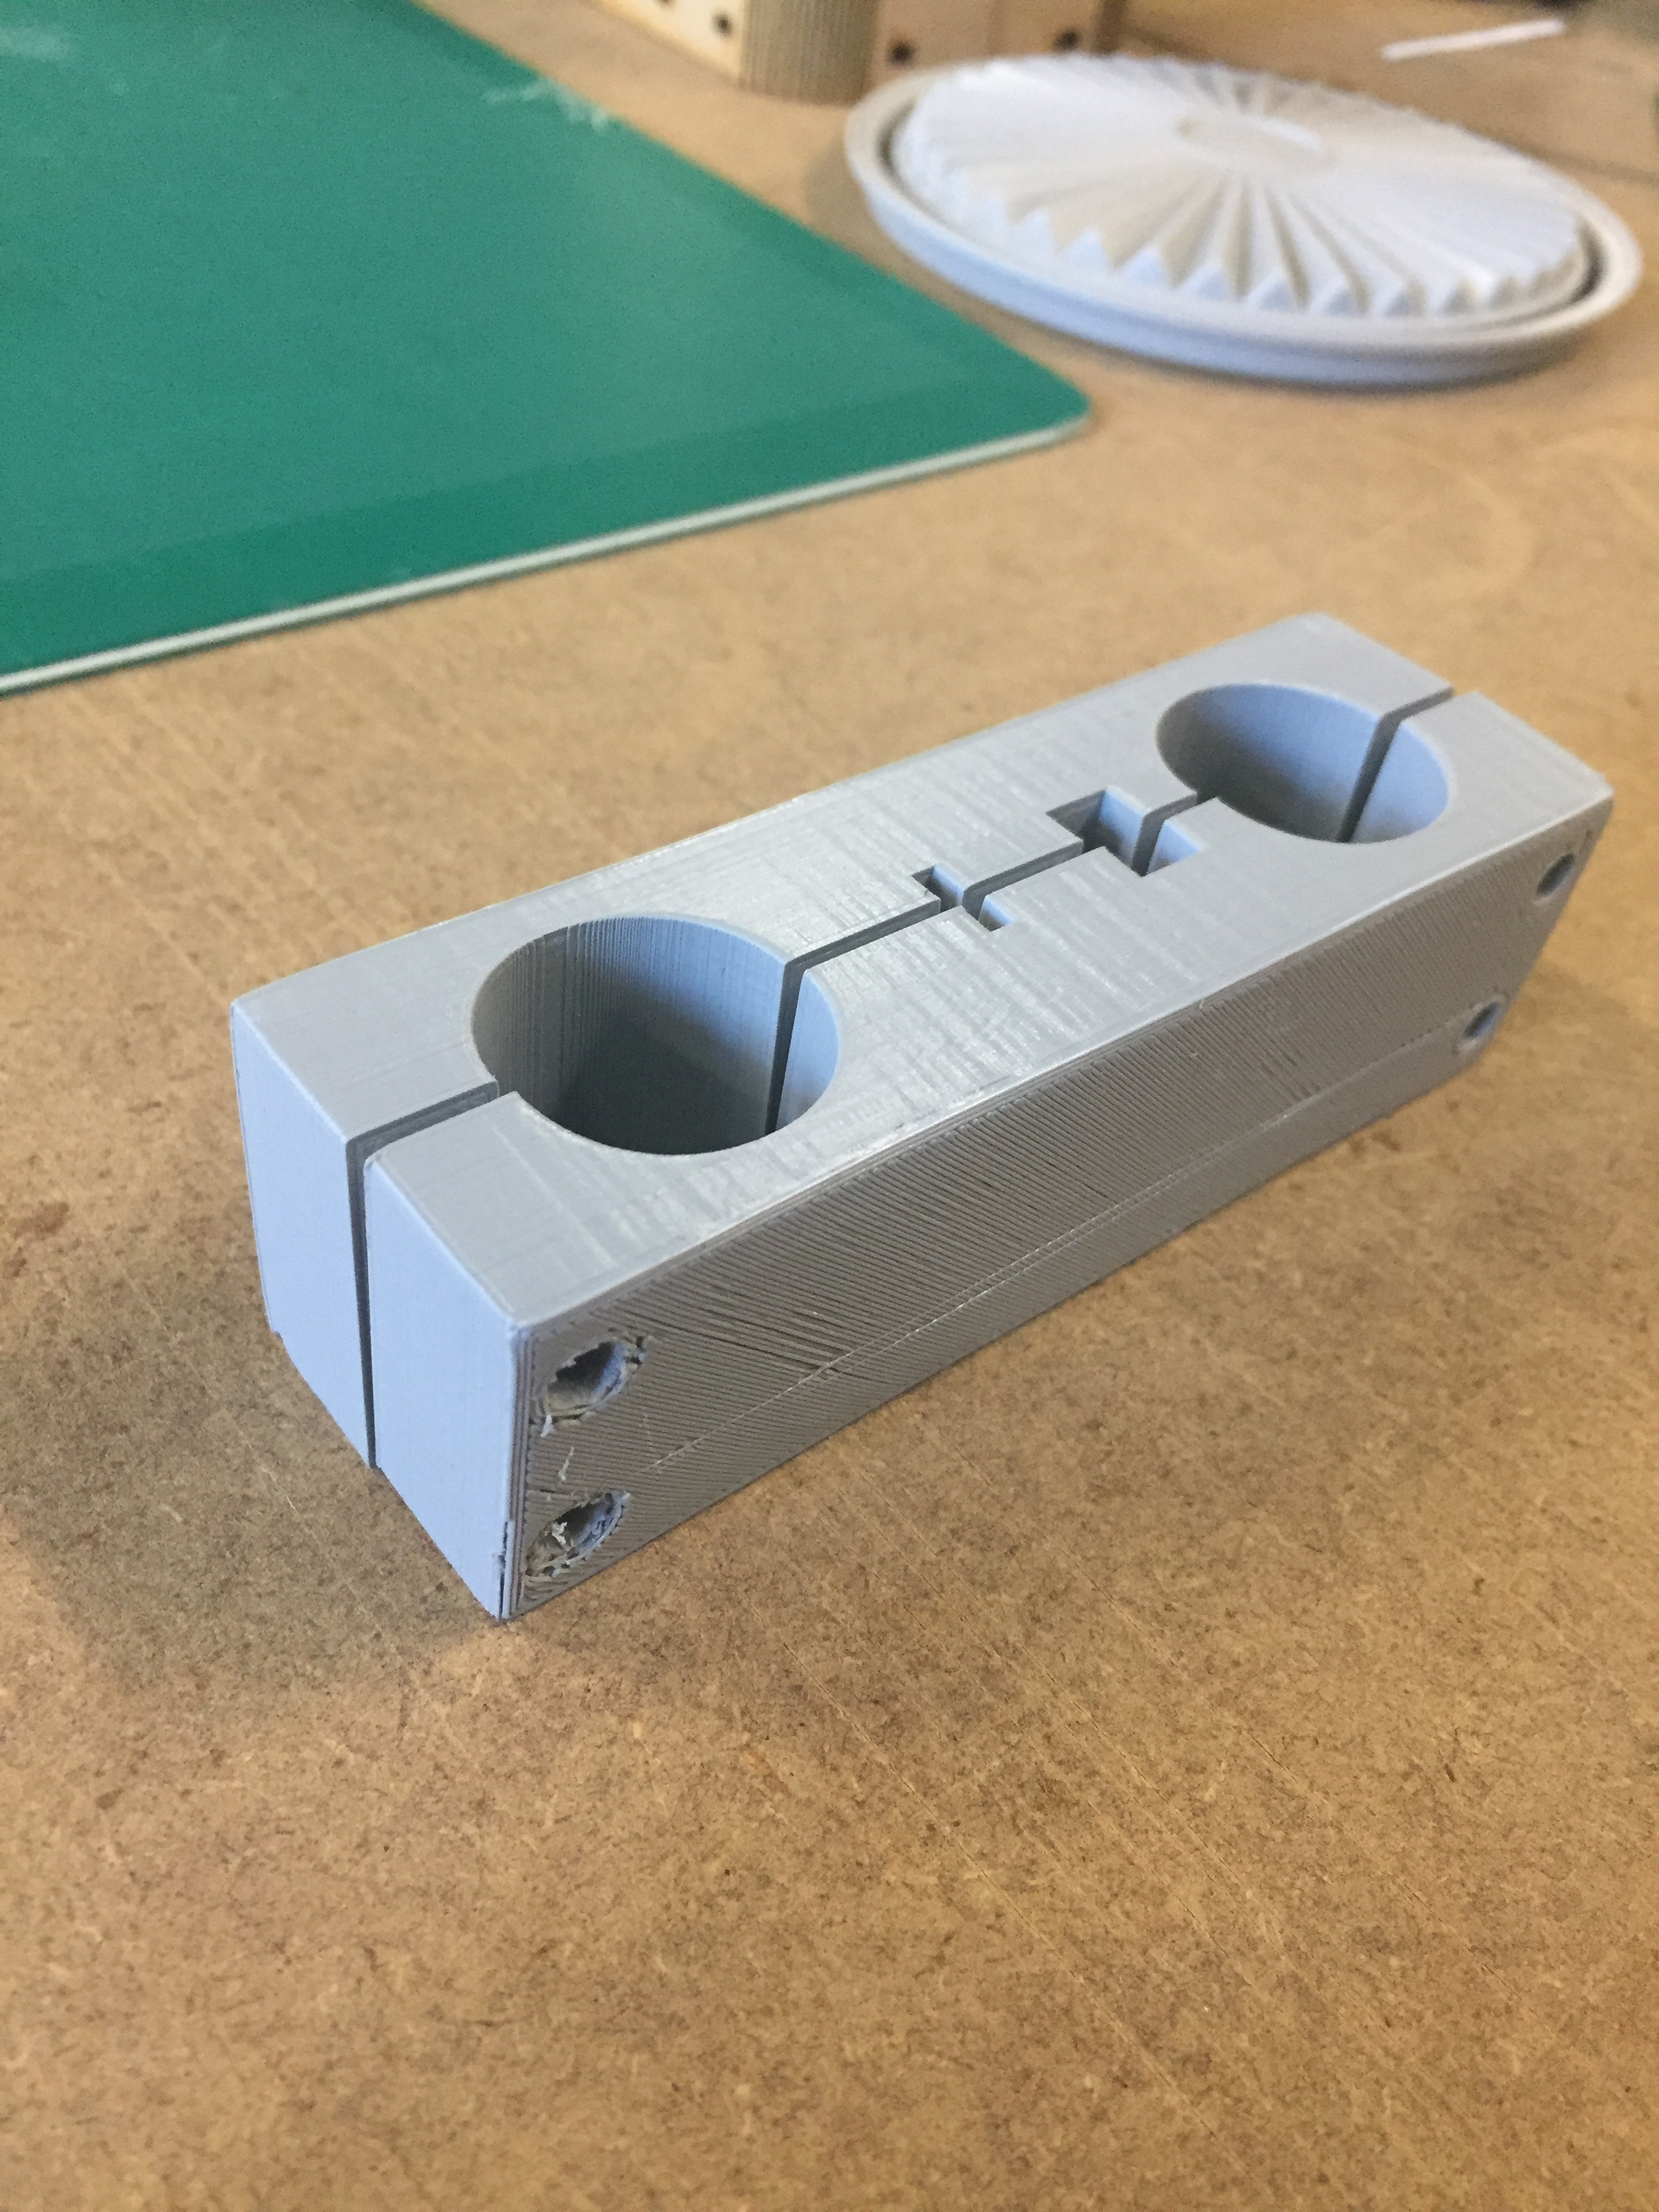
Together with Peter Dahl I was given the task to make the slider for the z-axis where the belt connected to the motor were going to be attached but also the mechanical part were the motor belt will go around in order to go back to the stepper motor.
We decided to 3D print the parts since we were certain that we could make some improvements to the z-axis slider because it had been assembled with strips in the original design. Instead we tried to design a small case that would be assembled with screws.
Underneath is the initial idea phase and the 3D models we made from the paper sketches.

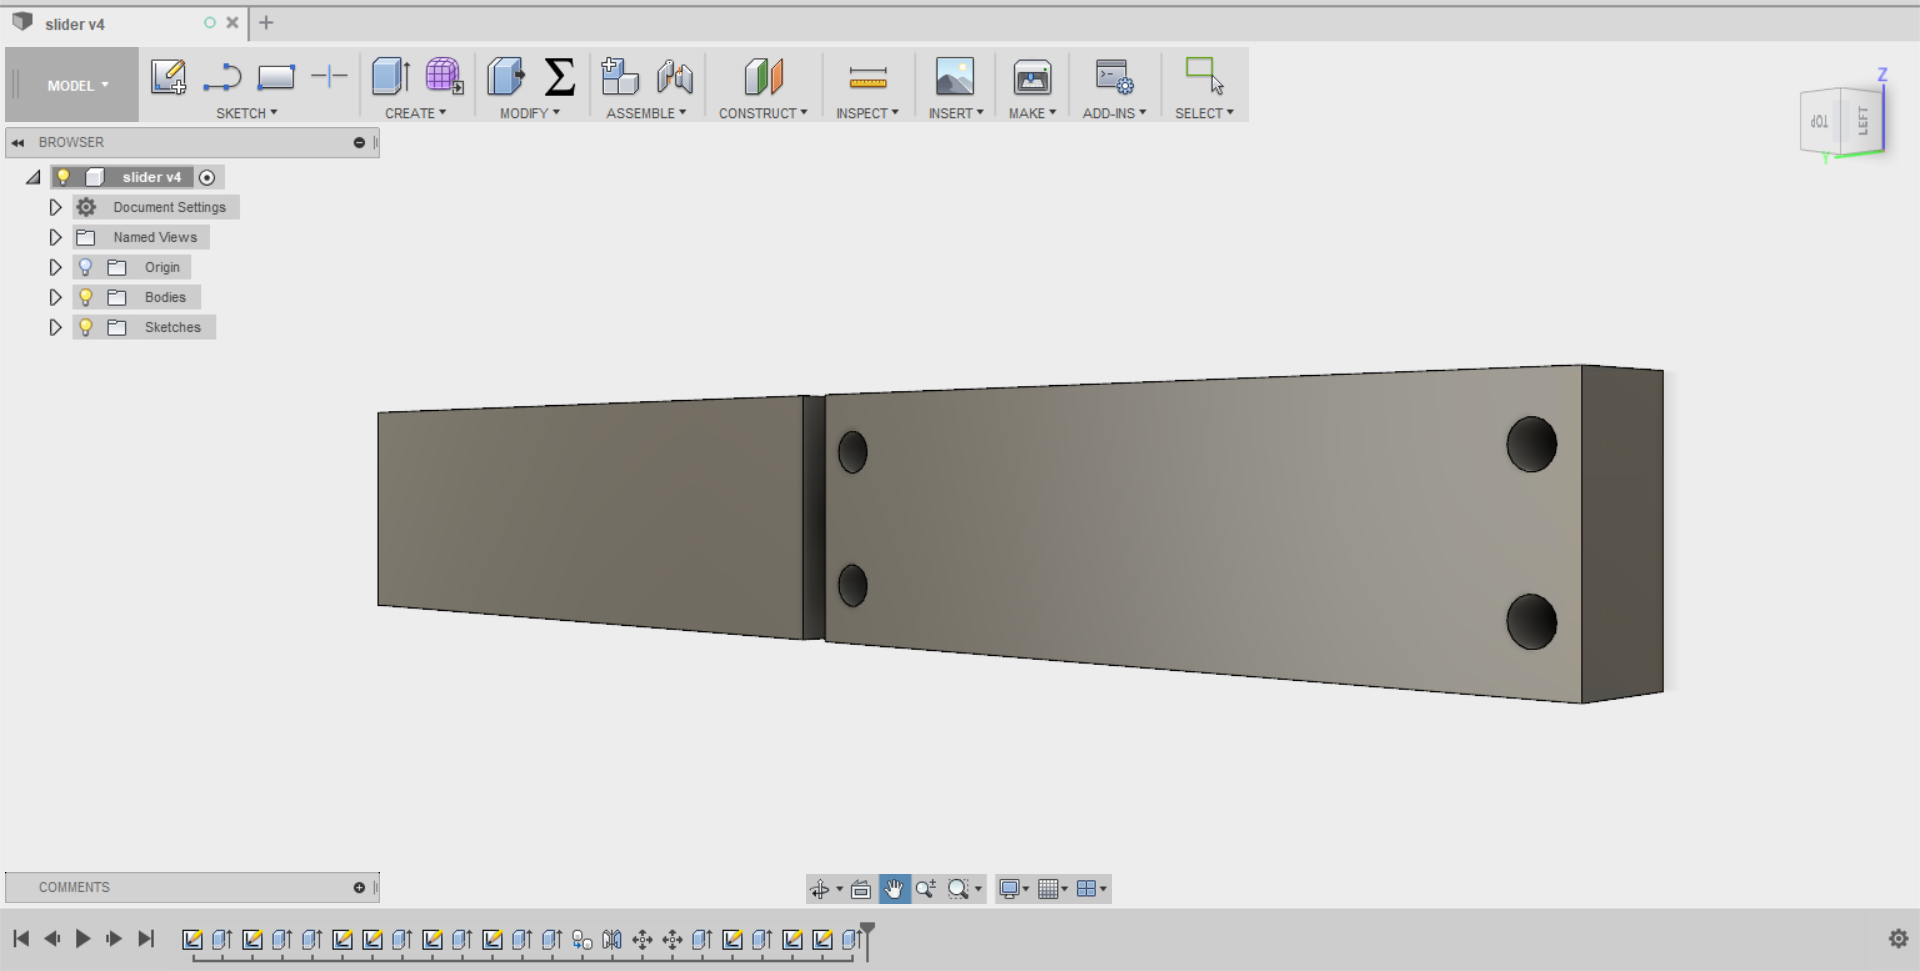
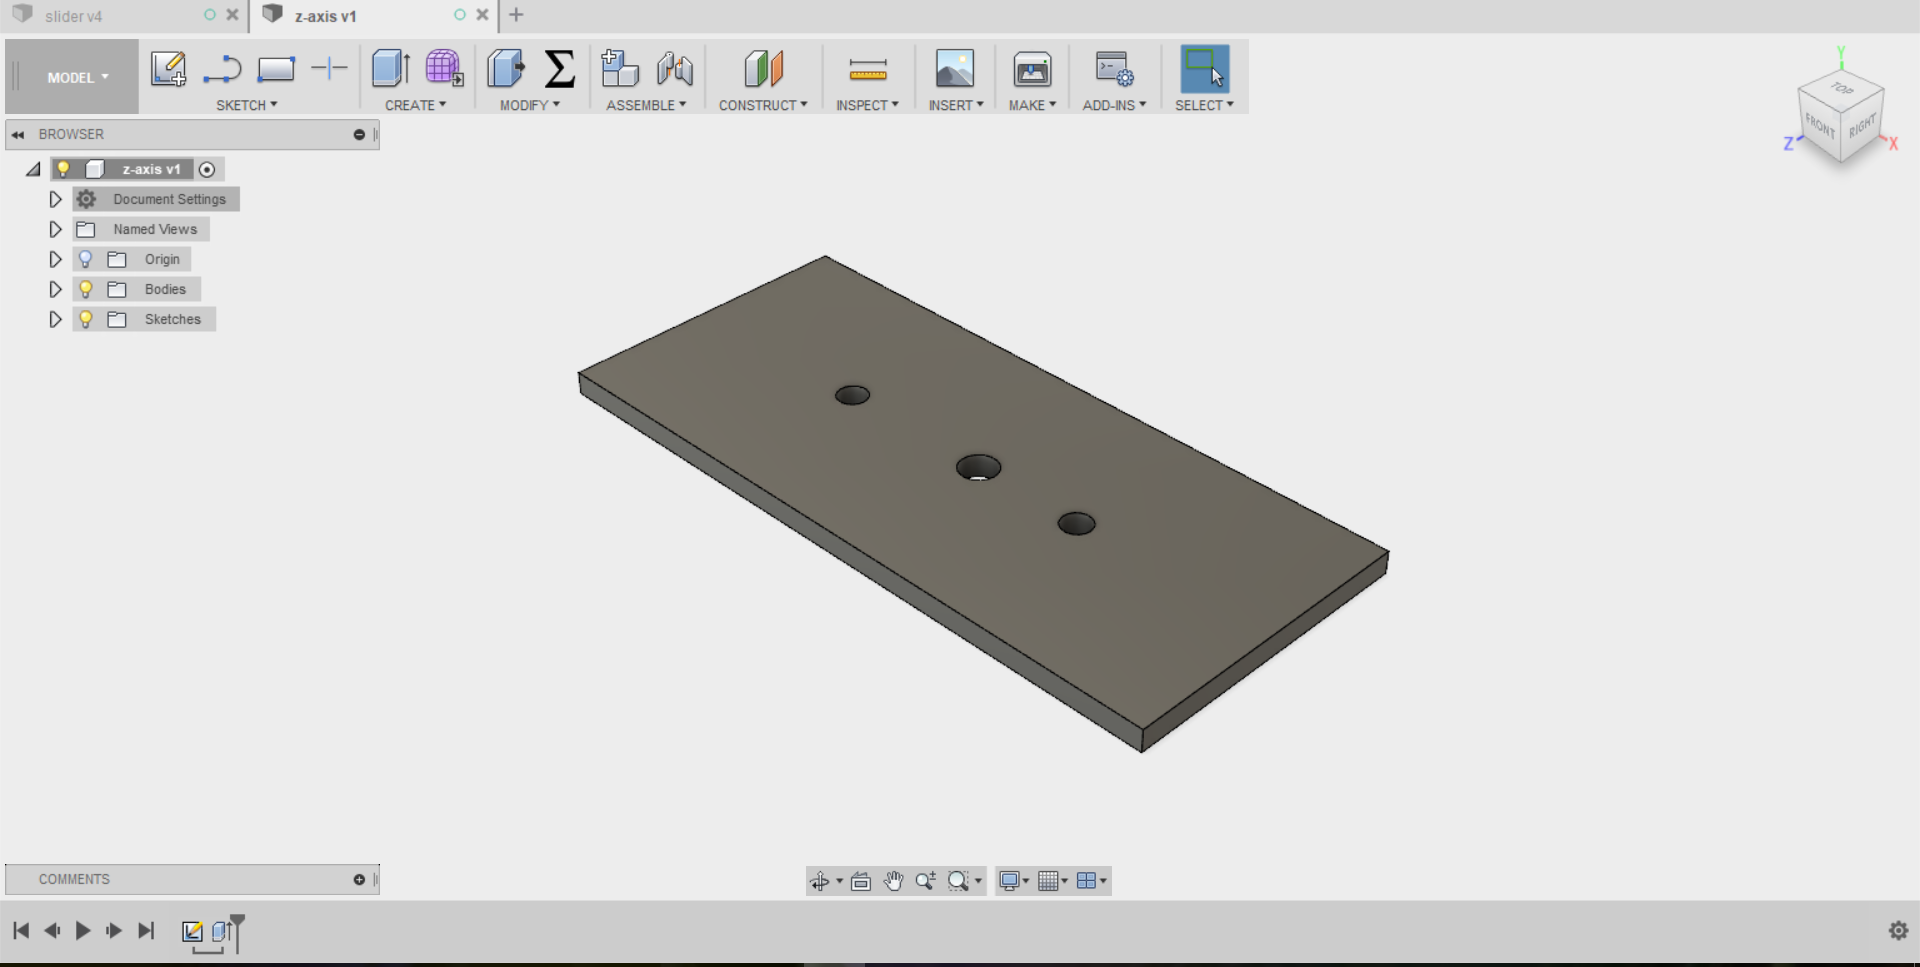
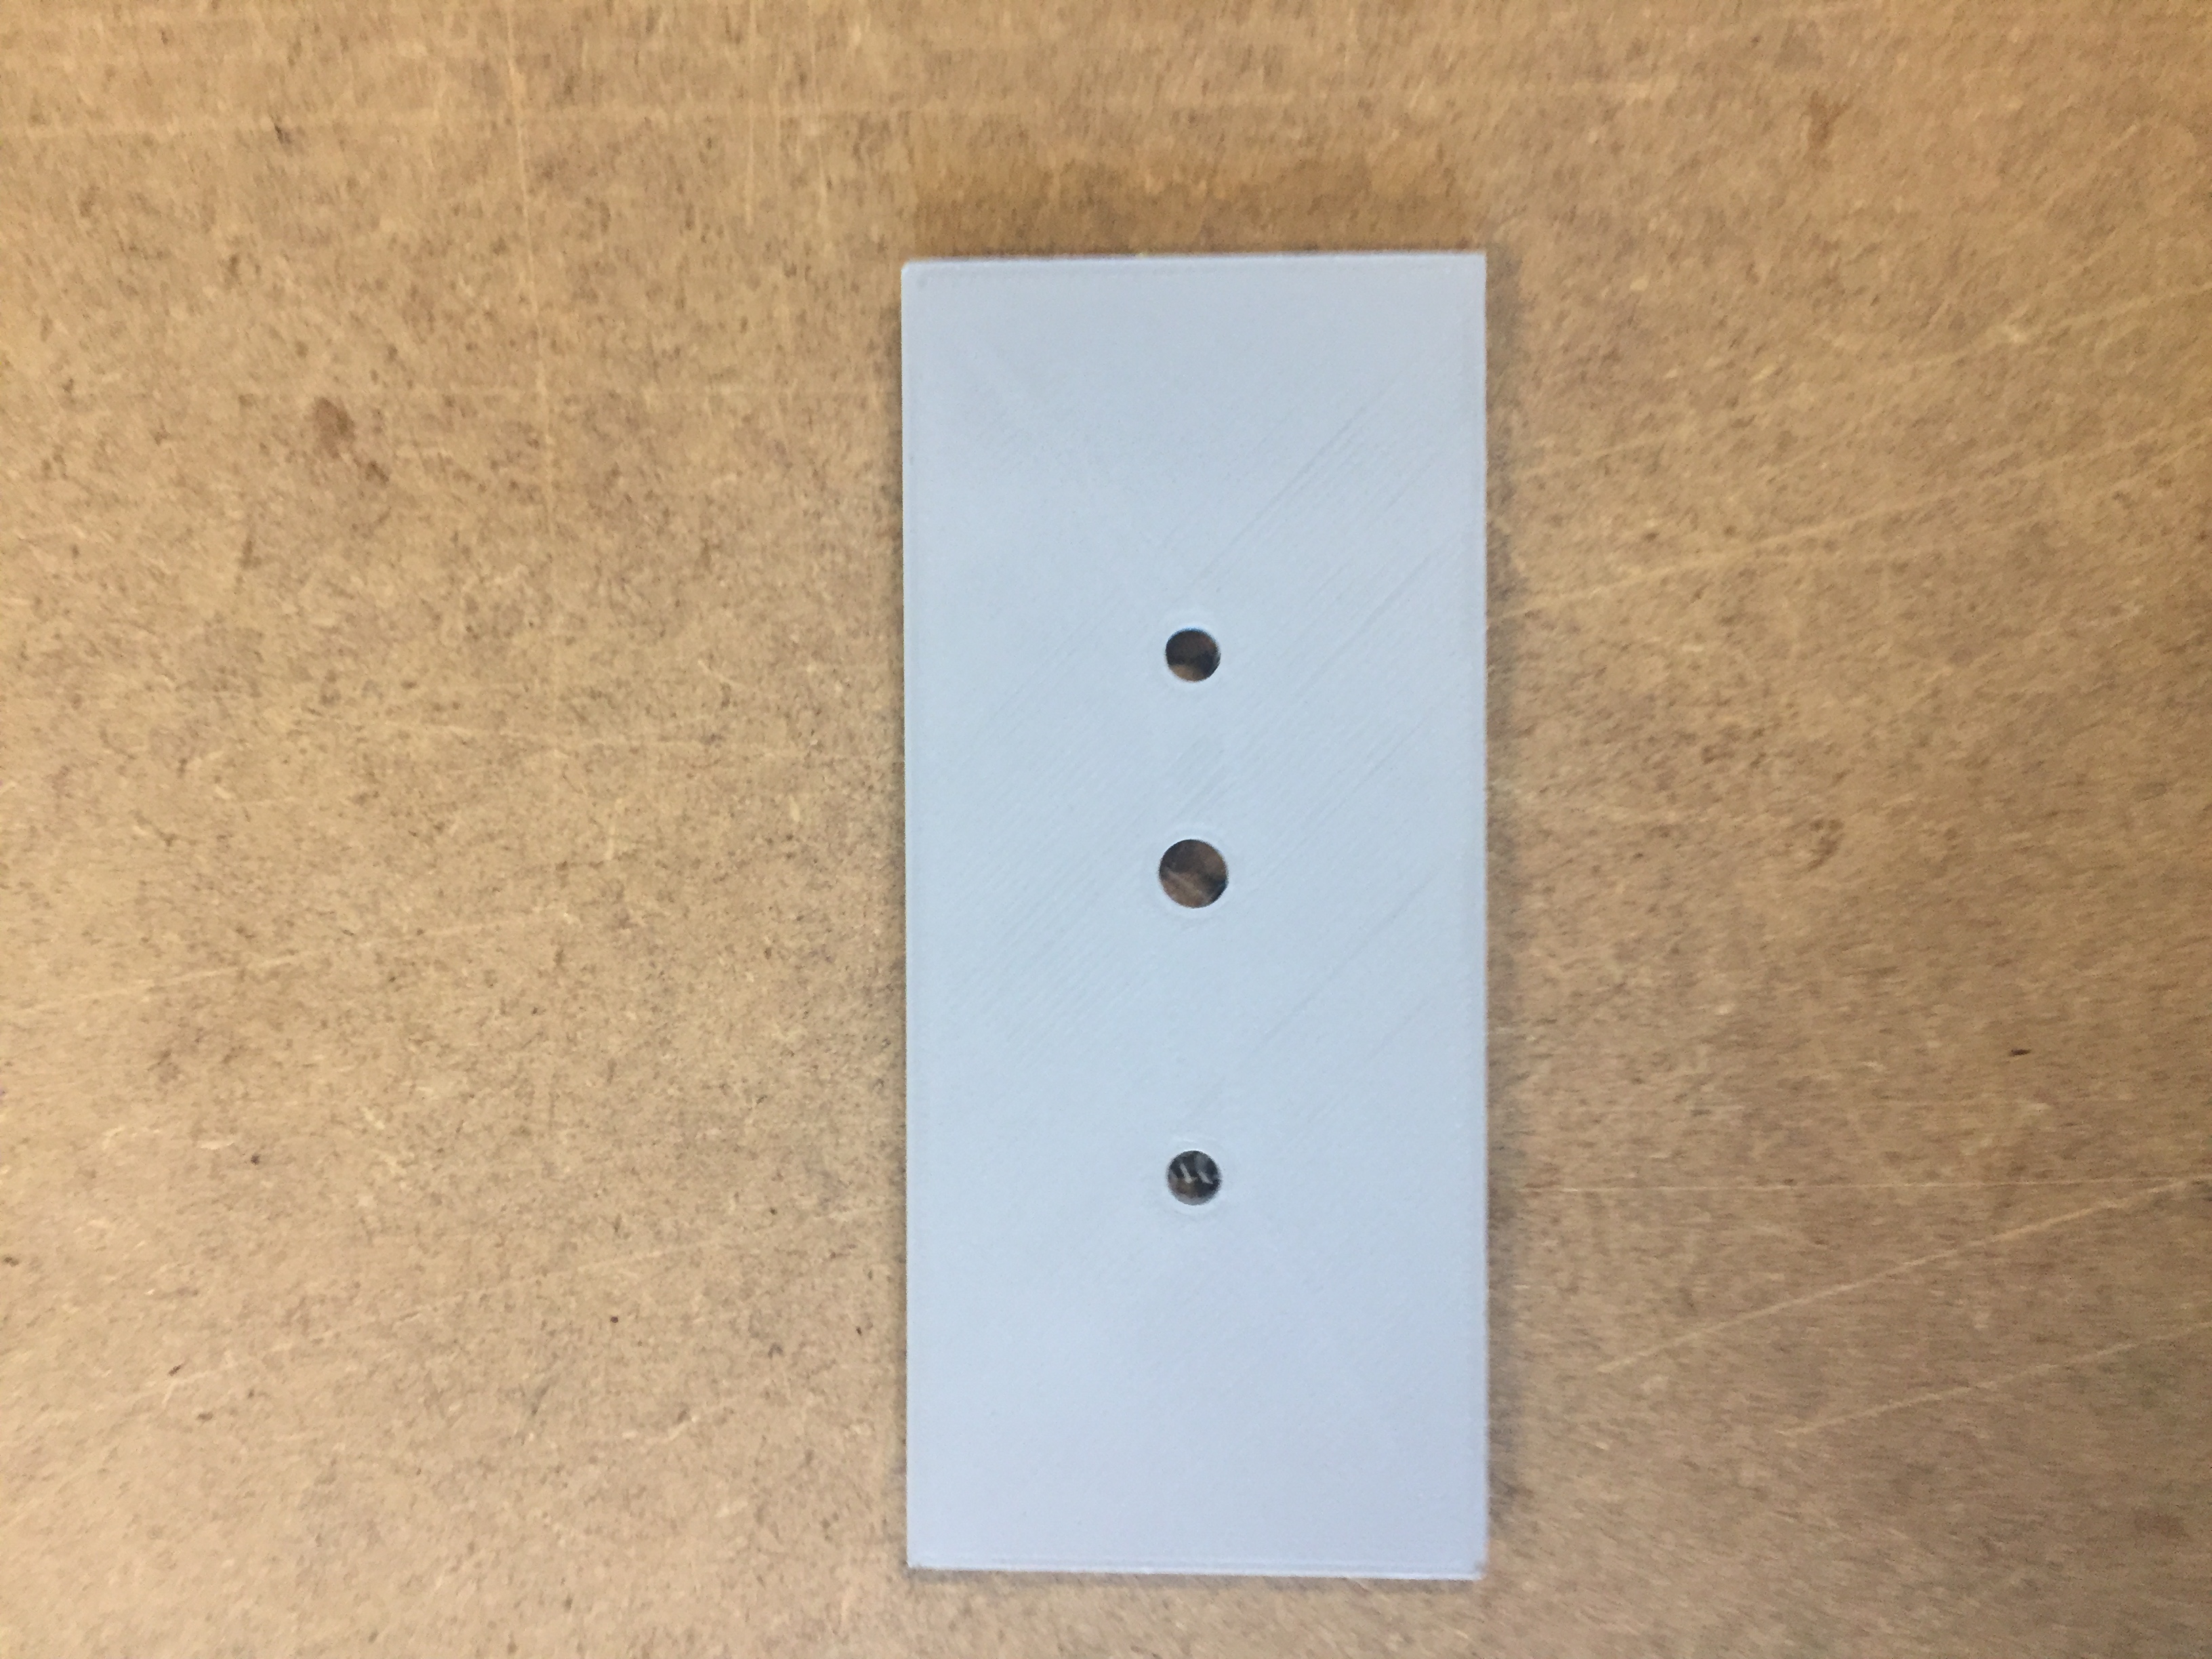
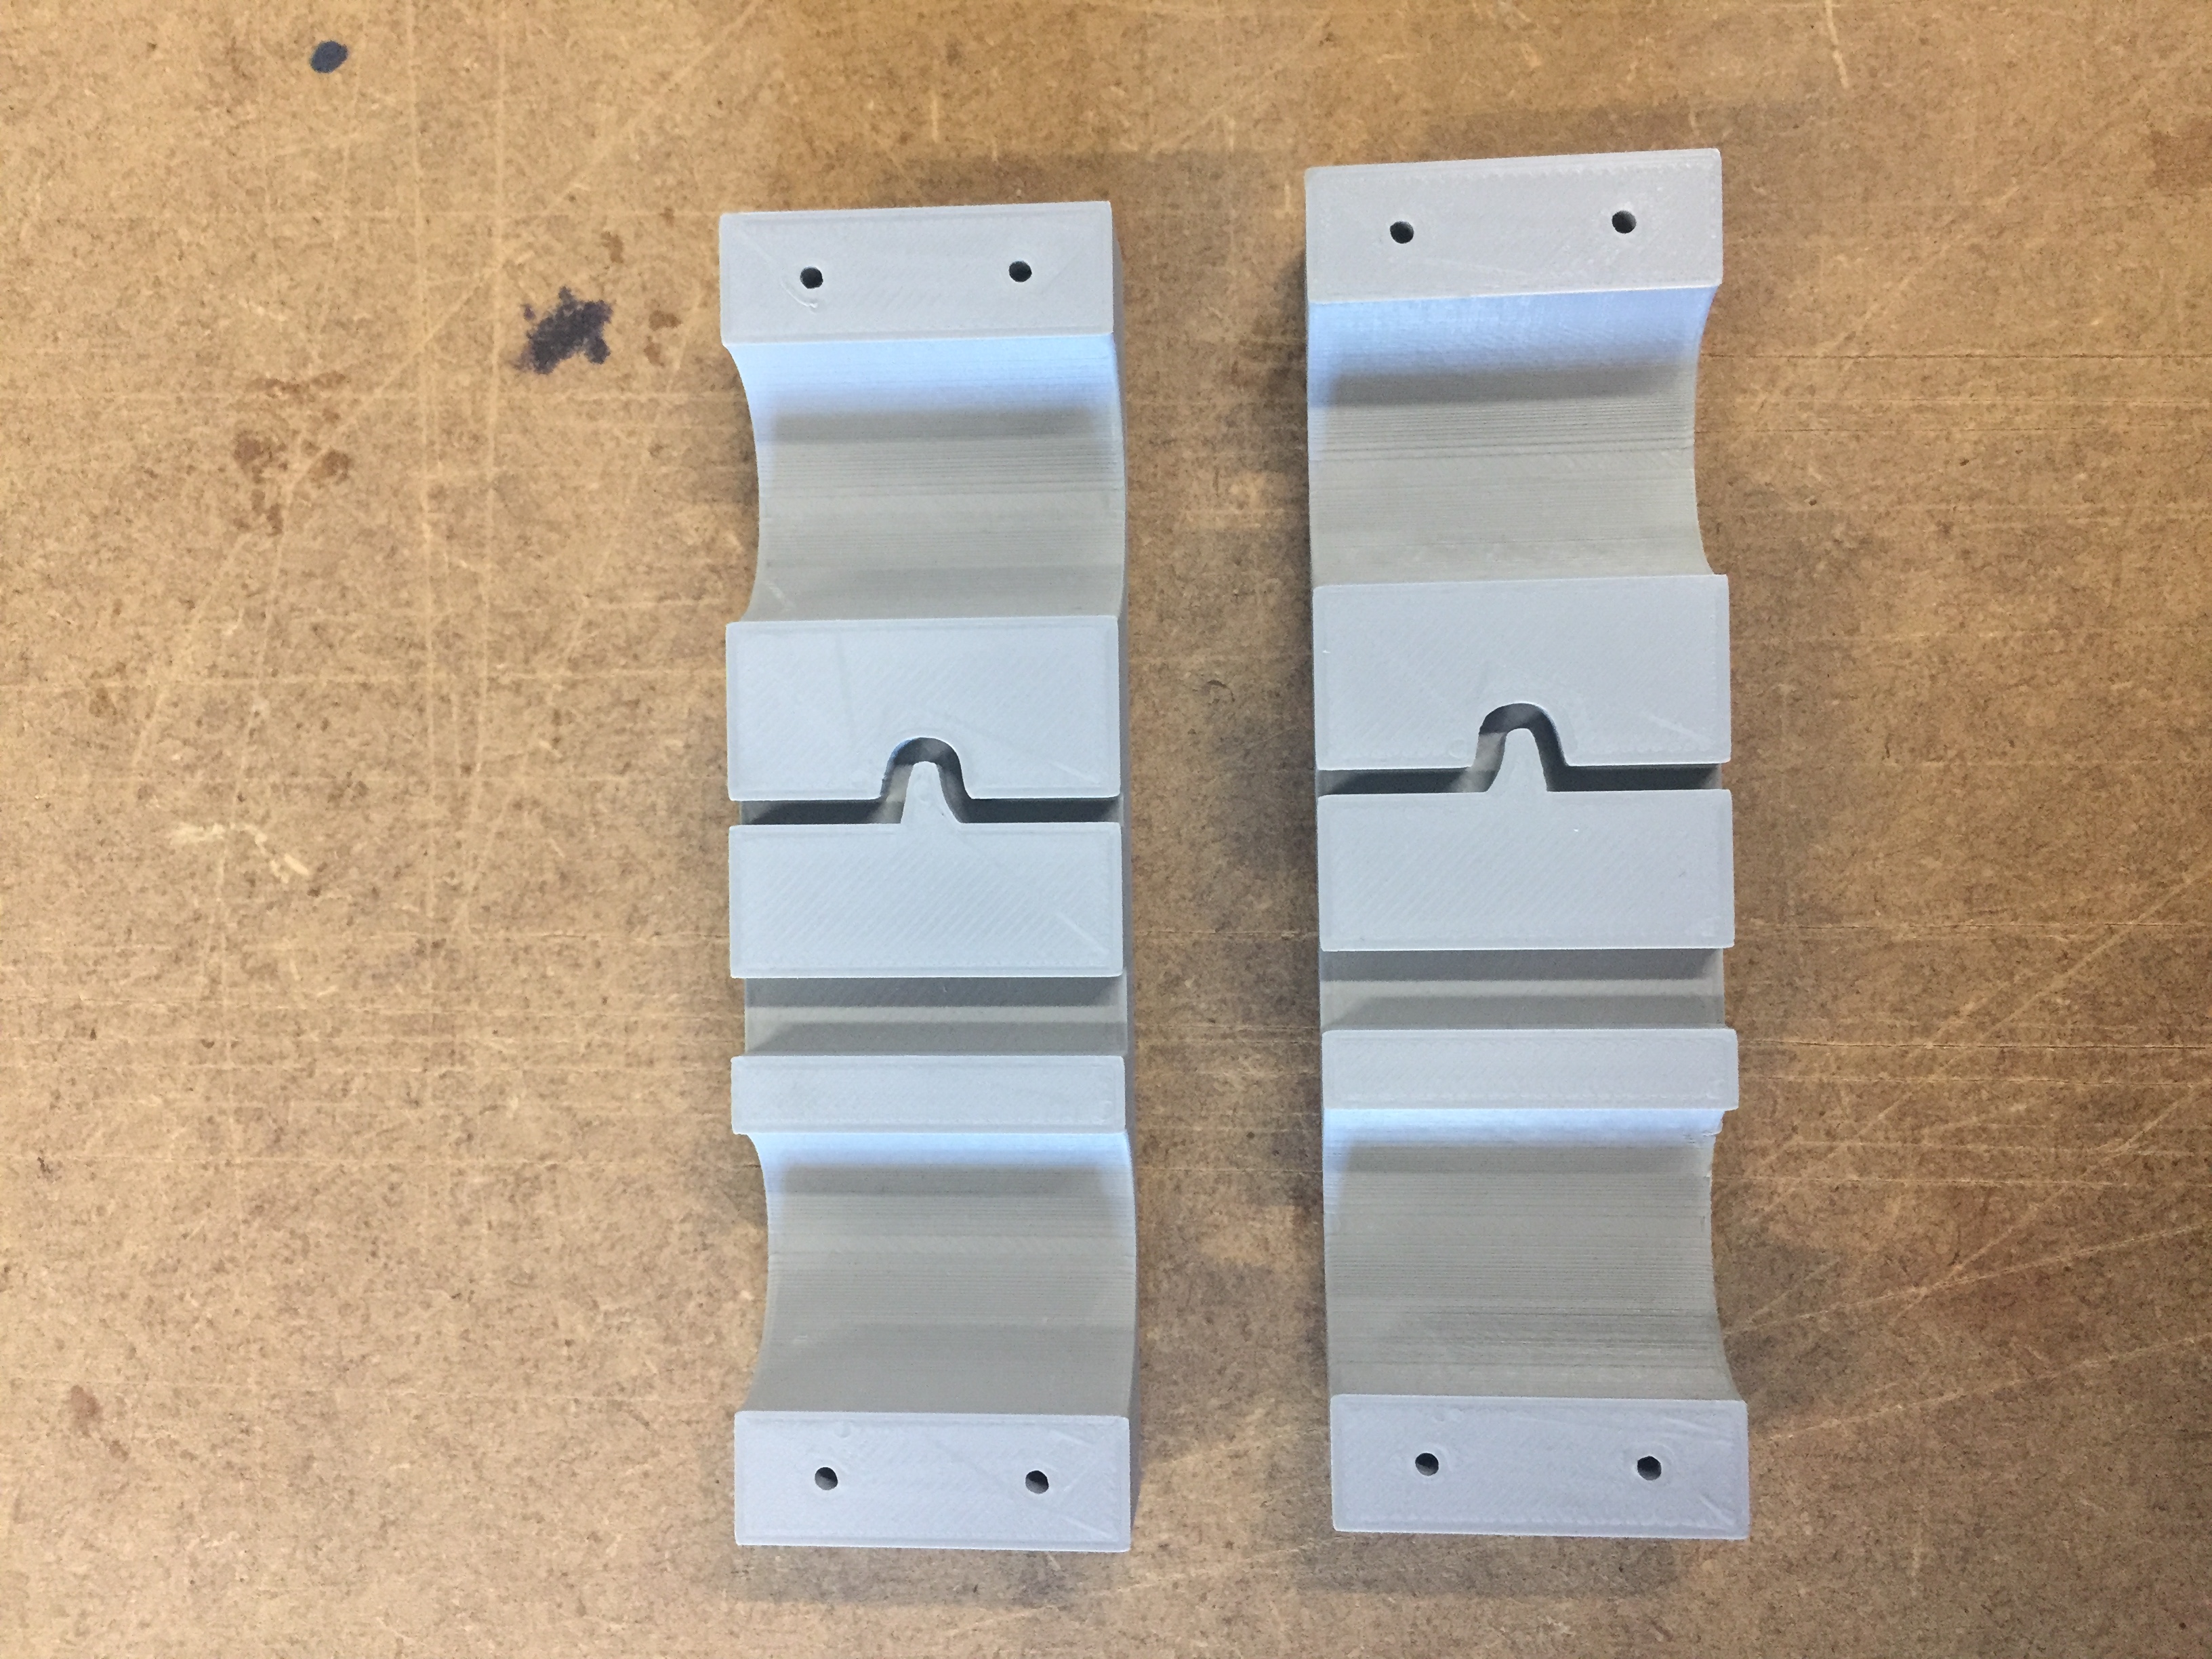
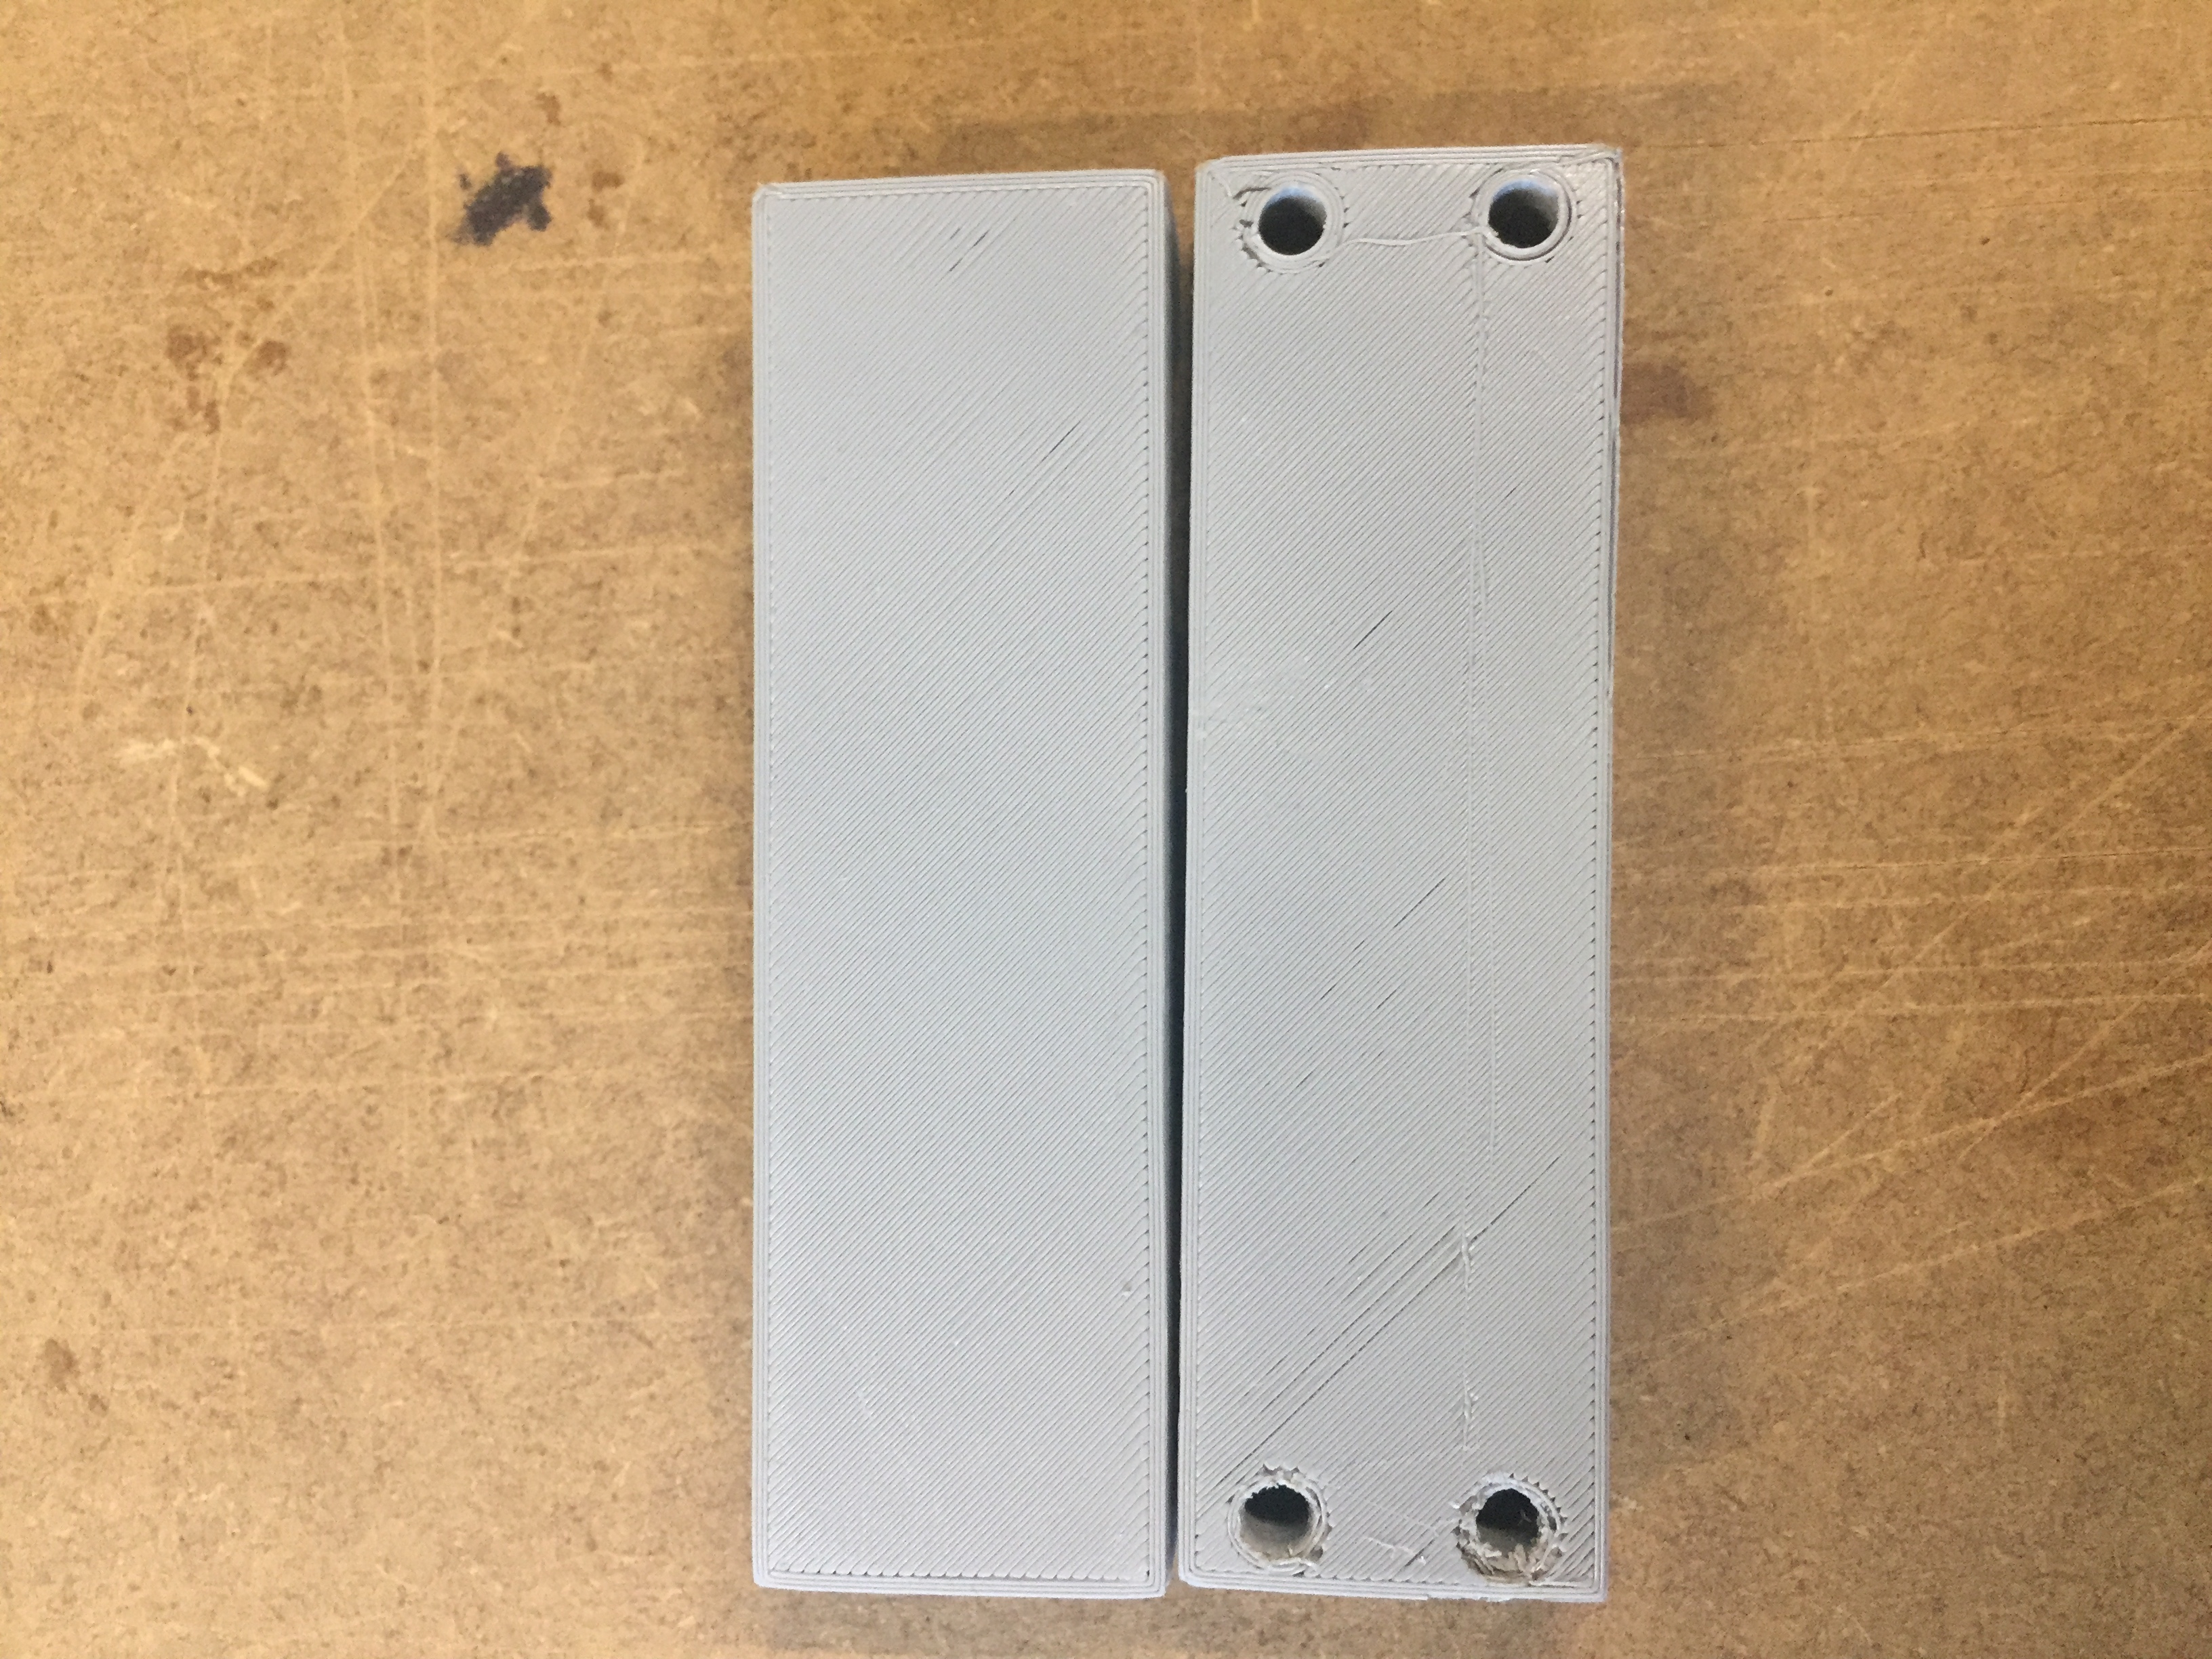
After 10 hours of printing time the result came out like this:
Instead of the 3D part for the motor belt, we decided lasercut them in Acrycil. Here is the parts on the actual 3D printer:
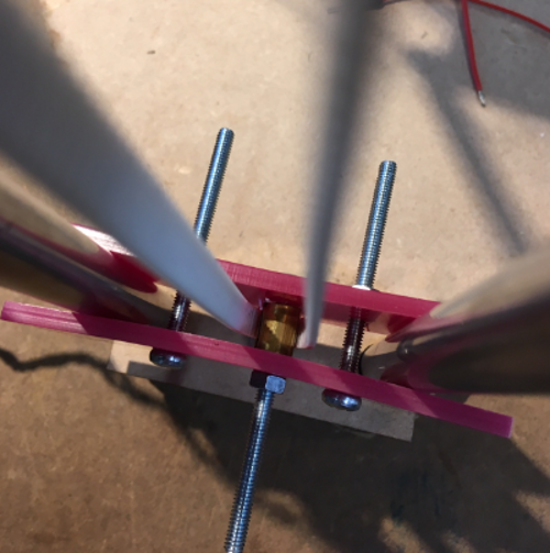
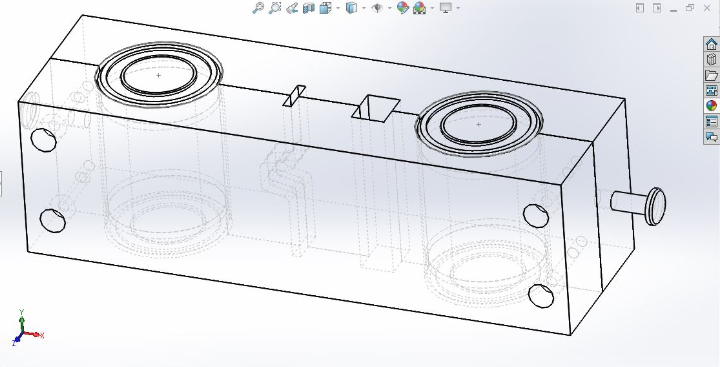
The part we made to slide up and down the z-axis is connected to the extruder, as seen in the above picture, with a bar that is fixed into the 3D print with a simple screw. The material was firm enough so that we could use a screwdriver. A fellow student Carina, was given the task to make a 3D model of the 3D printer, this includes a picture were the assembling screw is illustrated:
The Group Project
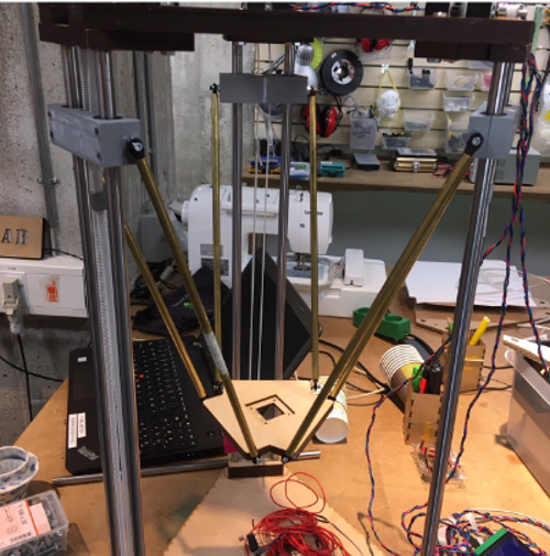
The general task division we had made in the beginning had worked out. By the time the week was over we did manage to make all the parts needed. But working in a five man group is difficult when not everybody share the same schedule and work ethic. Here is how the machine was moved by hand:
To see how the whole machine was assembled and used, go to the groups project page.