
Assignment
group assignment - actuate and automate your machine - document the group project and your individual contributionMachine Design



The language of machines.
To automate the catapult, i should connect a series of components and learn how to command the engines using codes that are catalogued such as “G.code”. G-code (also RS-274), which has many variants, is the common name for the most widely used numerical control (NC) programming language. It is used mainly in computer-aided manufacturing to control automated machine tools. G-code is sometimes called G programming language.The Components
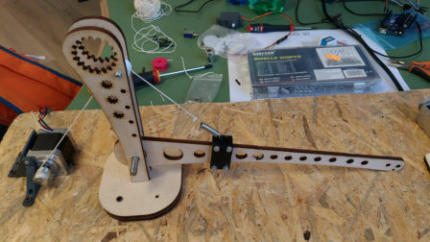
1 stepper motor 1 servo motor 1 spring 1 bolt and 5 nuts 1 paper clip 1 bearing 1 steel bar



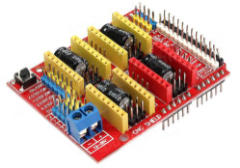
About Grbl and Arduino CNC Shield
Grbl is a free, open source, high performance software for controlling the motion of machines that move, that make things, or that make things move, and
will run on a straight Arduino. Grbl is a GCode Interpreter and works very well with cnc shield for arduino.

G-Code commands
G0 command moves the machine at maximum travel speed to whatever coordinates follow G0. The machine will move in a coordinated fashion, and both axes complete their travel at the same time. G1 command is similar to the previous one but tells the machine to move at a specified rate called feed rate (F) G2 command is related to the clockwise motion G3 command specifies the counterclockwise motion between two points G20 and G20 commands determine the G-Code units: inches or millimeters (G20= inches / G21= millimeters) G28 command is the same writtes as X0, Y0, Z0. It means that the command sends the machine to its home position G90 and G91 commands are respectively the absolute mode and the incremental mode. The first one causes units to be interpreted as absolute cordinates. The second one, will move the machine the specified number of units from its current point+
+
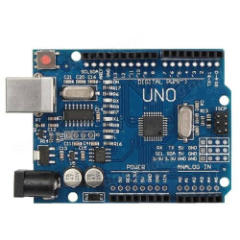
Arduino 1
Grbl interpreter
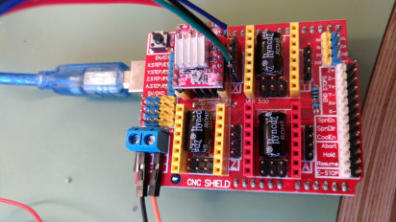
Cnc Shield
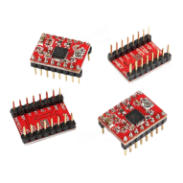
Motor Driver
All components assembled together

GRBL-Arduino-Library
THIS LIBRARY IS KEPT FOR REFERENCE. THE OFFICIAL LIBRARY IS HOSTED AT : https://github.com/gnea/grbl Arduino Library for GRBL - This way you can use the Arduino IDE to upload GRBL to your Arduino Board. How to install it: Down load the library from GitHub : https://github.com/Protoneer/GRBL-Arduino-Library/archive/master.zip Unzip the library and copy the main folder into the “Libraries” folder in the folder you installed your Arduino software. Eg. C:\arduino- 1.0.3\libraries\ Rename the folder to “GRBL”. (This will stop the Arduino IDE from complaining about the long folder name) Open up the Arduino IDE. Click on the following menu : File -> Examples – > GRBL (or what ever you renamed the folder to) -> ArduinoUno Upload the sketch to your Arduino board.
Connect all components
I enjoyed assembling all the components also because I could understand problems and find solutions. For example I balanced the pole in a better way, raising the center of gravity and inserting a large marble as a counterweight. For the power supply I used a power supply that works at 12v and I connected it to the shield card, while the arduino one was connected to the usb port of the computer. At this stage, I was ready to go to the test phase with the g-code through g-code sender.G-code test
At this point, I assembled all the components connected the stepper motor using a rope tied to the spring. Thanks to the g-code sender software I could test the movement of the motor connected to the pins of the cnc-shield mounted above the arduino. Finally I could find the right sequence of commands: G91 G1 X1.5 F20 As you can see in the video below, (Video Test) the mechanism works very well.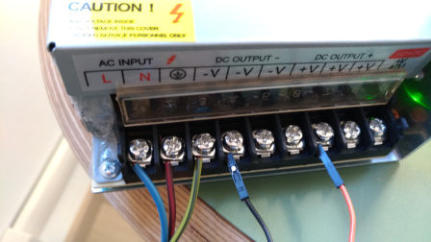

G-code Sender software
Video Test - Click on Play Button
Usefull links:
Grbl:https://github.com/grbl/grbl Arduino Ide:https://www.arduino.cc/en/Main/Software Universal G-code Sender:https://www.sourcerabbit.com/GCode-Sender/power supply,computer,motor, all connected
to move my lever I only use one of driver: the “x”
