Week5: 3D scanning and printing
Individual assignment: design and 3D print an object that could not be made subtractively; 3D scan an object (and optionally print it)
Scan an object
The assignment of the week was to scan an object and make it a 3d image. In our lab the scanner is broken so we took a series of photos to an object and using the program Agisoft Photo Scan to make the images into a 3d model. I chose this statue found in the lab.

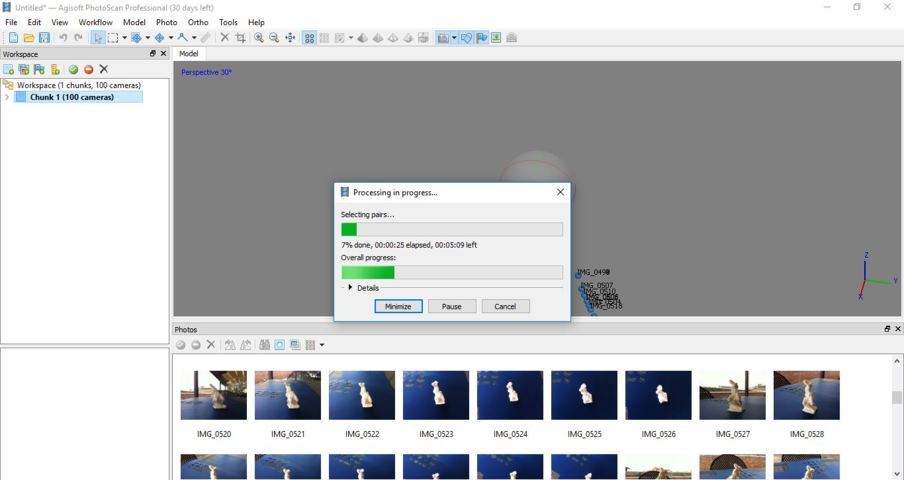
After downloading the program Agisoft PhotoScan I read the manual to understand how the program works. Then I looked this tutorial . I did a lot of photos to my subject and I uploaded them by add photos ; this create a chunk, then I clicked upon it the right mouse's button--> process-->align photos-->medium, so I waited the end of the process

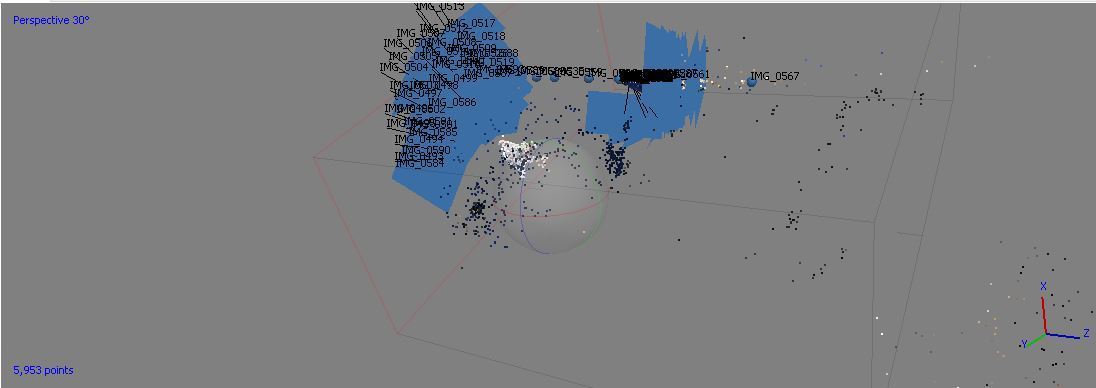
This was the first result. As you can see isn't quite satisfactory
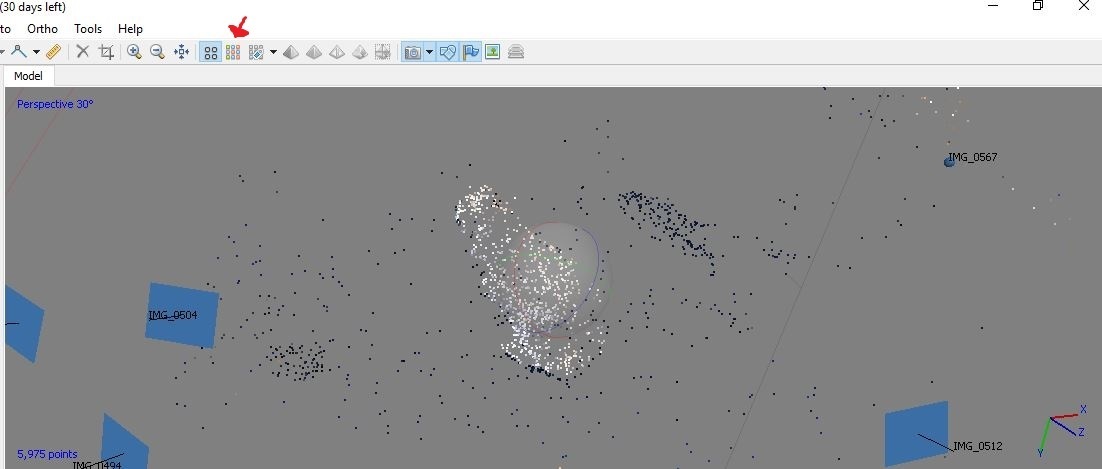
I aligned the pictures again, this time with high accuracy and this time it seems that the result will be good

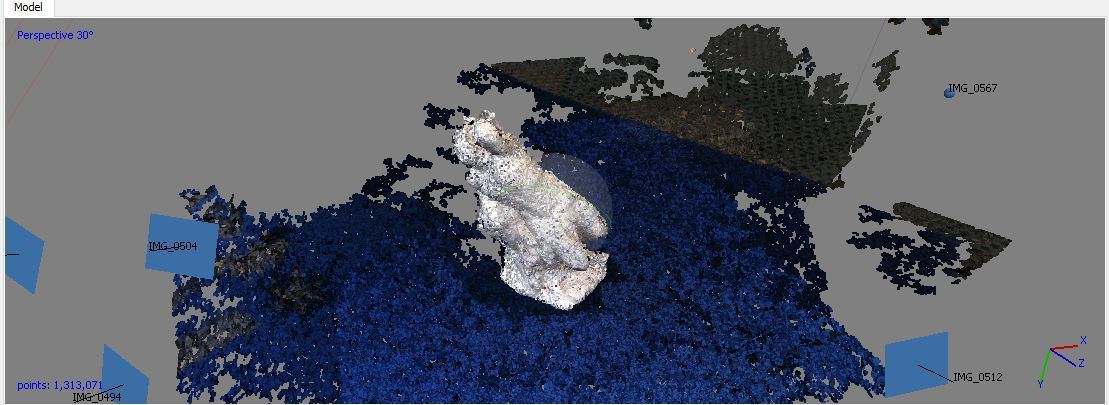
PhotoScan allows to generate and visualize a dense point cloud model. Based on the estimated camera positions the program calculates depth information for each camera to be combined into a single dense point cloud. So i did process--> build dense cloud and this was the result, so many dots and a figure not quite defined, this is because we are in the display mode point cloud, to see the dense point cloud we have to click on this button.
Based on the point cloud information, PhotoScan can reconstruct polygonal model - mesh, so I did these steps.


Waiting...

At this point, to get an idea of what will be the final model, you have to go in shaded display mode


Now lastly we must create the texture of the model thanks to newly created mesh, by following these steps


To see the results click the textured button

And this is the result. For me it is quite satisfactory. I'd like to use this tool to make more accurate scans in the future

Modelling

Printing

These are the parameters i used for my first 3D printing. I chose a low infill because the print would have been faster, since it was a test. I set the parameters to get a normal quality, so I didn't change the speed but I added the 5 mm brim to better print and detach the object from the plate when it will be printed.


And this is the result

I must say that I expected a more precise result, in some places the press did not come smooth. Probably it depends on the temperature used or the printing speed, I will find out with the second print.


After setting the parameters I saved the print files on the SD and I started printing


I also used the 3d printer for some part of my final project -> page