Practice & Principles - Project Management
Things to do:
2) Build a personal site describing you and your final project
3) Upload it to the class archive, working through a Git Tutorial
I started my FabAcademy week with a useful lesson about GIT, an open source distributed version control system designed to handle everything from small to very large projects with speed and efficiency. I've never heard about it before, but it's great! In other words, this versioning system allows us to create a parallel repository: the first one is local (in our personal computer) and the second one is online (in our private area on GitLab). First of all, I downloaded GitBash (for Windows in my case) that runs commands once you type them and press "ENTER" on your keyboard. It's very easy explaining its working principles, but the real use and commands are not taken for granted. Honestly, I'm not very practical in using it, but I will try to summarize the most used commands:
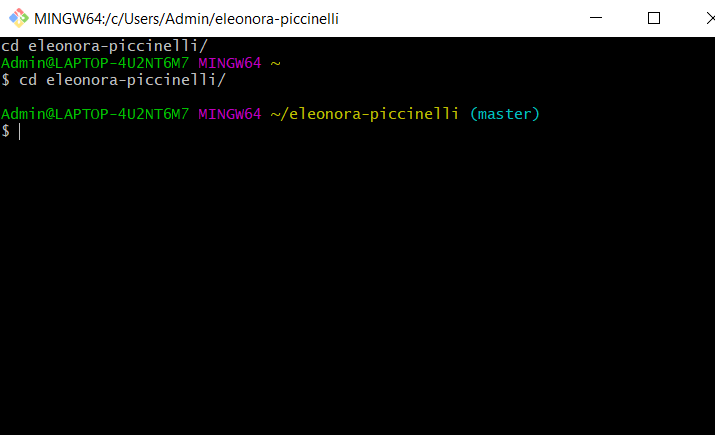
cd your-name/ --> (I'm referring to the name of your local repository.) This is the main thing, because, before starting push/pull, you have to identify the folder you're in. Only doing this, the terminal is able to understand which is the repository on your personal computer. Consequently, it considers your folder as the starting point to transfer all the files and synchronize them on the online platform.
Git status --> allows us to verify if the files are up to date. This is the first command to run before any others when files might be synchronized.
Git pull --> allows us to pull the files from the server to the local computer.
Git add . --> allows us to submit all the files to transfer them from a local computer to a certain branch of the server.
Git commit -m (and 'add here your message/action') --> allows us to confirm the files submitted for transfer. It's really important to write a message that reminds our actions!
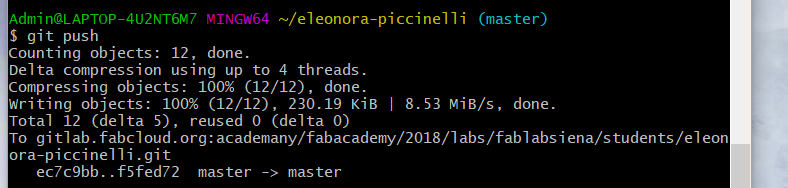
Git push --> pushes the files on the selected branch of the server. In other words, with these option, you simply sync your files (mirror folder is done!)
Here, you can find some screenshoot about the passages I'm getting used to learn:
After the login, I did the git status and the terminal found out there were some edited files. In fact, they were written in red.

I did the git add . to update all the new files and that's the reason why the red written became green.

Finally, I did the git push to synchronize my local folder with the online one!
The system I've just explained, needs a private SSH Key. What does it means? Everyone can clone files and project, creating a big storage of data having a mirror folder! So, everyone must create this kind of key going to his/her personal GitLab account. To generate a new SSH Key you might click on the option with the orange label that compares at the top of the website and after your click on GENERATE AN SSH KEY", it will appear the written below:
ssh-keygen -t rsa
$ ssh-keygen
 Generating public/private rsa key pair.
Enter file in which to save the key (/Users/eleonora-piccinelli/.ssh/id_rsa):
 Enter passphrase (empty for no passphrase):
 Enter same passphrase again:
 Your identification has been saved in /Users/eleonora-piccinelli/.ssh/id_rsa.
 Your public key has been saved in /Users/eleonora-piccinelli/.ssh/id_rsa.pub.
 The key fingerprint is: "string of numbers" (you will see a code here and then your email address)
By now, note down the path of the public key and paste it (CTRL+V) in the text box of GitLab that requires the code. Then, click on "ADD KEY".
The key I've just mentioned, it's an essential element to transfer all the files from the local repository to the online one. Practically, it can be seen as a bridge that connect two parts of a city divided by a river.
So, getting to the point, I dowloaded Git for Windows, I signed up on GitLab platform, and I created my SSH Key.
1) What about my final project?
I'm really happy to collaborate with Assist Digital.
The company works through many different fields and I am going to deal with Connected Cars area. I would like to realize something related to children safety. If you to know more about it, please click on the final project section!
2) Build a personal site
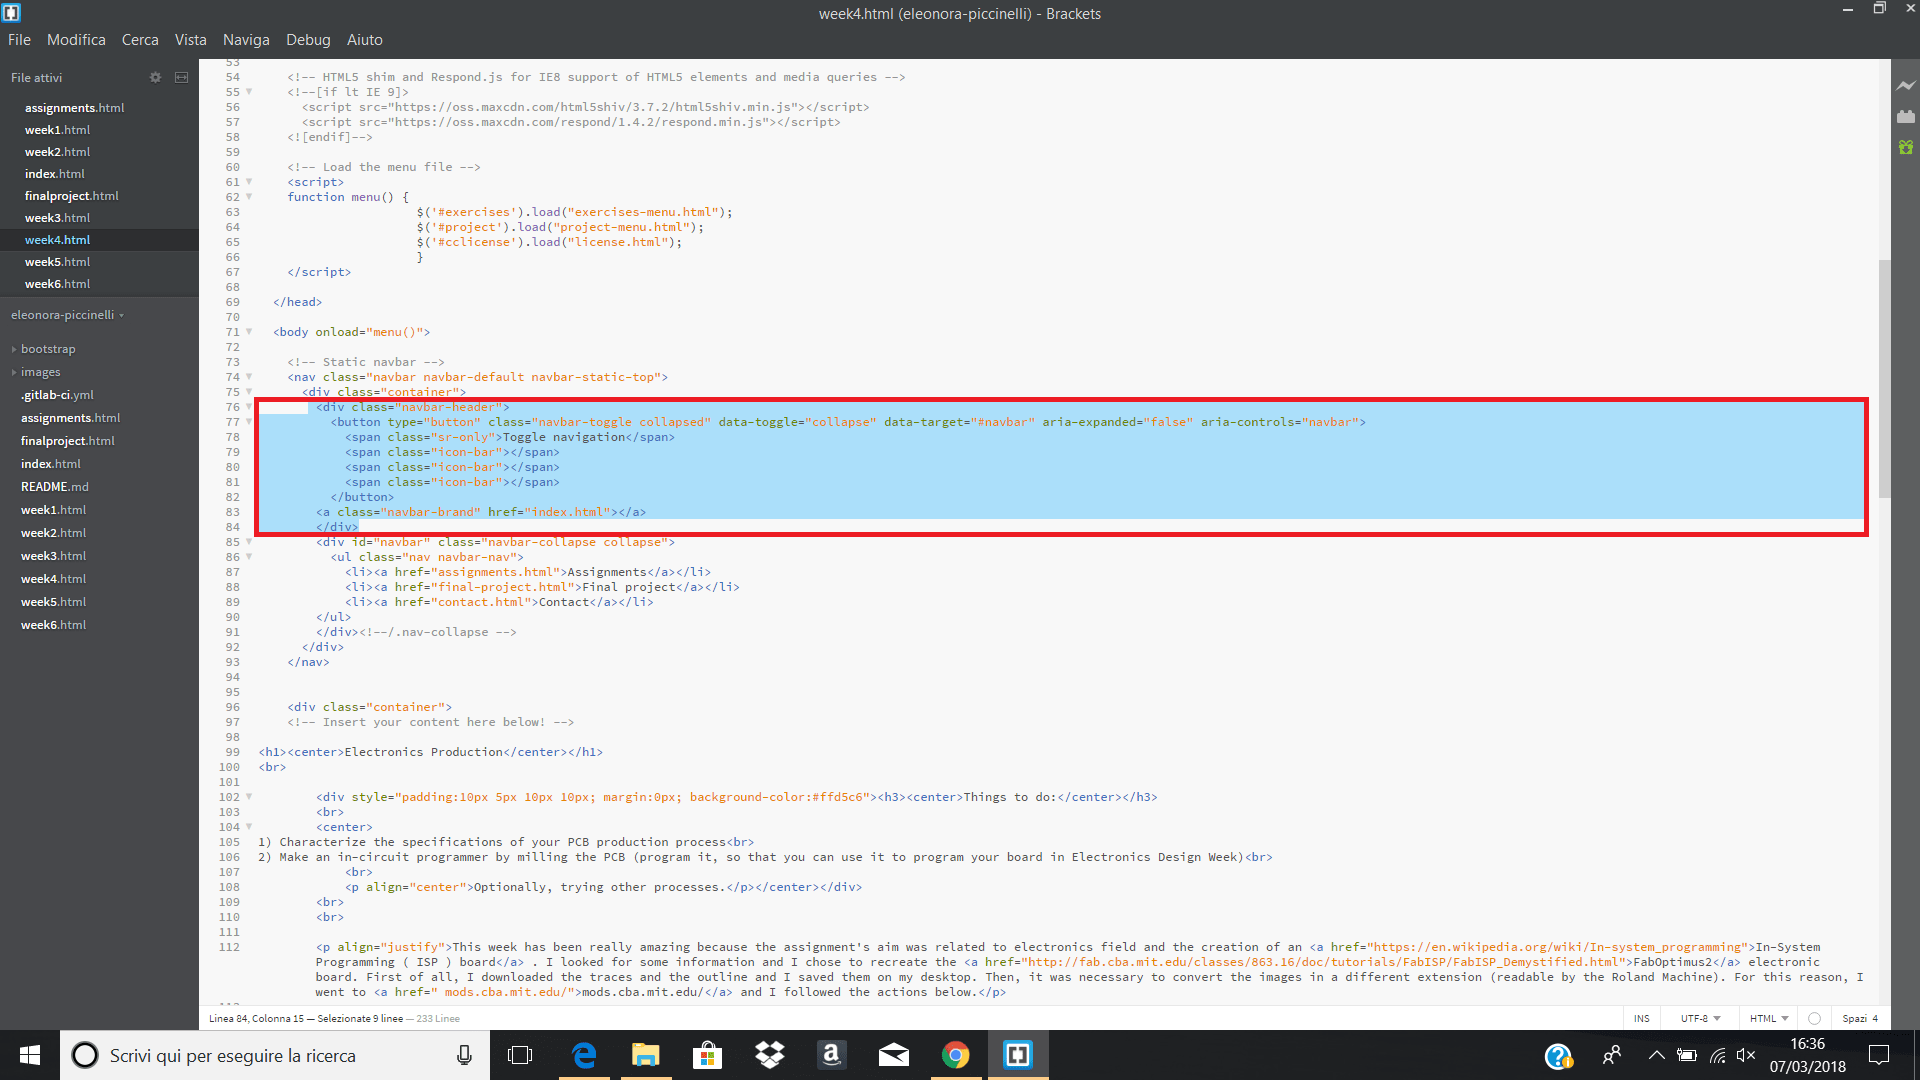
Here I am! I'm not an expert on HTML and CSS but I like very much learning new things about them. Considering the fact I'm a beginner, I decided to use a template available on Bootstrap (if you want it too, you can download it here.) I have to admit it's well-organized and thanks to others tutorial I watched on YouTube during this week, it was quite easy edit the minimal part to create a personal website. I hope to improve my skills, playing with different font, colours and so on! In addition, I downloaded a Text Editor named Brackets. It helped me to set up all the tags needed for my first webpage and it gave me the opportunity to avoid mistakes.
3) Upload it to the class archive, working through a Git Tutorial
Git Tutorial is a good starting point, but as I said before, the use of Git isn't too predictable. I'm trying and getting used to learn and keep in mind the basic principles to use the terminal. Everything is new for me, but I'll do my best! Surely, if you use Git Terminal you must add new files, upload them in your parallel repository and synchronize all. After that, you can go to your personal area on GitLab and find all files there too. I wrote down the main passages, and (up to now) if I don't remember something, I open the screenshots I pasted above.
Update: 7th March 2018
I deleted a broken icon that was in each website screen. The useless html tag was the following one:
(Click on the screenshot to zoom it!)
Useful links:
Version Control SystemGitLab Basics
SSH Key - How can I create it?
