

Week 3
Computer Aided Design
3D DESIGN
Fusion 360
Beginners TutorialI have never used any kind of 3D modeling software so learning Fusion was quite arduous and difficult for me. I watched a few beginners tutorials to get the fundamentals and thought that I could maybe experiment from there. Here are a few important notes that I gathered from watching the tutorials.
- *ALWAYS SKETCH ON A FACE OR A PLANE & DEFINE YOUR SKETCHES*
- Select a the plane or face and create sketch
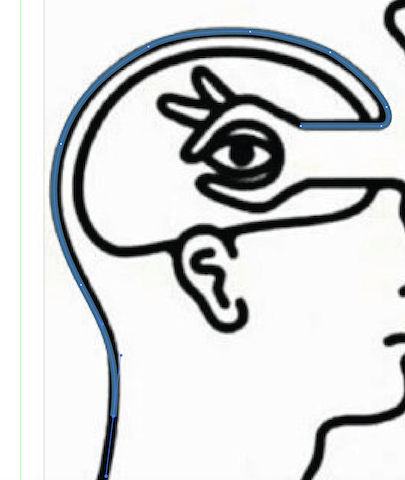
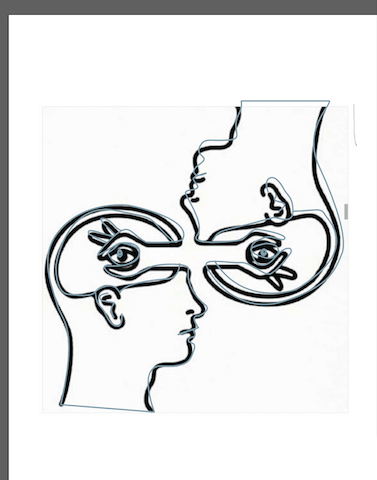
- Blue lines around objects means that the sketches are not yet defined- they need dimensions. When sketches are defined, they will be lined in black
- Establish relationships before adding dimension
- Adding dimensions alone to a sketch will not define it. It needs to be either constrained to the origin or another point.
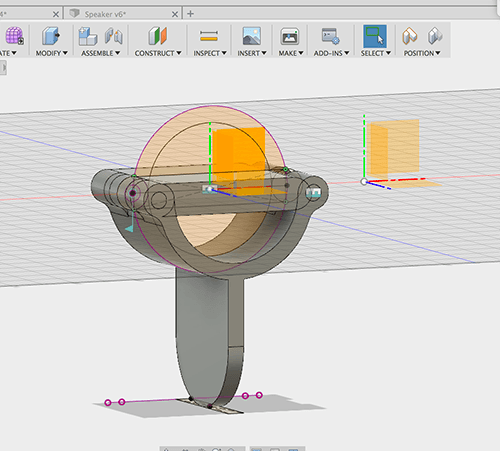
I played around creating some shapes on my own. I referenced a model of a speaker to work with basic shapes that needed to be build on top of one another. The base componenets of the speaker are stacked on top of one another sharing the same diametric dimensions.
SPEAKERS

As you can see my workspace was a bit disorganized and everything was all over the place. I still felt like I didn't really know the program and wasn't utilizing as much of the functions that Fusion had. I also really needed to learn a better workflow so that things are easier to work with. So I went back to watching a more in depth tutorial.
TUTORIAL
Beginners Fusion TutorialBegin with 2D sketch to get basic shape. Working about the origin and using constraints for measurements.
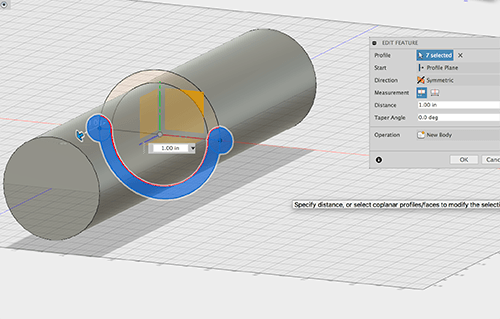
Extrude from the smaller offset circle. This will be the pipe that the clamp is supposed to be used for. Use symmetric extrude to get shape for saddle body.
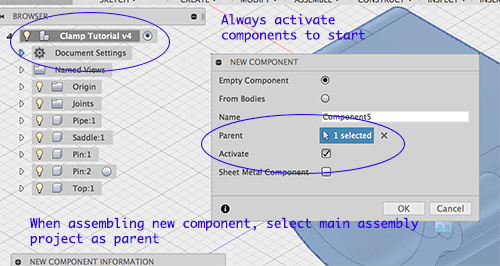
Select top assembly folder and create new component
*CREATE COMPONENT AND ACTIVATE IT STRAIGHT AWAY!*
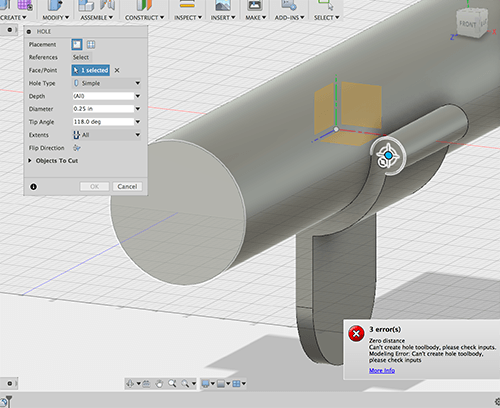
Used hole command to create slot for pins that I would use later. Set the distance to all to ensure that the hole will always go through the entire body even if we change the dimensions later. I was getting this error message but couldn't figure out what was wrong. I tried making a hole on the opposite side and it worked fine.
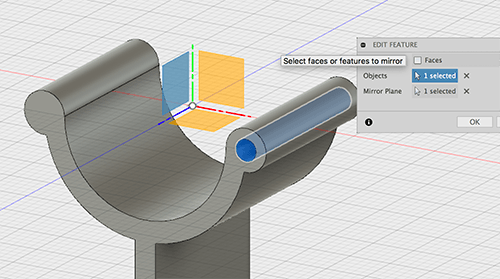
Mirroring the hole. Will keep dimensions same even if one changes.
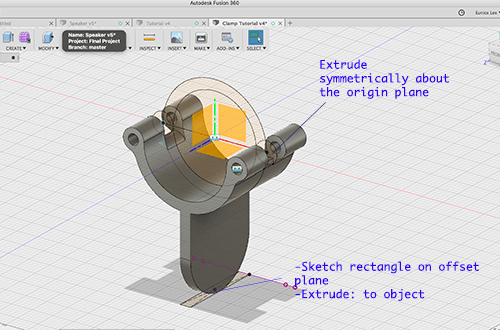
Create offset plane below the saddle body and sketch rectangle. Extrude to object and select the bottom face of the saddle. This created the handle for the saddle. Use fillet at the bottom edges of the handle to create curves.
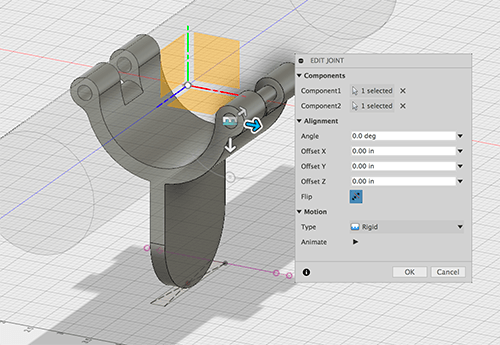
Created cylindrical primitive object for pin. Copy and pasted component for Pin 2. Used Joint command to fix pins to the saddle.
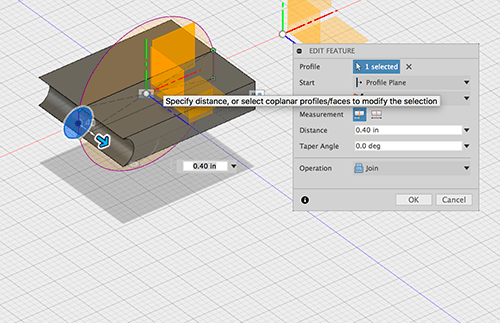
Creating top head of saddle.
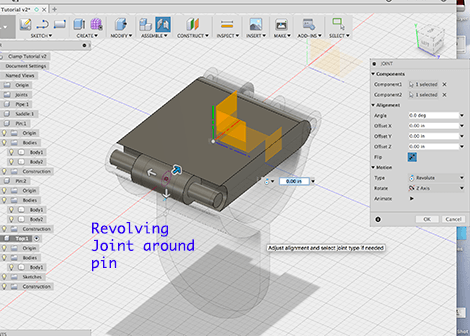
Head component revolving joint around the pins.
Clamp model
Dimensions for the top of the clamp need to be tweaked to fit the saddle, as there is some overlay. Also the head should be round to hold a pipe shape. In the tutorial, the instructor imported an already made clamp head, so I just made a quick create to follow along with the rest of the tutorial.
FINAL PROJECT SKETCH
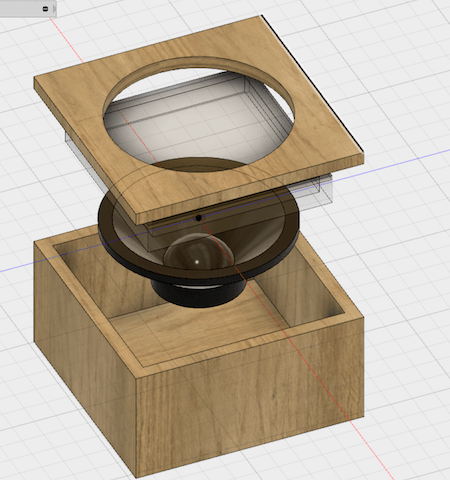
Speaker Component
Start by sketching a circle, offsetting a smaller circle on a lower plane, and using loft function to join them. Repeat this action to extrude a smaller shape out of the initial one to get the basic form of the speaker.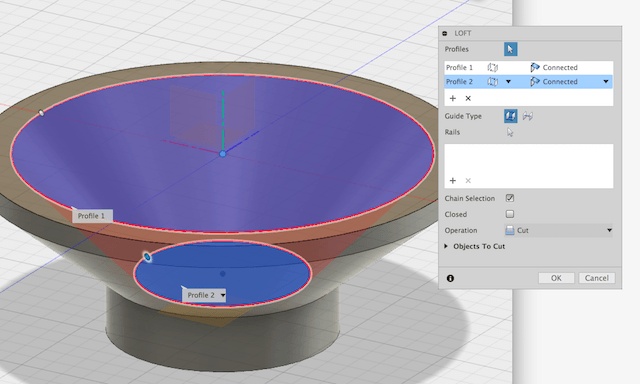
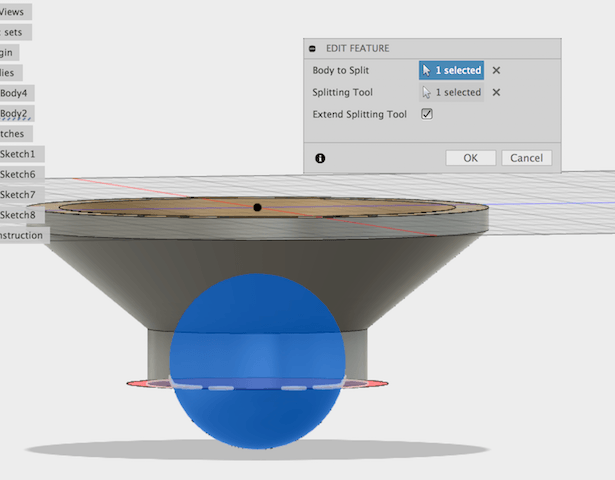
Create a sphere, join with first body, split the bottom half of the sphere
Acrylic Box to hold water
Create a box form, shell out to create acrylic box.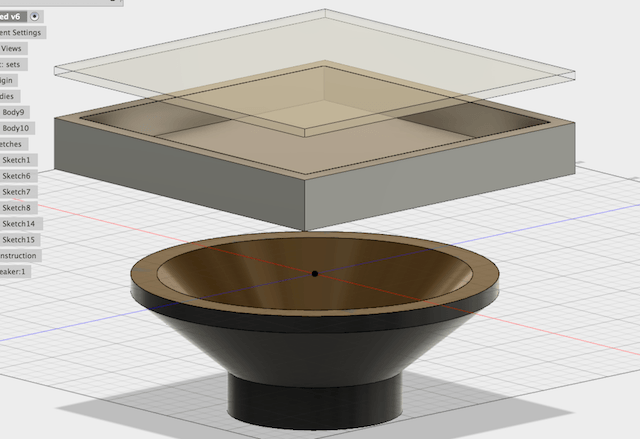
Speaker Case
Make a case with correct dimensions to house your components. Cut out a hole on the top for the speaker.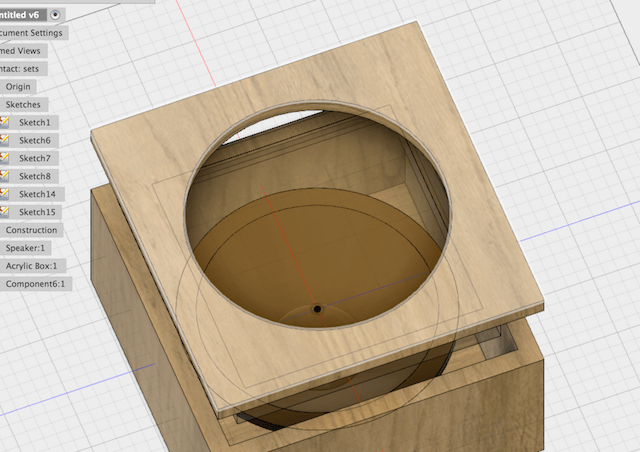
Select Materials

Final Project Sketch
2D
Illustrator
Isometric Drawing
Isometric Tutorial
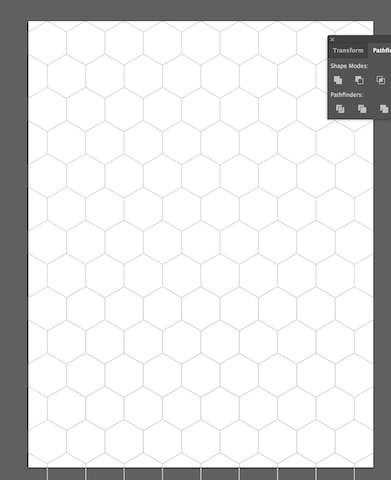
Make background hex grid
Turn on smart guides: CMD + U
Select Polygon tool which is default a hexagon shape. Hold shift to keep the shape aligned.
Then click on a path of the hex as shown by the smart guide, hold down option & shift and drag image to the right so that it aligns with the first shape.
Duplicate- CMD + D hex until you get a hext line. Fill the canvas entirely with the grid.
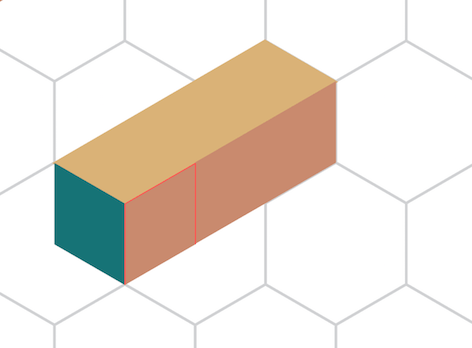
Hex Grid
Use pen tool to create shapes by following the lines provided by the grid.
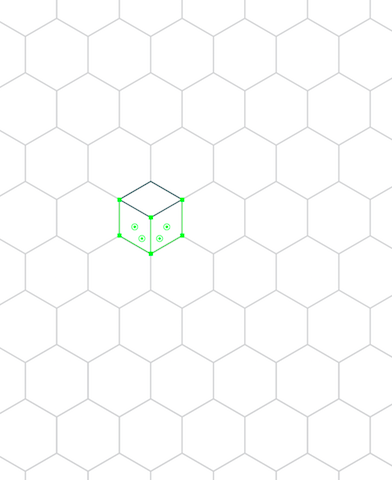
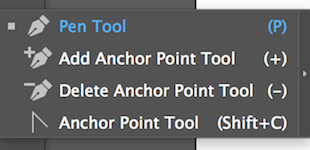
Pen Tool
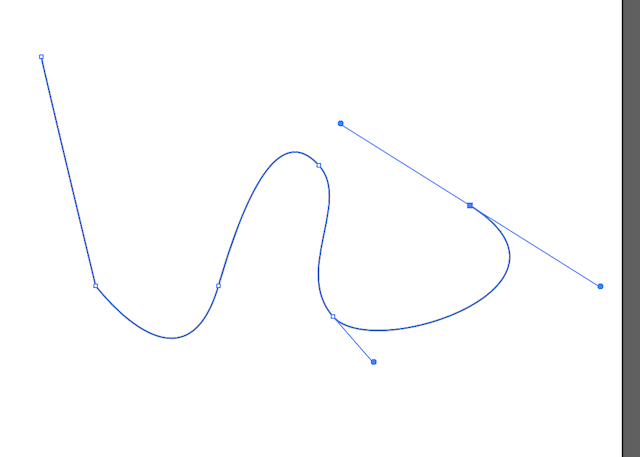
Pen Short Cuts
- CMD SHIFT A- deselect pen for freehand drawing
- Hold OPT key to turn point into anchor points
- (+) (-) to remove anchor points
You can click from point to point to create straight angles & lines. If you hold the pentool down, it will create a curve which you are able to manipulate using anchor points.
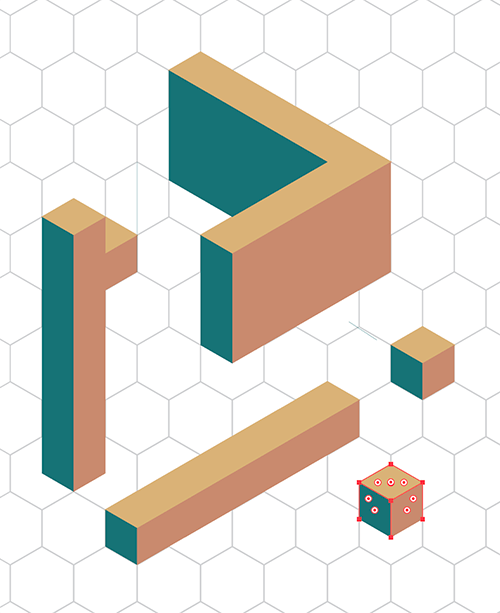
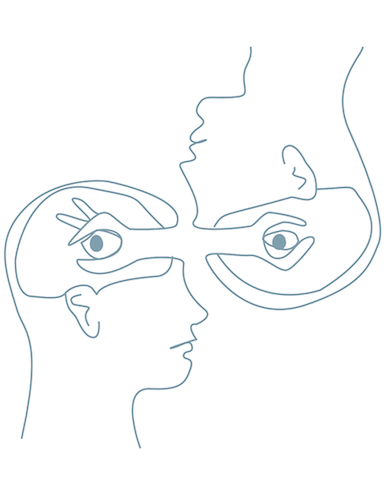
Tracing Practice
Illustrator
Isometric Drawing
Isometric TutorialMake background hex grid
Turn on smart guides: CMD + USelect Polygon tool which is default a hexagon shape. Hold shift to keep the shape aligned.
Then click on a path of the hex as shown by the smart guide, hold down option & shift and drag image to the right so that it aligns with the first shape. Duplicate- CMD + D hex until you get a hext line. Fill the canvas entirely with the grid.
Hex Grid
Use pen tool to create shapes by following the lines provided by the grid.
Pen Tool
Pen Short Cuts
- CMD SHIFT A- deselect pen for freehand drawing
- Hold OPT key to turn point into anchor points
- (+) (-) to remove anchor points
Tracing Practice