

WEEK 17
Wildcard: Composites
Equipment
- Hardware: Shopbot
- Software: Fusion, Aspire
- Material: 3mm Isopink Styrafoam, Vacuum bag, Hanji paper, Epoxy Mix
Preparing Mold
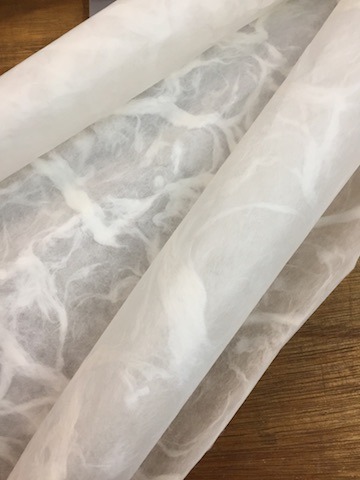
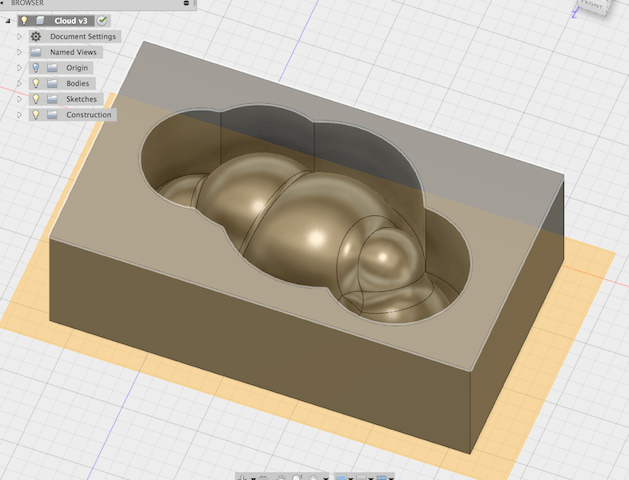
I wanted to make a cloud out of Hanji Paper. Hanji is a traditional Korean paper made from a native tree called the paper mulberry, mixed with a substance excreeted from roots of hibscus flowers. It has a nice texture and is quite strong.Hanji Paper
To make my mold thicker, we glued 2 pieces of the isopink together so that we could have a maximum thickness of 6mm.
Aspire
For 3d cuts using the CNC machine, we use Aspire to create toolpaths. It's workspace is very similar to VCarve so it was quite easy to use.Import 3d .stl file into Aspire
Make a rectangle around your model to set cut area

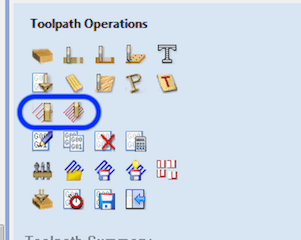
Rough & Final Cut Toolpaths
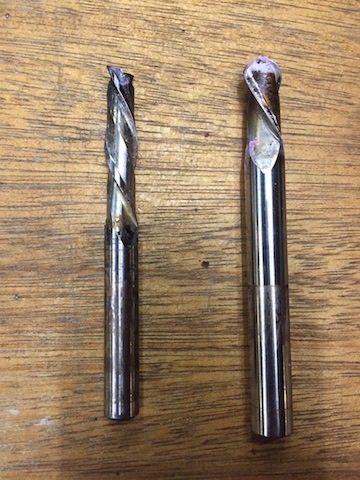
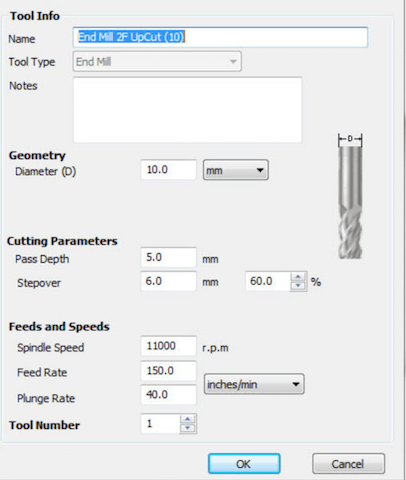
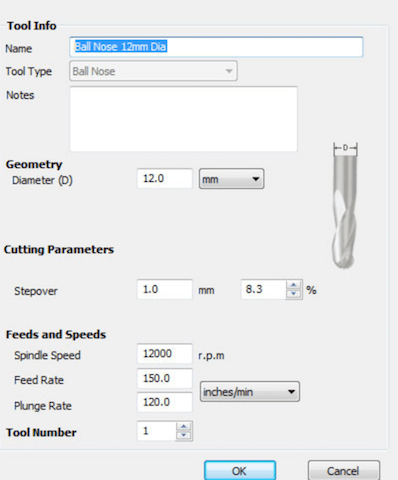
Endmills
Rough Cut (left): 2F Upcut flatFinal Cut (right) 1F Downcut ball nose
Settings
Rough Cut
Final Cut
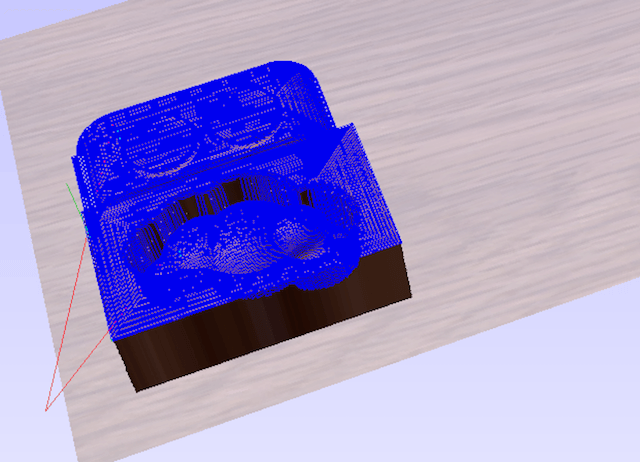
Calculated Toolpaths
To save time, another classmate and I put our designs on the same file. His is the rectangle above my cloud.
CNC
Rough Cut
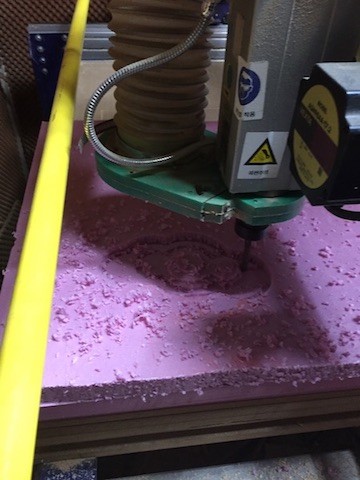
Final Cut
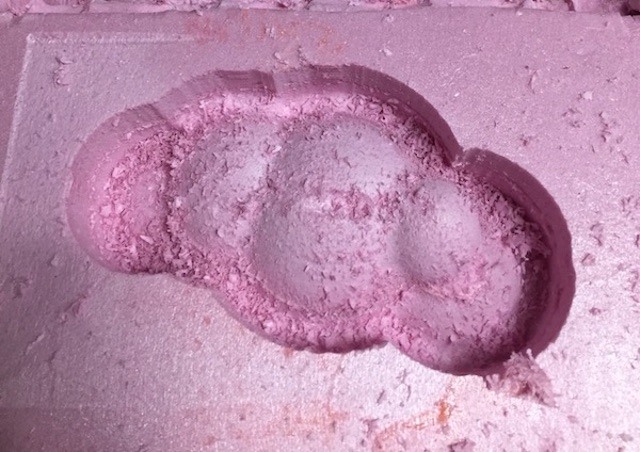
Cloud Mold
Epoxy Resin
Mixing
Epoxy
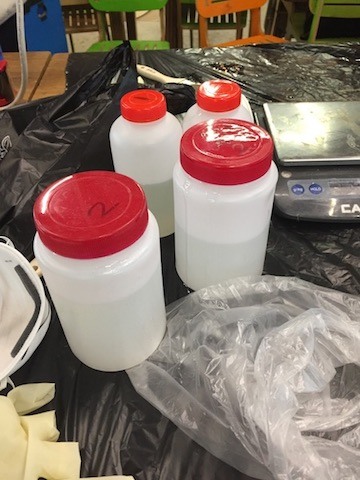
The epoxy came in unlabeled jars as they were purchased from a local hardware shop. The safety data sheet is all in Korean, so one of my labmates kindly shared some of the important information with me.
Mix Ratio : (2)Adhesive to (1) Hardener by volume.
Mixing Time : 3-4 minutes if by mixing by hand
Cure time: 24 hours for full curing
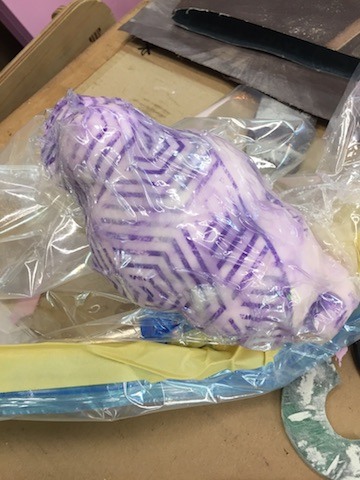
As usual, prepare all your materials before hand and equip yourself with proper safety gear. You should also have the vacuum nearby so you can vacuum after covering the mold. Start by spraying oil on the mold as well as in the plastic vacuum bag. I wrapped my mold in a plastic bag before applying epoxy. Since the hanji is quite fibrous I thought it might be more likely to stick to the styrafoam.
Measure the substances according to the given ration on a scale and mix the solutions thoroughly. Brush a layer of the mixed epoxy on the surface of the material ensuring that it is fully saturated. Leave the last layer as a breather. The hanji rice paper is a bit thin, so I used 5 layers. When the mold is covered place it in the vaccum bag and suck the air out, making sure the bag is wrapped tightly around the mold Once secure, tape the bag shut and leave it to set for 24 hours
Vaccumed

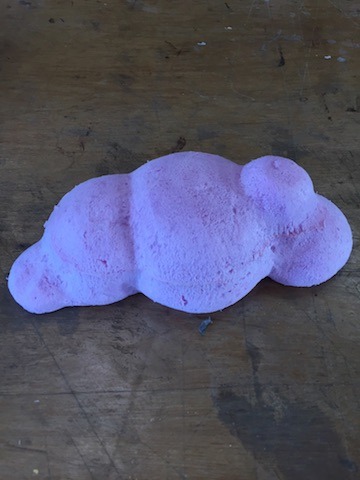
Finished Cloud
Trouble Shooting
Epoxy not drying
-
I don't know if you can tell from the picture, but the paper is still very wet & sticky. My first attempt at the epoxy was a failure. I came back the next day to find it still very sticky as it had not dried at all. I was pretty sure I had measured out the solutions correctly, so I thought that a reason for it not setting was due to it not being mixed properly. My classmate reminded me that we should be mixing for about 3 minutes. The day I did my epoxy coating, I was quite tired and by myself, so it was quite possible that I hadn't mixed for this long, as I am not very good with time estimations. I tried again, this time getting my labmate to time my mixing.