

WEEK 15& 16
Mechnical Design & Machine Week
Building a Vending Machine
SeoulLab Vending Machine
GROUP ASSIGNMENT
Objectives
- design a machine that includes mechanism+actuation+automation- build the mechanical parts and operate it manually
- document the group project and your individual contribution
Hardware and Softwares used
Design
-Fusion 360-X cut
Electronics
-Arduino IDE-See Below for Full Hardware List
CNC
-V-Carve-ShopBot
3d Printing
-Cura-Create Table D2
CONCEPT
Idea Sketch
Our group decided that we would make a vending machine for the machine week assignment. Common vending machines have seperate motors for each compartment holding items and work soley on the z axis. Rather than have the motors work independently of one another, we wanted to create a 3-axis joint machine.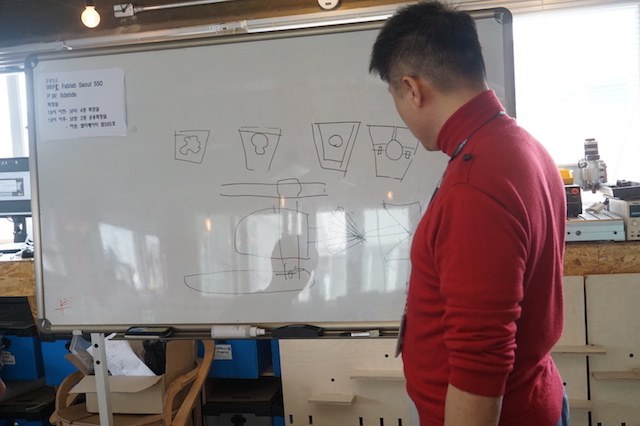
DESIGN PROCESS
Prototyping
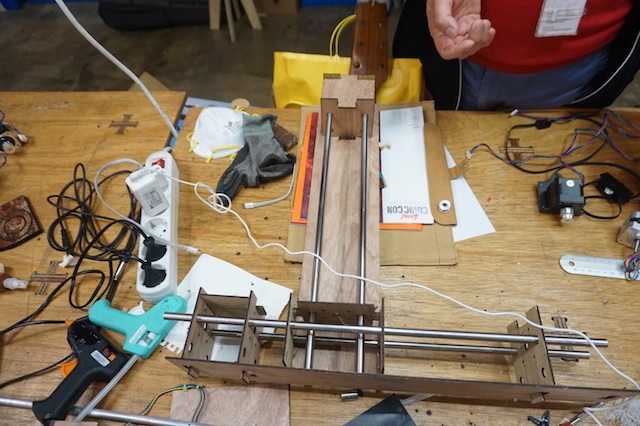
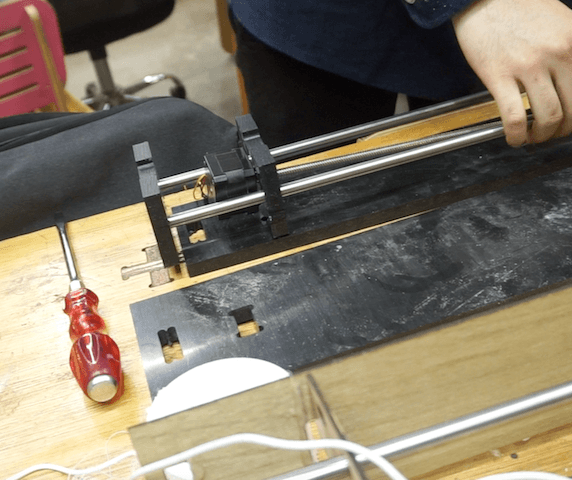
The first prototype was based on a 2 y-axis, and single x- axis design. It was a bit unstable as it didn't have a base, so were free standing.
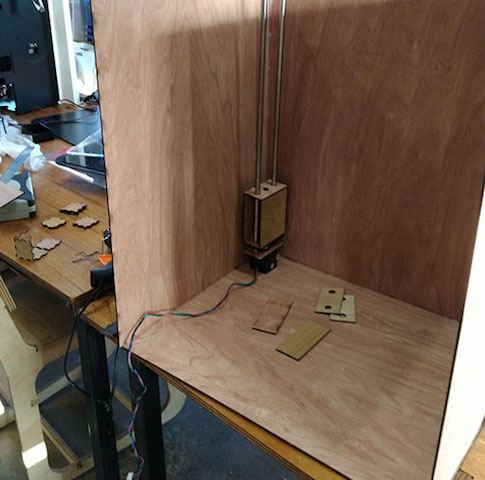
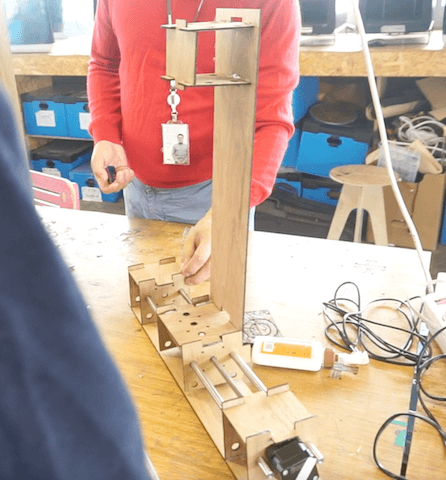
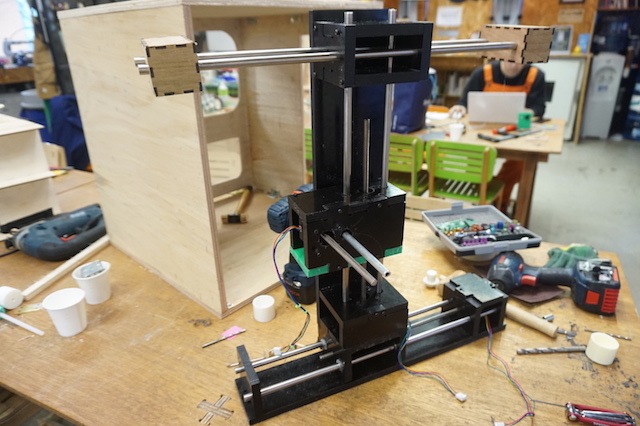
Our second prototype was an upside down T design, with an x-axis base. This design proved to be more sturdy and also allowed us to remove one motor as the previous prototype required 4- 2 x- axis motors where one would be sufficient.

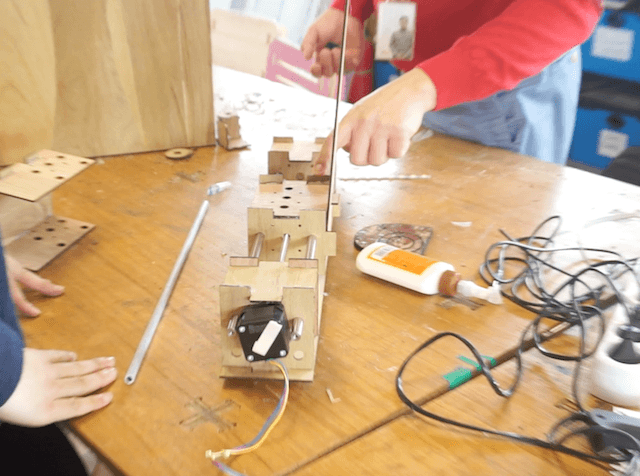
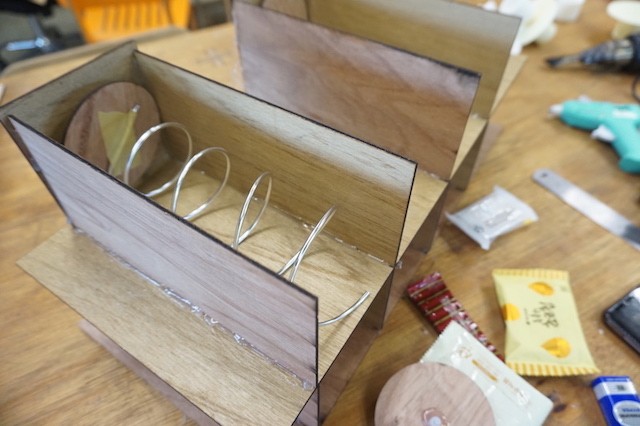
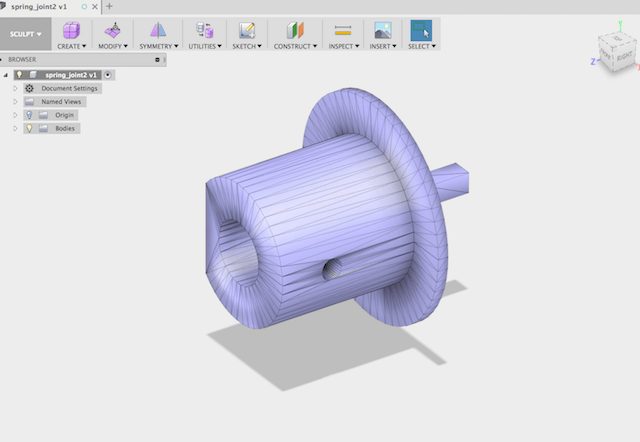
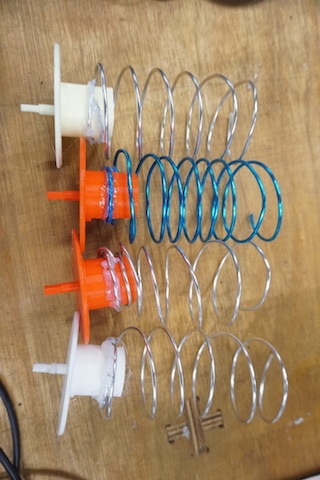
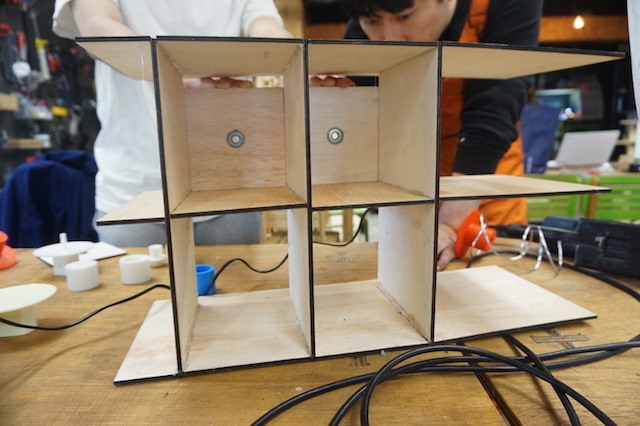
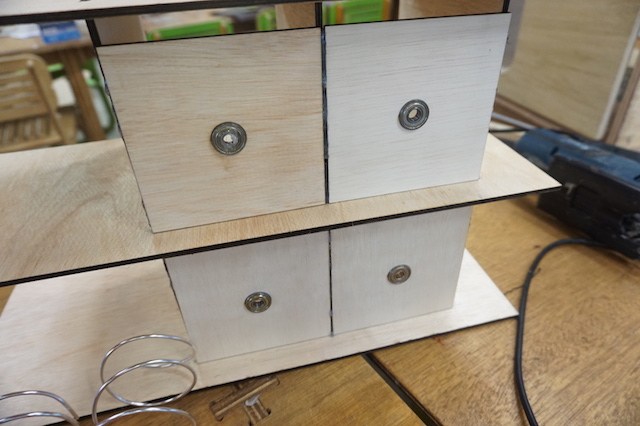
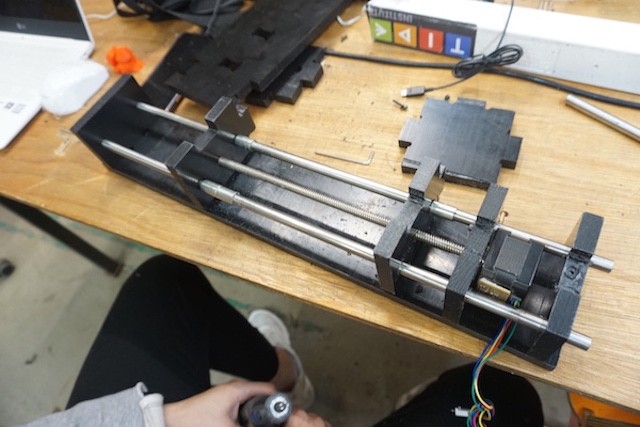
For the portion of the machine that holds and dispenses the items, we designed boxed compartments with a coil. The back end of the coil was attached to a component that had a small hole in which the stepper motor could be inserted into to initiate the spinning of the coil. However, the hole was quite small and left little room for any deviation.
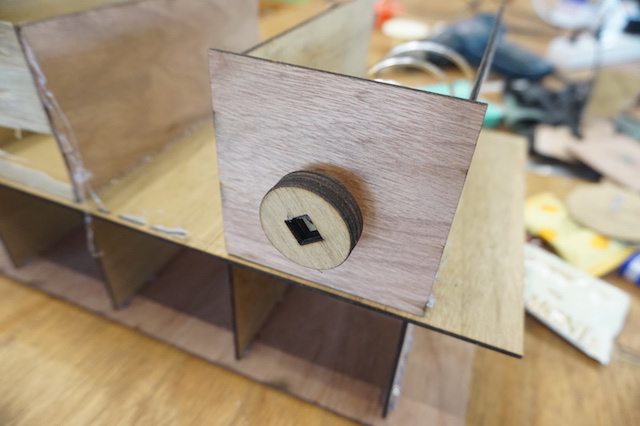
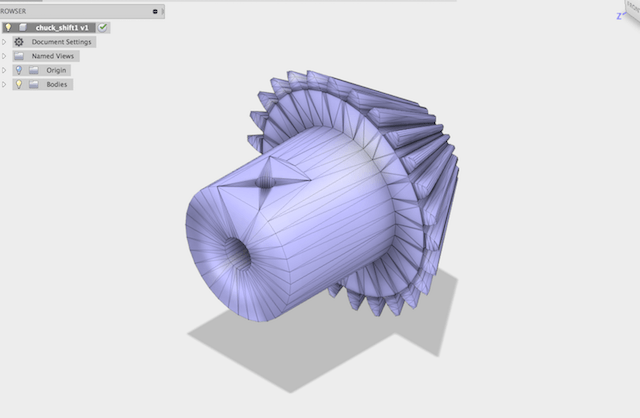
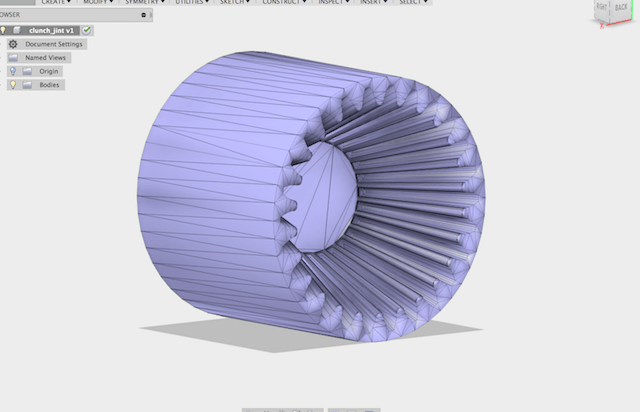
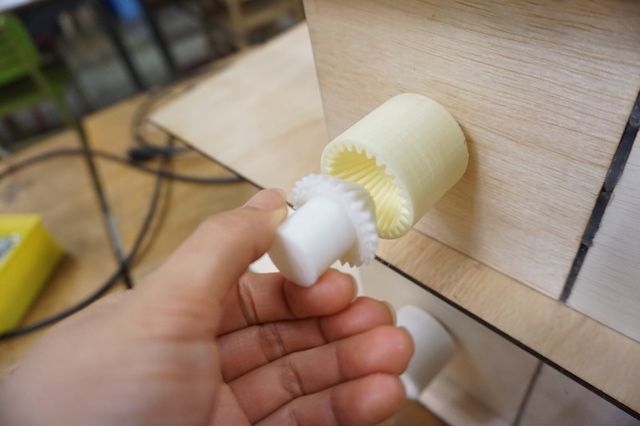
In the second design, the stepper motor was attached to a larger conical end that would complement a female counterpart attached to the end of the coil. The pieces had teeth, which would gave for a steady grip and a larger target for which the z motor could move towards.
BUILDING PROCESS
Fabrication
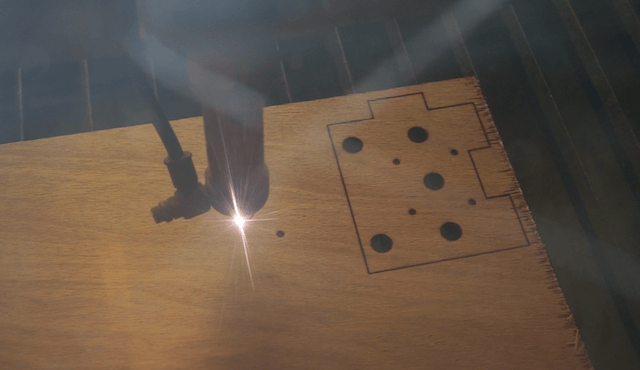
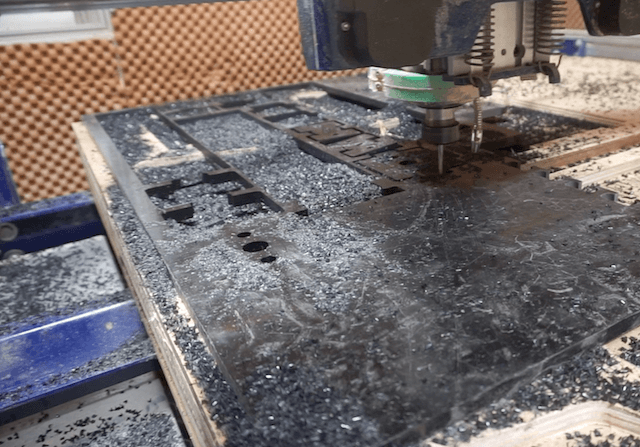
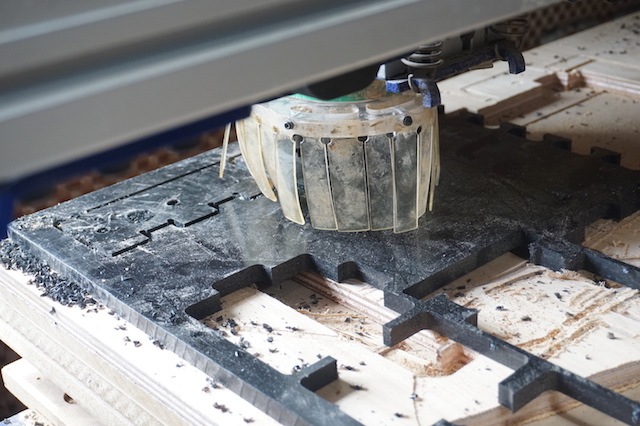
For the outer shell that would house the mechanical structure of the vending machine, we used the CNC on 15mm plywood & 5mm acrylic in the lasercutter.The mechanical structure was made from CNC milled 15mm acrylic and structural slider poles.
Rotating coil holders were 3d printed and attached to the end of coiled wire.

Assembly
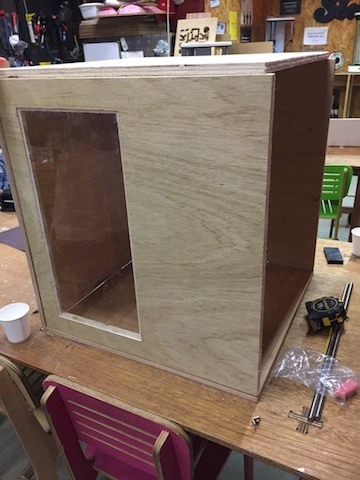
Vending Machine Case

Compartments, Coils & Gears

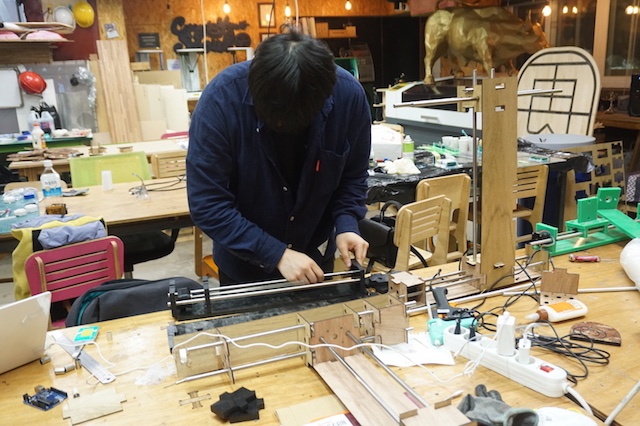
3 Axis Motor System


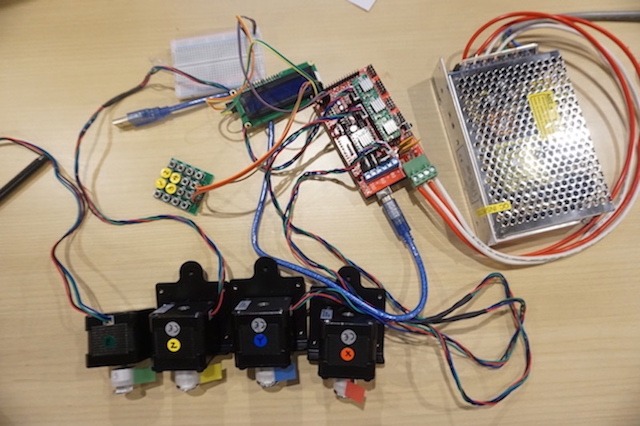
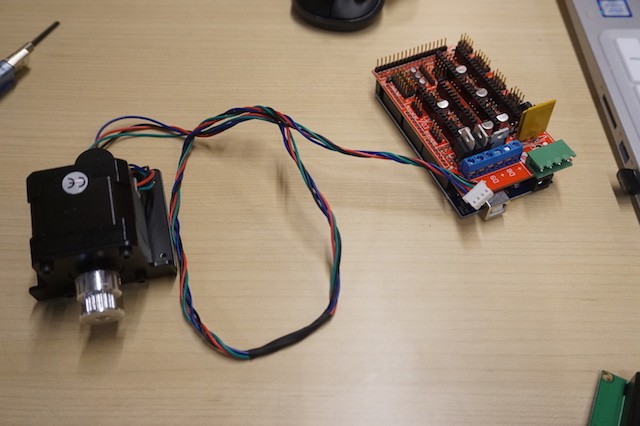
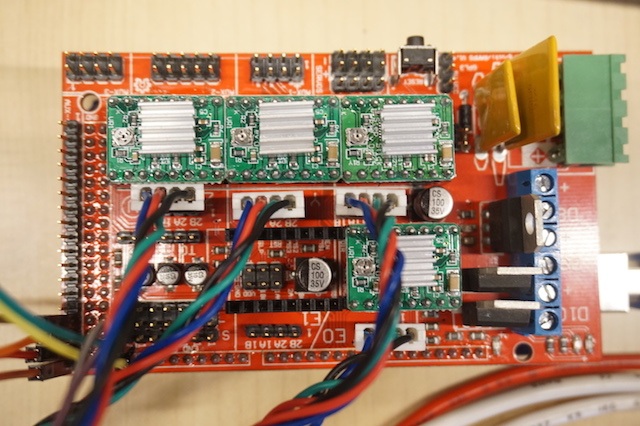
ELECTRONICS
Hardware
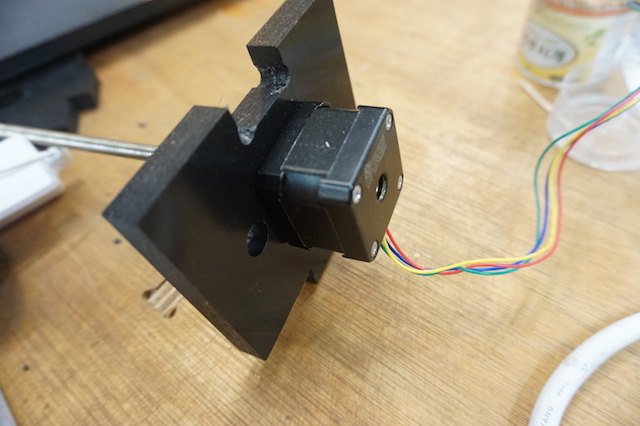
- -(4) Stepper Motors
- -RAMPS 1.4 Shield
- -(4) A499 Stepper Drivers
- - Arduino Mega 2560
- - SMPS 150W/ DC 12V 12.5A
- - 1602 LCD Module with i2C Adapater
- - 4x4 matrix Keypad Module
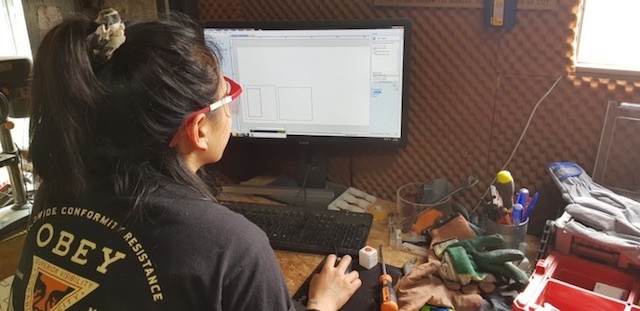
There were many late nights/ all nighters during machine week. As most of us came into the academy with little to no experience building any type of machine, it was a difficult, often frustrating and huge learning experience for all. I'm really amazed and impressed by my fabmates for all of their incredible hard work. During machine week, I fabricated the components for the motor carrier designed by Jinhyeok, designed & cut the parts for the case and helped with the assembly of the machine. I was also put in charge of documentation and putting the website together to showcase the building process. At first it seemed that we were making really slow progress and we wondered whether we would be able to complete it at all. When it started getting closer to the day, we all really pushed through the pressure. We found that we were a lot more productive when we were able to set clear manageable goals and give ourselves a deadline to get them finished when we reconvened as a group. When our goals were too broad or vague, it was difficult to know how or where to start. Once we set out small tasks to complete, progress came more quickly and the prospect of finishing our machine seemed possible! Everything came together in the last moments and we were quite happy that we were able to get it all done.