

WEEK 10
MOLDING & CASTING
Equipment
- Hardware:Roland Mill
- Software:FabModules, Fusion, Roland VPanel
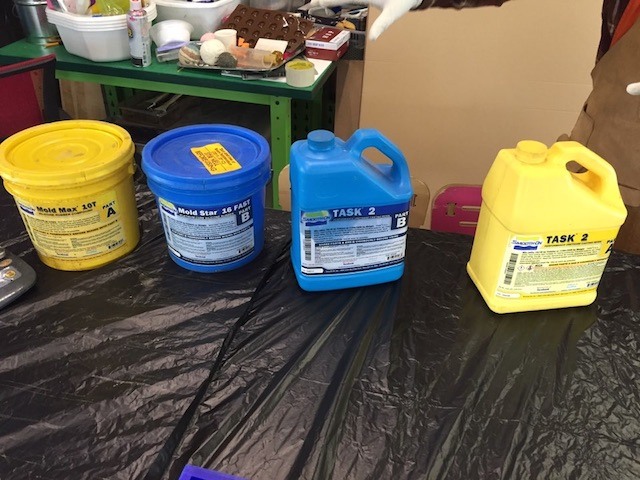
- Material Blue Wax Block, Mold Star 16, Task 2 Resin
Model in Fusion
Create Rough Cut RML file in FabModules
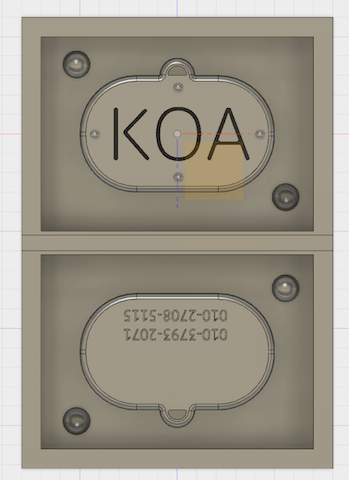
Input: STL
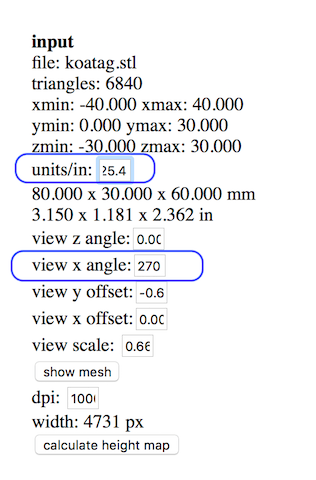
Classmates who made earlier cuts informed me that I needed to change the units to 25.4 as we were using mm rather than inches. I'm super grateful to my labmates for their help as this probably would have taken me forever to figure this out.
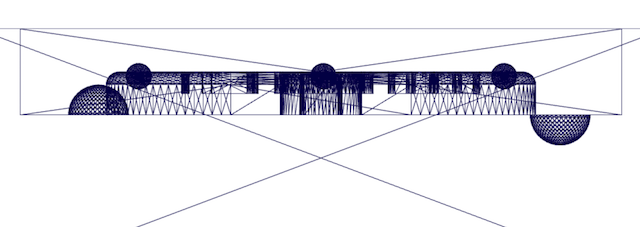
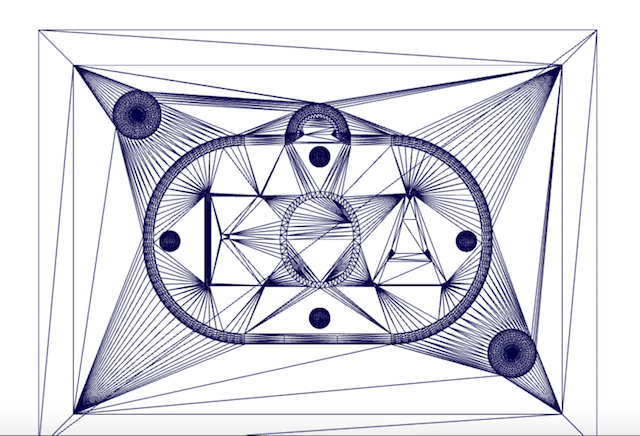
Also you may need to change the view of your stl. It should be a top view of the design. From Fusion it imported it looking straight on, so I had to change the x axis.Initial view when imported from Fusion
Adjusted x axis angle
Calculate height map

Output: Roland Mill
Change origin and z jog.
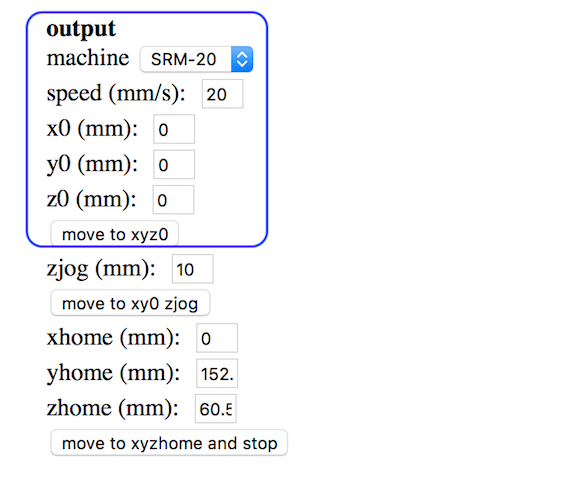
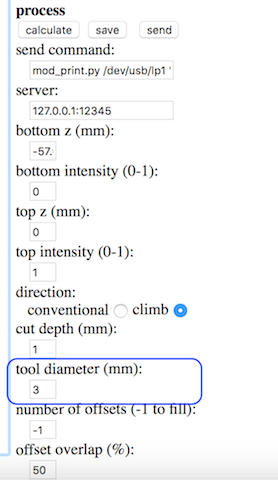
Process: Wax Rough Cut
Change tool diameter depending on the endmill that you'll be using.
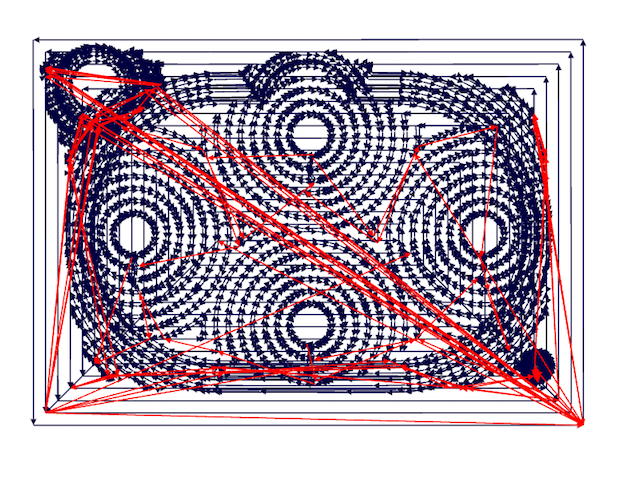
Calculate Rough Cut
-
Create Final Cut RML
Process: Wax Final Cut
Input & Output are the same as Rough Cut.
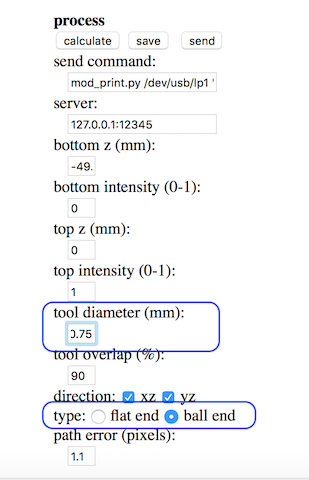
Change Tool diameter & Type. We are using a ballend .75 for our final cut.
Mold Design
Wax Milling
Change sacrificial board

Since we've been using the mill for cutting PCB, we need to change out the sacrificial board suitable for wax milling. Remove any leftover residue to ensure you have a flat surface.
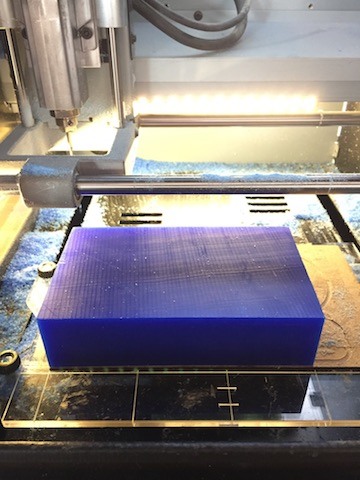
Place wax using double sided tape
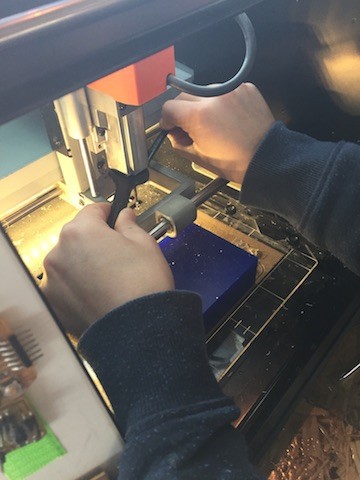
Change collet & endmill for rough cut
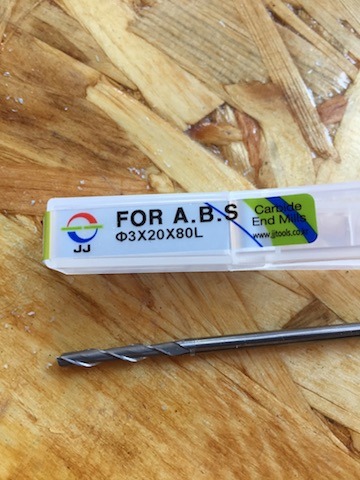
For the rough we used a flat 3 mm. The endmill should be inserted to the collet before attaching to the Roland. Also make sure that they endmill goes all way through the collet to prevent it from breaking.
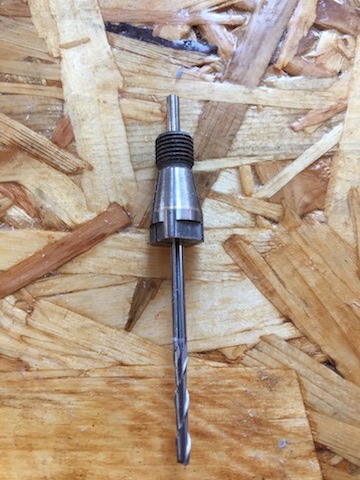
The rough cut endmill also requires a wrench to put it into place rather than the usual allan key.
Find origin points and start milling
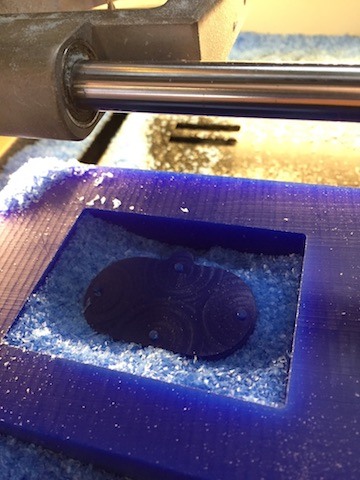
Since the endmill is attached the collet prior to being attached to the machine, we cannot find the z origin in the usual manner. But due thick nature of the mill, it is not as susceptible to breaking so you can find it using the z controls on the computer.Finished Rough Cut
Change collet & endmill for final cut
Round .75mm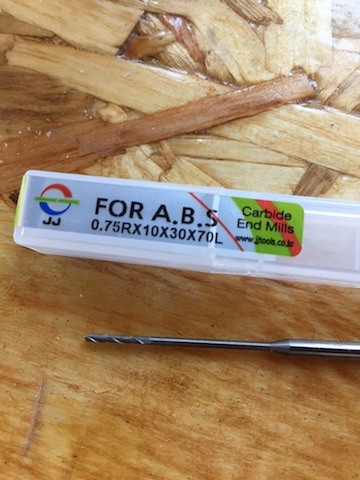
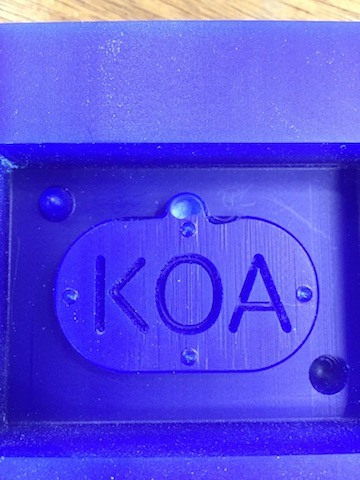
Finished final cut
Molding & Casting
* Read Safety Data Sheet prior to working with materialsMolding & Casting
Mold
Spray the wax well with an oil so that the mold is easy to remove when cured. We used MoldStar to create a silicon mold.Mix ratio: 1A to 1B by volume.
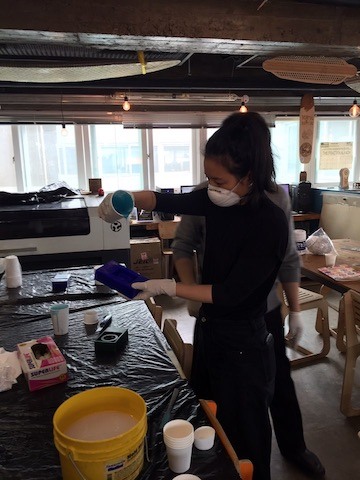
Measure out equal parts A &B seperately. There is a time frame of 6 minutes for mixing and pouring. Mix vigorously and thoroughly.
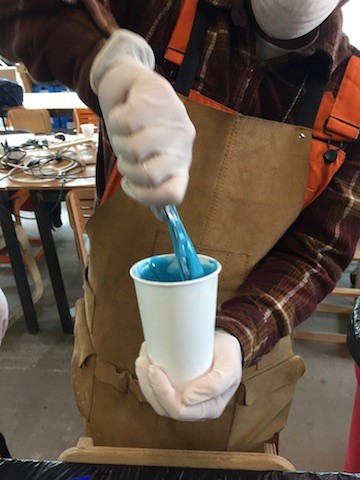
Pour mixture into wax mold. To stretch out any air bubbles, it is better to pour from relatively high. You want to get a smooth steady pour into a single point on the lower half of the moldfor maximum uniform distribution.
Wait time for the mold to cure is 30 minutes.
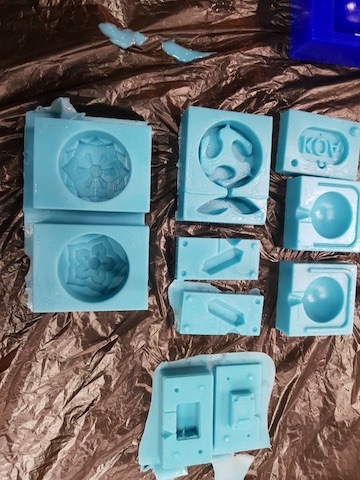
Finished molds
Cast
TASK 2 is for creating the cast in resin.Mix Ratio: 1A to 1B by volume, 115A to 100B by weight Time frame for mixing & pouring is 7 min. After mixing, leave to cure for at least an hour.
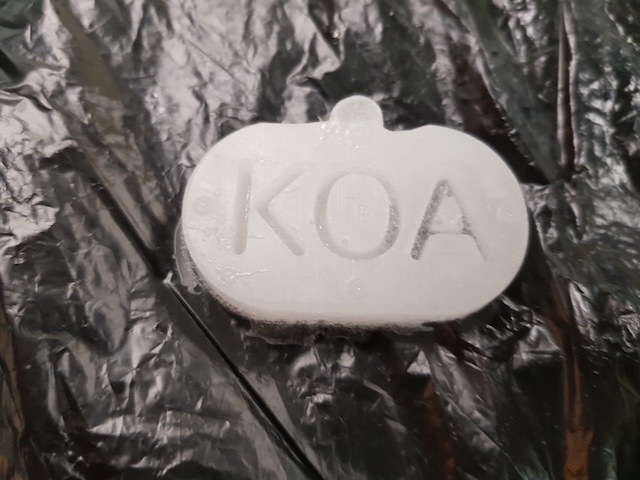
Finished Cast
Troubleshooting

The first time I calculated the paths for my roughcut, it was cut off at the bottom. When calculating, you should zoom out so that the entire design is visible on the screen.