WEEK 5 - ELECTRONICS PRODUCTION
FIFTH ASSIGNMENT
- Test the design rules for your printer(s).
- Design and 3D print an object (small, few cm) that could not be made subtractively.
- 3D scan an object (and optionally print it).
Group assignment:
Individual assignment:
For this week´s assignment we learned how to prototype with the 3D machines from our Fab Lab and at the same time, all the different limitations this technology still has. We began with a test that allowed us to understand the parameters, software and hardware from our 3D printers.
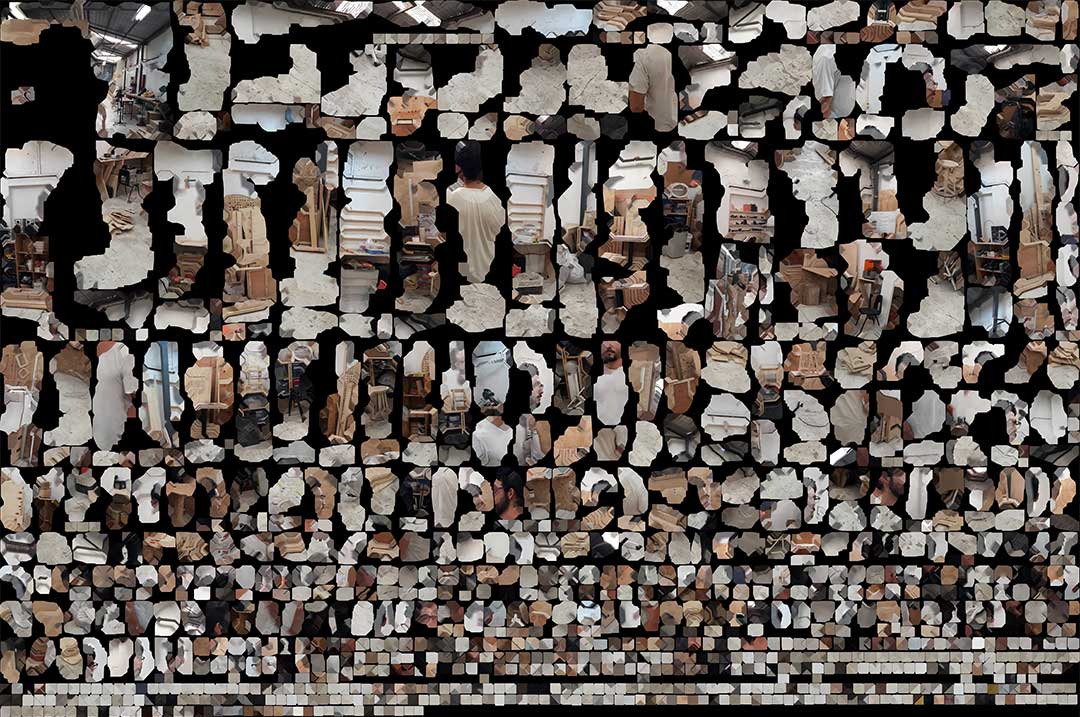
We need to begin with some basic information about this technology. I really liked this simple but accurate explanation from 3Dprinting.com, it goes like this: “3D printing or additive manufacturing is a process of making three dimensional solid objects from a digital file.”
I also found a nice quote from Laser Design about 3D scanning, they mentioned that “3D Laser Scanning is a non-contact, non-destructive technology that digitally captures the shape of physical objects using a line of laser light.”
We can now begin our exercise!
The machines we use in our Fab Lab are:
For this exercise we will be using a Syndoh 3D printing machine.
TEST THE DESIGN RULES FOR YOUR 3D PRINTER(s) - GROUP ASSIGMENT
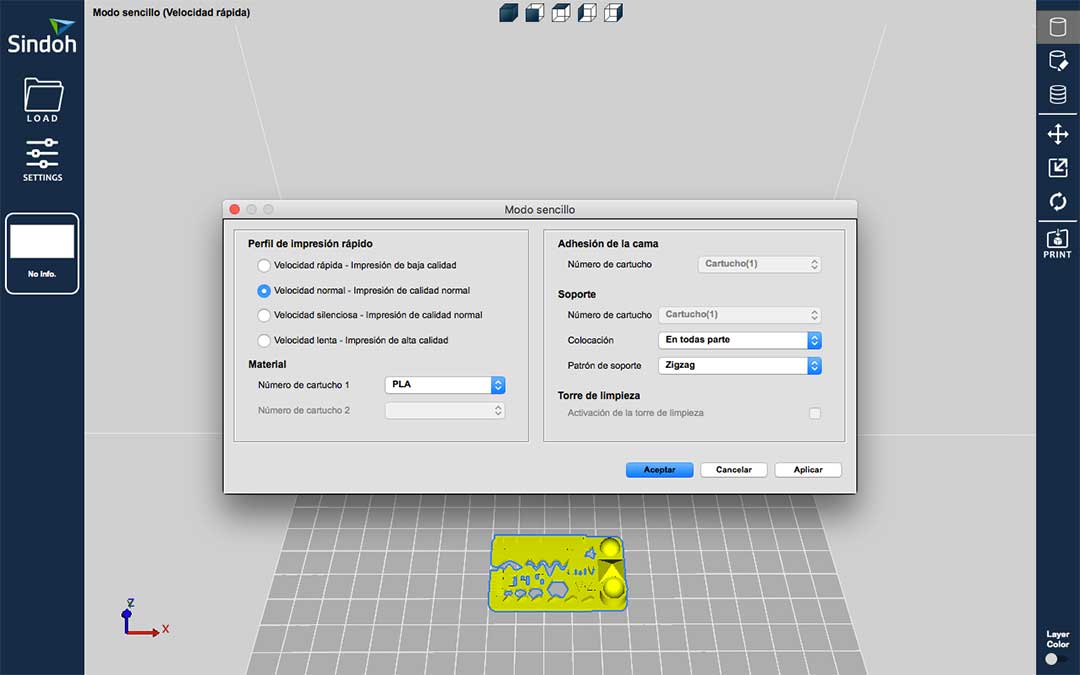
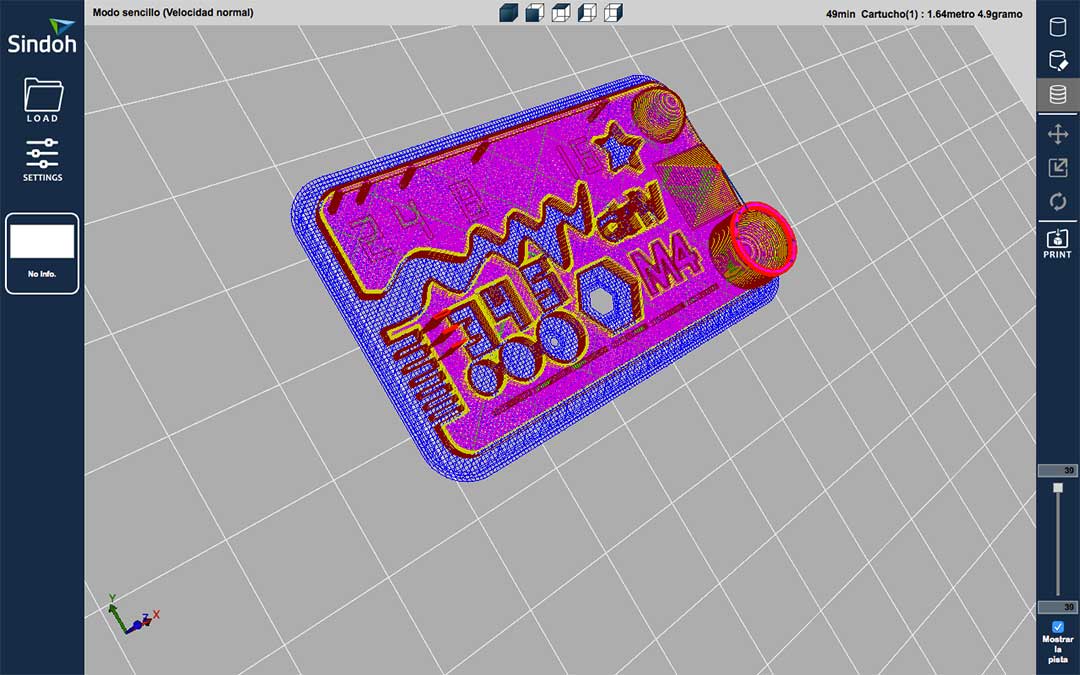
I first began by downloading a 3D printing test from Thingiverse and then understanding and exploring the Syndoh software. I believe that 50% of a good print begins with your 3D modeling and the other 40% is the way you set up your design to generate the G-Code. The 10% remaining is just about understanding the machine´s interface.
I then generated my g-code and proceeded to the machine.
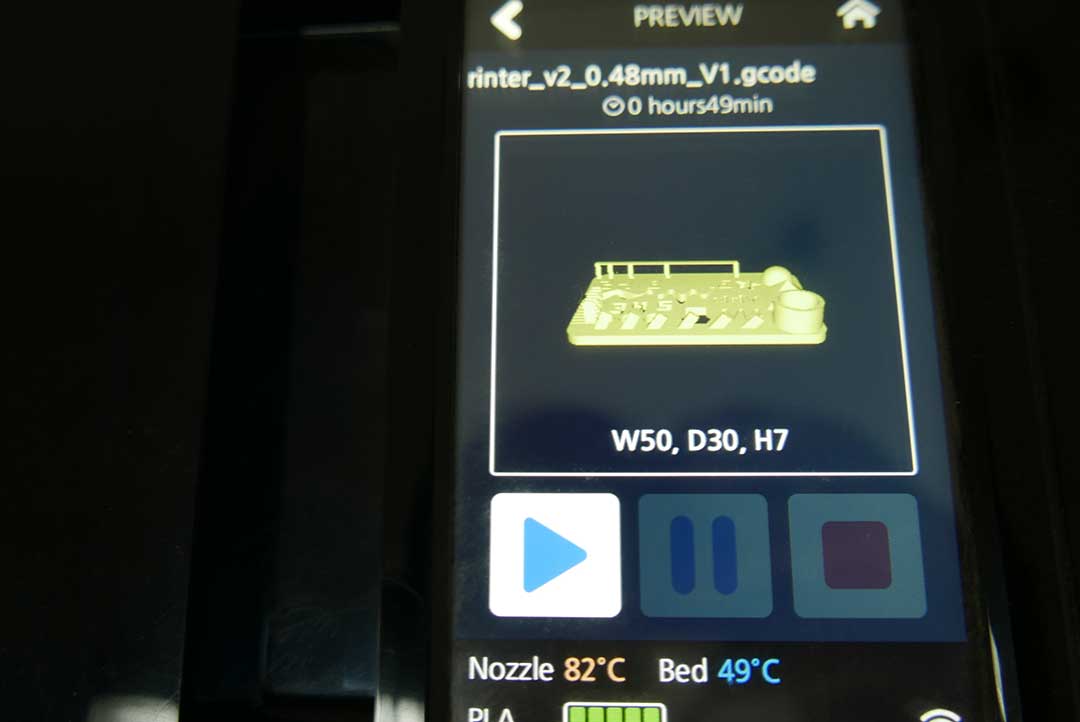
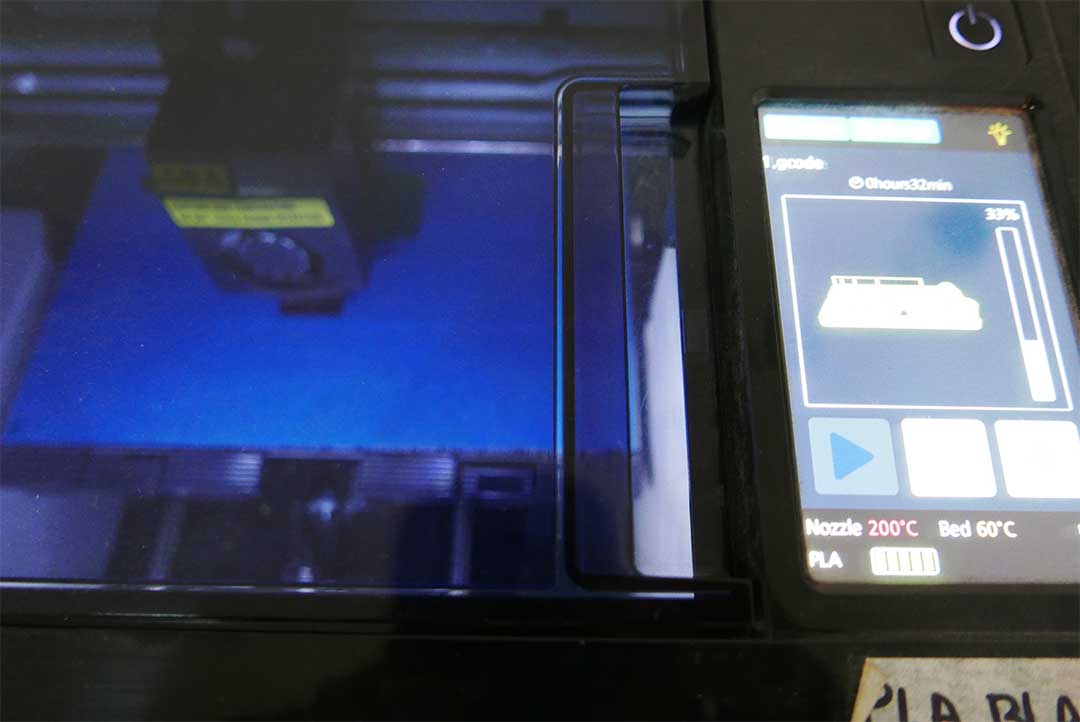
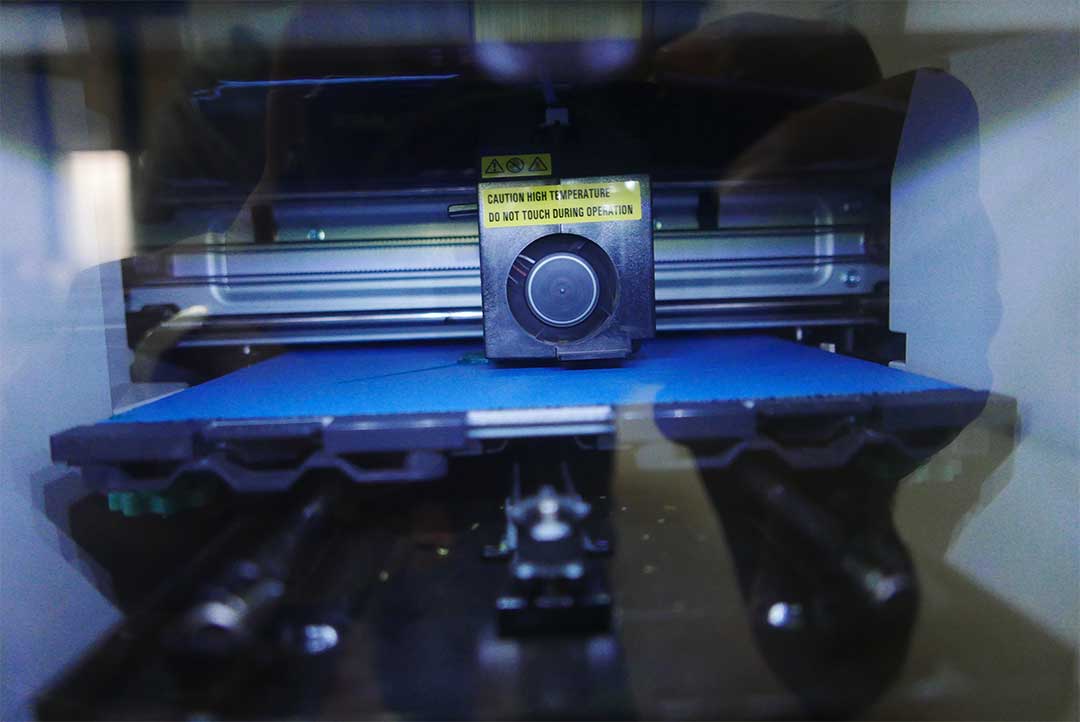
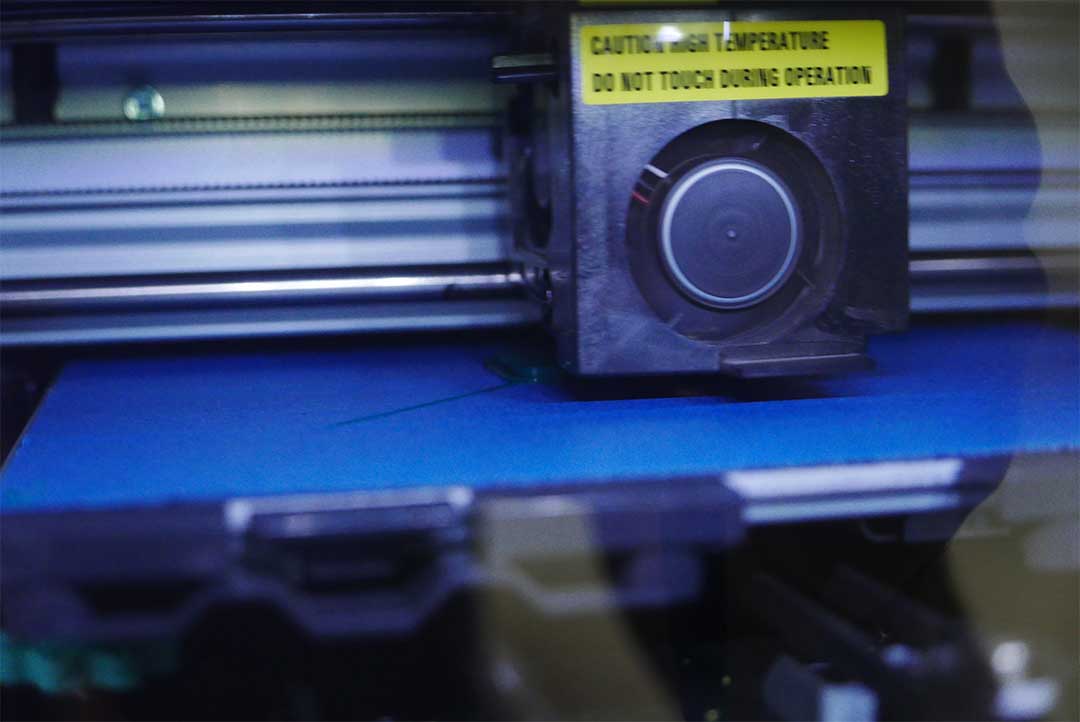
The final result was very successful, we had a great definition in all the sections of the test, even though this was only normal quality settings, we were very pleased with the result and time of the extrusion.
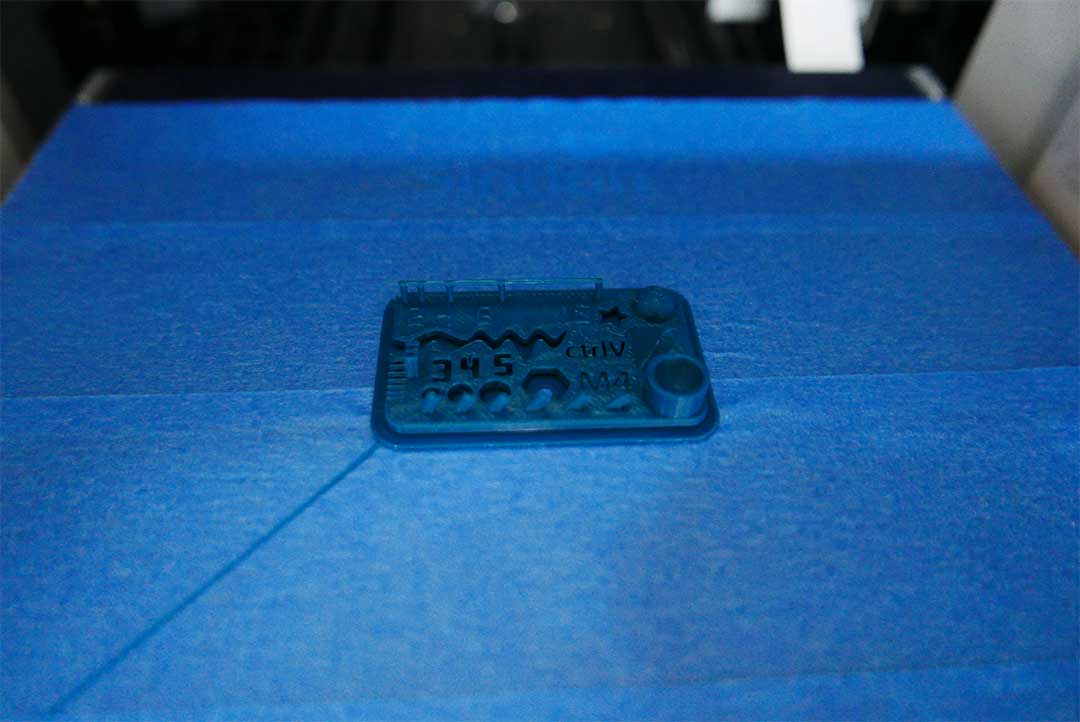
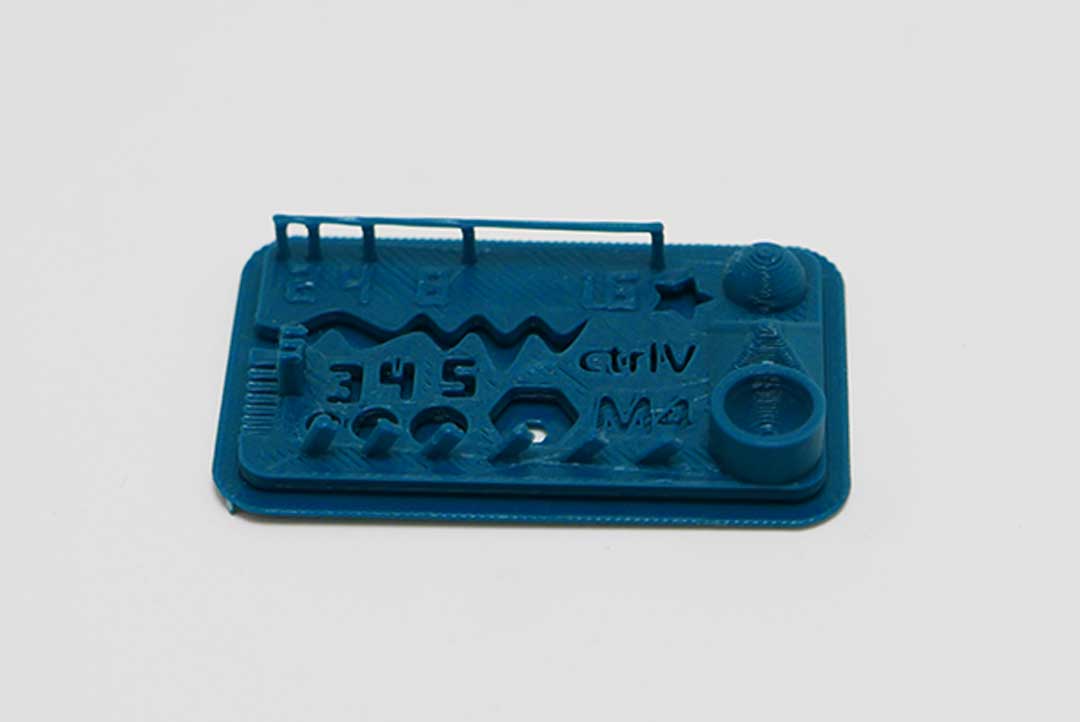
DESIGN AND 3D PRINT AN OBJECT (SMALL, FEW CM) THAT COULD NOT BE MADE SUBTRACTIVELY
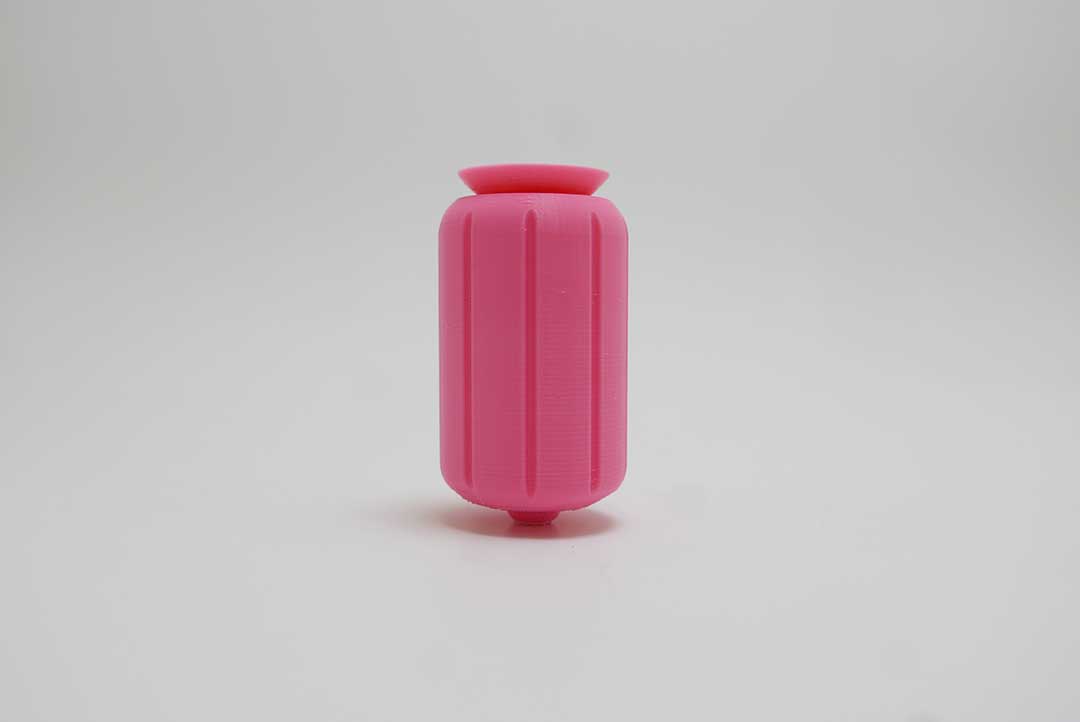
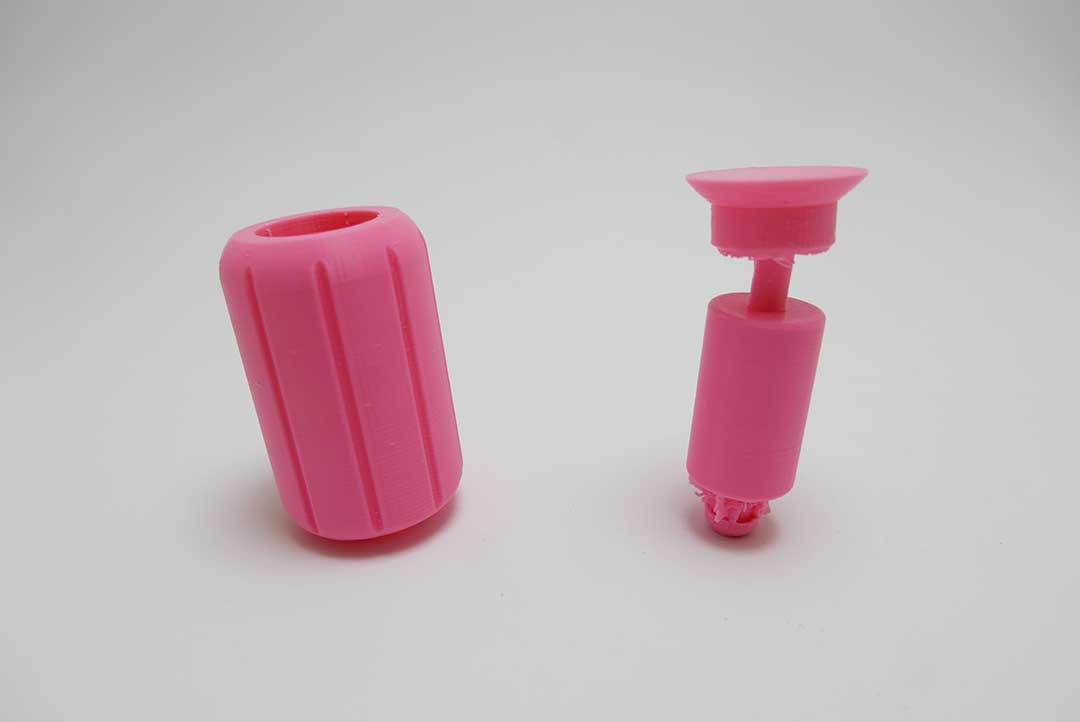
For this assignment I decided to print one of my previous 3D models I did during week 3, this will allow me to appreciate another shape from my possible dehumidifier. I want to see how the components work together and also decide if I like the esthetics of the device.
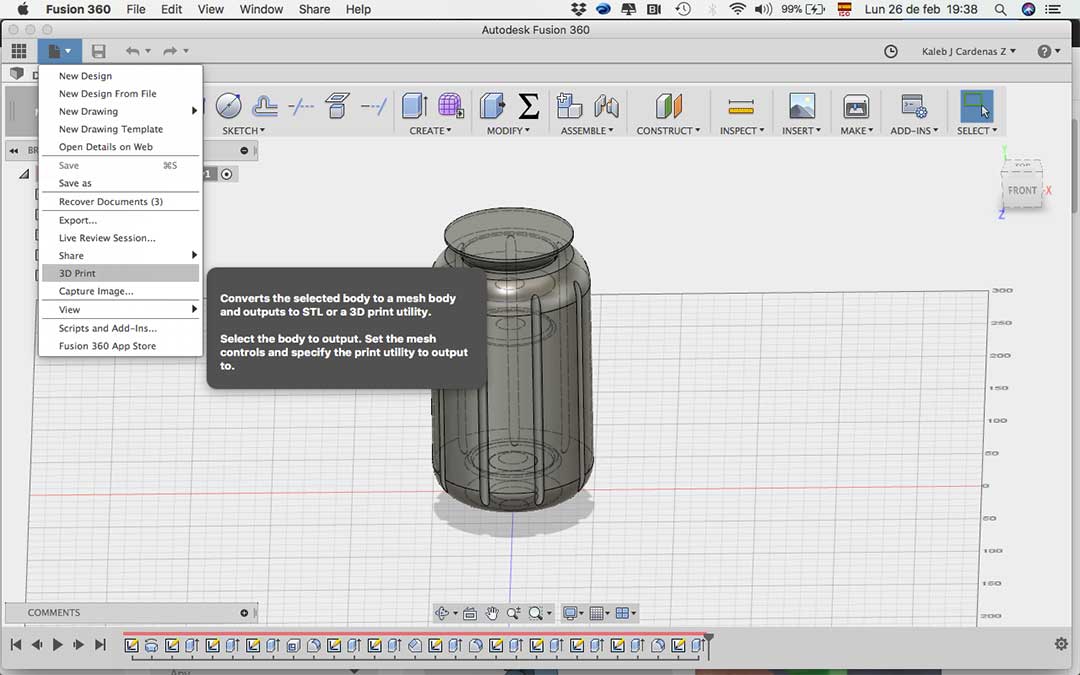
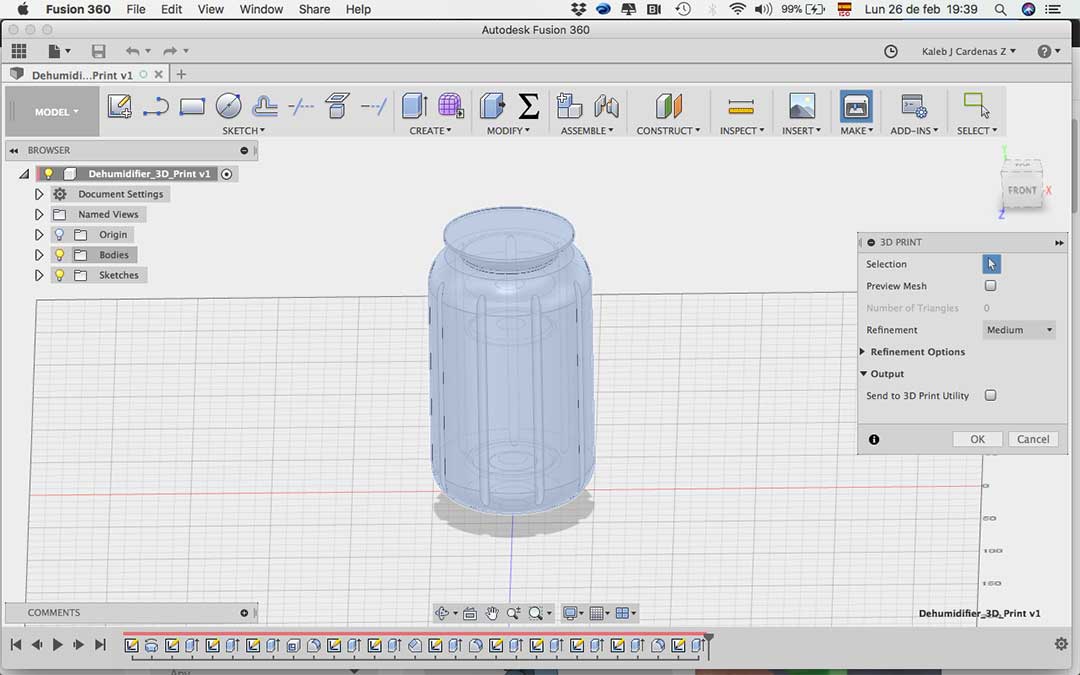
First I exported my file properly. I had to make sure I exported both of my .STL files from my model together, I did this by exporting the file as a 3D Print, this saves both “solids” into one .STL and allows me to print them as one.
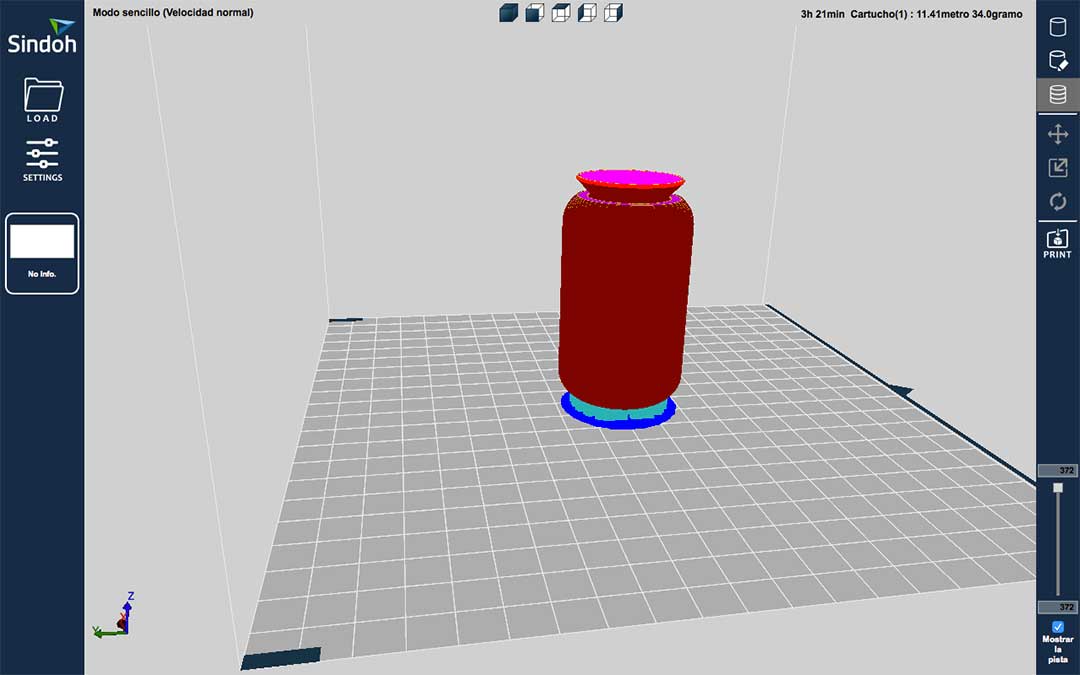
The 3DWox Software allows me to see how much time and material the machine will be consuming and at the same time, I can see how the print is coming out, layer by layer.
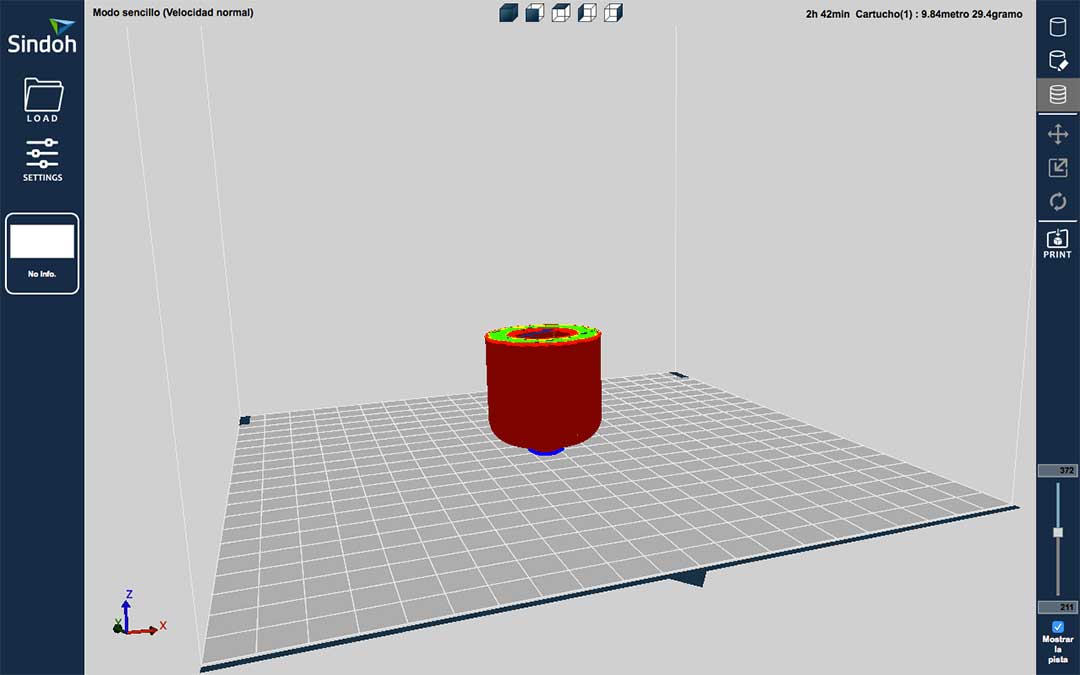
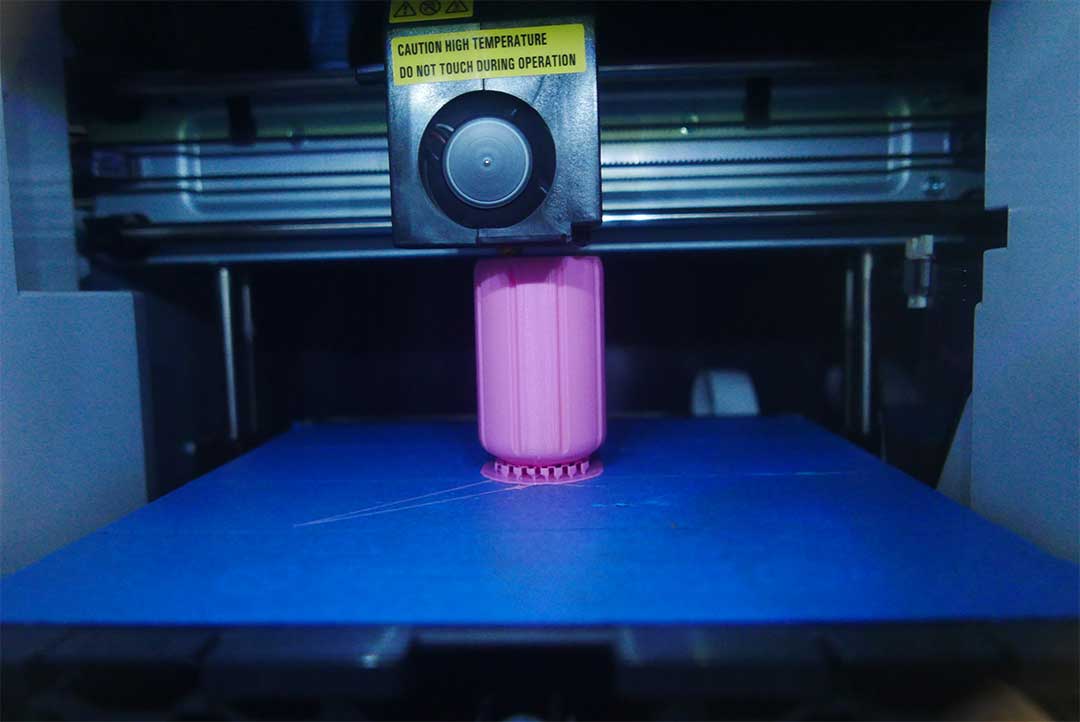
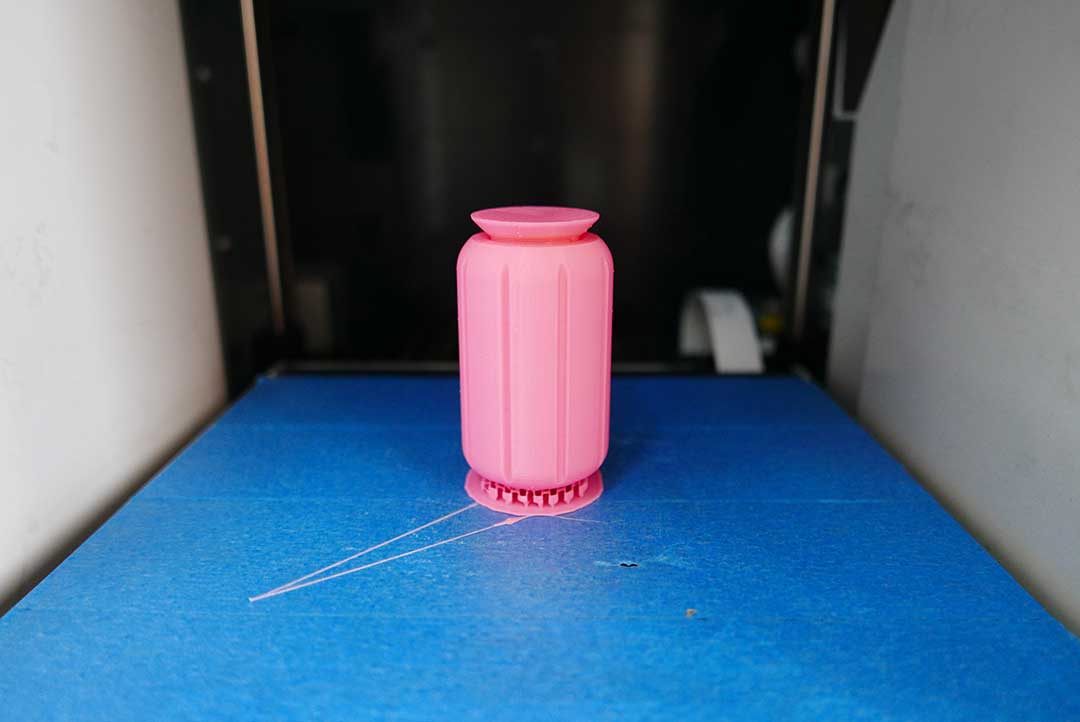
The result was interesting, I understood that two different parts of a model that are too close together might end up creating a joint with the support, therefore I believe that this model should have been printed in two different parts, meaning, to generate one g-code for each piece.
3D SCAN AN OBJECT (AND OPTIONALLY PRINT IT).
This exercise was very interesting because we had many problems with the software and hardware of our scanner. We first tried to use a Xbox Kinect but it didn't work because of the software we tried to use, it never recognize the device and we couldn't manage to set it up. Therefore, we had to use what we had in hand.
We downloaded a cellphone app called Scann3D, this turned out to be a problem as well. The quality of the scanning wasn´t good but we learned the basic principles of how 3D scanning works.
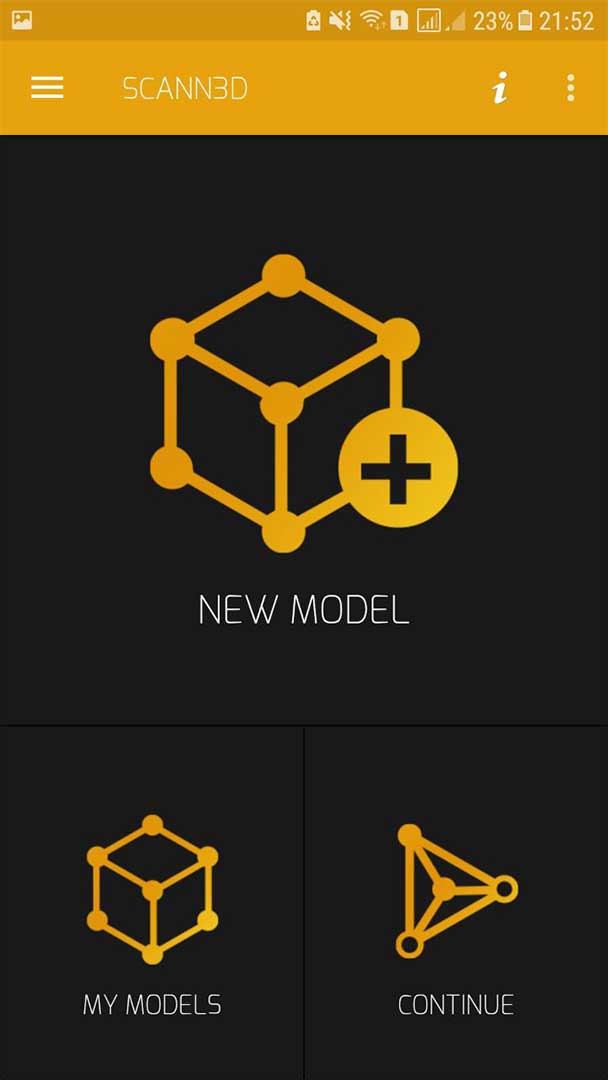
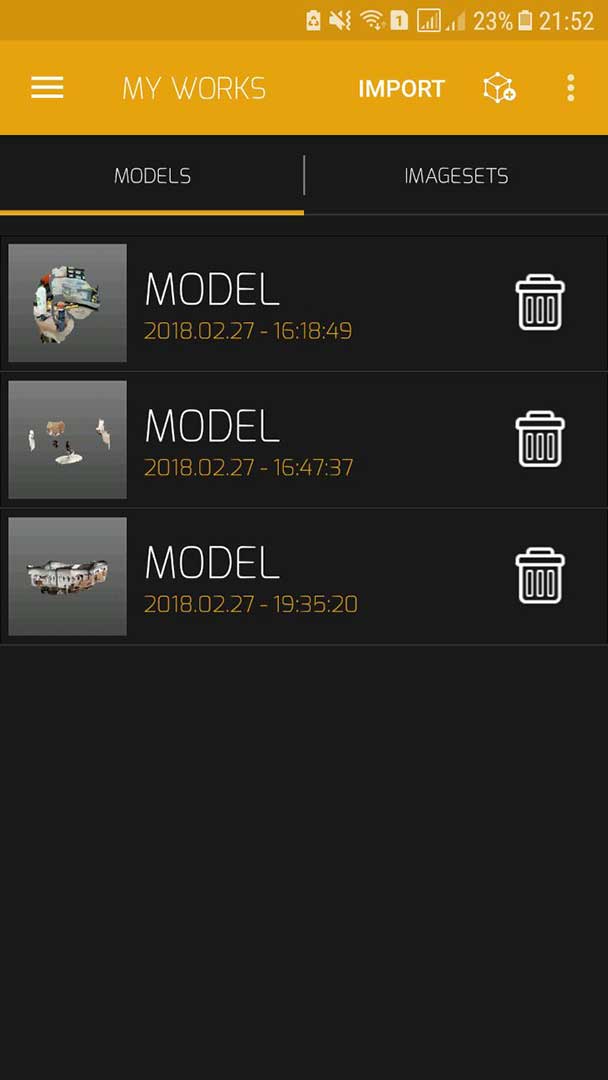
First, we had to take as many pictures as we could around ourselves, so that the quality of the 3D model is better. You need to go around an object or person in this case and try to keep the same distance from every angle. This will create an object that can then be turned into a 3D model.
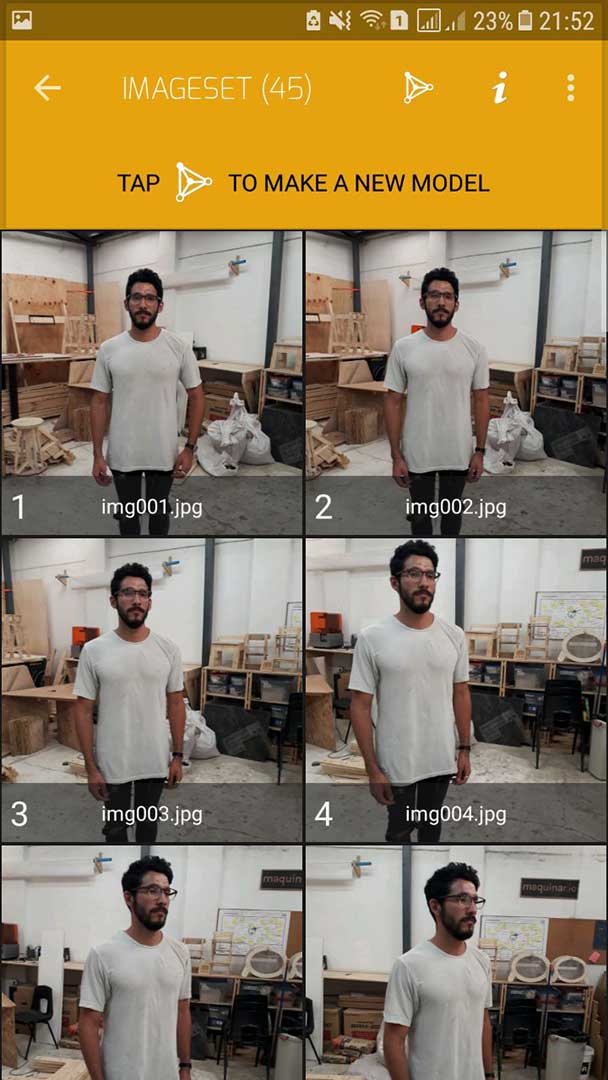
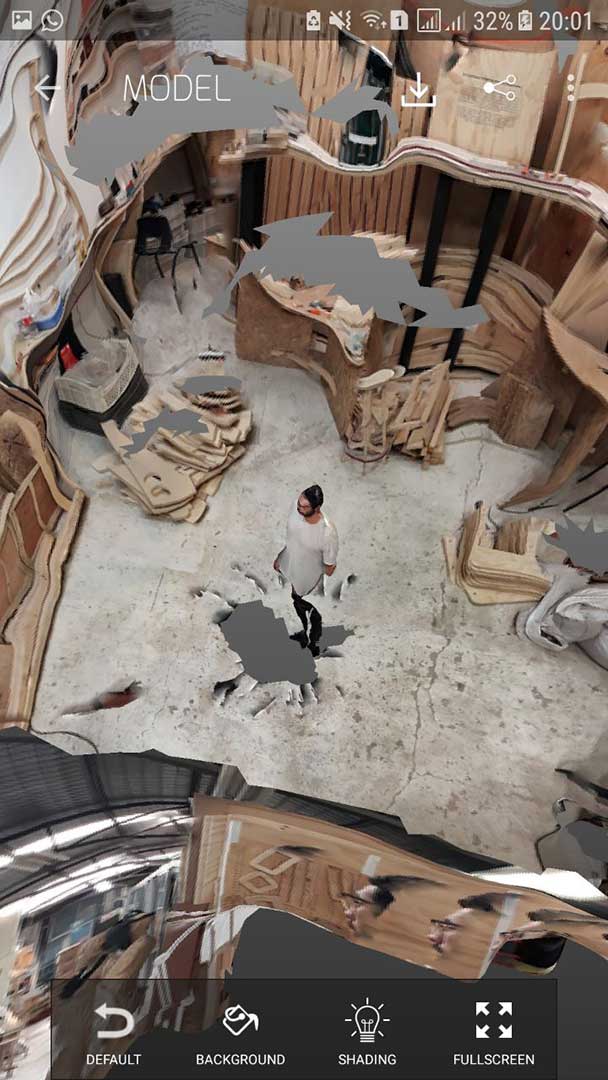
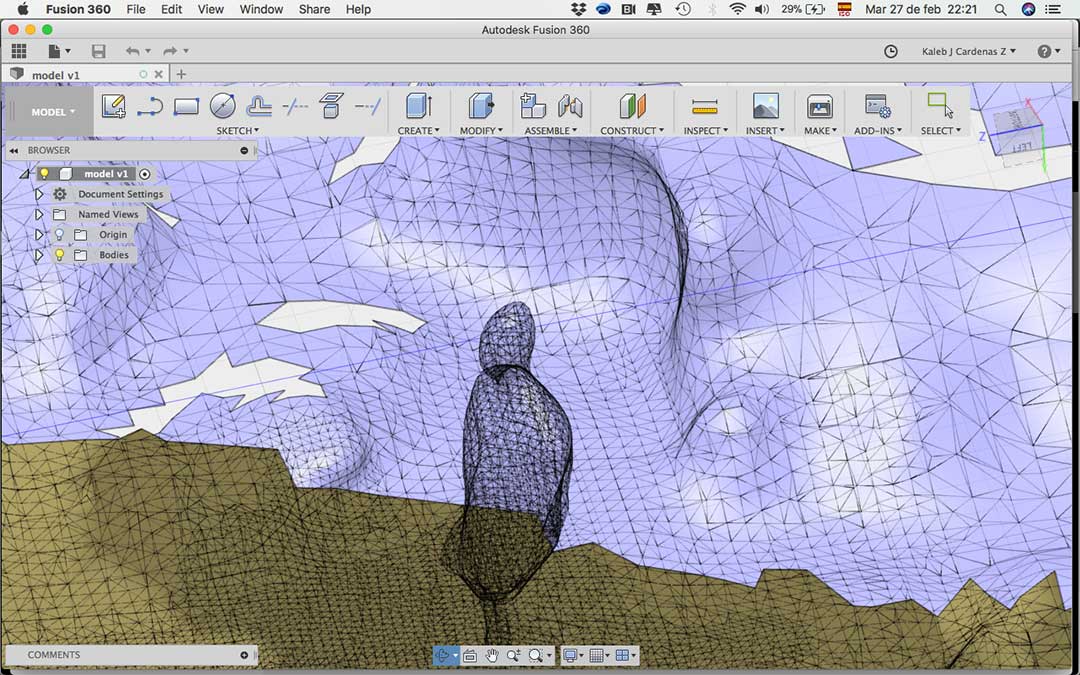
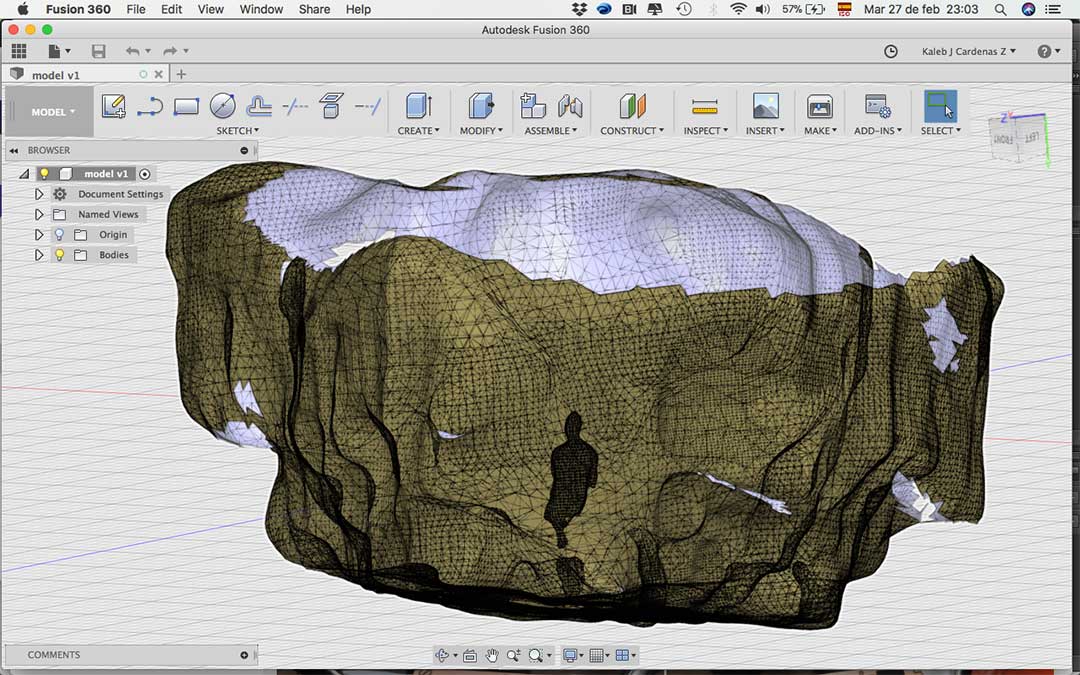
The result isn´t good, the app scanned the entire room, therefore everything became a mess on the final model. We need to improve the scan in order to get a better 3D model. Here are some screen shots of the final .STL file.
FILES
All the files can be downloaded
here: