Git
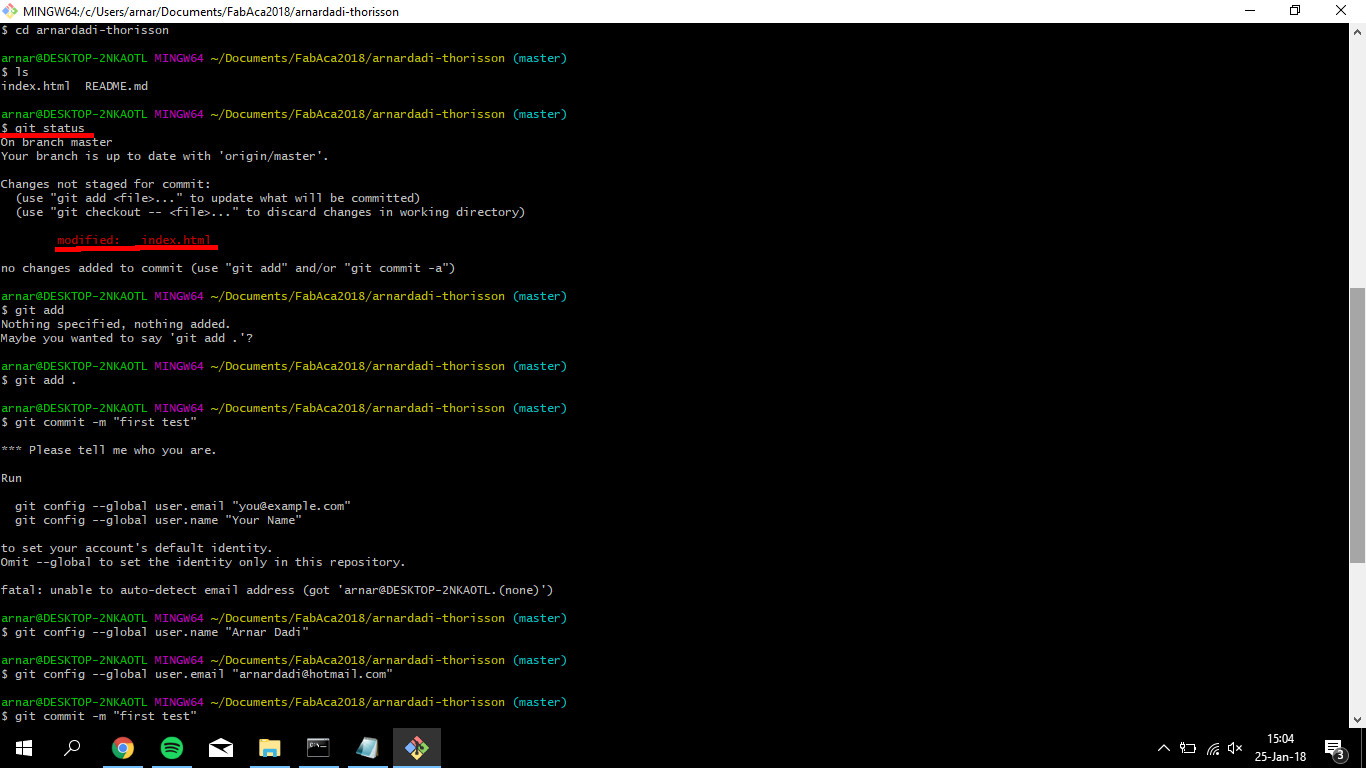
This week we learned on git-lab/bash and how to use it to get our website on the internet. What I came across when using git-bash was that each computer has to have an SSH-key so each one can use git's function. I also had some trouble when working on multiple computers that at one instance some files were missing so I deleted all the files from my computer and cloned it back. It took a few tries to get it correct, I had to make sure that I was at the right directory when cloning whilst in git-bash.
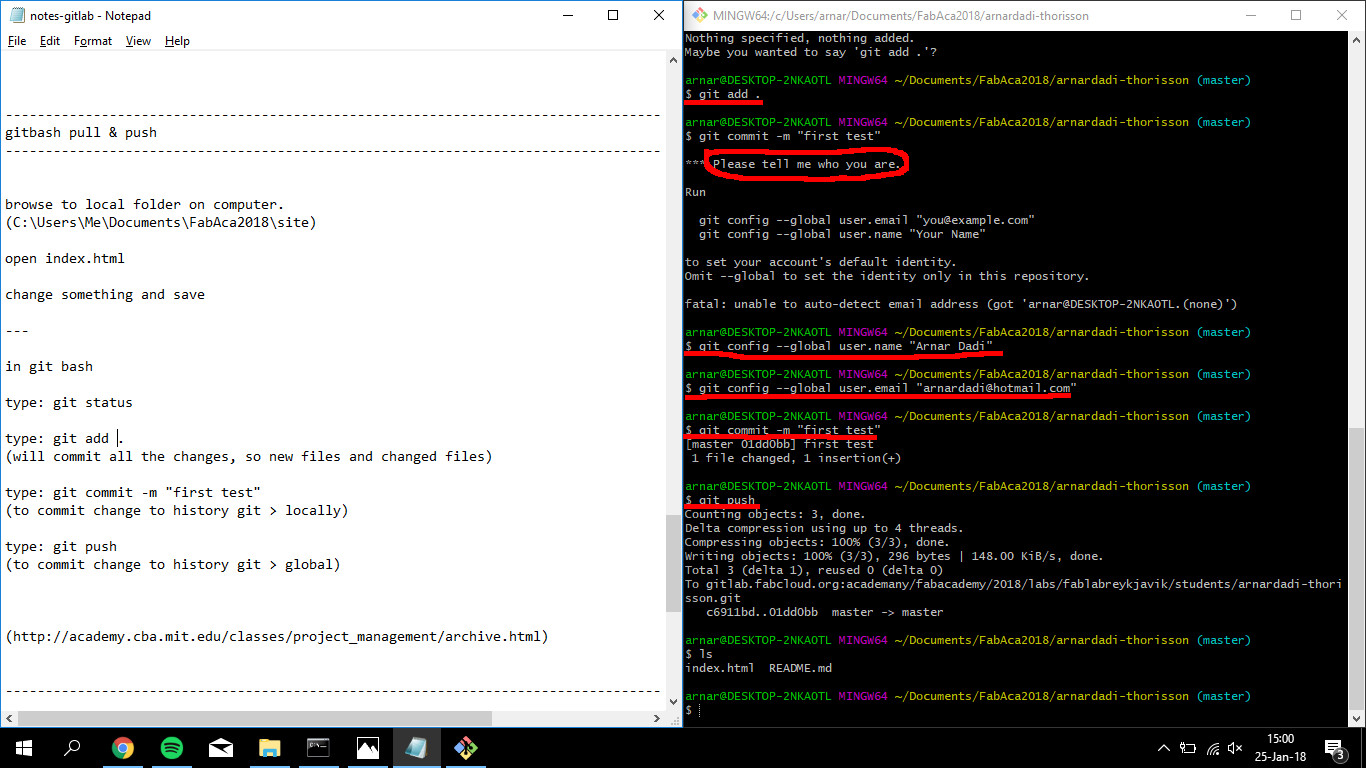
As seen in the image below I started with "git add ." wich adds the files I want to be pushed on the website and after trying to commit I had to set up some info before commiting for the first time and after that was finished I only had to do is "git push" and it's as simple as that.
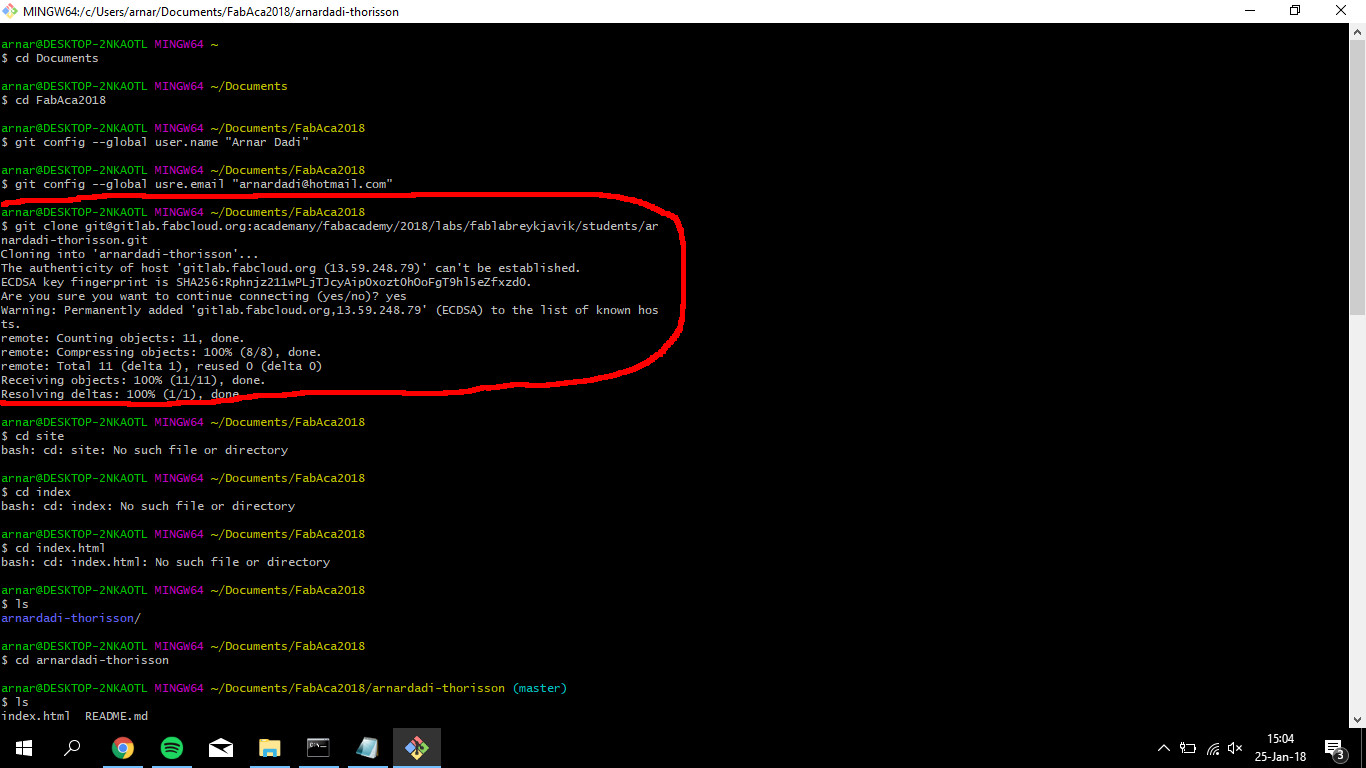
And if you want to go to another computer and work from there
here is a guide on how to set that up.
Website
What I did for my website was that I looked around sites of previous students of Fab Academy and stumbled upon
Baldvin's
website from Fab Academy 2016 and took those codes and changed the site to my liking but that was and is still is an adventure since I had basic knowledge on HTML and very small one on CSS. The editor that I used was
Brackets
and found it really useful because I can see the website live and as I tinker with the codes I can see what's going on. The first thing I did was to tinker with the color codes wich is quite easy in brackets bacause you can see the color tablet in the editor.
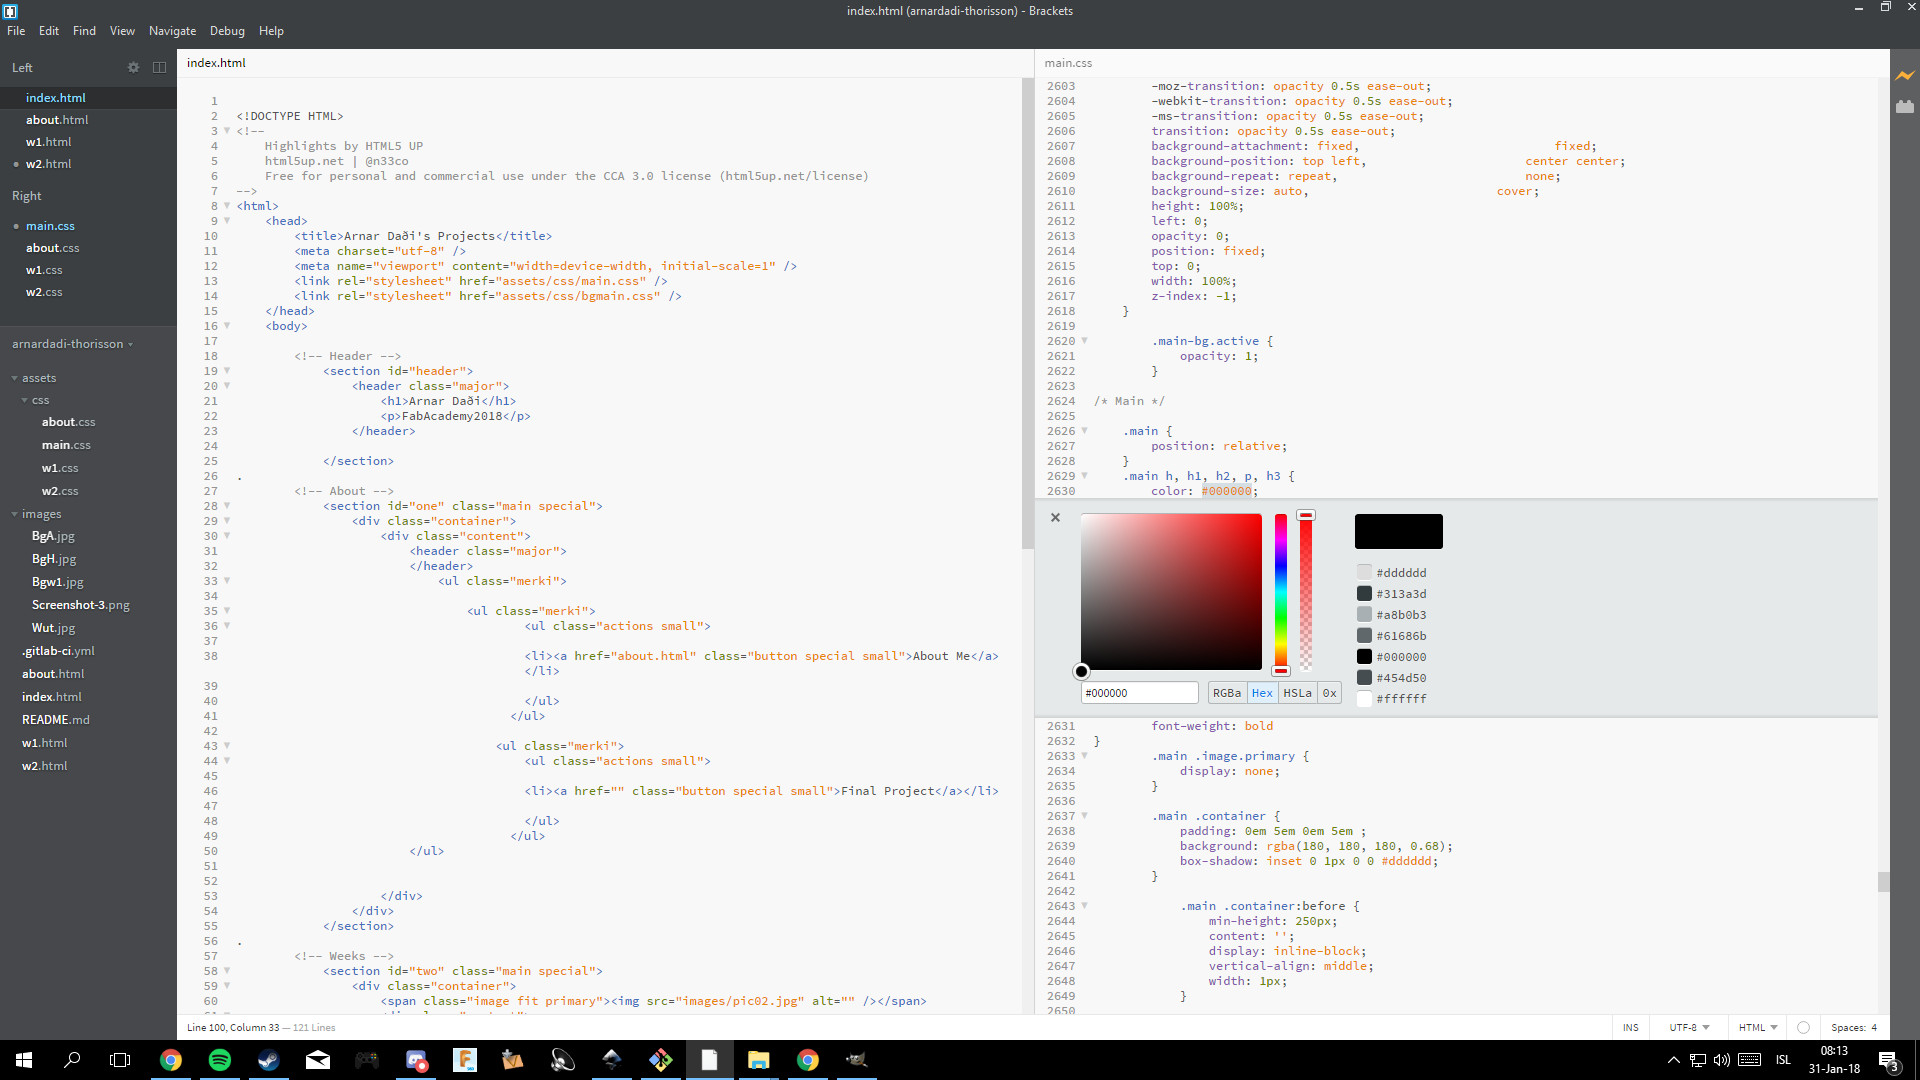
So by tinkering with the color codes I was able to learn better on CSS editing and was able to to see wich code belonged to what element and by learning that I got deeper into tinkering with coding and making the website more to my liking. The most valuable thing that I learned was wich CSS code belonged to a specific element and was able to create a code by myself so I could have more freedom over my page. One of the things I like about Brackets is that in live view is that you can also click on a specific area of the page and see where that element is and be able to troubleshoot from that area. The pictures that I use for this site are all .JPG but not .PNG since they take lesser space and converted them to 72 DPI by using
Gimp.
The bacground images are scaled down to 1080p resolution and the images on the home page weeks area are scaled down 600p since it doesnt need to be large and clear just to lessen the load on the page and I had trouble aligning them correctly with scaling them with CSS coding. Later I wanted to use a youtube video and looked online that the video needed to be embed and you can do that by clicking the share button and select embed and copy that url and paste that to the html code. To make a file downloadable I used
this code.