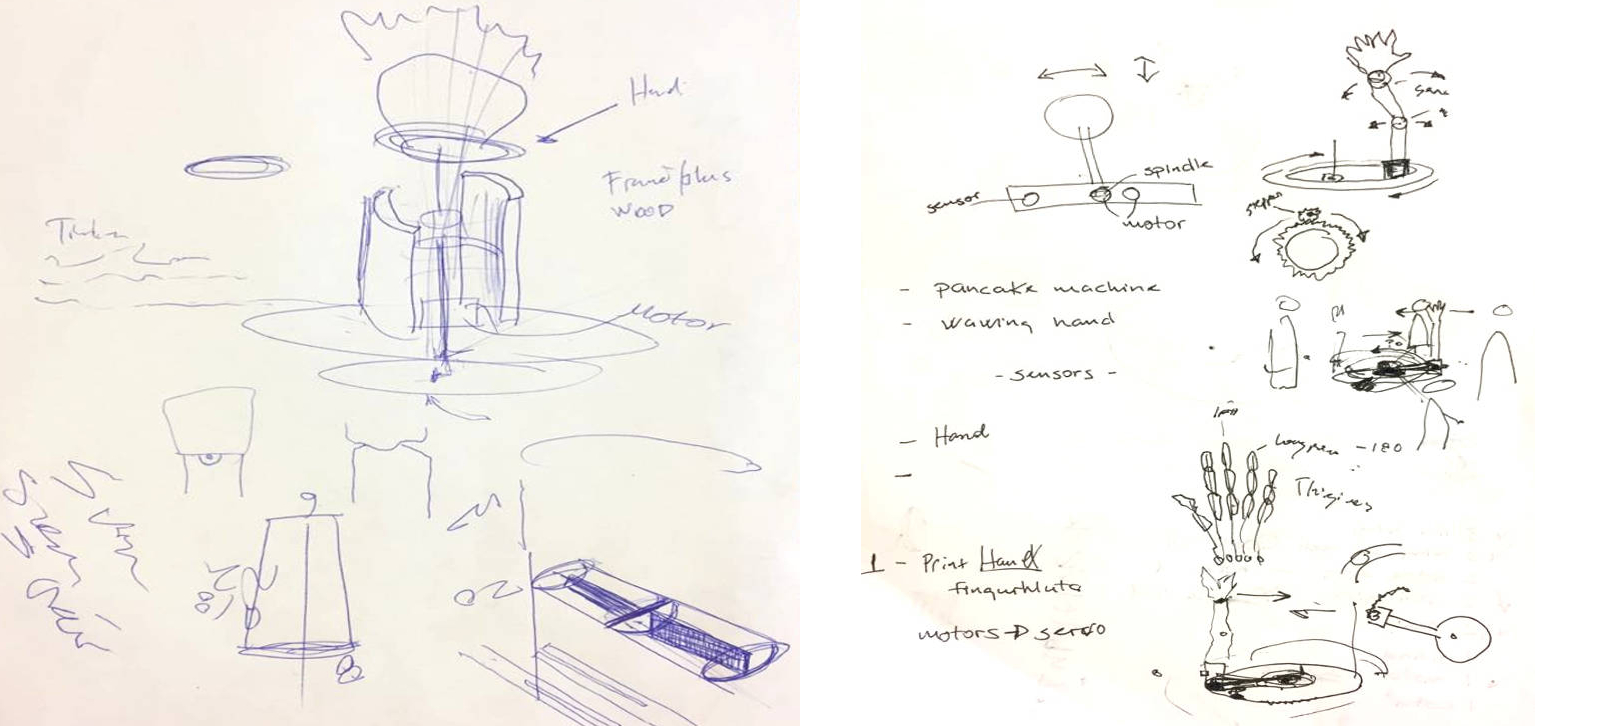
- Design a machine that includes mechanism+actuation+automation.
- build the mechanical parts and operate it manually.
- document the group project and your individual contribution
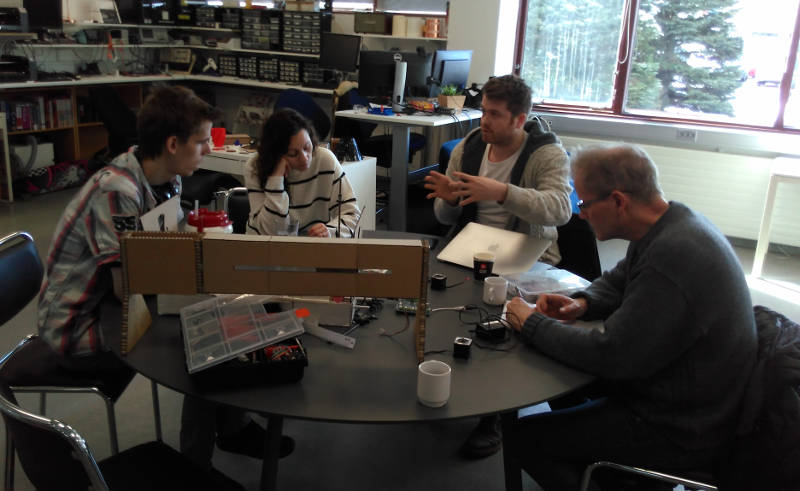
Arnar Dadi, Jon thor, Karitas and Svanur.
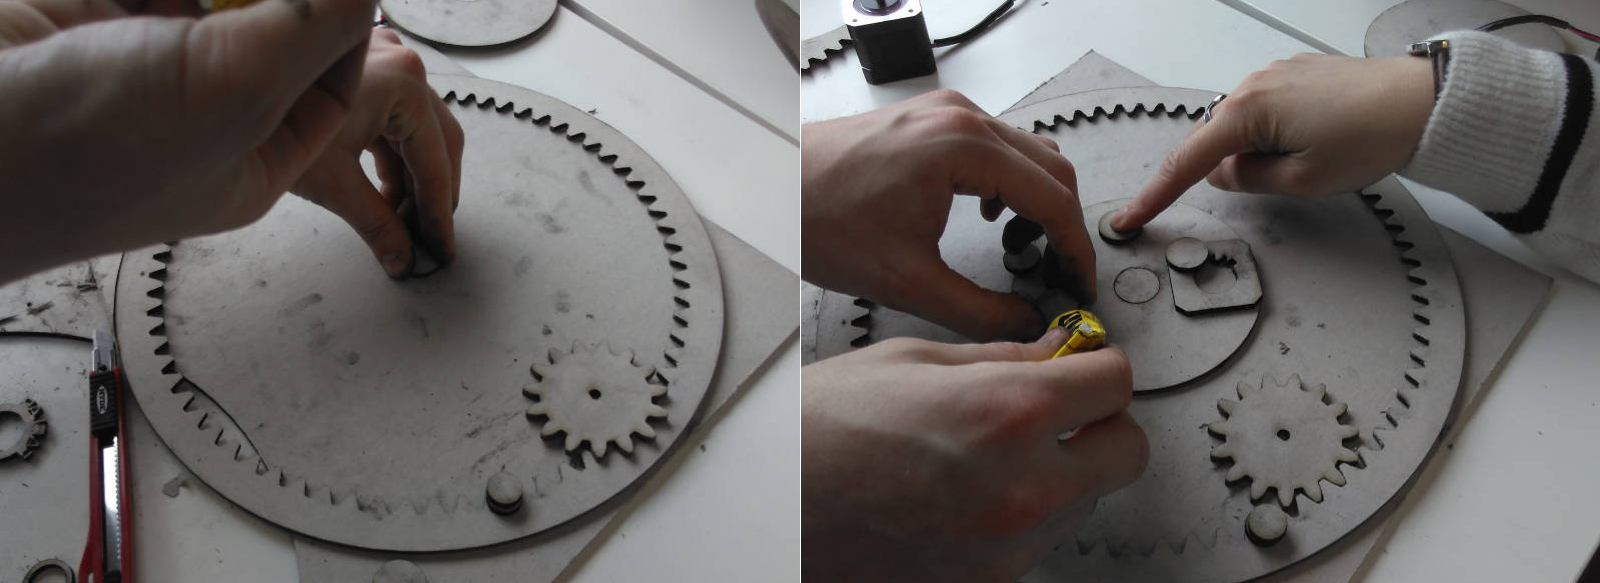
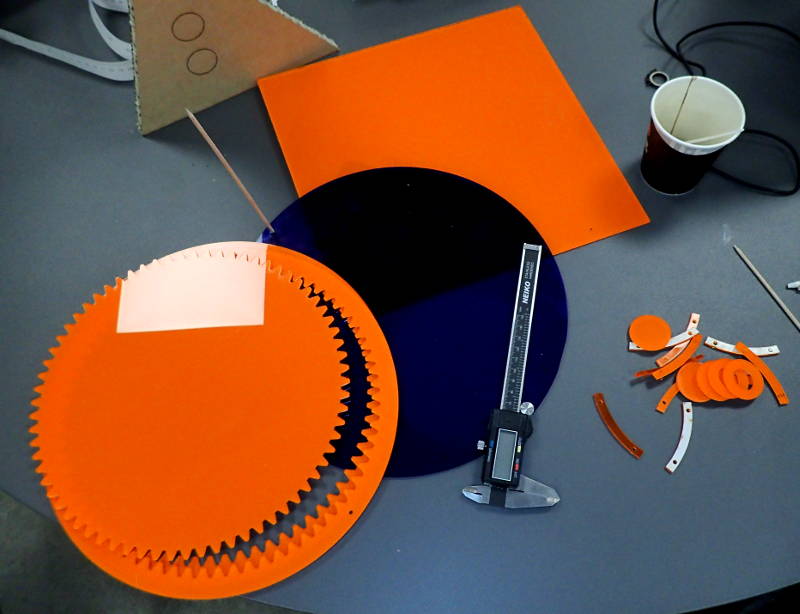
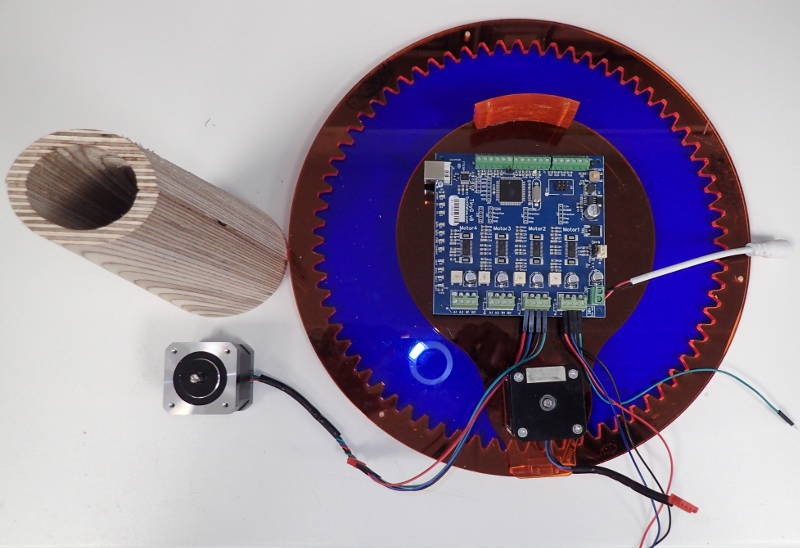
Jon Thor designed gears and bottom plate in Fusion 360, using Dr. Reiner Hessmer's involute spur gear builder. That worked well, but we had to tweak the corner clearance for the stepper motor and reduce the size of the hole in the small sprocket to fit on the motor shaft.
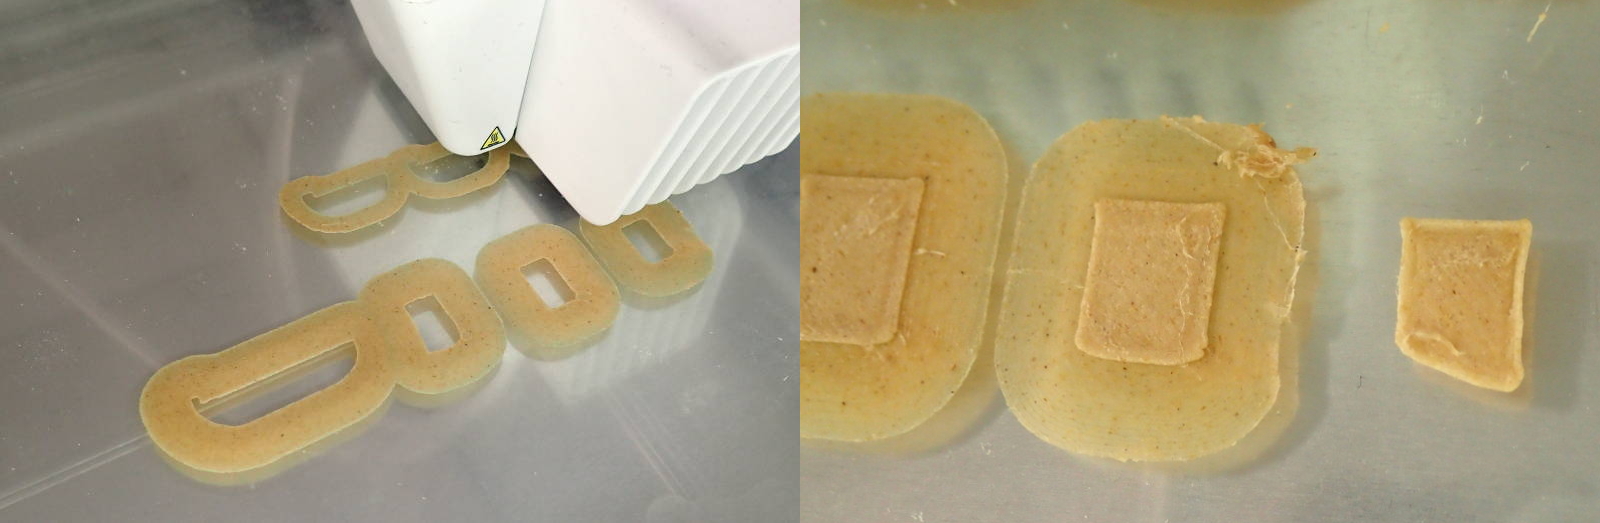
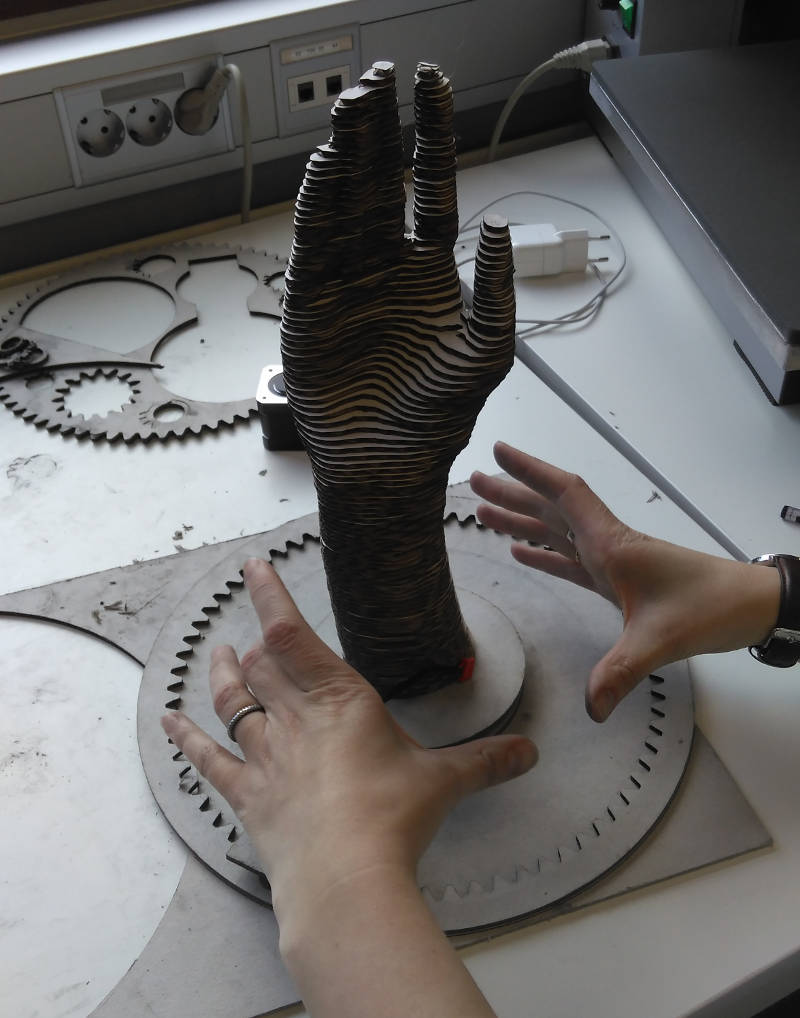
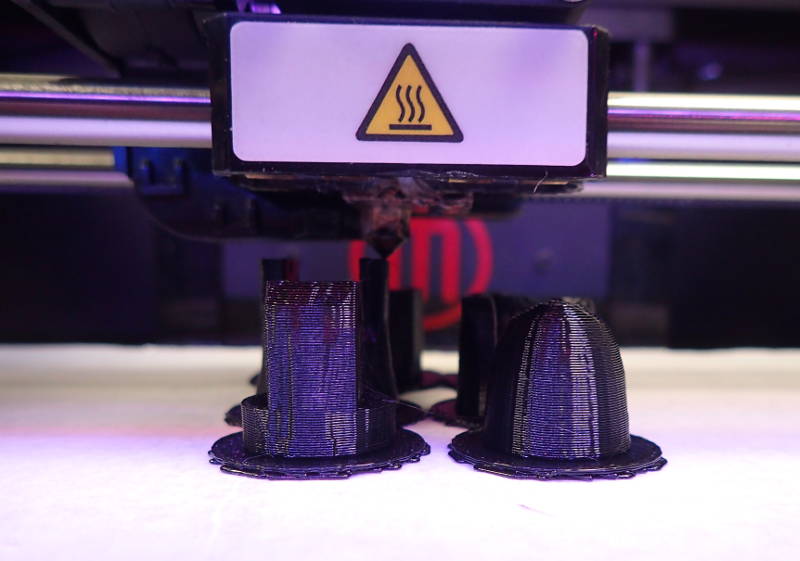
Svanur started 3d printing the digits, using models found on Thingiverse, the fingers from Flexible joints for InMoov's fingers by bhouston and the palm unit from Hand robot InMoov by Gael Langevin. The initial attempt was made using woodfill filament, but that proved too hard to extrude for our 0.4mm nozzle, so a second attempt was made using white PLA. That started off well, but it soon became apparent that without some substantial supports, it would not work. A number of the elements were placed on the printer bed like an inverted pyramid and after a few layers, those got pushed over by the nozzle, which then started printing in thin air.
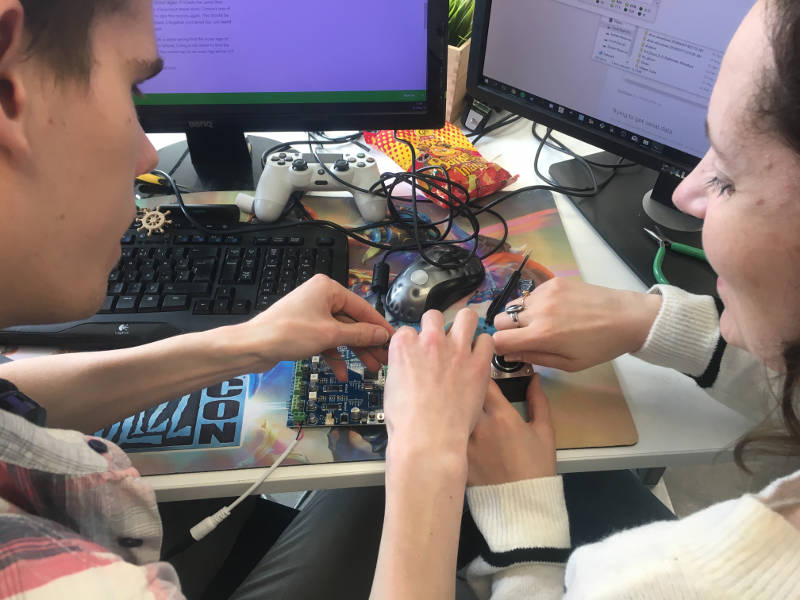
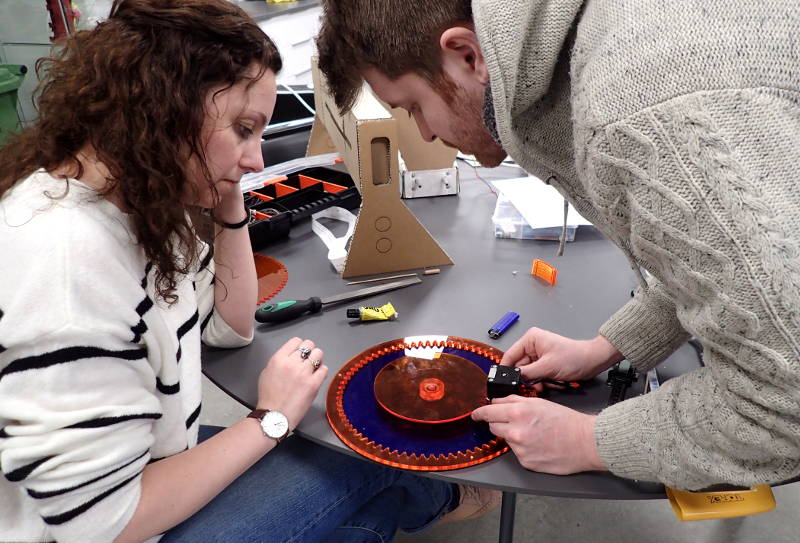
Arnar Dadi and Karitas took care of trying to get the motor turning.
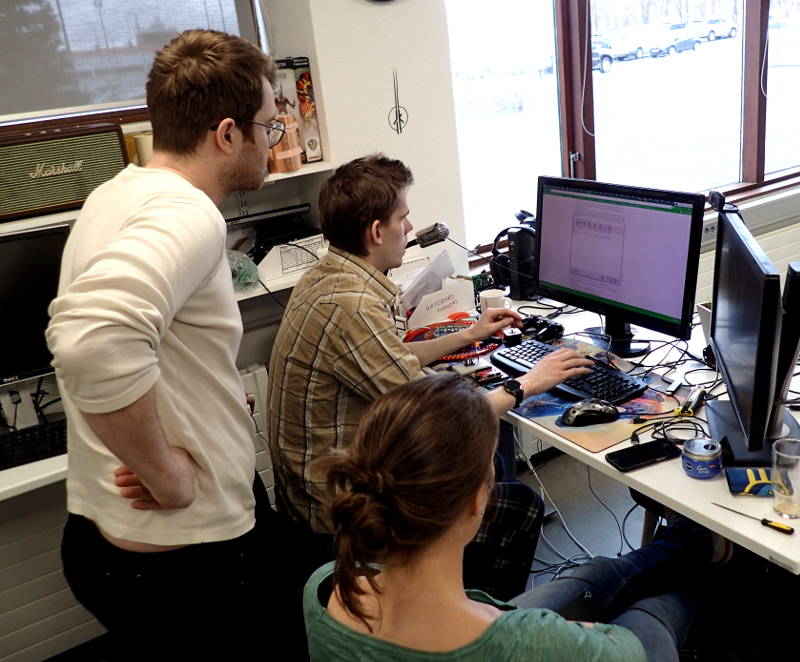
We are using a stepper motor and a TinyG v8 controller board. We used the website Synthetos.com to find information on how to connect it together. There we found a link to a site that pointed us to a download of some motor controller software. We were able to follow the instructions step by step.
Next we established the wiring layout and connected the stepper motor to the controller board. This worked on the first attempt, and we discovered that f=feeds and x=position.
Now we have to see how our gears work to be able to determine the f and x values to give us a 180 degree movement.
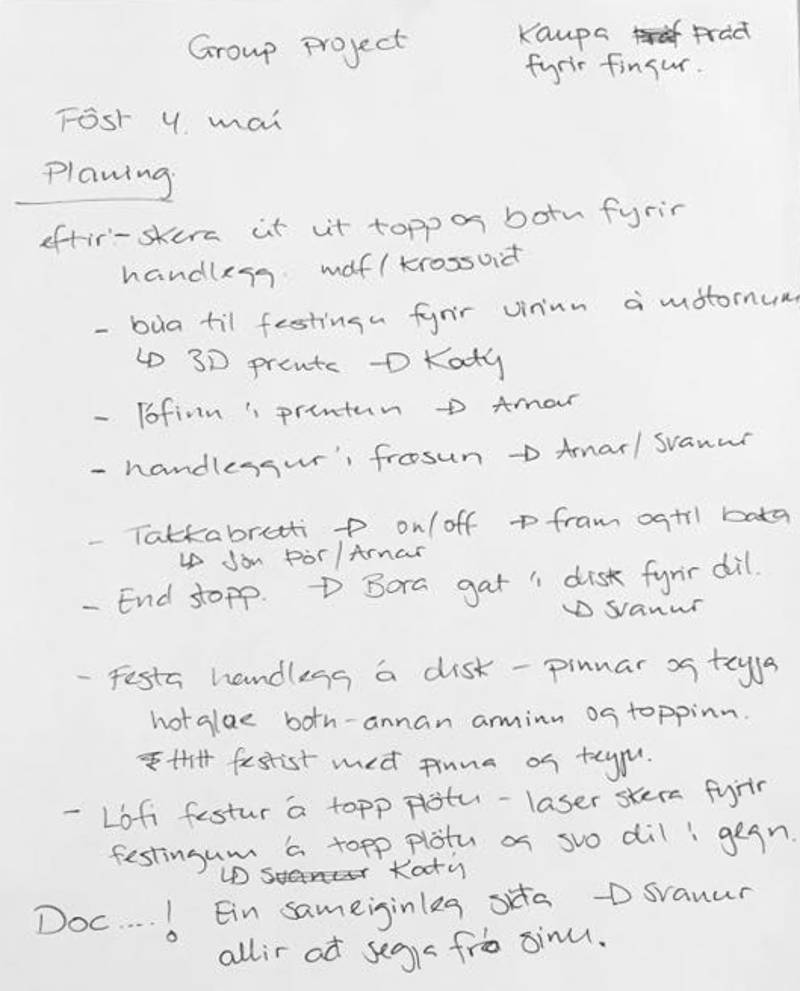
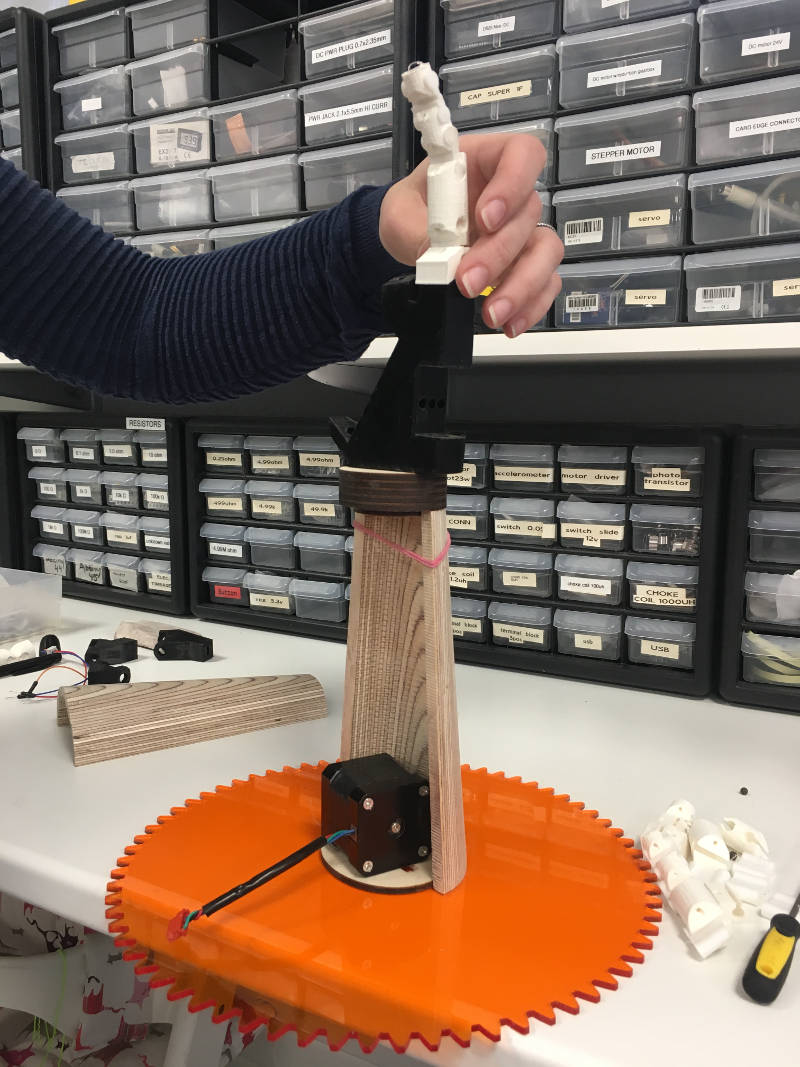
It does work, but we want to make some adjustments; - The motor shaft is too long so we want to lift the large gear and double it's thickness. - We also want to double the thickness of the motor support arm to ensure good stiffness and stability. - We want to make a top cover where the arm will be placed, it will be resting on the middle of the machine and not on top of the motor.
So cardboard is not good for testing because it will wear down quickly, but we did also make an on/off button and for that we needed to solder a wire to the button.
We also need to connect the controller board to a PC/Raspberry pi or some such.
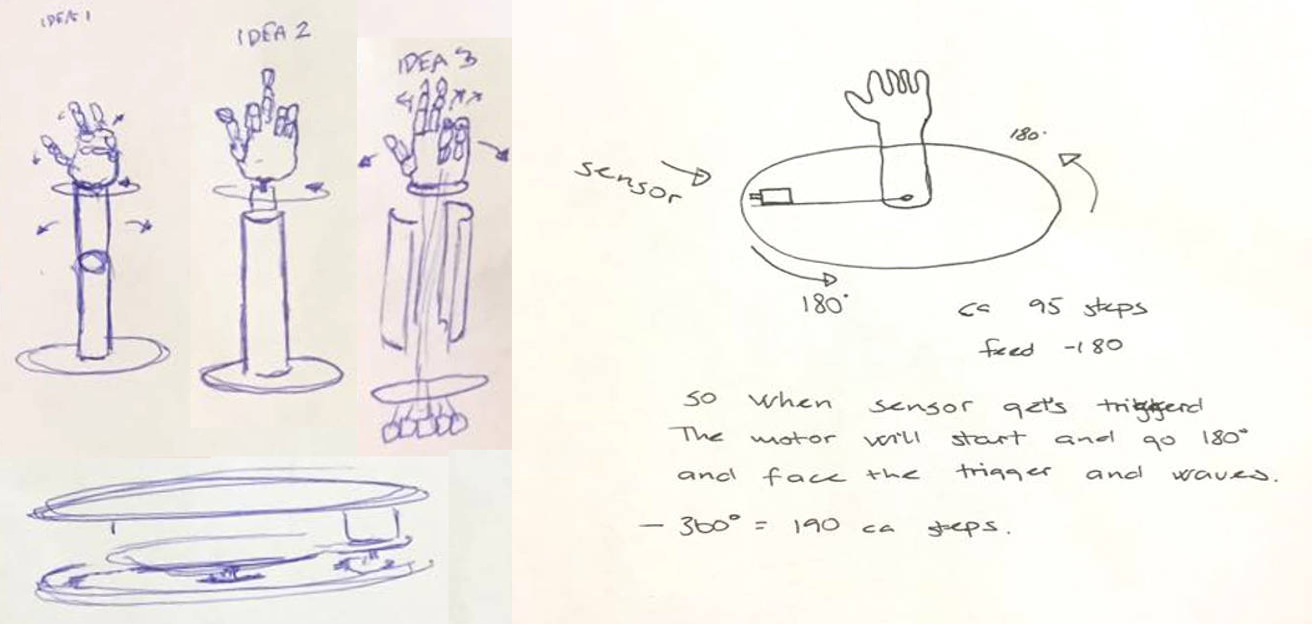
We dropped the original idea and decided to connect directly to a computer, but made a change to restricting the waving motion to 180 degrees and back, so the wires will not get twisted.
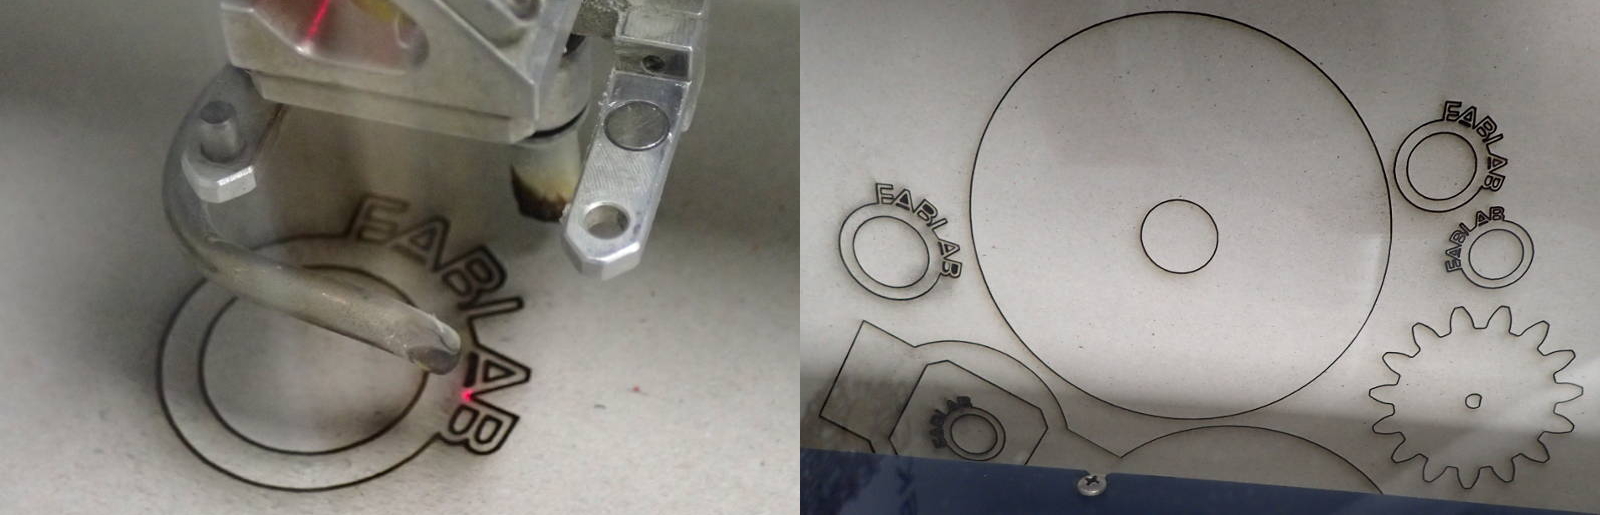
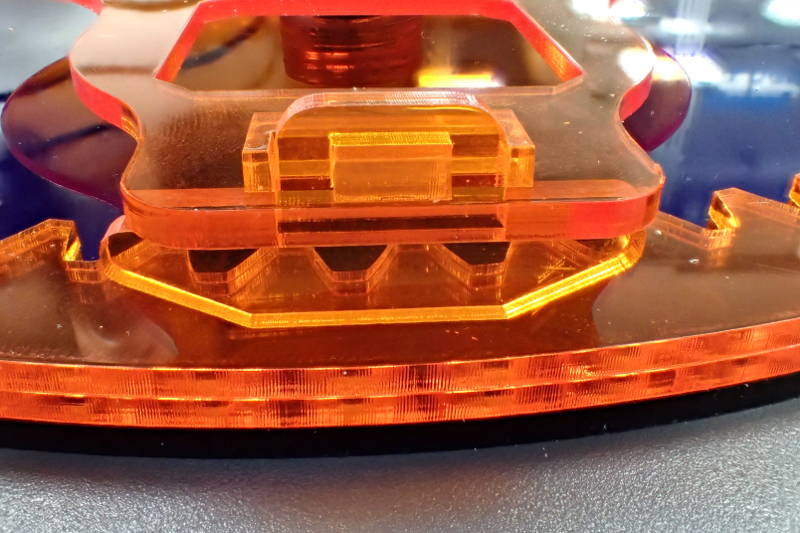
We remade the frame, this time from laser cut acrylic, Jon prepared the Fusion 360 design for cutting using Illustrator and Svanur cut the acrylic on the Epilog.
This worked very well and we glued together the parts that needed gluing and connected the motor. It was a success.
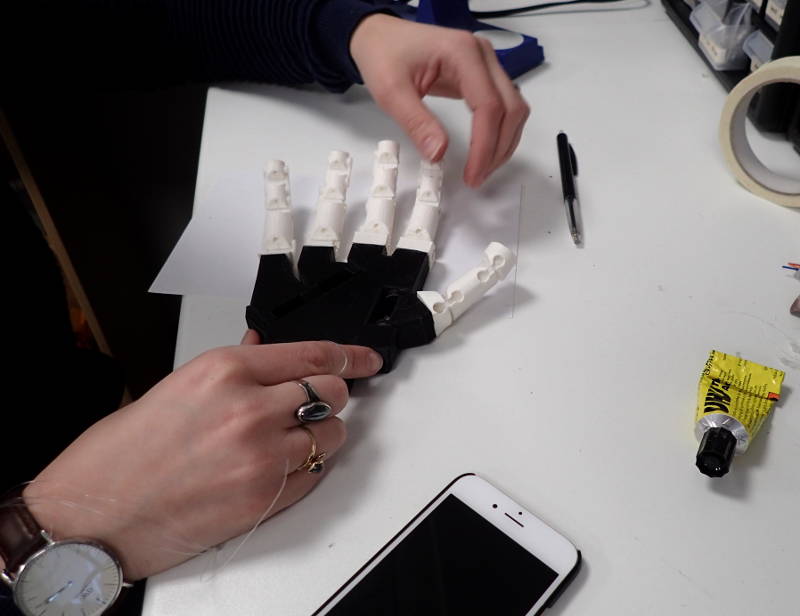
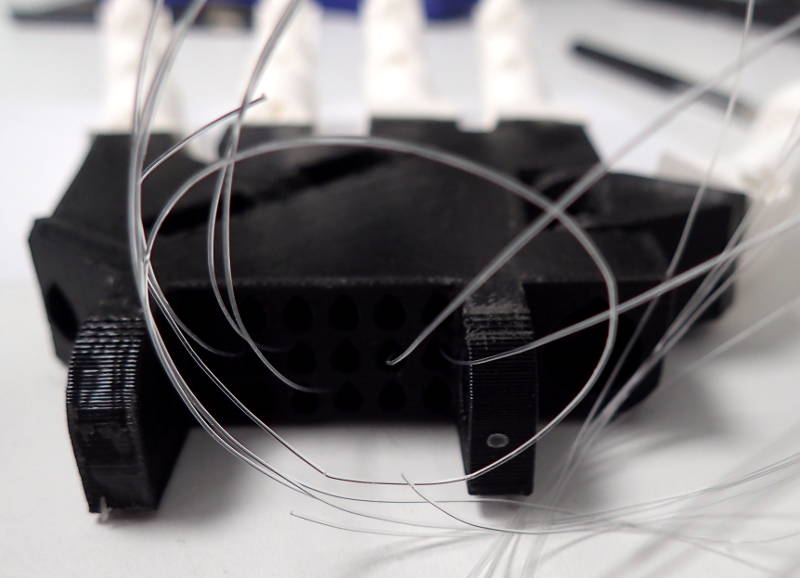
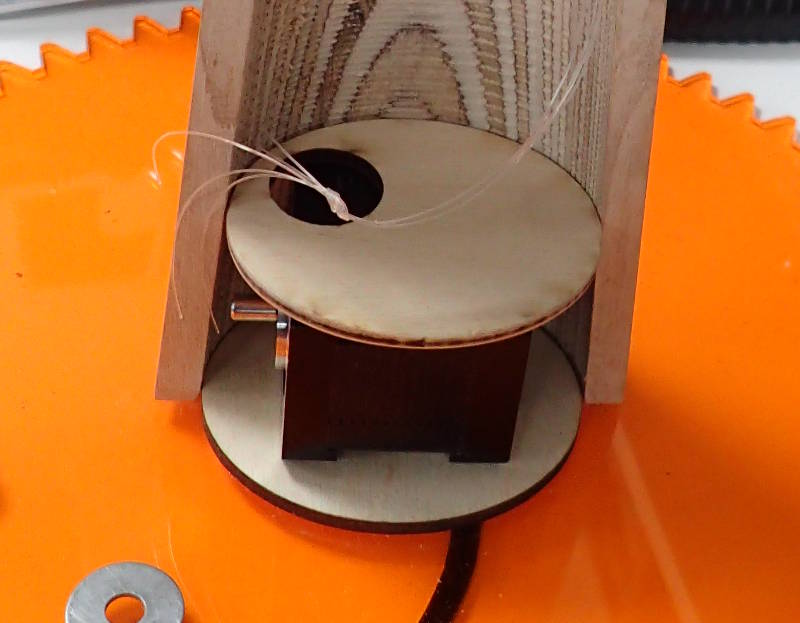
Now we printed the digits, using TPU95 flexible filament for the joints. We threaded wire through them and ground a slot in the motor shaft to test the fingers' articulation. We need approx. 10-12mm to get the desired movement. Now we just need to design a connencion between the wire and the motor.
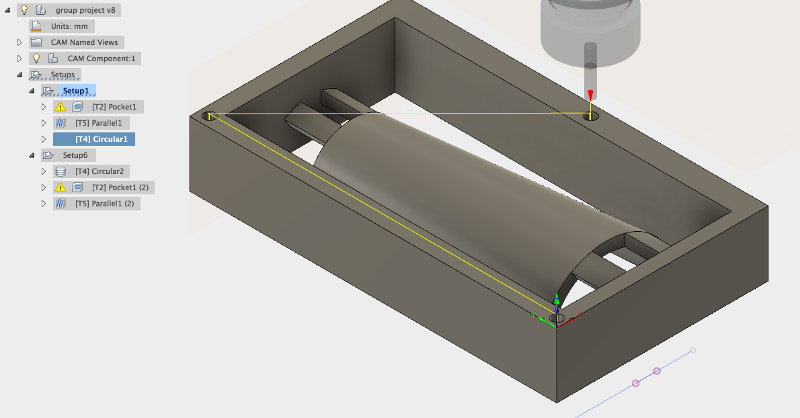
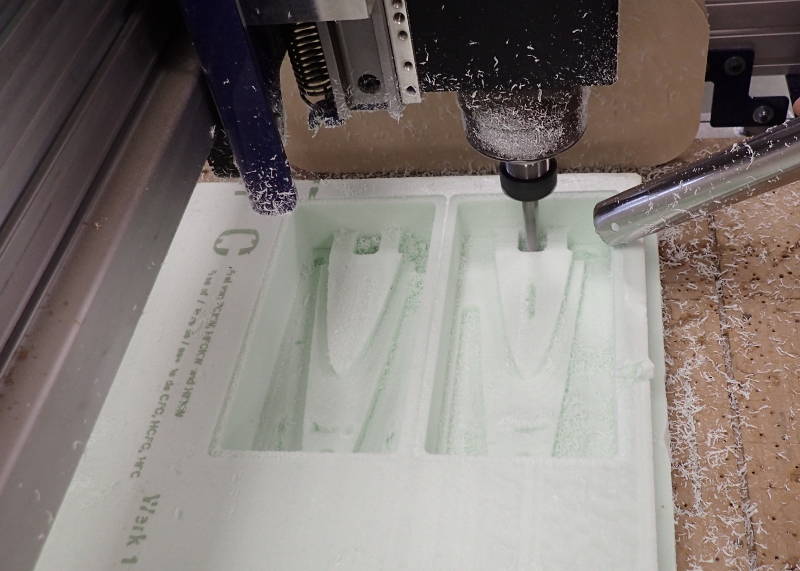
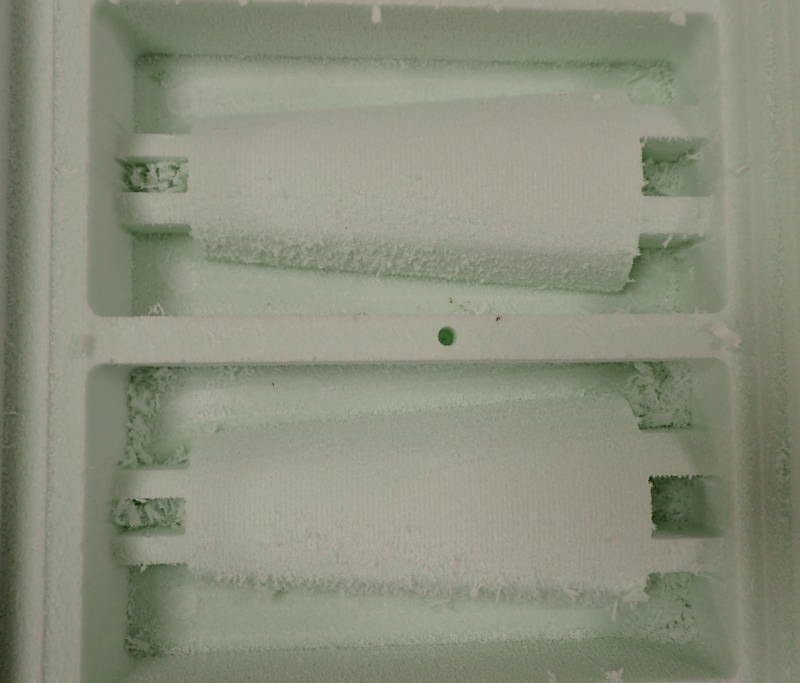
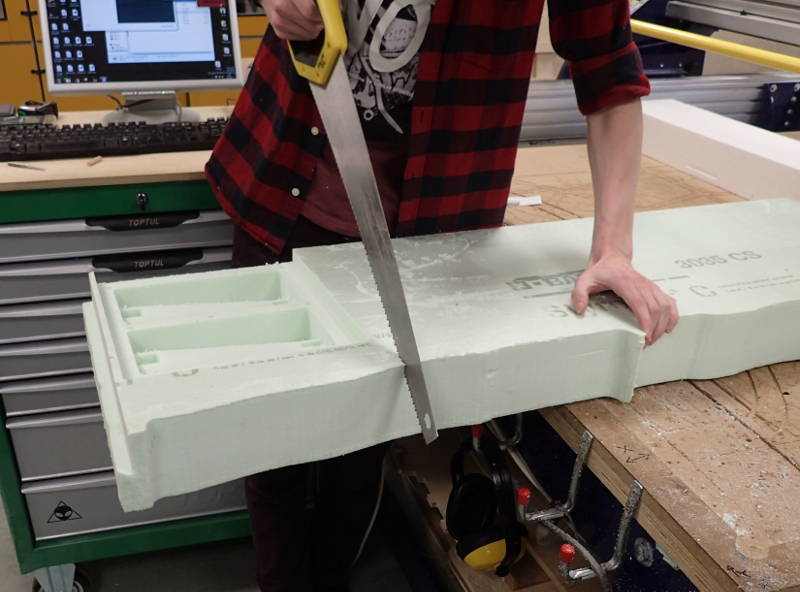
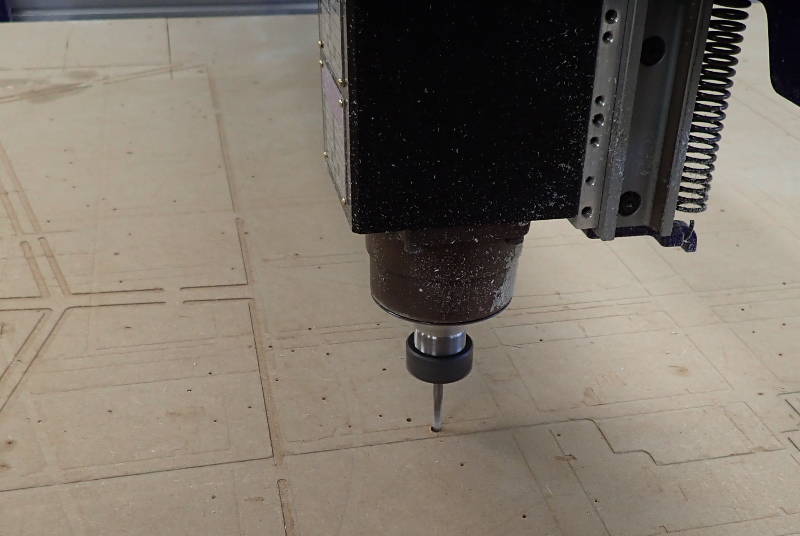
Jon Thor designed the forearm in Fusion 360, we intend to enclose the motor for the fingers inside it. It will be milled on the ShopBot from rigid foam, using plywood lids on each end for added strength. They will have to be drilled for the control wires to pass through, we have to make sure the hole on the top one is correctly placed to get the required pulling force to flex the fingers.
The code for the TinyG is very simple, one has to begin by zeroing, which is: G0 x0. We will make the gear go to the position G1 f-1800 x95, whic is approx. 180 degrees, but the finger flexes at G1 f200 y-50 and straightens at G1 f200 y50.
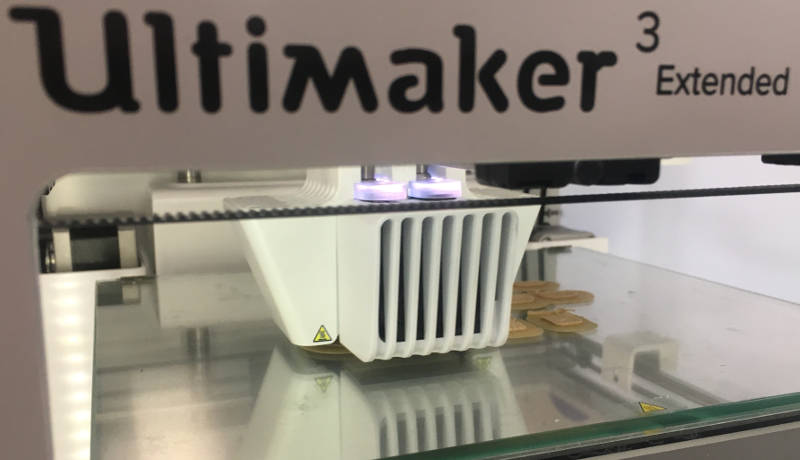
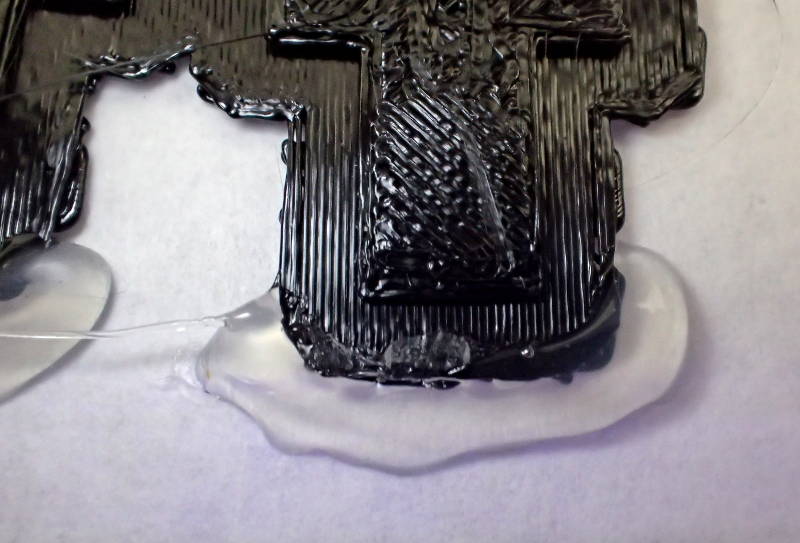
This started off looking promising enough.
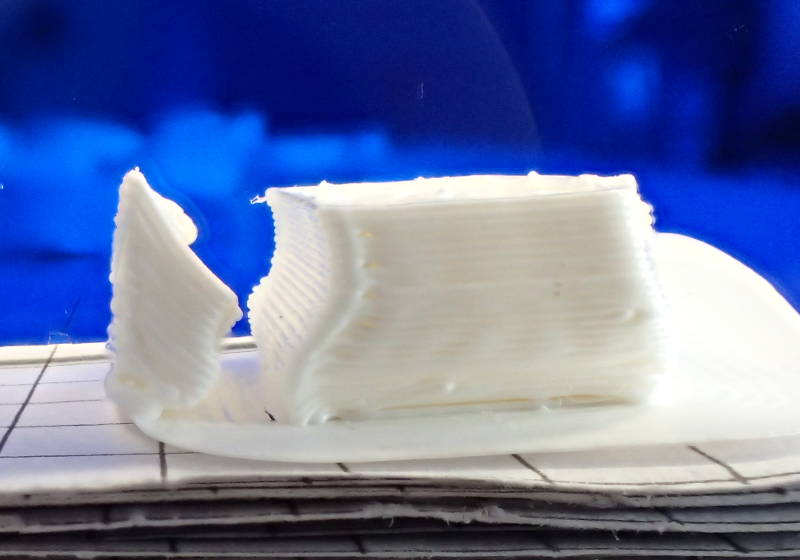
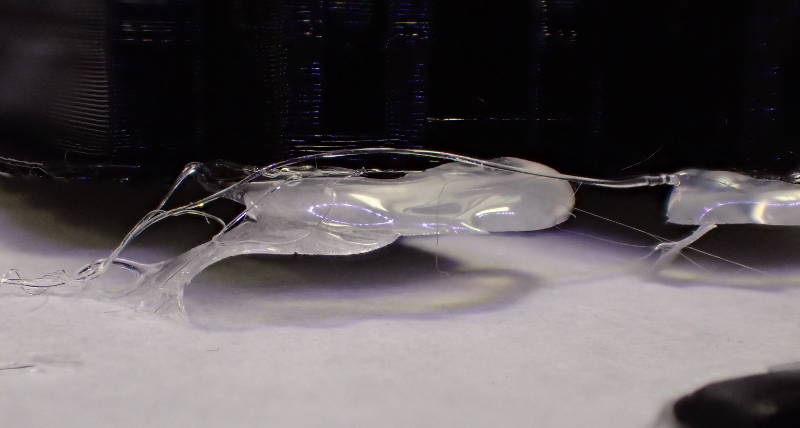
Something seemed amiss, there are blobs and hardly any infill.
The extruder just could not push the filament through.

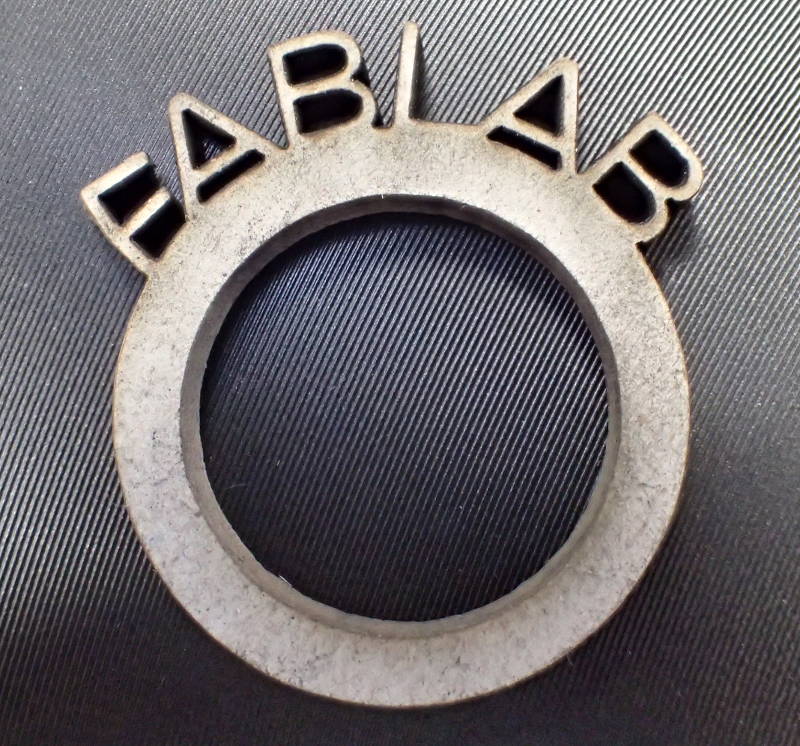
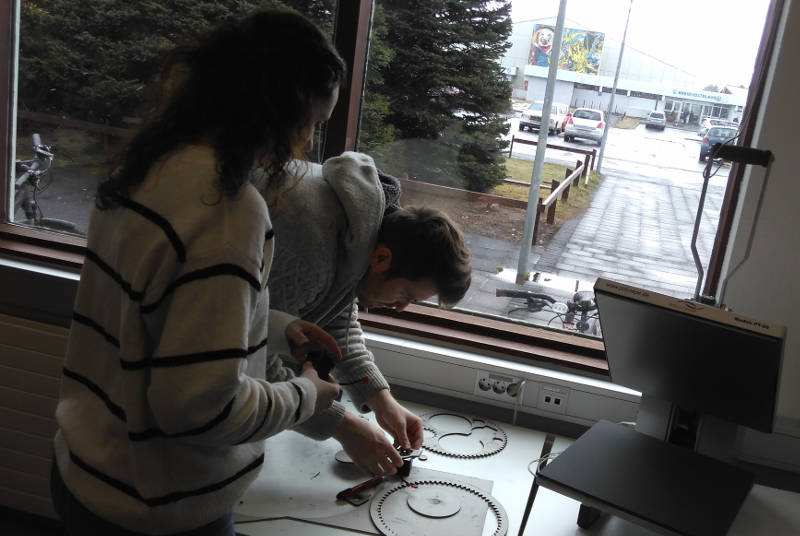
Fine FabJewellery.
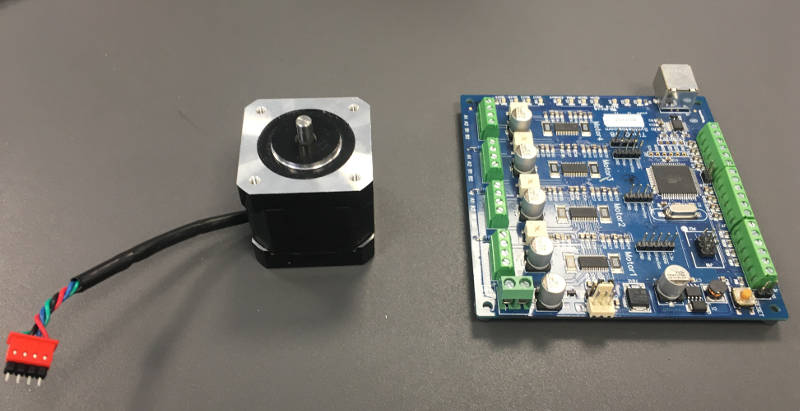
Stepper motor and TinyG v8 controller board.
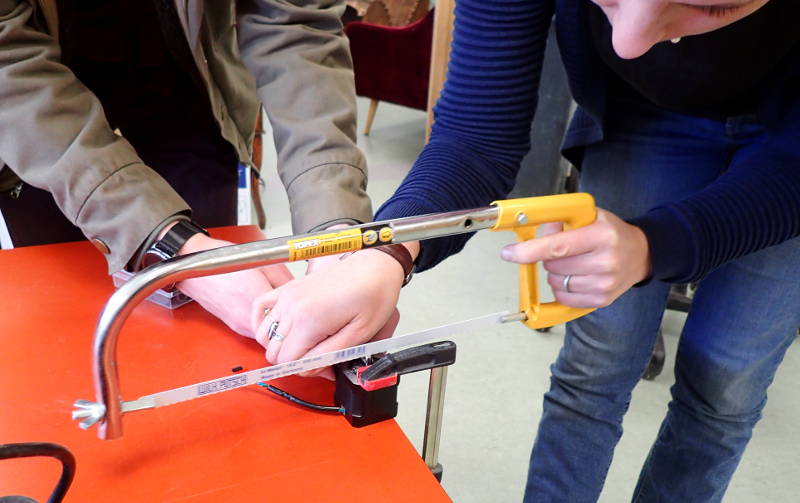
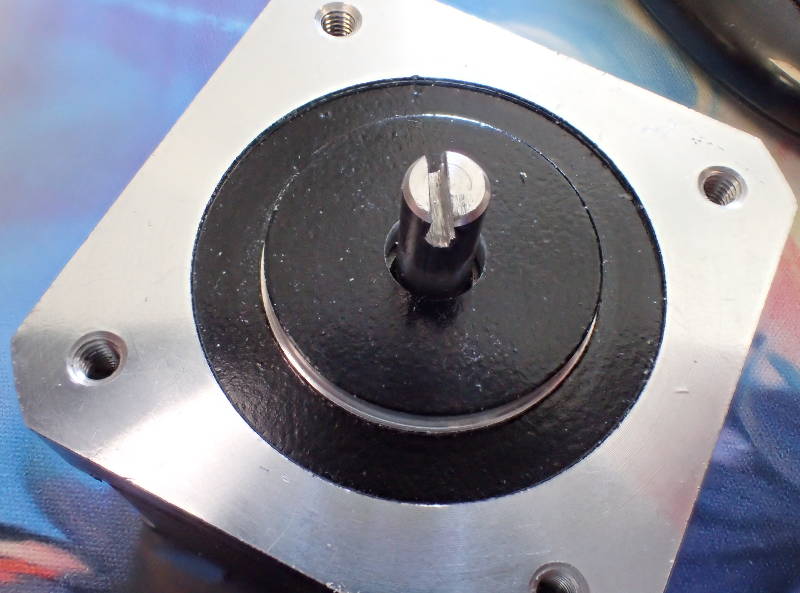
Cutting slot in motor shaft.
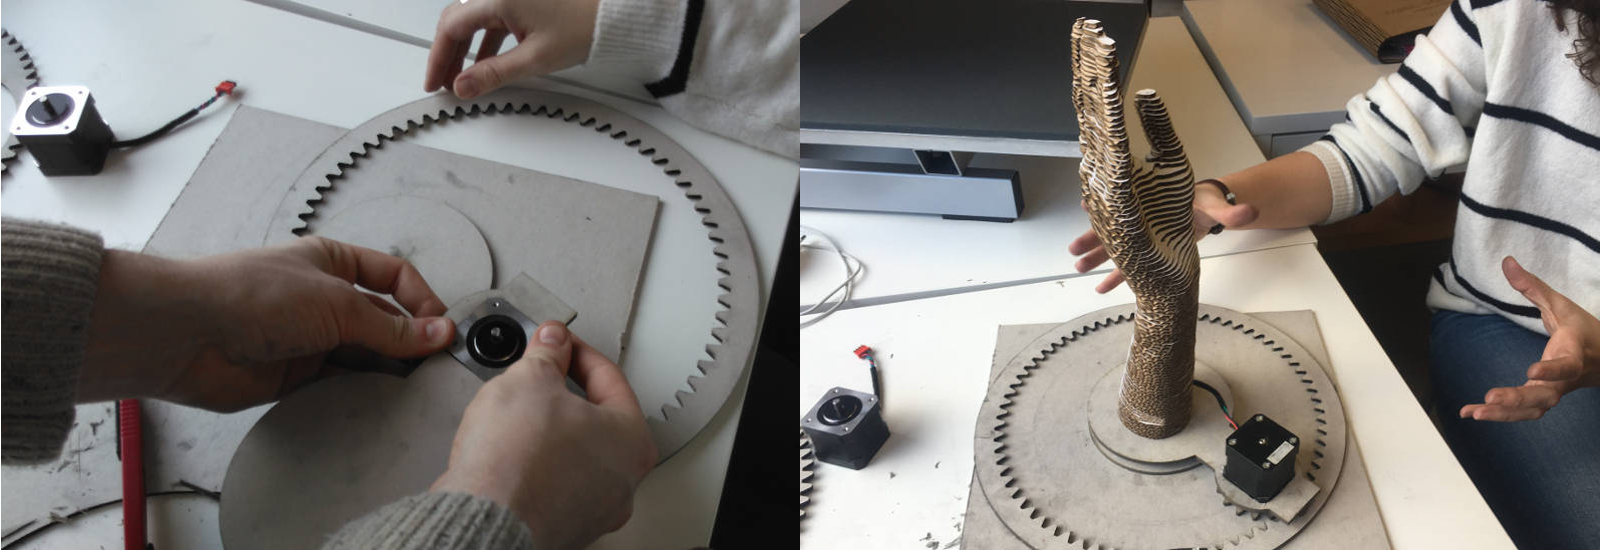
Everything fits together.
Motor is turning already.

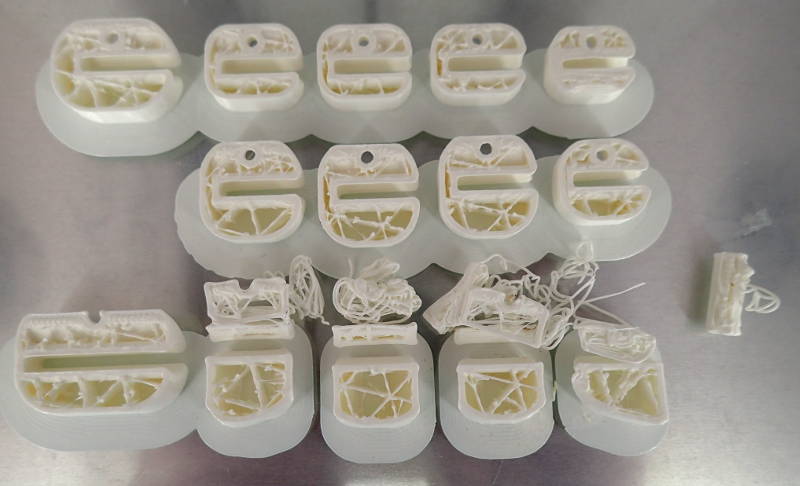
The thinnest pieces fell over.
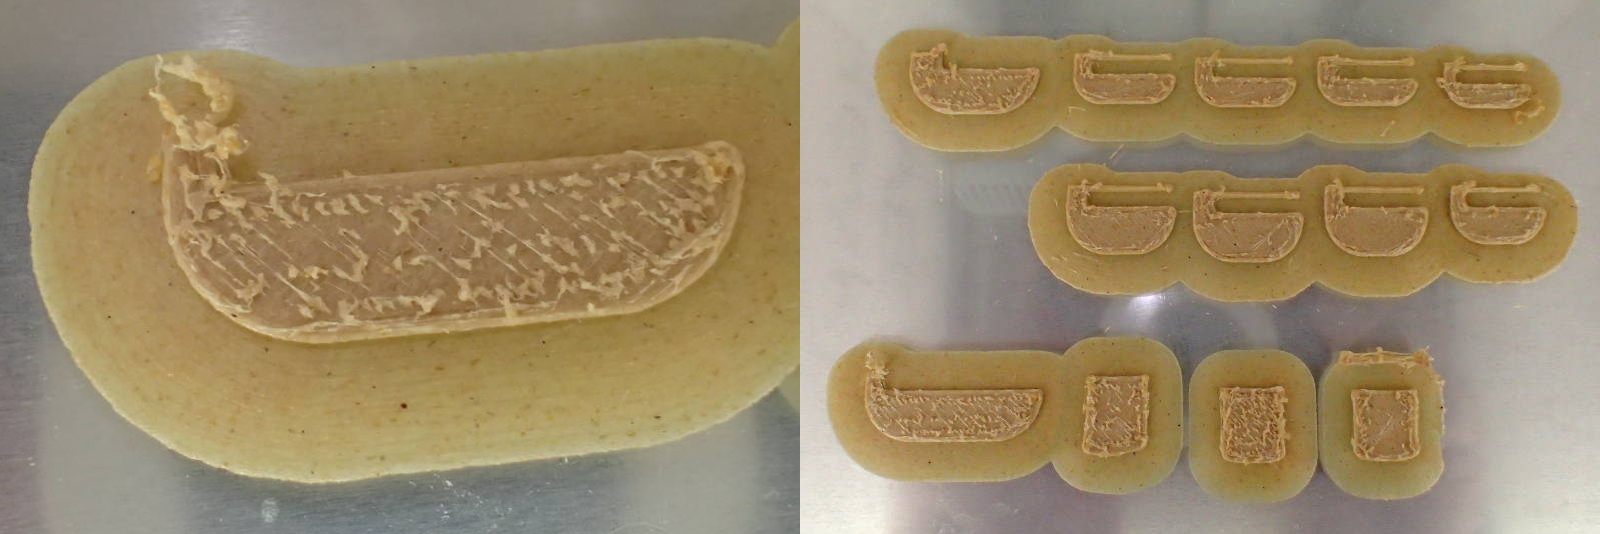
With a different design and proper supports, they print great.
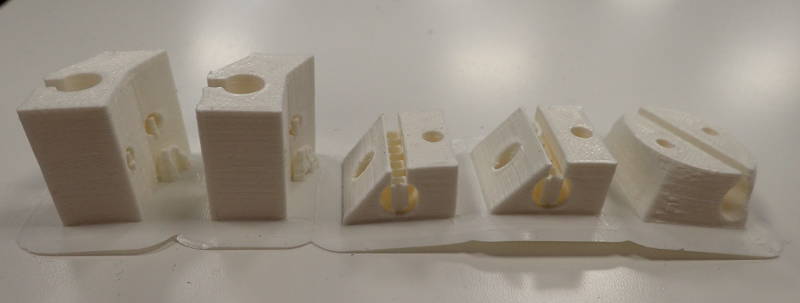
Those will connect fingers to palm piece.
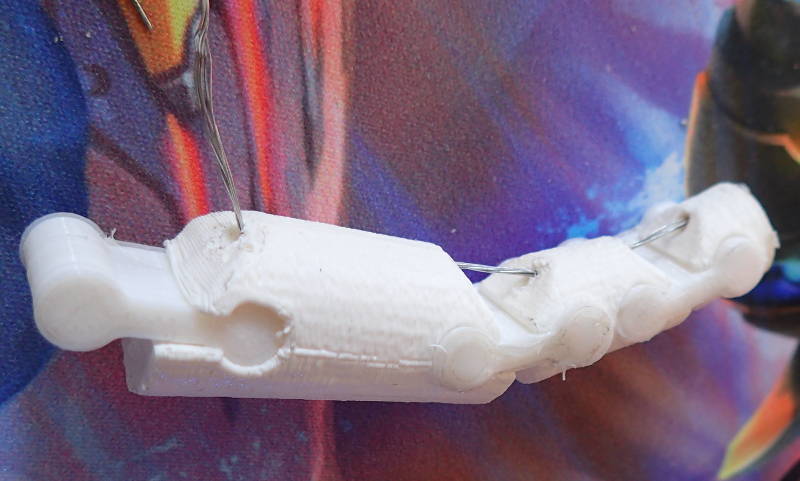
Flexible filament joints. Wire proved too stiff to use.
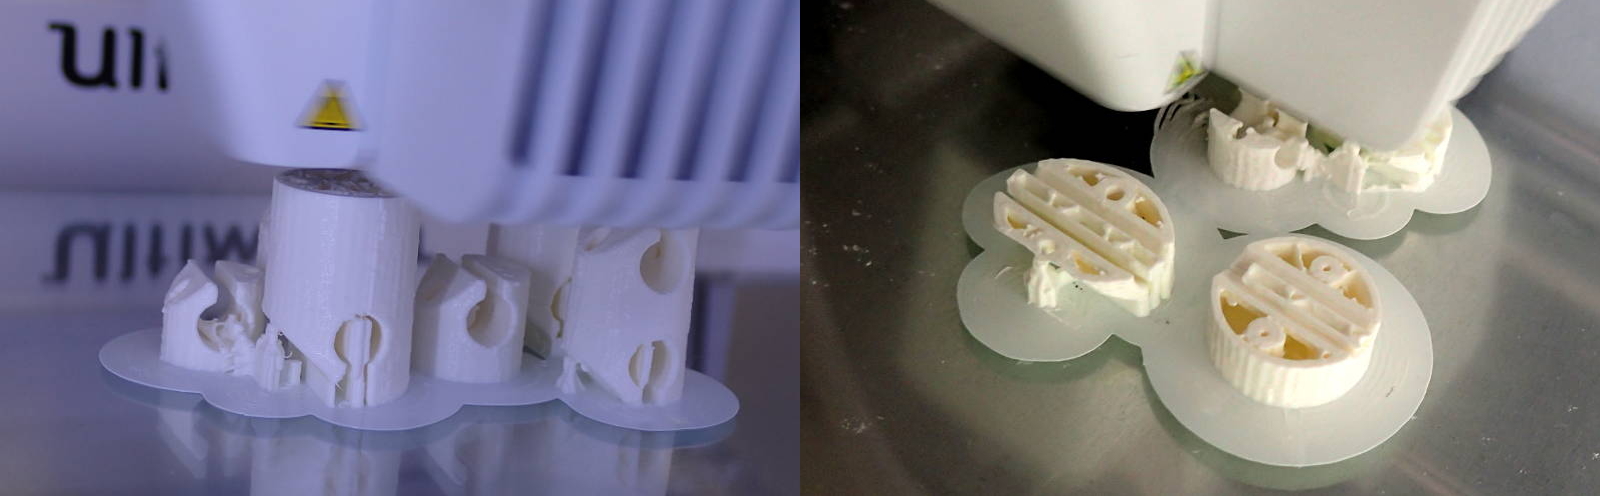
Palm piece model warped, tried hotgluing edges.
They lifted from the bed, regardless.
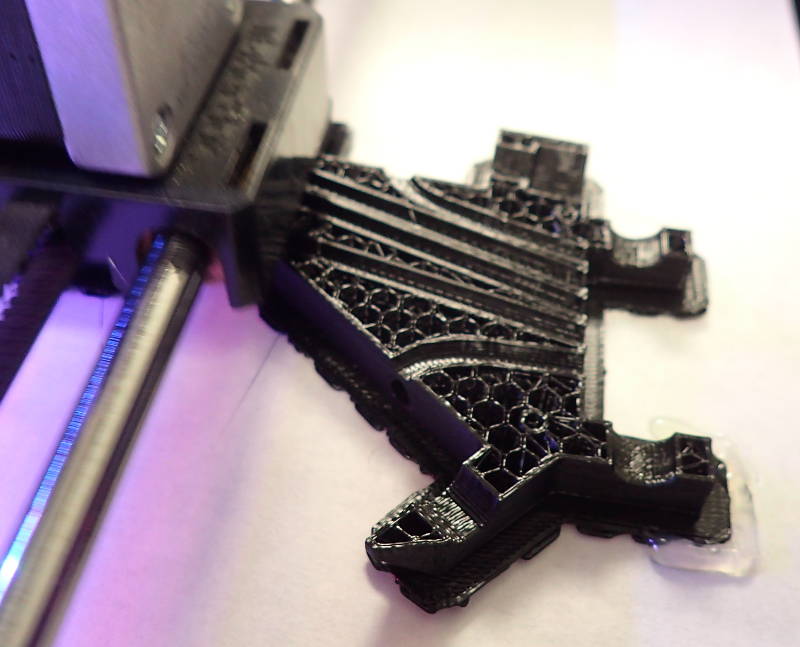
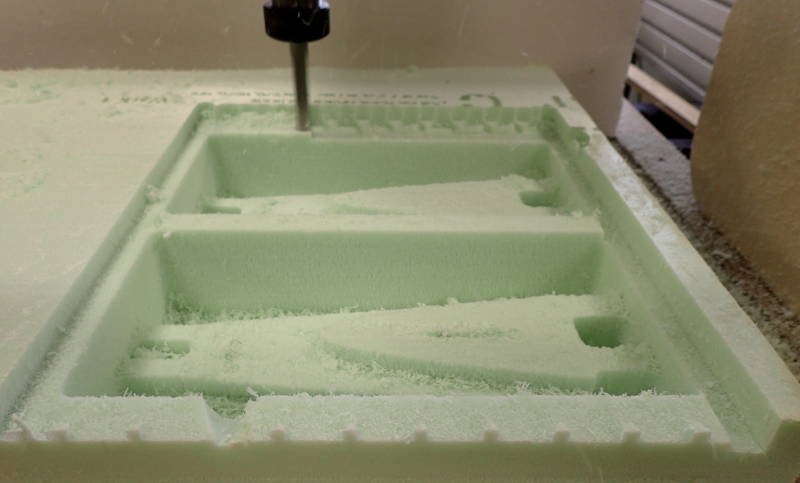
Showing internal routing for "tendons".
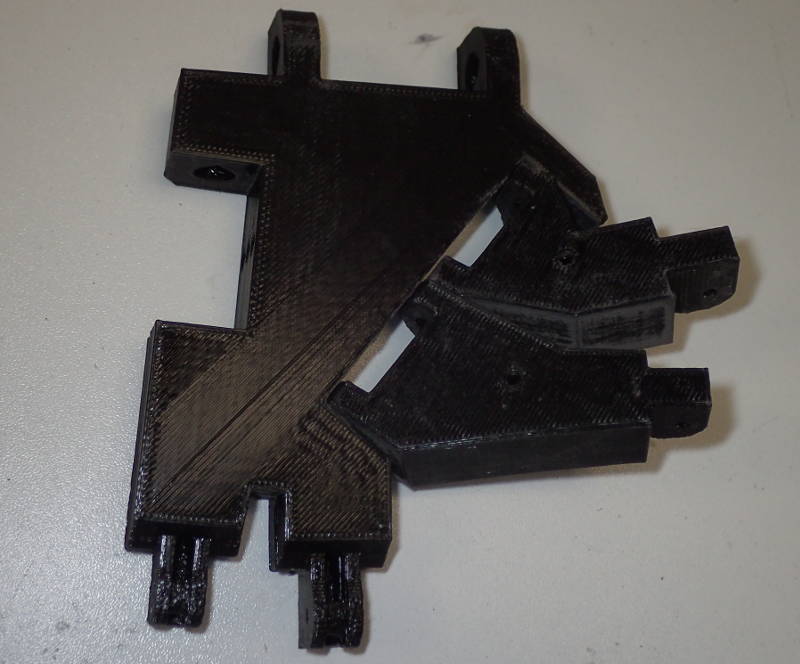
Model for palm still turned out fine.
After lightly sanding surface of tape on the bed there is no warping.
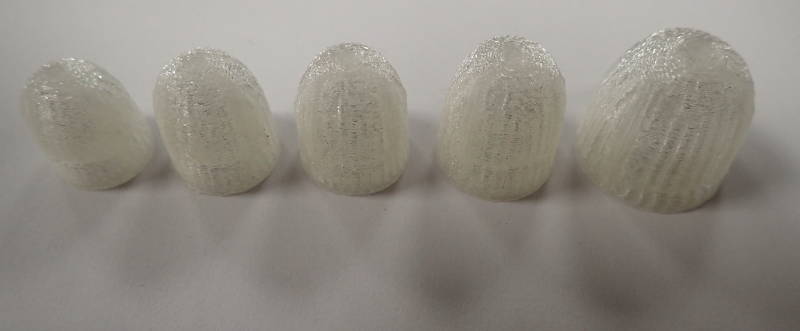
Translucent fingertips.
Shiny newness.

Fits together nicely.
Now, that is some eye candy.
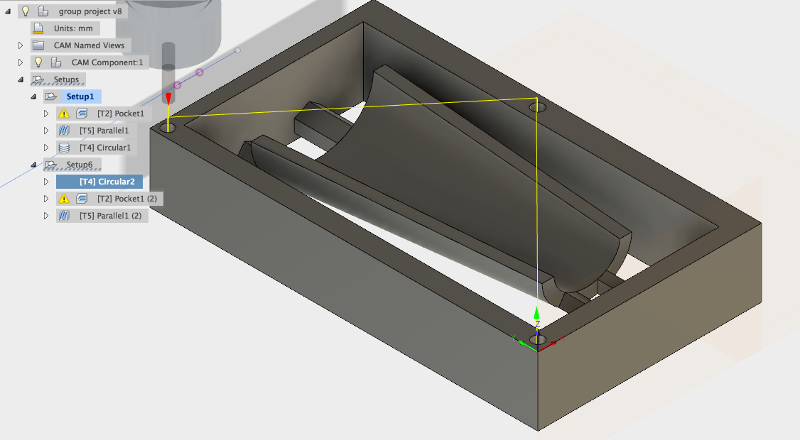
Placement of top holes.
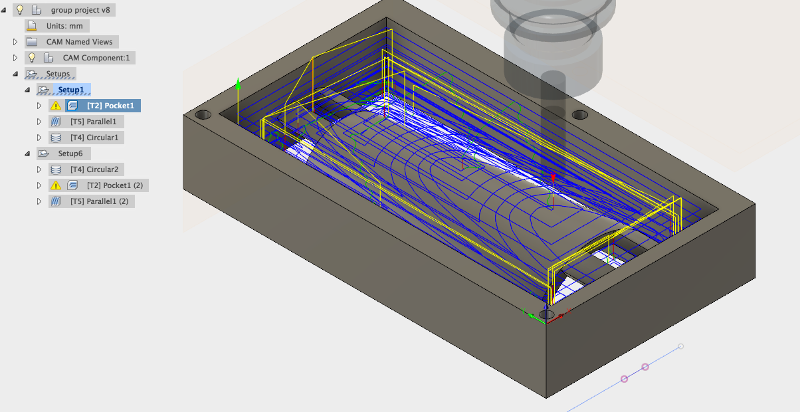
Roughing pass - top.
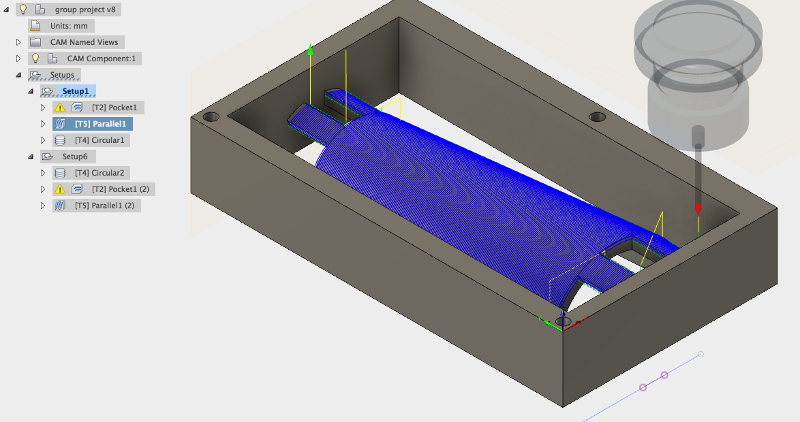
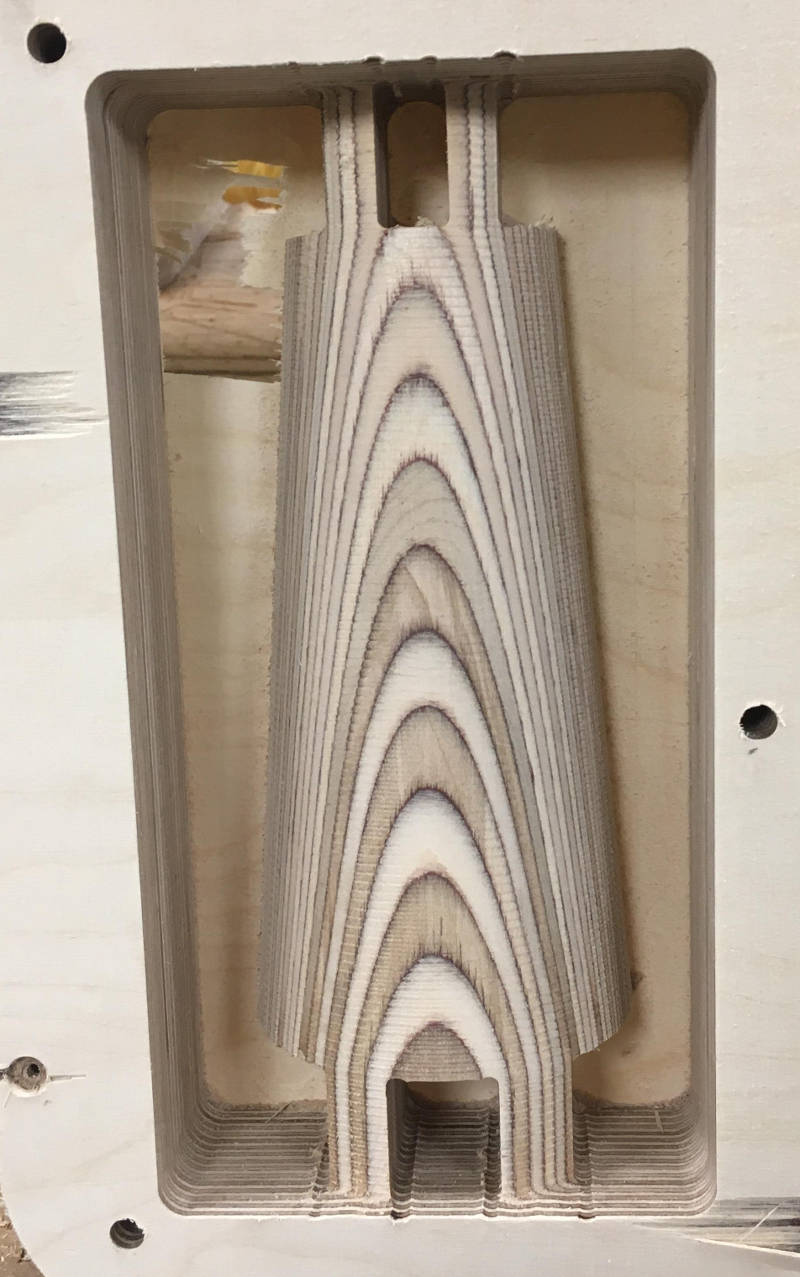
Finishing pass - top.
Placement of bottom holes.
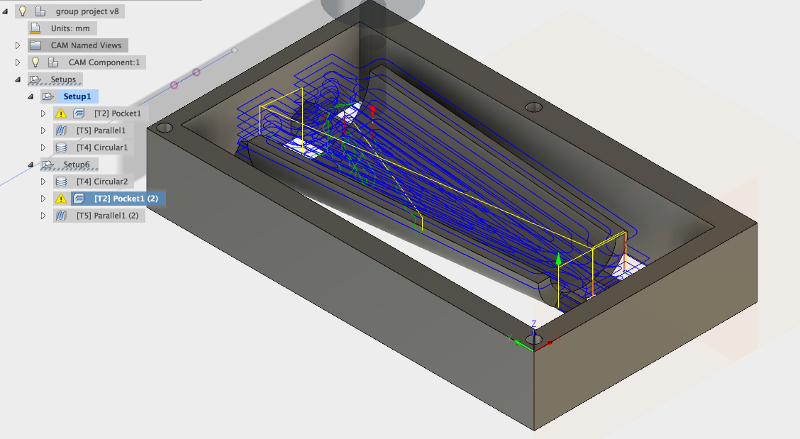
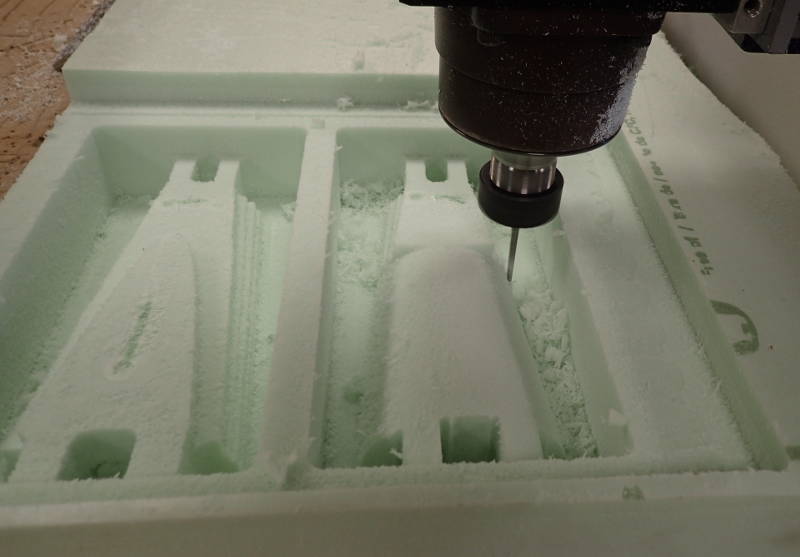
Roughing pass - bottom.
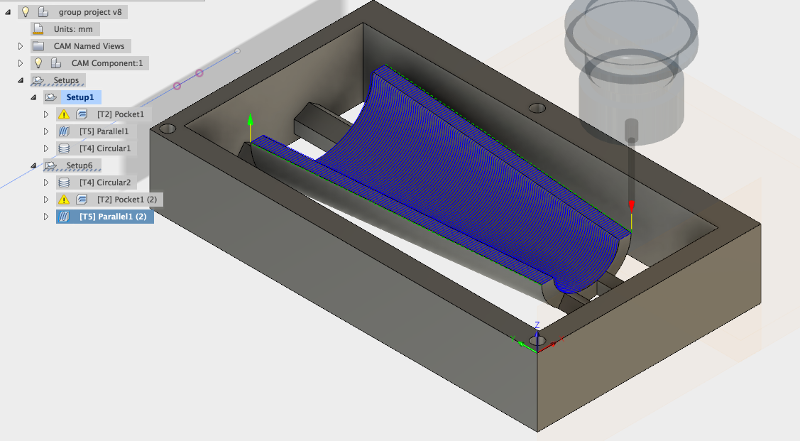
Finishing pass - bottom.
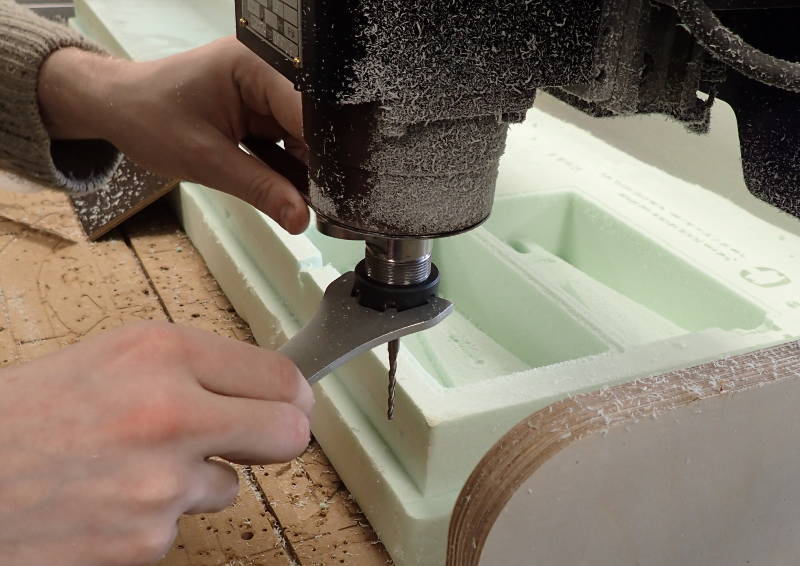
Changing bit for finishing pass.
Insufficient clearance for finishing bit required resurfacing.
With top surface lowered, bit reaches bottom of model comfortably.

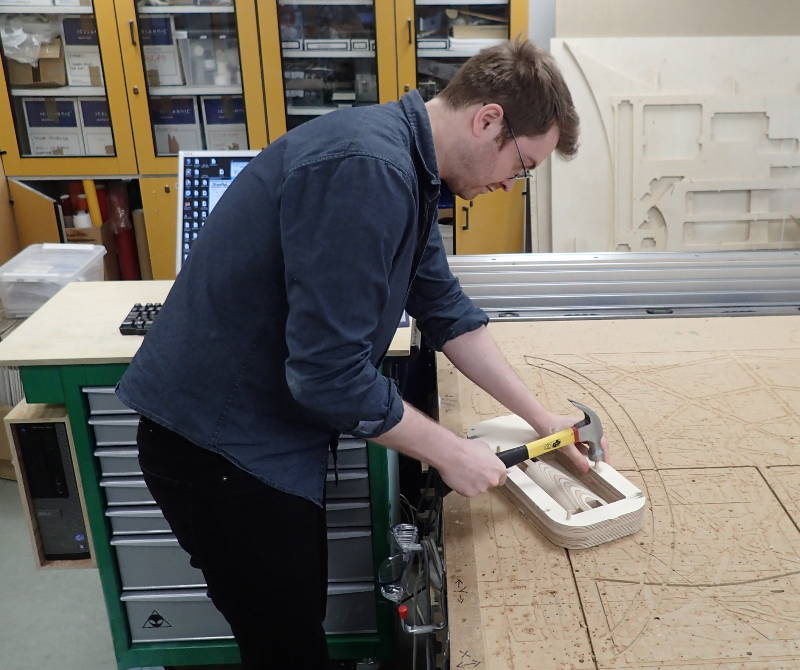
Design fits well, but plywood construction would provide better strength.
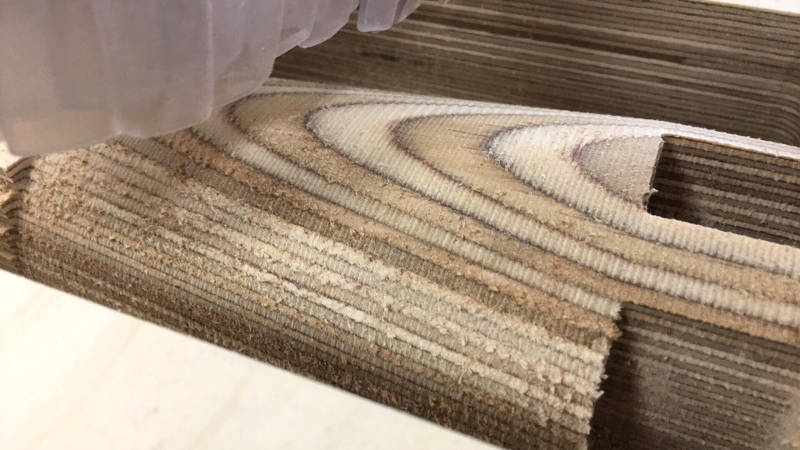
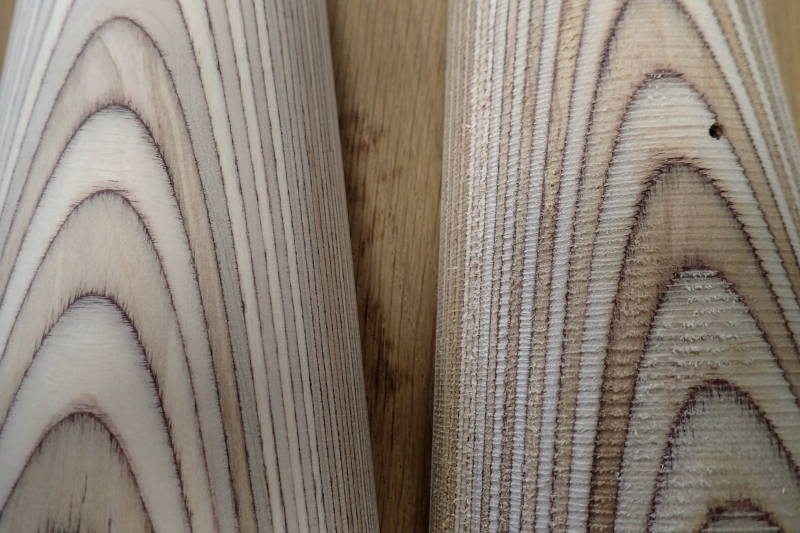
A pleasant surface pattern emerges.
Inserting pins in preparation of flipping model.
Cutting location holes in ShopBot bed.
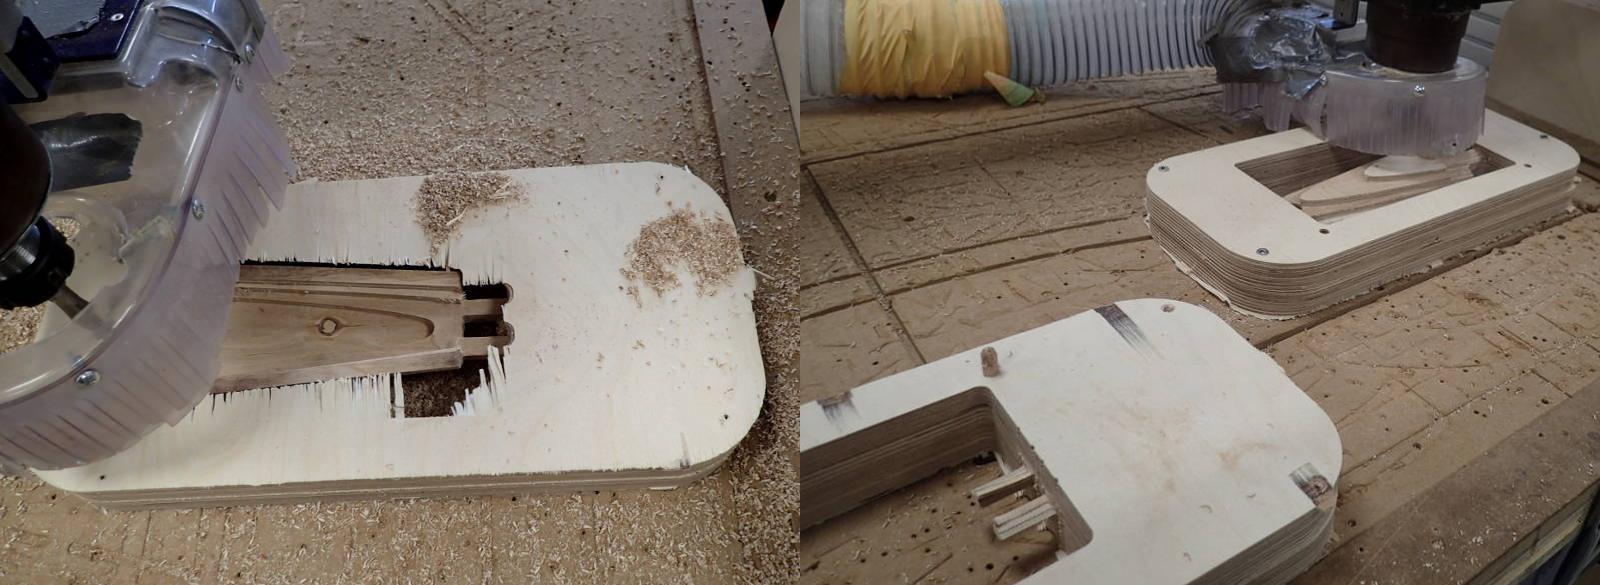
Flipside cut started. Milling second half of forearm.
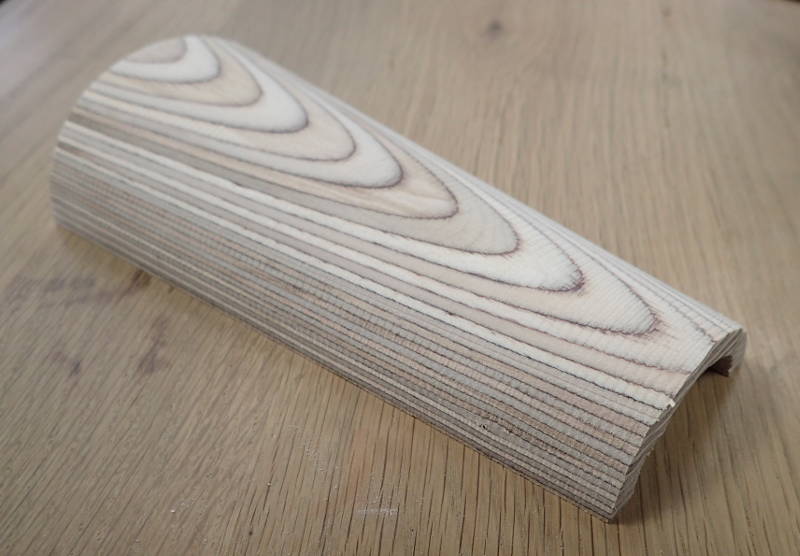
A thing of beauty.
Sanding outer surface.
Come hither..
Controlling turning action with PlayStation joystick using Chillipepper.
"I like to move it move it"
Shaking hands with Karitas.
Lines for finger flex control.
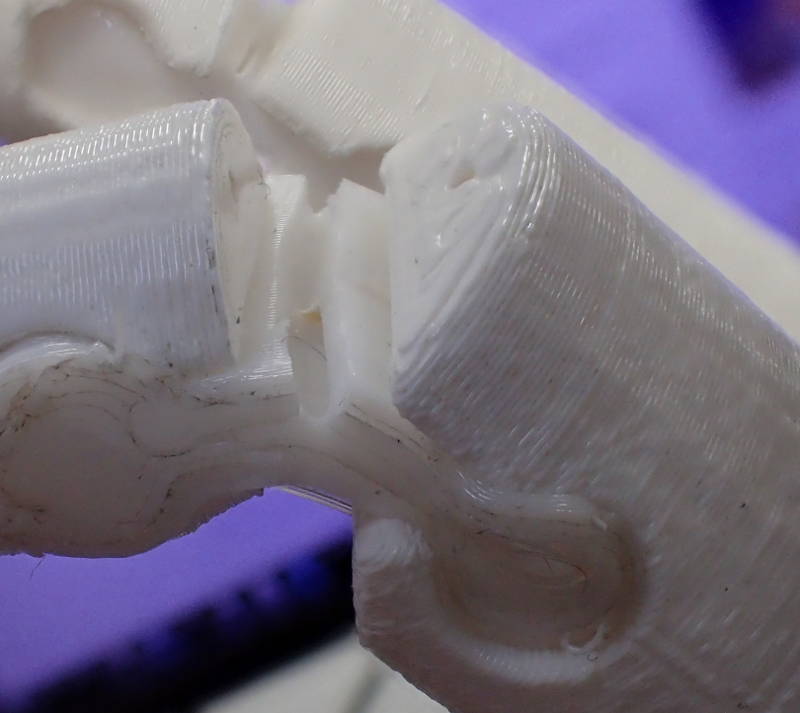
Incision in flexible joint lessens load on stepper motor.
Wrist to hand interface.
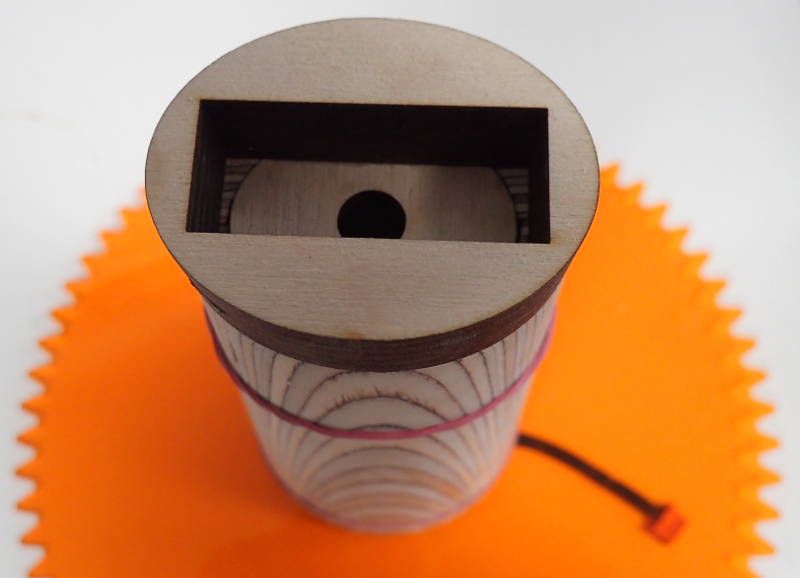
Hand motor housing.
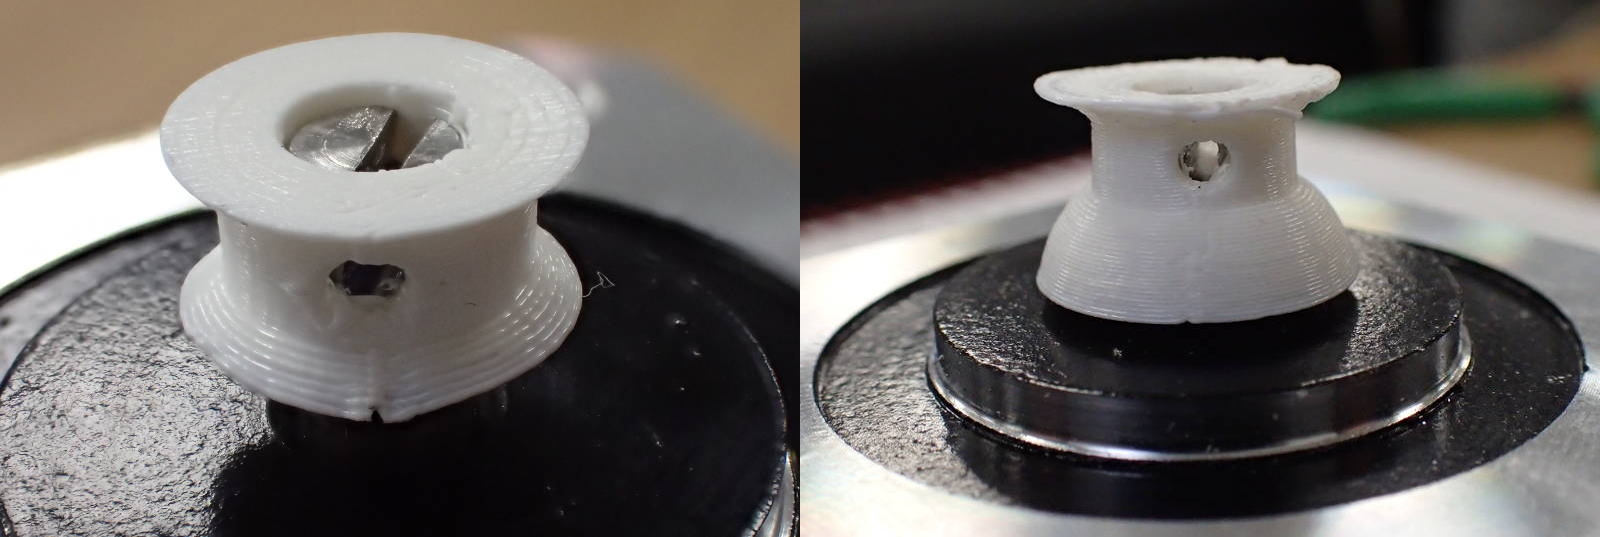
Stepper motor pulley. Improved version.
Making a fair fist of it.
Redesigned motor mount.
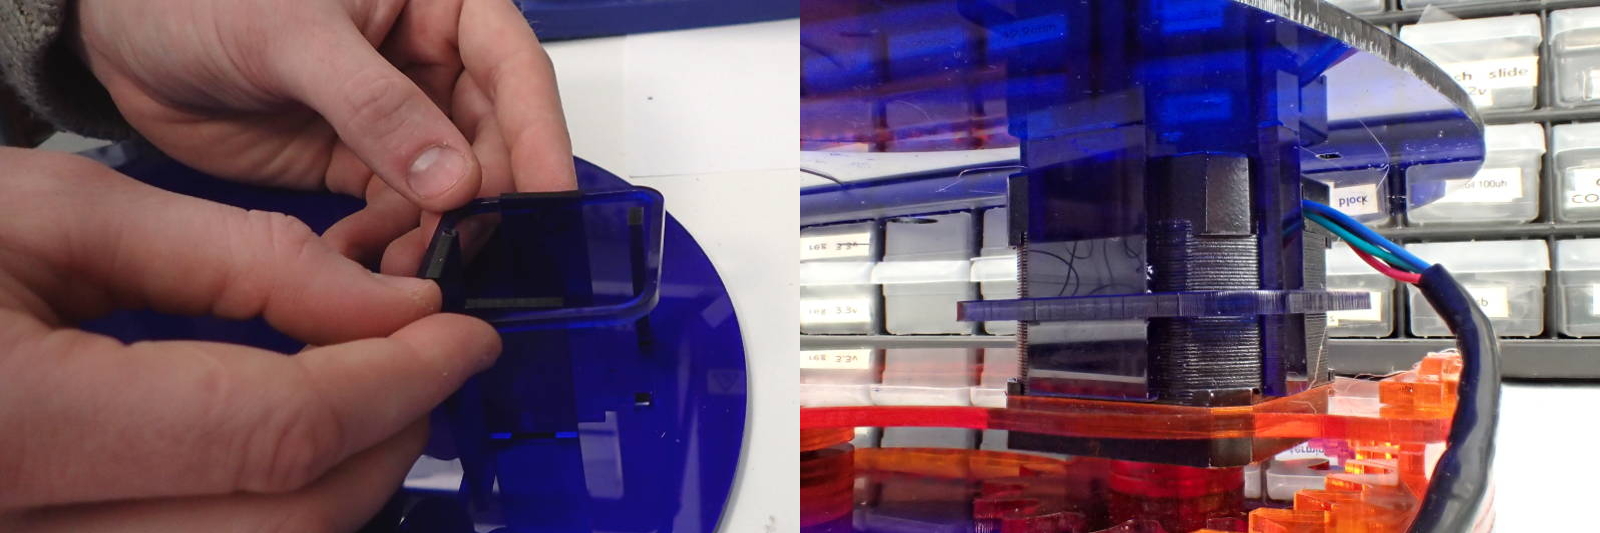
Stop switch test.
For the gcode, one was not used as such, the arm was controlled through Chillipepper, which generated the gcode on the fly.