After researching different possibilities, I came to a conclusion that I want the mannequin head to be an exact copy of my own head shape. Most common examples to do this include creating silicon mold and scanning and 3d printing your head. However, our lab didn´t have necessary molding materials and 3d printing my head in 1:1 scale would be extremely expensive so I decided to use cheap but fulfilling alternative method: masking tape, plastic food wrapping, and a polyurethane seal.
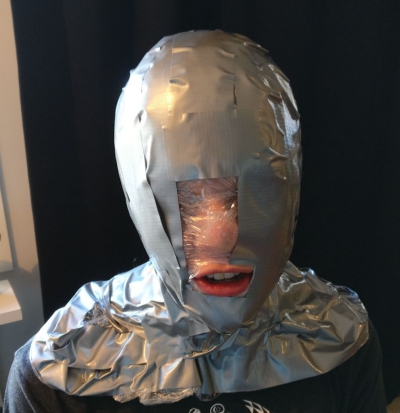
For this method, I used the help of two of my friends. I sat in a chair and my friends wrapped plastic food wrapping all around my head and neck except the mouth area because I had to be able to breathe somehow. Then, they wrapped masking tape around my head following the shape of my head:
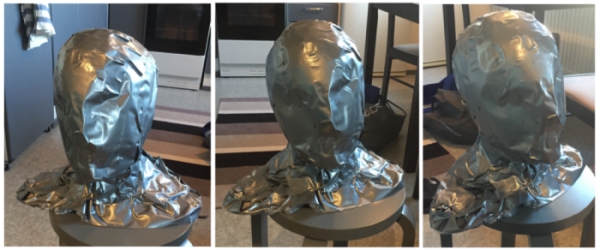
When the masking tape wrapping was ready, my friends cut the mask off my head and I taped my mouth area and the cut back together. I had now masking tape frame of my head:
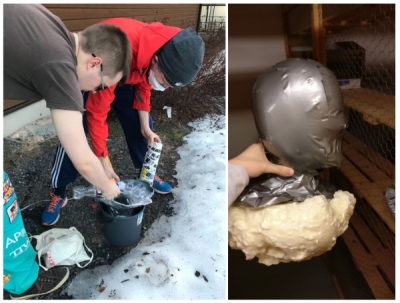
Next, I had to fill the frame. I went outdoors, put spine made of newspaper inside the frame and sprayed polyurethane seal into the frame.
Then I left the polyurethane expand and harden for one day. When I came back, polyurethane had expanded and the frame had kept its shape.
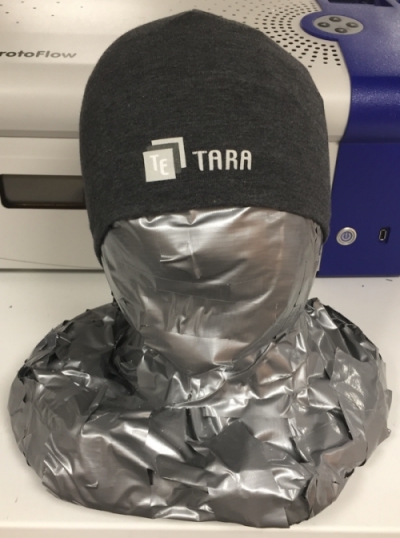
Finally, I took the frame to Fablab, cut extra polyurethane and sealed bottom of the frame with a masking tape. Mannequin head was now ready!
Fastening Strip
To be able to fasten the helmet on my face, I created simple strap lock in Fusion 360 and lasercutted it. I test it with a masking tape strap. It worked fine.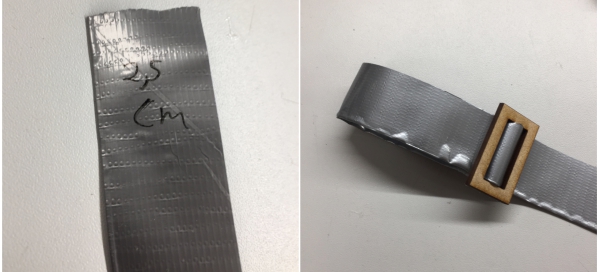
Frame part locking system
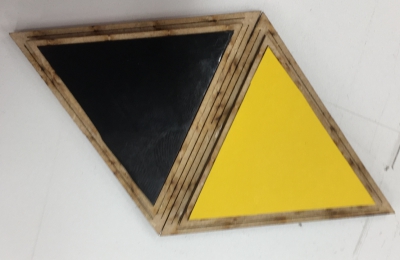
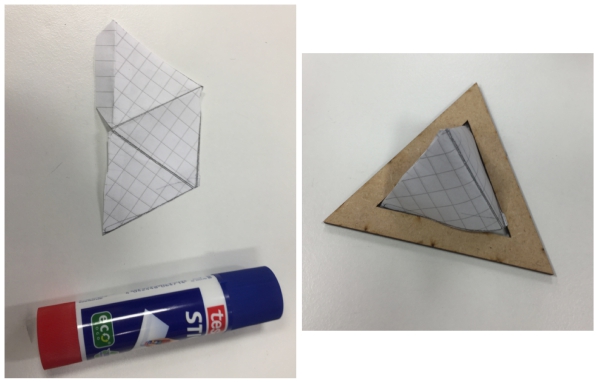
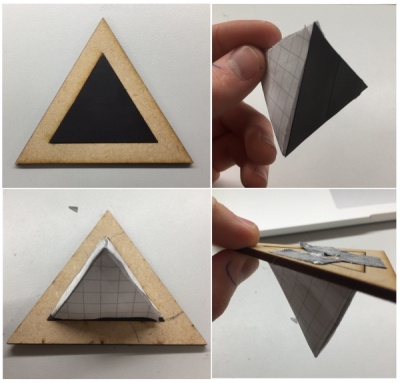
I used two laser cutted triangles to help me to visualize possible locking system. In the end, I decided to use paper as an outer parts material. Locking system has to fulfill following requirements:- User can fold and glue 3d paper form that can be attached to locking system
- Locking system is able to sustain weight of simple and more complex paper formations
I got few different locking system ideas. First one was an idea to make thin gap where the paper would be pushed:
This idea was ineffective so I decided to try something else.
Next idea was to create some kind of locking parts like in lego´s by using 3d printing or molding: To test this idea, I created parametric Lego-like block and 3d printed it:
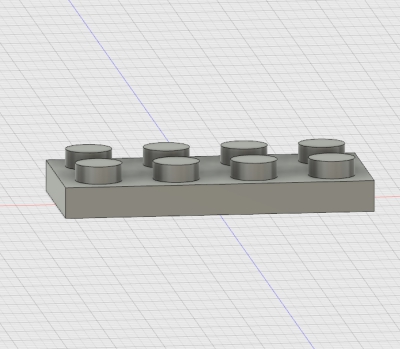
However, the 3d printing was not detailed enough, so I decided to test alternative solutions
Third idea was to use magnetic tape to attach paper and the frame together:
However, the connection was not durable when I attached more weight for the tape. I would need more powerfull magnetic tape
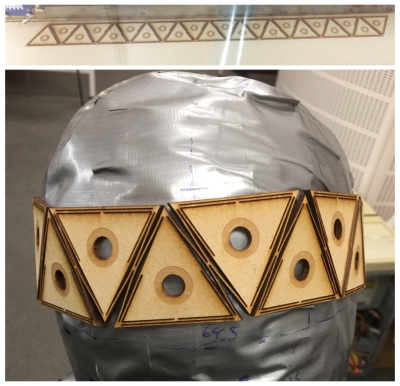
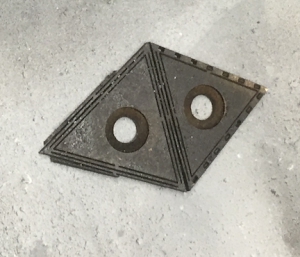
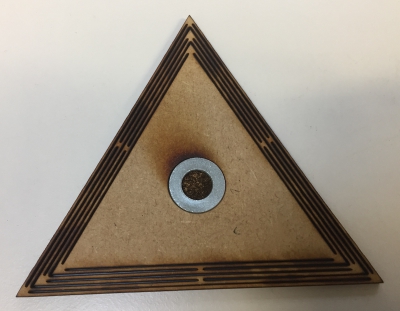
Fourth and my chosen idea was to create connections by using stron ferromagnets and metal rings. Metal rings would be embedded to triangle´s and ferromagnets would be attached to paper pieces. This connection was strong, durable and easy to tear appart.
To test this idea, I created test cut design in Inkscape:

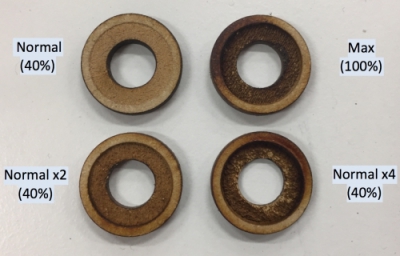
I tested different laser-rastering methods for MDF to create hole for metal ring. Best option was to raster mdf three times with normal settings and then vector-cut it. This led to 1mm deep hole and minimalistic material burn.
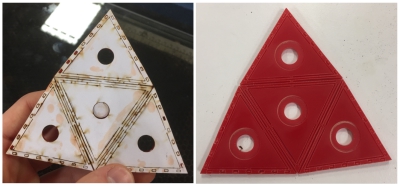
The design worked well and I was even able to get copper cord through the hole to enable electricity:

Next it was time to thing how the magnet would be attached to the paper....
Frame desing & construction
After some research, I identified that what I wanted to do, resembled a lot geodecis. I found out that Yogi, previous Fabacademy student had laser cut geodecim. I found out that there are multiple web-based geodecis dome calculators andtutorial videos.
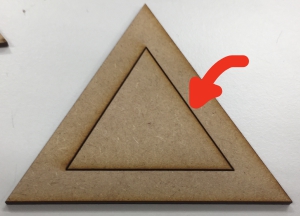
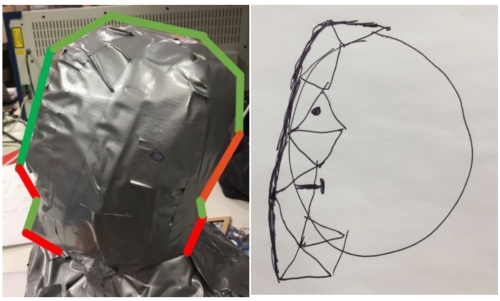
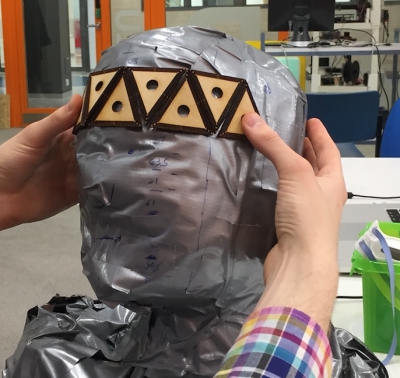
I decided to create first 1/2 part of the frame. This part would cover my head in the places where there are positive angle (green).< In the parts where there are negative angle (red), I have to design my helmet to be flexible, big enough or to have non-negative angle. in those spots as seen in right image:
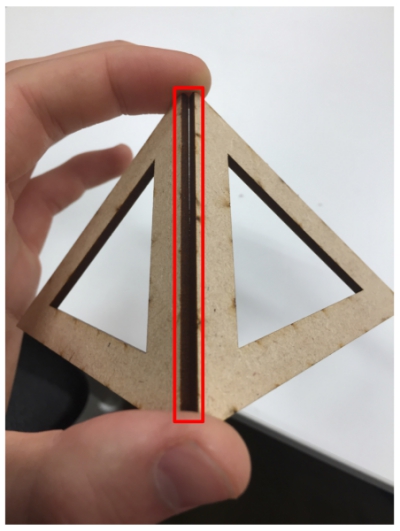
Negative angle between triangle´s was also a problem. It left space between the pieces and wasn´t visually pleasing:
To fix this, I got few ideas:
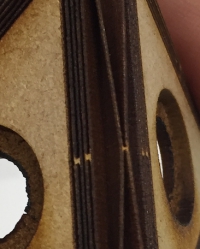
- Fill the gaps with glue or molding plastic:
- Use bendable design to hide the gaps:
- Saw the pieces to mitter

Then I rescaled the triangle and made bendable hexagon out of these triangles. The living hinges were too thin in design due to rescaling so I had to create parametric bendable triangle if I wanted to continue with this design.
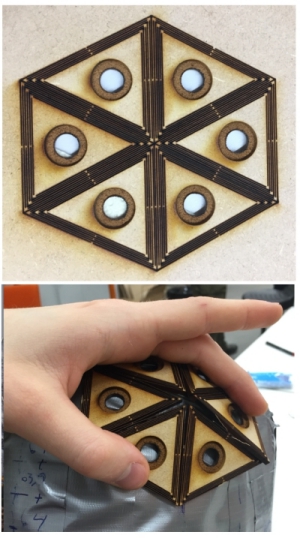
I also tested to create triangle chain with these bendable triangles. It worked fine. I just had to find a way to connect the chain together behind the head
It seemed that many things were possible. Now I just would need to decide one process and go forward with it...