Week 10: Molding and Casting
This week's tasks:
- Group assignment:
- reviewing the safety data sheets for each of our molding and casting materials, then making and comparing test casts with each of them
- Link to the Group Assignment Page
- Individual assignment:
- Designing a 3D mold around the stock and tooling that I'll be using
- Machining it
- Using it to cast parts
Challenges:
- Visualizing the 3D design including the shell and the holes was a bit challenging for me.
Considerations:
- Some parts of my design were square but changed to circle after milling. So those who need their object to be exactly the same as their design, should consider the affect of milling bit.
Technology used:
- Fusion 360 Software
- Modela Player Program
- Milling Machine
- Vacuum Machine
I have decided to figure out how a small button that looks like a piece of sun (an element of my final project), would look like created through molding and casting process.
CAD Designing
- I designed the button in Fusion 360.
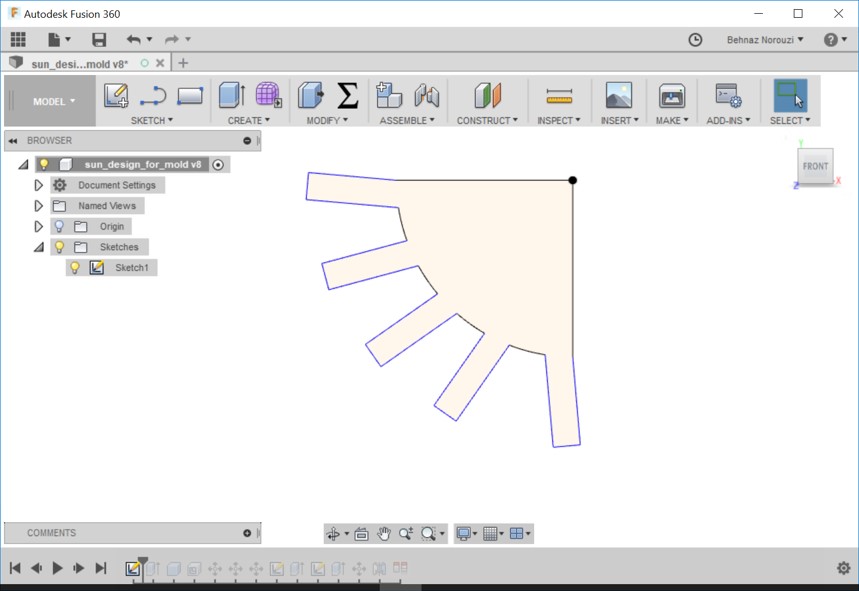
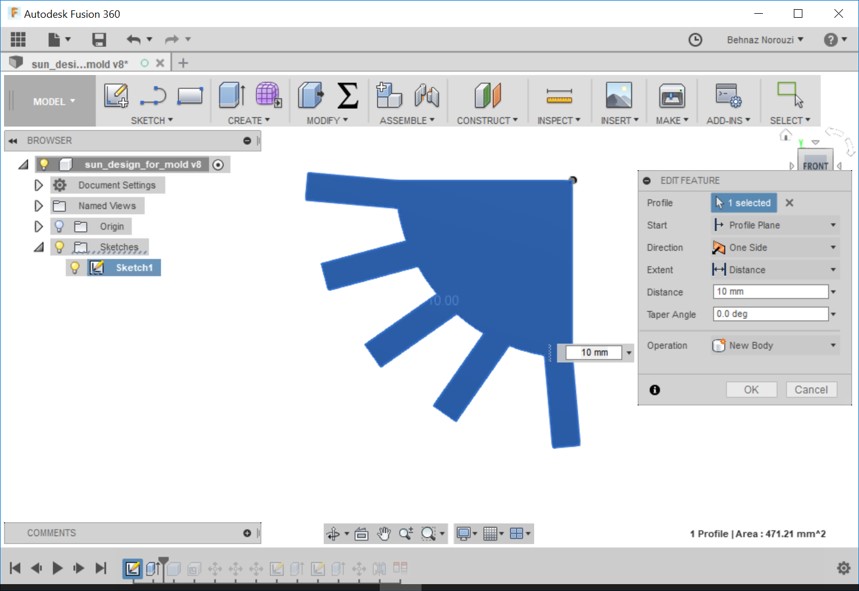
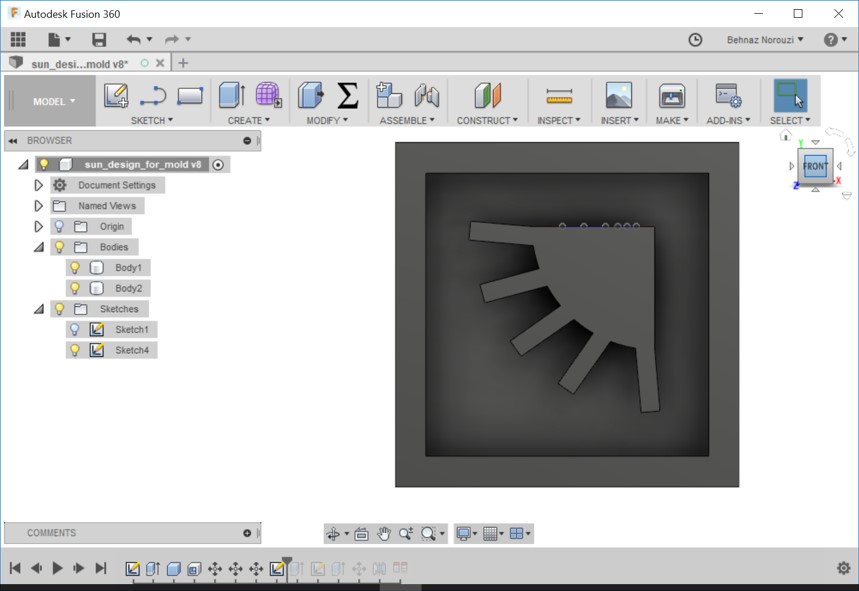
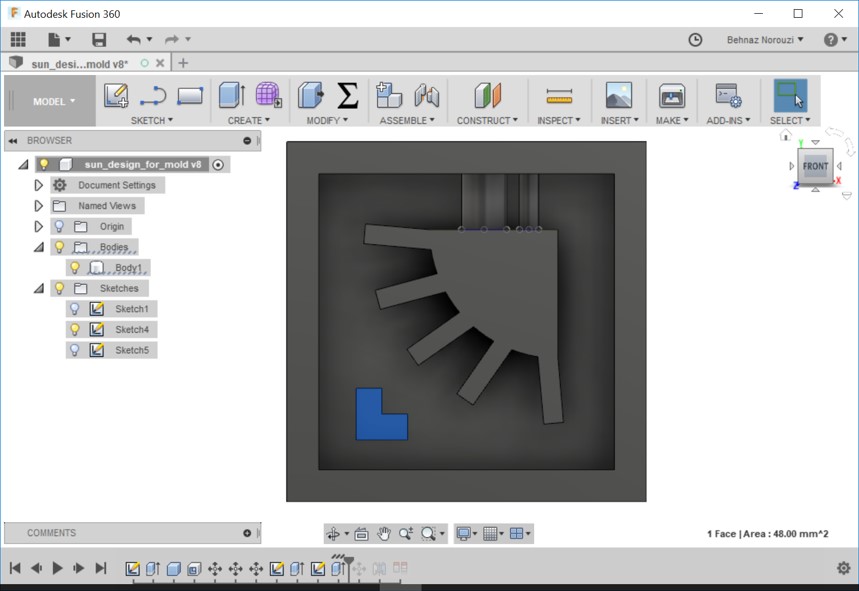
I started creating the sketch and the first ray of the sun using some tools such as line, arc and rectangle and tried to continue generating the other rays using circular pattern. But I found the exact adjustment of sizes a bit challenging and I could not keep the size balance among the first and last ray with those 2 base lines attaching to them. So I decided to only use lines and arcs and to generate other rays by copying the first one and rotating it. - Then I extruded the object to 10 mm distance.
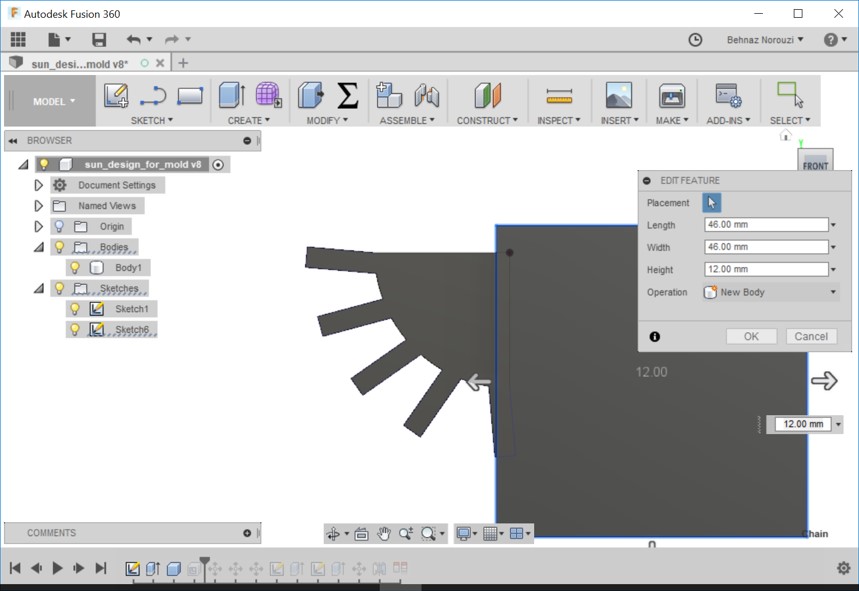
- The I create a box (Create > Box). My design width and length was 30 mm. So I considered 8 mm distance from each side of the object to the walls of the box. So I gave the value of 46 mm to the length and width of the box. Thanks to my friend; Megumi, who helped my to imagine what is going on by sketching and explaining it to me. Since she had done her's, she had more clear ideas about it.
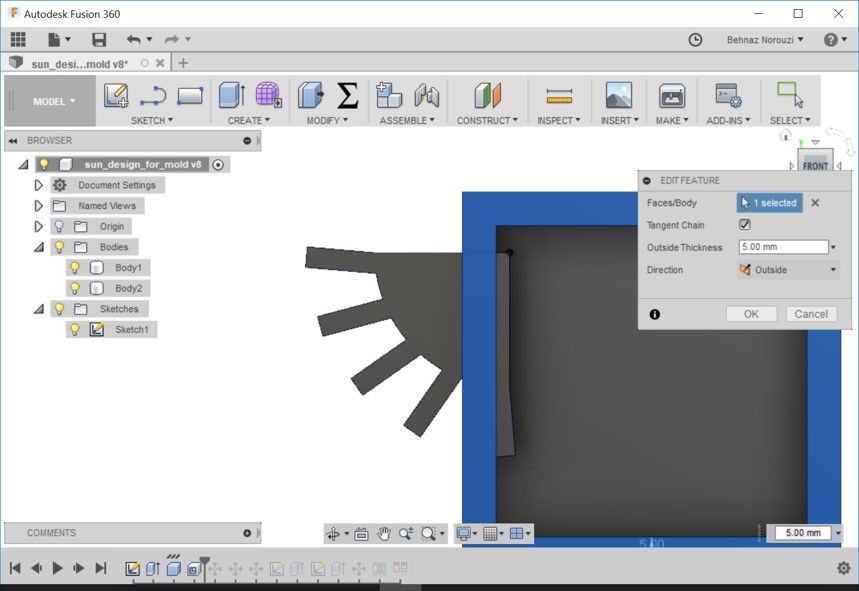
- Then I created a shell with the outside tickness of 5 mm. And I set the direction to outside.
- Then I moved the sun button inside the shell. in order to align the object inside the shell, I used measure tool for measuring the distance between each side of the object with each side of the shell.
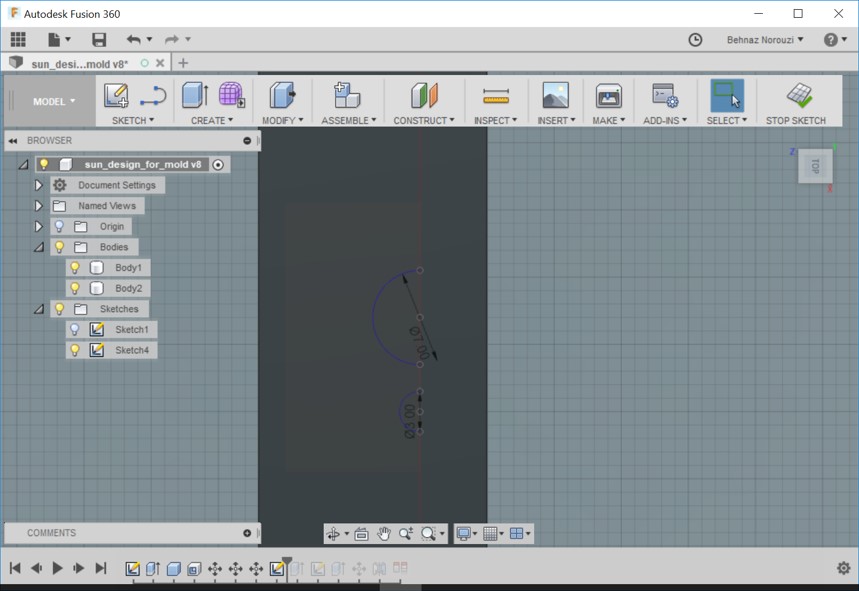
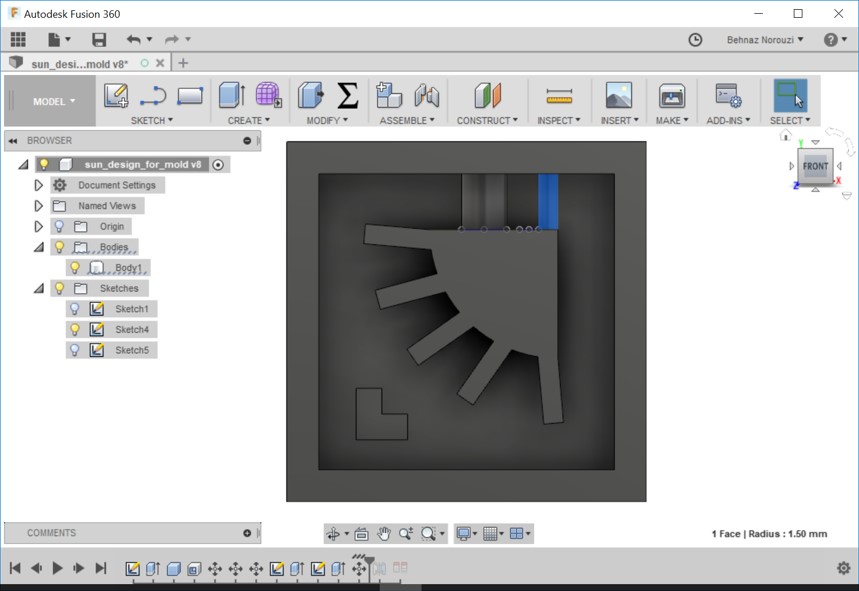
- I drew 2 half circles. One with the diameter of 3 mm as the air hole. The other one as the entrance for casting with the diameter of 7 mm.
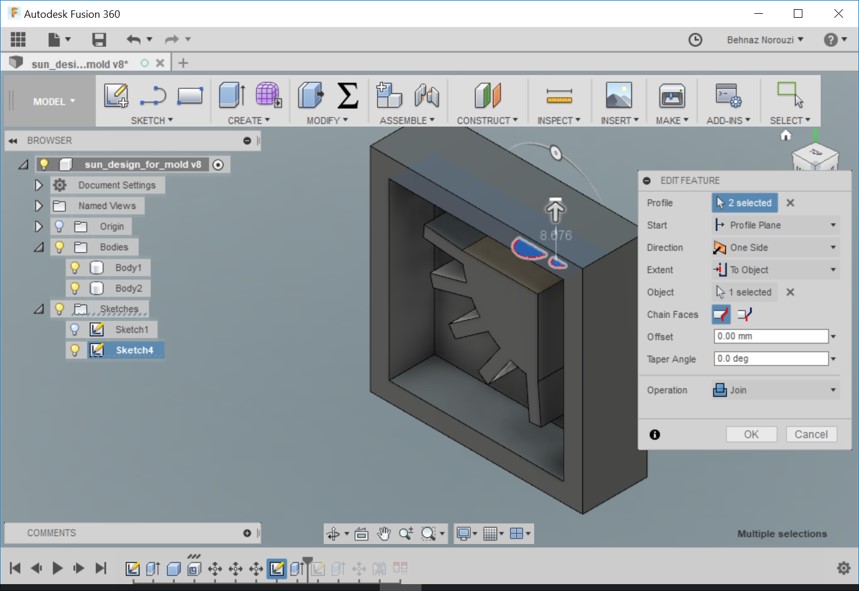
- Then I extruded the half circles 'To Object'.
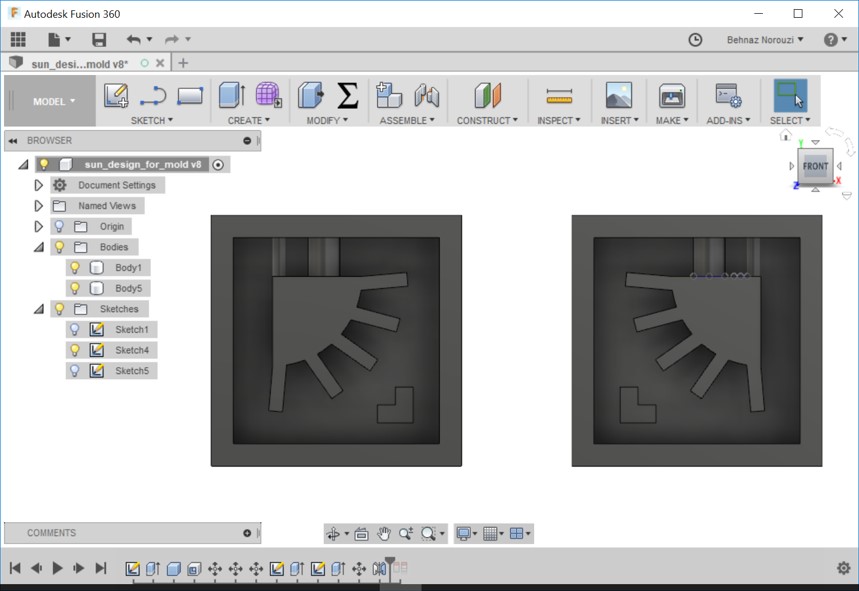
- Then I tried to design an attaching tab so that it would be easier to fit both sides to fit together. For one side one should extrude in positive direction and for the other side it should be extruded to negative direction.
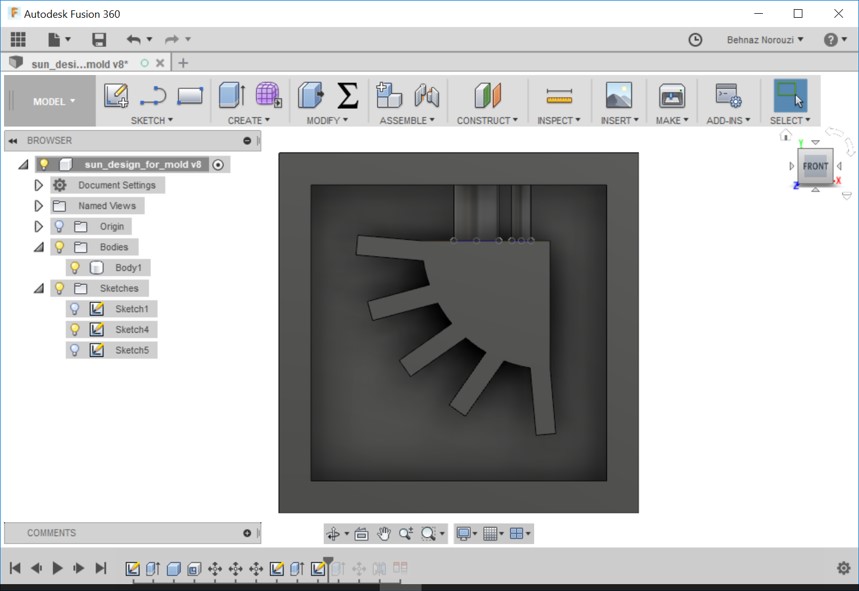
- I inspected the distance between the 2 holes. It was 2 mm, which means it was smaller than my milling bit, So I replaced one of them and considered more space between them, which is 5 mm now.
- Then I mirrored the design.
- The I aligned both sides using Modify > Align.
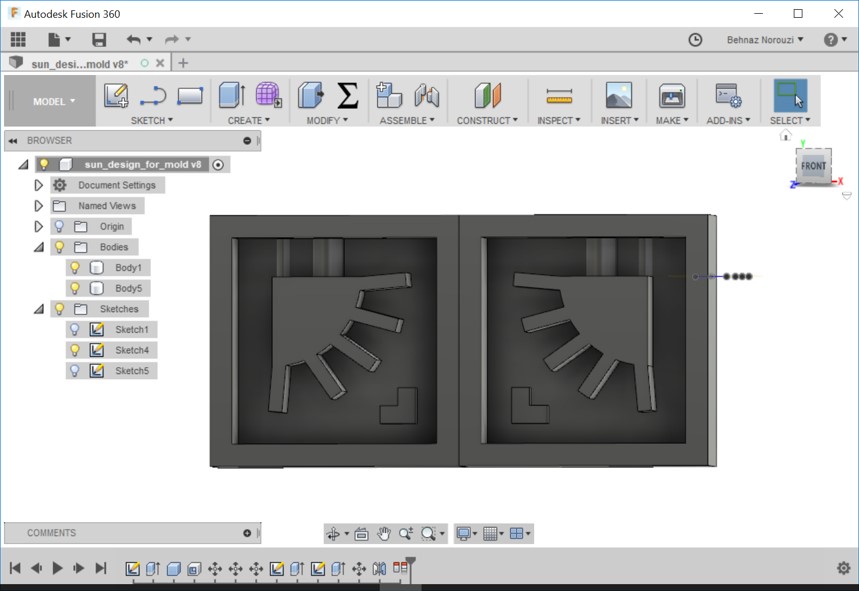
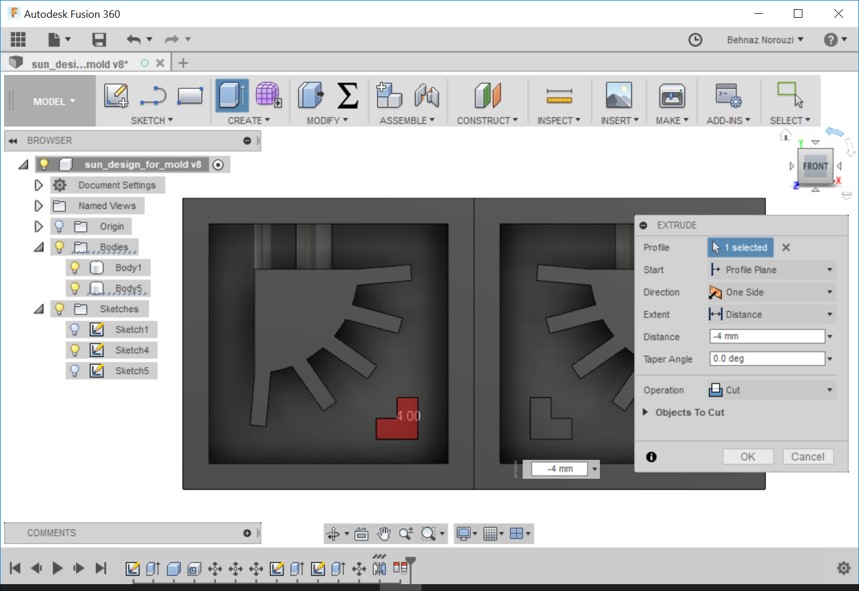
- I extruded the attaching tab (Mirrored one) to negative 4 mm.
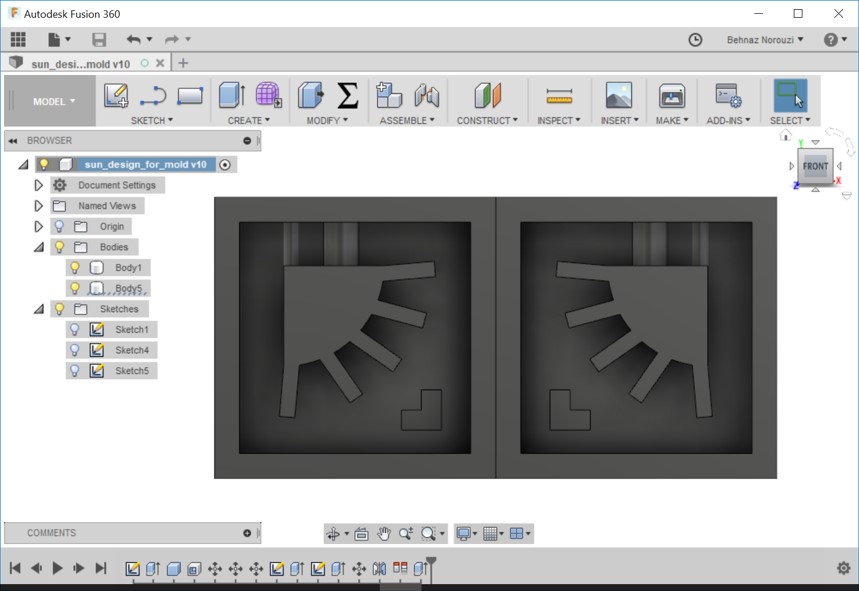
- And here is the final version ready for milling tracks adjustment. I saved it as .STL.
Milling Track Adjustment AND Milling the Wax Mold
I followed Ivan's Documentation at this stage since I found his documentation good and detailed.
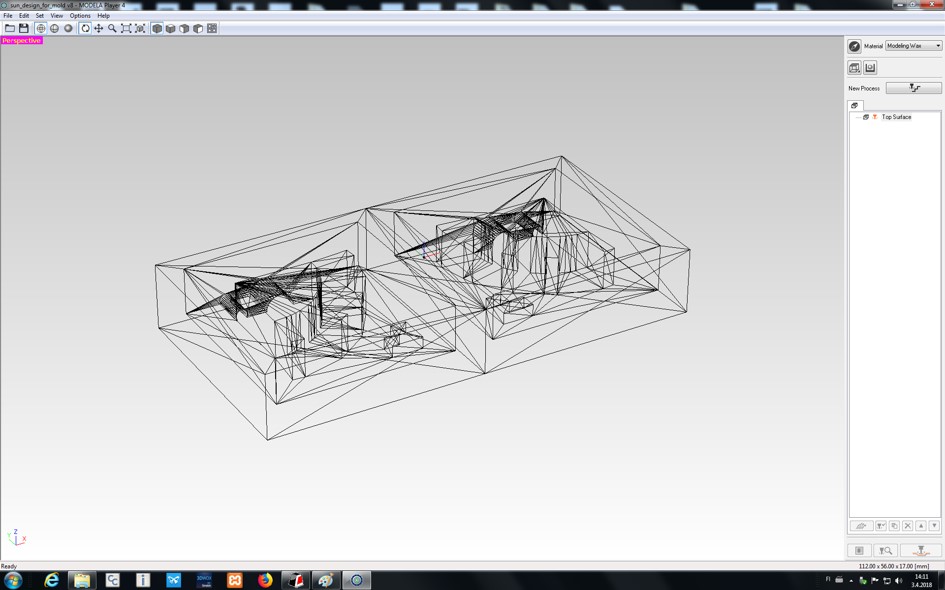
- I imported the .STL file to the MODELA Player program.
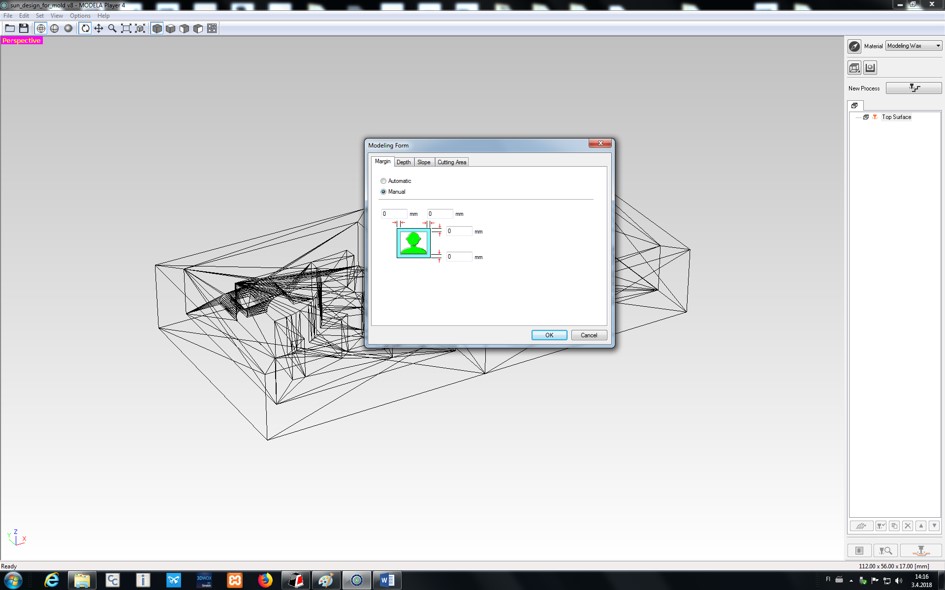
- Set > Modeling Form > Margin: Setting the values for margin to zero. I applied no change to the depth, slope and cutting area.
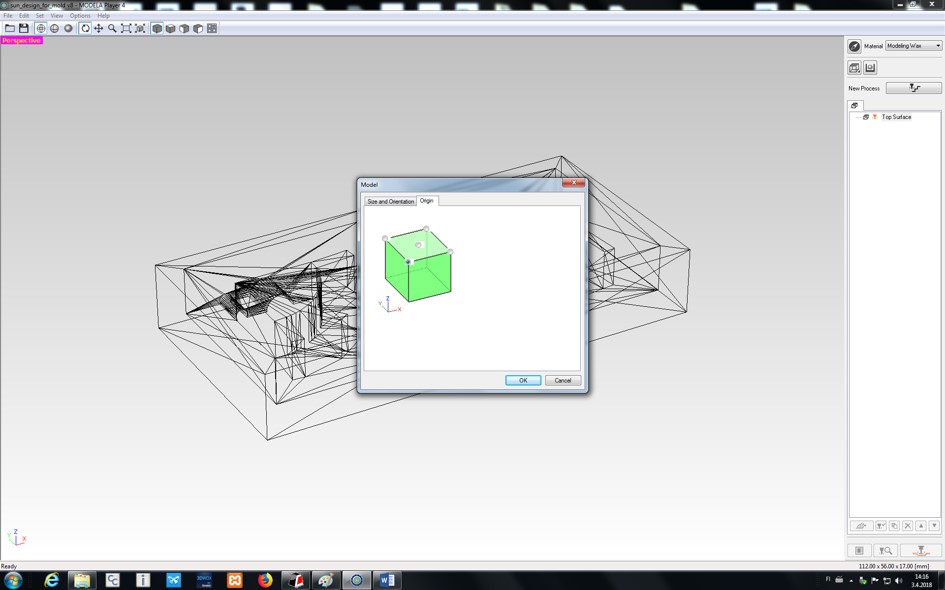
- Set > Model > Origin: Setting the origin to the left bottom corner so that it would match to the setting of our milling machine.
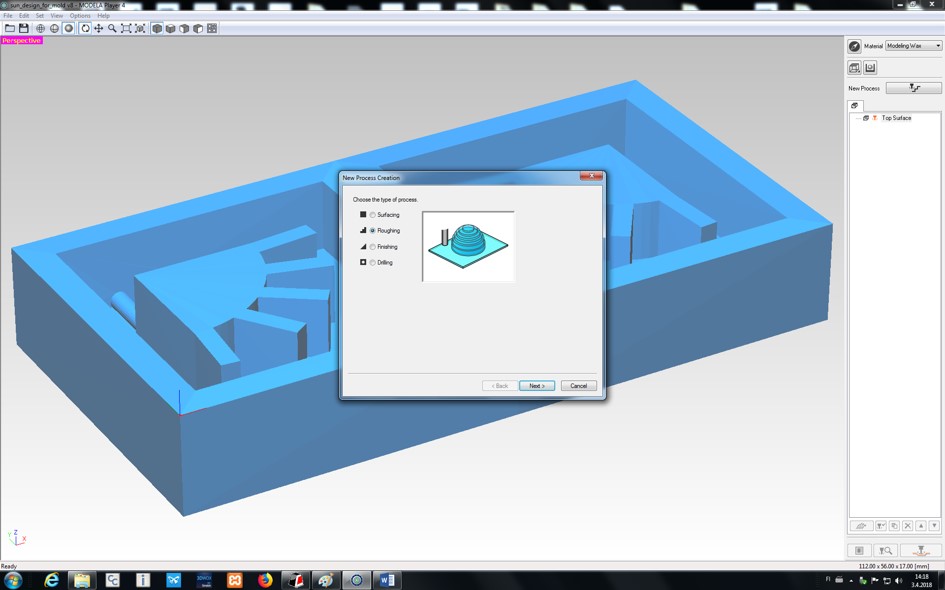
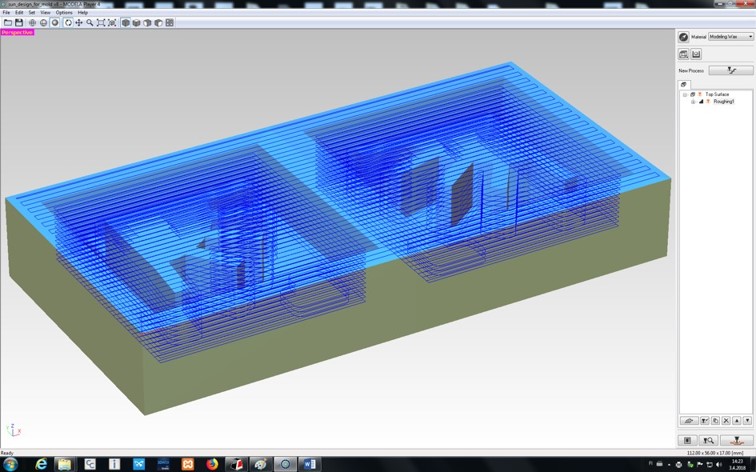
- Set > New Process Creation > Roughing
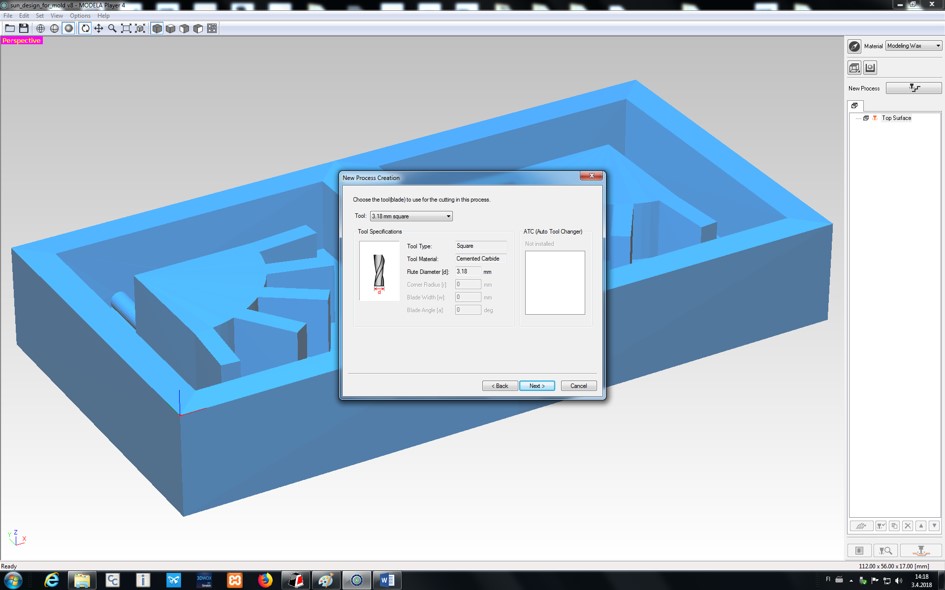
- Selecting 3.18 mm tool, which was already created by fab lab staff.
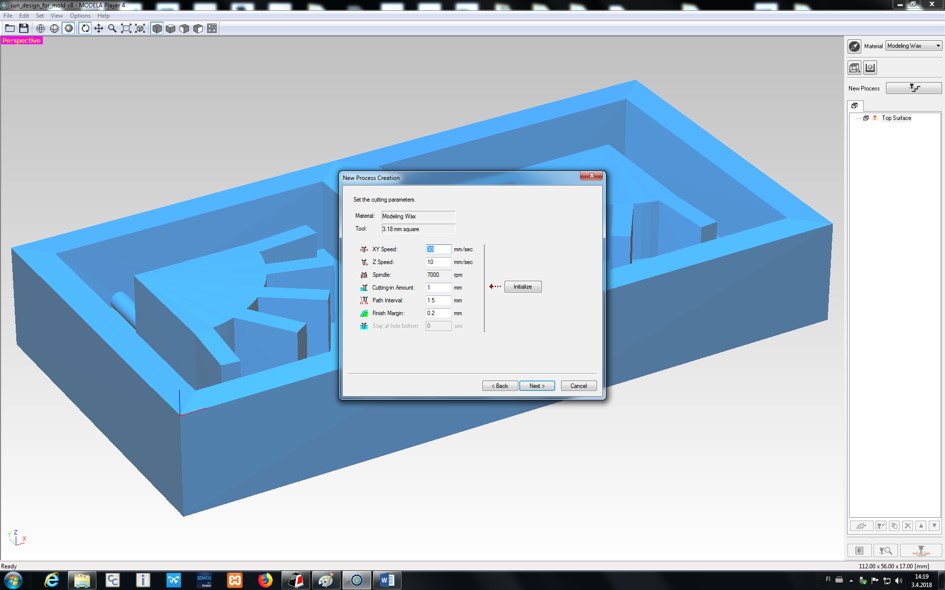
- Defining 30 mm/sec as the speed of x/y and 10 mm/sec as the speed of z.
XY Speed is used for setting the speed of the tool for its movement in X and Y axis.
Z speed is used for the speed of the tool when it is lowered.
"Generally, when the speed is too fast, cutting is coarse and it may not be possible to cut the surface of the object attractively" reference
Cutting-in amount is set to 1 mm and it is for cutting in depth per cutting pass and Deep cutting-in amounts lead in correspondingly shorter cutting times. (reference)
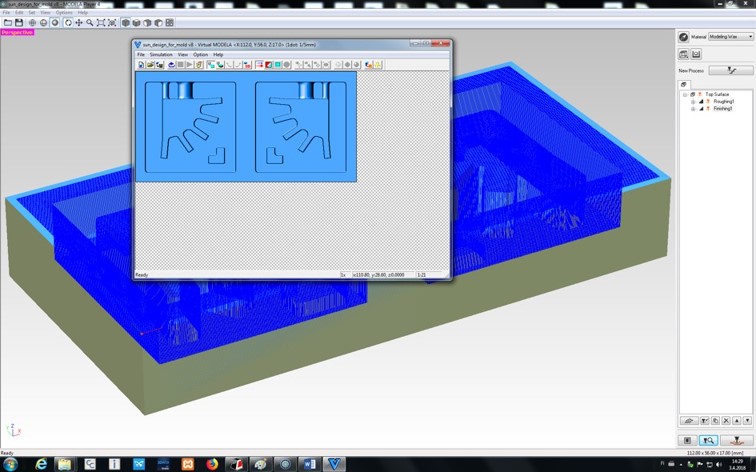
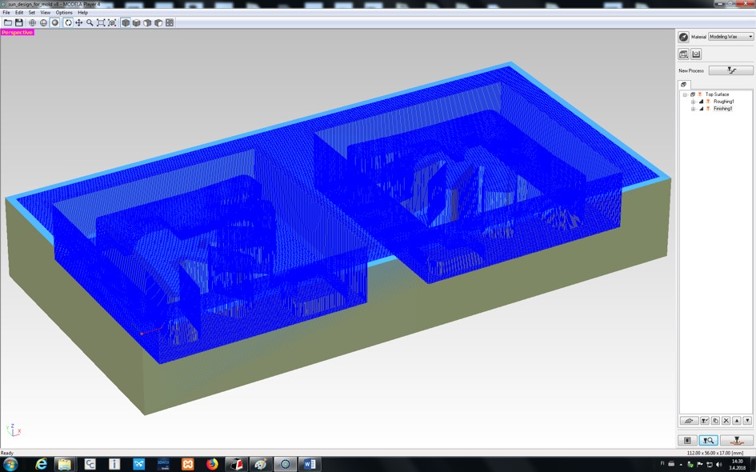
Path Interval is set to 1.5 mm and sets the interval between adjacent path lines. - See the result in the picture bellow after simulation:
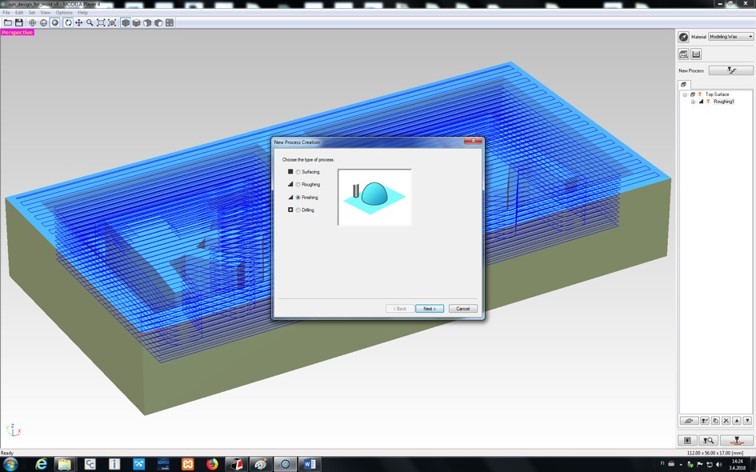
- Set > New Process Creation > Finishing
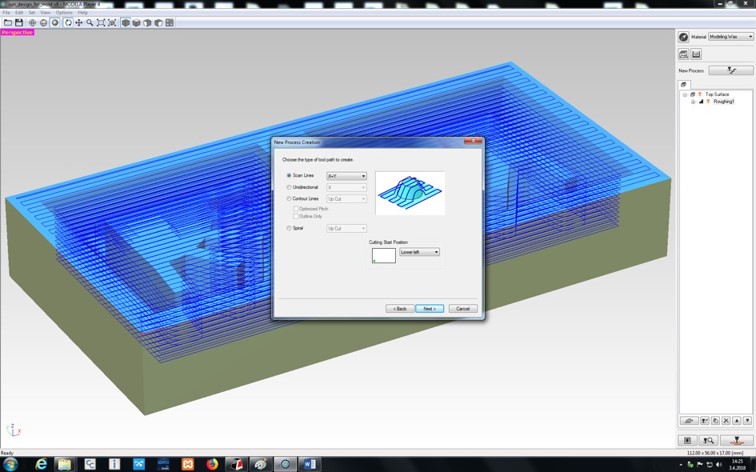
- Choosing Scan Lines and setting it to x/y.
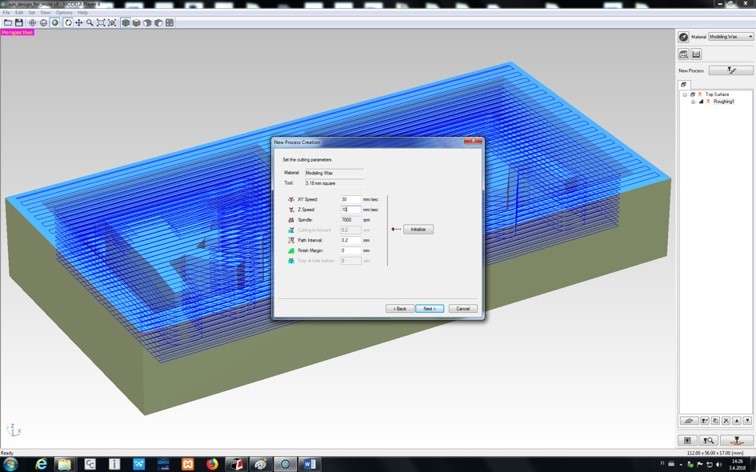
- Setting the:
speed of XY: 16 mm/sec
and Z speed to: 16 mm/sec.
and 'path interval' to: 0.2 mm. - Simulating for milling through Simulation > Cutting Data Information.
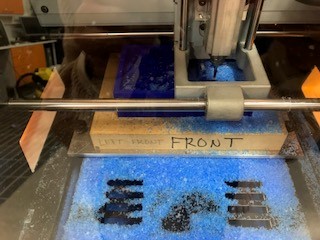
After simulation was done, I noticed that some square parts of my design for example the bottom edge of each ray, converted to a round shape. But since actually I liked this new shape better, I continued with it and did not look for the exact reason. But as I asked around I figured out that it might be the affect of the milling bit. So those who need their object to be exactly the same as their design, should consider the affect of milling bit. - Since we did not have enough material left As our structor, Ivan nicely suggested, I broke my design into two parts by saving 2 different .STL files and did the whole process of milling track adjustment for each.
- And I started milling.
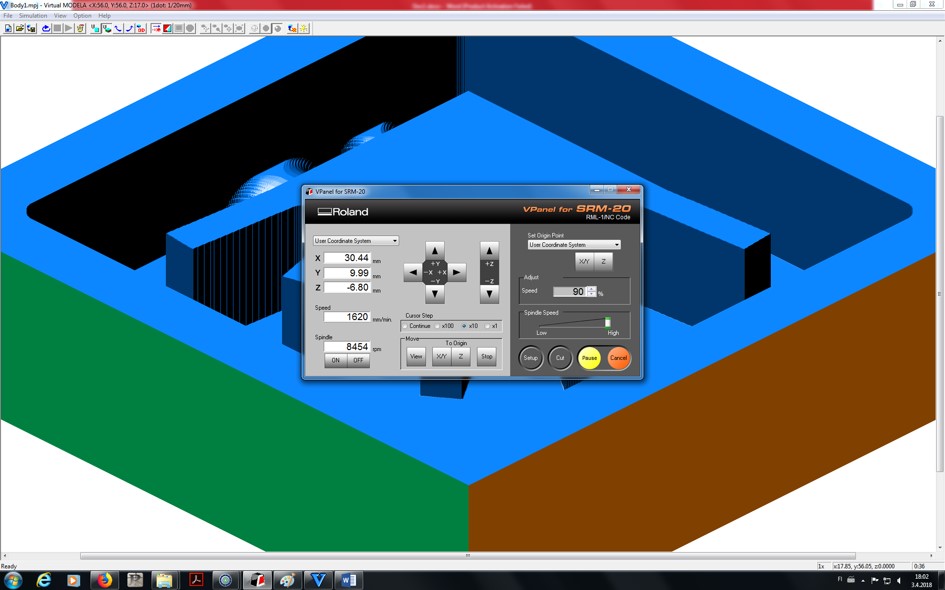
Before starting milling I set the origo using V-Panel for SRM-20 as I described in Electronics Production Week.
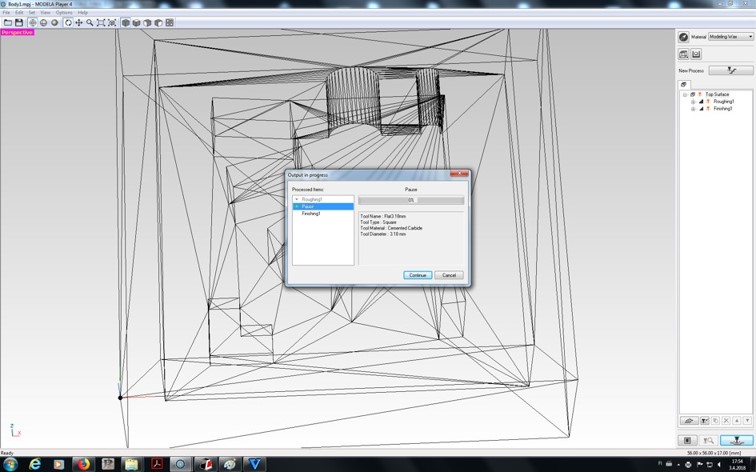
The milling bit that I used was 3.18mm Flat.
First roughing executes and then there is a pause by the program and asks you to continue for finishing.
I used blue machinable wax for milling.
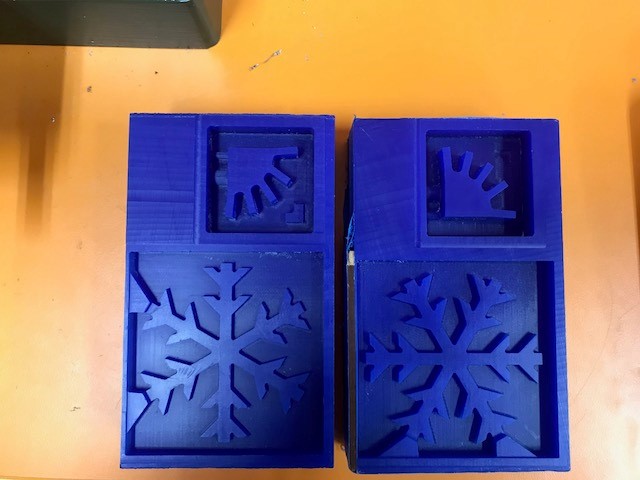
I milled each part of the mold in a separate wax. - These are the results and everything looks fine.
The only change that I mentioned earlier in simulation and I witnessed in the results after milling was round corners instead of square ones. And it happened because the rotating milling bit can not cut corners sharper than the bit’s perimeter, which led to a slight roundness in the material. And as Ivan mentioned, the fact that caused this issue was because I used a round end mill.

Casting the Mold
The working area was completely covered by plastic because the possibility of having lots of mess at this stage is so high. I also used glasses and gloves and putting on long sleeved shirt.
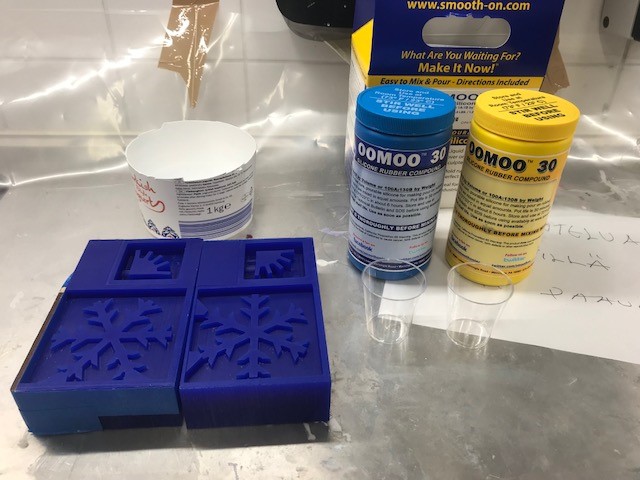
- I used Oomoo 30 for casting the mold. I measured the same amount of both liquids (1 part of part A and 1 part of part B). And then I mixed them and started to stir it. Ivan provided instructions on how to stir the mixure. It was important to stir it in a steady way.
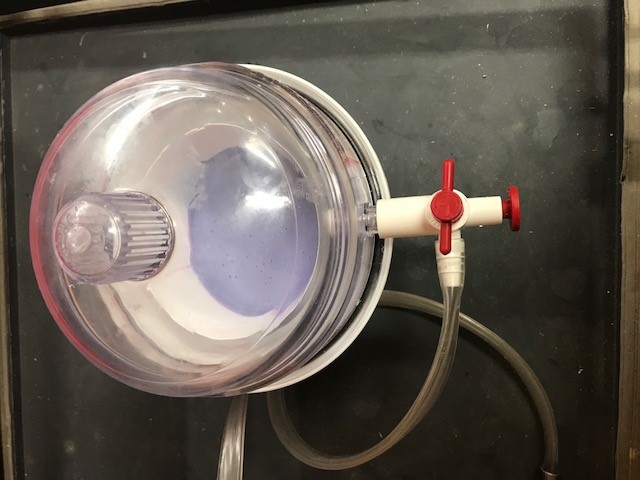
- Then after around 3 minutes of stiring the liquid it started to get hard. And lots of bubbles were there so we used a vacuum machine for around 15 minutes for removing the bubbles. Considering that the pot time for this material is 30 minutes, therefore overally one has the maximum of 30 minutes to get it into mold.
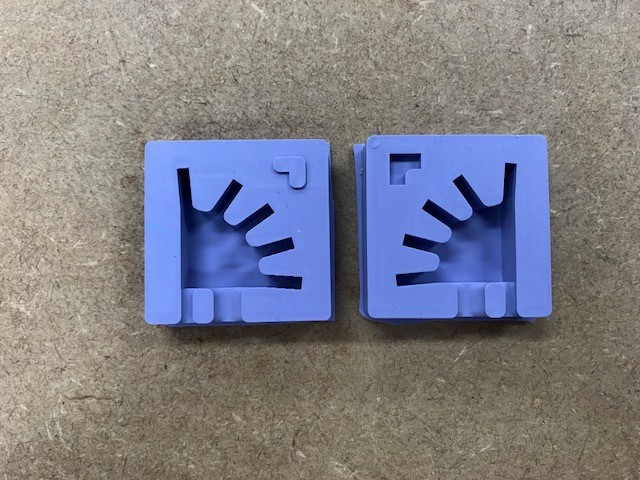
- After that I filled the mold with the mixture and let it dry for a few hours (7 hours is enough for curing time).
- And here is the result.
- Ivan suggested to wait for an hour and then start to cast the object.
Casting the Final Object
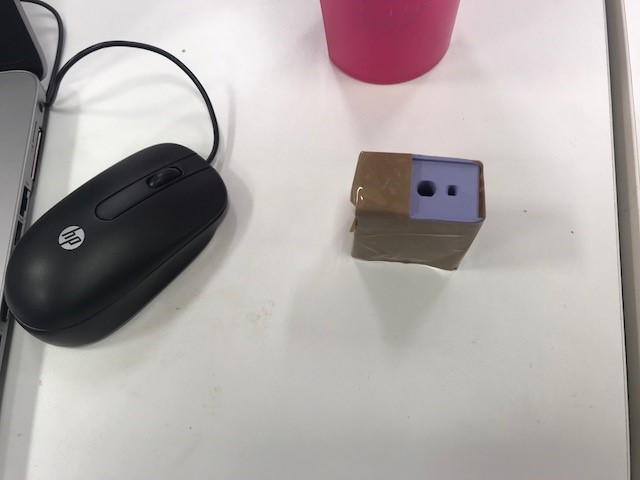
- I taped around it to keep it fixed. But it was not an easy task to gear both parts together because since the milling bit can not make 90 angles, my registration mark did not coinside.
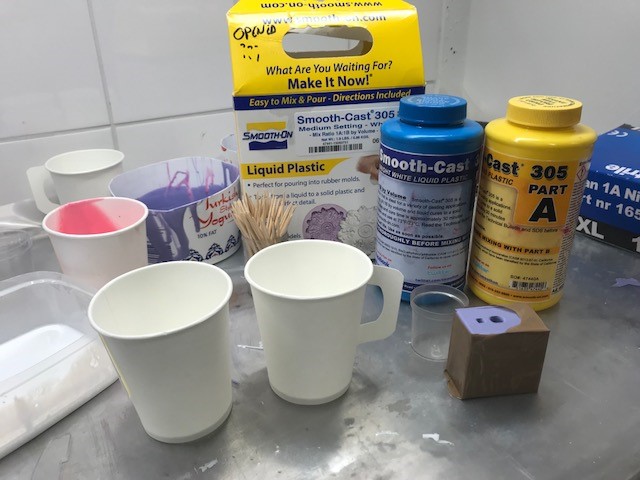
I also had difficult times in taping around it because the tape could not stick properly to this material. - I used liquid plastic for casting. So I measured it and mixed the same amount of liquid from both bottles. I stired it for around 1 minute. And I filled the object with it. The pot time is 7 minutes for this material.
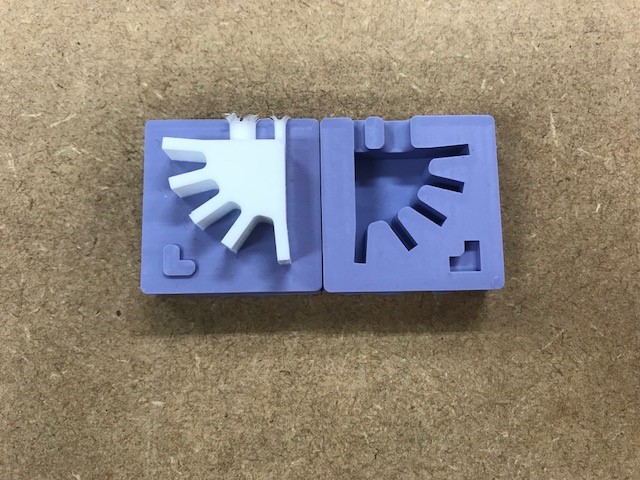
- After 1 hour (70 minutes is ok for curing time of this material) I removed the tape and opended it. And here is the result(which I am happy with):
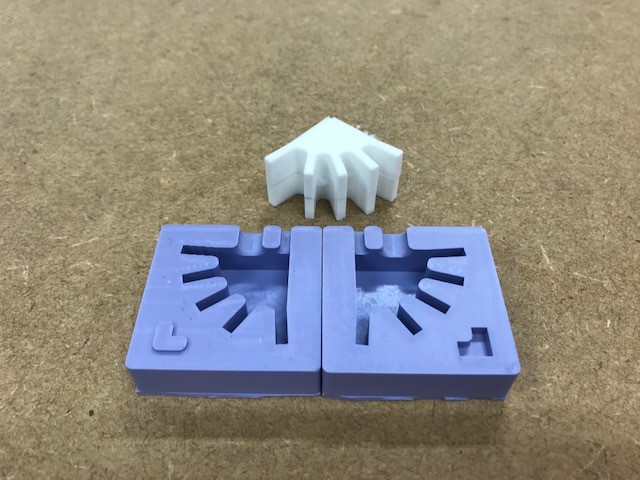
Original Design Files
.STL File.F3D File