- Assignment 05
3D Scanning and Printing
This week I designed and 3D printed an object that could not be made subtractively and I 3D scanned the full body of a my friend.
3D Printing
For 3D printing I was inspired by this peristaltic pump by Drmn4ea.
Design
I started with the gears to draw it. With GearTrax I generated the crown and one of the planets in Solidworks.
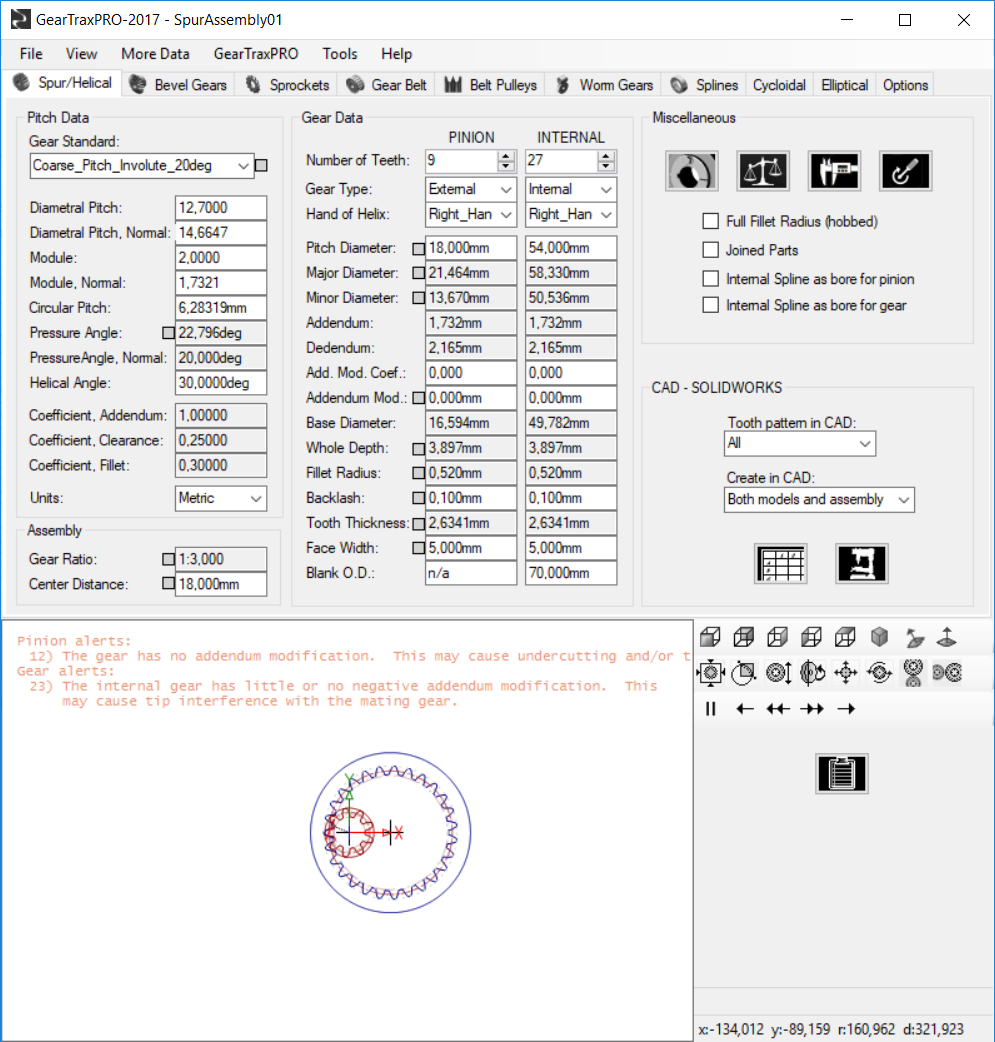
Figure 1. GearTrax overview
For each gear I added a spacer, where it will stay the tube, then I mirrored the gear and chamfered to facilitate printing and avoid attachments between the parts.
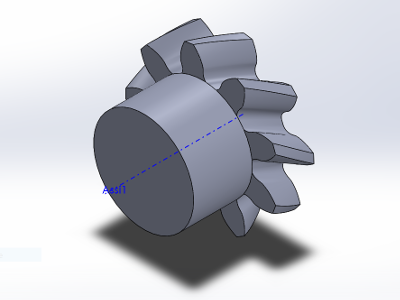
Figure 2. Spacer
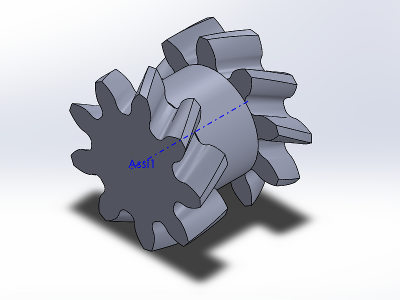
Figure 3. Mirroring

Figure 4. Sun part
Figure 5. Planet part
I also added the holes to the crown to let the tube pass and some elements to be able to block it.
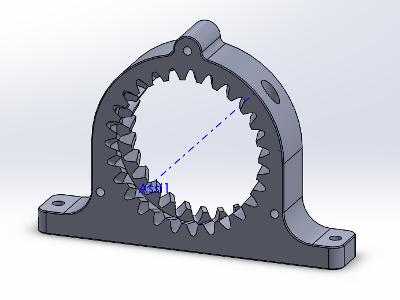
Figure 6. Crown part
This is the final result.
download PeristalticPump 9,77 MB (.zip)
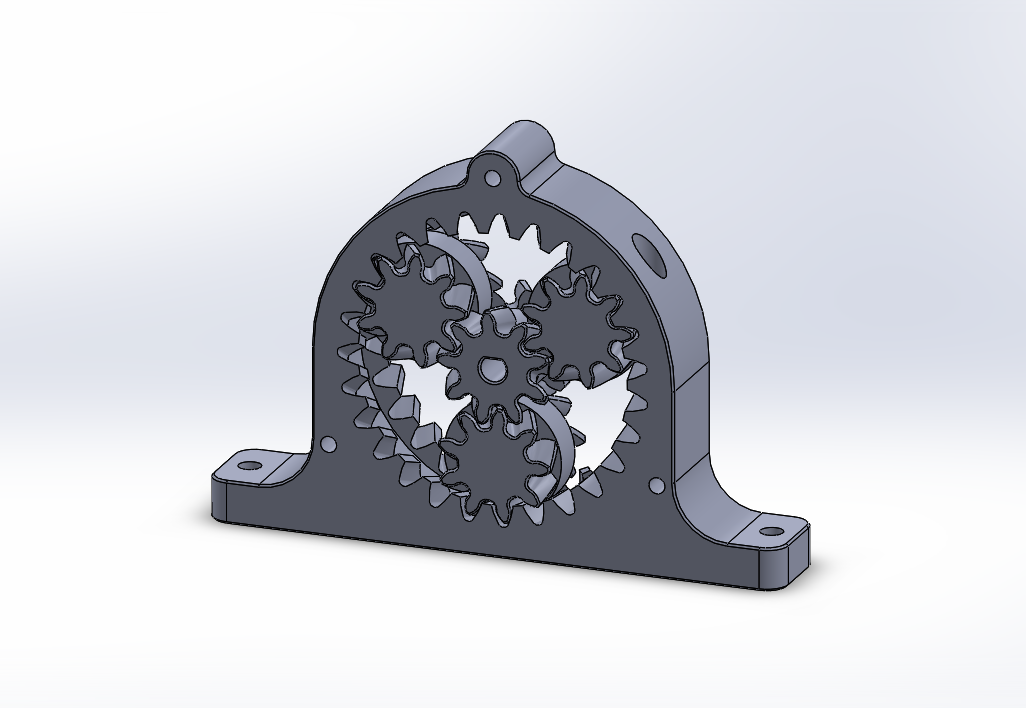
Figure 7. Assembly
download PeristalticPump 4,04 MB (.stl)
Slicing
To print I had to convert the STL exported by Solidworks into a file format that the machine can read it, namely gcode. This step must be done with a slicing program, I chose Cura 3.2.1 because the 3D printer that I used is an Ultimaker 2+ of the same vendor.
To avoid interference between the pieces I have added the parameter Horizontal Expansion and I set it to -0.2mm.
download gear 811 byte (.curaprofile)
download UM2_PeristalticPump 20,9 MB (.gcode)

Figure 8. The preview in Cura
To print is very simple, after turning on the printer I inserted the SD card and from the menu I selected my file. The rest is done automatically by the printer.
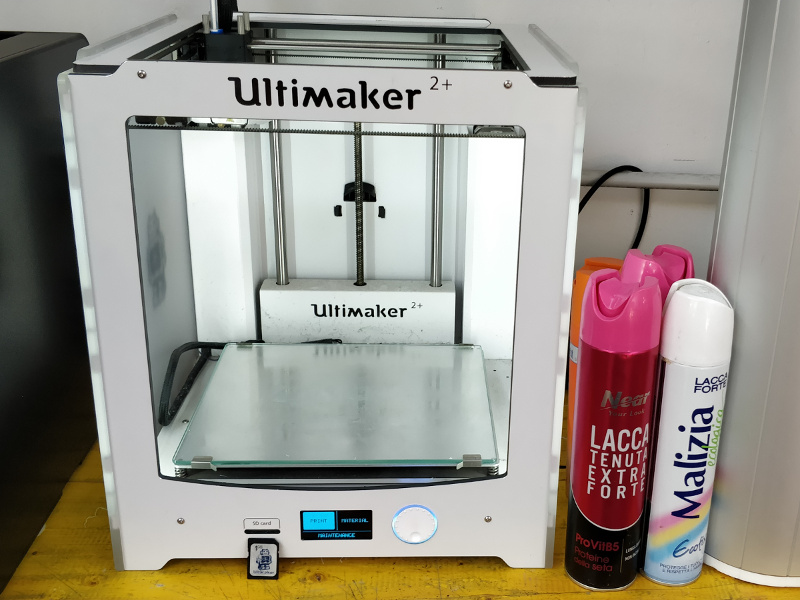
Figure 9. Ultimaker 2+
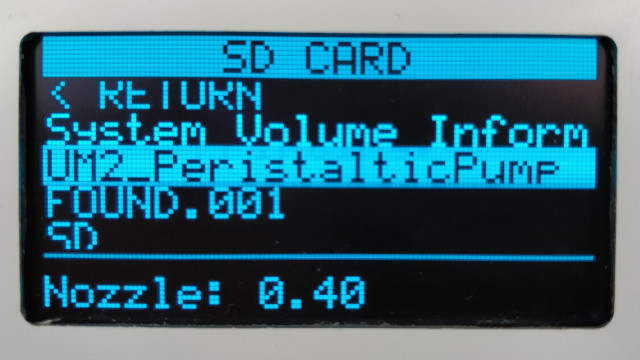
Figure 10. The display

Figure 11. The print finished
I was able to insert the tube with great effort and this is the end result.
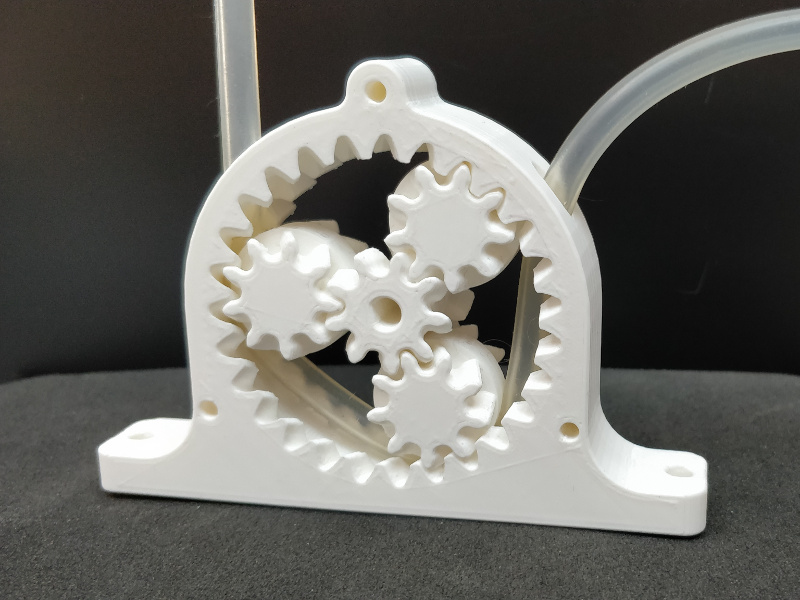
Figure 12. My peristaltic pump!
Unfortunately the pump didn't work, I find it hard to rotate and suck the water. I think because the pipe I used is not suitable.
3D Scanning
For 3D scanning I used the Sense by 3D Systems.
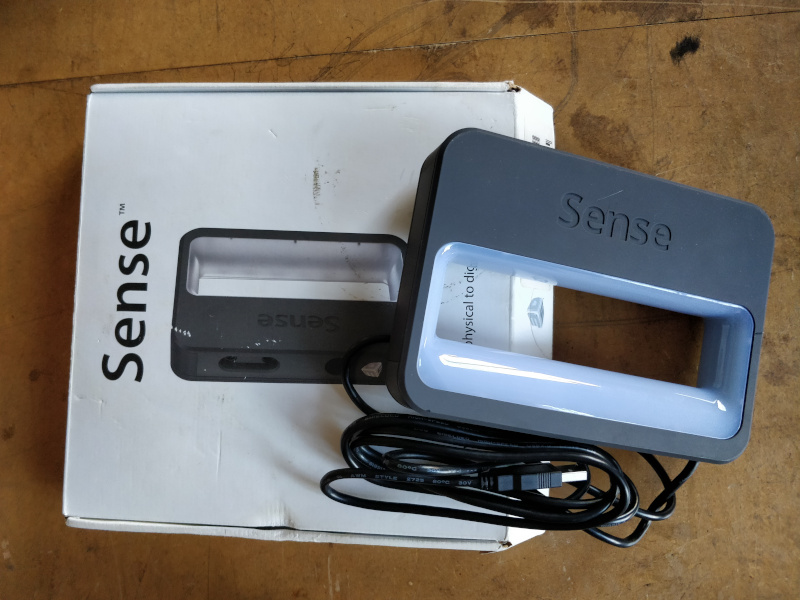
Figure 13. Sense
Process
First of all, I selected from the software the type of scan I intend to do in order to automatically optimize the parameters. Then I select Person -> Full Body. I did several tests of light and distance and I got the best results in a neon-lit room are about 70-80cm of the sensor from the subject.
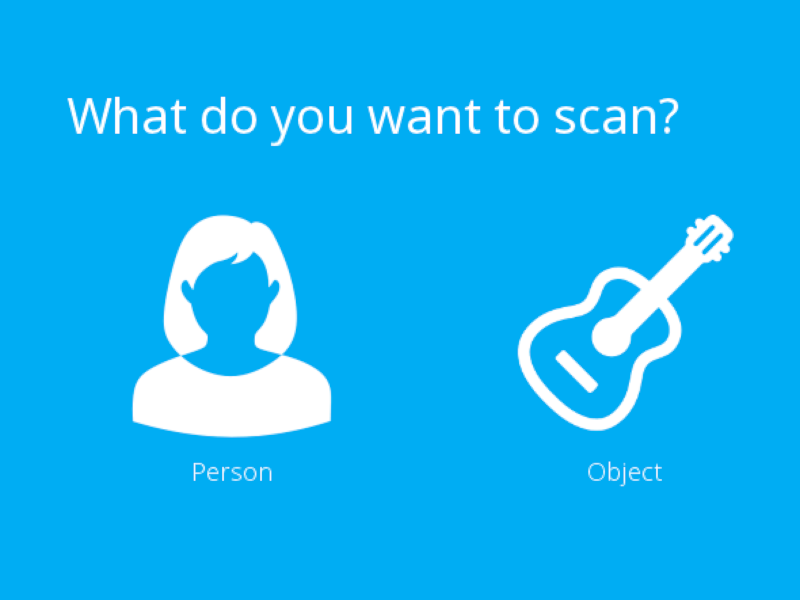
Figure 14. Person

Figure 15. Full Body
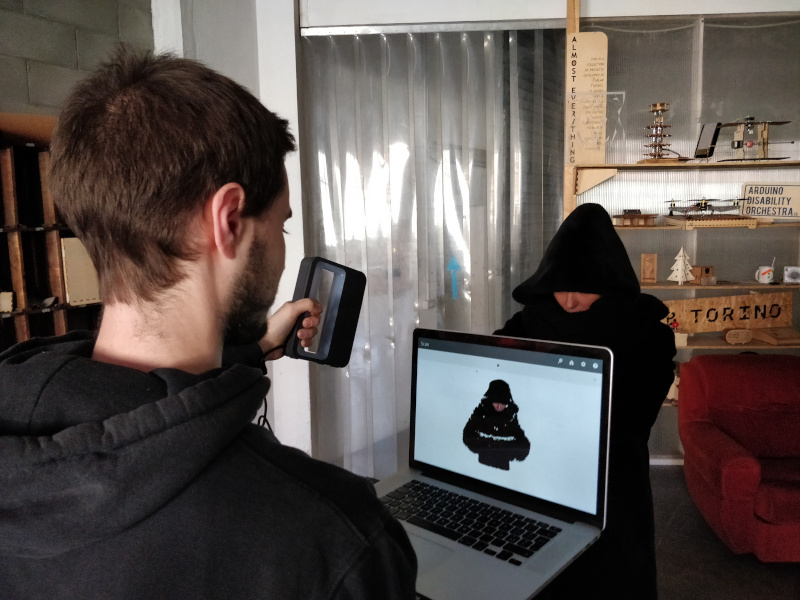
Figure 16. A test gone wrong.
Scan
To scan I pressed Play and I started to turn around the subject are waiting to keep the same distance.
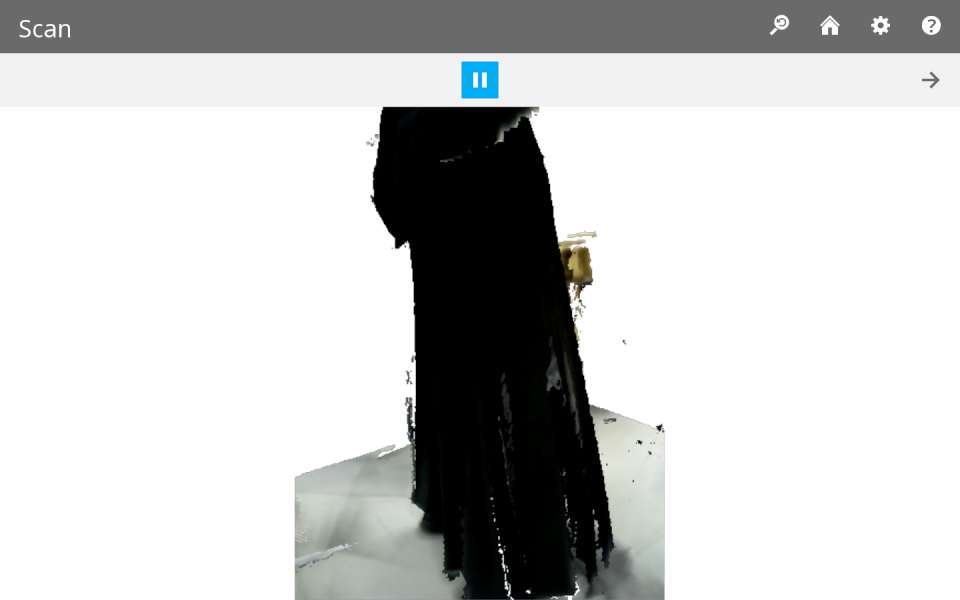
Figure 17. When scanning.
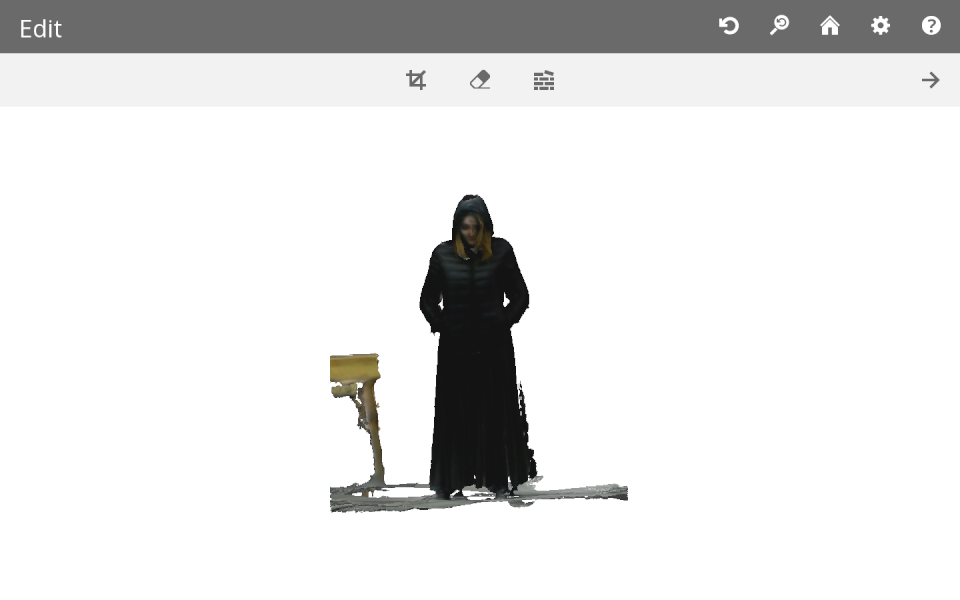
Figure 18. Just finished.
Very important is to solidify the meshes.
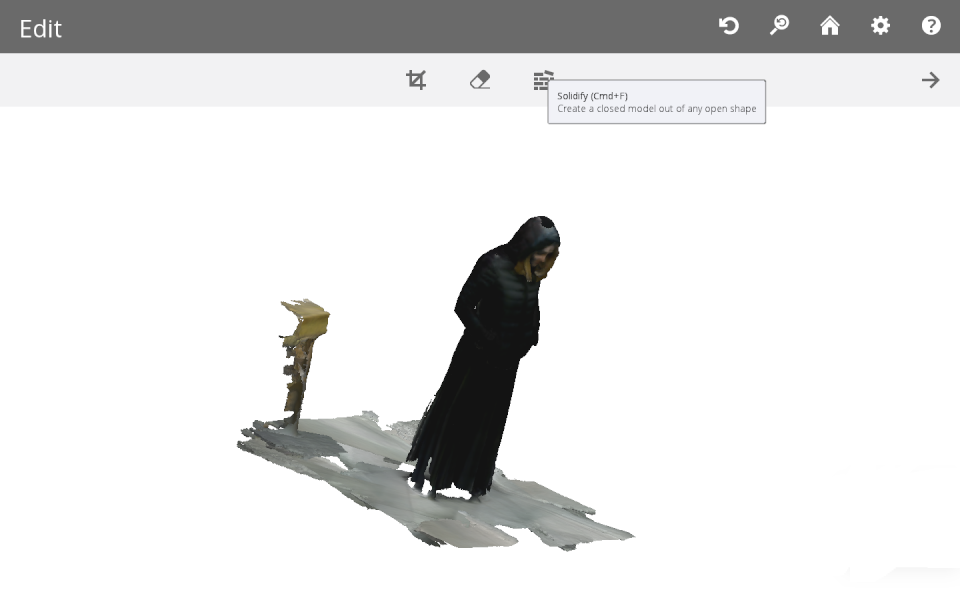
Figure 19. Solidify
Before saving the file I performed some Crop, Erase and again a Solidify.
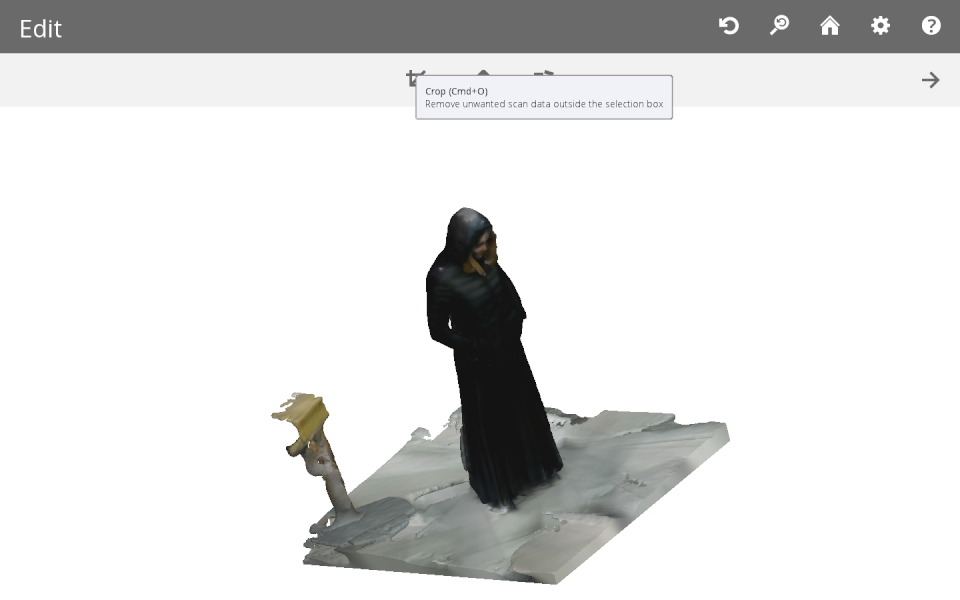
Figure 20. Crop
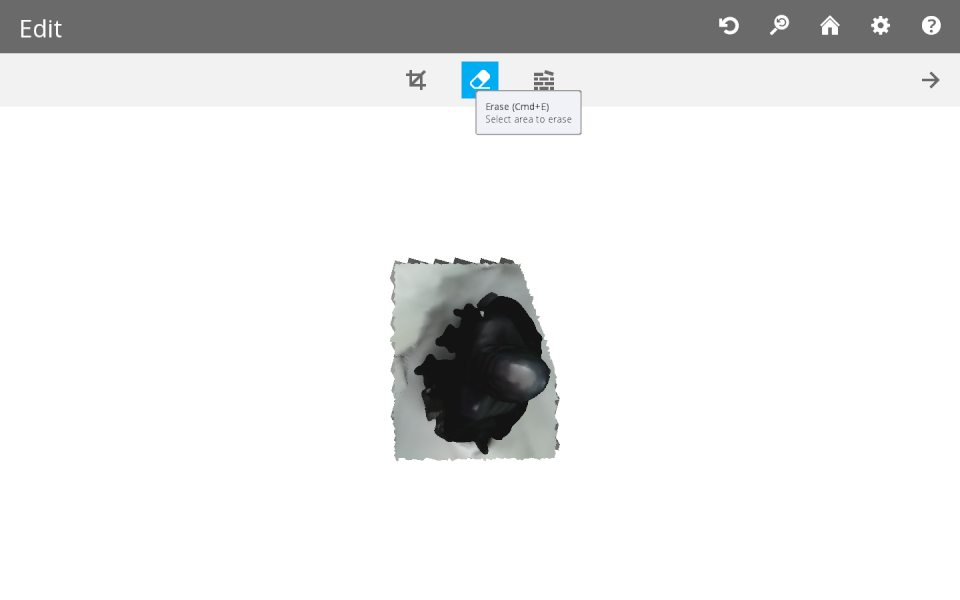
Figure 21. Erase
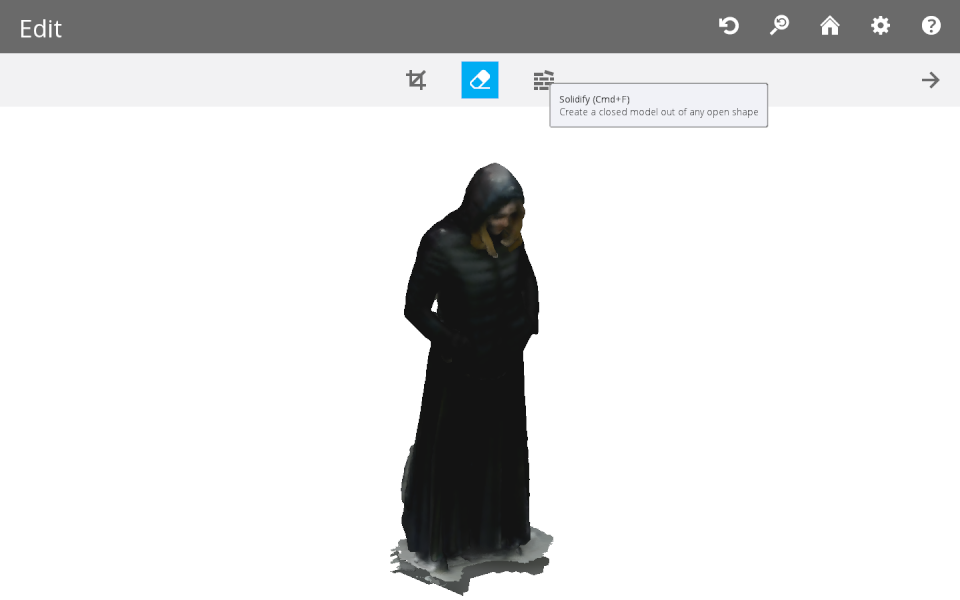
Figure 22. Solidify
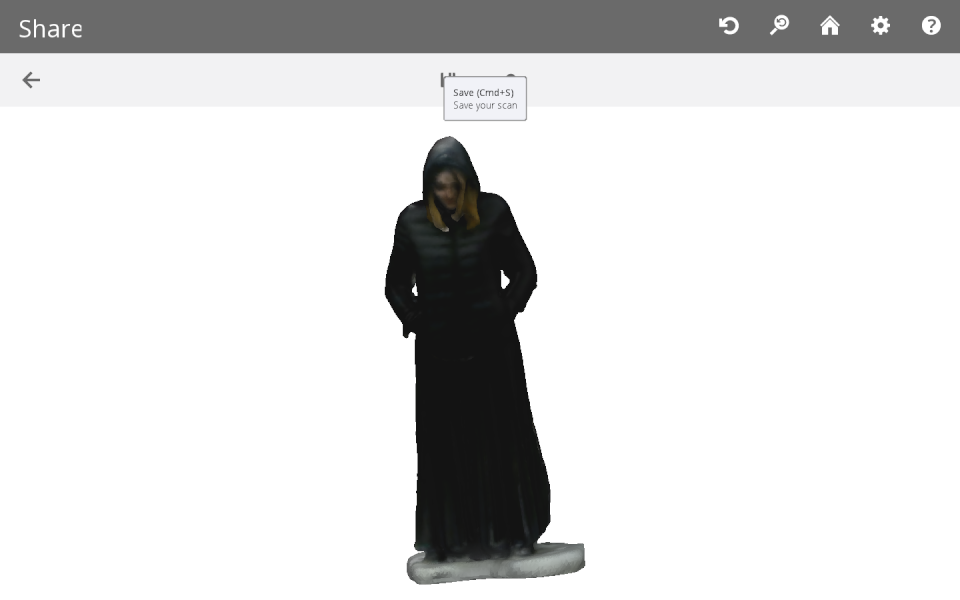
Figure 23. Save
The file that is saved is a binary PLY.
download full-body 2,25 MB (.ply)Conversion
Since the resulting file is not usable for printing, I converted it to STL with Rhinoceros simply by importing and exporting.
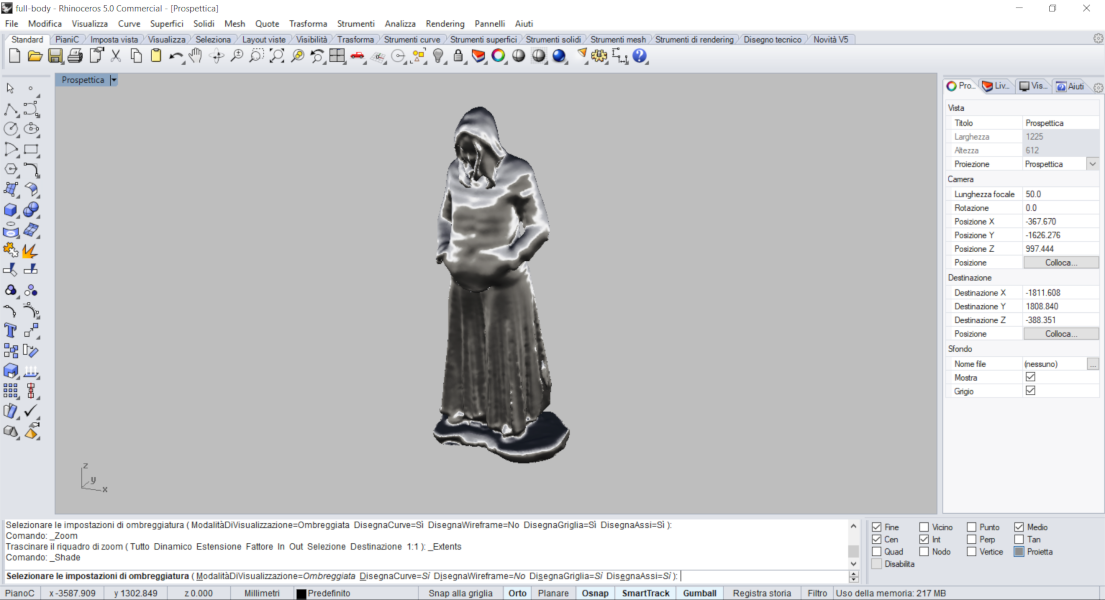
Figure 24. Rhinoceros view
Group Assignment
More info on the Opendot group assignment page.