Group assignment
Individual assignment
Learning outcomes:
Have you:
Include your design files and ‘hero shot’ photos of the scan and the final object.
This week I have just moved into my new apartment. As I am moving in, I noticed I have a severe lack of furniture, the most of which being my lack of places to sit.
Sketching up a chair I could lounge in, study in, and read in, also being limited on the amount of material I can use, I drew up some plans to a half-moon style ergonomic chair. Building it in sections, I would connect the top 'headrest' with the body of the chair via the arm rests, and then that whle assembly would sit on legs that allow the rest of the chair to 'float' above the floor.
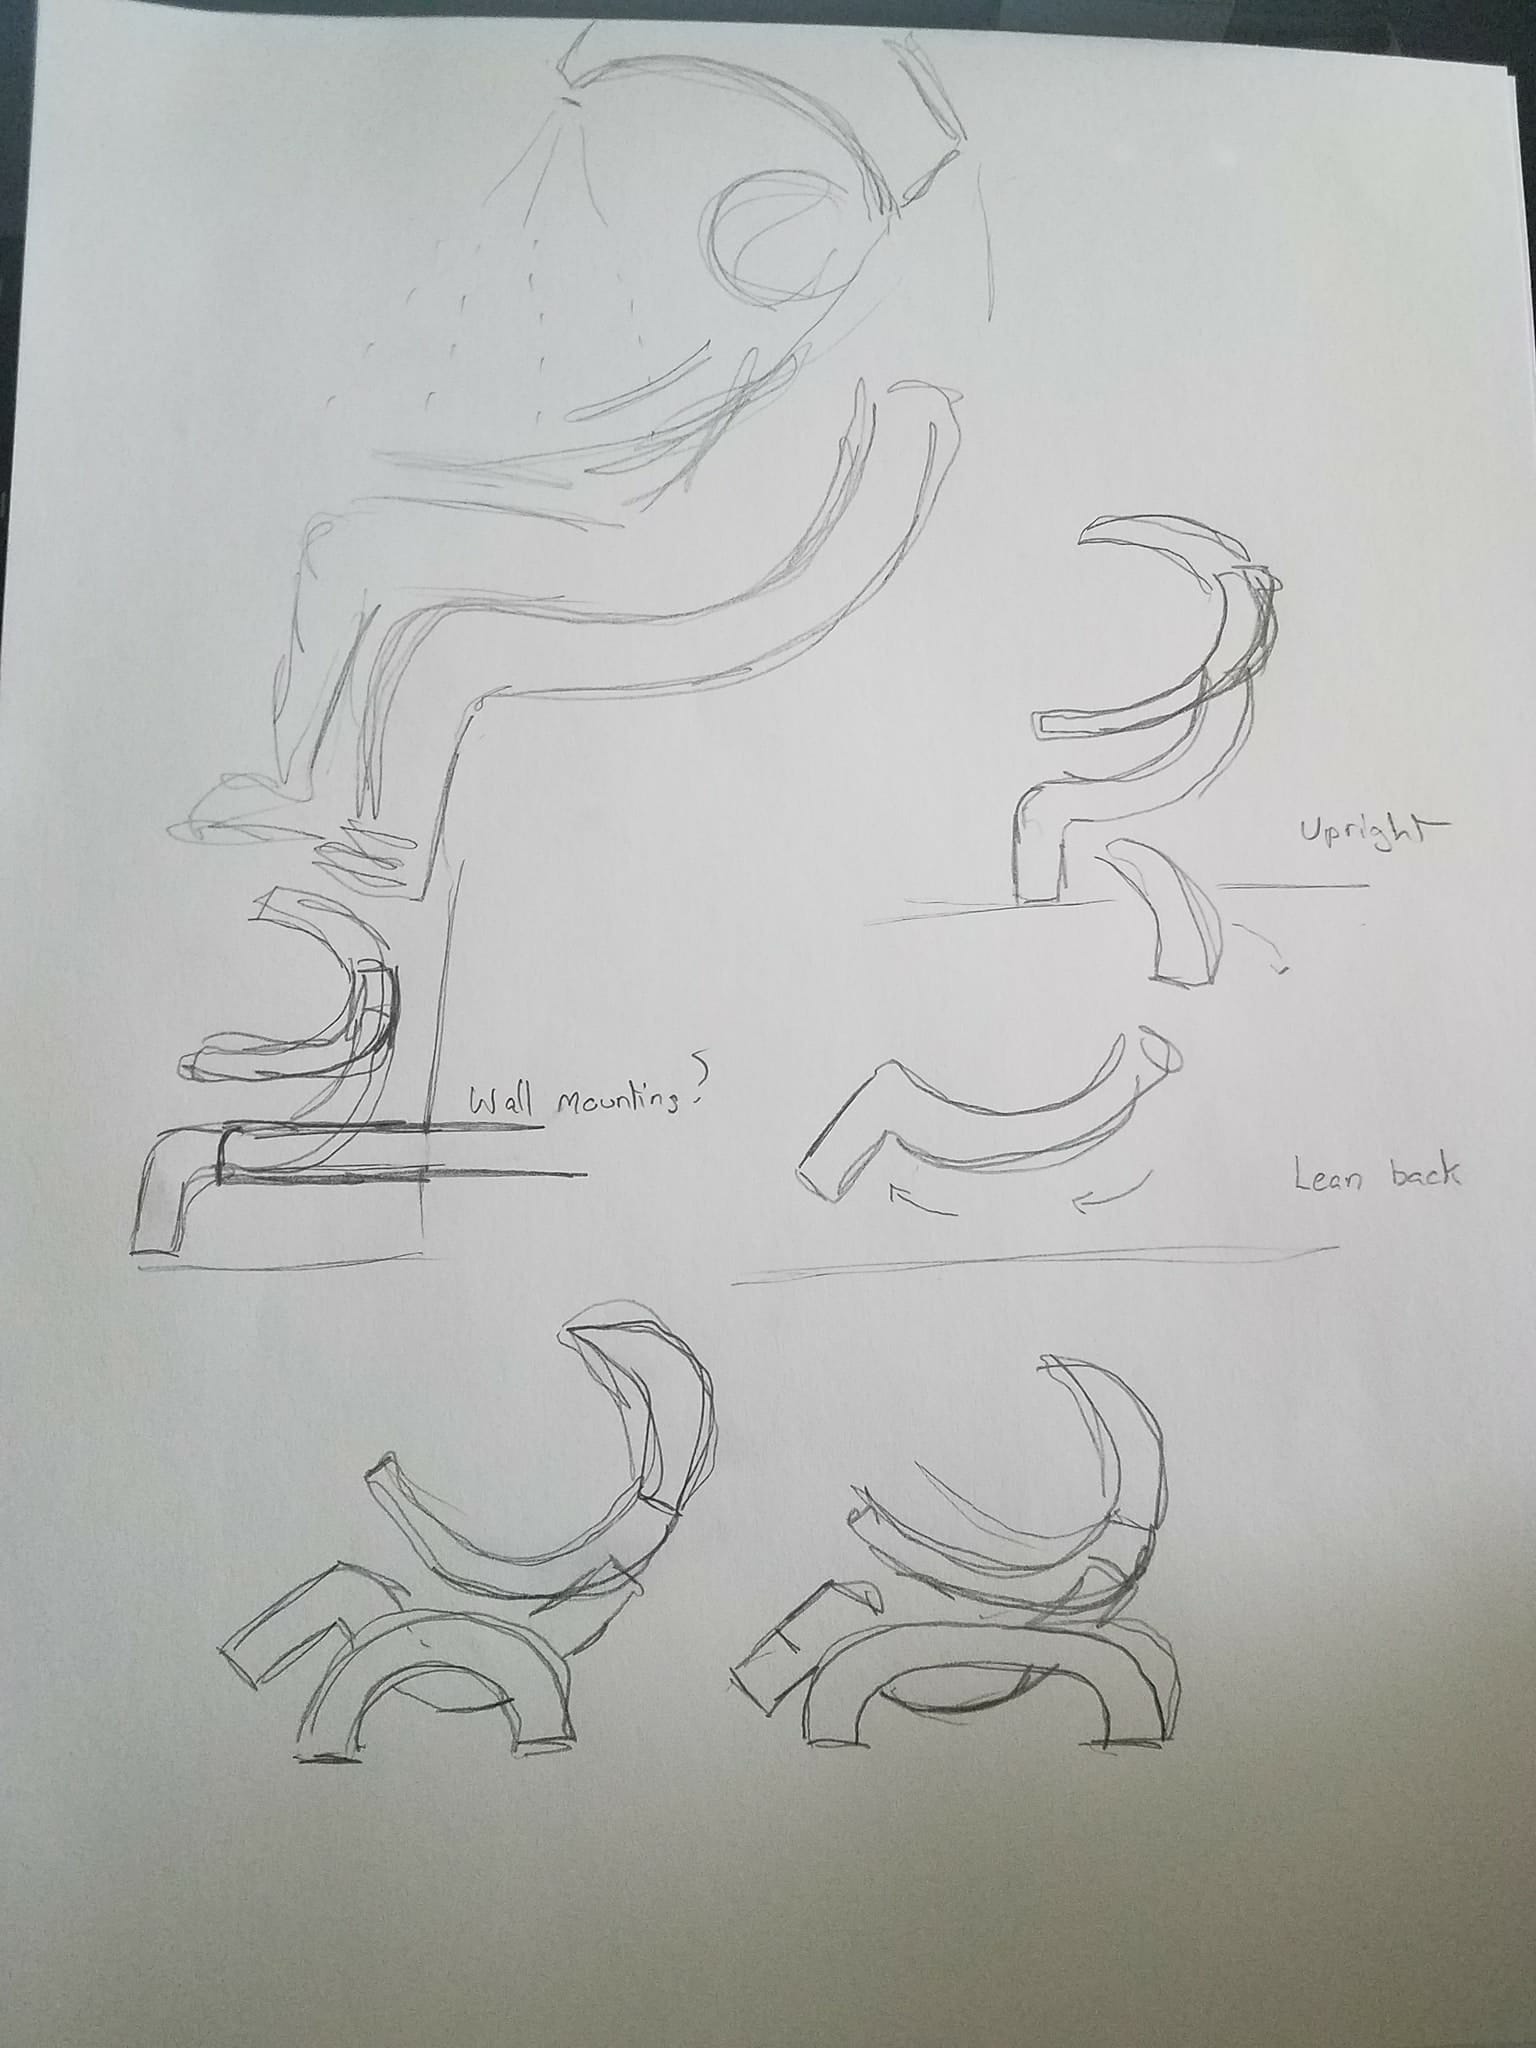
It would also be interesting building a beam into the wall and having the entire chair float above the floor via the wall.
Drawing the main body parts first, before designing the armrests and base, I decided that bridging two keyed pieces with slats would be the simplest build, an efficient use of material, while also letting me cut down scrap pieces I have into usable slats. I moved around the two pieces into the most effecient usage of a 48"x48" piece of wood, and then made a copy.
I made all the keys for the slats 0.75" wide as to use the rest of the 48"x48" board for slat material. For the 90 degree bend (knees) I had to make the 0.5" wide and will be using 0.5" plywood for those.
.png)
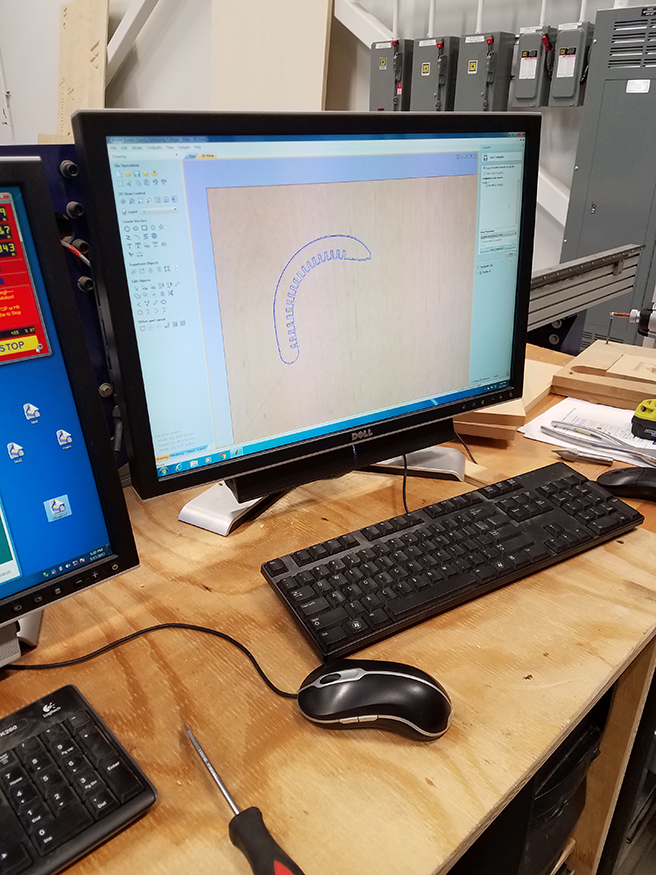
Once it is drawn up in CorelDRAW, I exported the drawings as an autoCAD .dwg file (to preserve curves). I then opened up VCarve and imported the .dwg file.
.png)
The first step to opening a new job is to tell the program/machine what kind of material we are using and where we are placing the XY zero (Datum). We are cutting some 3/4" plywood, and the largest cutting window for our CNC at the CCC (cuyahoga community college) lab is 46"x46".
.png)
Now we have imported the chair design as it appeared from the initial drawing.
.png)
Thanks to exporting them as a .dwg file, we maintained all the vector curves and can group and move each piece independent of the other (unlike what would occur if imported as an image file). Making a copy of both top and bottom, I reorganized them to try to use the board as effieciently as possible.
.png)
Testing out the cut virtually inside of VCarve prior to sending the job to the machine.
After we tested the cut inside the program, there didnt appear to be any errors. We then sent the job over to be cut.
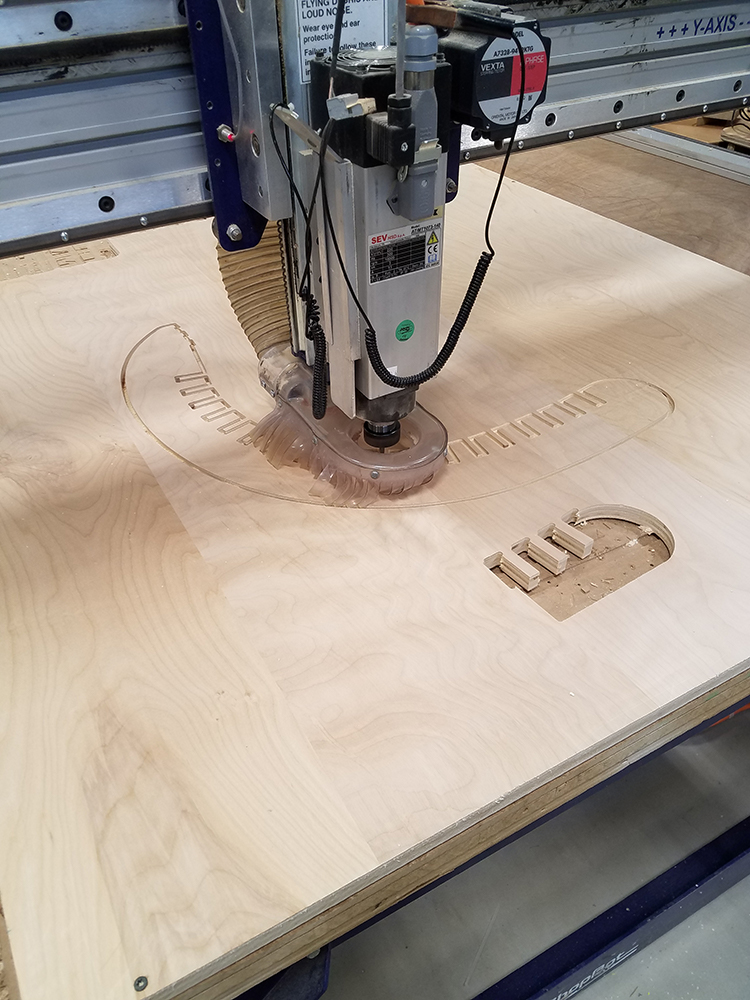
After we got the 4 side pieces cut of the headboard and body, I measured out how wide I wanted the chair to be and cut down the rest of the board that was in the CNC to a 16"x48" board.
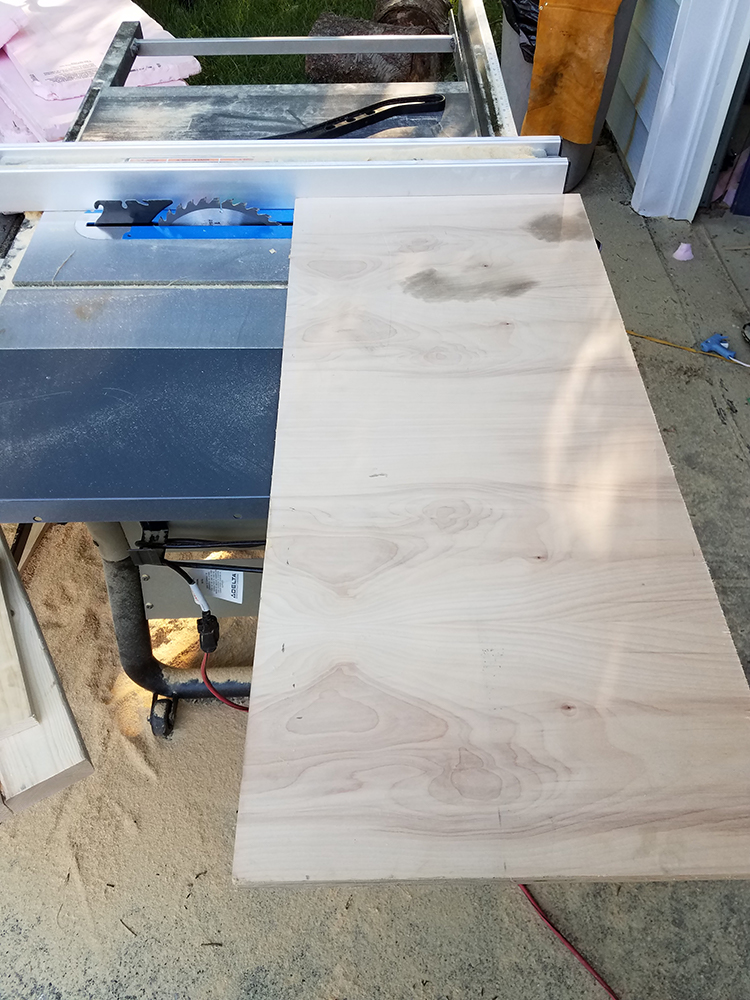
I chopped that board down to as many 1.5" wide pieces as I could to use as the slats
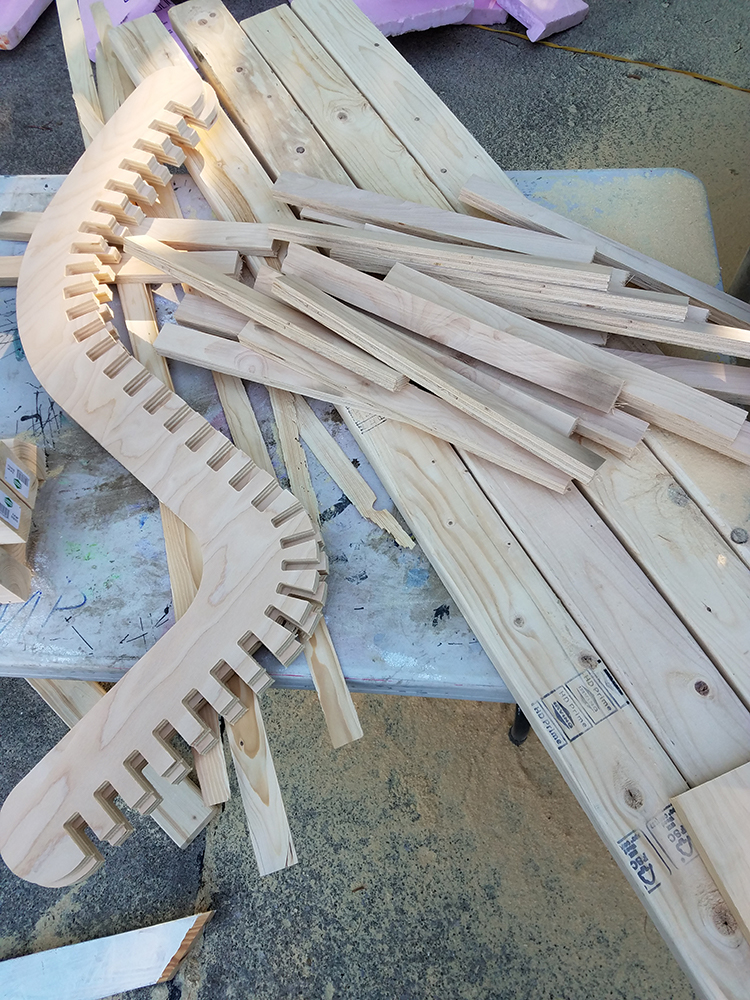
With a little bit of wood glue on the ends of the slats, I filled all the keys and had the side pieces flush with the ends of the slats to give it a cleaner look. It actually followed the curves of my body really well
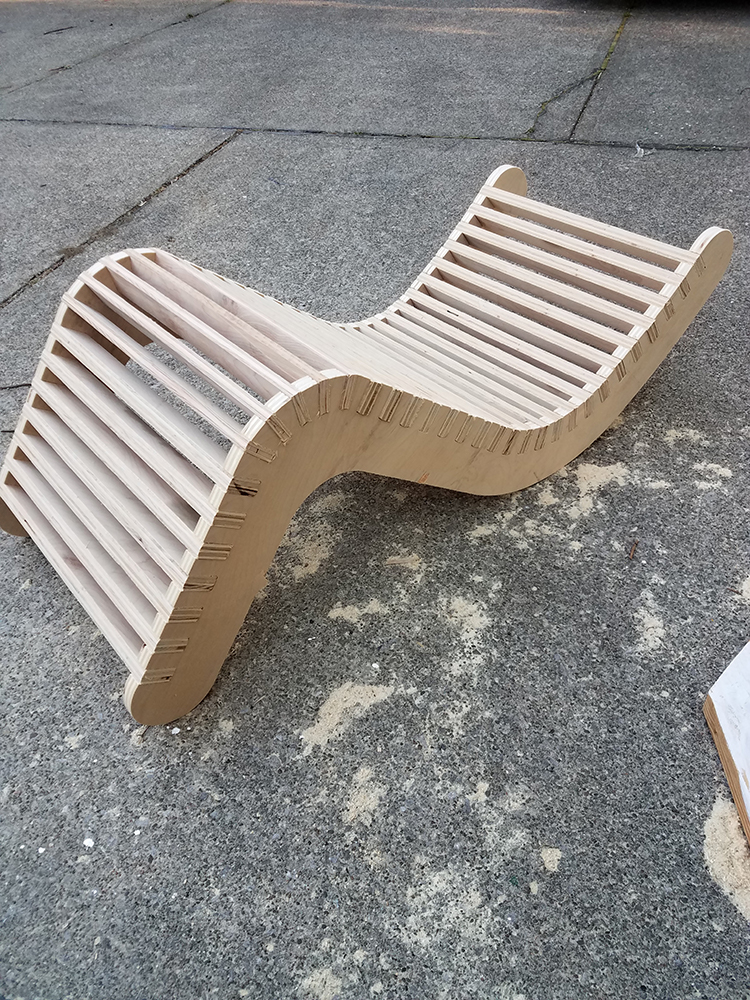
With both pieces build and assembled, I started playing with the shapes, trying to get an idea of what the final product would look like and show anything I had overlooked during my breif design phase (like back/shoulder support)
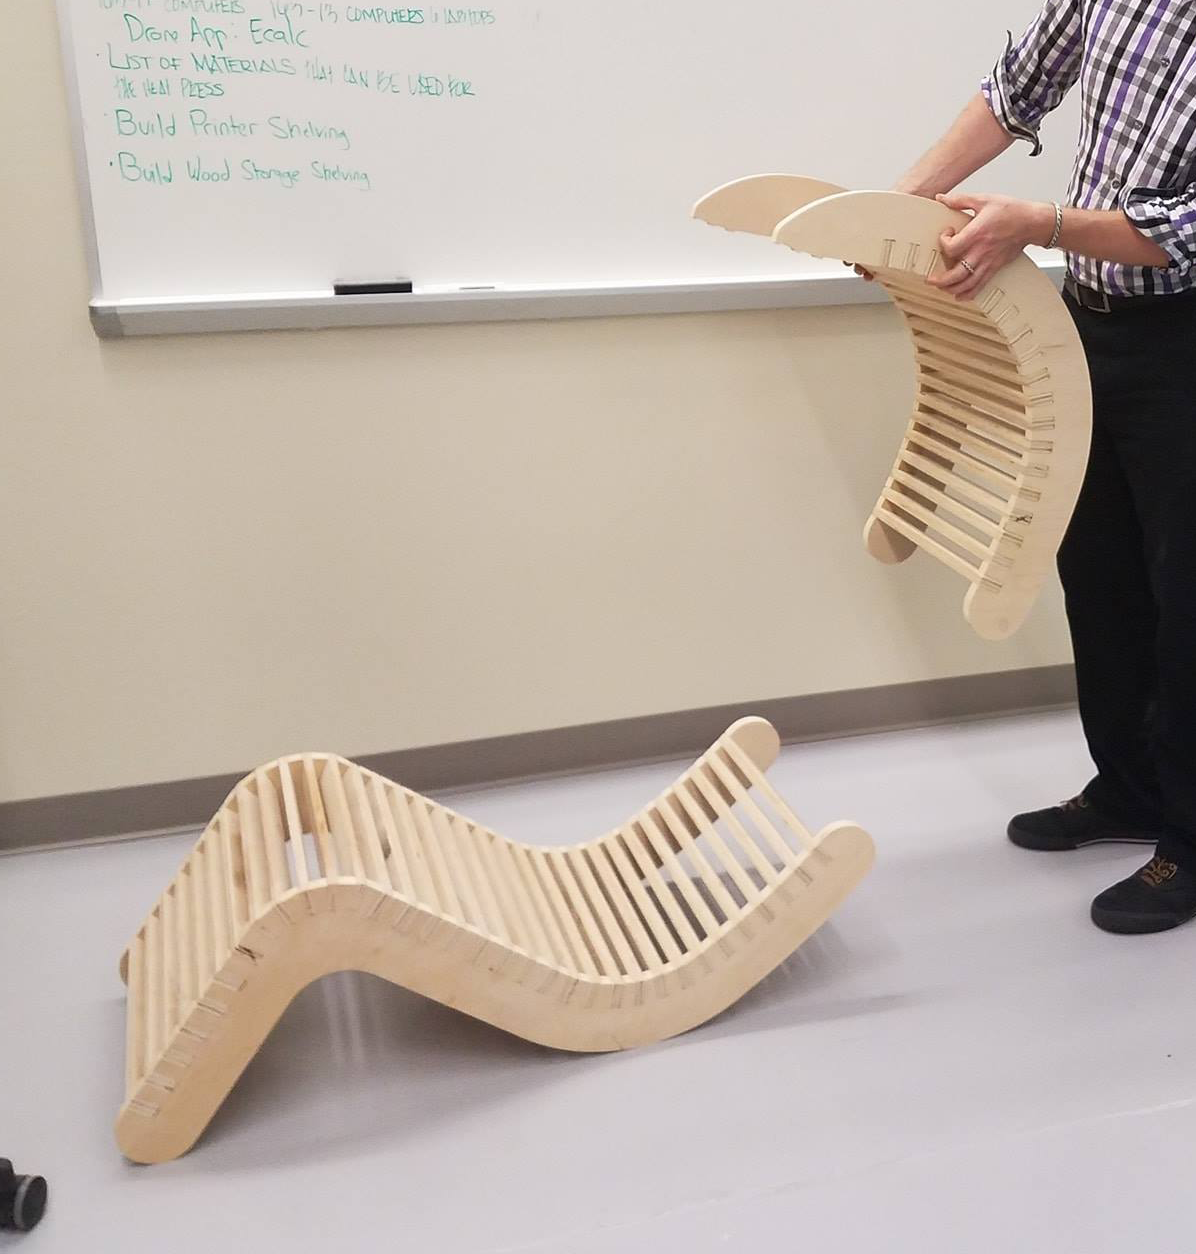
Needing to move on to the next assignment, It turns out the 'headboard' works out well as a base and easily supports over 500lbs. This is my tentatie desk chair until I have time to get back and contiue building the other components for the chair.
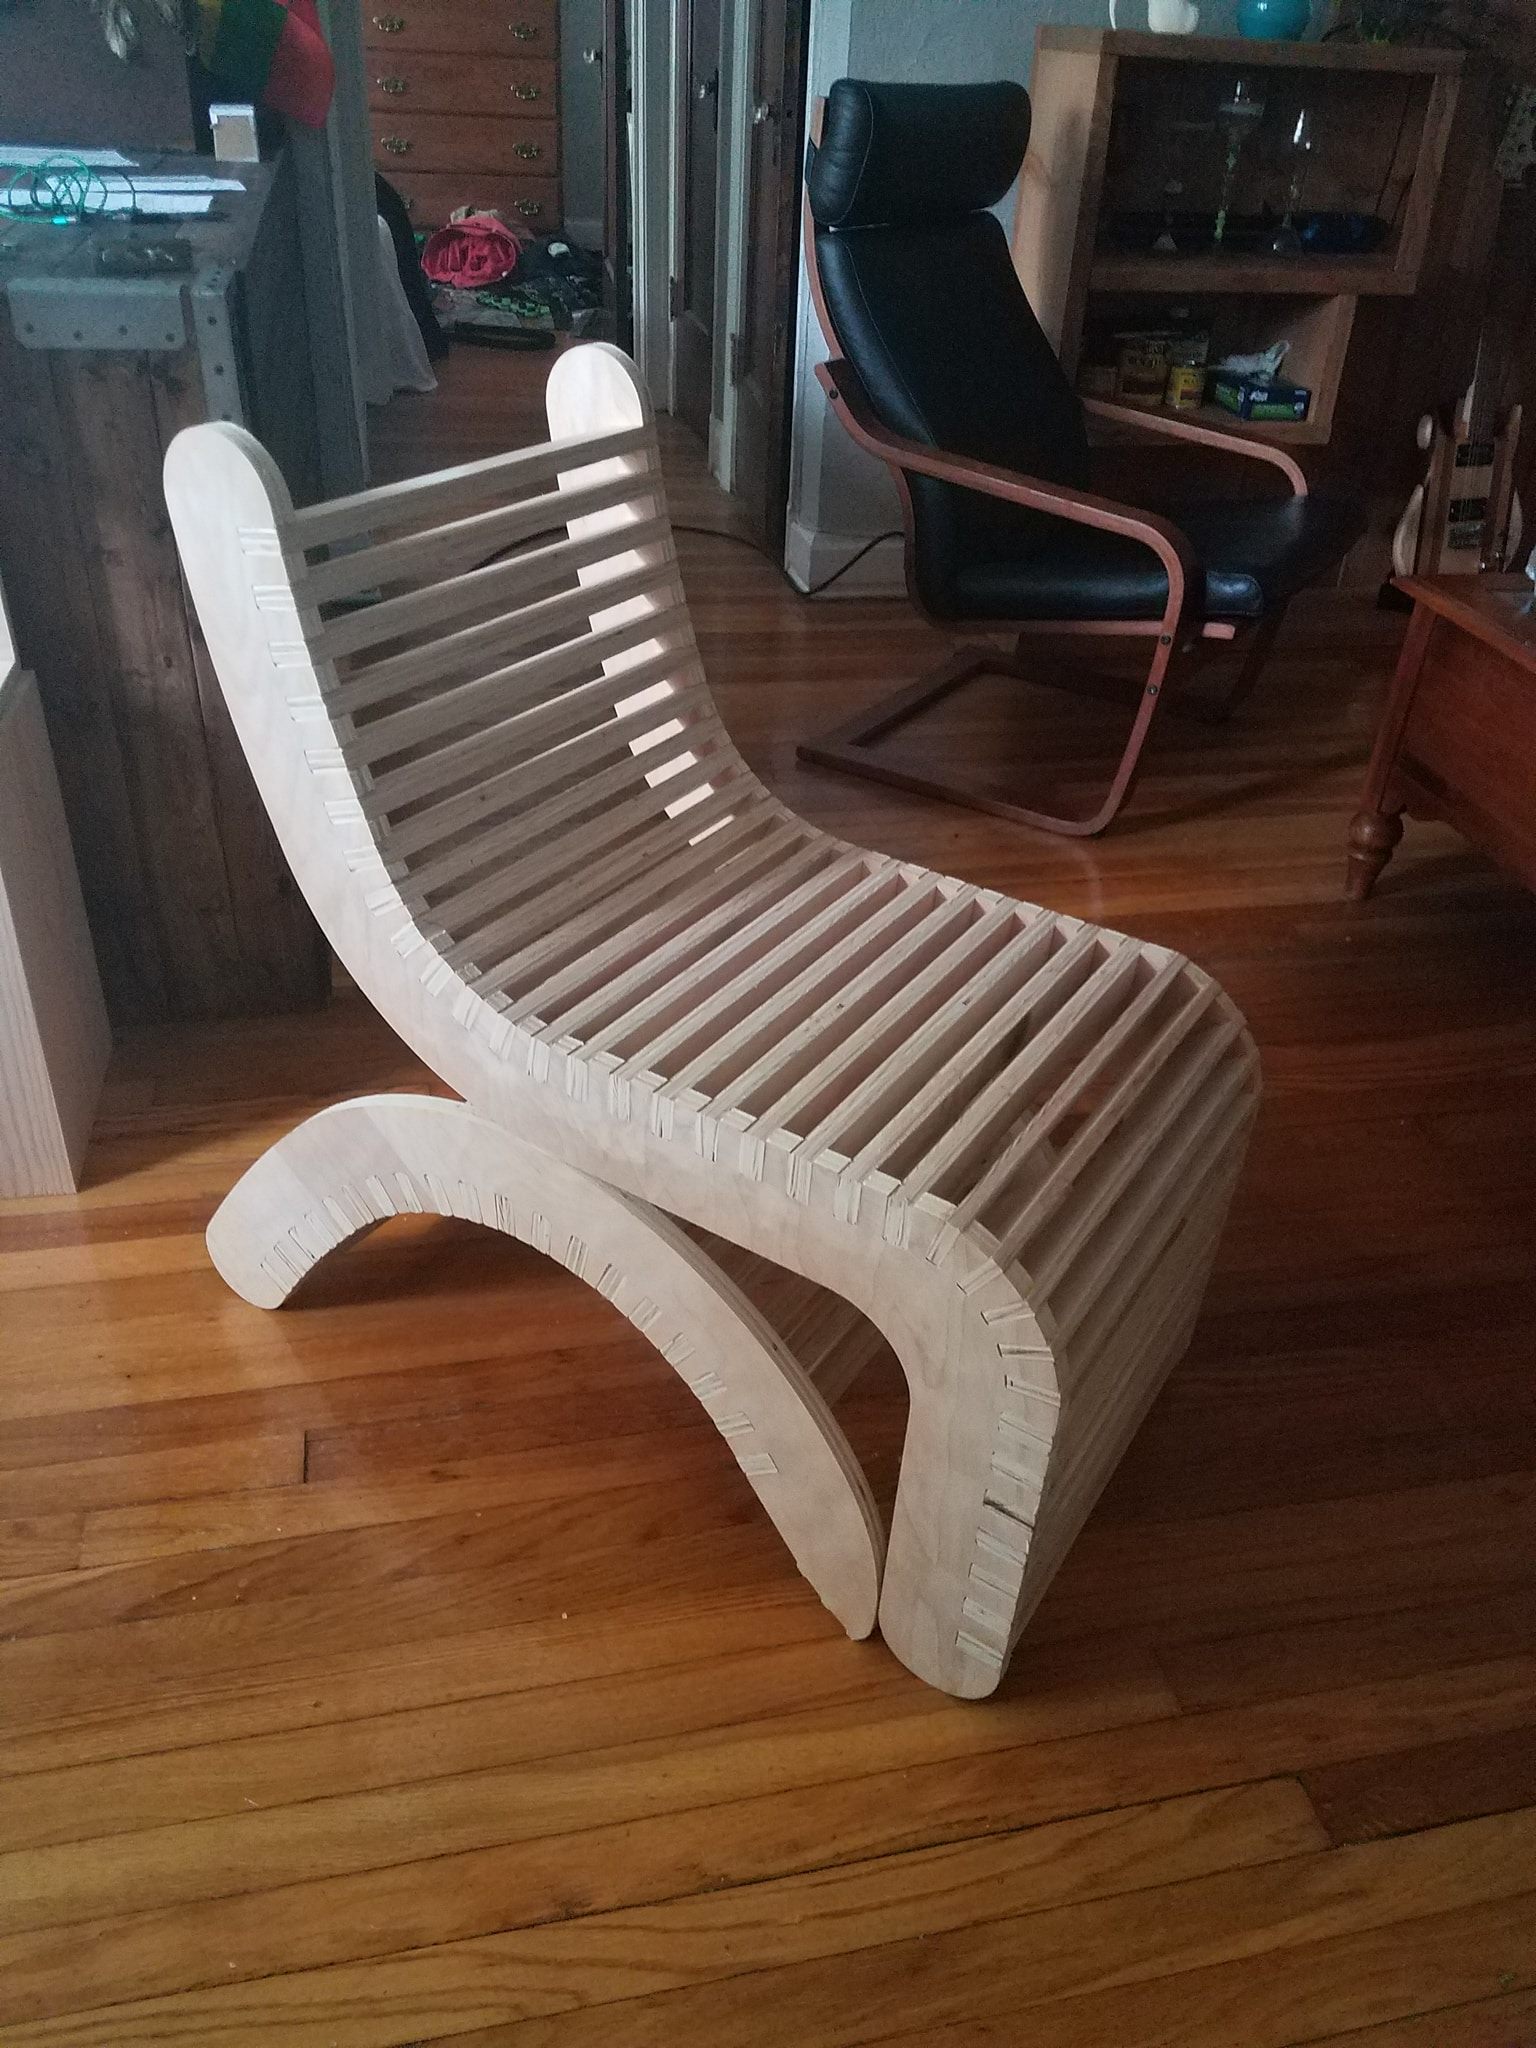
It looks halfway decent next to my IKEA chair