Measure the power consumption of an output device.
Individual assignment:
Design and produce something with a digital fabrication process (incorporating computer-aided design and manufacturing) not covered in another assignment, documenting the requirements that your assignment meets, and including everything necessary to reproduce it.
Learning outcomes:
Demonstrate workflows used in the chosen process.
Select and apply suitable materials and processes to create your project.
Have you:
Shown how you made your project.
Described problems and how you fixed them.
Included your design files and ‘hero shot’ photos of the project.
This week, I dove into using composites. I fabricated a bowl shape using clear epoxy and canvas fabric.
I started by making a negative form for the bowl to be formed on. I basically made a sphere, sliced off a portion of the top, and channeled out the surrounding area for easy milling and use.
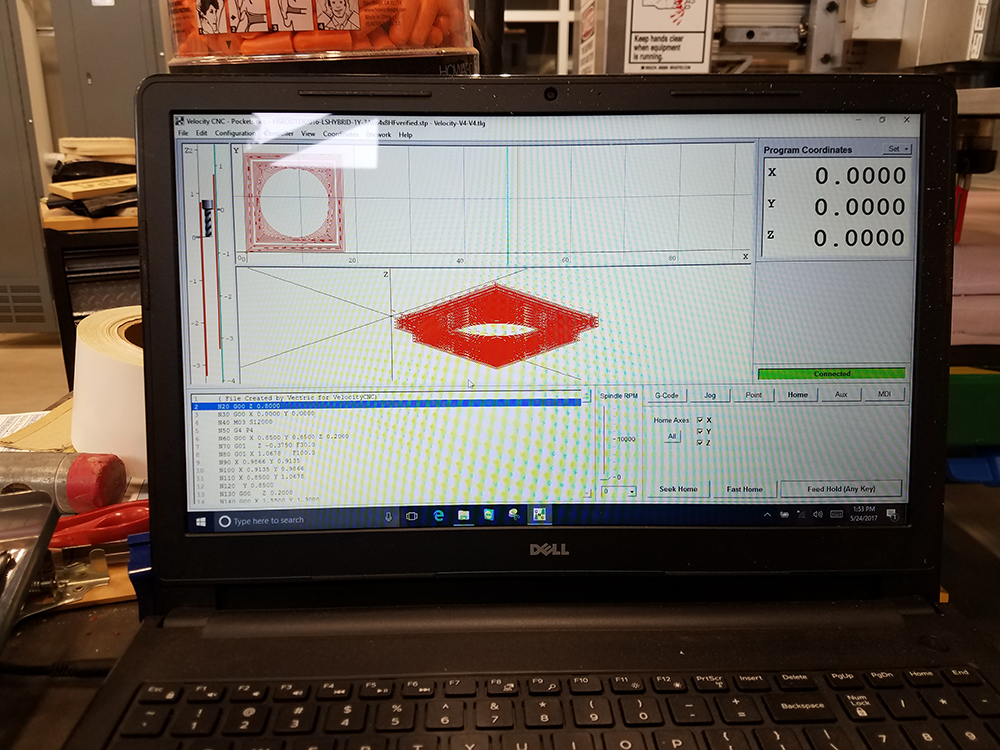
I then imported the 3D form into VCarve, and created the toolpaths using multiple toolpath groups. I made 2 3D Finishing Toolpath functions with these settings.
One of these has a raster patterns is perpendicular to the other.
Cut preview
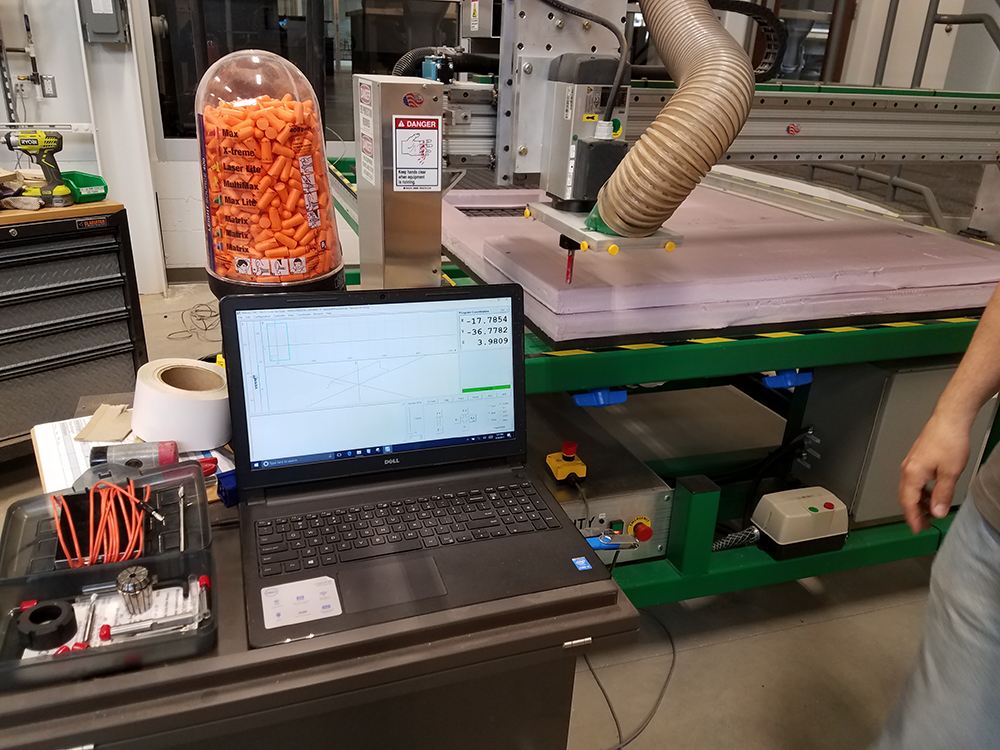
laminating 2 sheets of 2 inch rigid foam insulation panels together, I set them on the CNC mill, set up the mill, and started the cut job.
For this specific cut, we used the CNC that had a VERY strong vacuum table. This allowed us to hold down the sheets to the surface of the table much better than compared to manually fixing it to a sacrificial layer
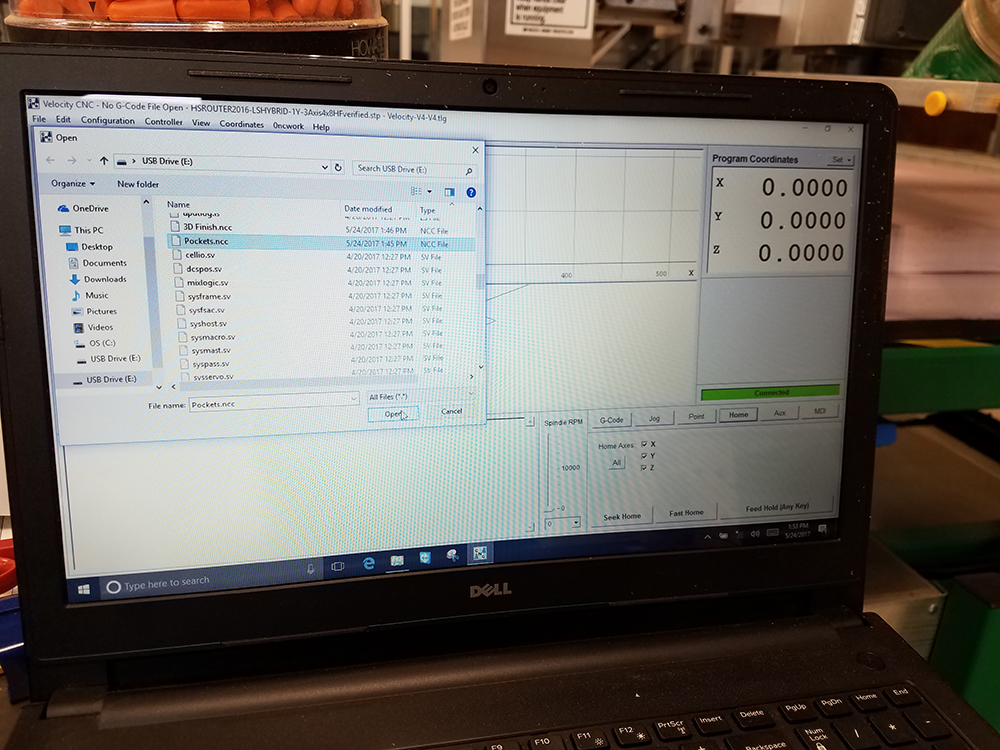
Loading the file to the machine
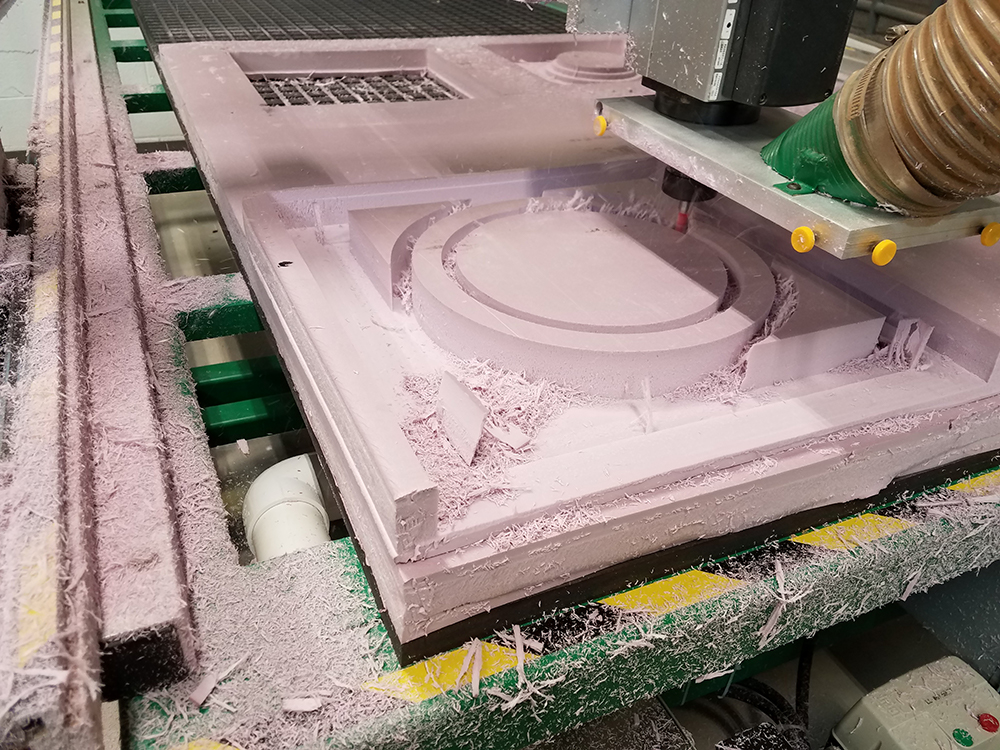
Starting off. So far so good
Once the rough cuts were made, I switched bits to the ball nose endmill. Once set up again, I ran the 3D Finishing cut job.
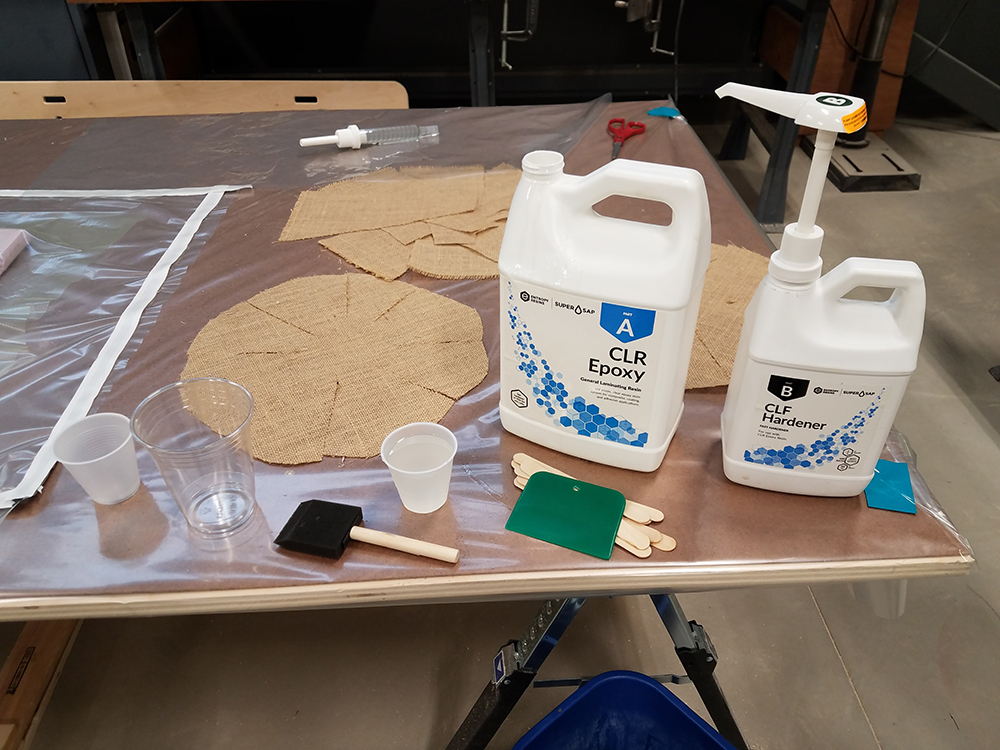
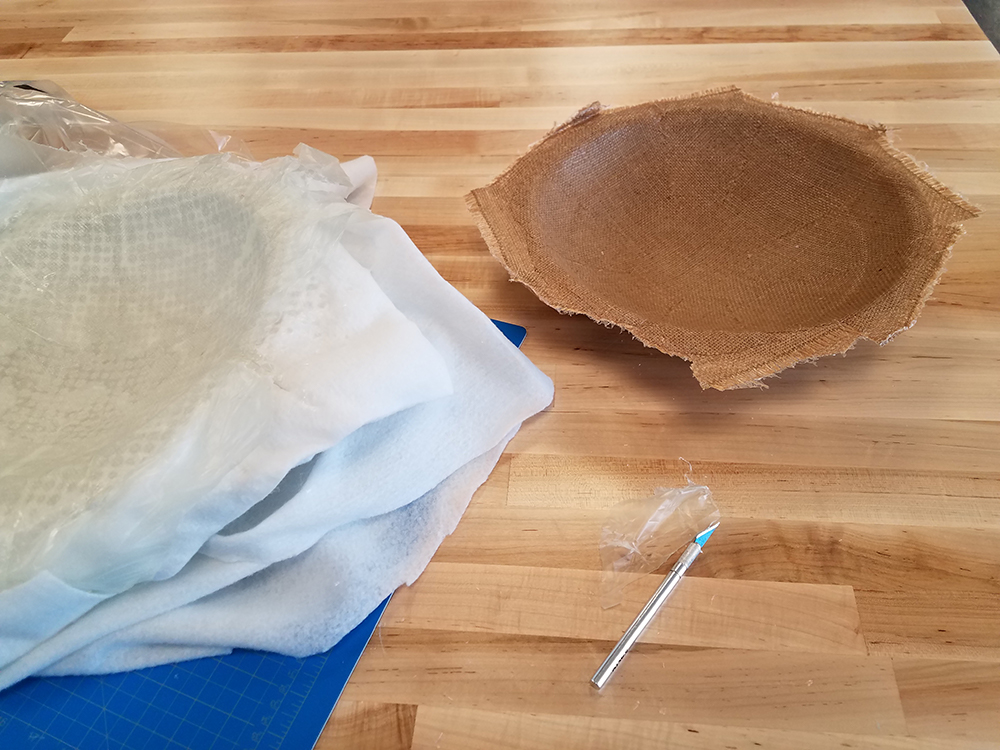
To make the bowl, I need to layer up sheets of resin empregnated burlap utop one another. I cut round/octagonal shapes out of a larger sheet, as well as single, smaller trapizoidal strips. I cut slits nearly up to the center of the 'flat' sides of the octagonal shapes. This will allow the fabric to drape better over the spherical shape and overlap over itself rather than form wrinkles.
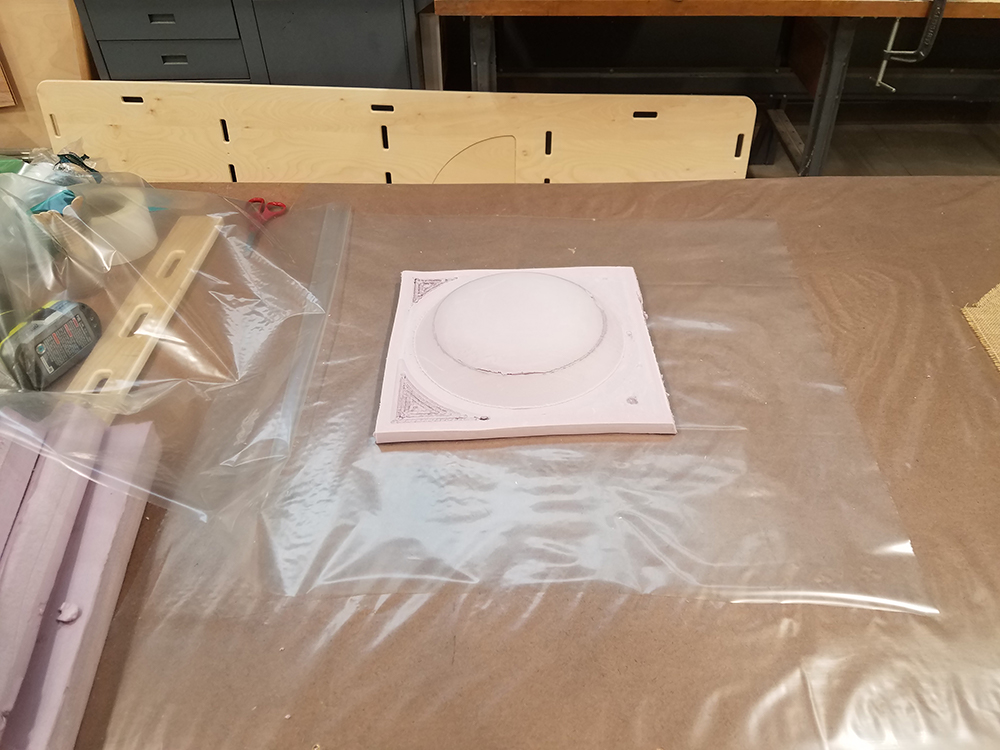
Now the form is finished and cut out of the residual foam block, It is time to build the the vacuum bag that the resin-burlap will be in during it's curing.
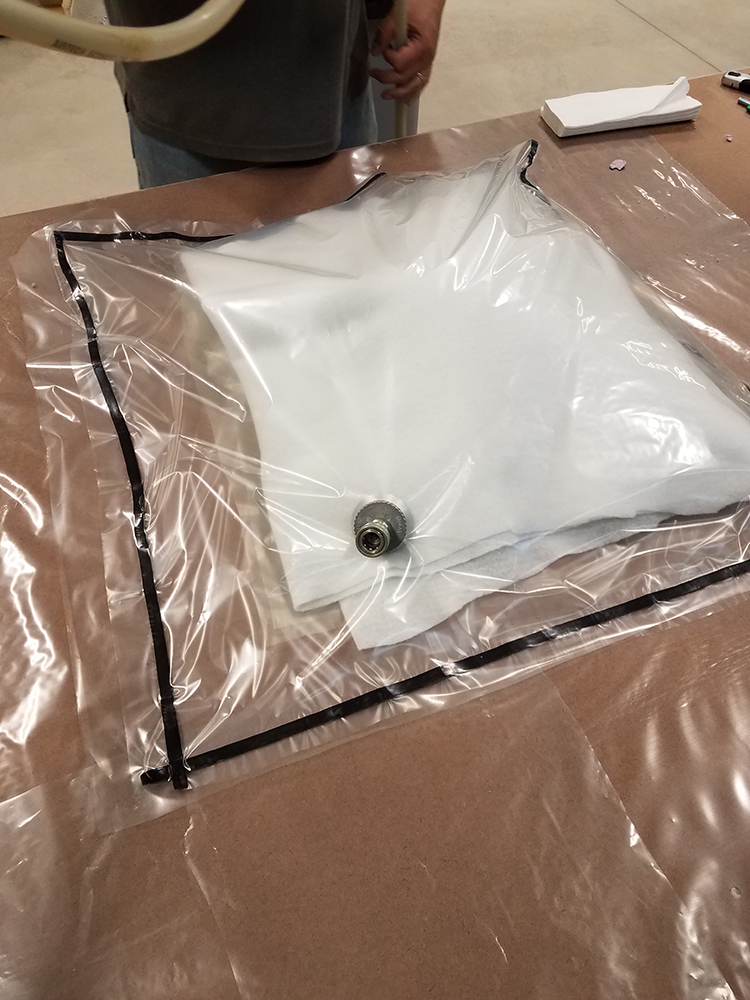
1. Lay down a plastic sheet rectangle, build the bag in one half so you can fold over the other half as the top sheet.
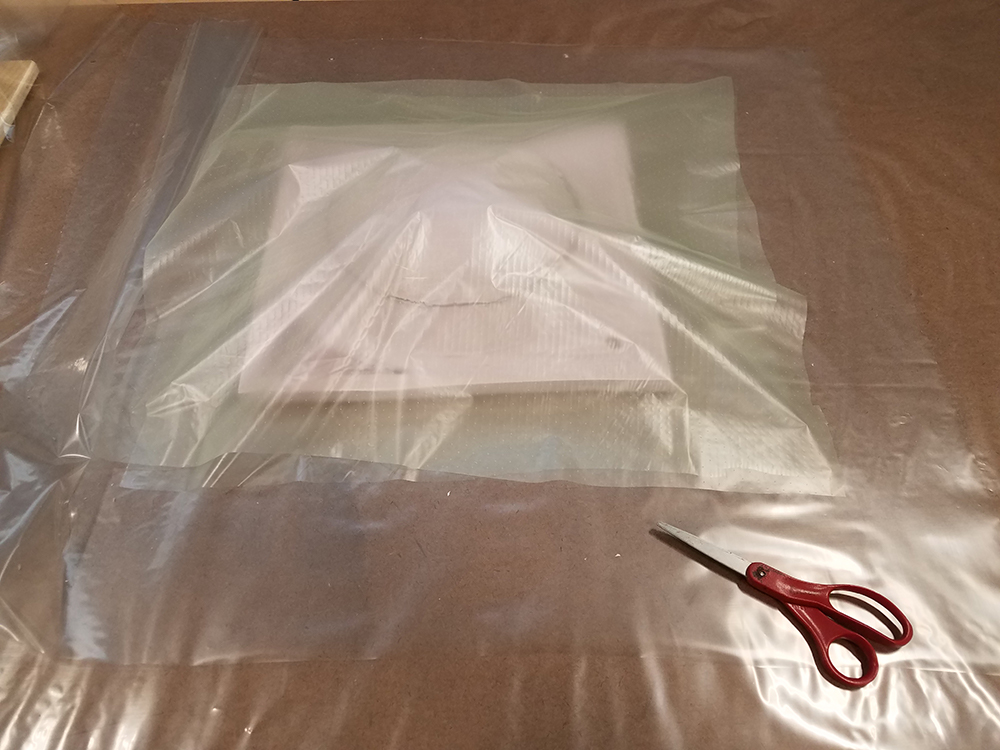
2. Perforated plastic layer
3. Cotton Batting to soak up excess resin
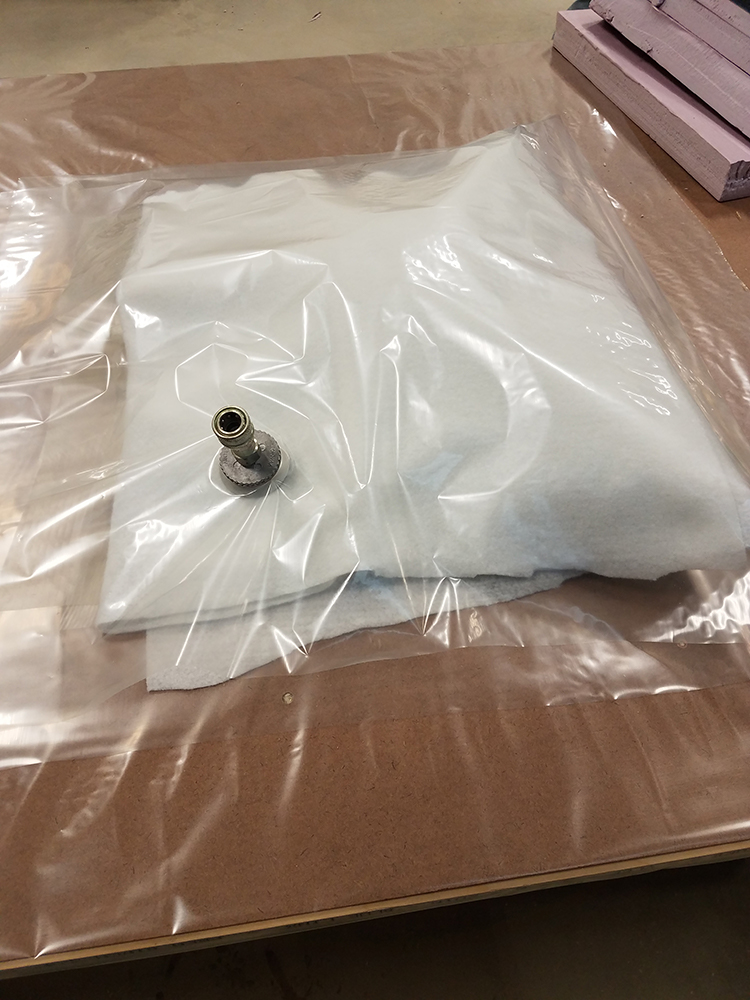
4. Fold over the other half of the bottom sheet to use as top later. cut a small hole, just smaller than the vacuum quick connector's end. Push the end through the hole, and attach the rubber washer and flat nut from the inside of the bag. Your vacuum connection is now set.
I am using Super Sap, a more sustainable, biobased clear epoxy resin for this project.
I layed down some tackey rubber weatherstrips around the perimeter. This will seal the bag once I attach the top to the other adhesive side of the strips.
Having my hands covered in resin, I was unable to take photos of building the layers.
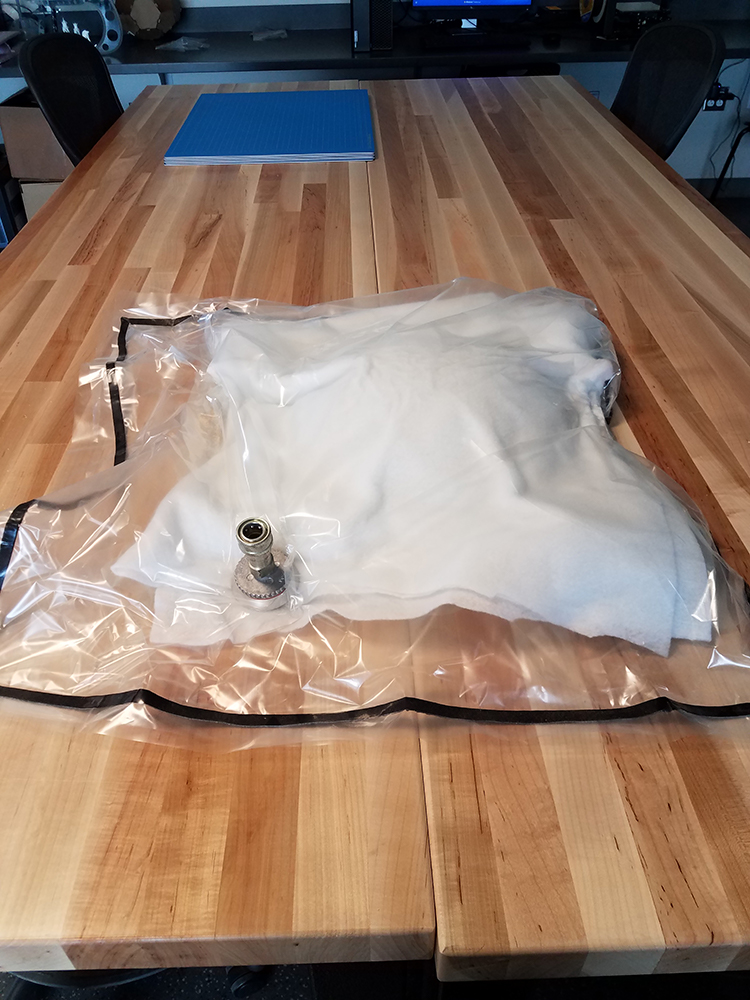
Once finished, i applied the bag layers we built earlier on (1 - 4), and tacked down the top layer to the weather stripping.
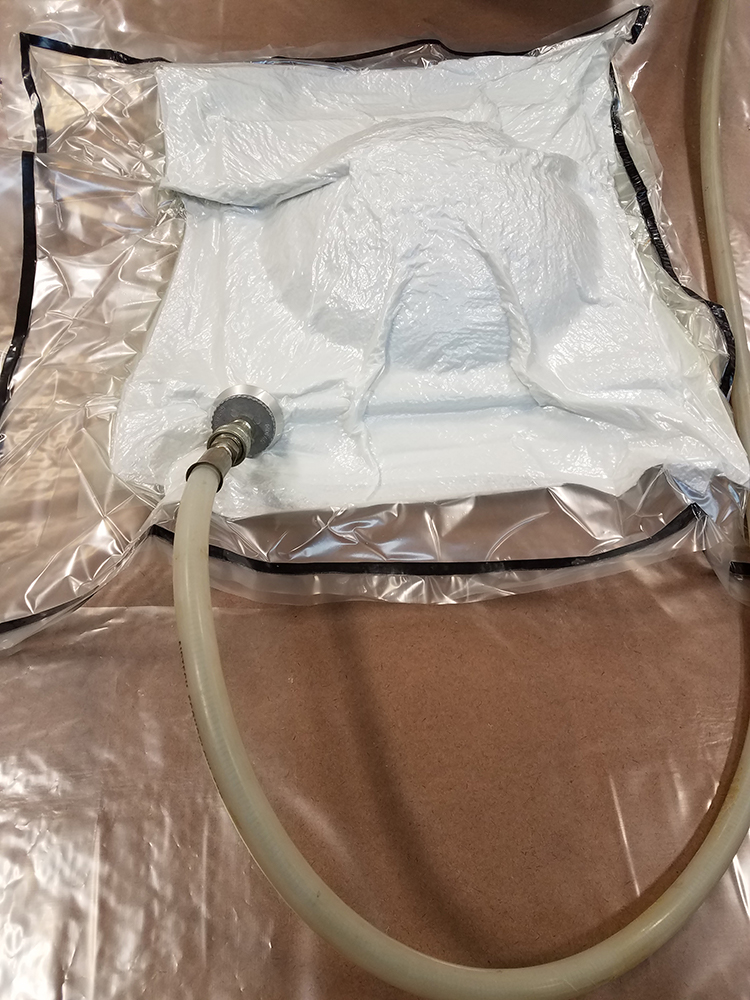
Attach the vacuum pump. Feel around the seals to find any leaks and try to fix them.
I was fortunate that the bag did not have any leaks and the vacuum worked very well
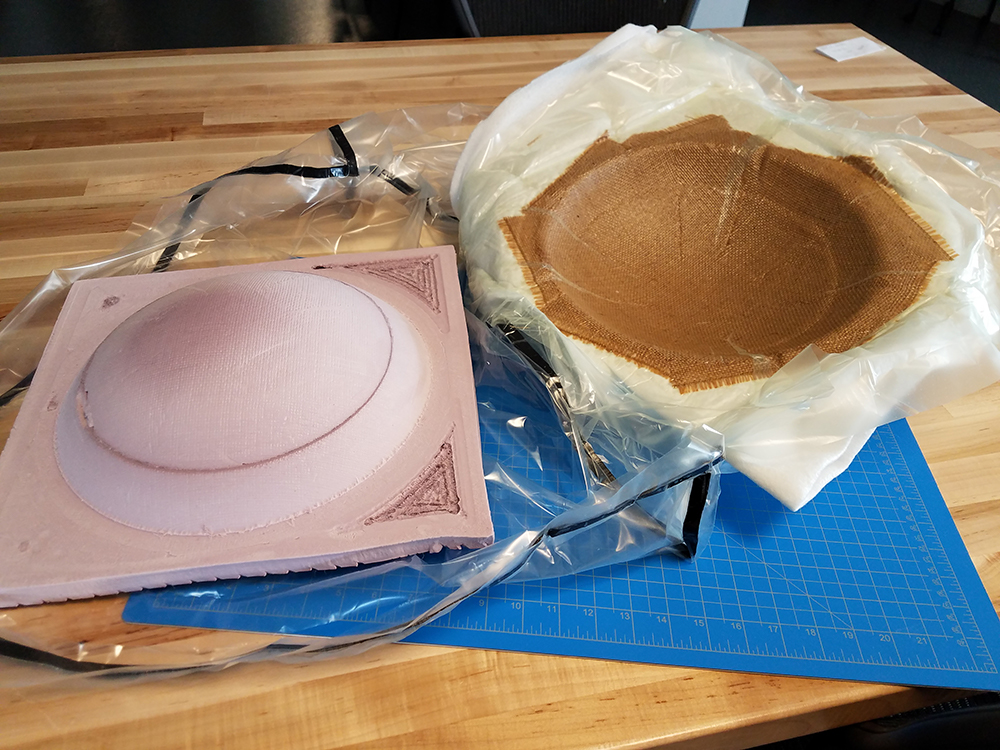
I let the form sit for 24 hours with the vacuum on. I came back a couple days later and the resin has fully cured. It is time to remove the form from the bag.
The bowl came off of the form easily. It is a bit more difficult to remove the cotton batting from the form.
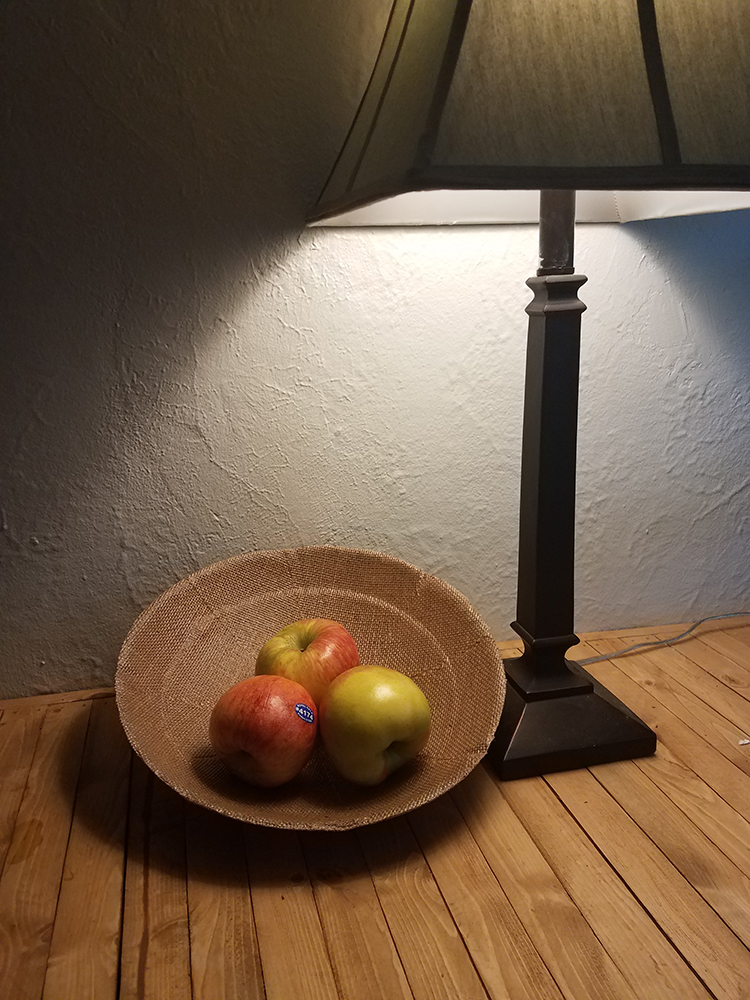
Final Product with all the fabricating infrastructure removed.
Tough stuff; It came out much more rigid and stronger than I had anticipated.
Time to test it!
I trimmed up the edges and rounded out the shape. This is it's final form.