Group assignment:
Individual assignment:
Have you:

Right after this week's lecture, we met with the Scott Zitek, our local instructor. Me and Paul o'Neil were shown cardboard stages that have been used in the past, and reviewed some of the previous group projects that had been made at LCCC. Scott had mentioned in earlier weeks that that we should start thinking about what we wanted to build for the group project. He constantly reminded us to keep things as simple as possible, and dont go overboard with what you want the machine to do; we only have a couple weeks. Once we agreed that we will design a candle machine, Scott provided us with a stainless steel vessel with 2 "buckets" inside of a larger reservoir, which we could easily repurpose to hold the molten wax.
After talking to Paul, admitting I will be almost useless with the programming aspects of this project, I had no idea what was going on with the Gestalt system and had never programmed anything in my life, I offered to spearhead the designing, cutting and prototyping that needed done.
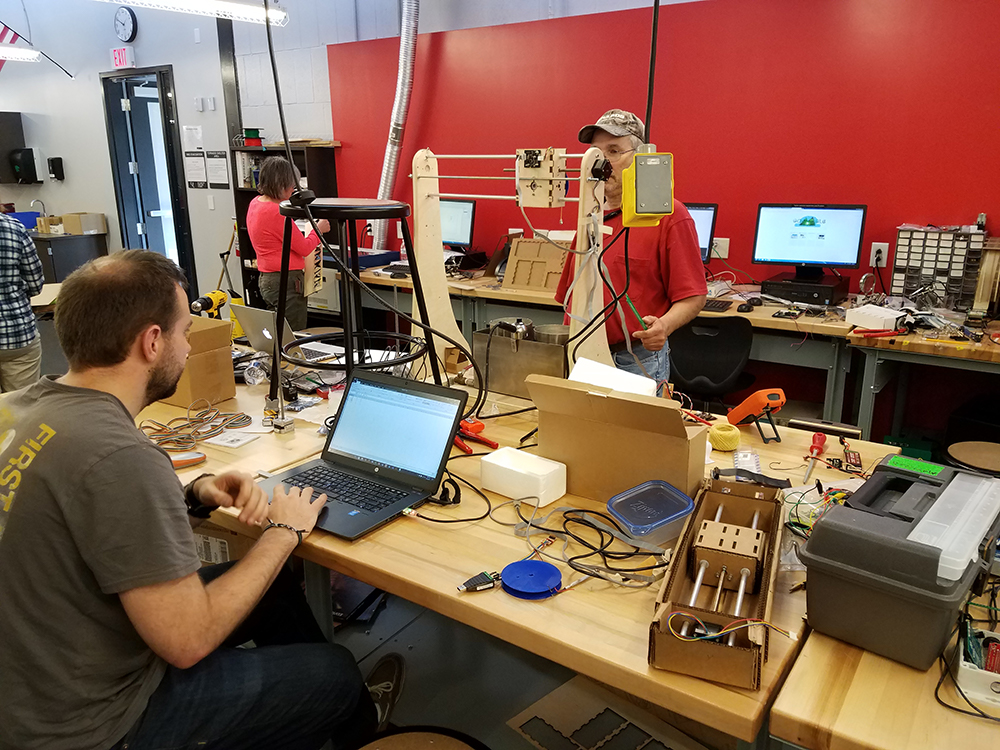
Paul met me at work in my Fab Lab. He brought over some cardboard sheets from LCCC, along with some component kits and step motors. It turns out our other partner, Cory, was in Costa Rica for some time, and will only be around the last week.
After showing him around the lab, we got to work figuring out how to build a simple candle making machine. Arriving with a cardboard mock-up of a motorized axis, and assuming that is a component we are going to make and use in our design we begin planning out how to best make the machine and minimize preventable errors caused by things like slippage, misalignment, etc.
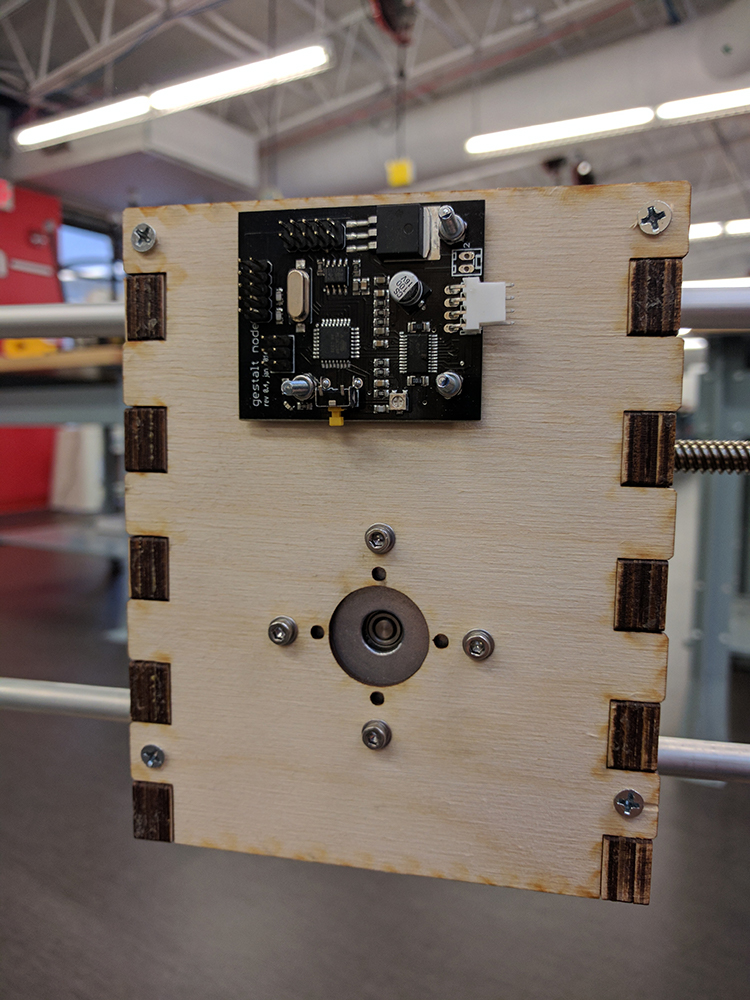
We took apart the example cardboard assembly, and figured out how to put the pattern together once cut. Using the files we were given by Scott at LCCC, we cut out 4 more axis, and gathered all the components we need to go into them.
Paul didn't have much time, and left me to finish making the prototype components we need.
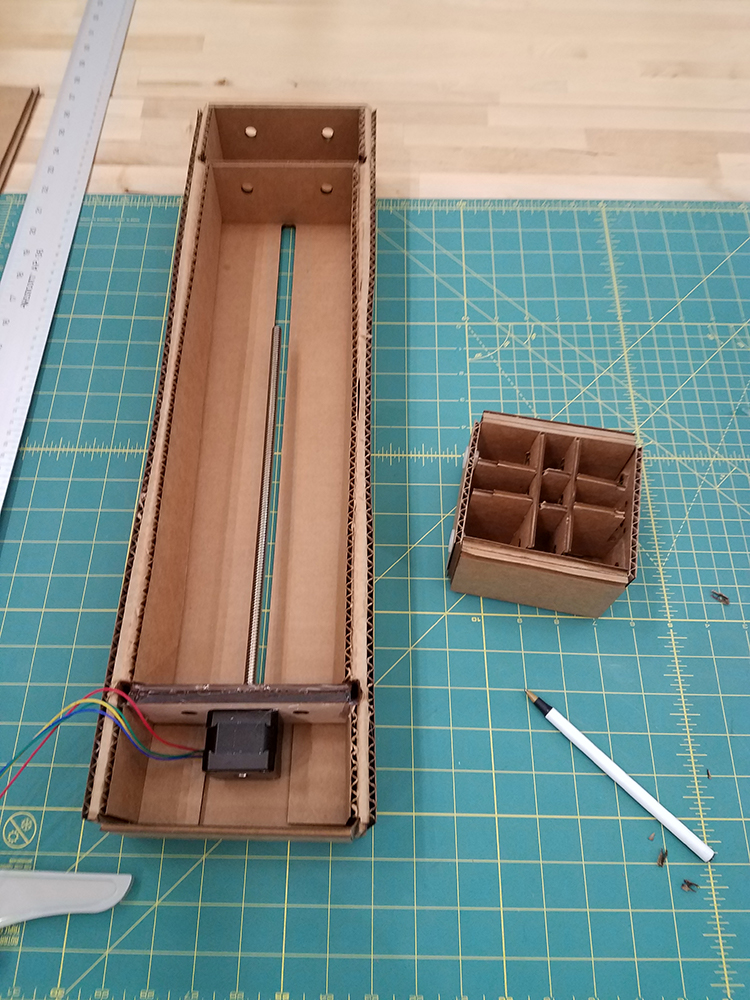
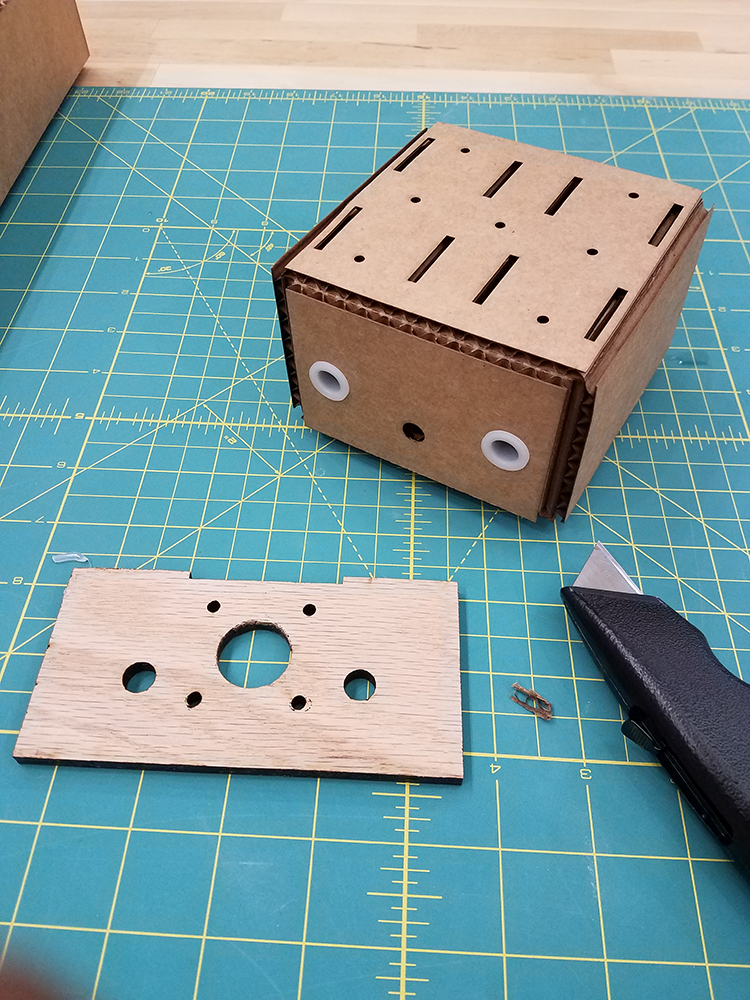
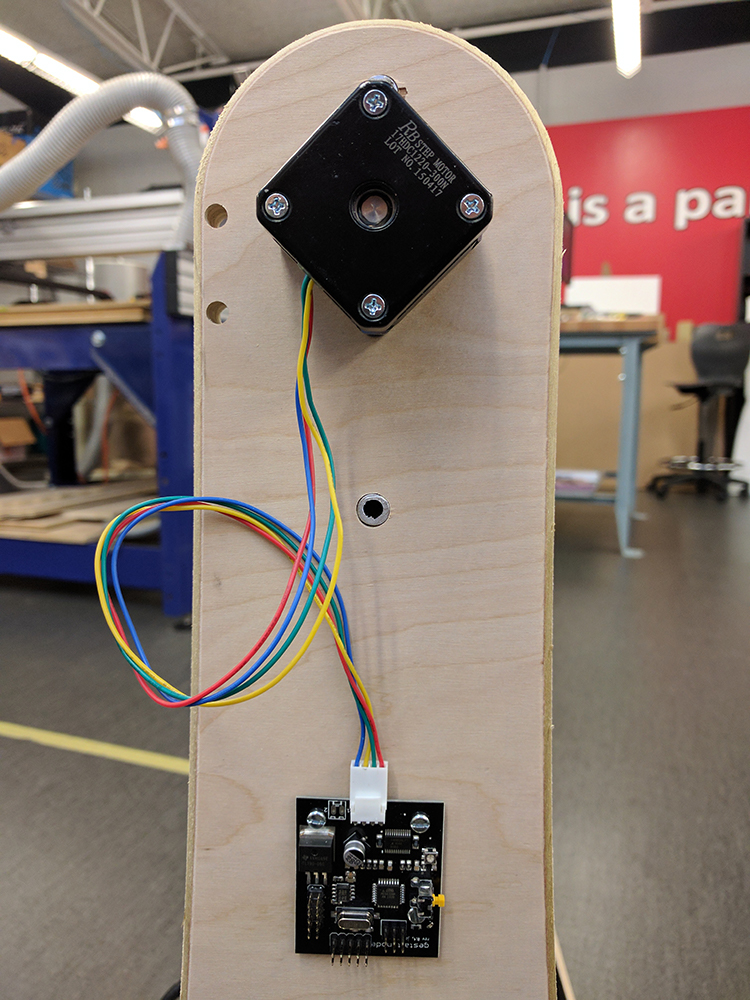
I quickly learned that the motor will be pulling on the "shelf" it is attached to, and that the 2 layers of carboard it is attached to in the design flex immensely. I alliviated this issue with some 0.25" solid oak pieces with the same cut outs.
For a while, it seemed we were going to build the finished machine from these cardboard components. I had strongly suggested we utilize plywood for a more rigid structue and avoiding possible headaches from problems roted with a cardboard construction.
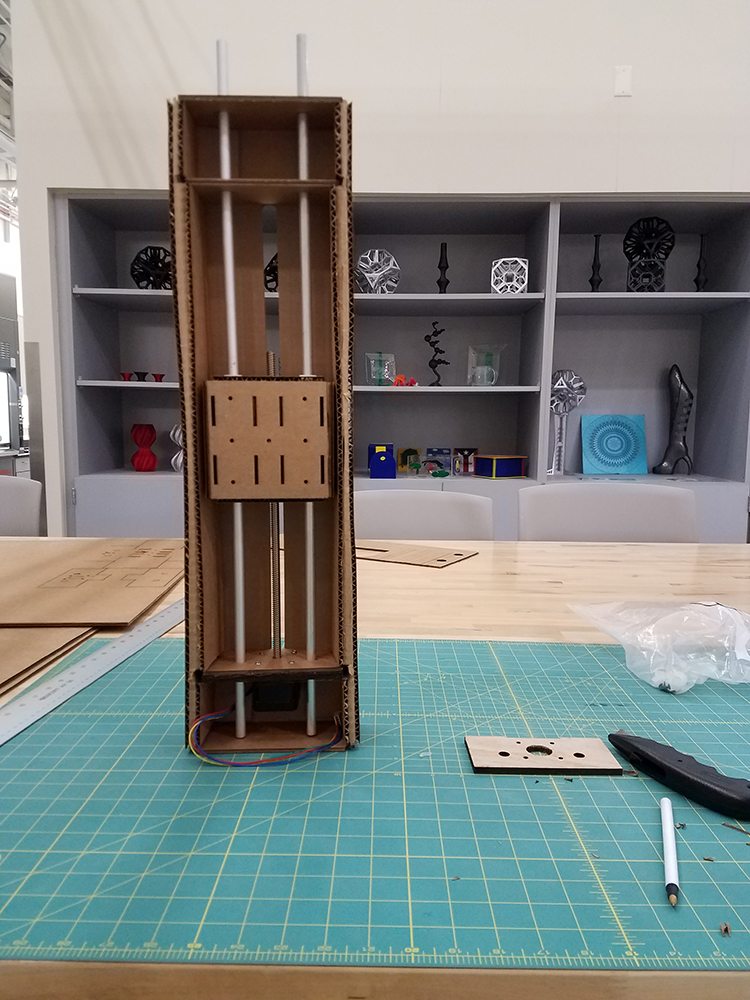
Once I finished folding all the scored flaps, gluing things together, and attaching all the hardware, we had one axis finished and moving smoothly.
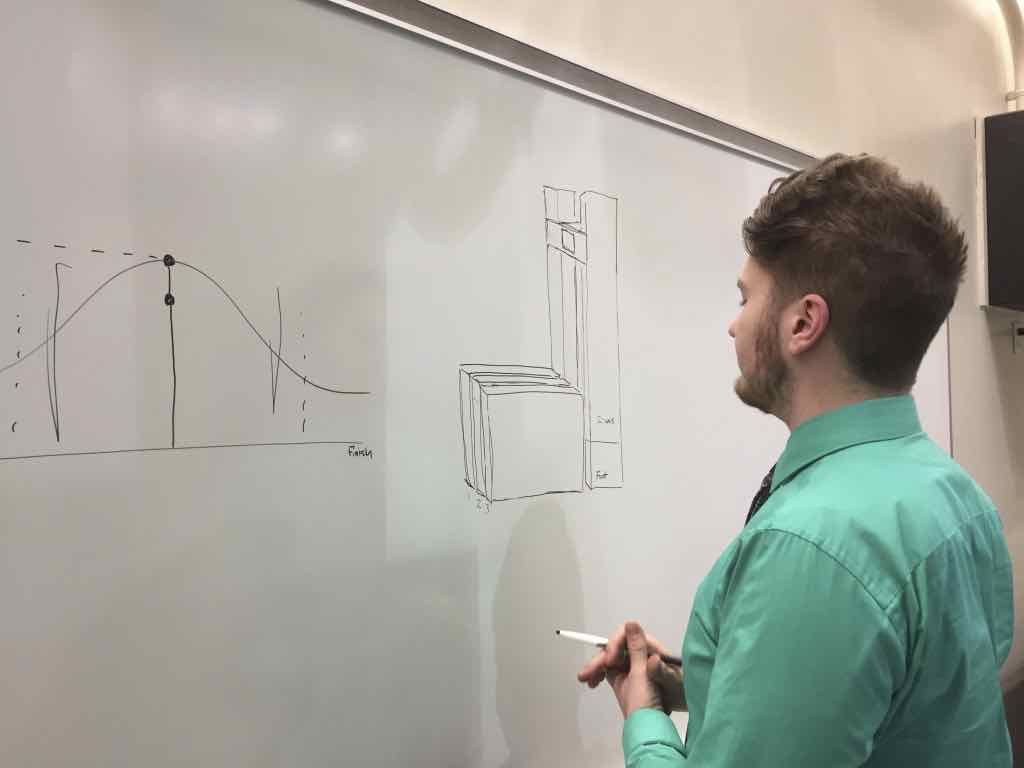
The group met at another local makerspace at Case Western University, and we shared primary design ideas. Here are some of the priliminary ideas
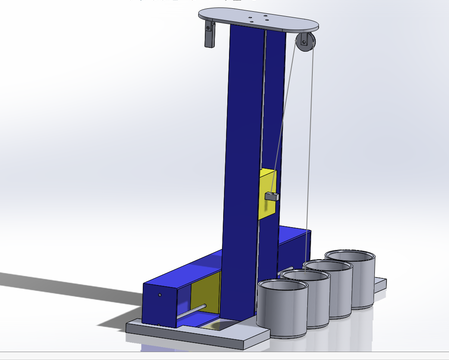
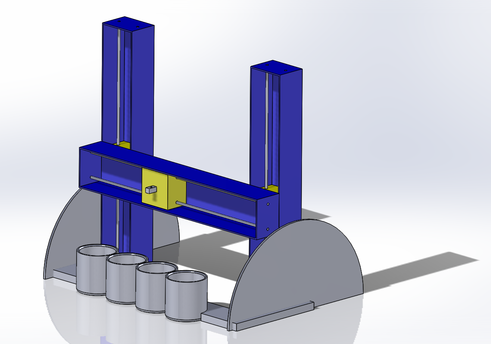
We took into account the metal reservoir and simplified the design as much as possible to limit the number of hurdles we will need to jump over the next week.

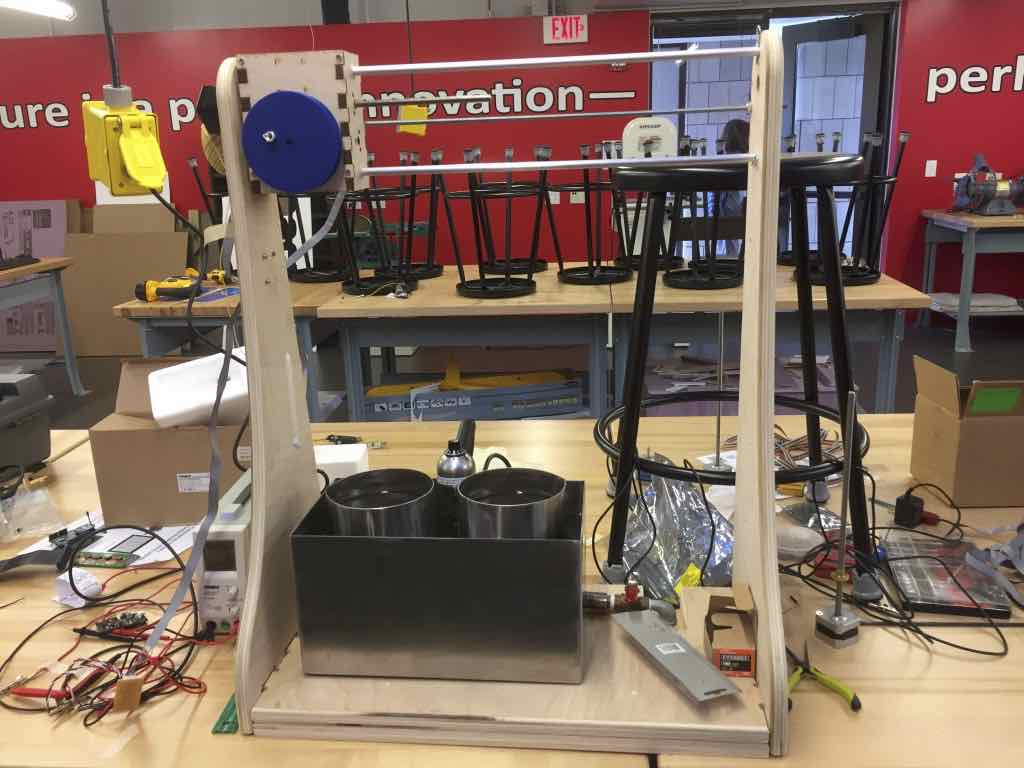
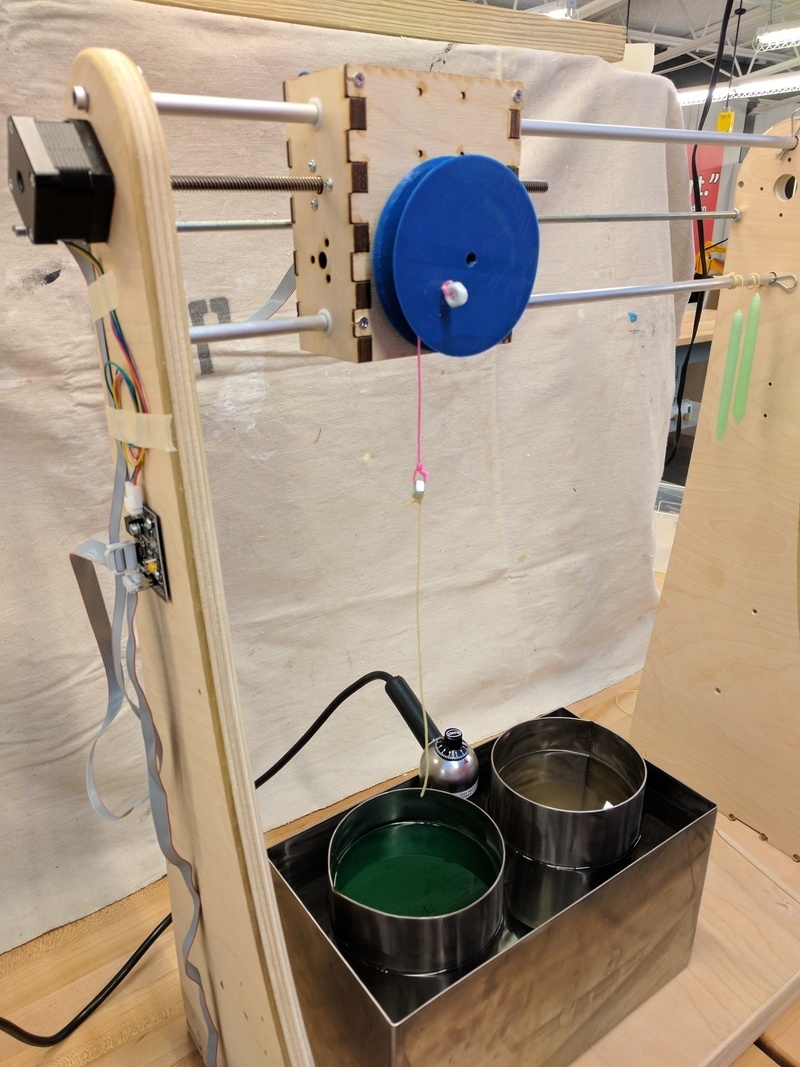
I was able to push that me build the main structure/frame out of wood and Cory had a great idea of using a pully to dip the end of the wick in and out of the wax in each pot.
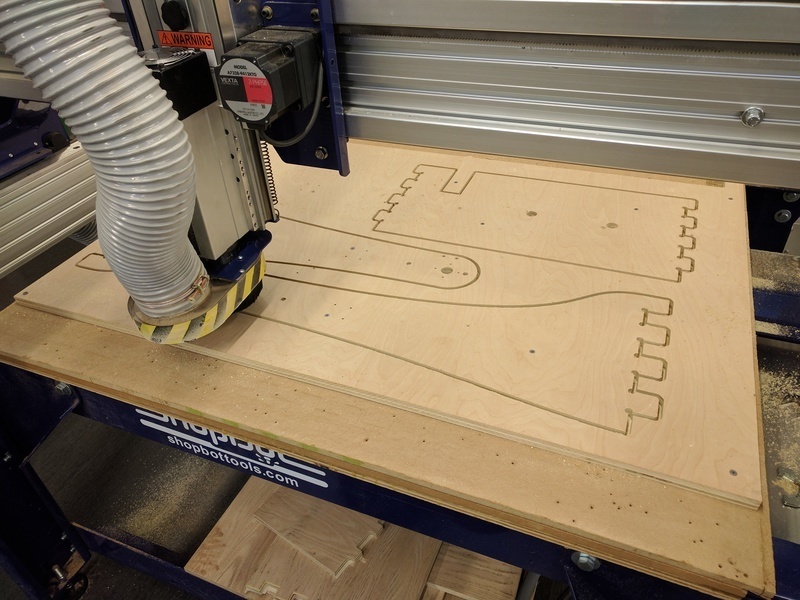
Paul purchased an induction heater for the water bath, and I brought in a few pounds of paraffin wax for us to use in the pots. We cut the shapes out of a nice piece of 0.75" birch plywood.
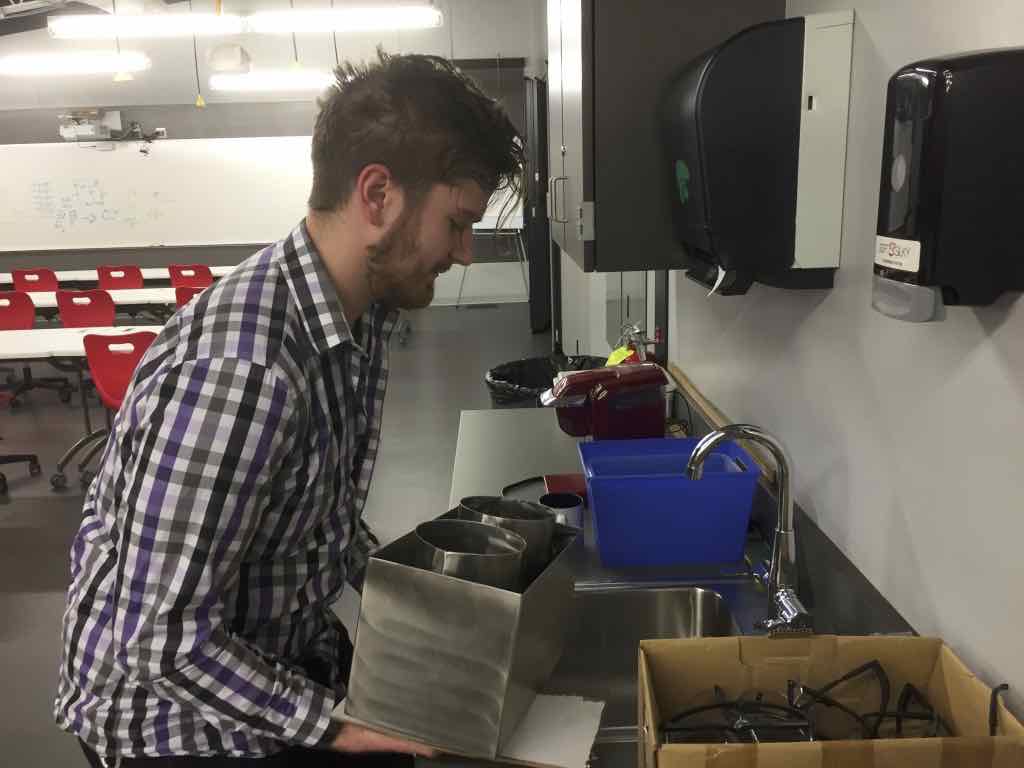
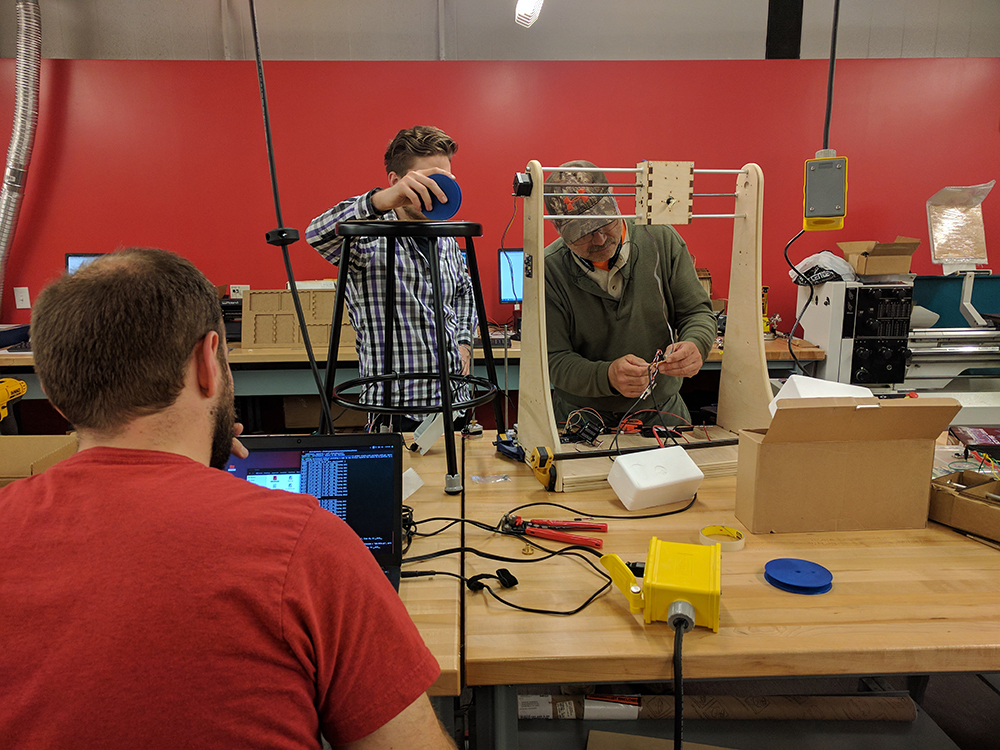
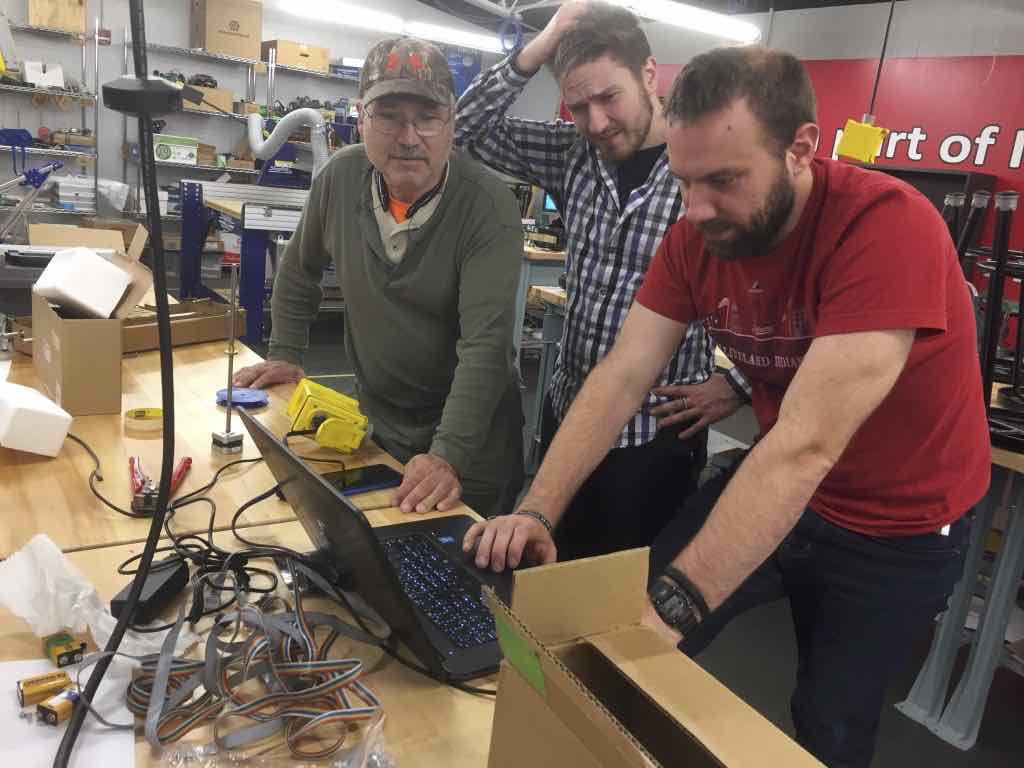
Paul and I went to Cory's lab to both meet him for the first time and to begin the final steps of getting the machine finished. Being fairly useless in the programming department, I took care of setting the machine up and loading it with water and wax.

As I was setting the machine up and plugging a couple holes in the bottom of the water reservoir, Paul was working on connecting and programming the boards he had cut and assembled with the Gestalt Boards and Corey was working and having some difficulty with the Gestalt software on his Ubuntu laptop. Both Cory and Paul were having issues with pySerial and communication with the boards.
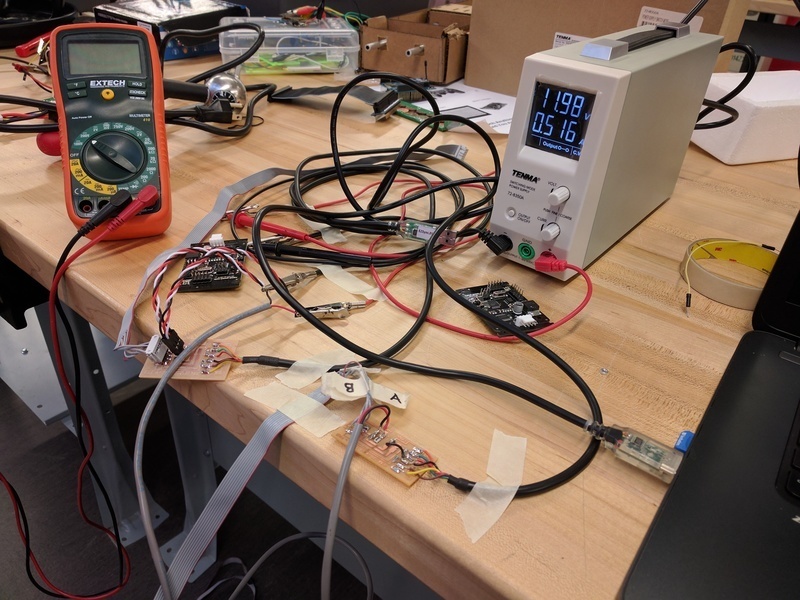
Corey gave up on Ubuntu and switched to Windows 10. He said working with the Gestalt software on the Windows machine was more complicated than Ubuntu, but the configuring of the serial connection, which was what we were stuck on, was more straight-forward. Since Corey had the Windows laptop working, we decided to hook up the motors and electronics. We followed the MTM instructions, used the boards paul made, and the variable power supply he bought.
Paul and I continued putting all the pieces and boards on the machine and conecting everything up as Cory kept messing with the Gestalts.
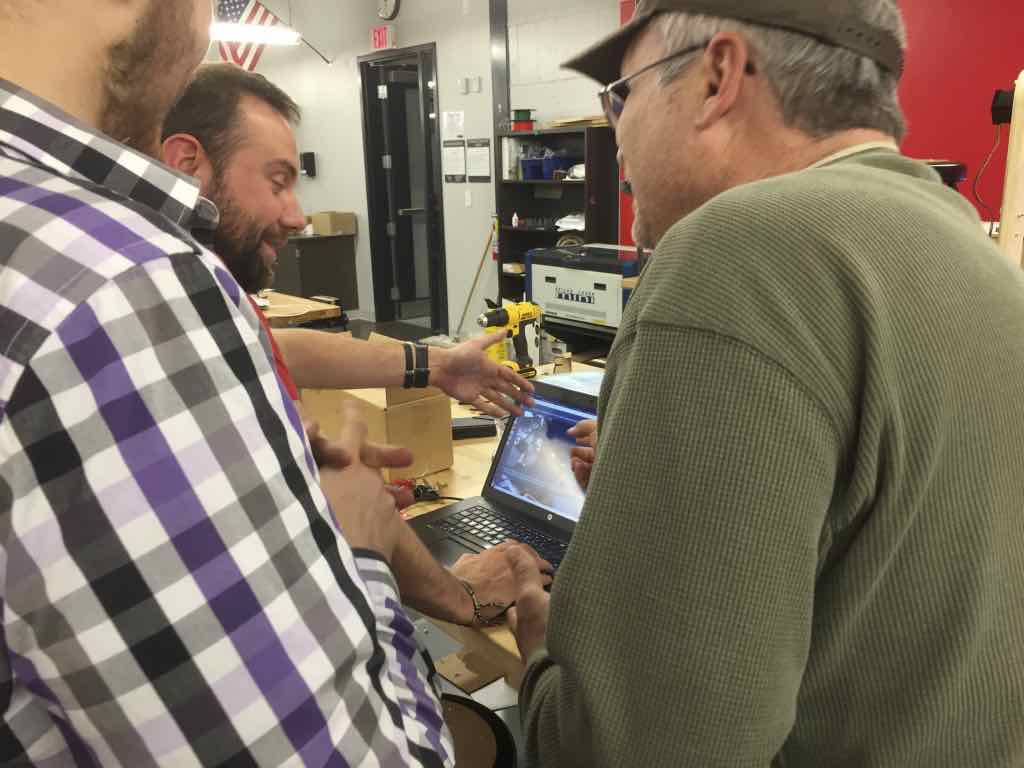
Once we hooked everything up, Cory had worked out most of the bugs we got the machine to function under program control. Corey had a little Python programming experience and Paul worked beside him to finish modifying the Gestalt software leftover from LCCC 2016. I felt rather useless during this stage and the coversations they had sounded very foreign to me.
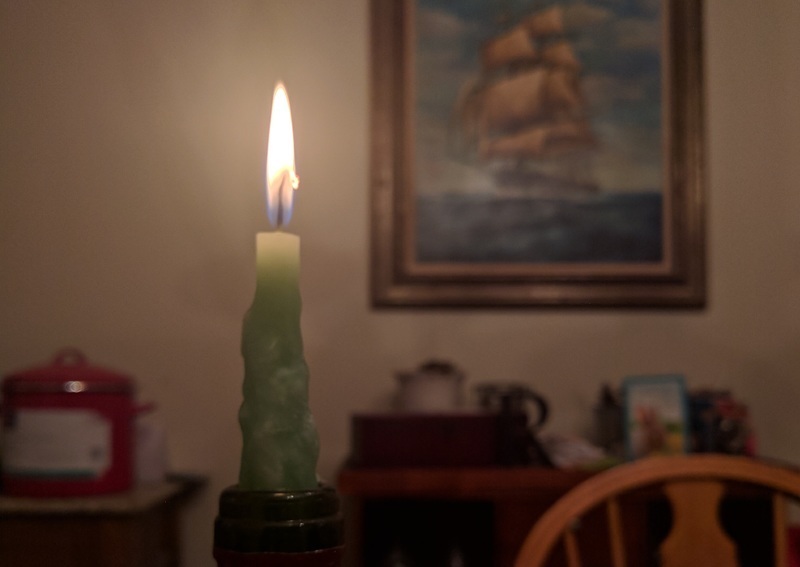
After we got the motors to run, and the program working, it was getting very late at night. We managed to get the machine to make a couple thin candles (a few dips of build-up) Paul and I left Corey to finish up with the software and come back the next day.
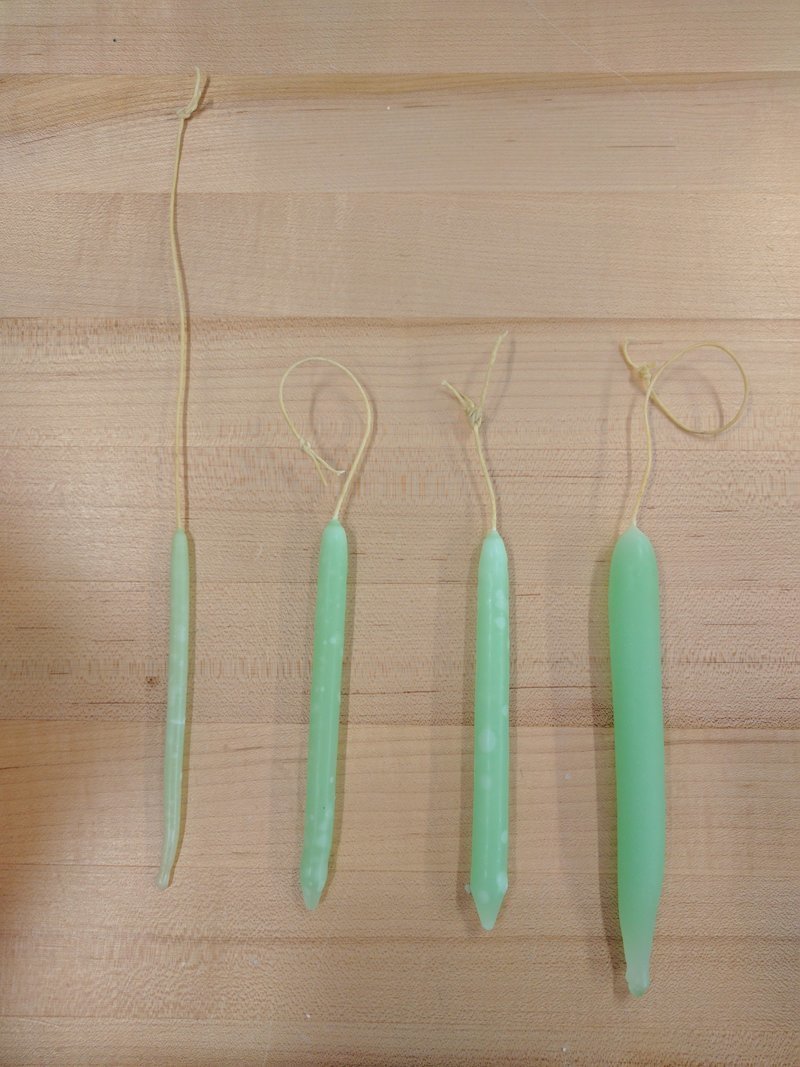
Turns out, we got most of the hard work done and all we needed to do was adjust a few distances and remove the weight on the end of the wick. We are finished.