
Arduino Code
#include "HX711.h"
#define DOUT 3
#define CLK 2
HX711 scale(DOUT, CLK);
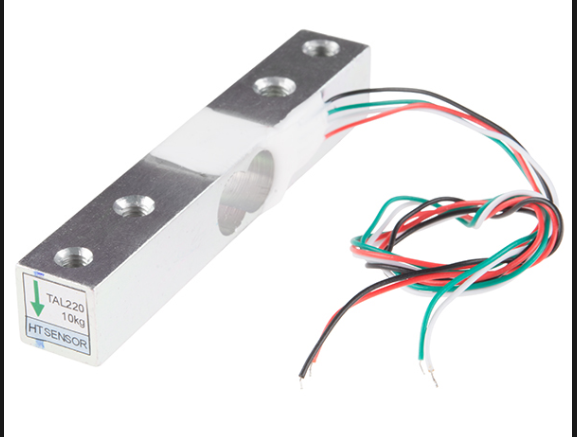
float calibration_factor = -750; //-7050 worked for my 440lb max scale setup
void setup() {
Serial.begin(9600);
Serial.println("HX711 calibration sketch");
Serial.println("Remove all weight from scale");
Serial.println("After readings begin, place known weight on scale");
Serial.println("Press + or a to increase calibration factor");
Serial.println("Press - or z to decrease calibration factor");
scale.set_scale();
scale.tare(); //Reset the scale to 0
long zero_factor = scale.read_average(); //Get a baseline reading
Serial.print("Zero factor: "); //This can be used to remove the need to tare the scale. Useful in permanent scale projects.
Serial.println(zero_factor);
}
void loop() {
scale.set_scale(calibration_factor); //Adjust to this calibration factor
Serial.print("Reading: ");
Serial.print(scale.get_units(), 1);
Serial.print(" g"); //Change this to kg and re-adjust the calibration factor if you follow SI units like a sane person
Serial.print(" calibration_factor: ");
Serial.print(calibration_factor);
Serial.println();
if(Serial.available())
{
char temp = Serial.read();
if(temp == '+' || temp == 'a')
calibration_factor += 10;
else if(temp == '-' || temp == 'z')
calibration_factor -= 10;
}
}
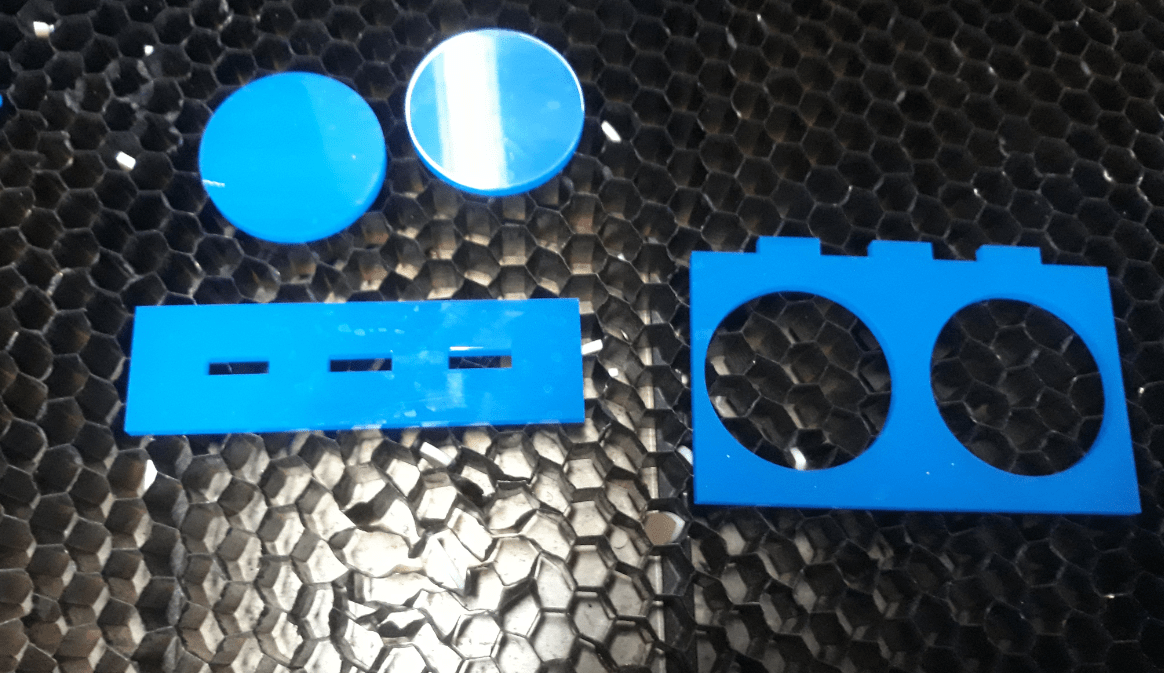
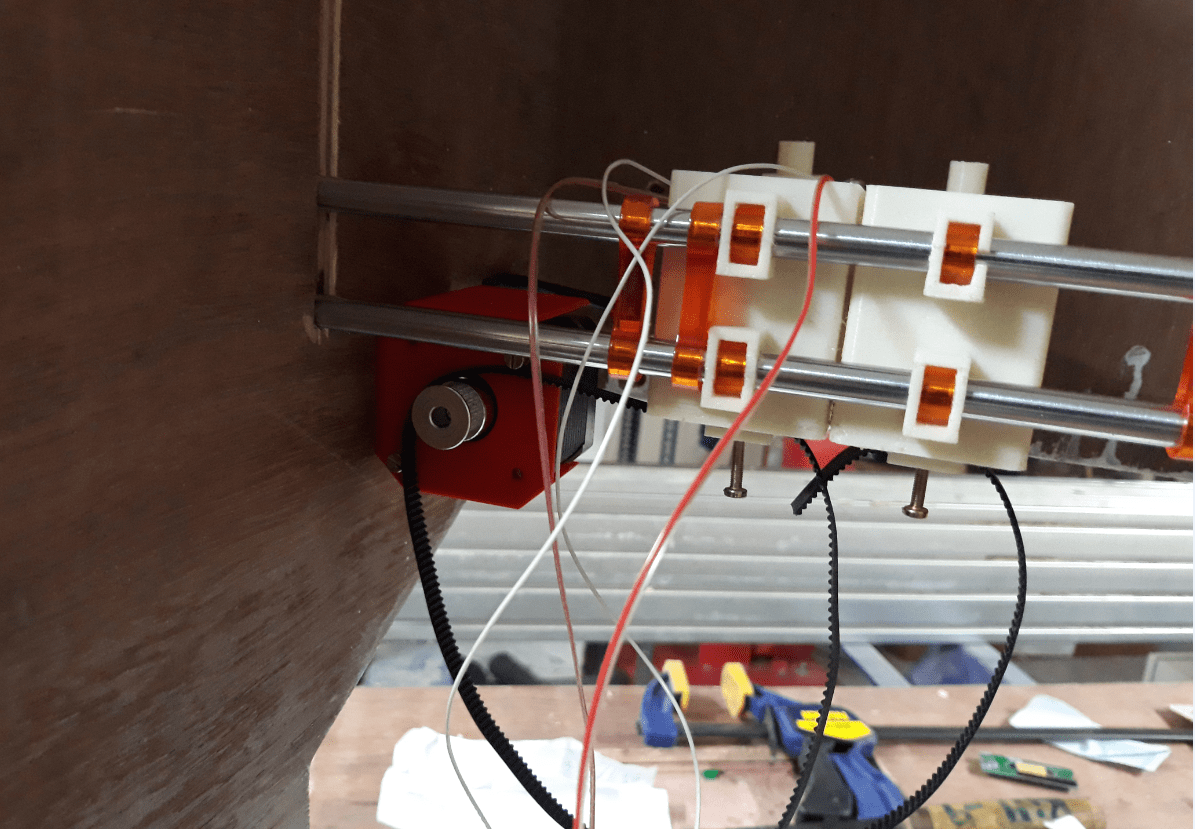
The output of the board actuation of a stepper motor, an LCD display and an LED. I used the knowledge gained from week 12 to make it work.
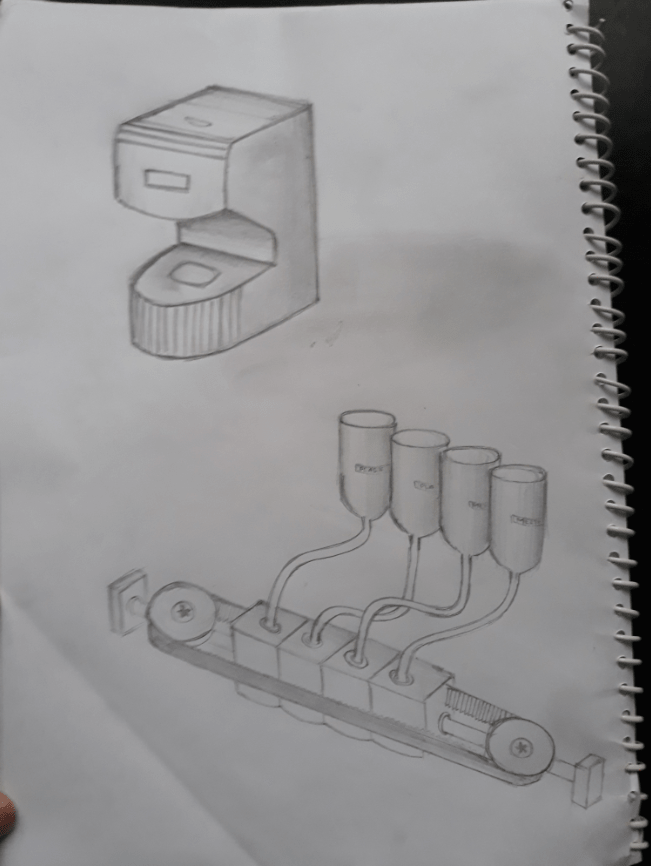
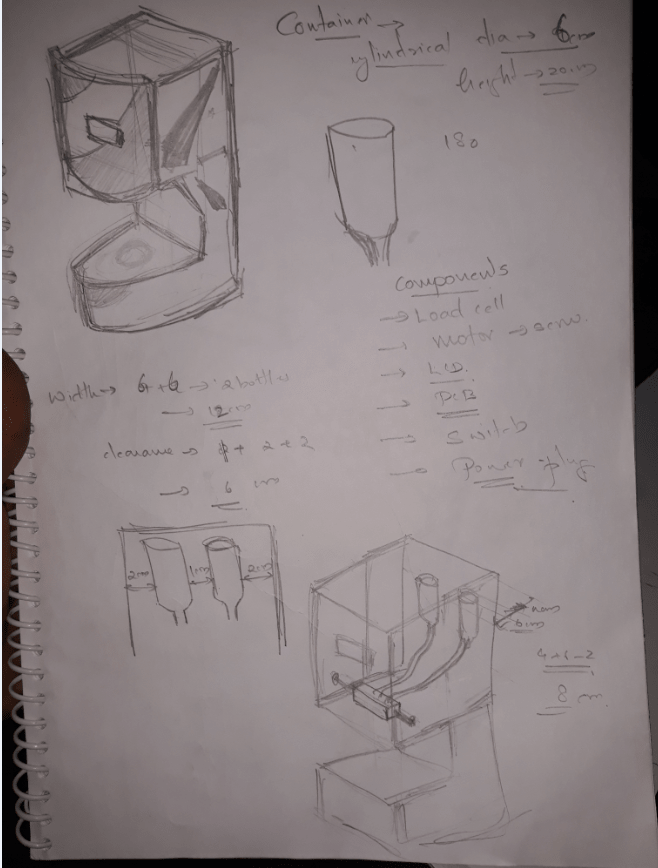
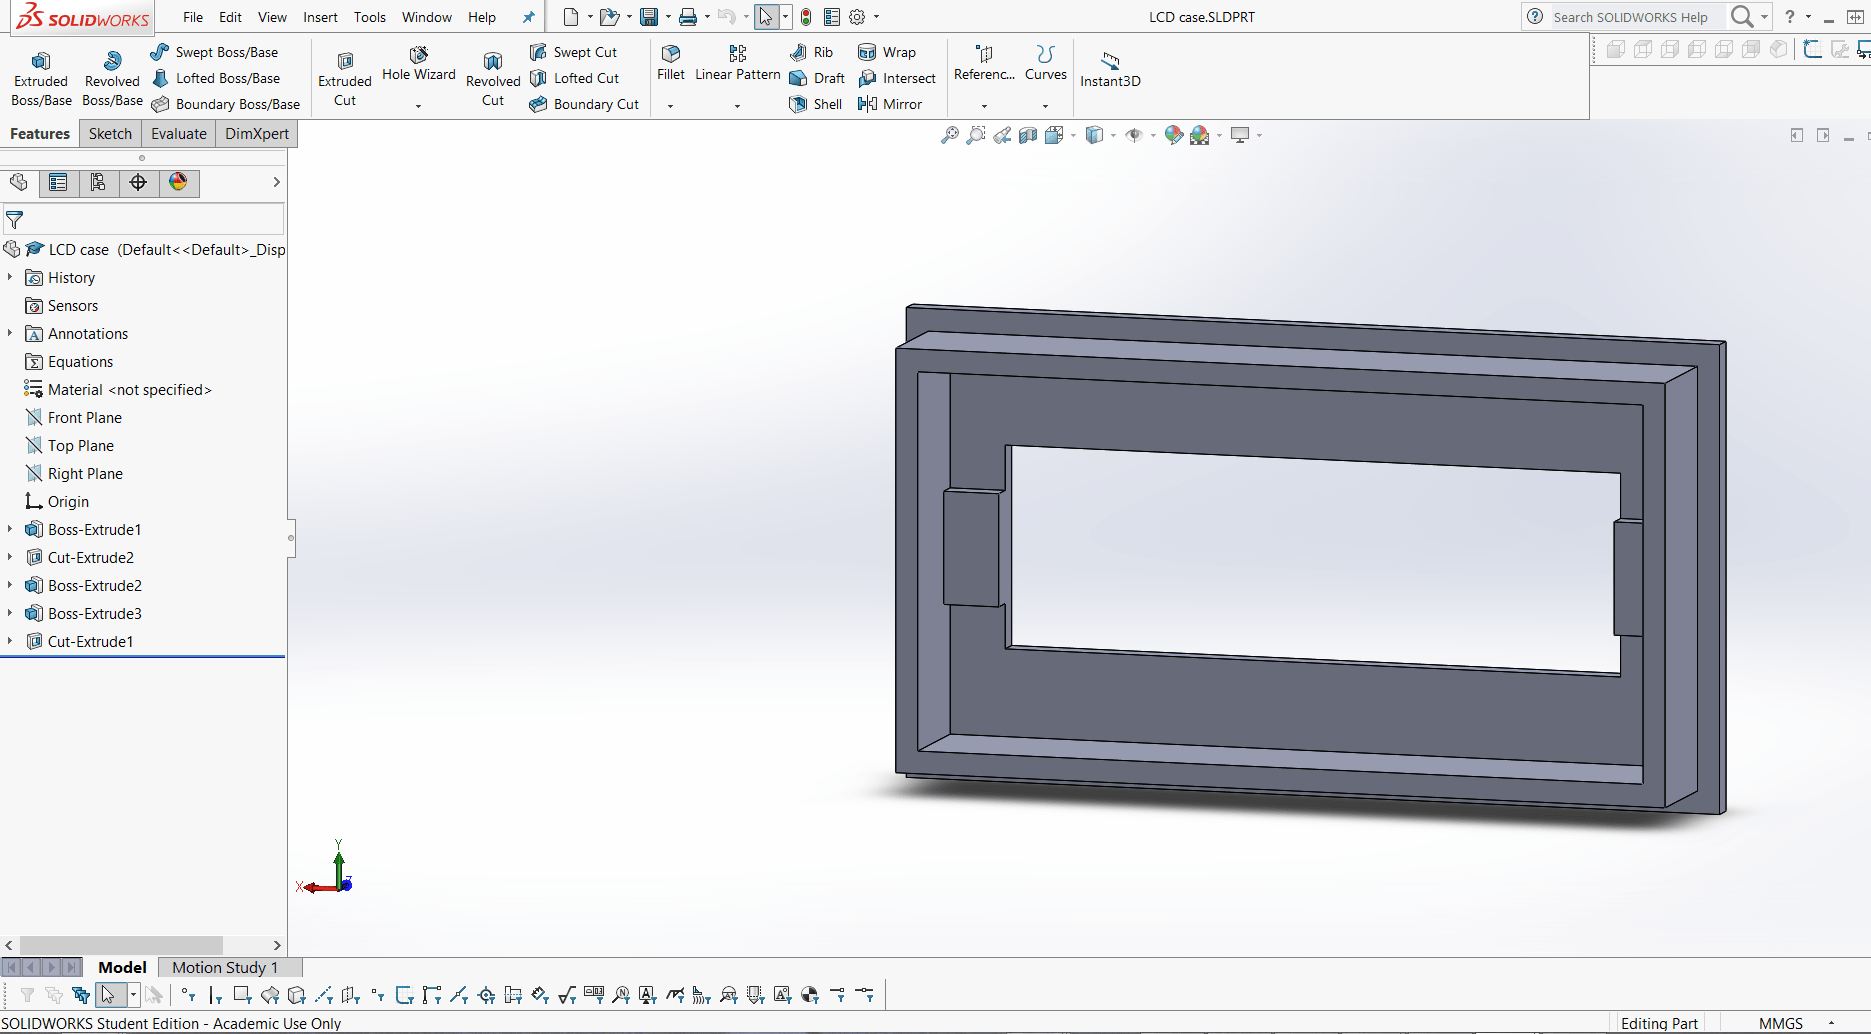
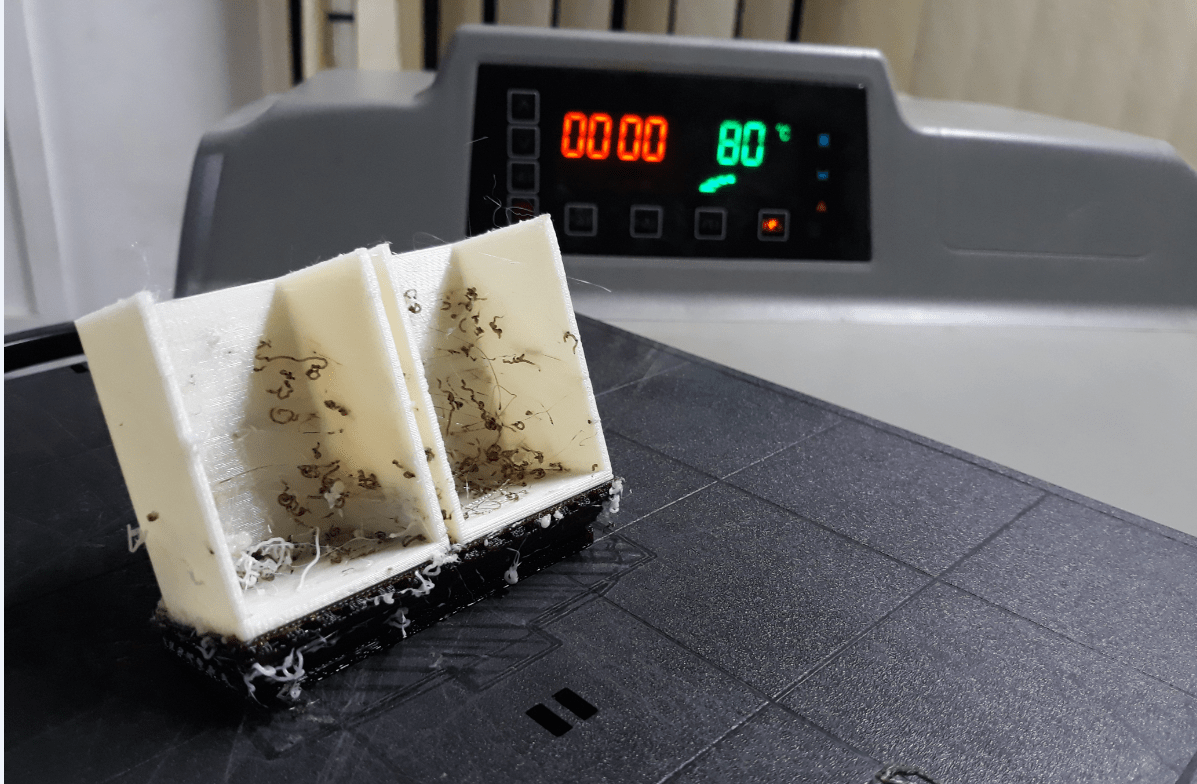
This machine employs and LCD to display some information regarding the fluid that is being
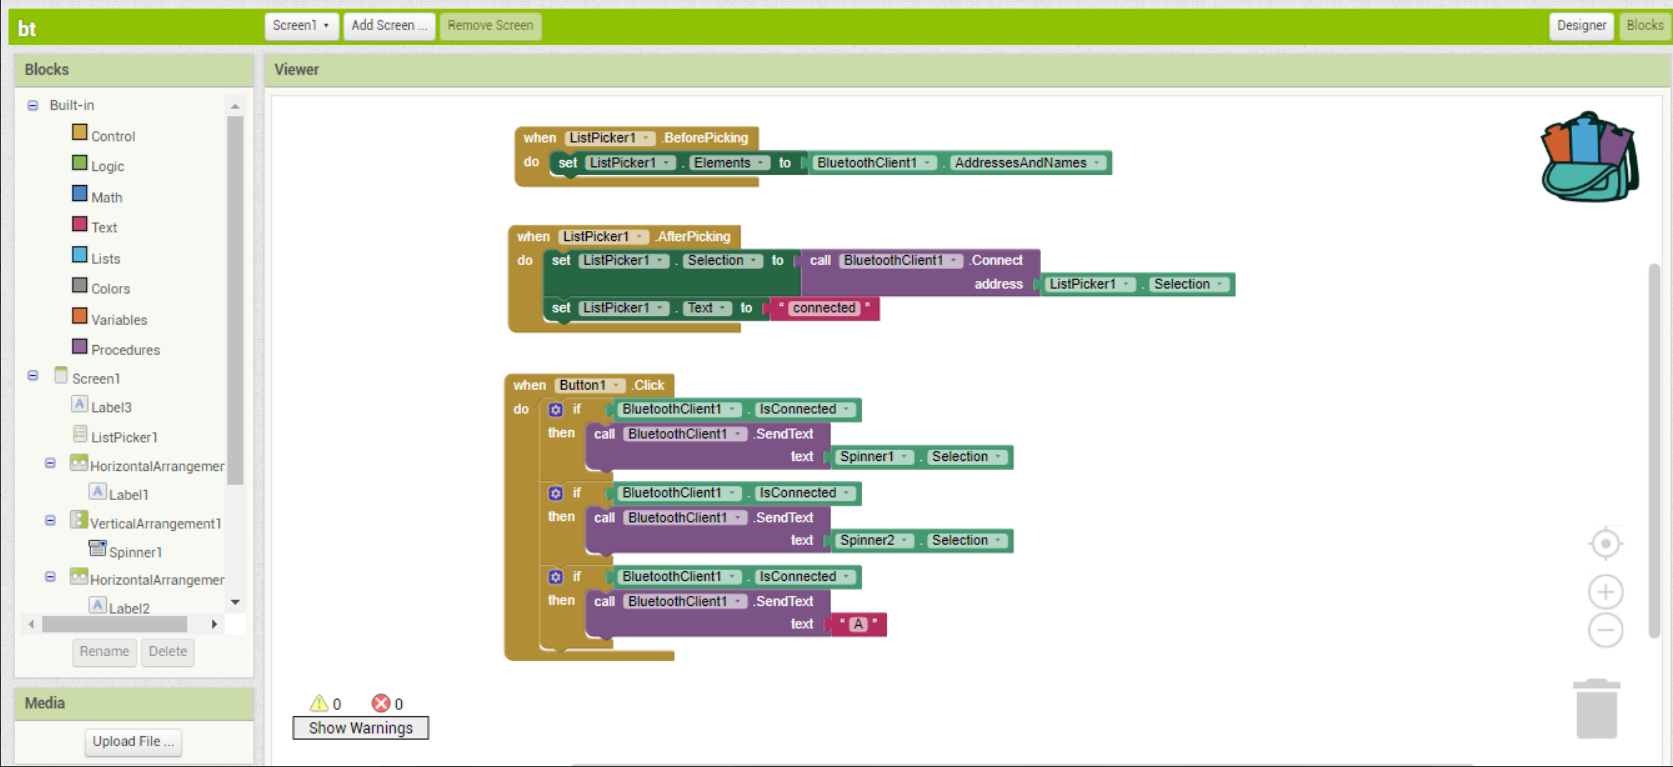
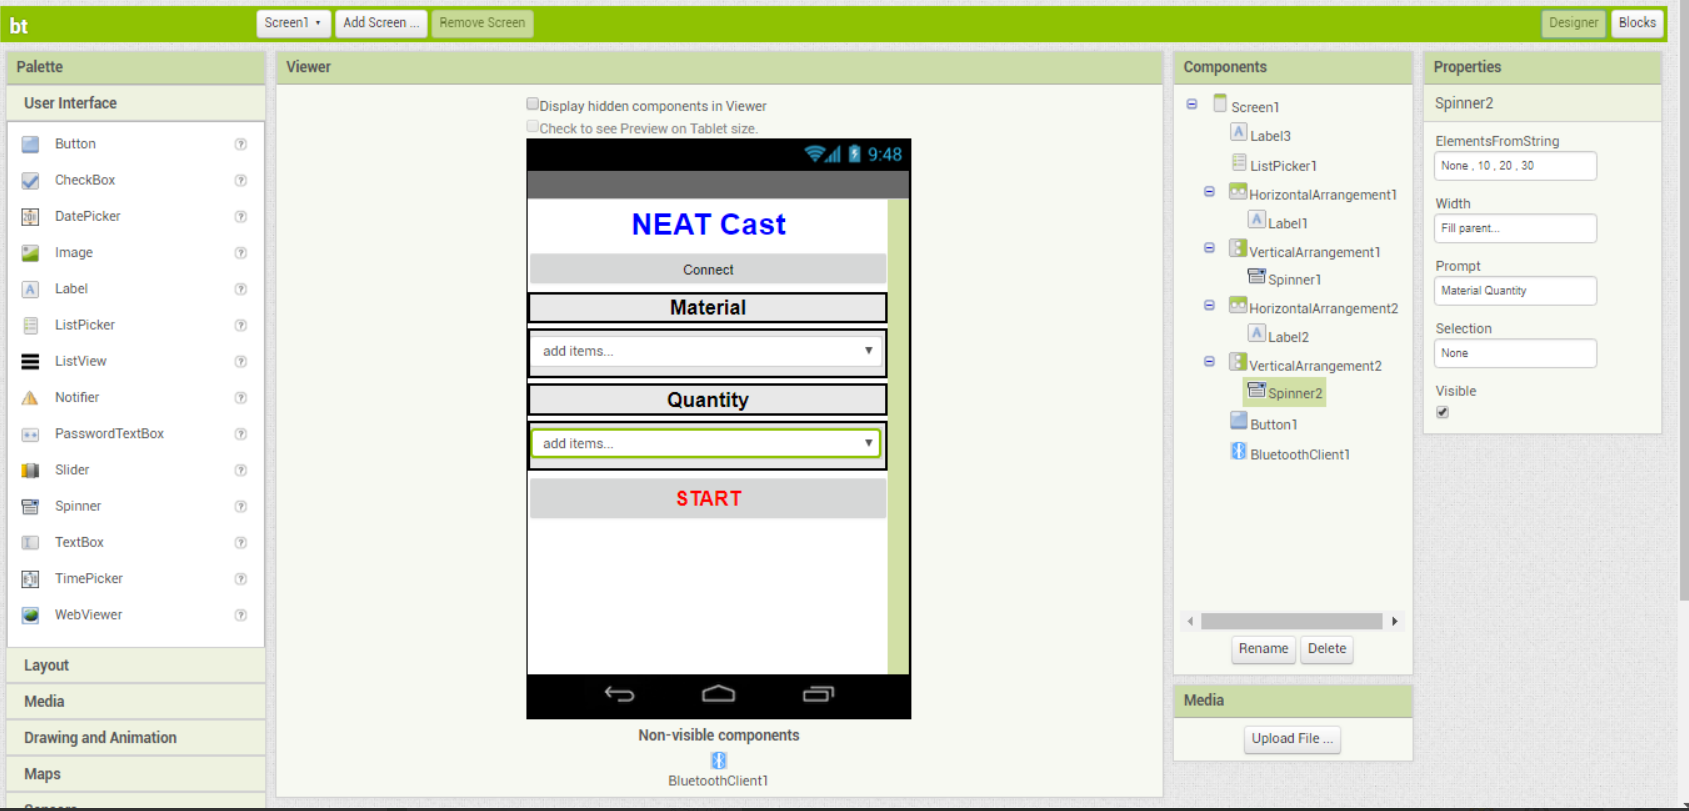
The user interacts with the machine using a mobile app, where he/she can input the values required for the machine.
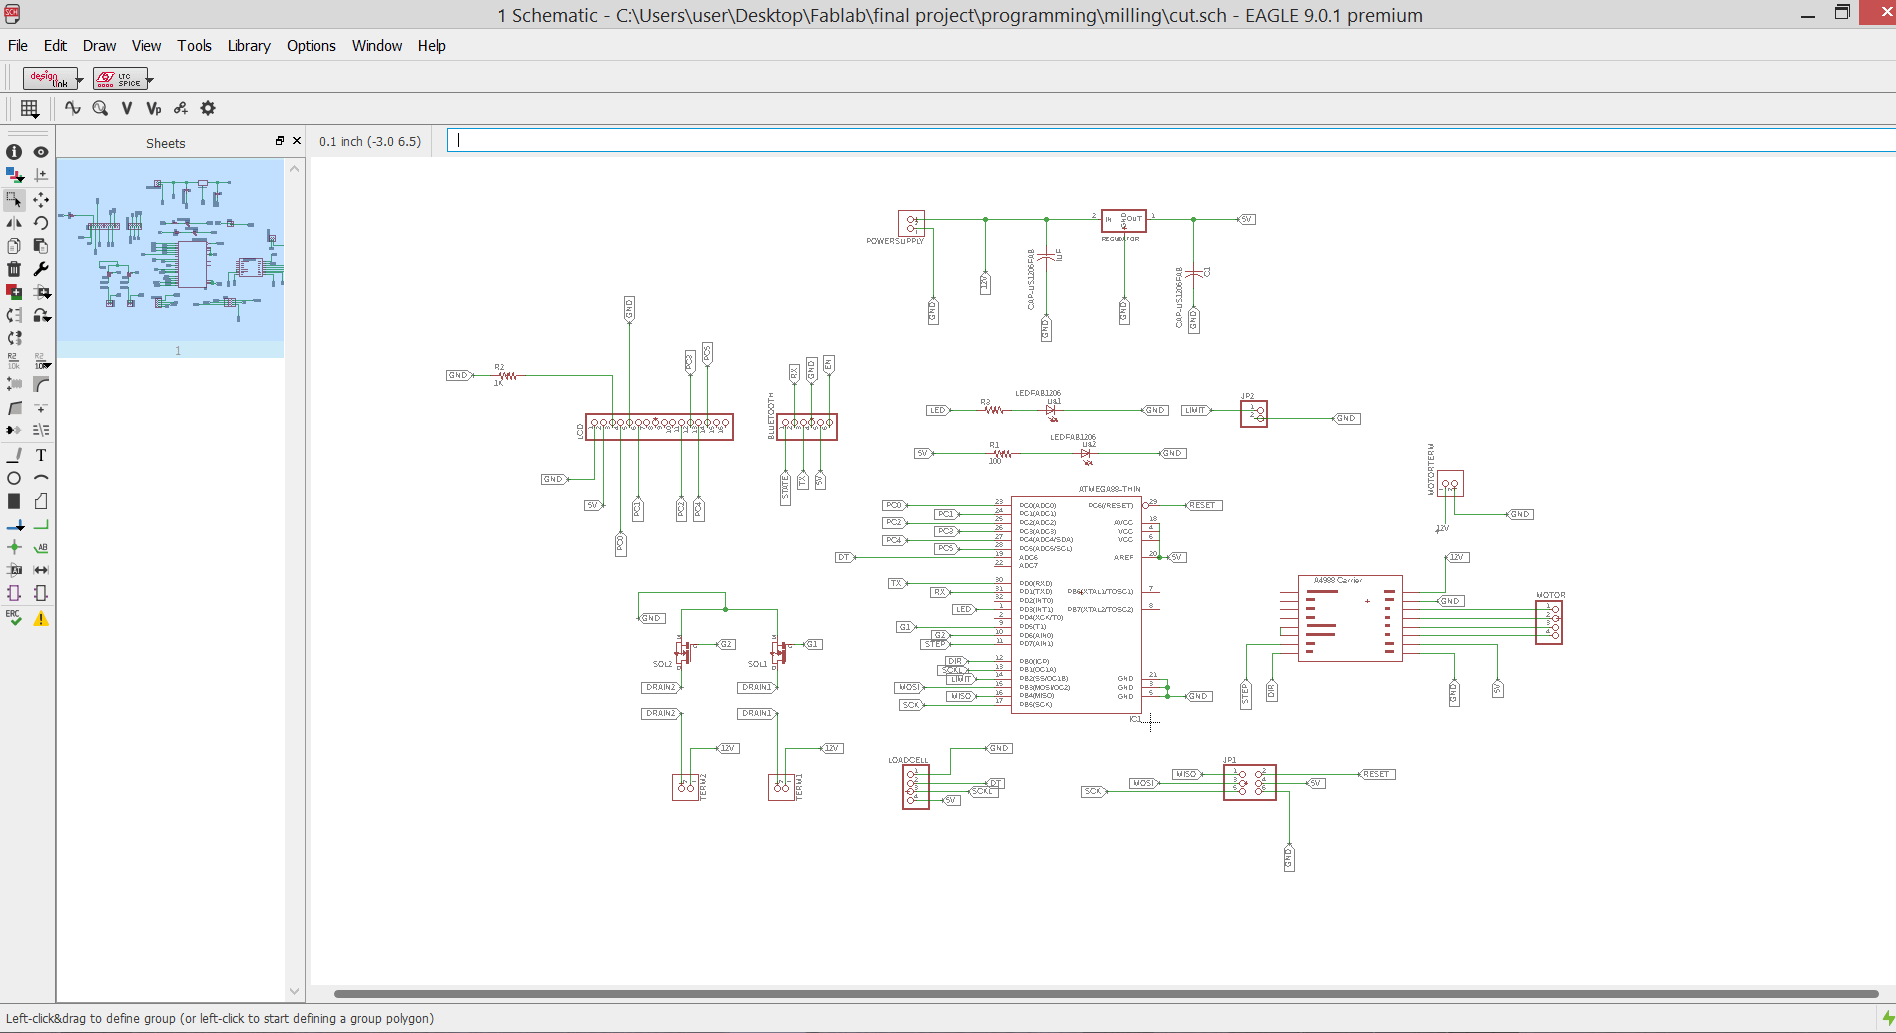
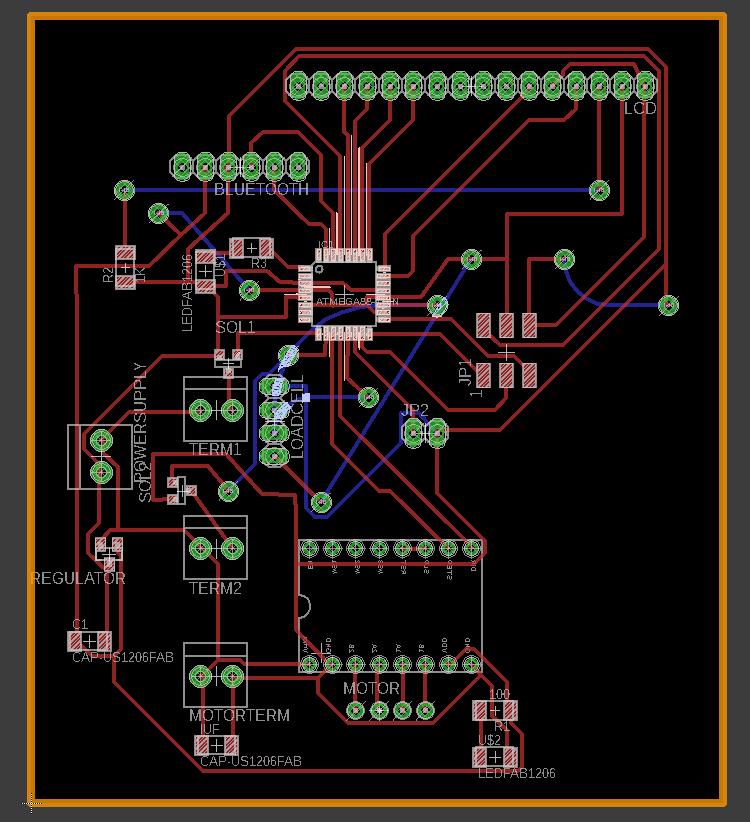
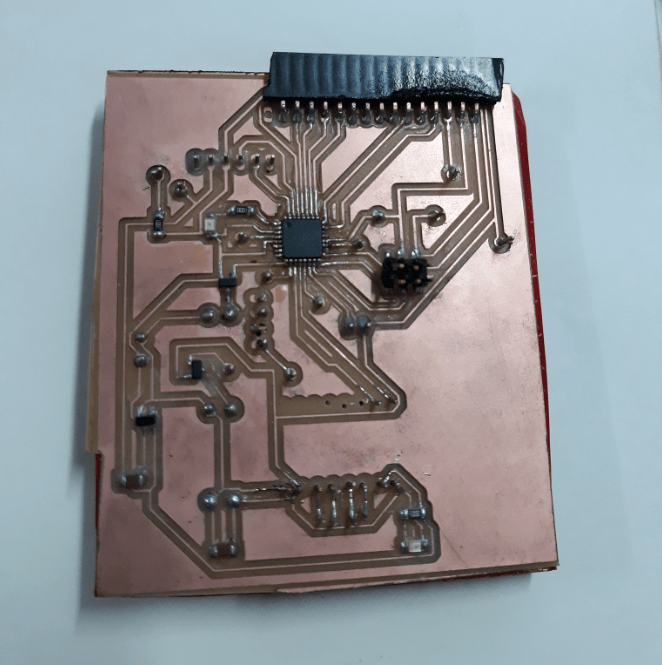
Programming the board
Arduino Code
/*
Author :- Hari Krishnan
EASY Cast Final Project Code
2018 Fab Academy
*/
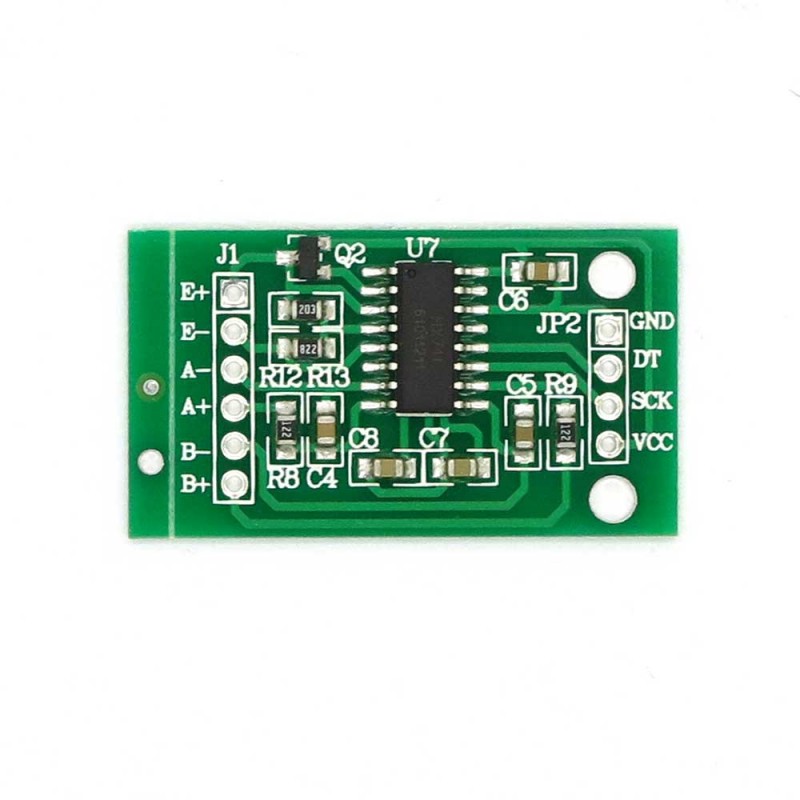
#include "HX711.h"
#include <LiquidCrystal.h>
#define calibration_factor -950
#define DOUT 4 // changed to D4
#define CLK 9
#define SV1 6 // Solinoid valve 1
#define SV2 5 // Solinoid valve 2
#define DIR 8 //stepper Direction pin
#define STP 7 //stepper Step pin
#define led 3 // In-built led
int quatity , material ; // User defined Quatity and Material
char startSignal ;
HX711 scale(DOUT, CLK);
const int rs = A0 , en = A1, d4 = A2, d5 = A3 , d6 = A4, d7 = A5 ;
LiquidCrystal lcd (rs , en , d4 , d5 , d6 , d7);
void setup()
{
Serial.begin(9600);
lcd.begin(16, 2);
lcd.print("--NEAT Cast--");
Serial.println("NEAT Cast ");
scale.set_scale(calibration_factor); //This value is obtained by using the SparkFun_HX711_Calibration sketch
scale.tare(); //Assuming there is no weight on the scale at start up, reset the scale to 0
pinMode(SV1 , OUTPUT);
pinMode(SV2 , OUTPUT); // set Solinoid valve as output
pinMode(DIR , OUTPUT);
pinMode(STP , OUTPUT); // set Setpper DIR and STP as Output
pinMode(led, OUTPUT);
}
void loop()
{
lcd.setCursor(0, 1);
lcd.print("Waiting for Input");
if (Serial.available() > 0)
{
quatity = Serial.read();
material = Serial.read();
startSignal = Serial.read();
if (startSignal == 'A') { // Check that user is pressed the START Button
Serial.println("Receved Start Signal and checking wheight");
digitalWrite(led, HIGH);
int weight = scale.get_units();
lcd.clear();
lcd.setCursor(0, 1);
lcd.print("Resin");
if (weight > 15)
{
do {
//Start Fisrt Solinoid Valve
Serial.println("Weight is Gretarthan 5 gram and Starting process");
digitalWrite(SV1, HIGH);
delay(3000);
digitalWrite(SV1, LOW);
delay(3000);
} while (weight == quatity / 2);
//Move stepper for Second Material
digitalWrite(DIR, HIGH);
for (int i = 0; i <= 400 ; i++)
{
digitalWrite(STP , HIGH);
delay(3);
digitalWrite(STP , LOW);
delay(3);
}
do {
//Start Second Solinoid Valve
digitalWrite(SV2, HIGH);
delay(3000);
digitalWrite(SV2, LOW);
delay(3000);
} while (weight == quatity);
//Move setpper to home position
digitalWrite(DIR, LOW); // change Direction
for (int i = 0; i <= 400 ; i++)
{
digitalWrite(STP , HIGH);
delay(3);
digitalWrite(STP , LOW);
delay(3);
}
}
}
else {
Serial.println("Blutooth Transmisson faild");
digitalWrite(led, LOW);
}
}
}
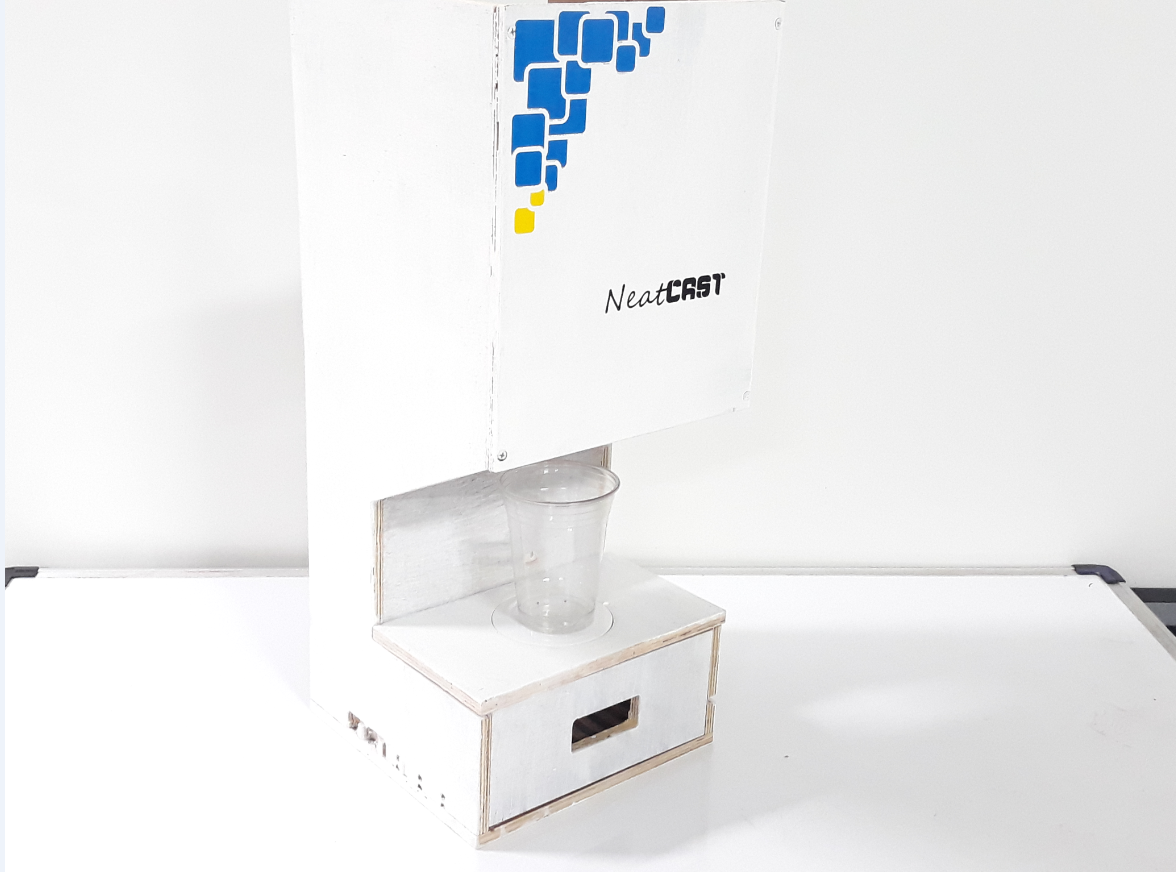
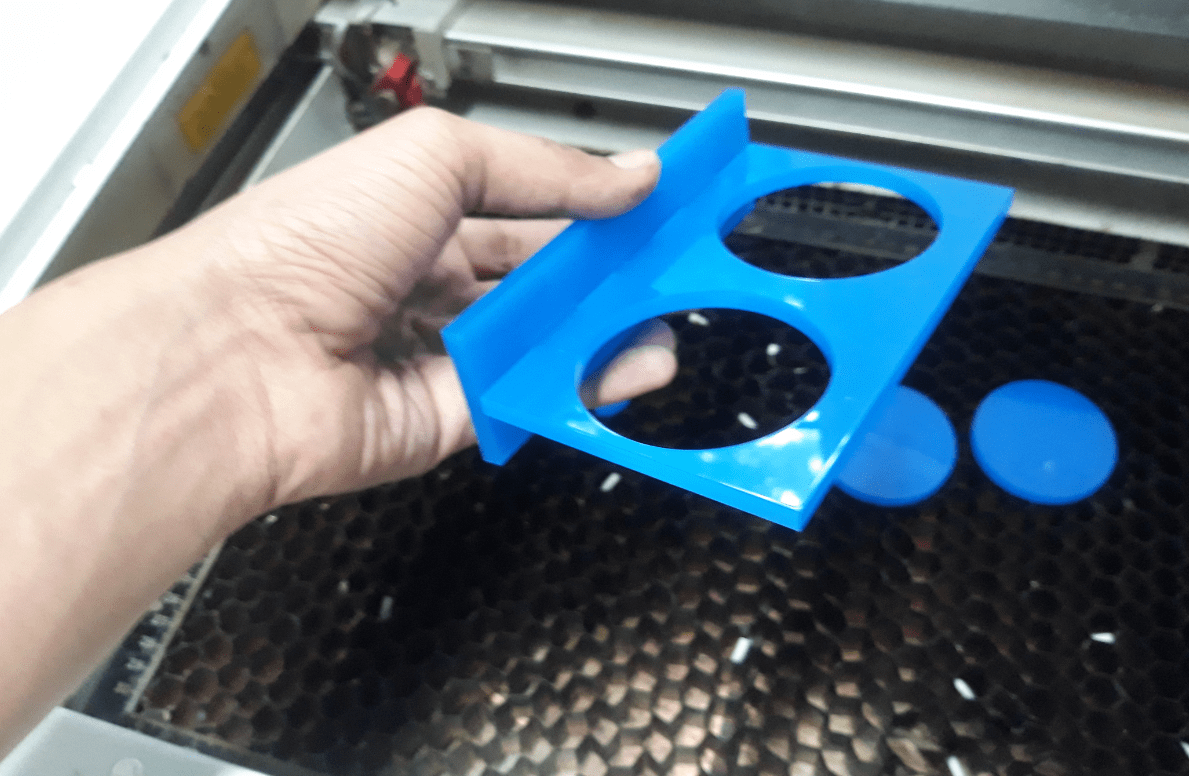
The machine is controlled via a mobile app where the user selects the material intended for casting and chooses the amount of material that is required to be dispensed.
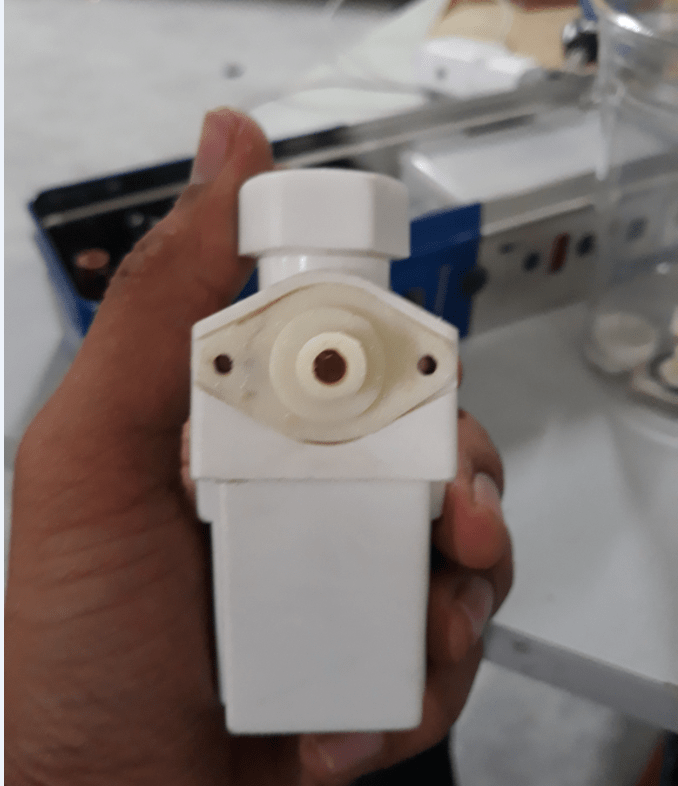
For the demo I am using water. This is where I realised that for using solenoid valve there should be more pressure in the fluid. So demo using resin was a hard choice.
Click here to download resource files.