Final Project link <-- click on it
Git
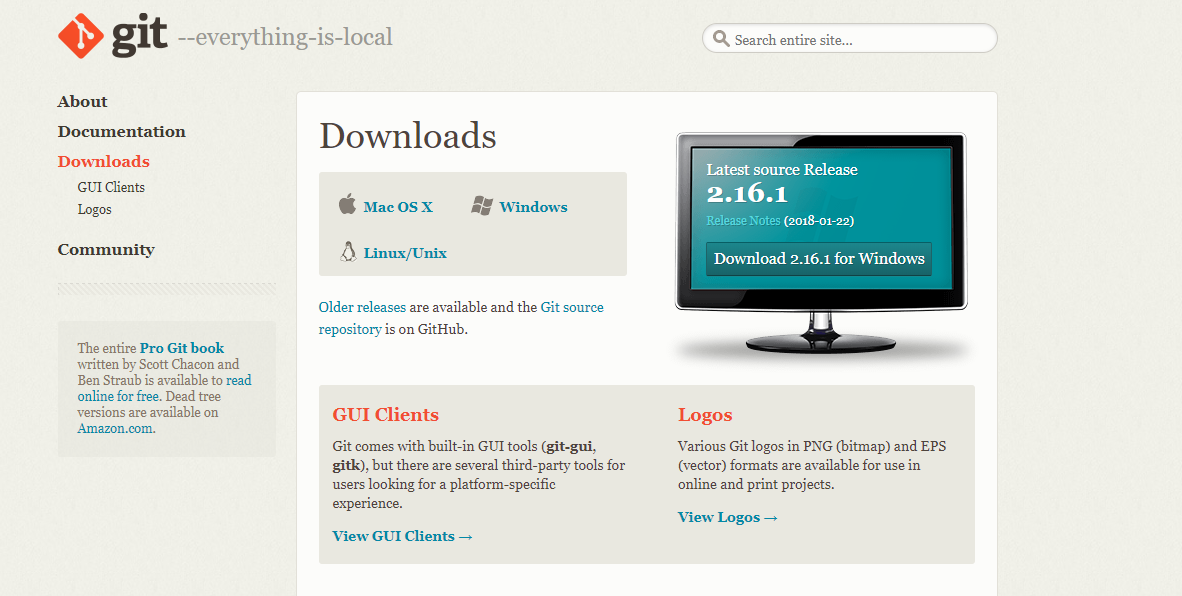
First of all we have to download a Git. Durig the whole Fab Academy we will use it to update our week achivements.
The Installation is very simple. In Windows you have an .exe file that you can download from here:https://git-scm.com/downloads
In Linux(Ubuntu) you have to write the following commands in to your terminal:
sudo apt-get update
sudo apt-get install git
And it is Ready to use!
 Git-Commands
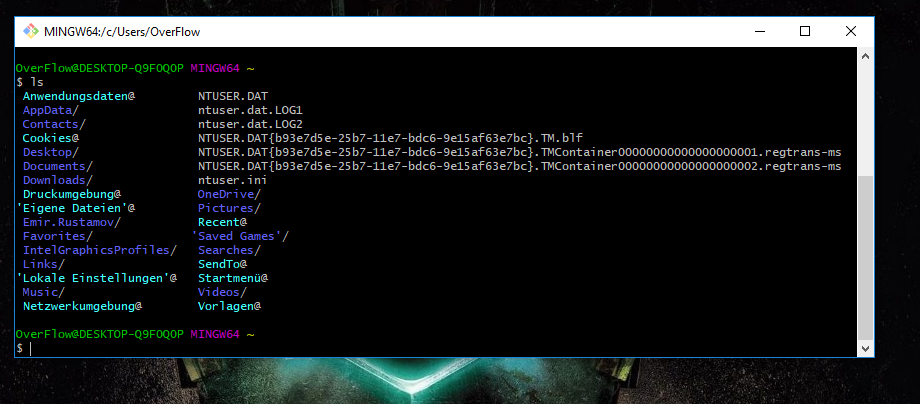
I am working with Windows 10 and using a Git Bash which understands a Linux terminal commands. You can see some examples below
Git-Commands
I am working with Windows 10 and using a Git Bash which understands a Linux terminal commands. You can see some examples below
ls
pwd
df -h
sudo touch index.html
 Path
You can choose a folder where you like to have your Projekt like this:
Path
You can choose a folder where you like to have your Projekt like this:
cd path/to/desired/folder
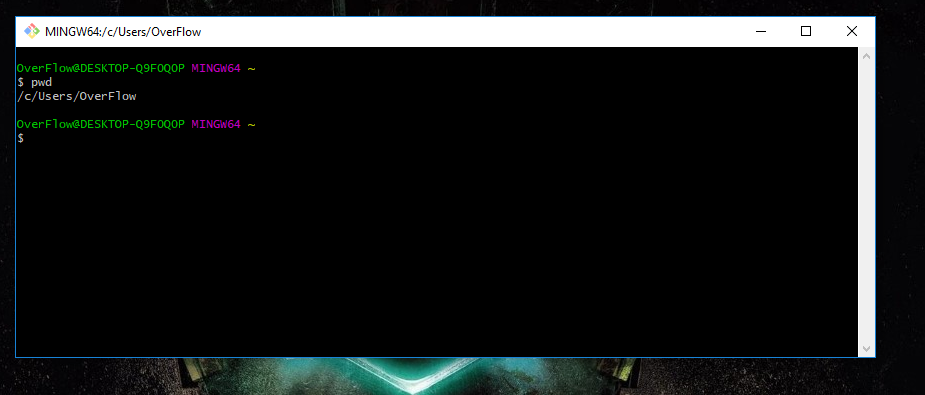
I wished to have it in standard directory c/Users/your_usermane.
You can also check your directory with the command below:
pwd
 UserName
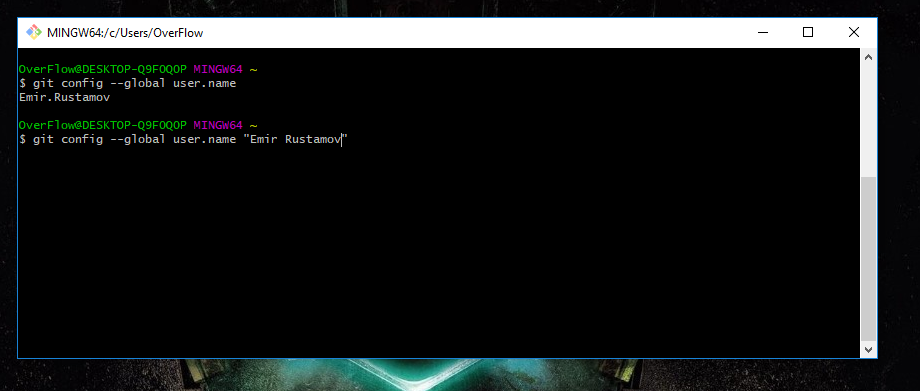
So now we can start to wort with our Git, first of all we have to define our username.
Do do this you need the followin command:
UserName
So now we can start to wort with our Git, first of all we have to define our username.
Do do this you need the followin command:
git config --global user.name 'Your_Name.Your_Surname'
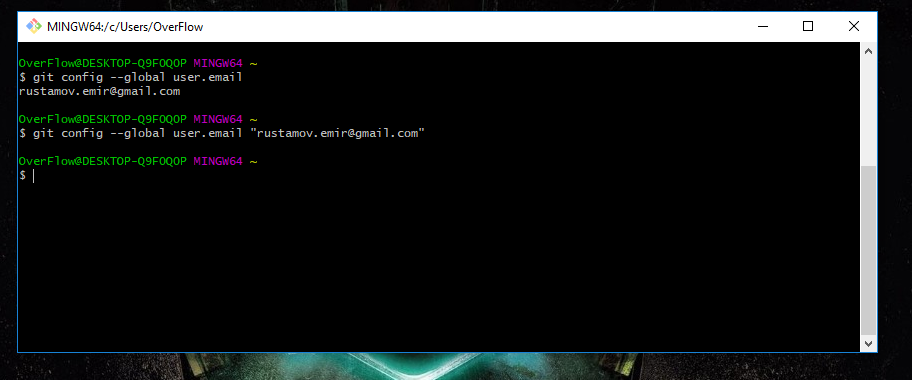
 E-Mail
Then we have to set our e-mail adress, with:
E-Mail
Then we have to set our e-mail adress, with:
git config --global user.mail 'your_e-mail'
 SSH-Key
After the username and usermail set we have to generate a ssh key that we will connect with the Git account.
To generate the Key we need to use the following command:
SSH-Key
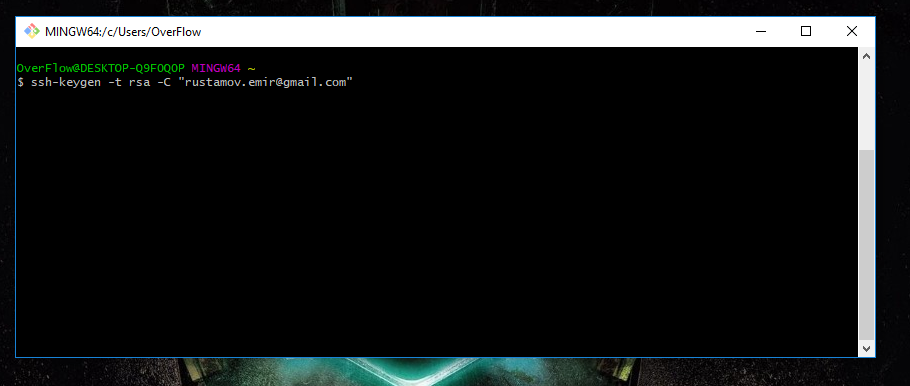
After the username and usermail set we have to generate a ssh key that we will connect with the Git account.
To generate the Key we need to use the following command:
ssh-keygen -t rsa -C 'your_e-mail'
And then press 'enter' some times. I have only written a code on the Image below(without enter)
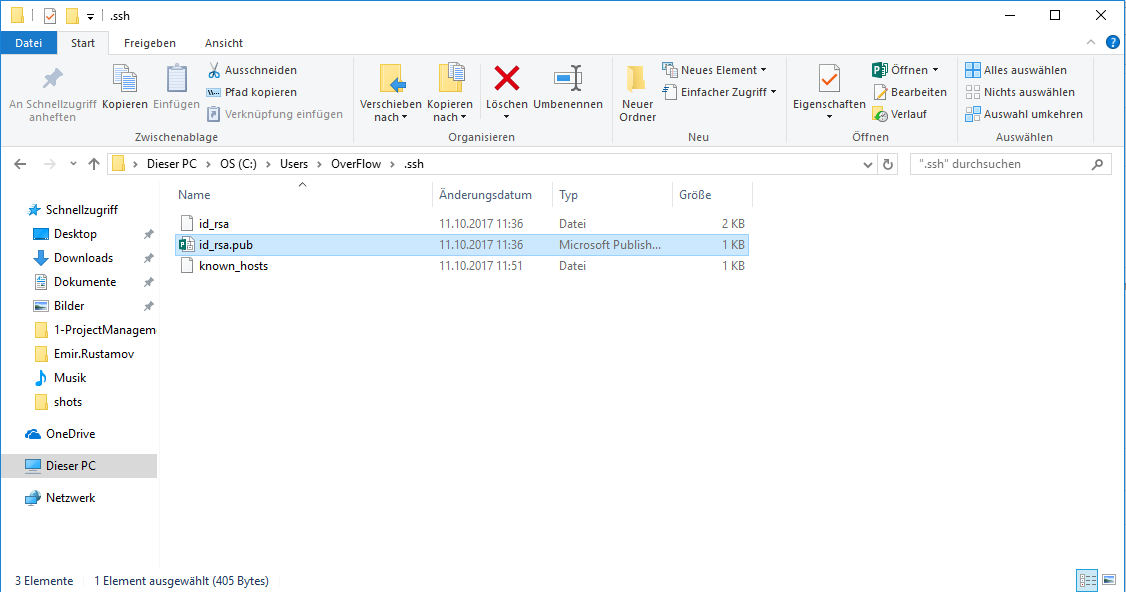
 SSH-Key
Here is the ssh key File, we have to open it with text editor and copy the content.
SSH-Key
Here is the ssh key File, we have to open it with text editor and copy the content.
 SSH-Key
After that, we need to log-in at
https://gitlab.fabcloud.org/
Open Settings Menu at the top right corner,
choose 'SSH Key' and add the key.
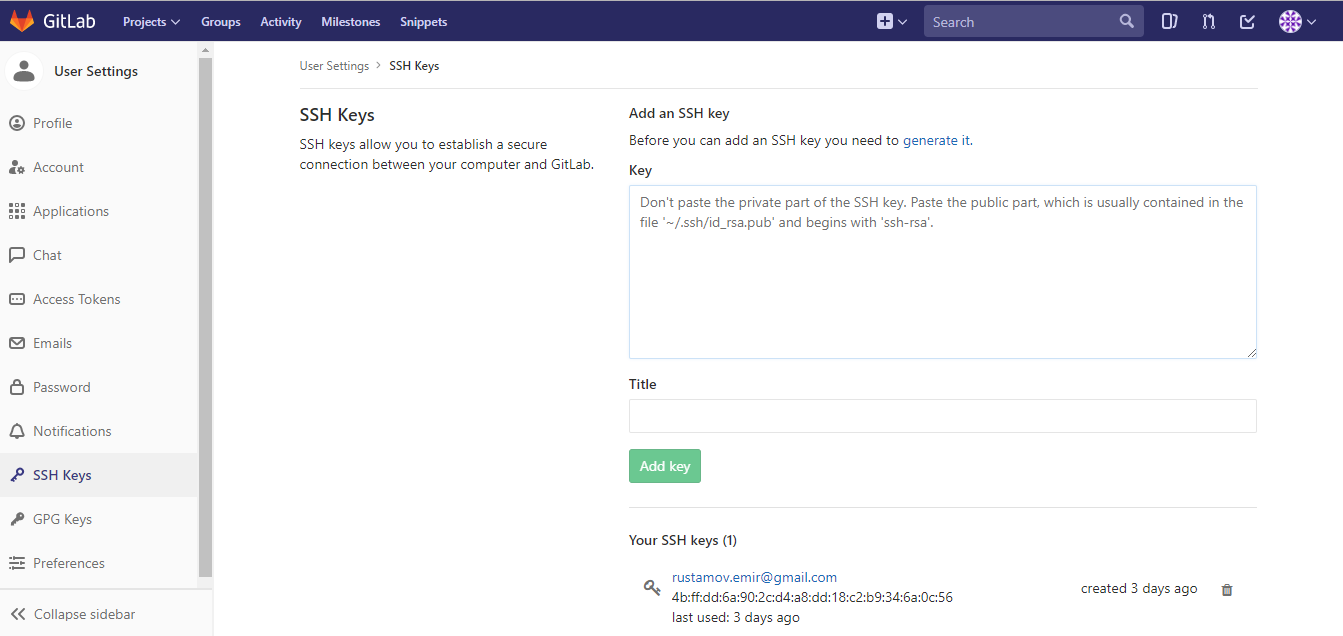
SSH-Key
After that, we need to log-in at
https://gitlab.fabcloud.org/
Open Settings Menu at the top right corner,
choose 'SSH Key' and add the key.
 SSH-Key
Then we have to go to the main page of our project and copy the cloud url
SSH-Key
Then we have to go to the main page of our project and copy the cloud url
 SSH-Key
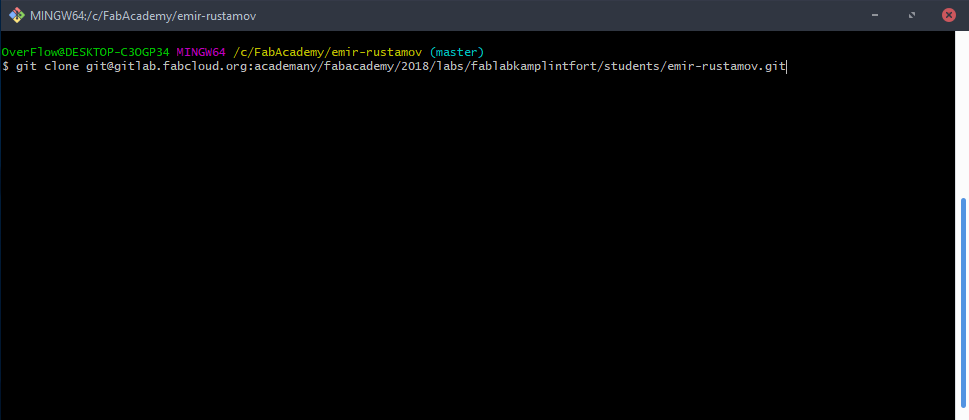
Now we a ready to clone our repository our local machiene with Git, to do this we have to type the following command:
SSH-Key
Now we a ready to clone our repository our local machiene with Git, to do this we have to type the following command:
git clone an_paste_the_what_you_have_copied_on_the_previous_step
 Touch
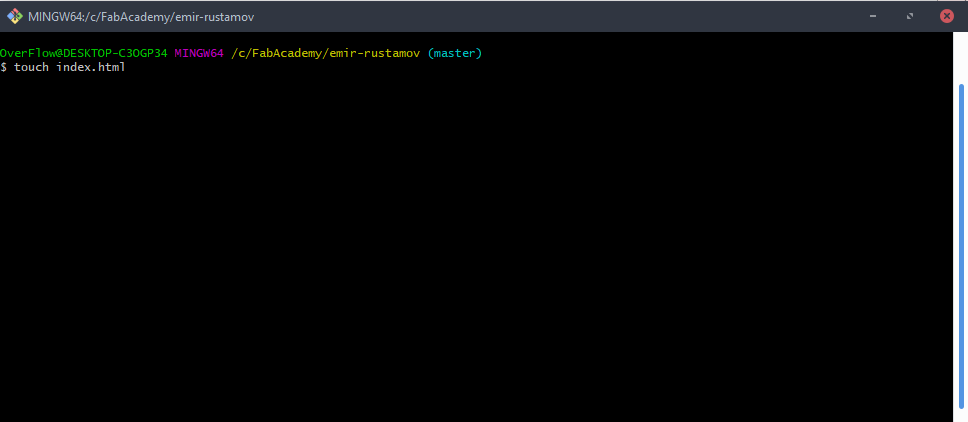
Now can create an index.html to work on it with the command:
Touch
Now can create an index.html to work on it with the command:
touch index.html
 Git Add
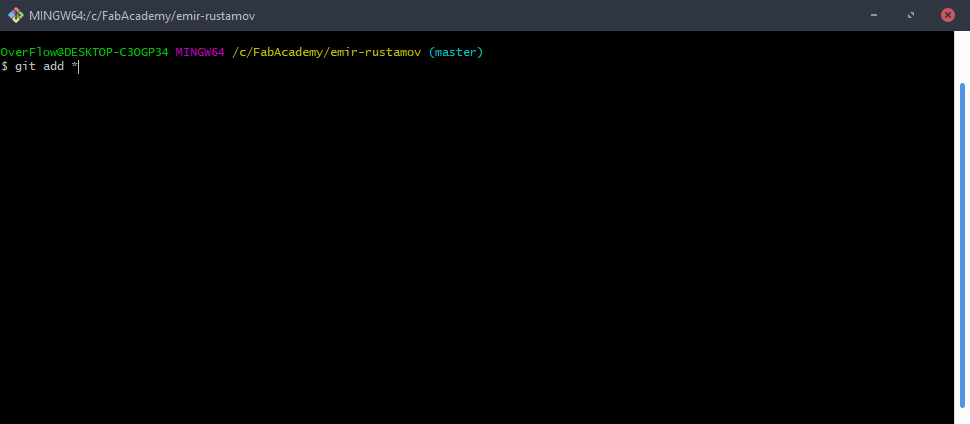
After we have finished to work with index.html and other files and want them upload to the repository. We have to do it in three steps, first add all files you want to upload:
Git Add
After we have finished to work with index.html and other files and want them upload to the repository. We have to do it in three steps, first add all files you want to upload:
git add *
 Git Commit
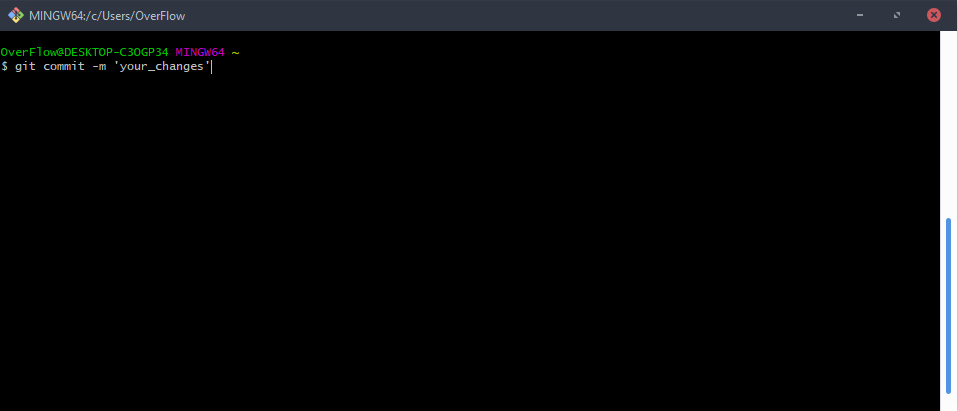
Then we have to describe the changes in one sentence with:
Git Commit
Then we have to describe the changes in one sentence with:
git commit -m 'Write_the_changes_here'
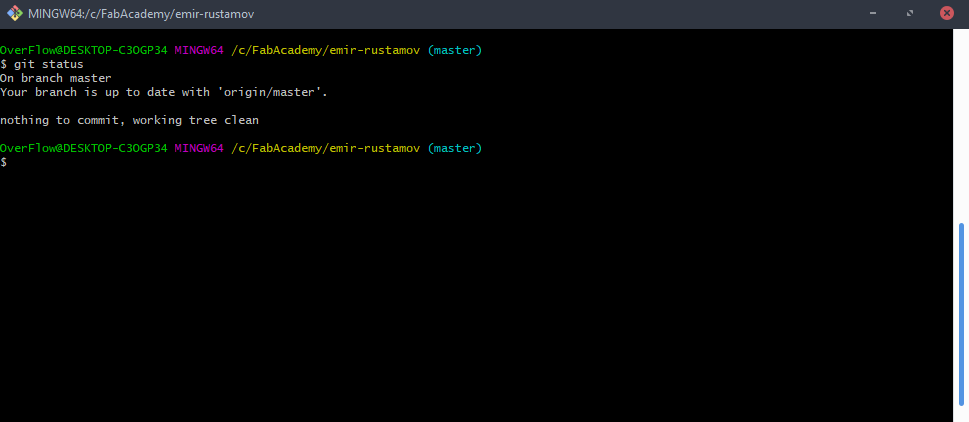
 Git Status
We can also check a status of the files:
Git Status
We can also check a status of the files:
git status
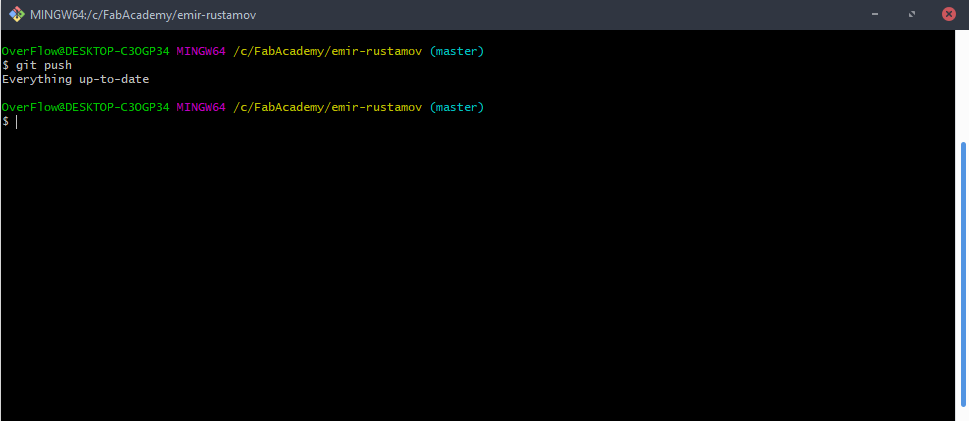
 Git Push
The last step is upload or push to git with:
Git Push
The last step is upload or push to git with:
git push
 HTML-Text
I have created a responsive site with Materialize Framework. So this is how my HTML looks like, everything is commented below, if someone wants to understand
CSS-Style
This CSS code ist the part of the style.css file that I included for my own needs. Each element, class-element and id-elemet is commented
HTML-Text
I have created a responsive site with Materialize Framework. So this is how my HTML looks like, everything is commented below, if someone wants to understand
CSS-Style
This CSS code ist the part of the style.css file that I included for my own needs. Each element, class-element and id-elemet is commented
    .icons{
      height: 80px;
      width:80px;
    }/*This is the size of the items on the Homapage*/
    .icbox{
      border-radius: 10%;
      padding: 5px;
      border: 10px solid white;
    }/*This is the boxsize of the items*/
    .fixedsize{
      height: 250px;
    }/*The height of the Boxes*/
    #back{
      border-radius: 10%;
      padding: 5px;
      border: 10px solid white;
    }/*Background of the Boxes*/
    #secret{
      height: 500px;
    }/*height of the Body of the secret Page*/
    htext{
      font-size: 50px;
      font-style: italic;
      font-family: 'Trebuchet MS', 'Lucida Sans Unicode', 'Lucida Grande', 'Lucida Sans', Arial, sans-serif;
      display: block;
    }/*This elemet is defined for the Heades*/
    ttext{
      font-size: 20px;
      margin-left: 20px;
      display: inline-block;
    }/*This elemet is defined for the Text*/
JS Code
This is a JS code, that changes the style of the items on the homepage, when we hover over specific element.
    $(document).ready(function(){

      $(".icbox").mouseenter(function(){
      $(this).css("border", "10px solid #d1d1d1");
      $(this).css("box-shadow", "8px 0px");
      });
      //This is the JQ-.mouseenter function that highlights border and gives shadow to the BOX

      $( ".icbox" ).mouseleave(function() {
          $(this).css("border", "10px solid white");
          $(this).css("box-shadow", "0px 0px");
      });
      //This is the JQ-.mouseleave function returns everything back
  });