Task:- actuate and automate your machine
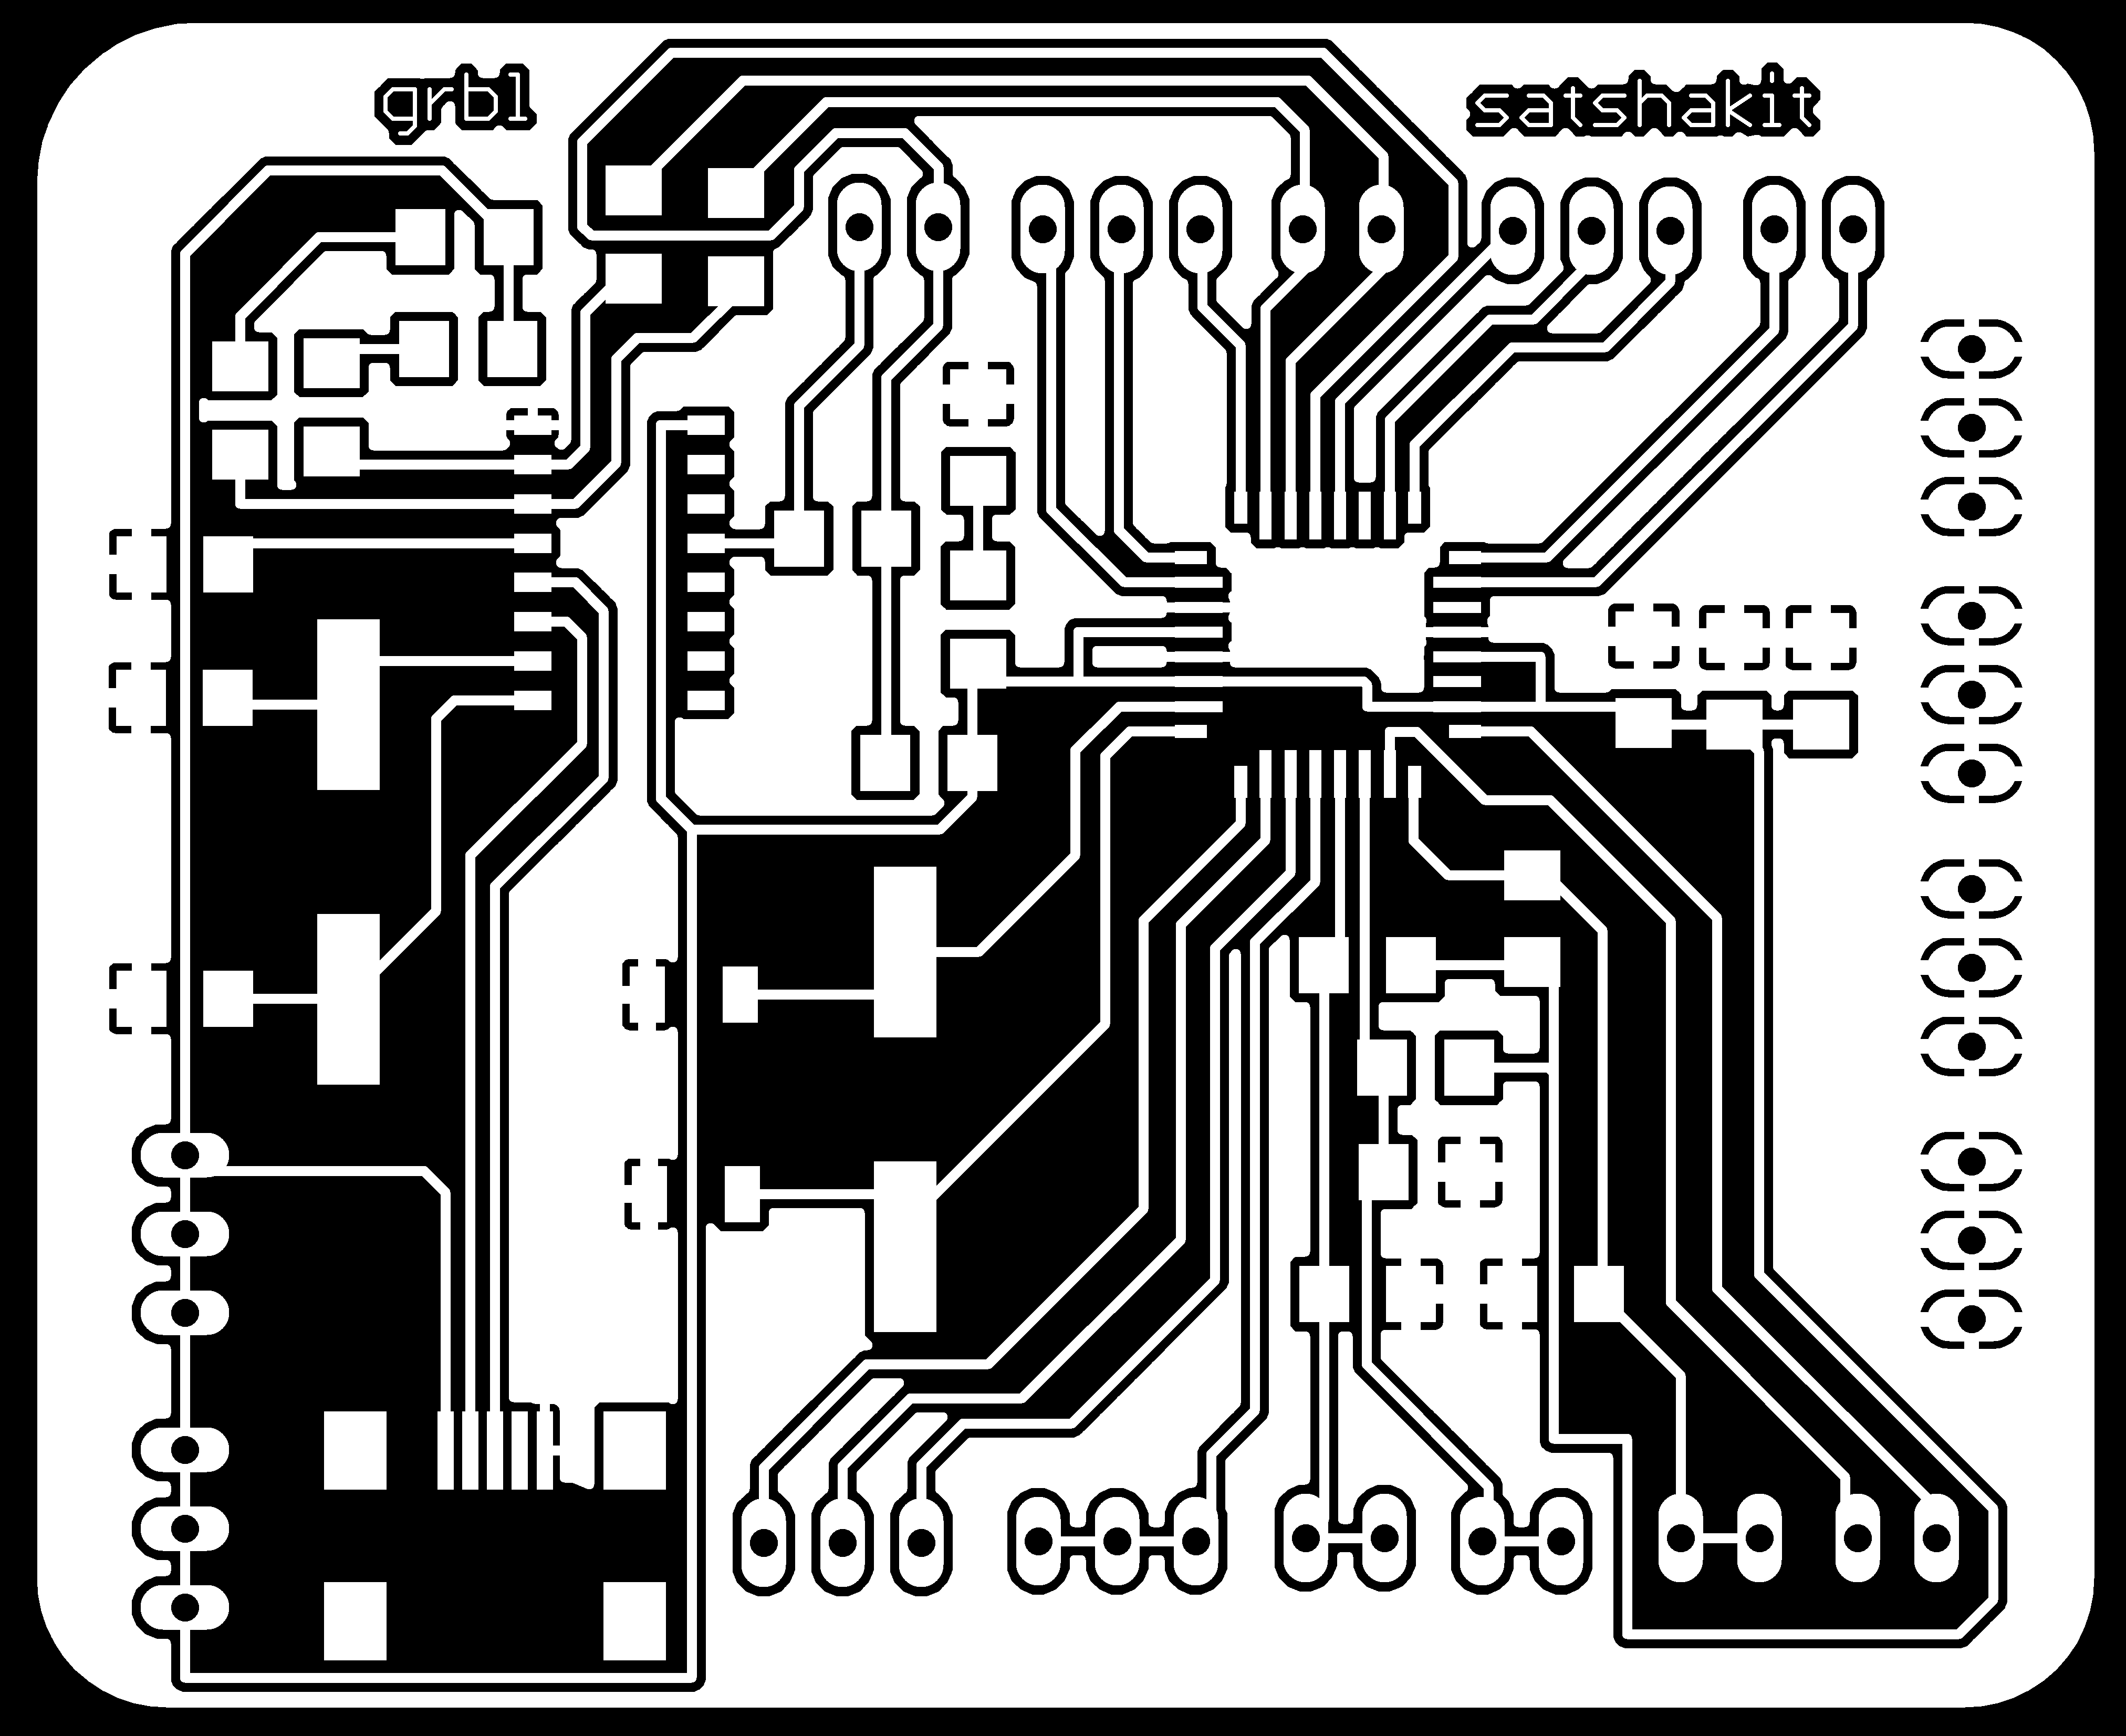
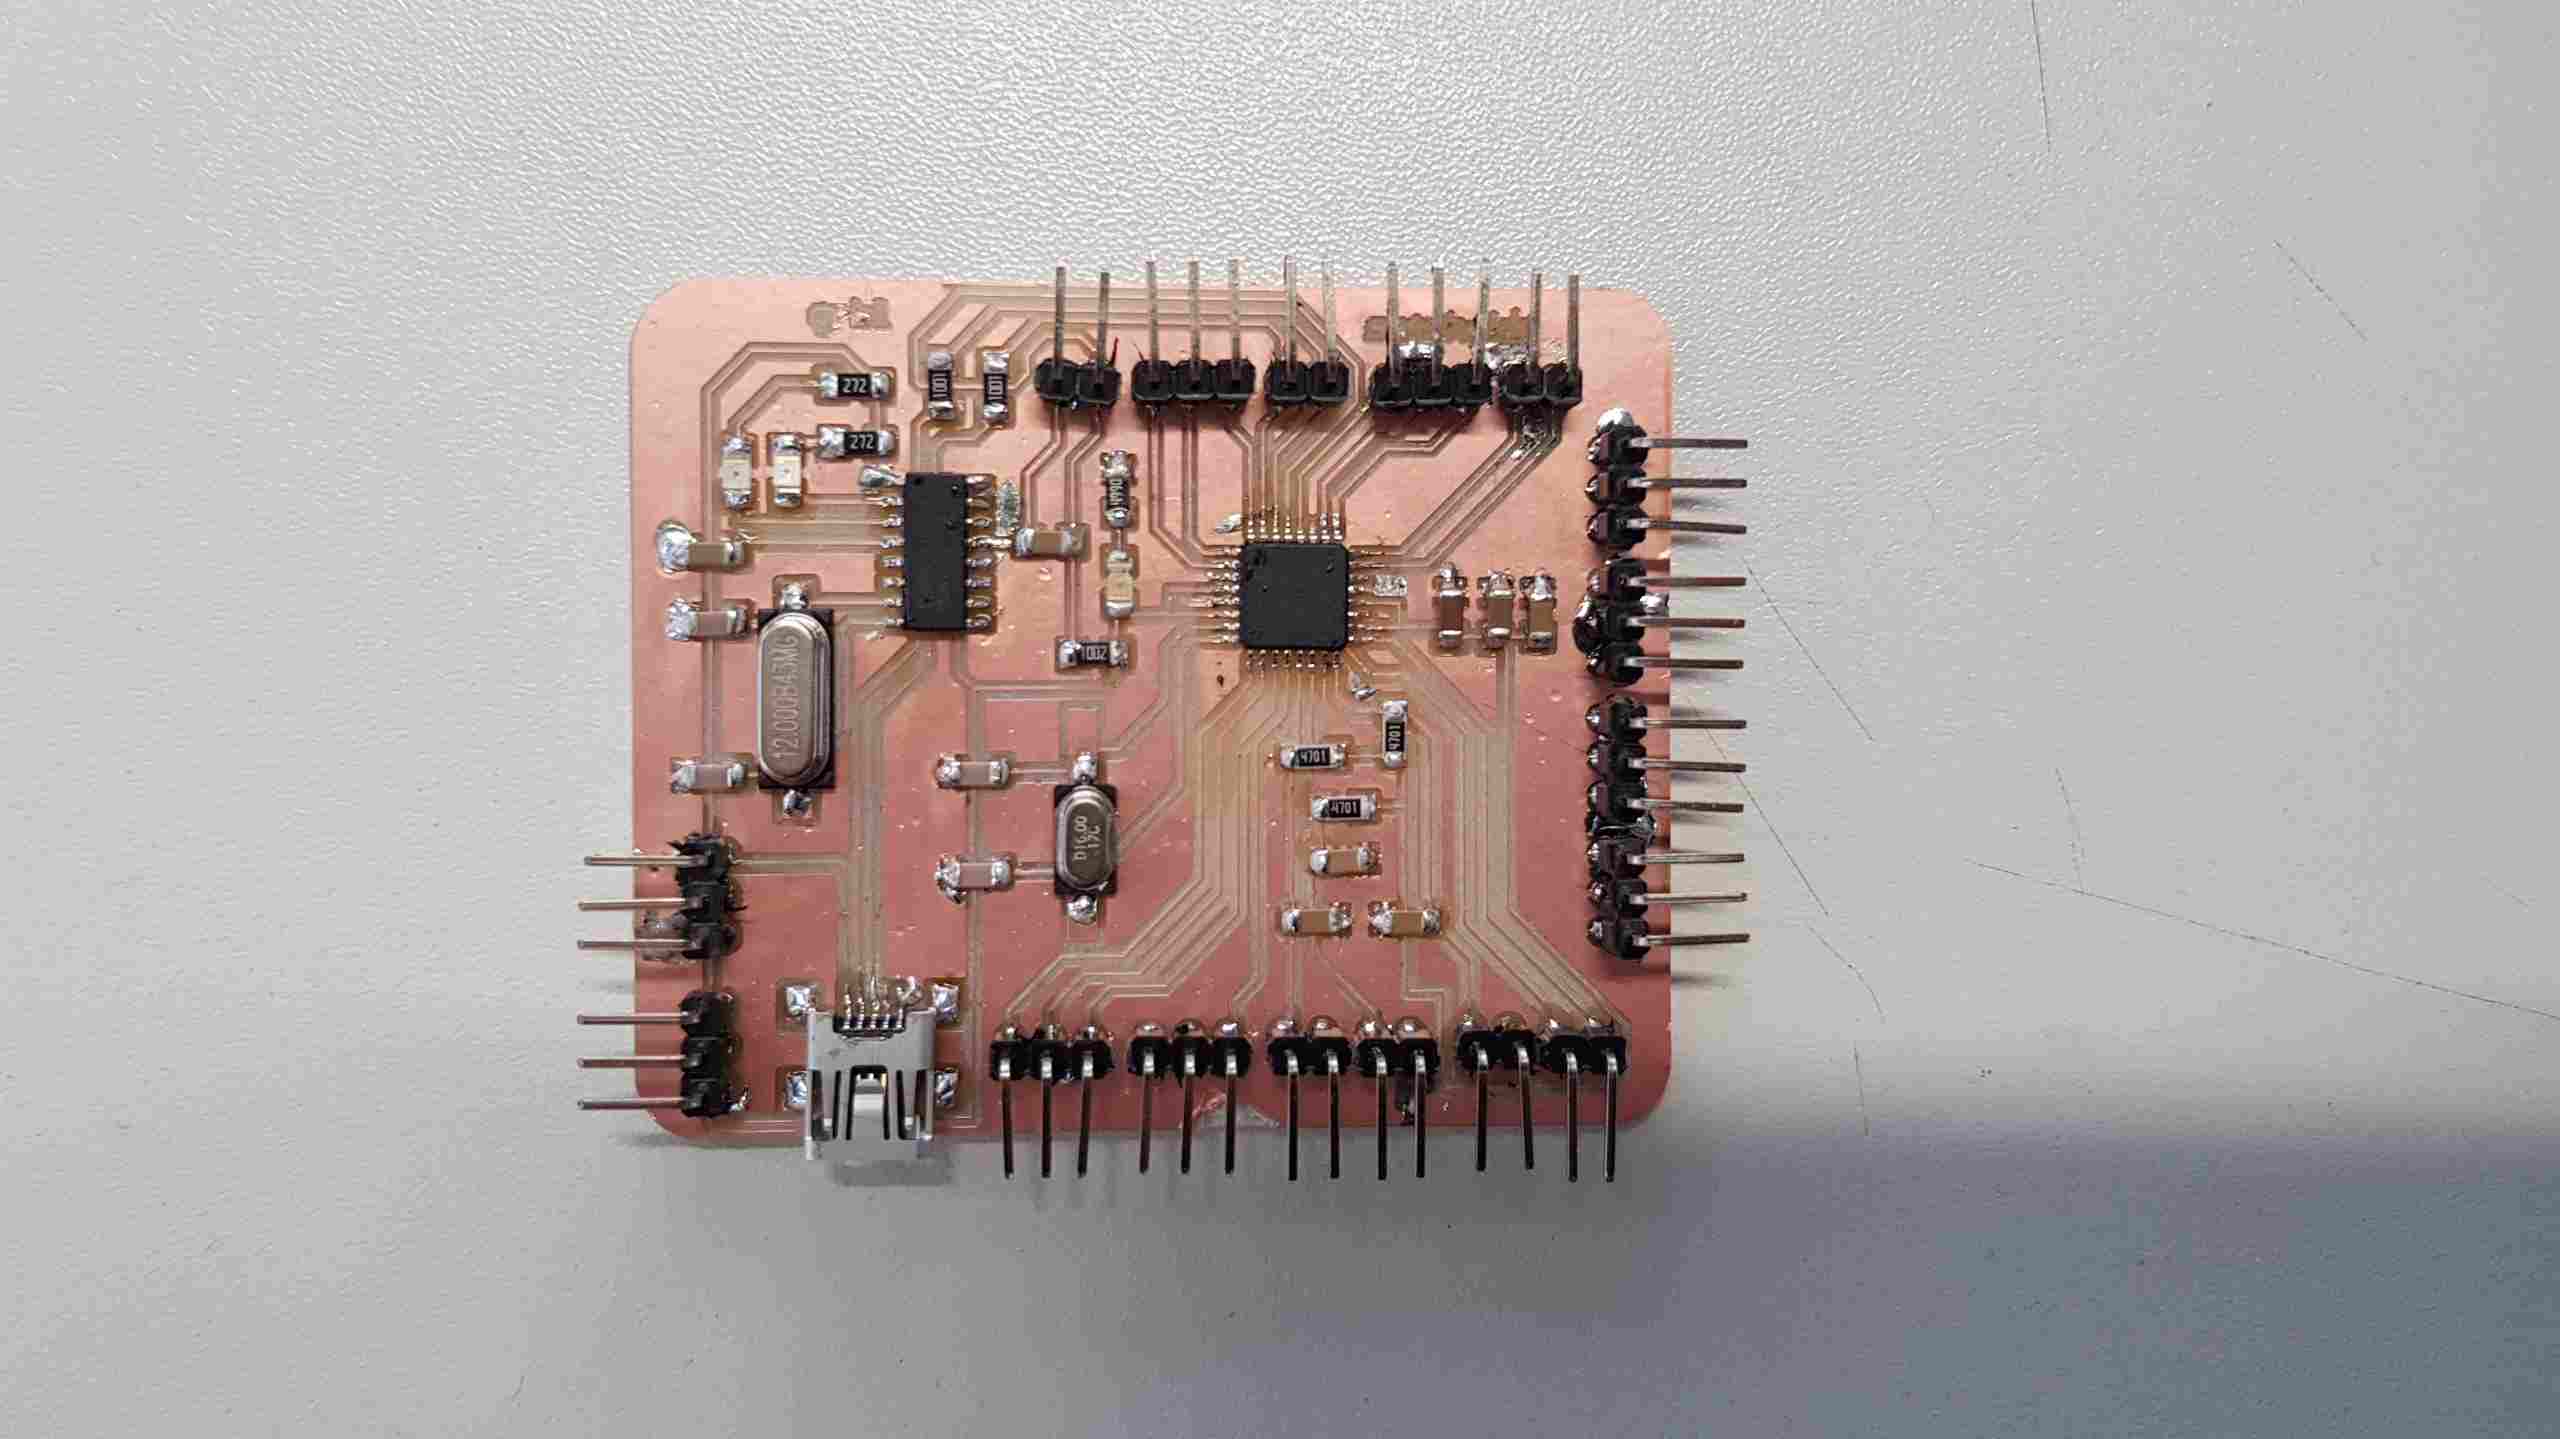
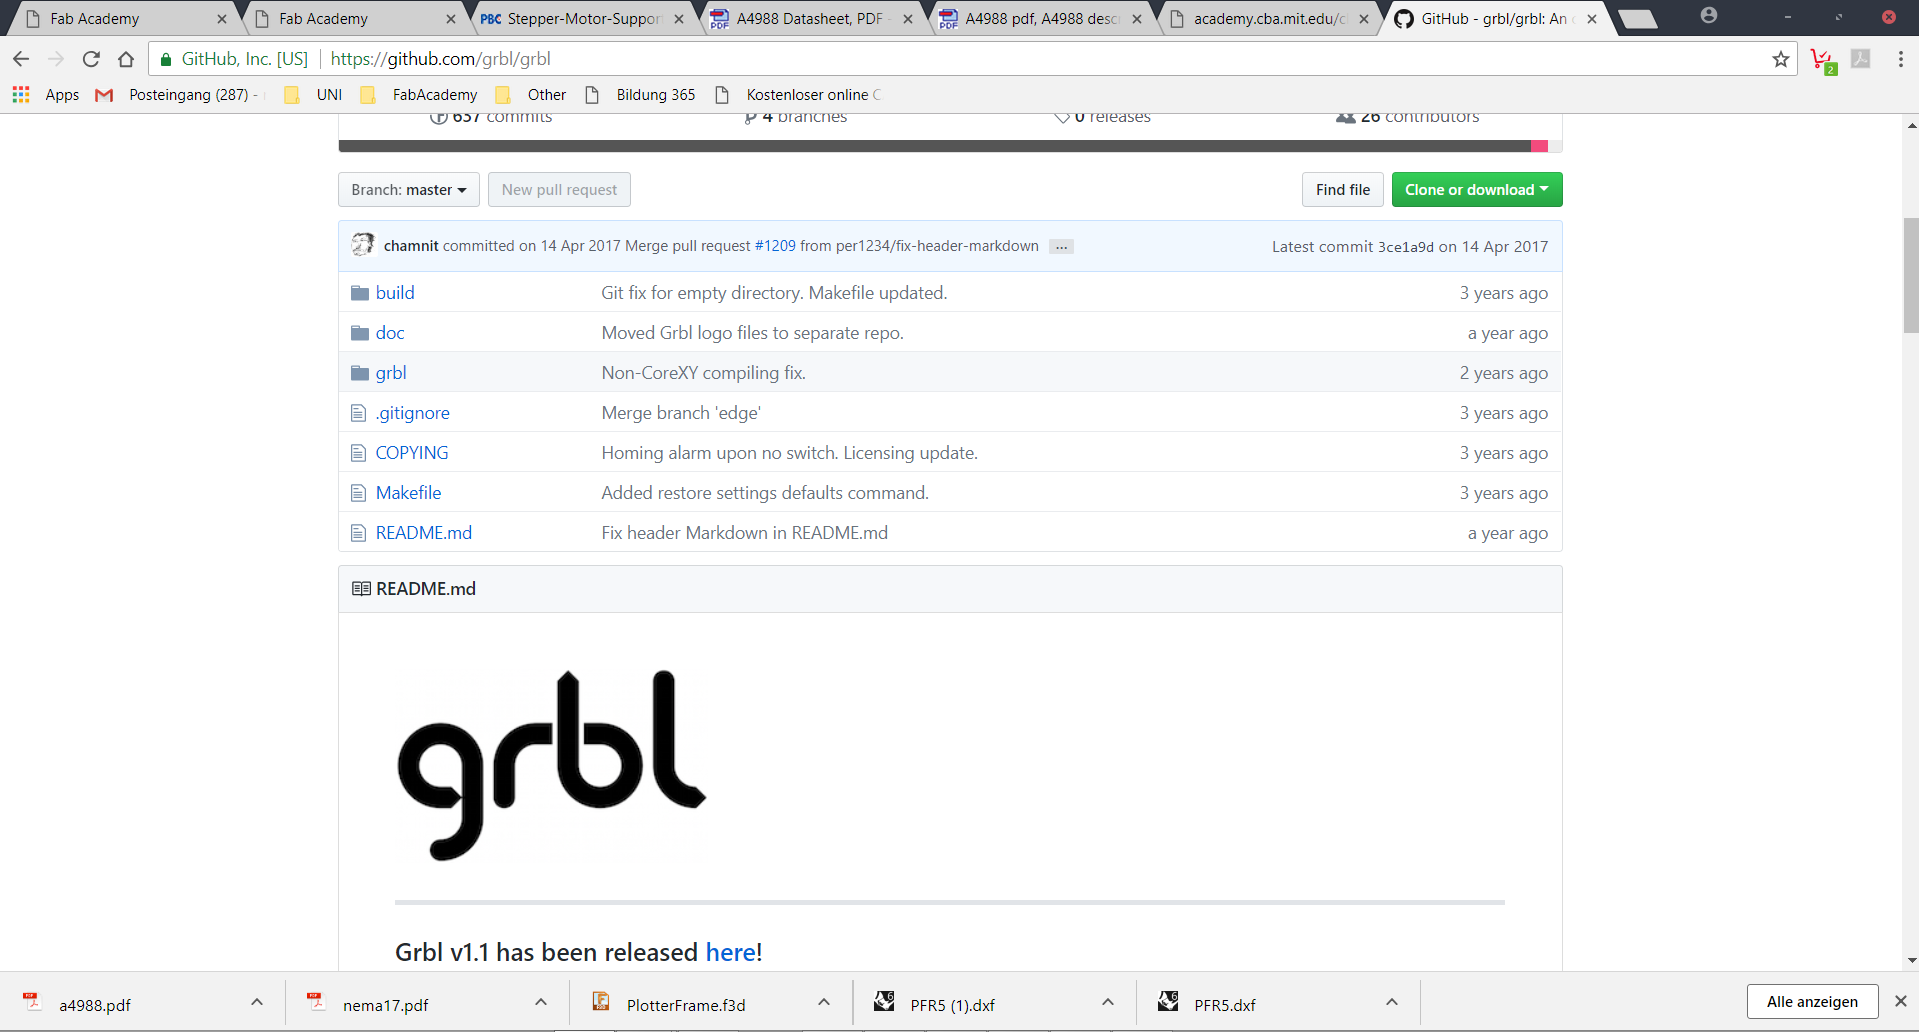
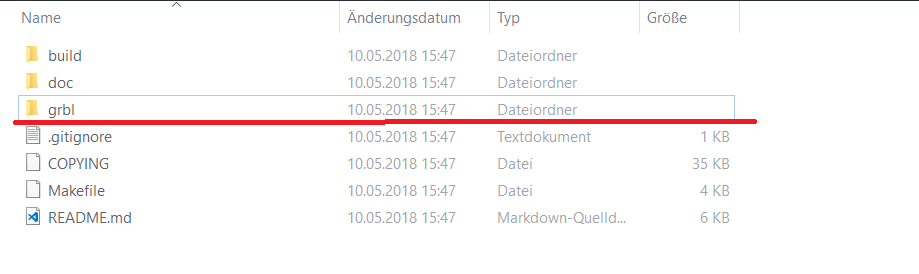
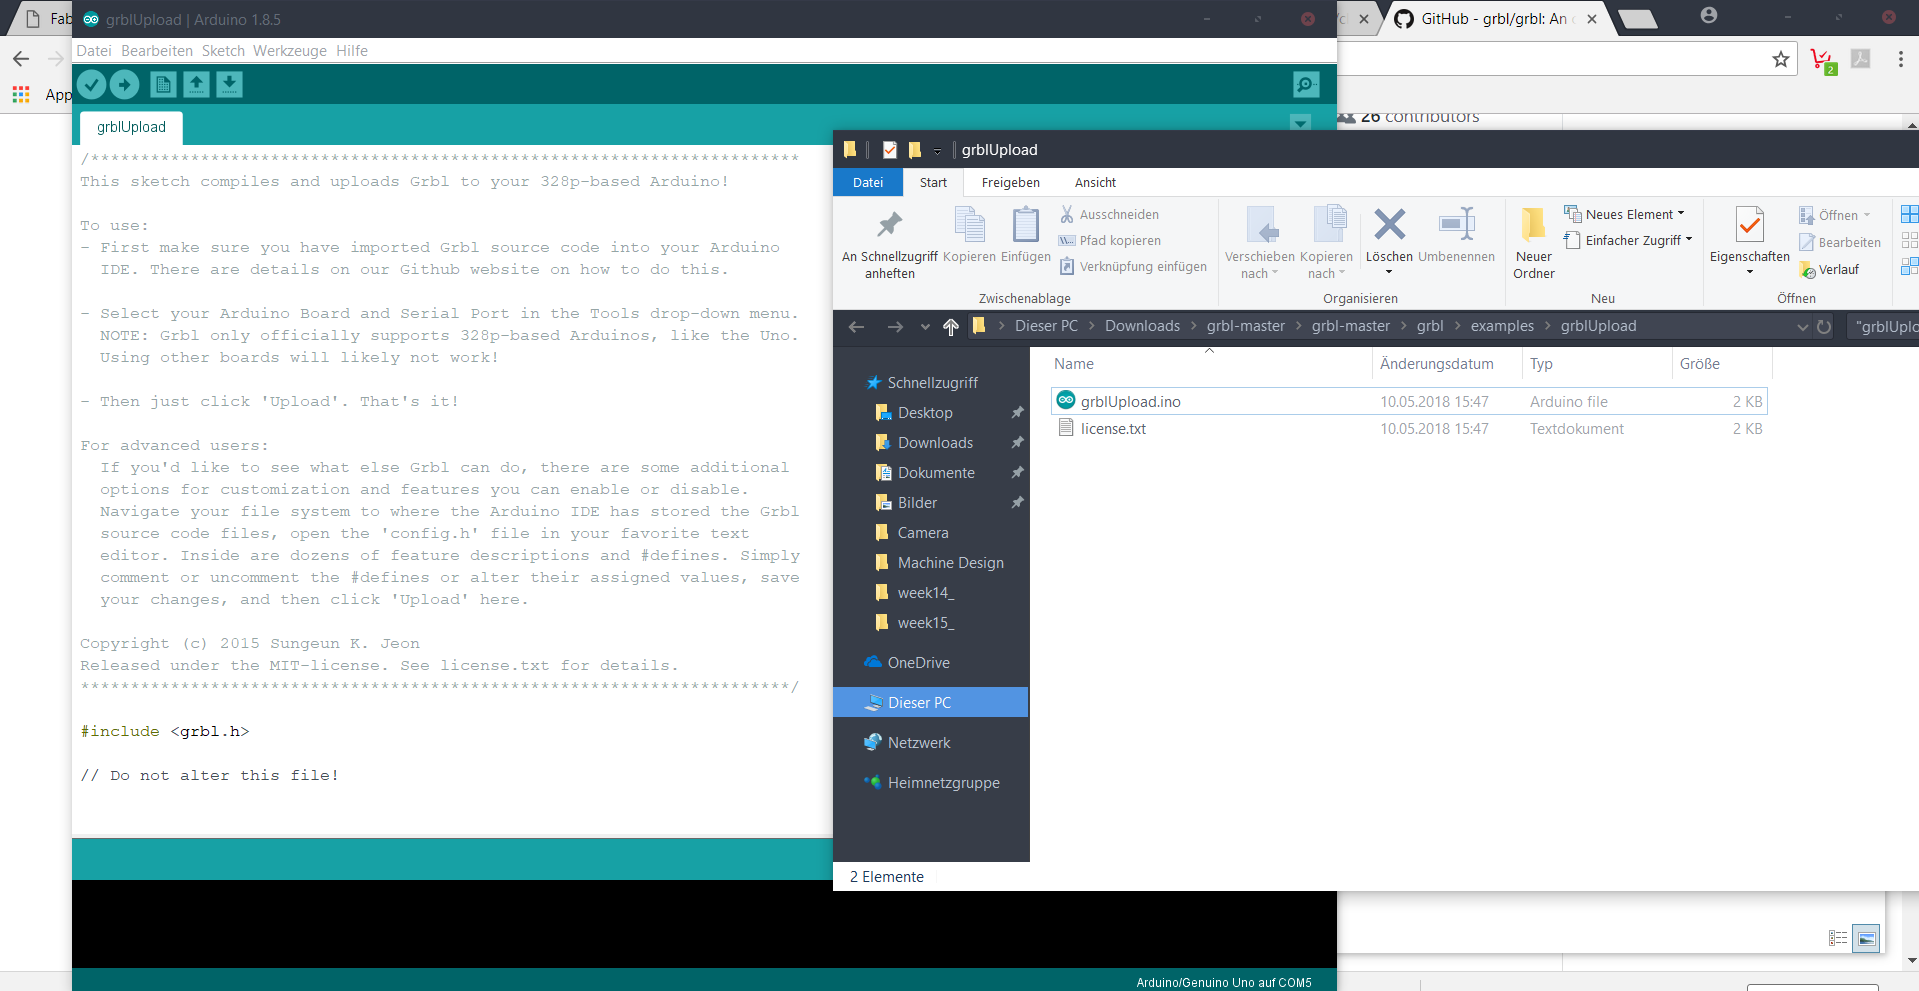
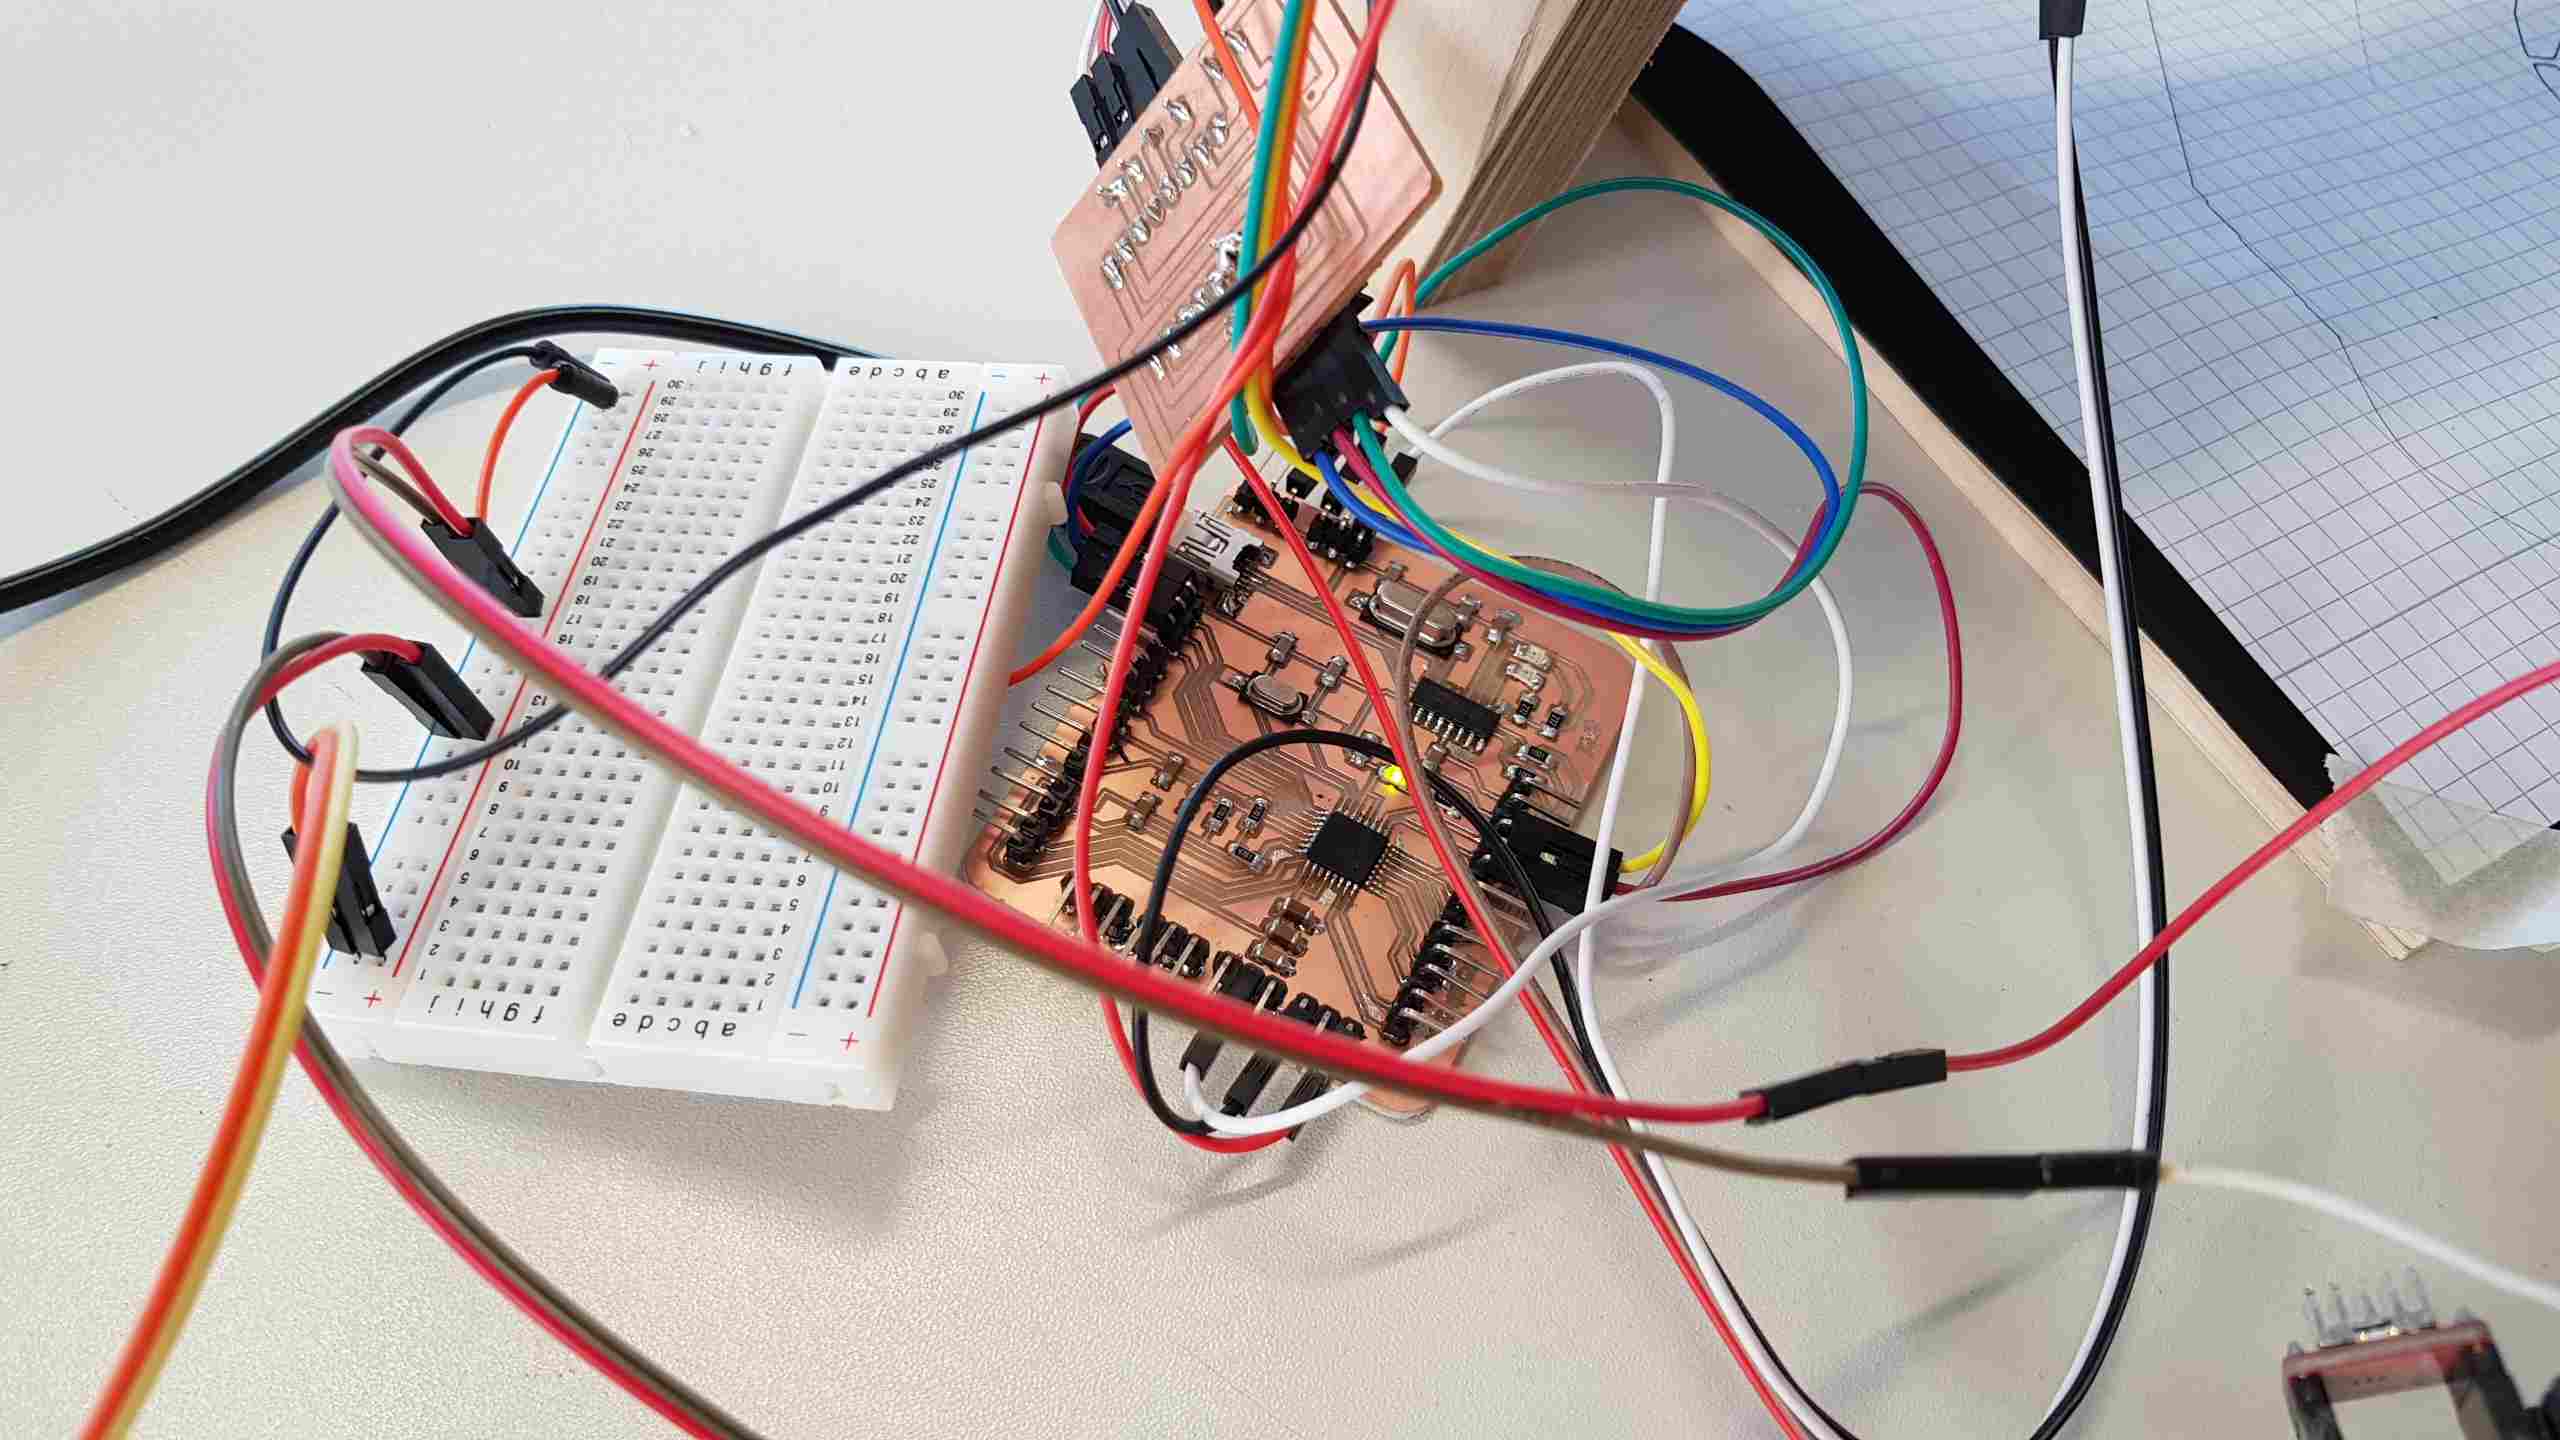
- document the group project and your individual contributionSatshakit-GRBLWell for this week I have decided to replicate a satshakit-GRBL in order to control the axies of the Machine, that we have made in the previous week. The picture below is the innercut if the Satshakit-GRBLAn hier ist the outer part of the Satshakit-GRBL, you can download it directly from here and use for you own purposes.Okay, here is how the boord looks like, after the soldering. I have extra choosen these kind of pinheaders, so that I can place the board on a strategical place.GRBLOkay, now we have to upload a GRBL to our board, therefore we need just to google for "GRBL" or you can use the linke, that you can see in the searchbar. After we have downloaded the GRBL, we have to import it to the Arduino. After this unzip it open it, go to examples and open "grblUpload.ino" and upload it to the satshakit. Here is the datasheet of it.Now connect the satshakit to the stepper driver a4982Okay now we have to calculate the stepps per mm for our motors. We have used Nema 17 Motors, you can find a datasheet below.
      //here is the calculation to find out stepps per mm for nema17(y and z axies)
        1.8° -> Step size
        360 / 1.8 = 200

        16 -> Stepping mode

        16*200 = 3200 -> steps per revolution

        8 -> pitch

        3200 / 8 = 400 -> steps per mm
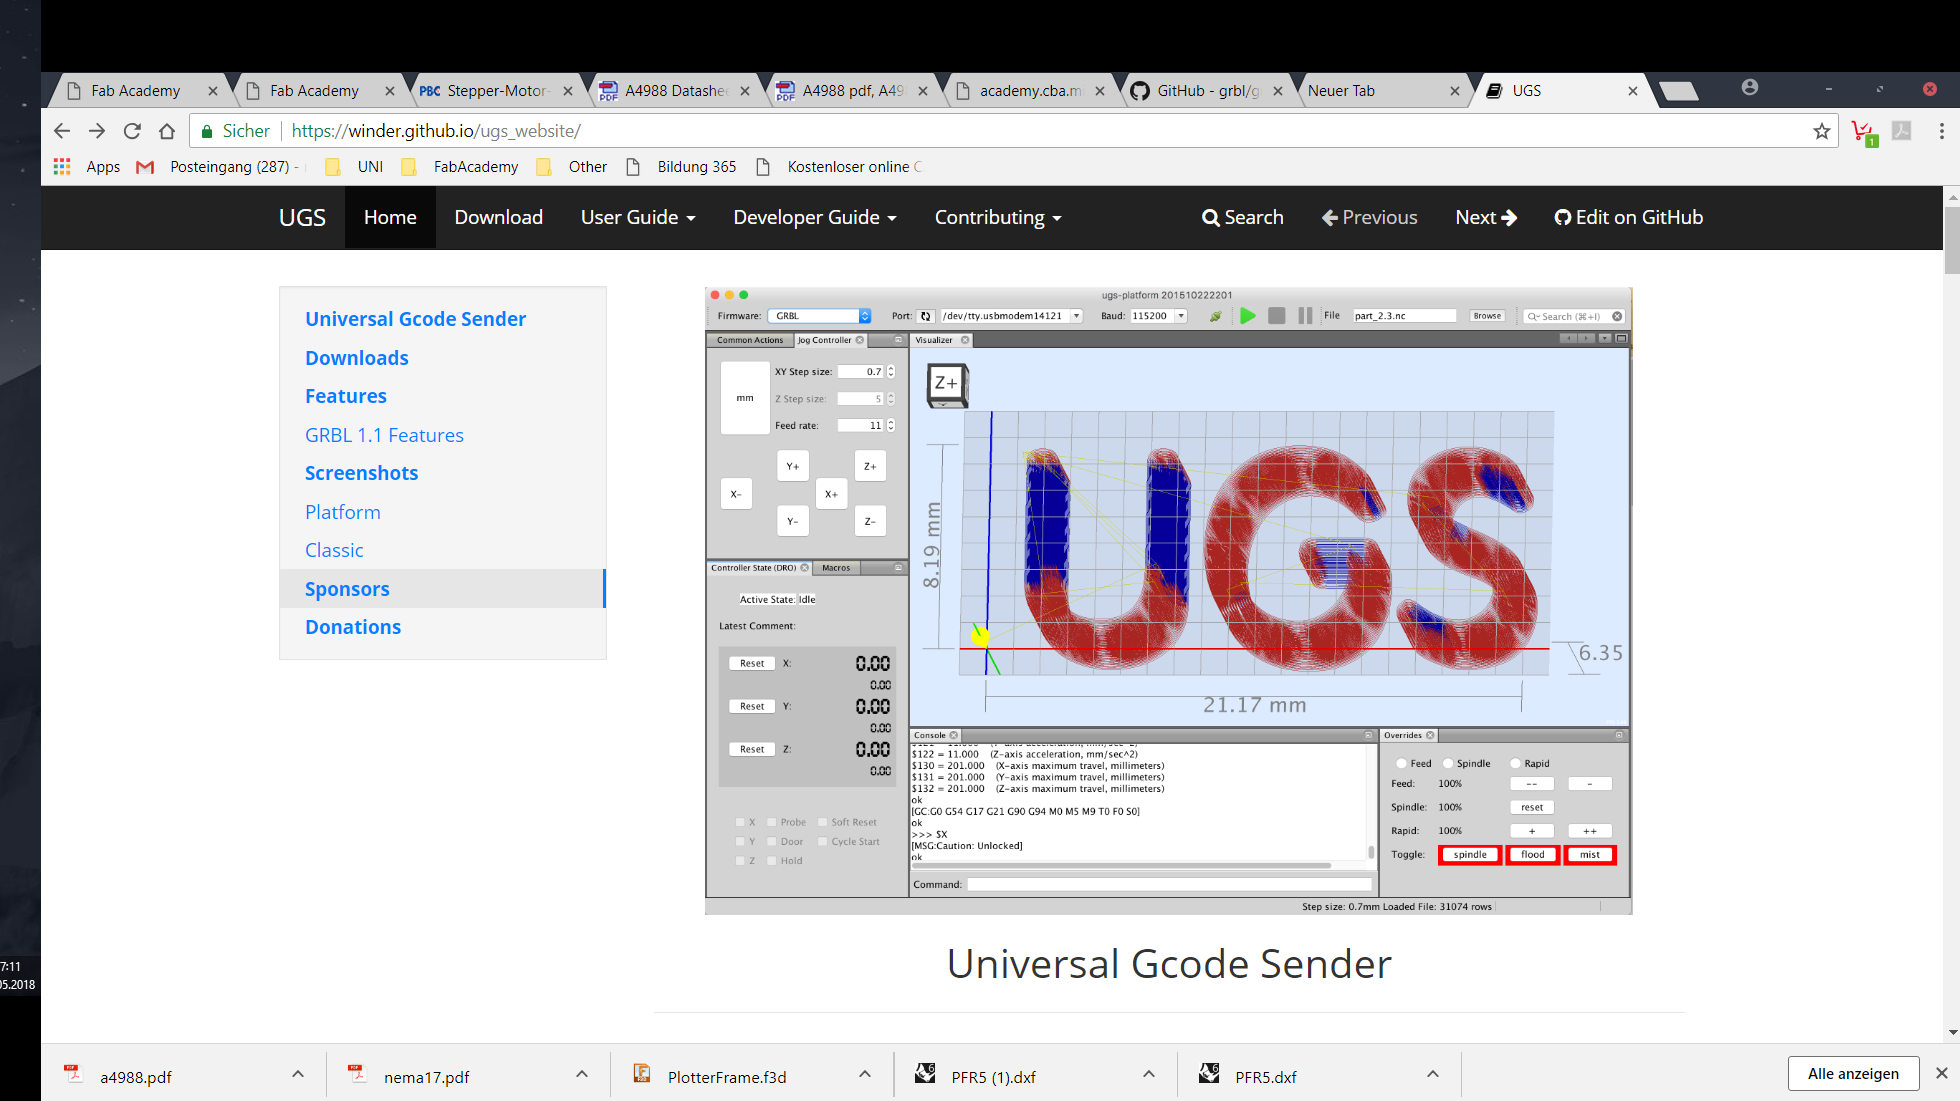
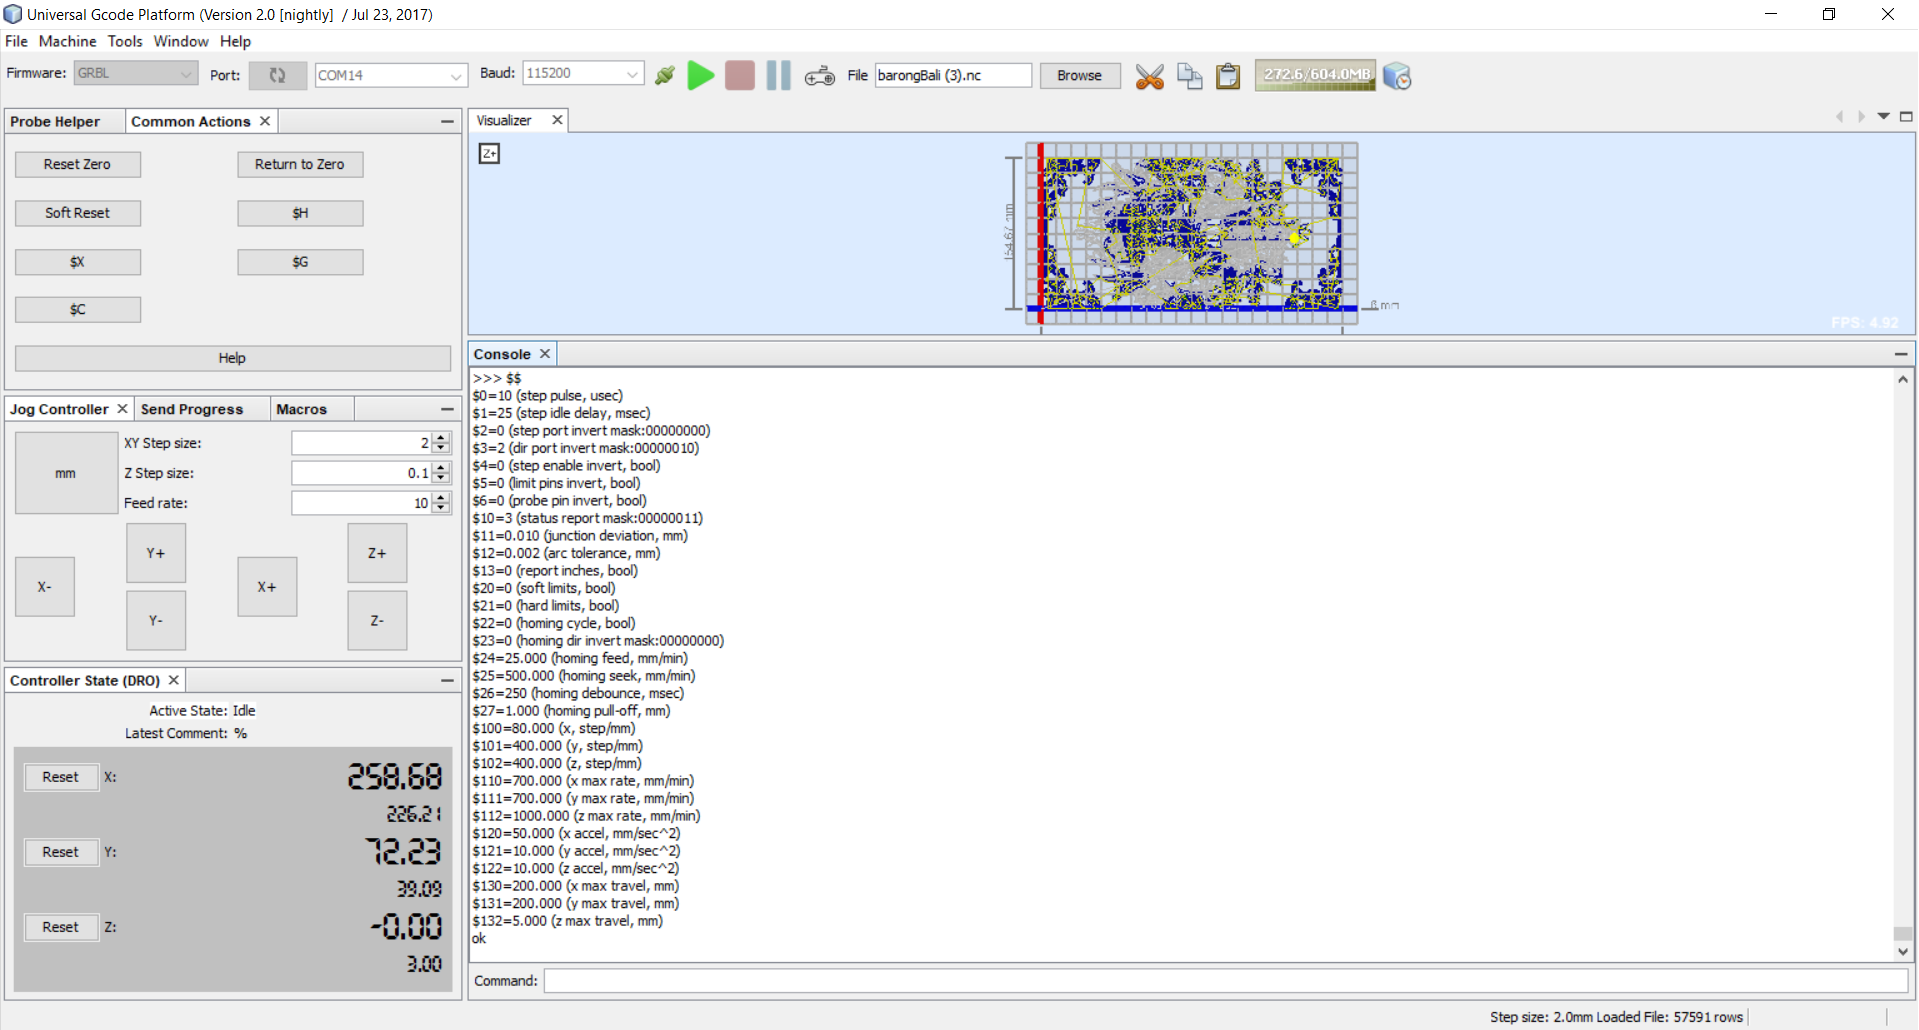
Okay for the x axies we have use the RepRap calculator .Okay to lauch the code we have downloaded the USG platform.After this we had to set the steps per min for each axies. To list the GRBL variables type $$.
And to set the values type
$100=80
$101=400
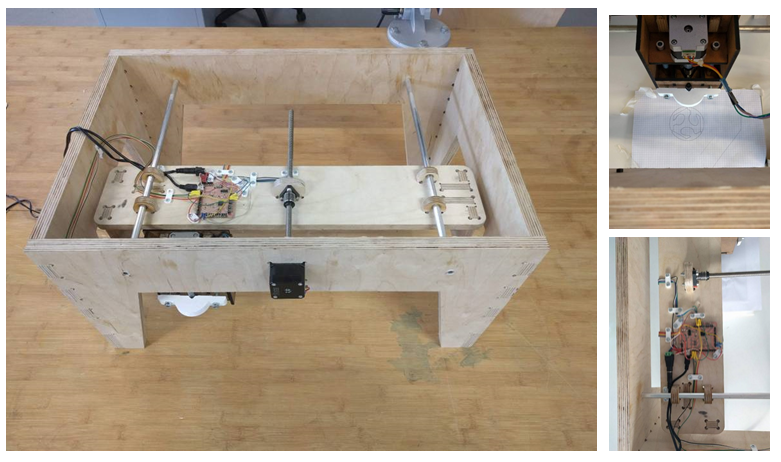
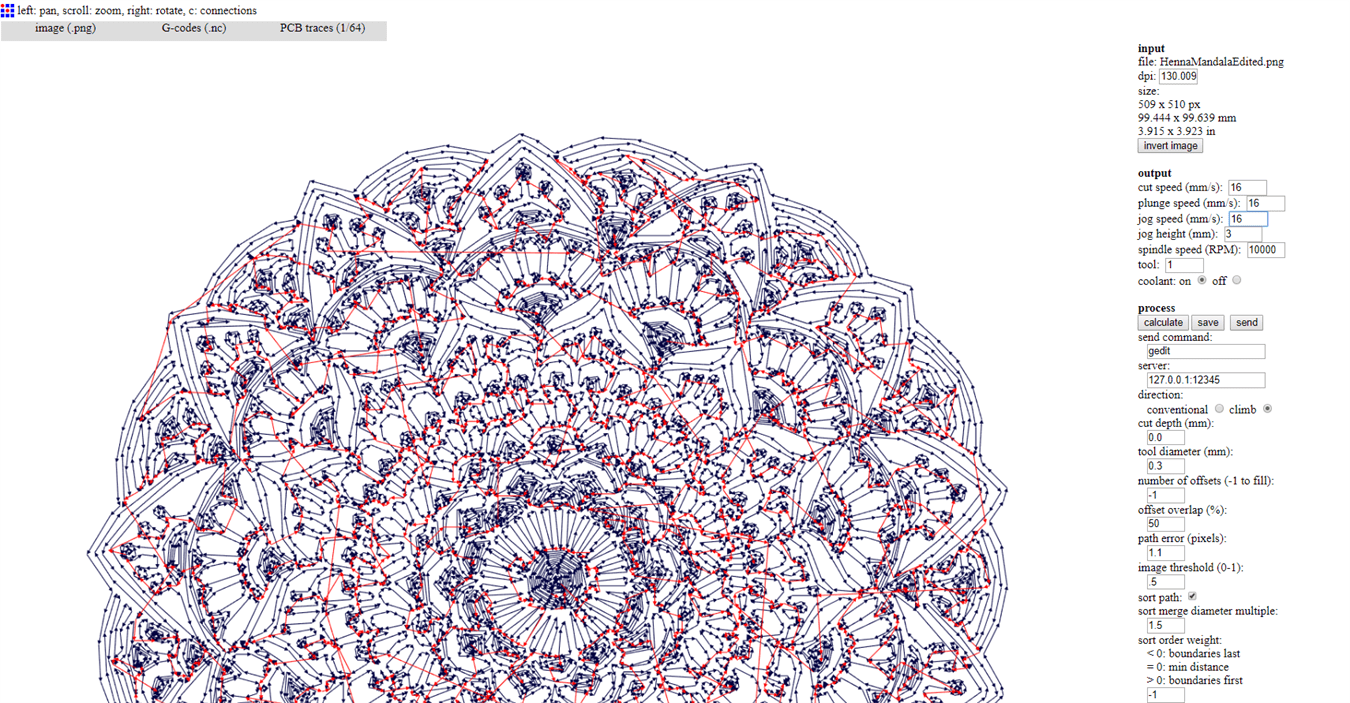
$102=400 Here you can find the documnetation for the grbl settingsSettings and examplesWell after we have assambled our machine and installed the grbl on the on the satshakit-grbl board and after we have calibrated the motors we were able to generate a Gcode with fabmodules.org. Well to run or job we have always place something under the drowing space, I mean kind of bed. Another thing that we have to consider is that we haven't added any buttons for the homing sequence, that means the machine doesn't know the working area and we have to measure it manually. Another thing that I want to mention, is that we had some wobling while moving the x axies: As you can see in the picture, we have a motor in the middle to move the x axies and some !aluminium! pipes to support it. Well the problem is in the pipes, while we hammered them into the frame they got little bit bent. So we hardly recommend to replace these pipe with some iron ones. But at the end the machine works as it it. Those are the parameters that we have used to draw with our machine.
      Input format: Image.png
      Output format: Gcodes.nc
      Process: PCB traces 1/64
      Cut speed : 16 mm/s
      Plunge speed :16 mm/s
      Jog speed :5 mm/s
      Jog height : 7 mm
      etc
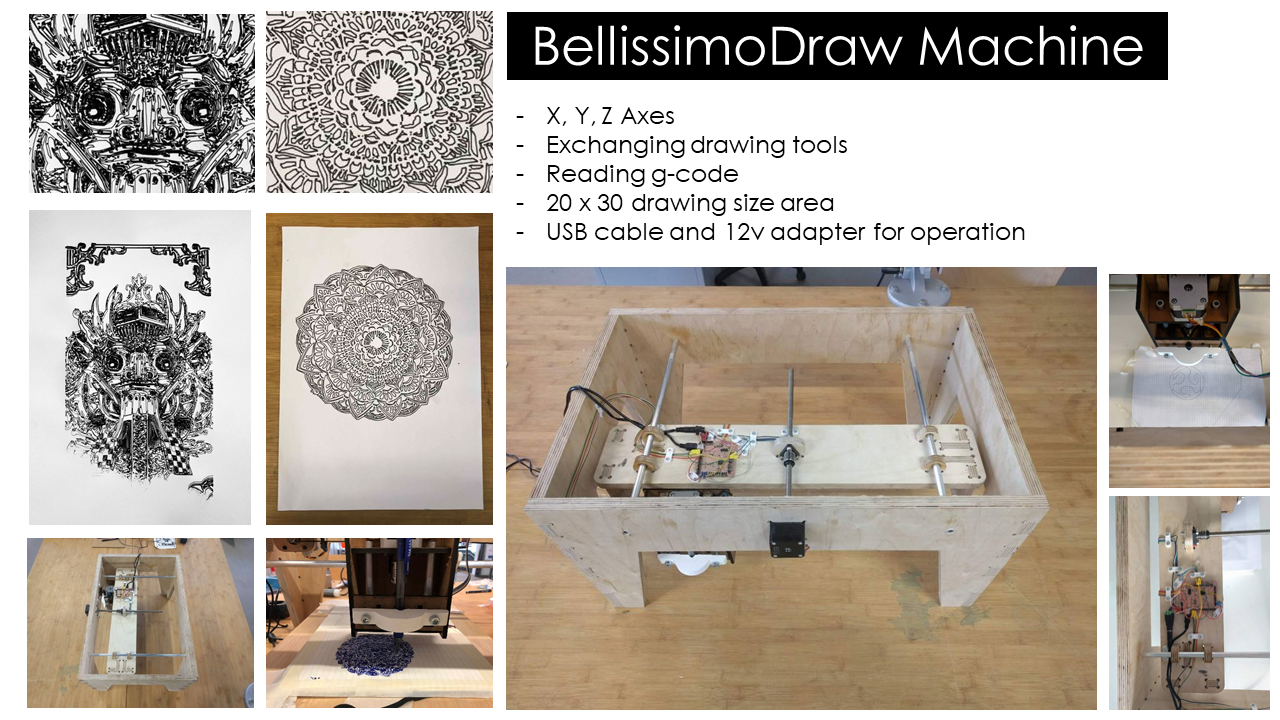
Okay here you can see our machine with some example drowings that we have made with it.Video xD