For this week I will present how to make a embroidery an image. There are some professional software (PE Design 10) that comes with the embroidery machine, but to achieve a better result, it is advantageous to use an
image processing software. I use GIMP 2 because of the possibility to use conversion from image to indexed color.
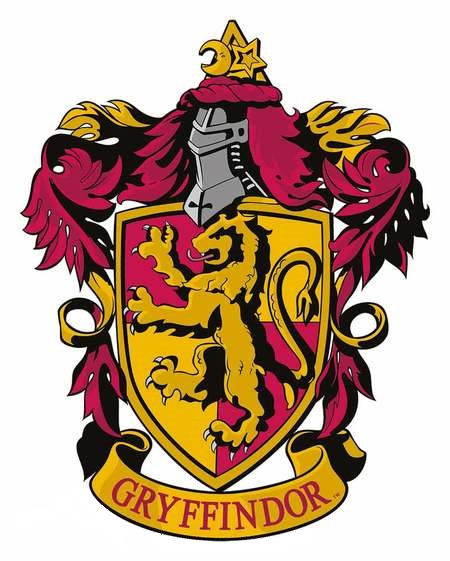
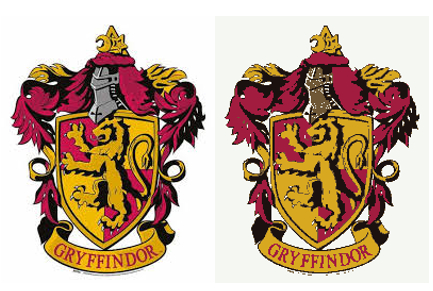
As an example I downloaded an image of the Griffendore logo (Figure 1) from story about Harry Potter.
Gimp - Indexed Colors
Below is a recipe how to prepare an image for the embroidery software (Note that this is only an option).
Figure 1. The downloaded Griffendore logo. Note that the image has a lot of colors and shades.
Run the GIMP 2 software (GIMP 2 can be downloaded from this link).
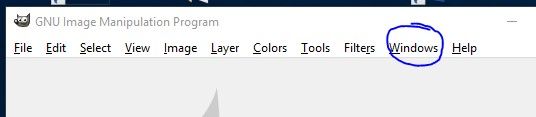
If the GIMP 2 menus are separated on the screen, then in GIMP 2 go under Windows and select Single-Window Mode (Figure 2) if you want to collect all the windows.
Figure 2. GIMP 2 Single-Window Mode.
Select the image file and drag it into GIMP 2.
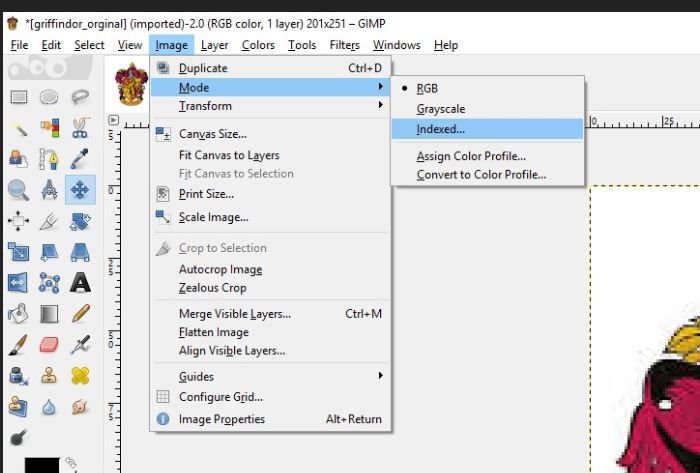
Now we will reduce the number of colors.
Select Image -> Mode -> Indexed (See Figure 3).
Figure 3. GIMP 2 How to select Indexed color.
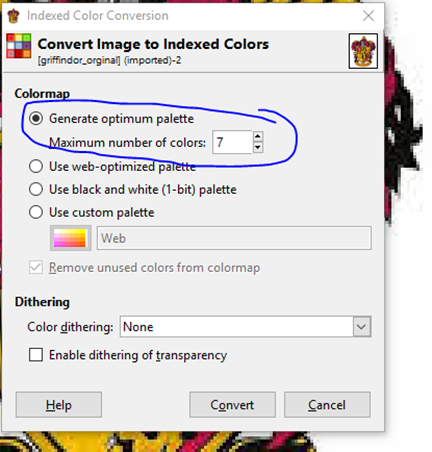
Figure 4. GIMP 2 Convert Image to Indexed Colors.
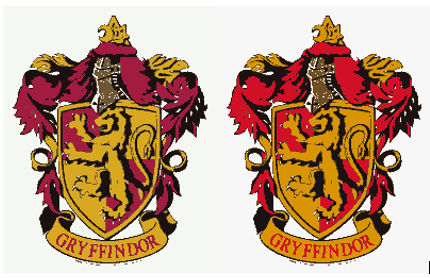
Select "Generate optimum palette" (See Figure 4) and try different values of "Maximum number of color:", click on "Convert" to see the result (Sie Figure 5).
Figure 5. Left: The original image. Right: Image Indexed with 5 colors.
As long as you just try to optimize the maximum number of color, you can go one step back (Edit -> Undo) to the original image.
Every time you chose a new value of maximum number of color you have to click on Image->Mode->Indexed .....
Now we will change the color to fit the color of the embroidery thread, and collect areas that has the same color.
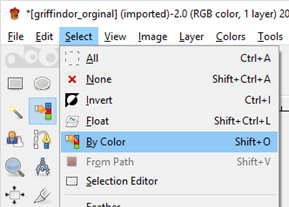
Select the areas that have the same color: Select-> By Color, (See Figure 6) and click on one color on the image (e.g. a red color)
Figure 6. Select areas that have the same color.
Now the border of all the red areas will be highlighted (See Figure 7).
Figure 7. The selected red areas.
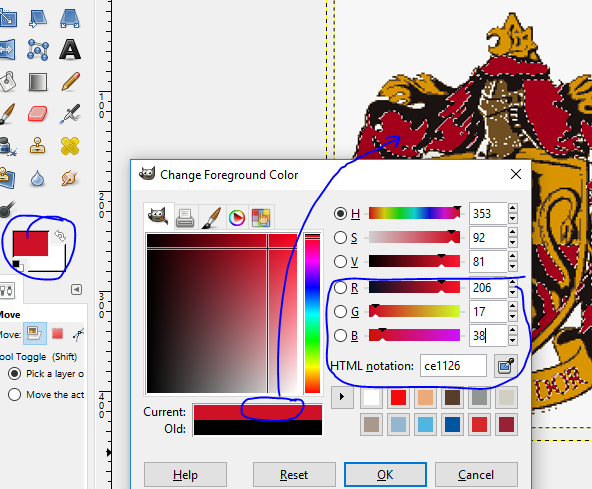
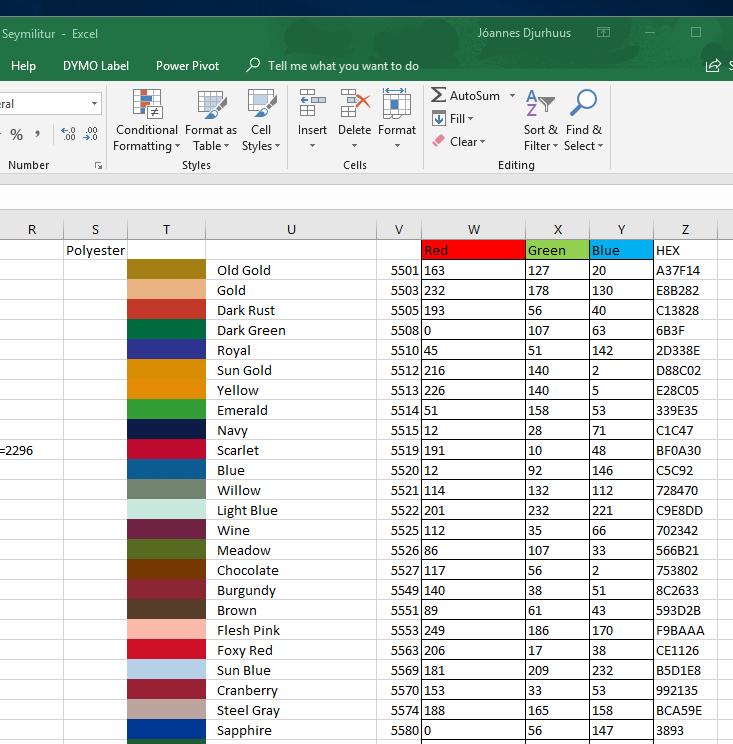
We then change the red color of the image to a thread color from a thread color data base (See Figure 17).
Select the square with Foreground Color (See Figure 8), and change R,G and B so the number match the thread color. E.g. Foxy Red has (R,G,B) = (206, 17, 38) or the HTML notation CE1126.
Figure 8. Change the red color to thread red color.
Note the RGB codes are not unique but depends e.g. of the screen.
Drag the Current color over to a highlighted colored area of the image, and drop the color. Now the selected color is changed (Figure 9).
Figure 9. The logo with Foxy Red color.
Now we repeat this procedure until all the colors are converted to a thread color.
Frequently you need to retouch the image because of the shadow areas (small single dots in an area having the wrong color). The retouch can take long time, but it will pay off later when we use the embroidery software.
Figure 10 could be the final image ready to use in the embroidery software (I used 5 Index color).
Figure 10. The logo with embroidery thread colors.
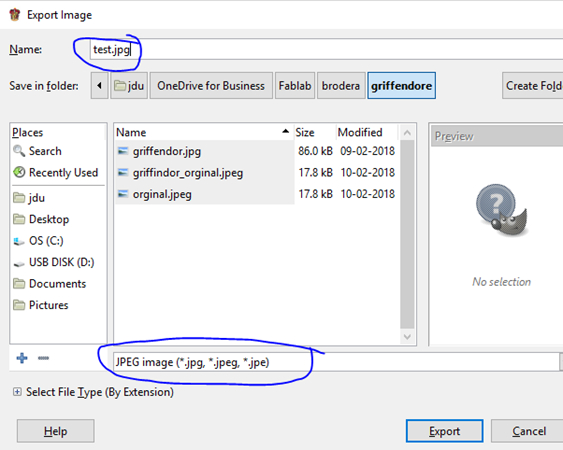
SAVE THIS IMAGE AS A JPG FILE.
Select File->Export As. Select file type JPEG and remember to write the type in the file name ".JPG" (See Figure 11).
Figure 11. Save the image as a jpg file.
PE Design 10
Run PE Design 10
Select: "Create Embroidery Patterns Using Images".
Select image and open (or douple click).
Select Method "Auto Punch".
Next.
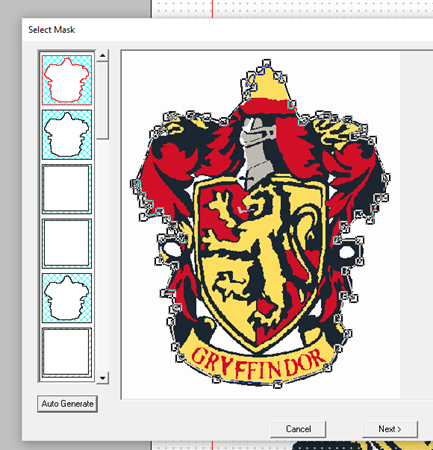
Figure 12. Selected Mask.
Select Auto Generate or what ever you decide. NEXT.
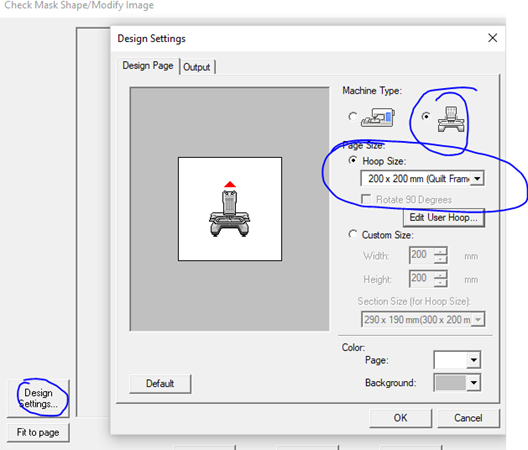
Figure 13. Design Settings.
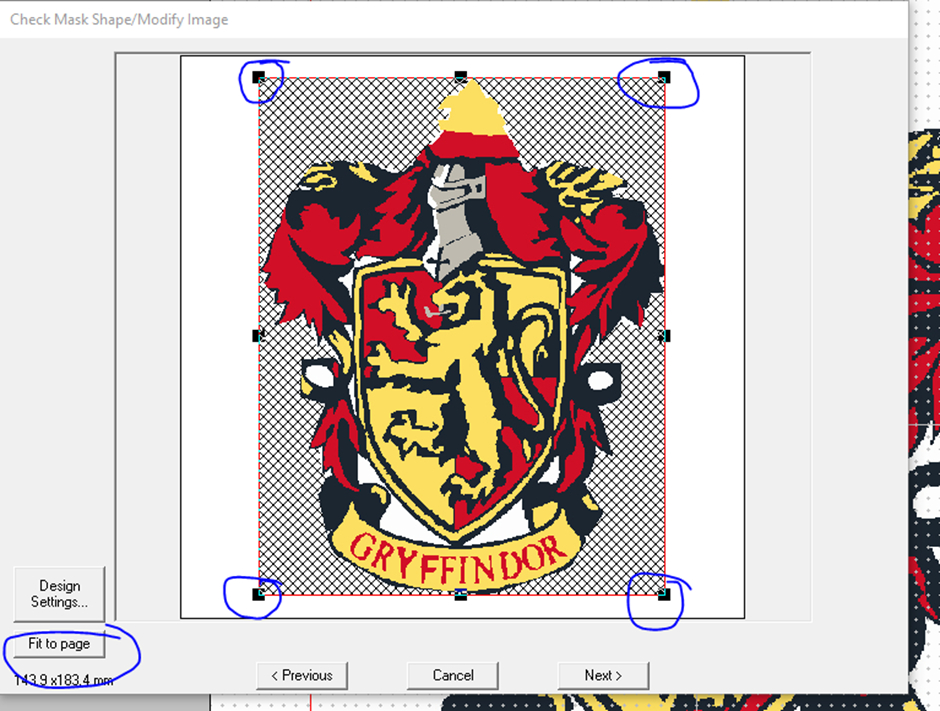
Select Design Settings (Figure 13). If you like to fill the embroidery frame select "Fit to page" (See Figure 14),
but you can drag the black squares, but note the scaling error, so please select the corner squares.
Figure 14. Setting the size of the embroidery image.
NEXT
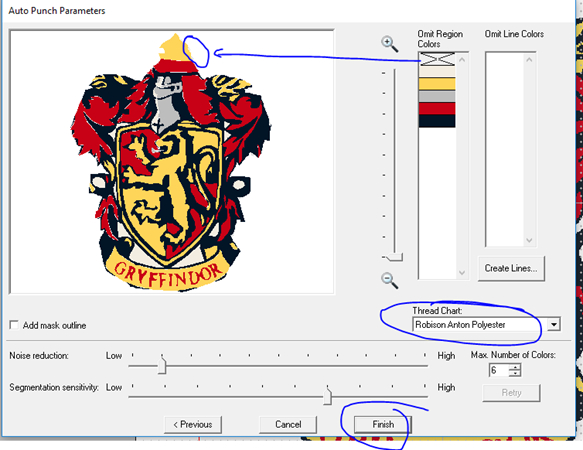
Figure 15. Select thread chart and approve the thread colors.
I am using the Thread color Chart from Robison Anton Polyester. Set the Max Number of Colors to 6,
there was some "white" color out side the "hat" that I have not catch, I will Omit this Region Color (See Figure 15).
Now you can click on Finish.
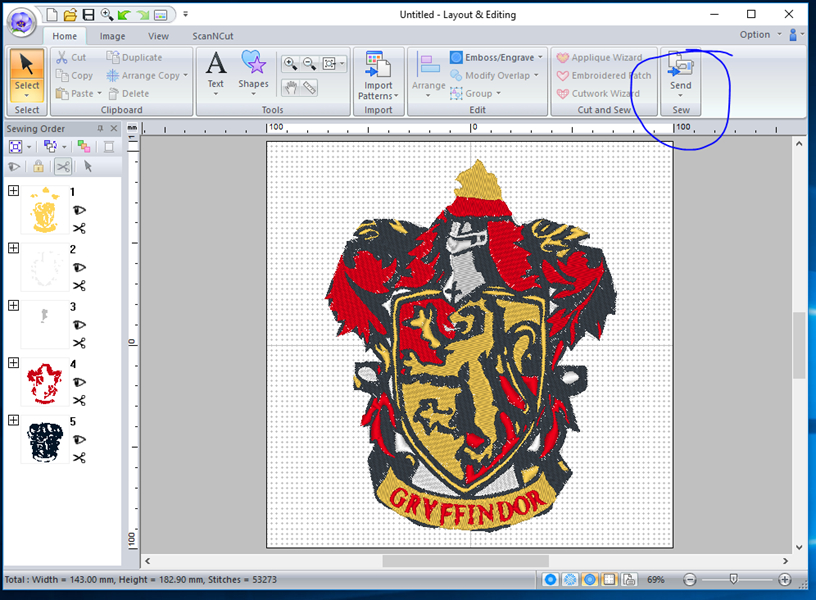
Figure 16. The image ready for embroidery.
Before you Send to Sew, you can change a lot of different layout. For this image I set the type of stitches to Fill Stitch.
Select Sent to Sew directly to the embroidery machine or the a USB memory stick.
Figure 17. Robison Anton Polyester an embroidery color chart.
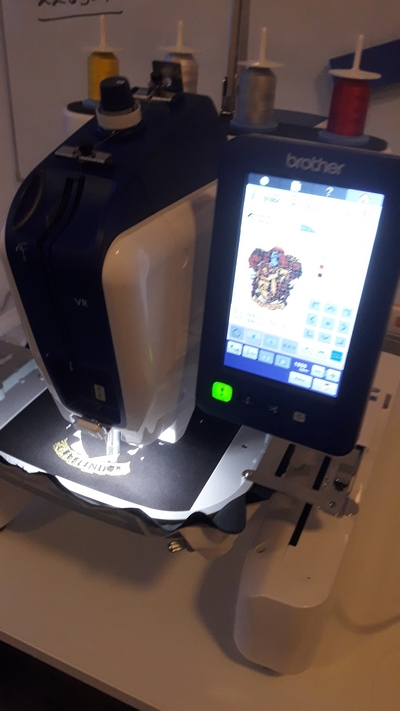
The Result
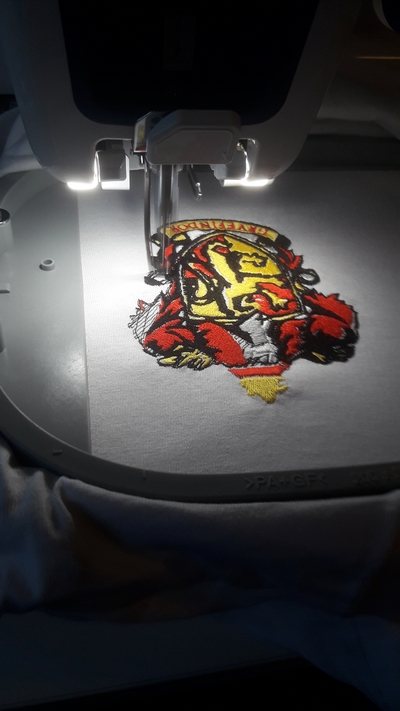
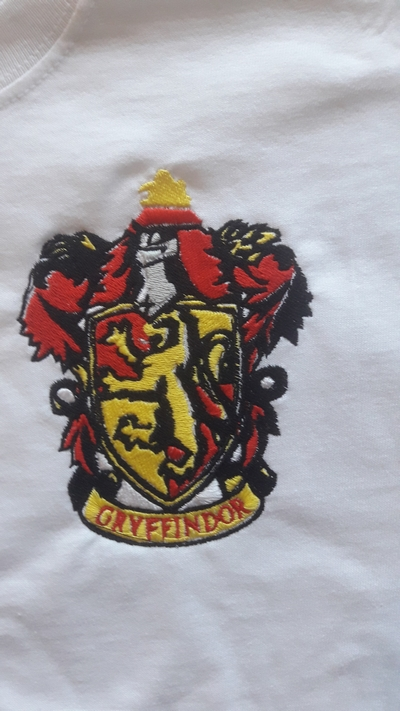
I embroidered the image on a white T-shirt. I put white fliseline under the T-shirt. (fliseline is some special textile material for embroidery.)
The number of stitches was around 33 thousand.
Figure 18. Embroidery on a T-shirt.
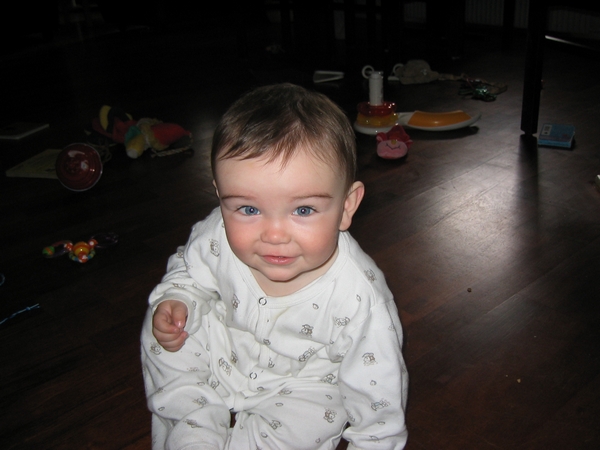
Figure 18 shows an embroidery of a private image.
Figure 19. Embroidery on a private image.


