This week the group Assignment is to:
Review the safety data sheets for each of your molding and casting materials,
then make and compare test casts with each of them.
The Individual Assignment is to:
Design a 3D mold around the stock and tooling that you'll be using,
machine it, and use it to cast parts.
Living in remote area, we have not access to many type of molding and casting material.
While I was visiting Ísafjørður, we (the instructor and me) went through the casting part
of the molding and casting process.
The molding process (model - hard and soft molding) have to wait till I got some material for that.
Group Assignment
For the casting we use Smooth-Cast 305 which is a two components resin. We did the casting using this material only.
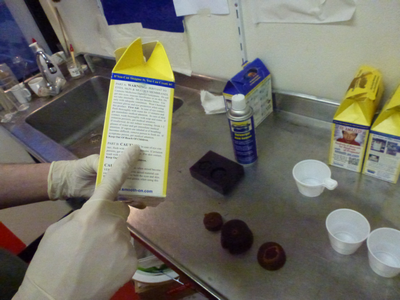
Before we started the casting, we read the warnings (Figure 1) thoroughly.
Figure 1. Warnings.
Warning on the package:
Part A:
Contains Methylene Dipheny Isocyanate. Do not get into eyes, mucous membranes or skin.
Do not take internally. Do not breathe fumes. Use only with adequate ventilation.
Wear chemical resistant gloves and eye protection when using this product. First Aid: In case of eye contact,
flush thoroughly with water for 15 minutes and get immediate medical attention. In case of skin contact,
wash thoroughly with soap and water. If irritation persists, get medical attention.
If swallowed, do not induce vomiting. Drink 1-2 glases of water and get immediate medical attention.
If vapors are inhaled or if breathing becomes difficult, remove person to fresh air.
if symptoms persist, get medical attention.
Keep out of reach of children.
Part B:
In case of ey contact, flush with water for 15 minutes. If irritation persists, get medical attention.
For skin contact wash with soap and water.
Keep out of reach of children.
Caution: Contents when mixed become very hot!. Contact with mixed material can cause severe irritation or burn
the eyes and skin. Wear safety glasses and gloves when using this product.
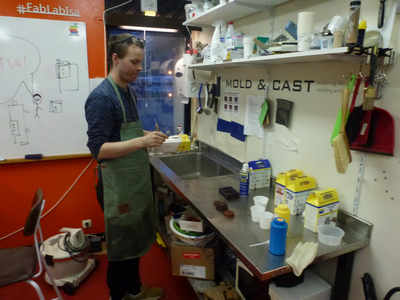
Through the casting, wear safety glasses and gloves (See Figure 2).
Figure 2. Preparing the safety.
Individual Assignment
We prepared casting on a button, a parts for a refrigerator, and a small stone. Left overs of the casting fluid,
was poured over a small stone and two pieces of wood.
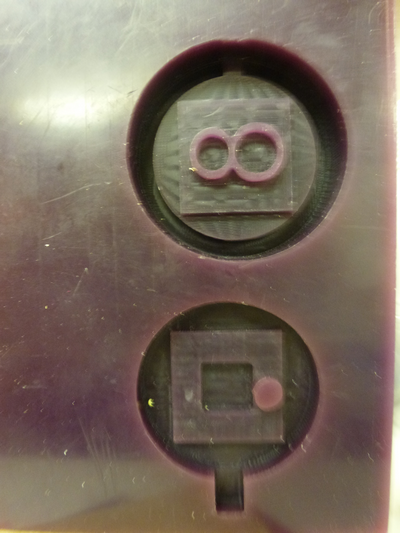
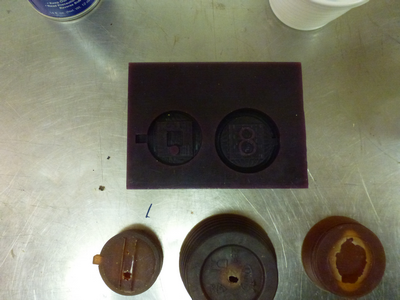
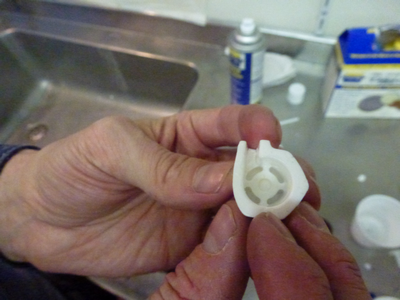
Figure 3. The mold model of the button.Figure 4. Above: The button mold model. Below: Left: The molded button - with lid on.
Middle: Almost closed mold of a parts of a refrigerator. Right: Concave mold of a stone.
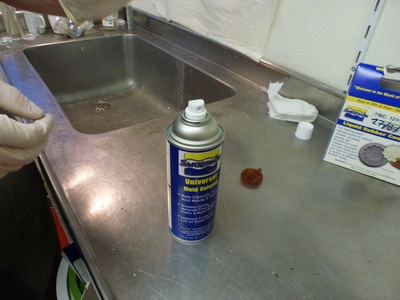
The molds were clean for dust, and Universal mold Release was sprayed on the molds (See Figure 5).
Figure 5. Universal mold Release was sprayed on the molds.
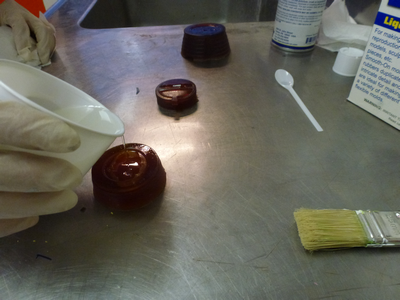
The two components of resin was stirred (not shaken to avoid bubble formation), then the components was mixed with equal parts of both.
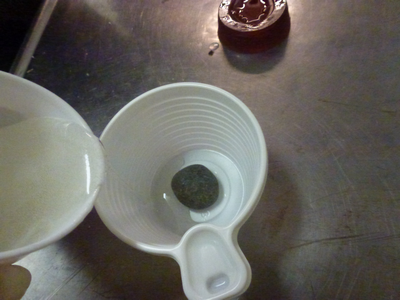
The resin fluid was poured over/into the molds, and the left over was poured over a stone and two pieces of wood (See Figure 6).
Note! We do not want resin liquid in the sink.
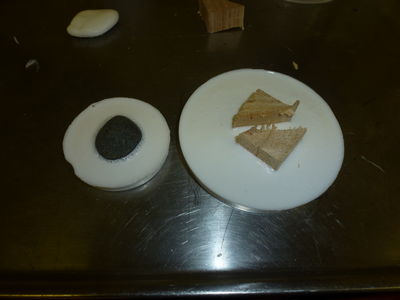
Figure 6. Resin fluid was poured over the molds.Figure 7. Resin left over was poured over a stone (left) and two pieces of wood (right).
The concave molds was turned a bit so the resin could reach all the corners, and bubbles could escape the cavity.
Now we wait for at least 16 minutes for the resin solidifies.
We notice that the was some head coming from the casted parts.
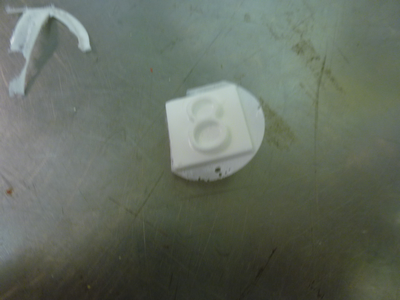
Then we took the cast out of the molds. We struggle a bit to get the cast almost closed mold.
The results of the casting was good. We use a knife to cut some extra resin that was solidifies outside the mold.
You will find some figures below that show the result of the casting.
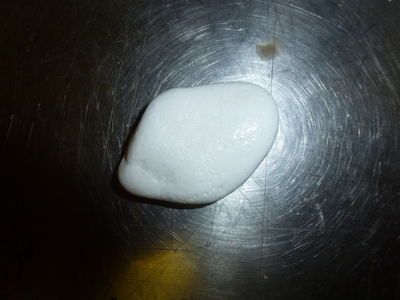
Figure 8. Casted button.Figure 9. Parts of a refrigerator.Figure 10. Casted stone.Figure 11. The result if resin poured over a stone and two pieces of wood.
This was a very learning process, I hope I soon get the opportunity to perform the molding part.