Week 5
3D scanning and printing
Assignment
Group
• test the design rules for your 3D printer(s).
Individual• design and 3D print an object (small, few cm) that could not be made subtractively.
• 3D scan an object (and optionally print it).
3D printer test
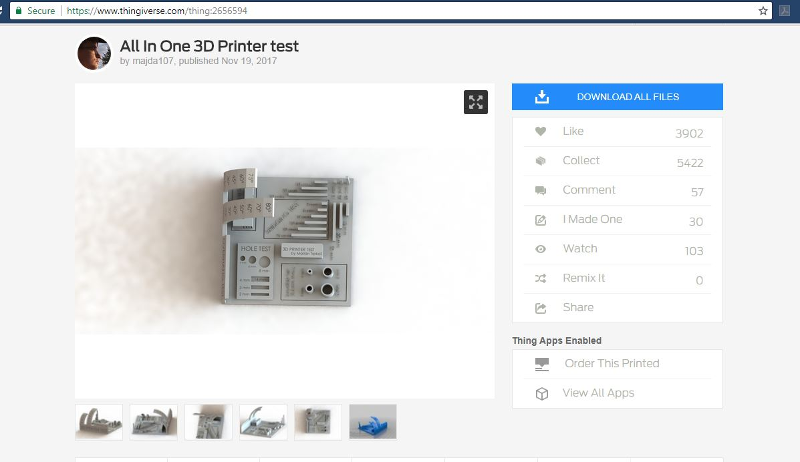
Thingiverse
I went to thingiverse and downloaded a 3d test file as shown. since its a group assignment I got to do it with one of the lab technician here at Gearbox. The link is:www.thingiverse.com
First I downloaded the ultimaker cura software as shown below. and installed it in my laptop.

Then I loaded it in the cura software.At first I didn't know what am testing soo the lab technician took me through what to look for while testing and how the cura software works.
We will be printing the test 3d design which have the exact measures then reference it to the design that I will print on th 3d printer.
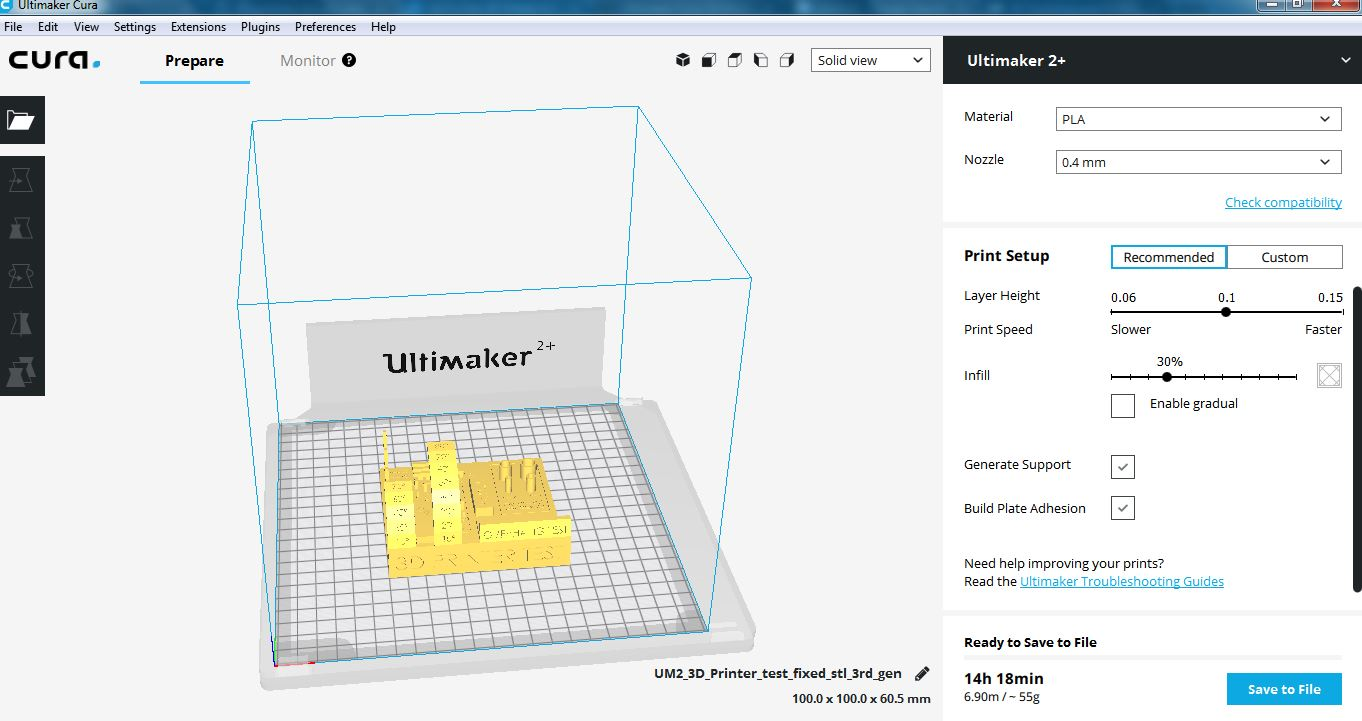
The infill I got to know is the thickness layer for the material. the higher the percentage of the infill the more the time an shown below.
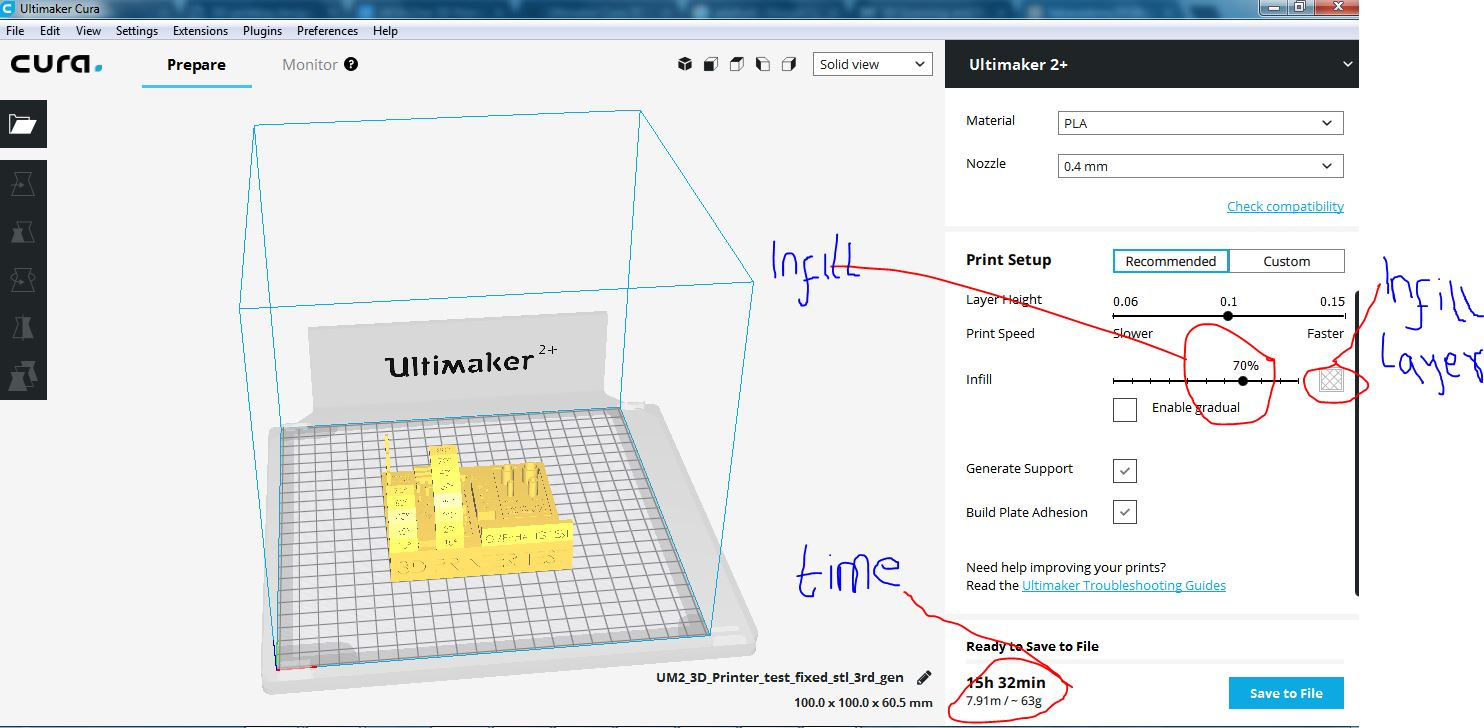
like the below image has an infill
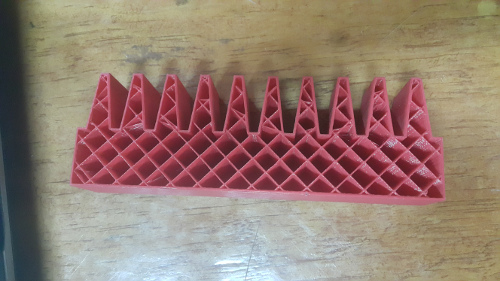
The test
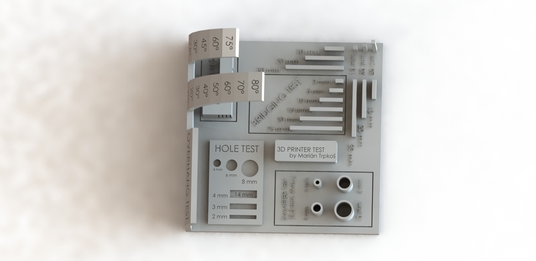
Below shows the before and after
Thingiverse
3d test image
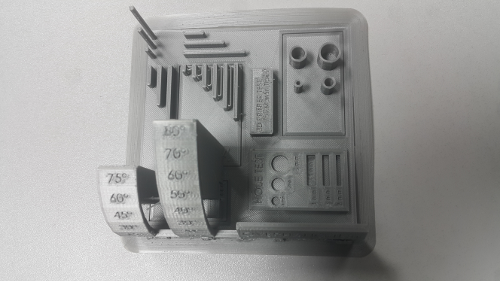
After Printing
This the 3d image that I printed in our labs.
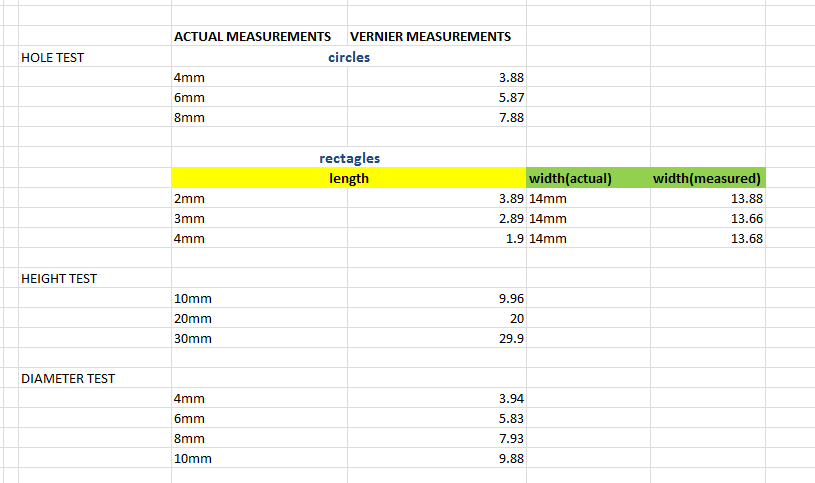
I used vernier calliper to conduct the test.
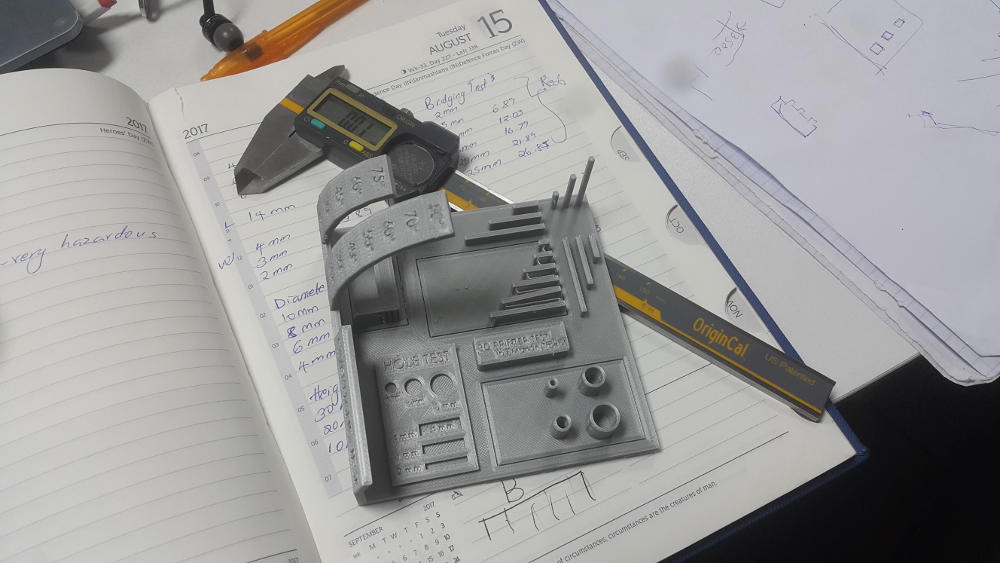
What I learned
The results are as shown below. There was very little difference between the the measurements and for the angles the printer executed a perfect angle for all the angles as shown in the image above. As shown below for the height test it measured alomst acurately and even for the rest.
What I also learned is that different printers print differently and even the smoothness of the object based on several qualities the 3d printer you using , the material and the setting as shown in 3D design Print process below.
3D design process
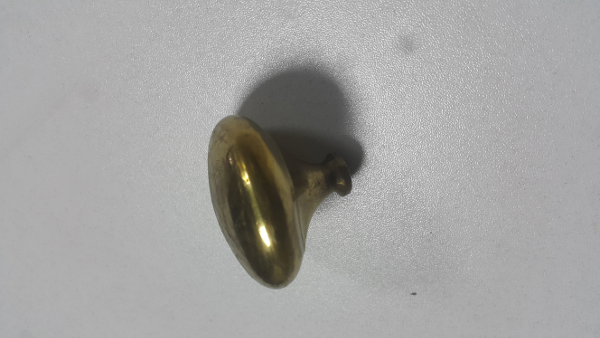
I got my inspiration from a door nope that I found laying around the office. As you can see.
I designed it using Onshape its an online CAD that you can design both 2D and 3D designs. I prefered using it because I can save my work online and anyone can view what am doing.
Step by step
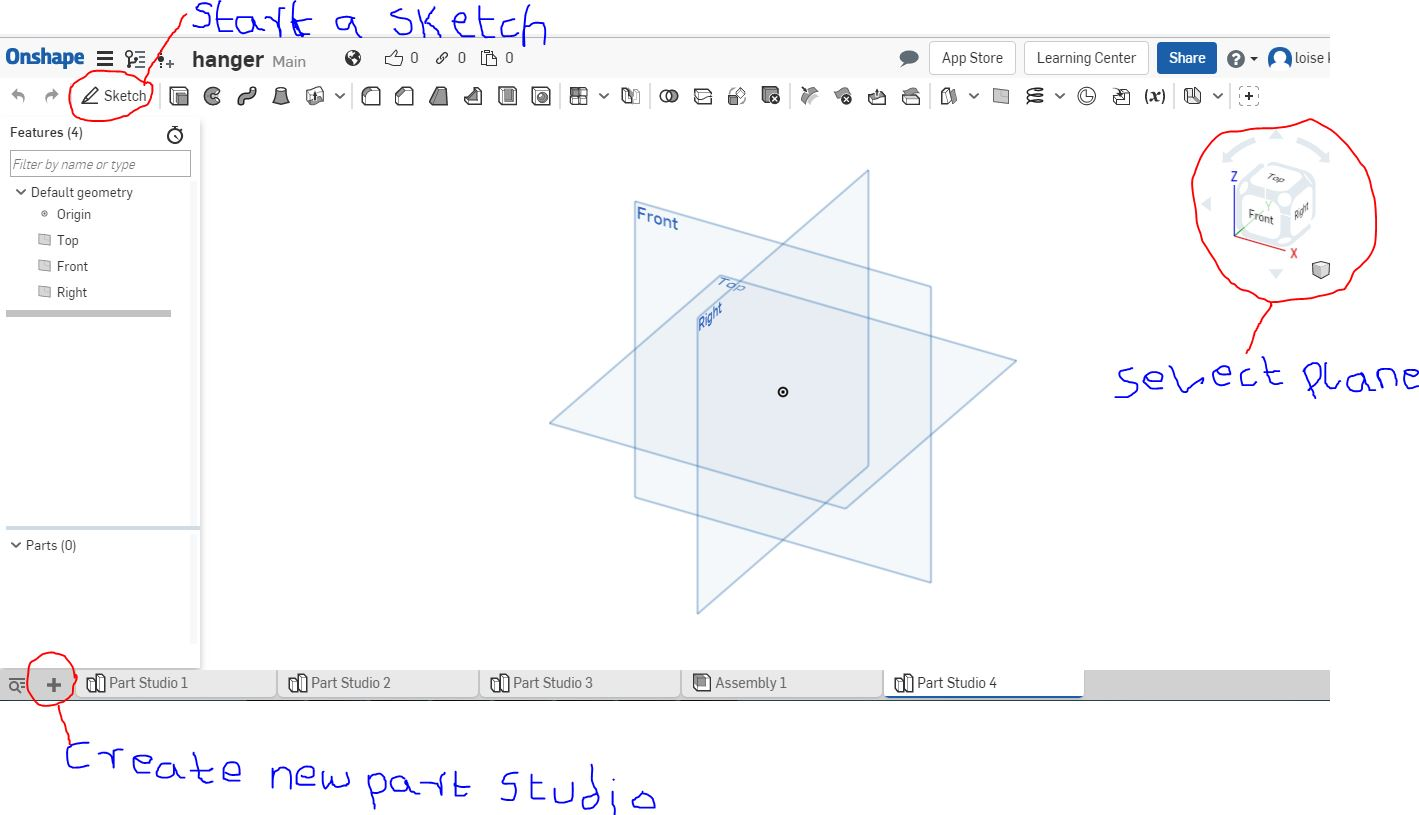
First I created an account and logged in through the onshape website.Once logged in the below is what you see. Started by creating a part studio from there I selected a plane. I choose front end view.
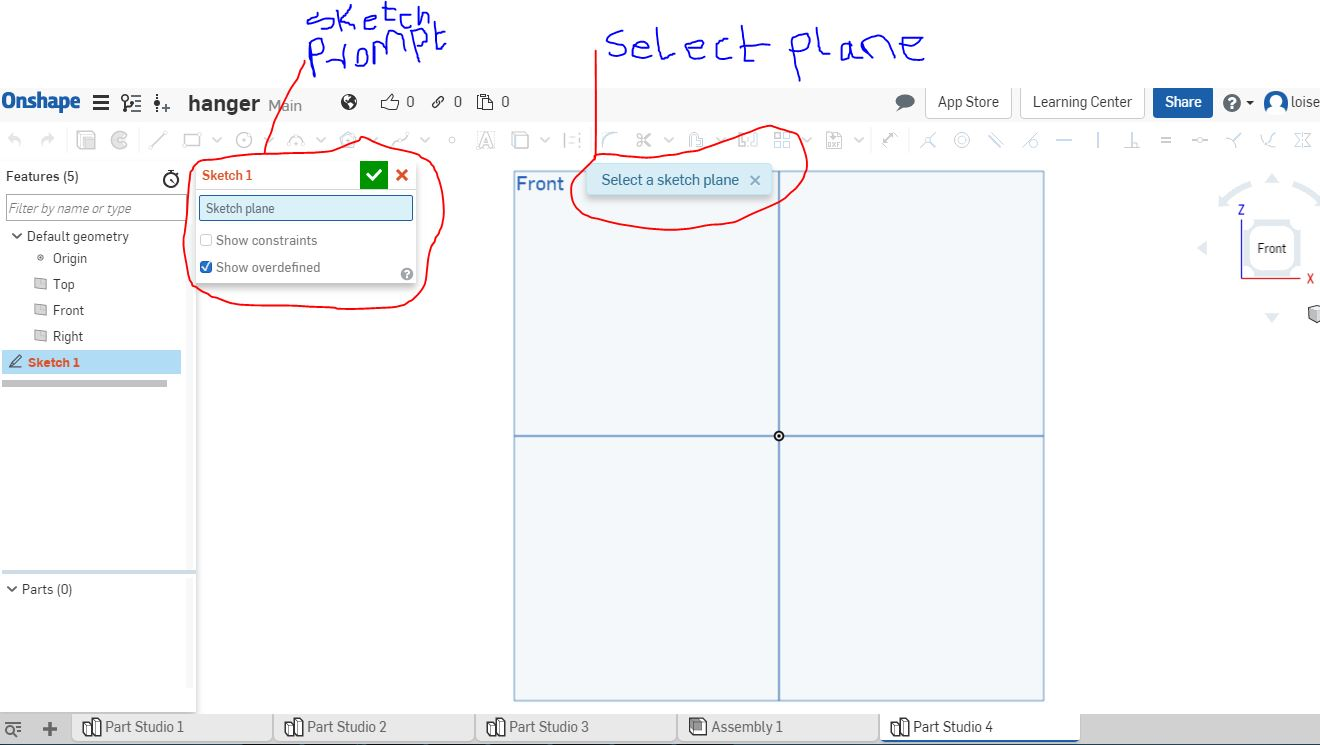
Once the sketch is selected. a prompt comes up requesting to select the plane to sketch on.In my case I chose front view.
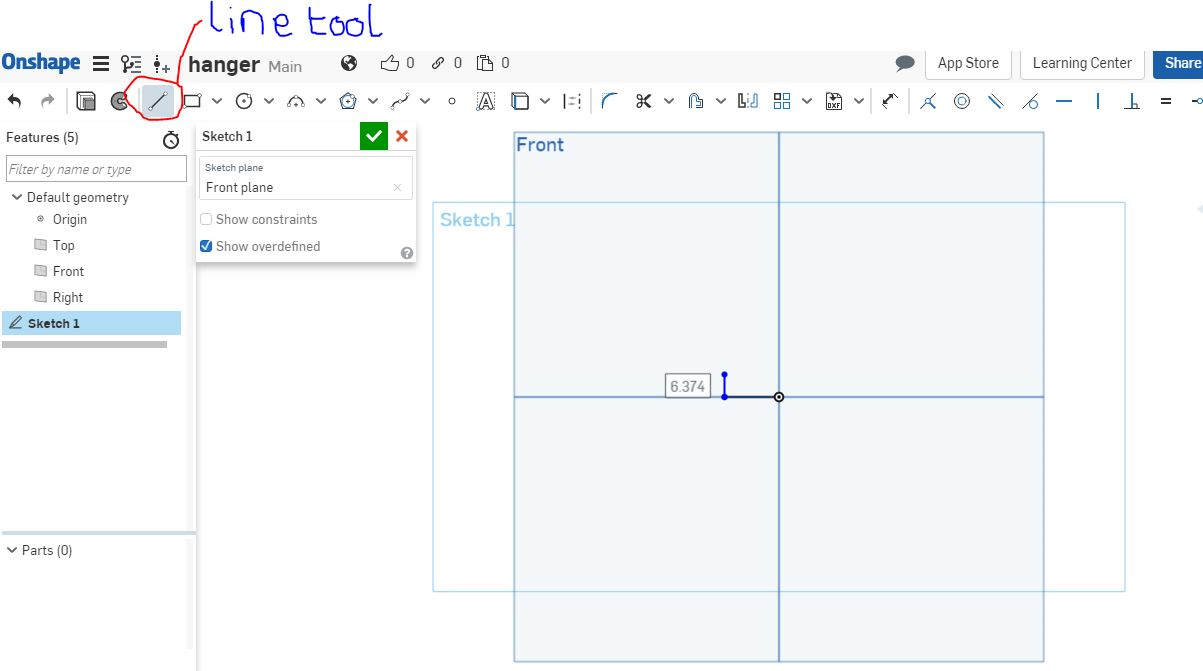
I selected the line tool and drew a line from the center point going to the left side. Then upwards through the X-axis.
Then I used the spline tool to design the curve of the nobe.
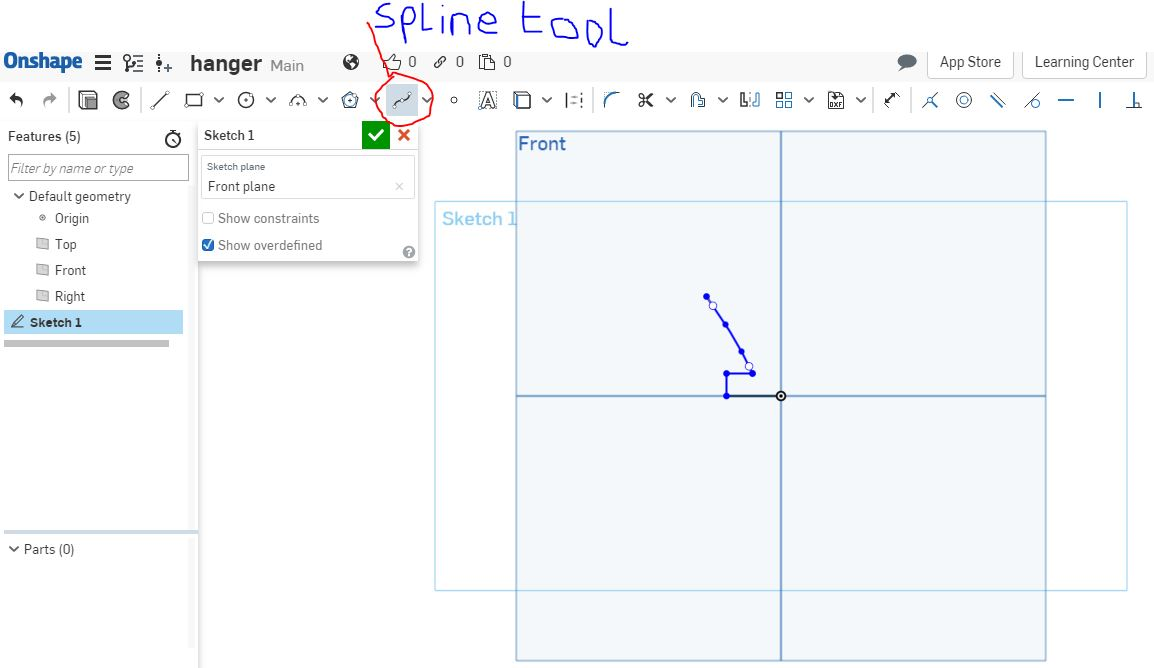
Then a line joining the upper point and the lower point through the center.One side of the nobe looks like the below image.

I used the revolve to get an even shaped nobe. Clicked the revolve button and chose the sketch I wanted to revolve and the revolving axis.
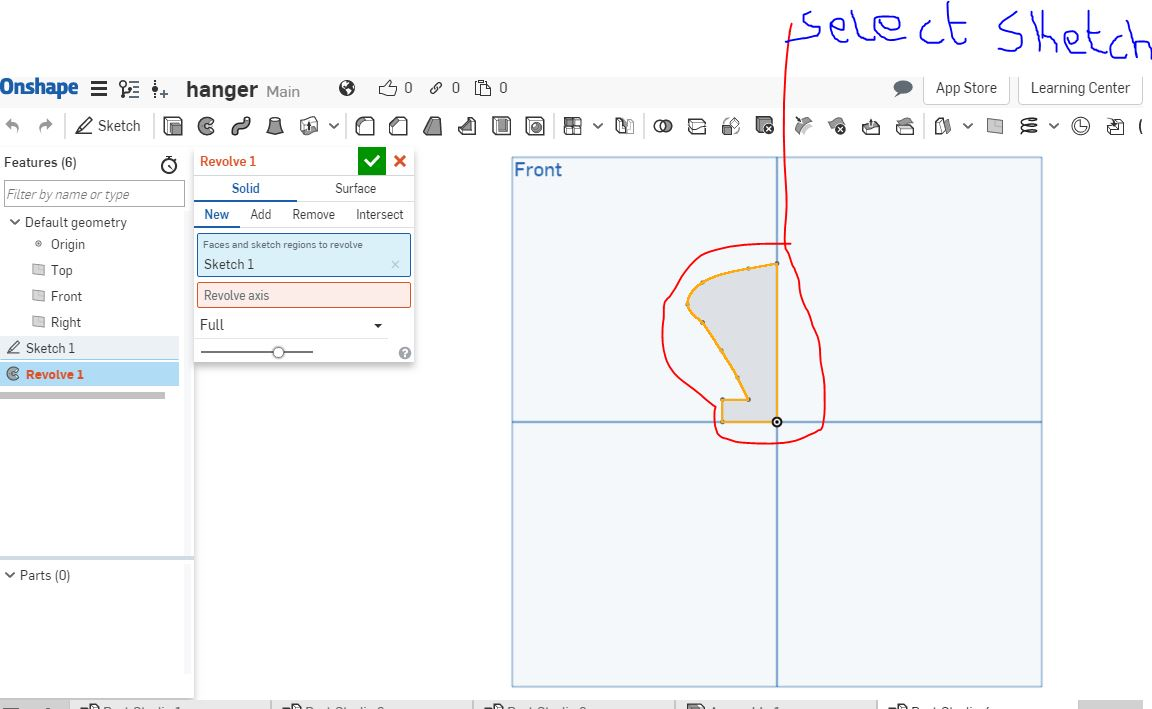
After revolving you get a 3D image as shown below.

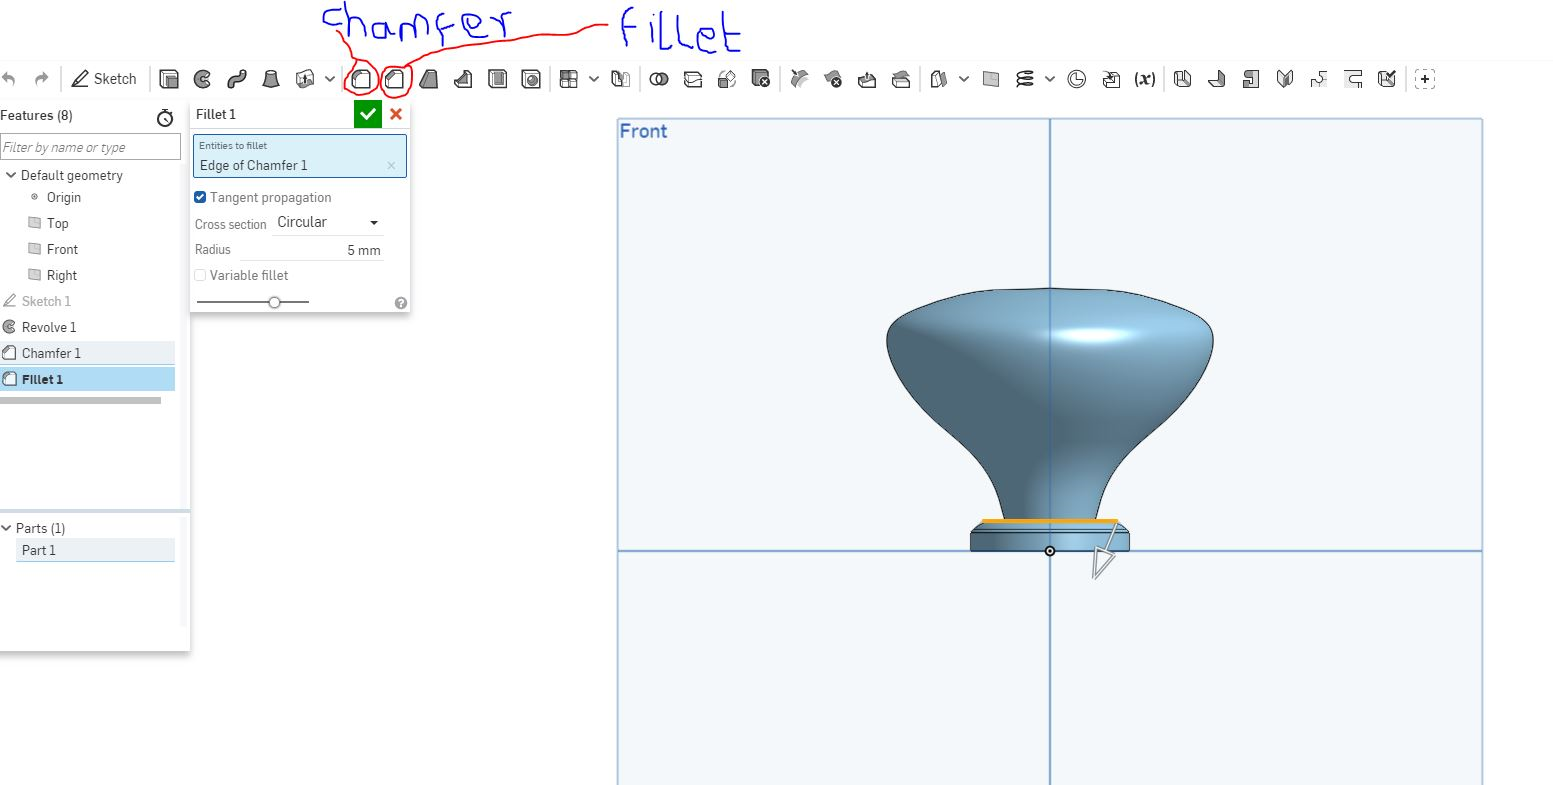
I used chamfer and fillet to smoothen the bottom layer of the nobe.
I finalised it by adding color and made it hollow inside to uing the shell tool.
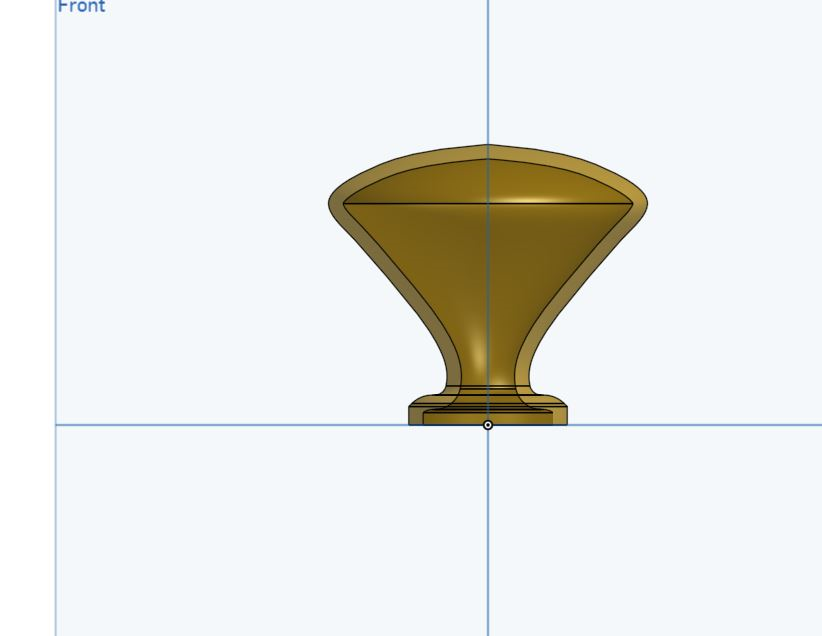
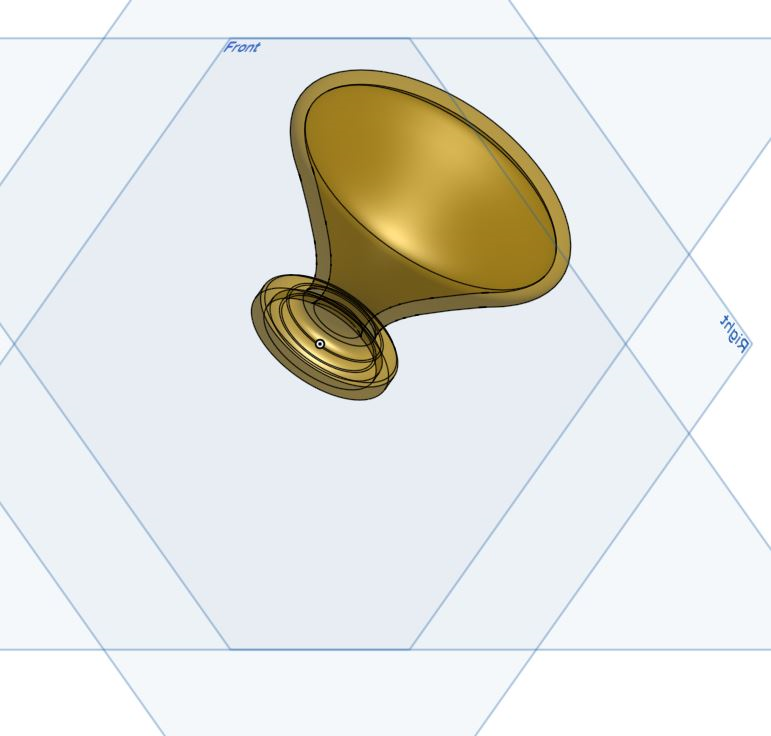
The below video shows the whole process.
Why it can not be made substantively
The nope is hollow inside with a curve that takes its outter shape where the hollow begins in a small size and curves as it goes further inside and a cnc machine cannot bend that far to be able to make that hollow insertion.
3D print process
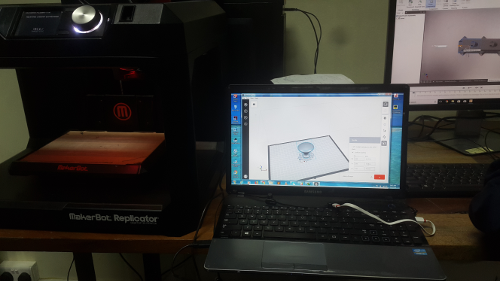
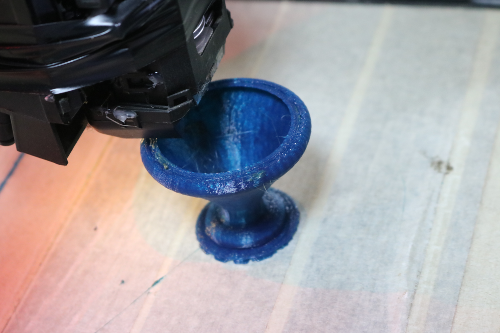
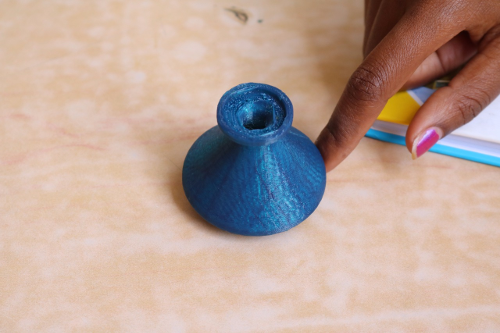
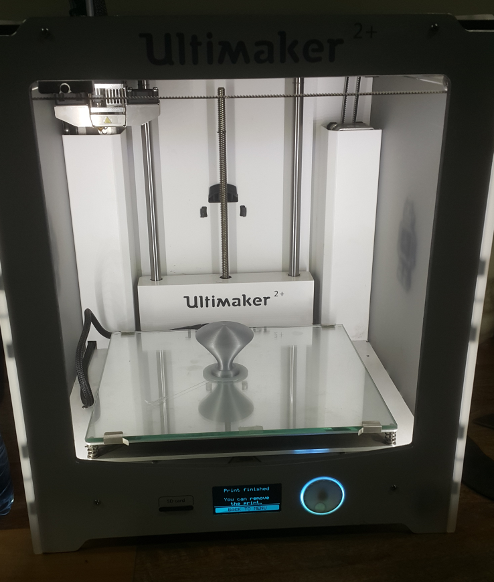
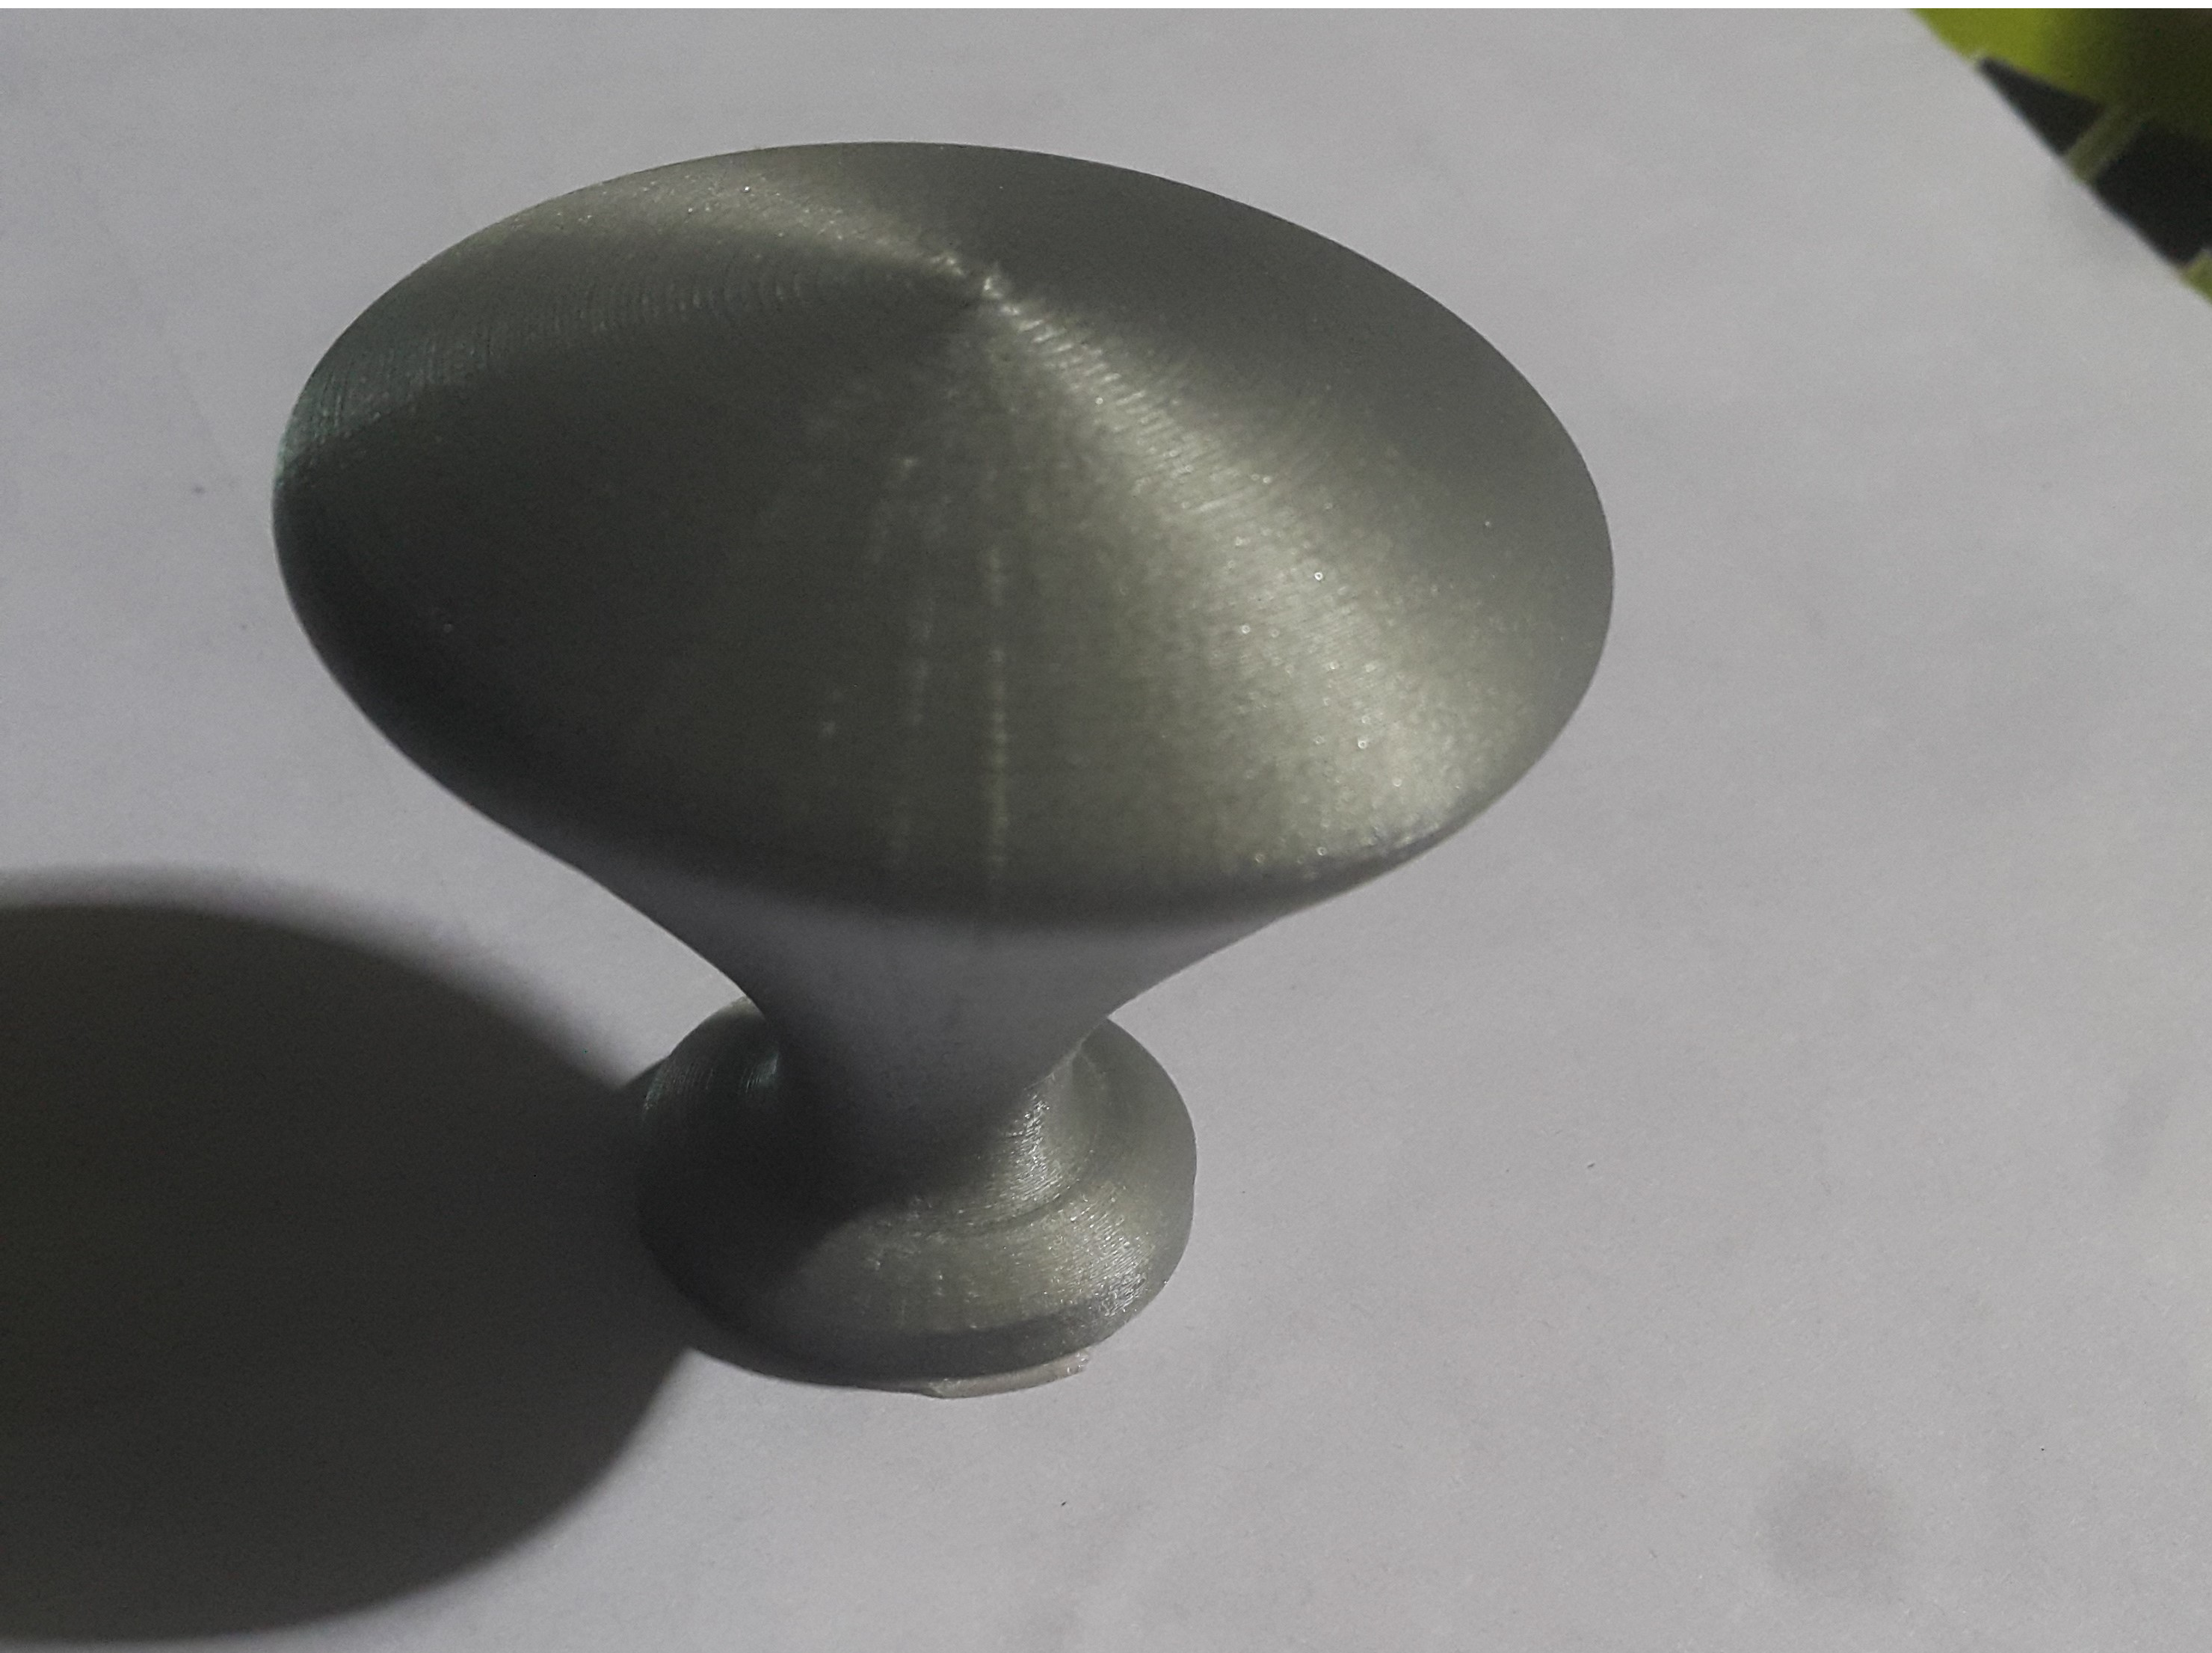
I printed using two different 3d printing machines. the maker bot and ultimaker. I preferred the Ultimaker because it had a really fine finished product and more options than the makerbot.
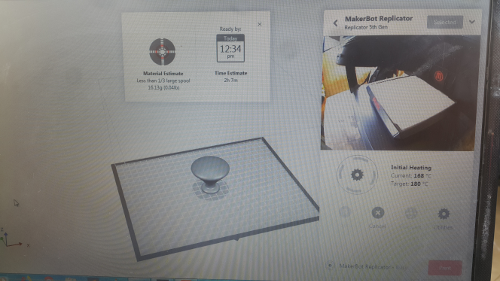
They both used there softwares as shown.
Makerbot Replicator
Ultimaker
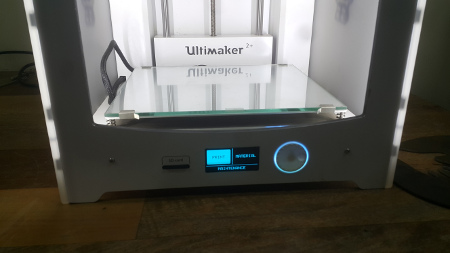
The process for both printer was almost similar the only diffrecence was for the Makerbot i used the direct connection to my laptop to print the object, while for the Ultimaker I just fed the 3d object to an sd card slot then slotted it in the sd card slot.
Makerbot Replicator
Ultimaker
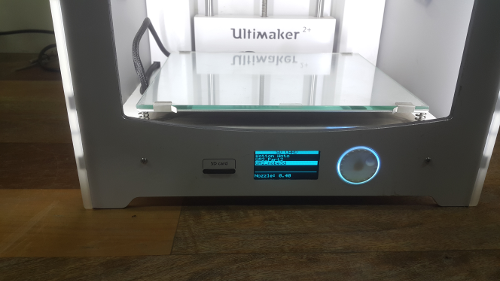
After loading the 3printer with the 3dimage. It begun by just heating up the extruder.
Makerbot Replicator
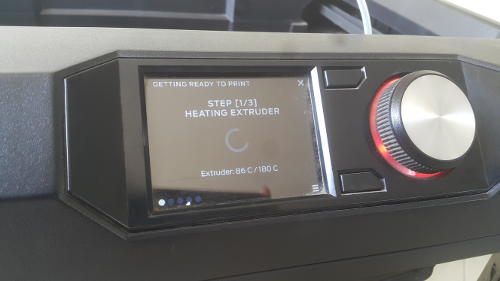
Ultimaker
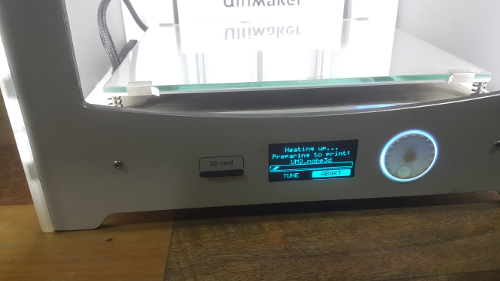
The printed object. The ultimaker produced a better object as shown below.
Makerbot Replicator
Ultimaker
Challenges
The challenges I had was with the Makerbot Replicator 3D printer in that it would take time before connecting to its software and having to use the usb to connect it directly using your computer to be able to print the object.
It would also hang sometimes when its printing and had to stop the process and restart again.
3D scanning process
Matter and Form scanner
Calibration process
I used the matter and form 3d scanner from our lab. downloaded the matter and form software for free from there website: https://matterandform.net/download/install.
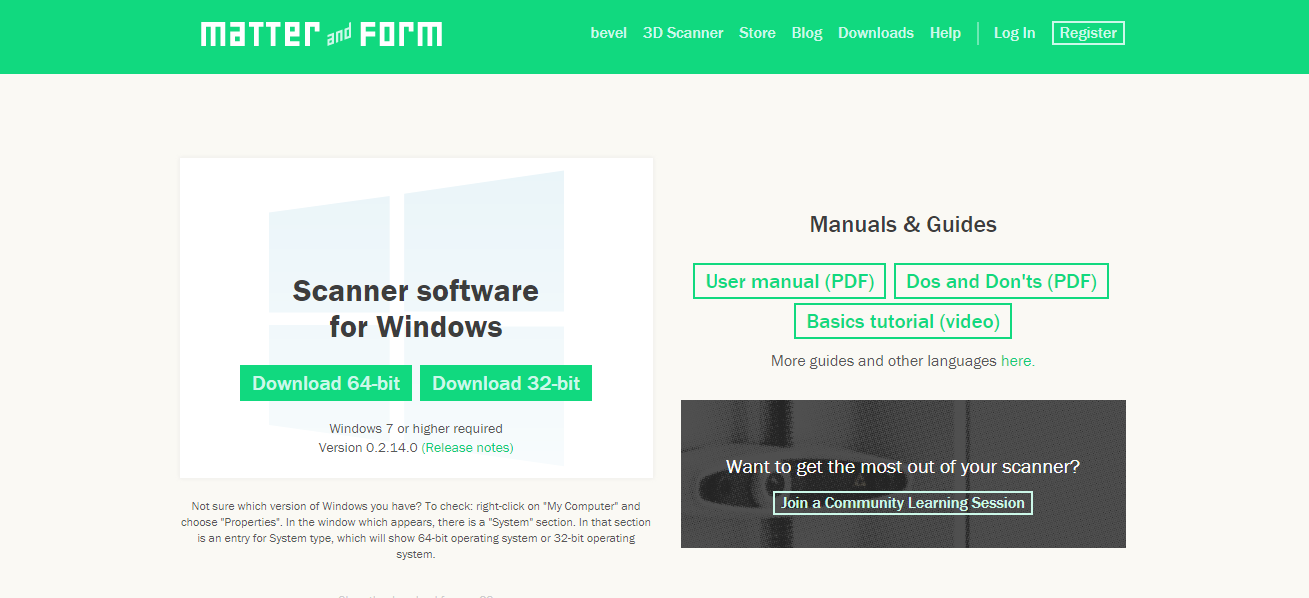
Installed it in my laptop.
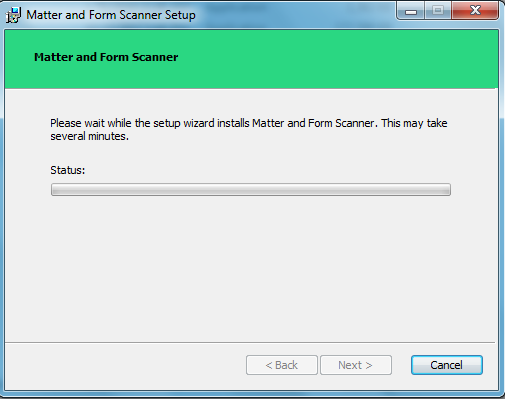
I begun the tutorials and this caught me off guard cause i had though the scanner does not have a stand soo I had improvised using books...then i saw it in this tutorial.
After
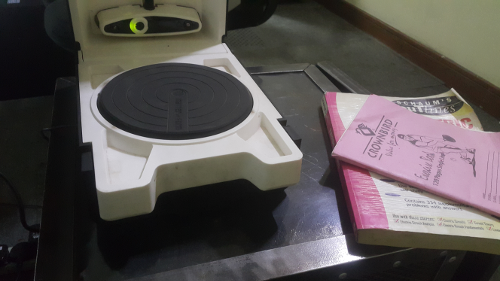
I calibrated it at first since it is been long since anyone used it in the lab. in this case am using the box.
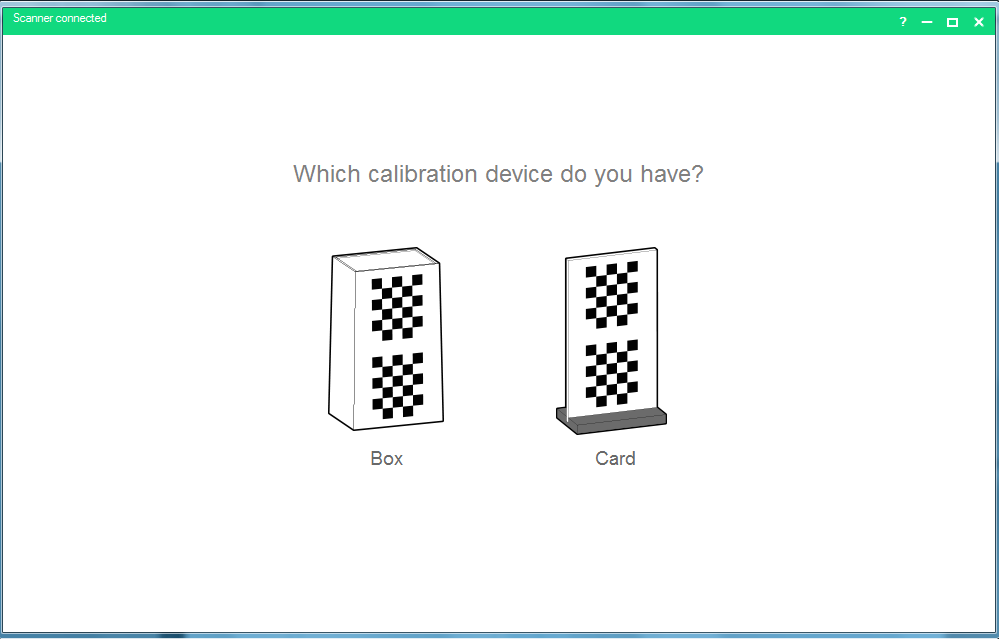
there are a set of instructions as shown. just followed the instructions.
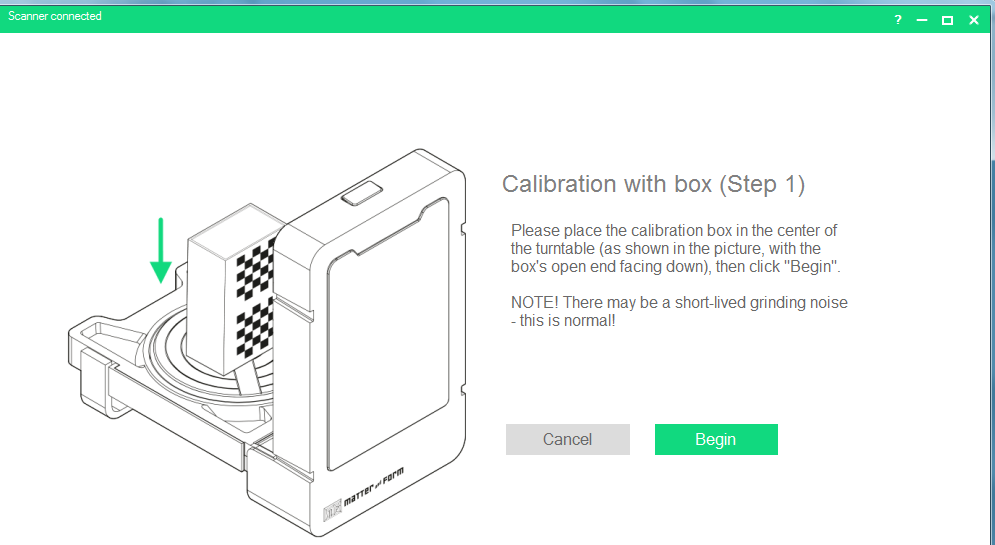
It started calibrating for the first step.
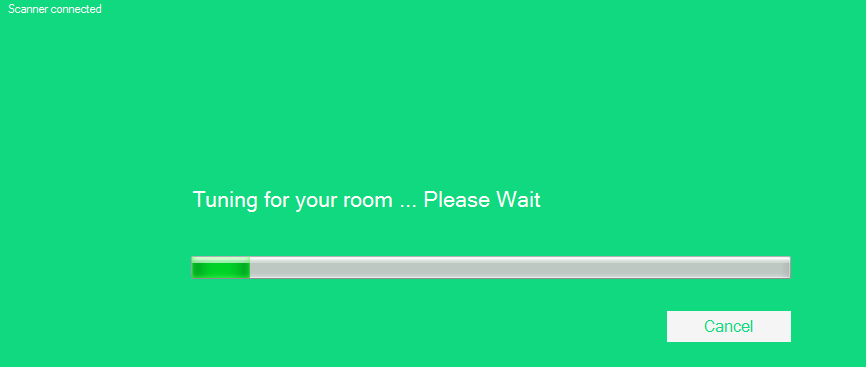
Second step of calibrating. This was continuation of the calibration process by moving the device close
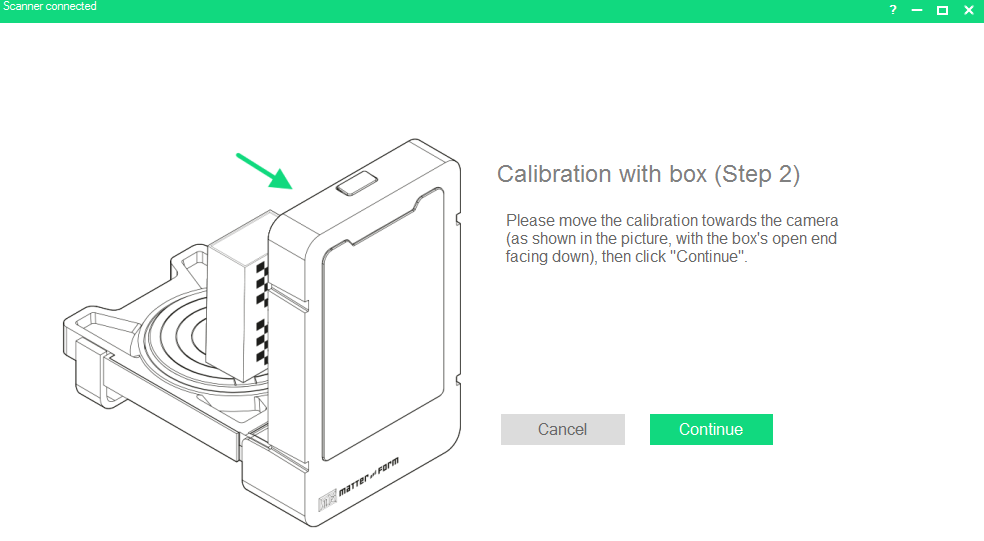
calibrating for the second step.
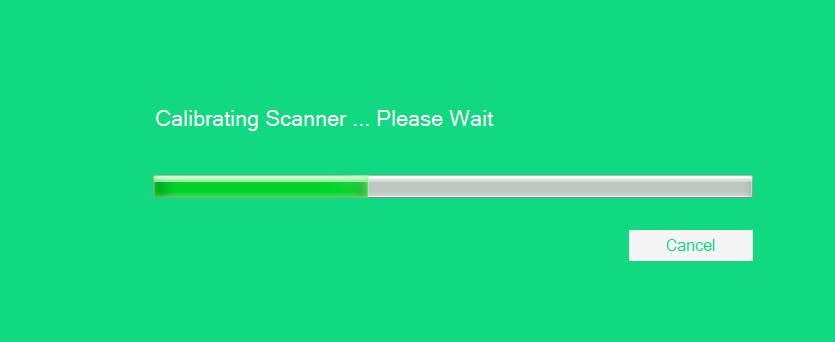
Finished calibrating.
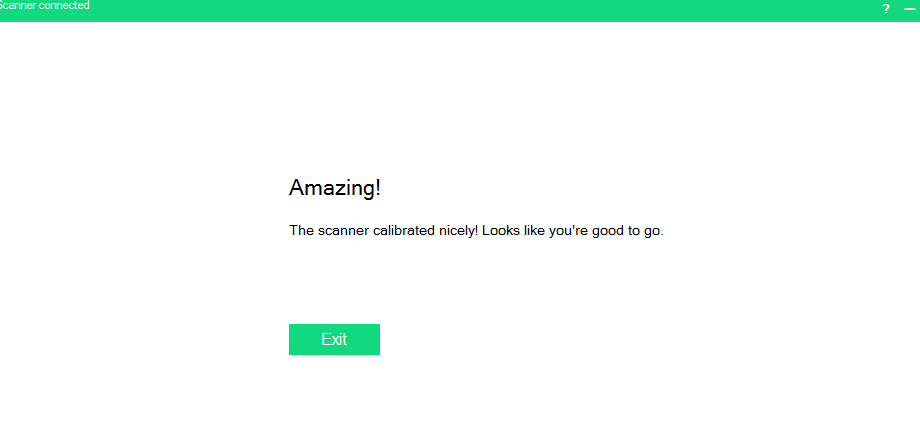
Scanning process
I went back to the main menu as shown and started a new scan.
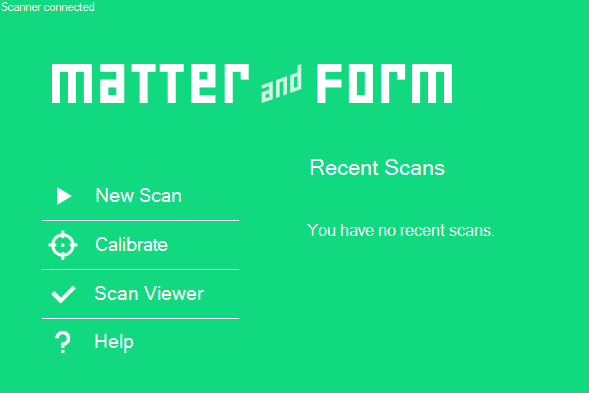
It prompted to choose which mode you would like to print the 3d object depending on the color of the object.

Started the tuning process.
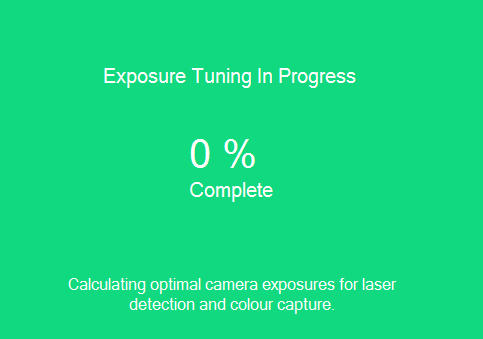
The first scanned section of the object..
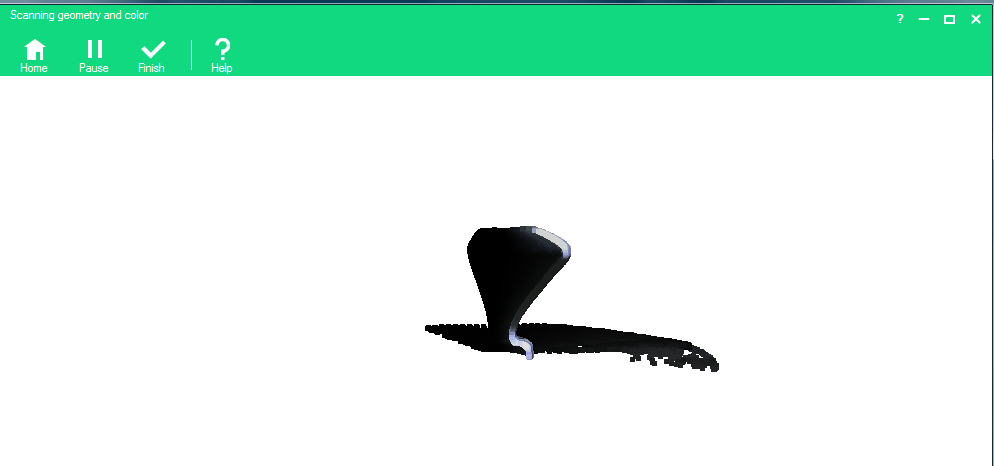
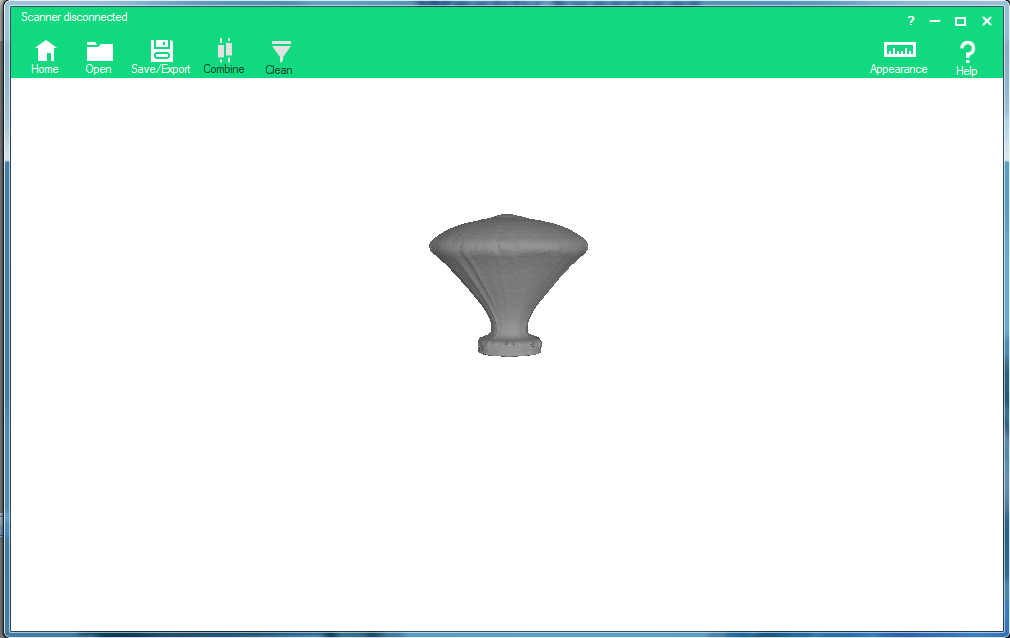
The image for the scanned object
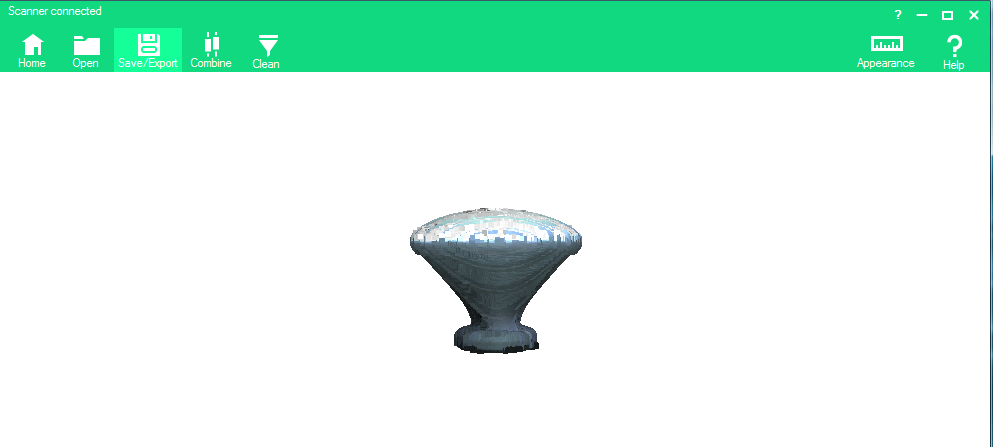
The final exported image for the scanned object
