Week 14
Mechanical Design
Assignment
Individual
• plan and make a machine.
• document the group project and your individual contribution.
Desktop laser engraver
The machine is meant to be a desktop laser engraver that uses an 8W laser . We began the planning process by examining different mechanisms and finally chose timing belts as the most favourable. Below is a breakdown of the pros and cons list used. We also wanted the parts to be as Fabbable as possible and to buy as few components as possible so most parts are 3D printable and laser cut.
Rack and pinion
| Pros | Cons |
|---|---|
| Easy to design and make | Has backlash during motion |
| Easy to implement | Motion is not too smooth |
| cheap(can be laser cut) | Calibration is hard |
Threaded rods
| Pros | Cons |
|---|---|
| Easily available in shops | expensive |
| strong | Makes the motion slower hence slow response |
| Can handle heavy weight | Require coupling |
Timing belts
| Pros | Cons |
|---|---|
| Easy to implement | No protection against overloading |
| Fast response during motion | costly |
| Minimal vibration | Need pulleys to accompany |
| No lubrication needed |
After examining the different pros and cons of the different mechanisms we chose timing belts since our machine needs to be fast and does not need to handle heavy weight. We also wanted a machine that is easily implementable.
The Sketches
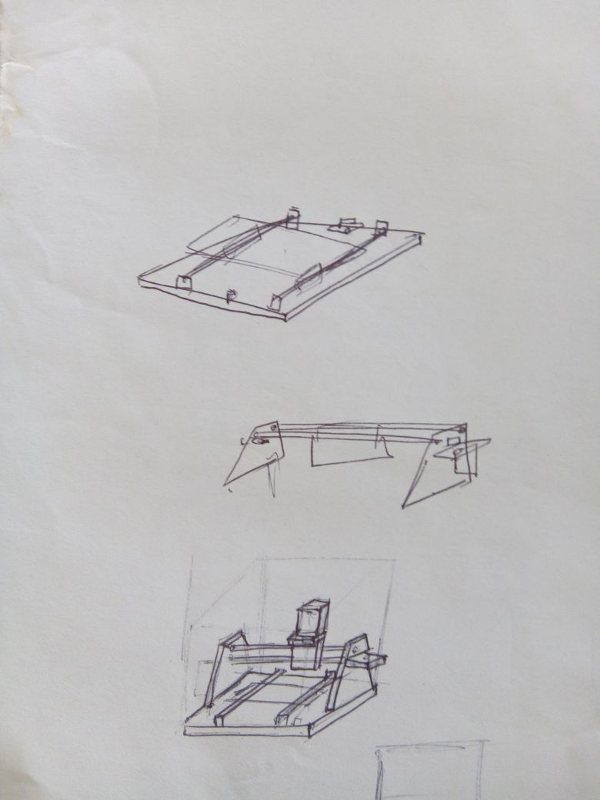
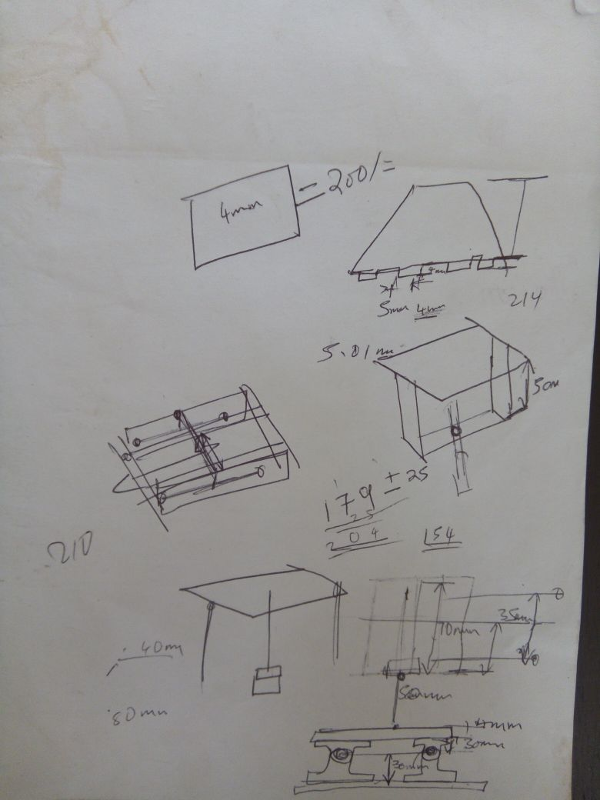
We began the design process by sketching on paper as shown.

CAD
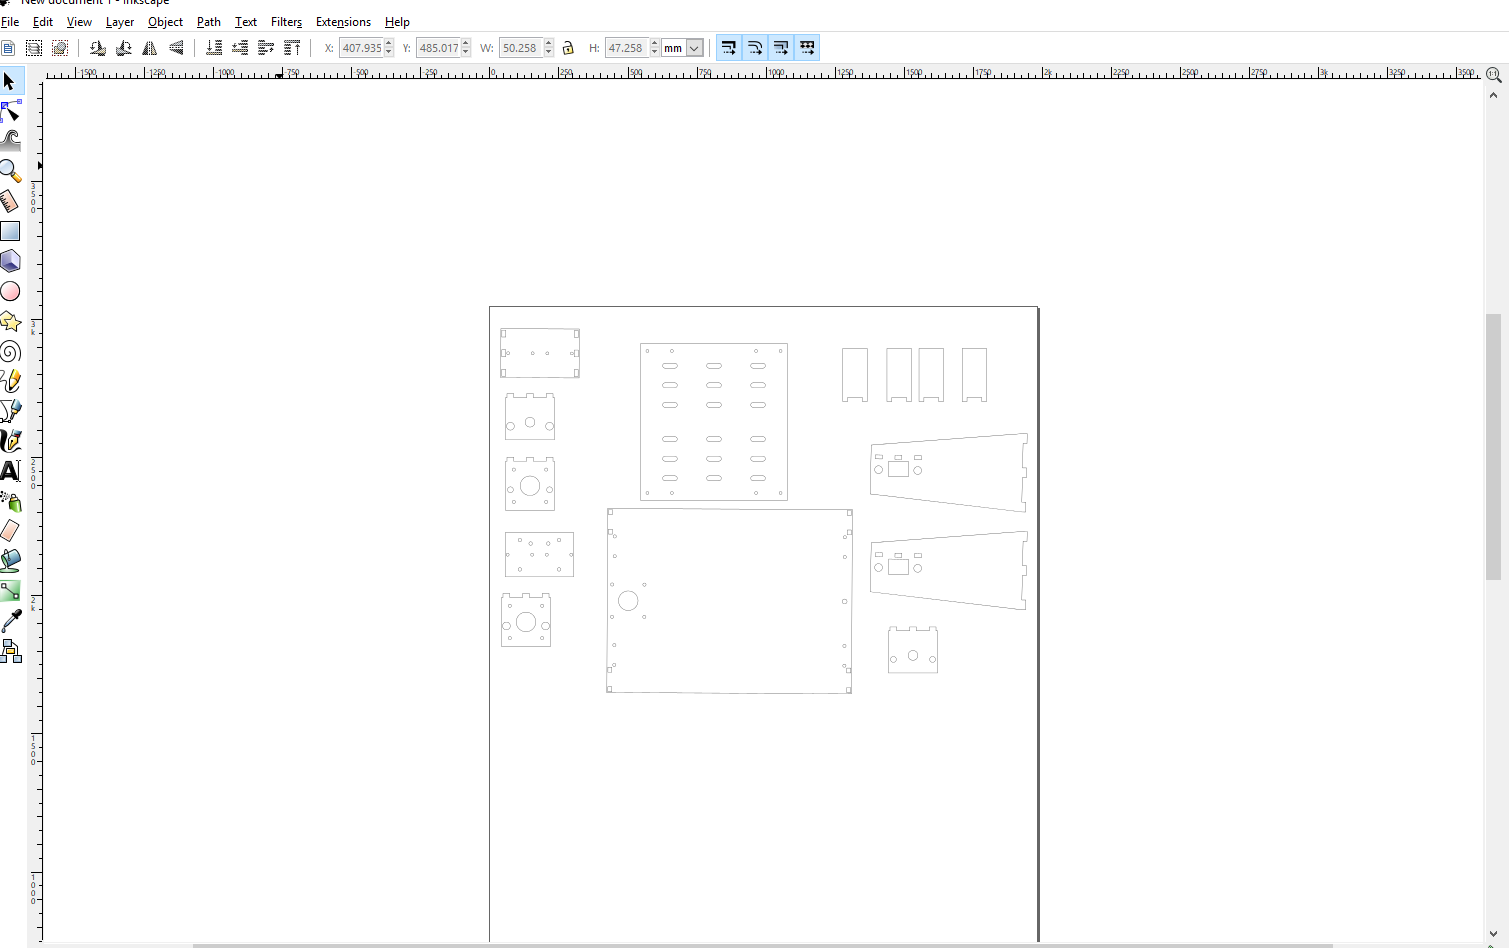
2D design
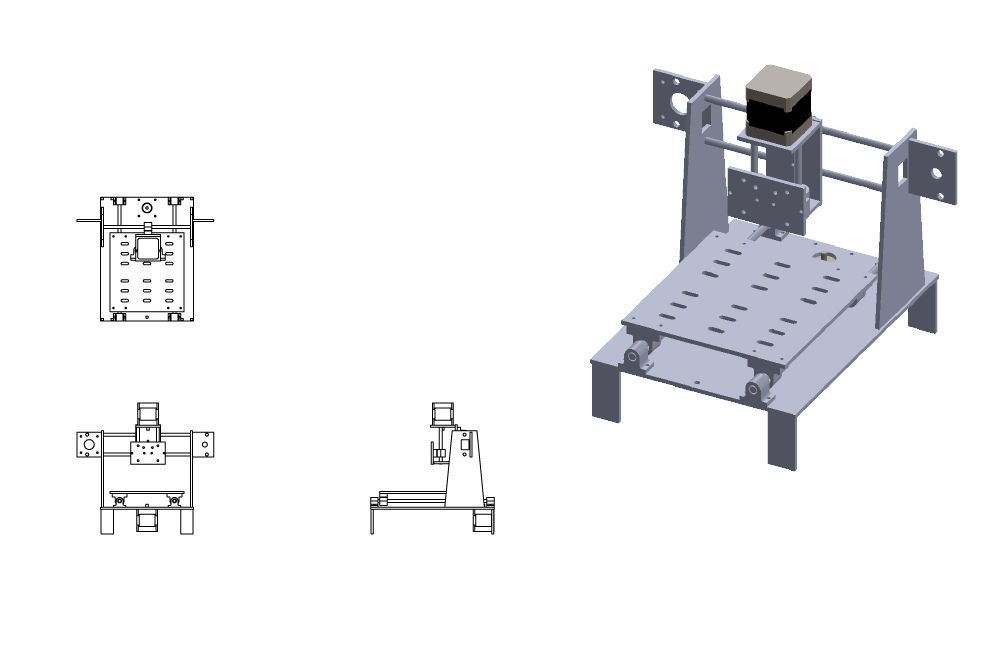
3D design
BOM
| Part | Quantity |
|---|---|
| Steel rods 8mm | 6 |
| 3D printed parts(for holding bearings) | 10 |
| Acrylic cut parts | 14 |
| Nuts and bolts | packet |
| Motors | 3 |
| Timing belt | 2 |
prototyping
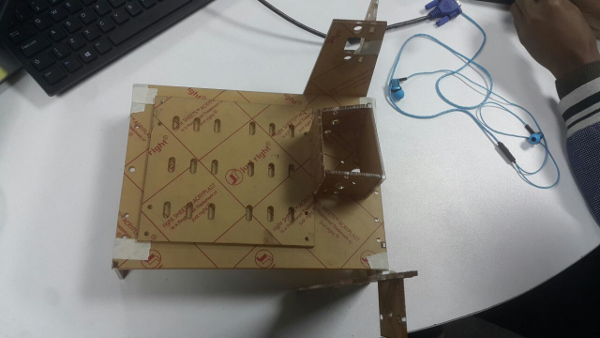
Assembly process
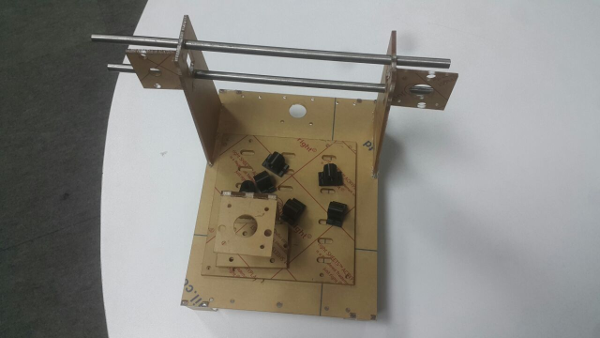
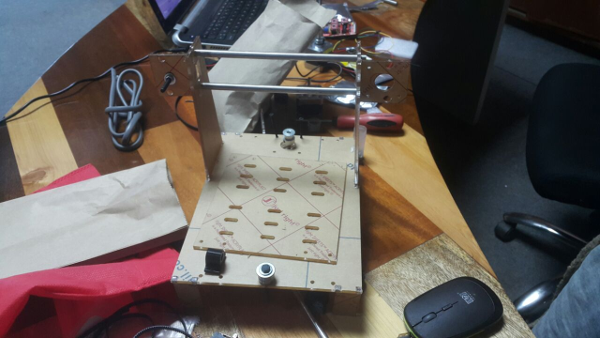
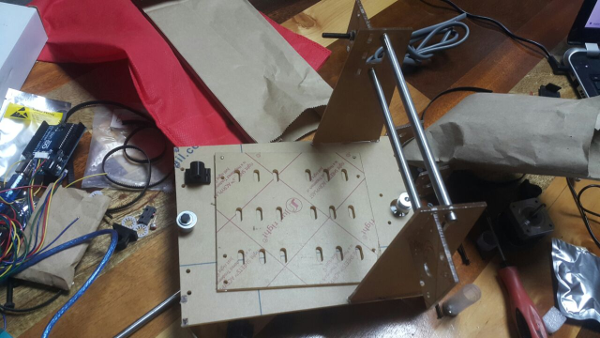
We used a vinyl material to cut out the body parts for the cnc machine using a lasercutter. Once the body parts where cut we joined them together as shown. The upper part was using an 8mm rod for holding the moving part of the cnc machine which we cut to sizes. I 3d printed the holding motors
