
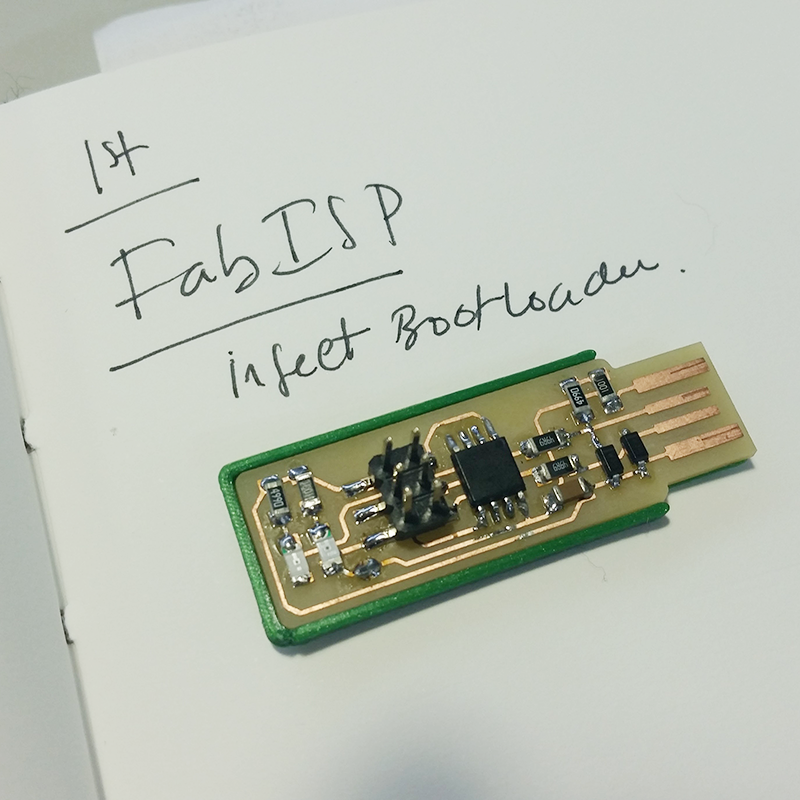
 Everyone at the Lab wanted a FabISP!!!!
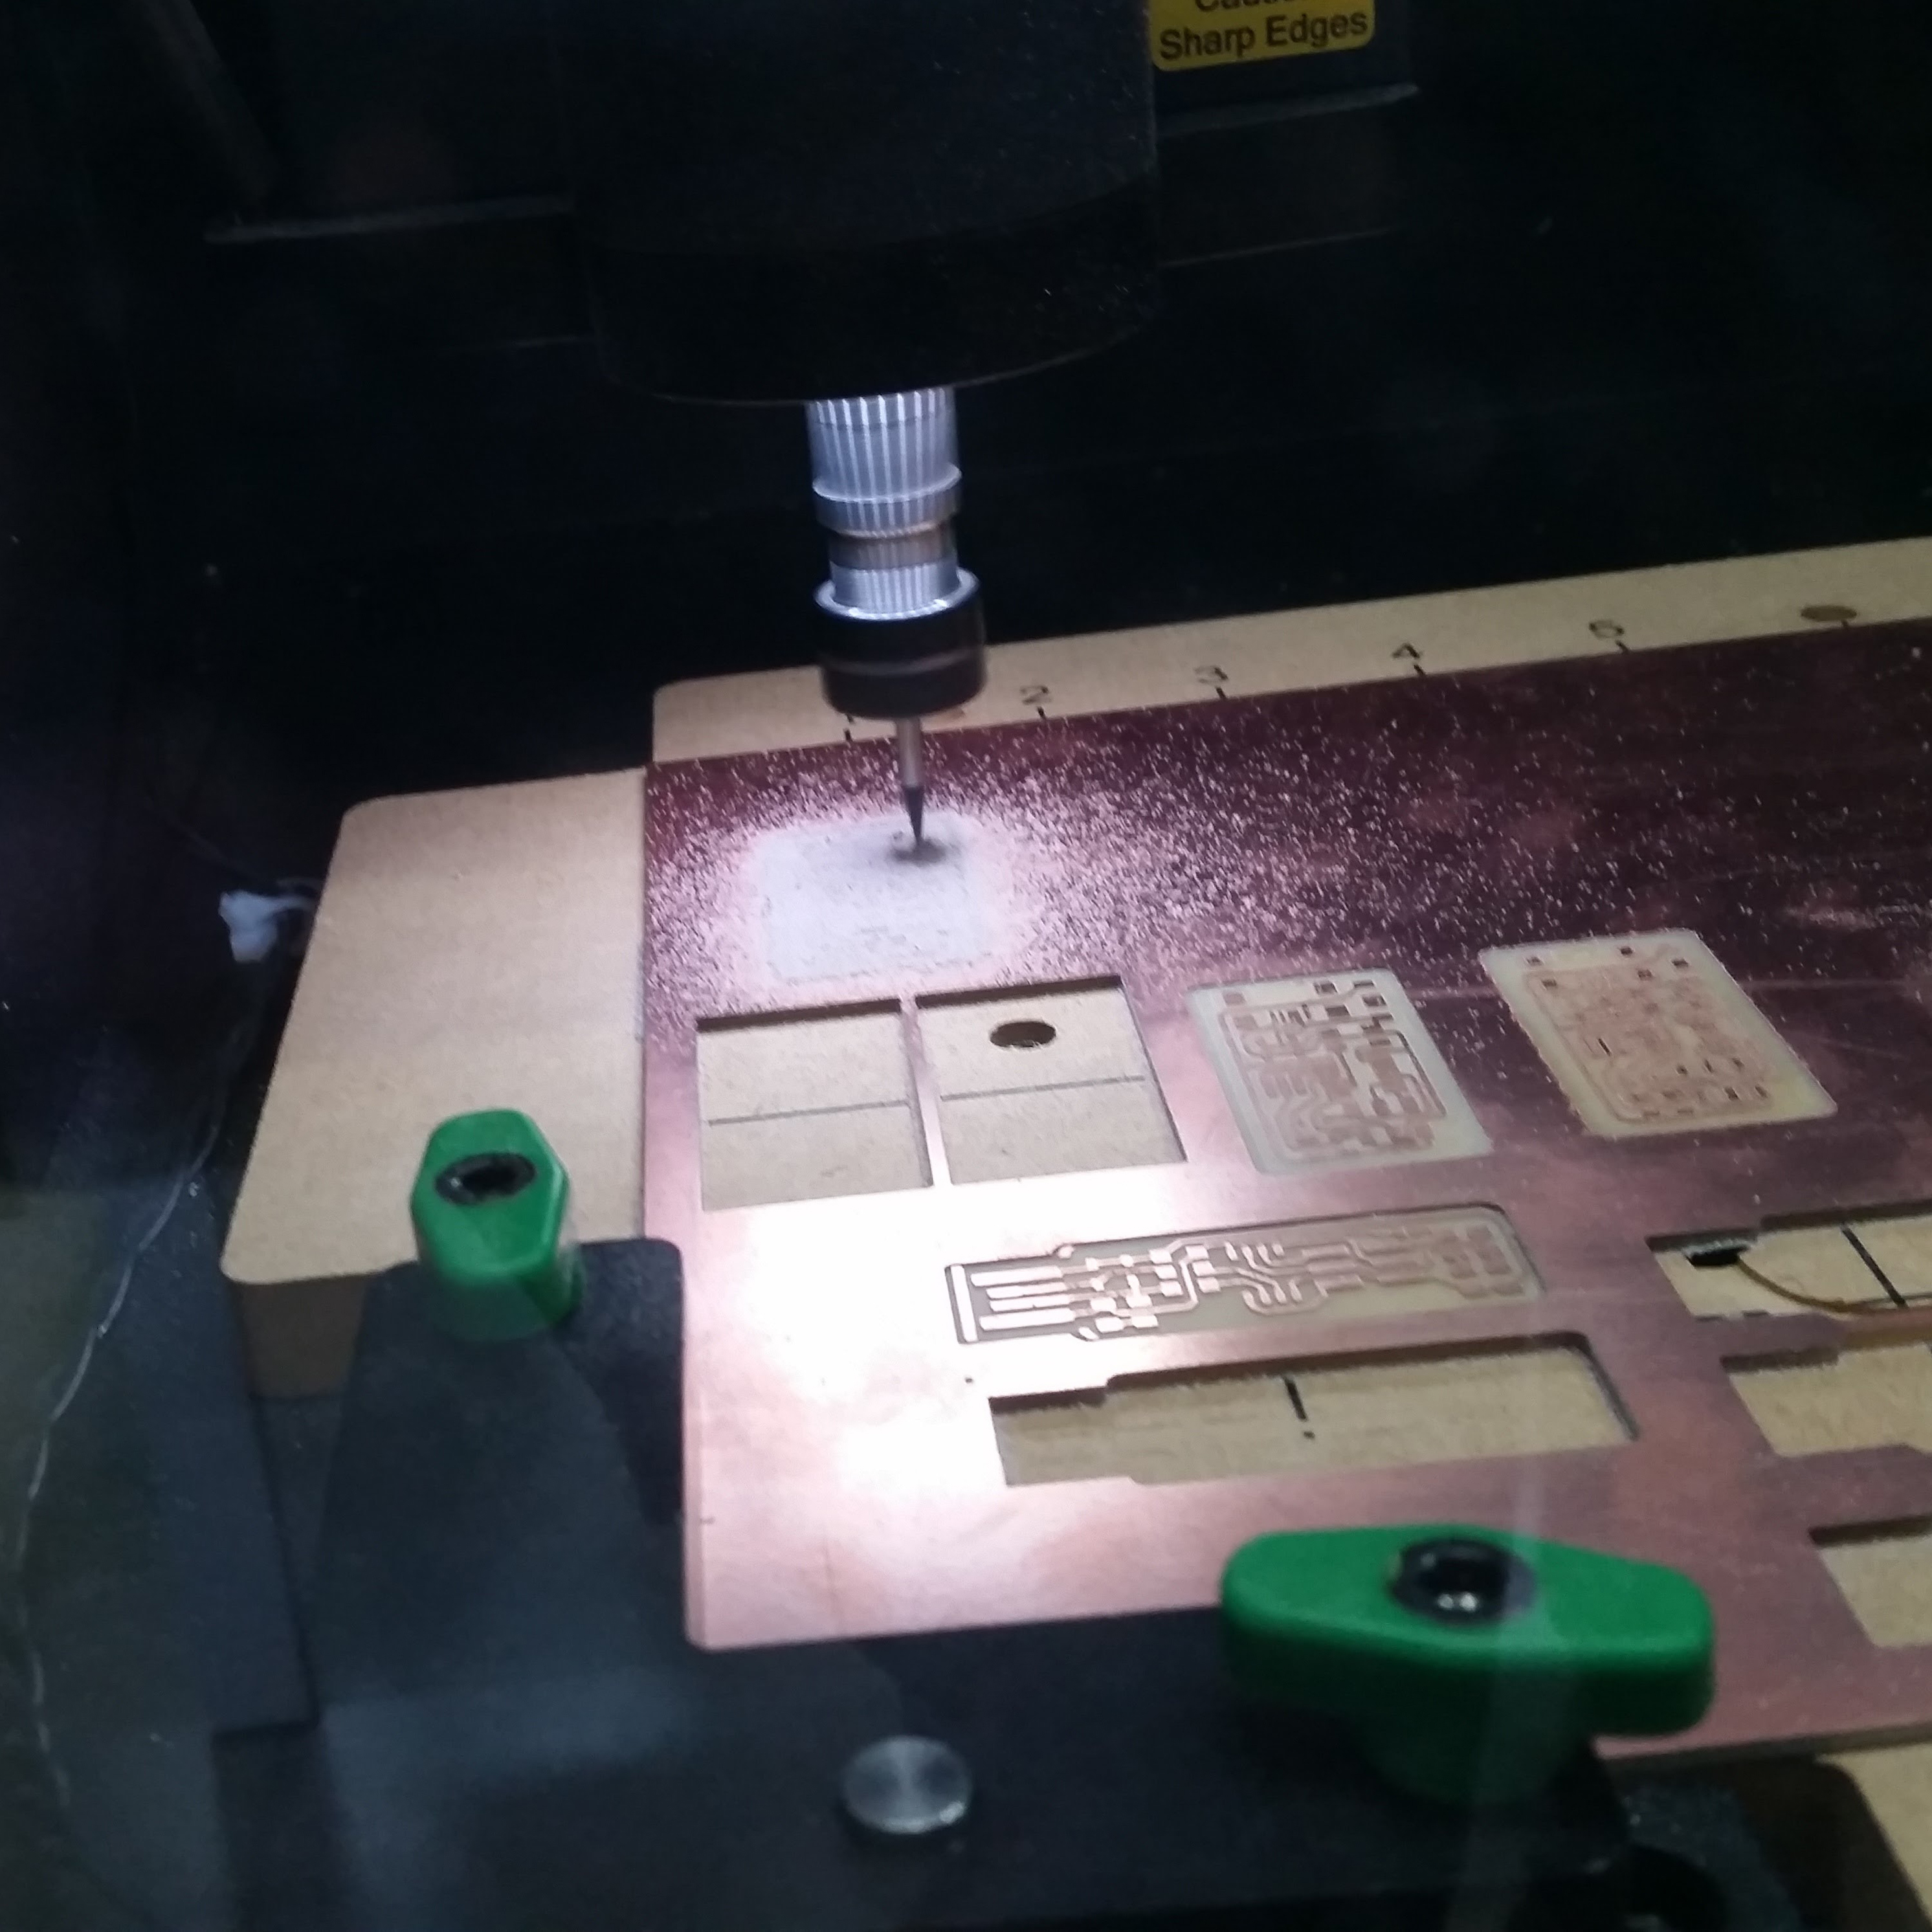
… Electronics production was a fight I took until the very end. We were producing our electronics on a semi-closed/proprietary CNC called Carvey. As an educational tool it carves wonders, and we managed to come up with a very simple workaround, which for simple boards like these, works very well.
That workaround, which I will describe first, allowed most of my colleagues to finish the course right there in 2017. In my case I was very unlucky using it and running against callibration problems.
At the lab, we thought that by having a small and precise milling machine available - in this case, the CARVEY - we would easily follow Fab Academy repositories steps and produce electronics would easily become a “walk in the park”. That wasn’t the case. Carvey revealed itself as a pretense open but quite close environment.
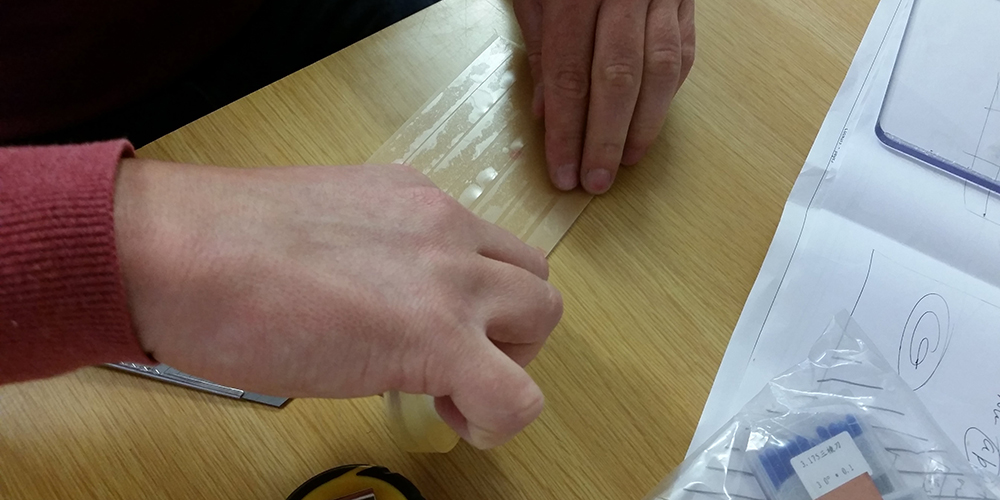
As a workaround and since Easel accepted SVG files, we were exporting Eagles boards as an High Resolution PNG, tracing it on Illustrator or Inkscape and after that saving the resulting file as SVG.
 Download this SVG of FabOptimus from Ali Shtarbanov traced and ready to import to Easel
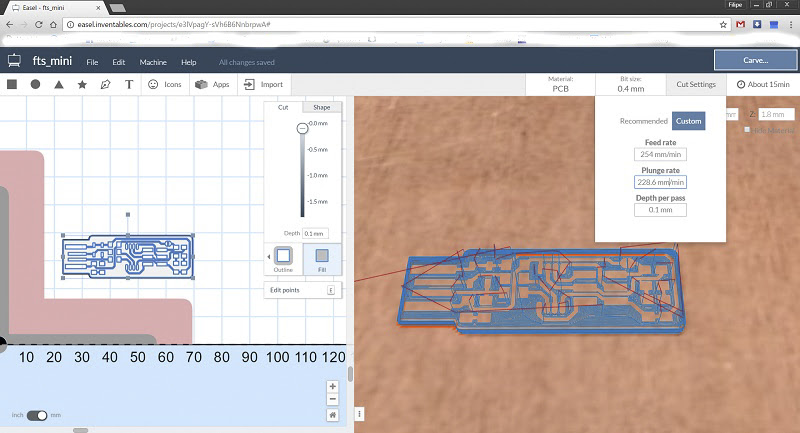 Easel - A very comprehensive and simple software the comes along in a free version
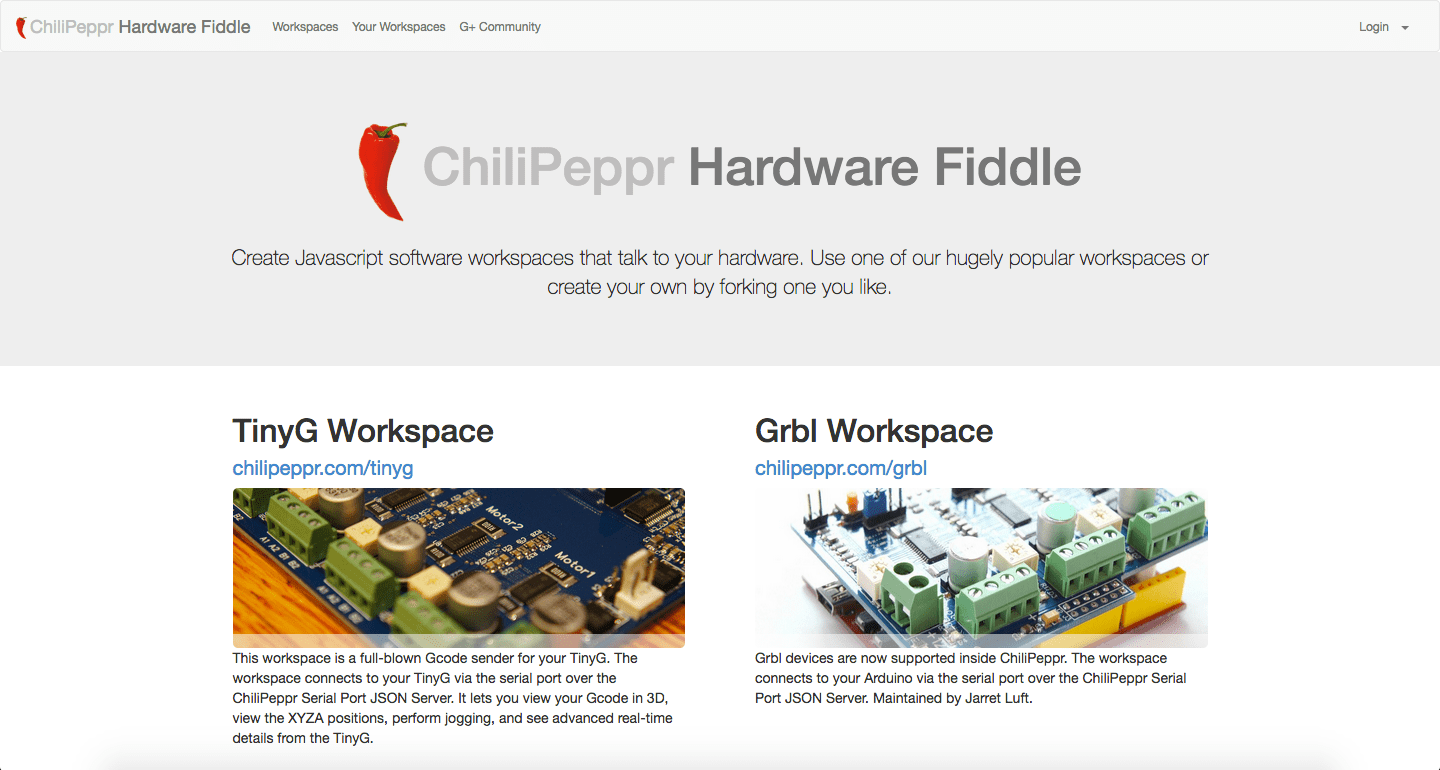 In this case we were using the Grbl Workspace
"EagleCAD -> ChilliPeppr -> CARVEY" Workflow
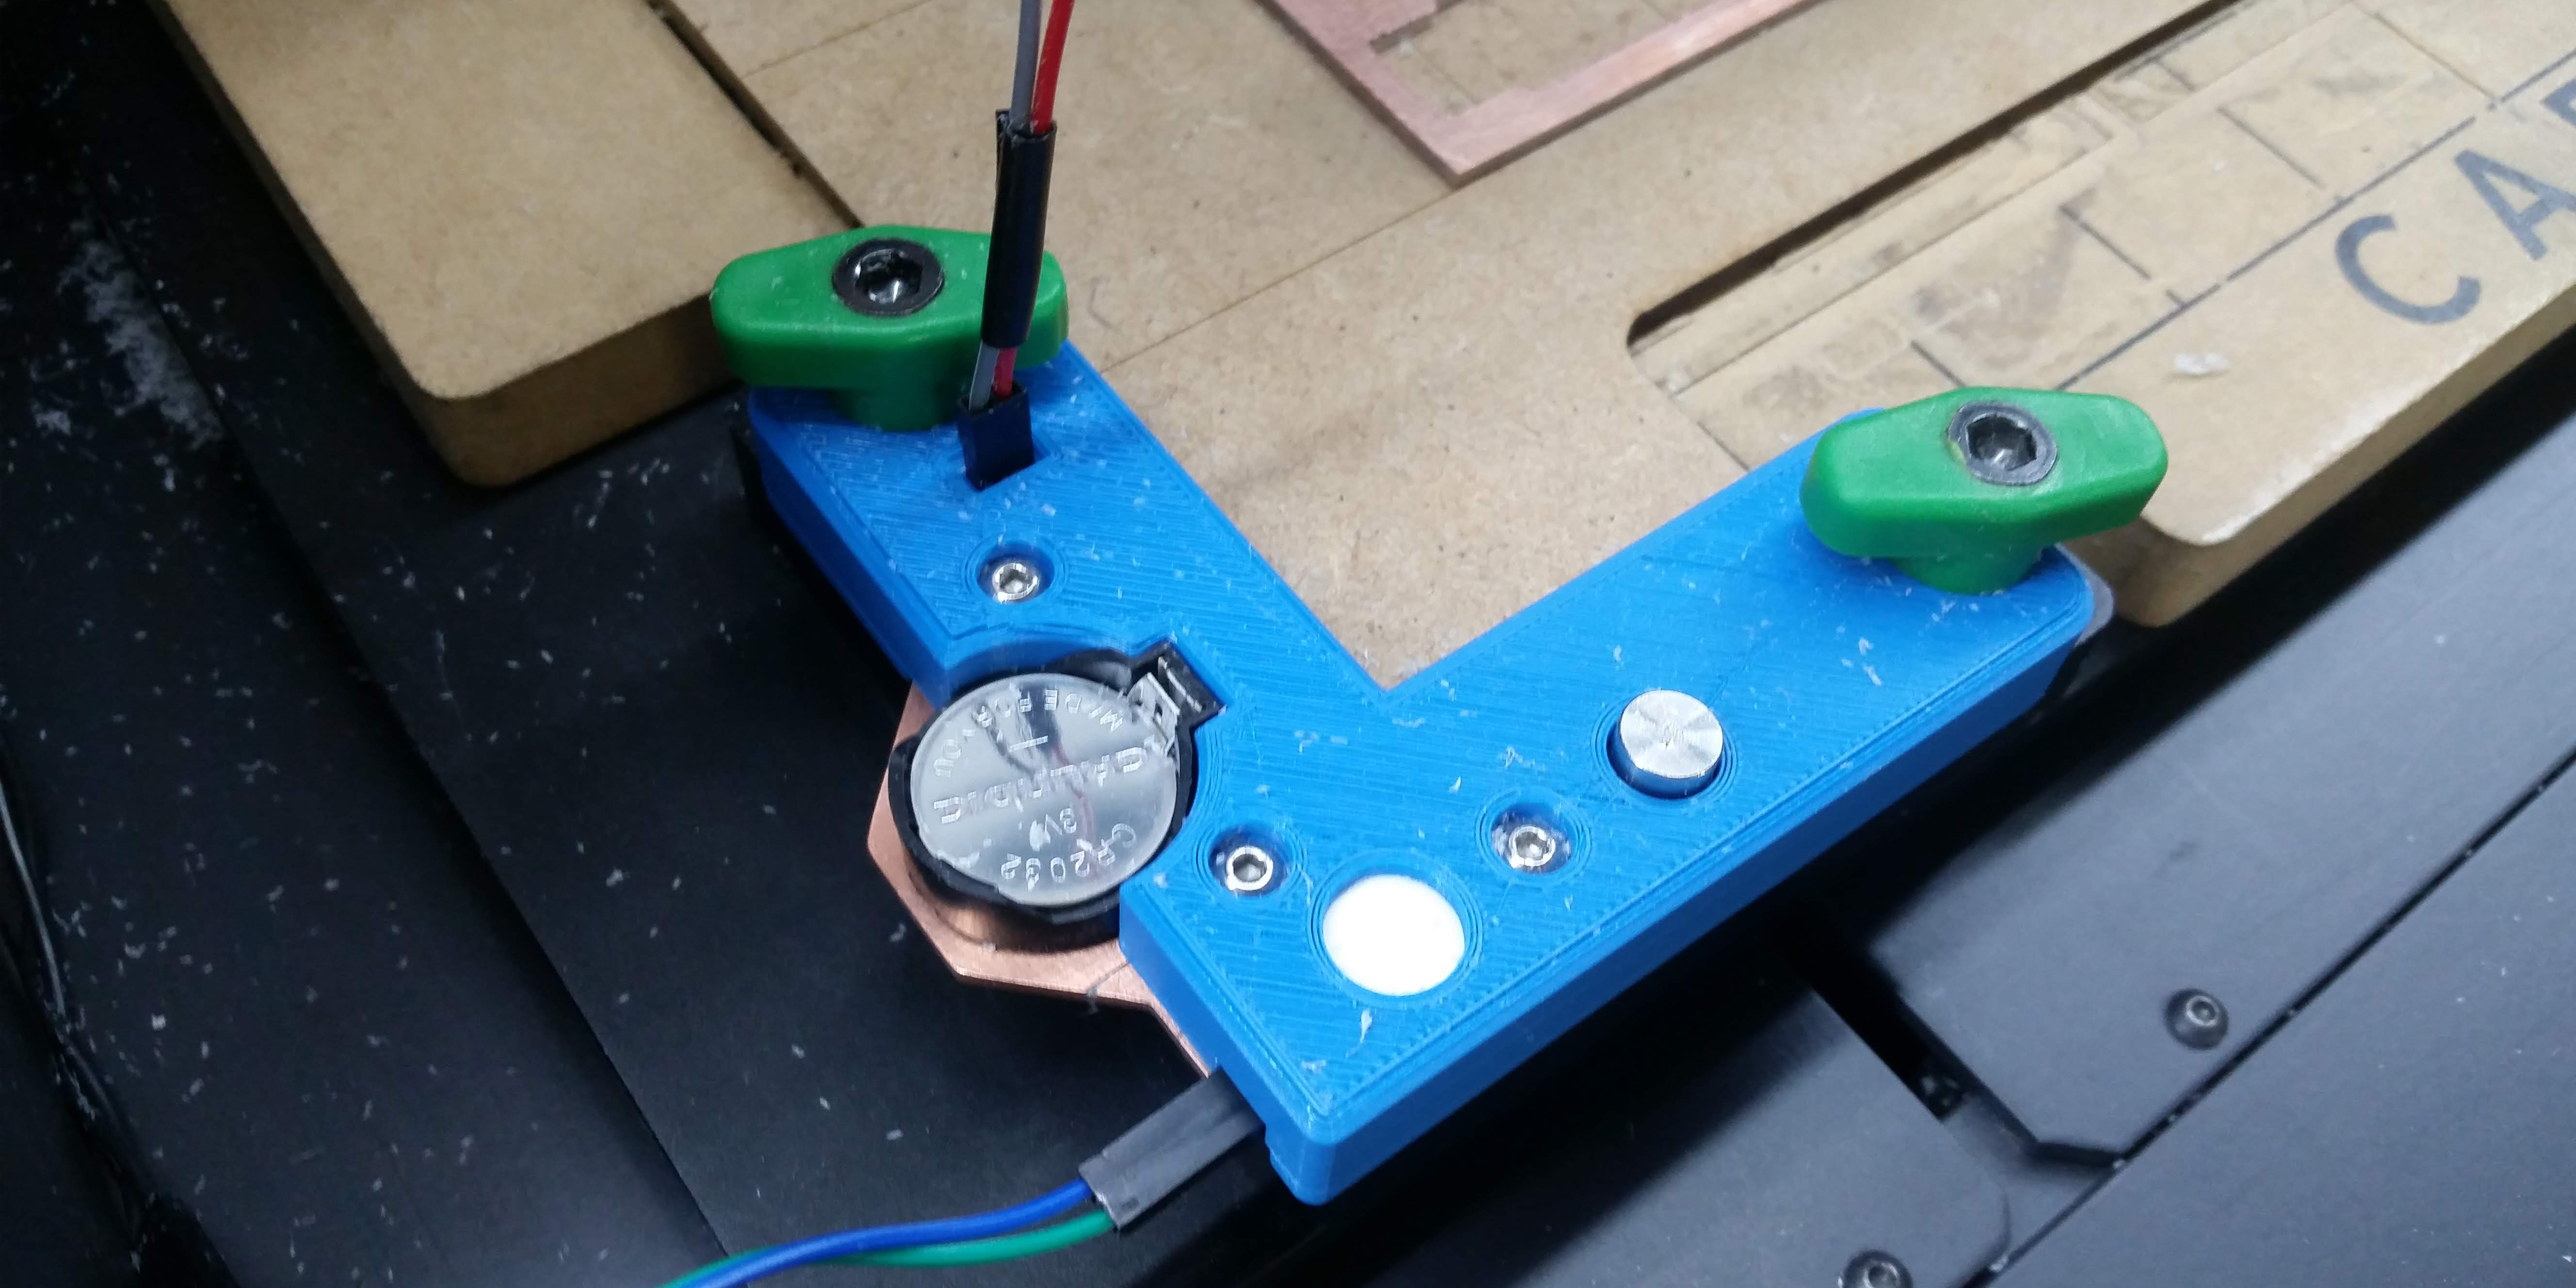 Filipe Silvestre designer and prototyped a new custom block and circuit to allow to use the PCB itself as a Surface Block
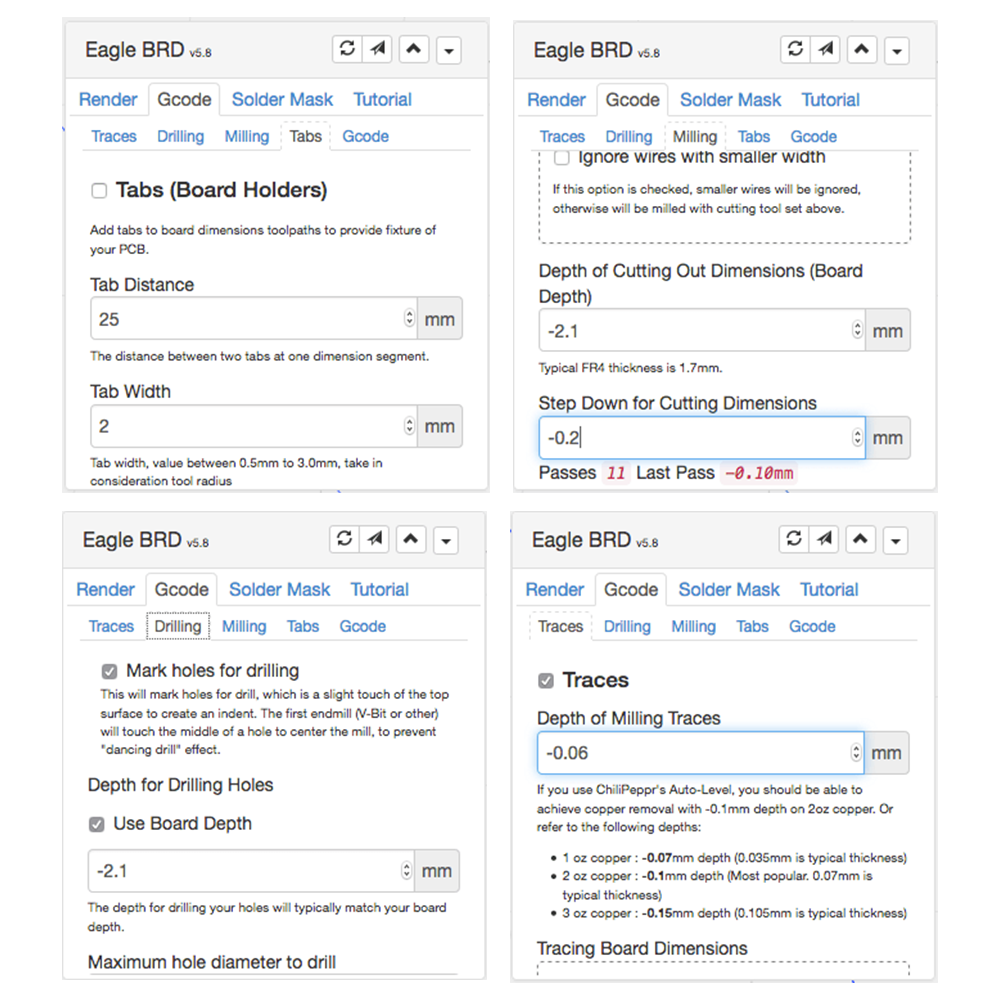 some important settings
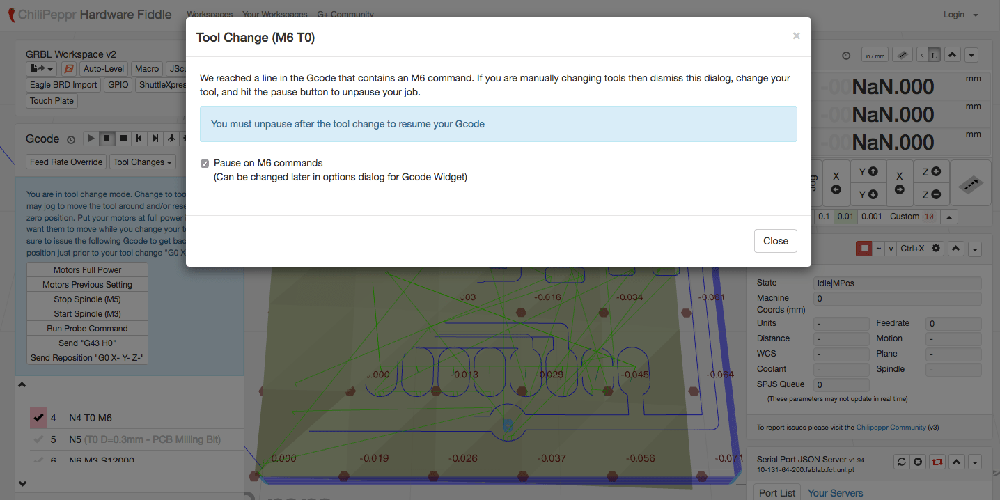 Then the machine will pause...