Assignment 6: 3D Scanning and Printing
Part 1: design and 3D print an object (small, few cm) that could not be made subtractively
Part 2: 3D scan an object (and optionally print it)
Learning outcomes:
-
Identify the advantages and limitations of 3D printing and scanning technology
-
Apply design methods and production processes to show your understanding.
Group assignment
-
Test the design rules for your 3D printer(s)
-
Document your work and explain what are the limits of your printer(s) (in a group or individually)
-
Document your work to the group work page and reflect on your individual page what you learned
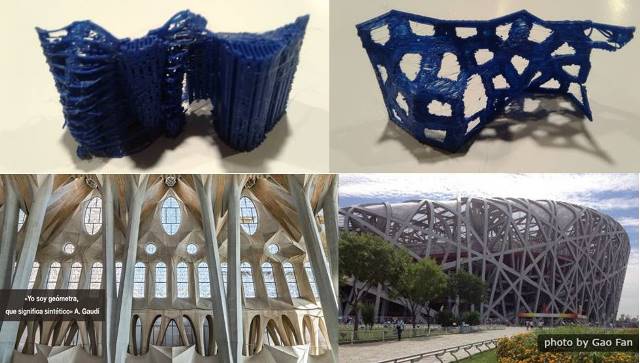
For the design of the object in 3D I was inspired by two constructions that I like a lot: “La Sagrada Familia” (Spain) and “El Nido del Pájaro” (China).
For the design of the object in 3D I was inspired by two constructions that I like a lot: “La Sagrada Familia” (Spain) and “El Nido del Pájaro” (China).
For the design of the object in 3D I was inspired by two constructions that I like a lot: “La Sagrada Familia” (Spain) and “El Nido del Pájaro” (China).
For the design of the object in 3D I was inspired by two constructions that I like a lot: “La Sagrada Familia” (Spain) and “El Nido del Pájaro” (China).
For the design of the object in 3D I was inspired by two constructions that I like a lot: “La Sagrada Familia” (Spain) and “El Nido del Pájaro” (China).
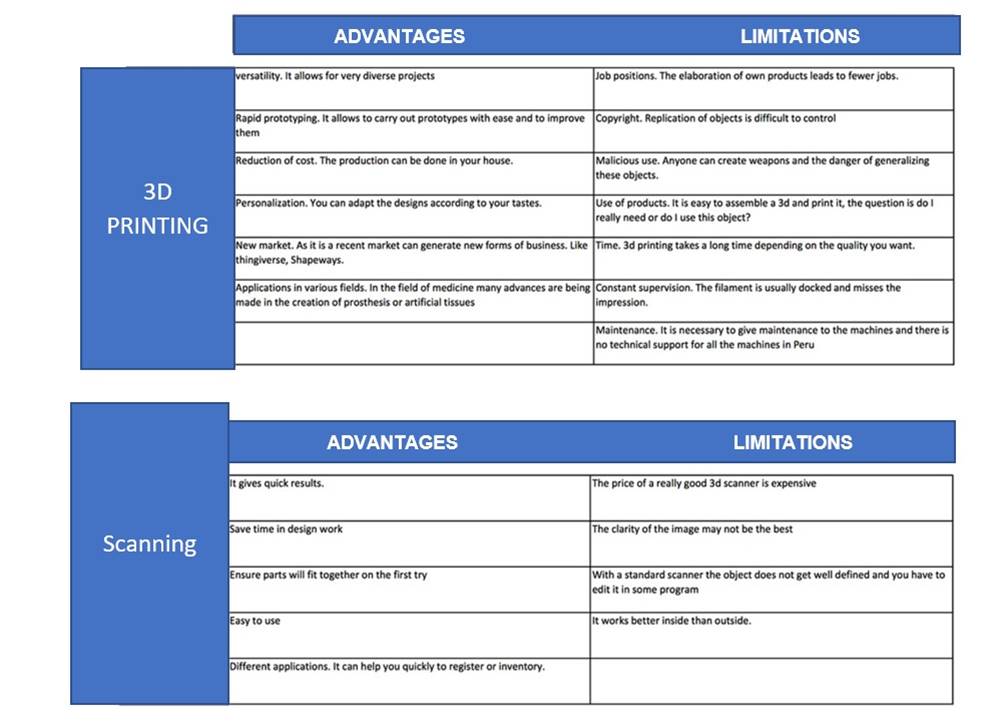
In the following table you can see the advantages and limitations of 3D printing and 3D scanning. I believe that both technologies are still in the process of improvement and diffusion. Both technologies require the development of more precise and sophisticated machines. Source.
Individual assignment
-
Design and 3D print an object (small, few cm3, limited by printer time) that could not be easily made subtractively
-
D3D scan an object, try to prepare it for printing (and optionally print it)
For the design of the object in 3D I was inspired by two constructions that I like a lot: “La Sagrada Familia” (Spain) and “El Nido del Pájaro” (China).
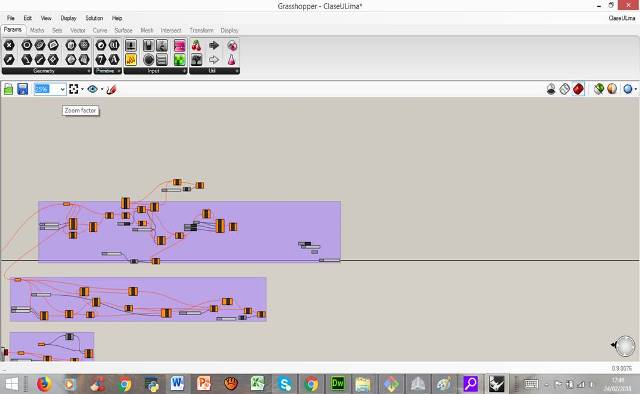
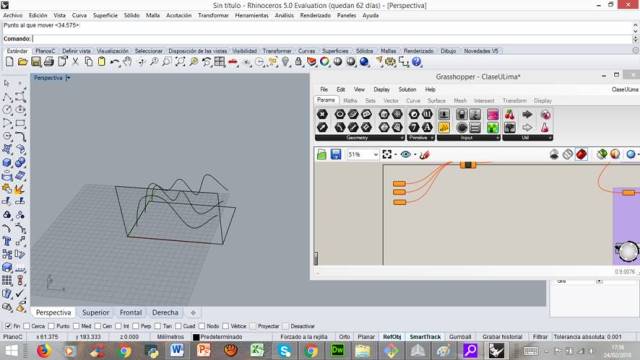
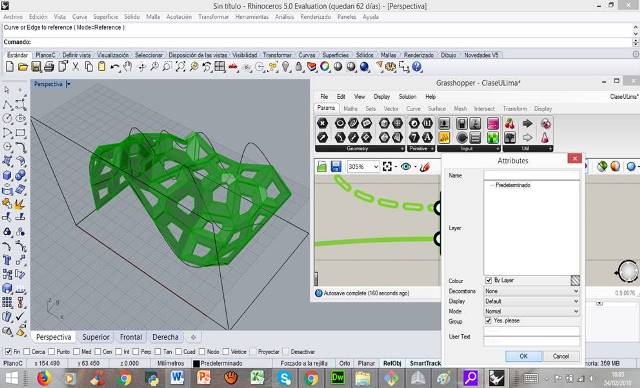
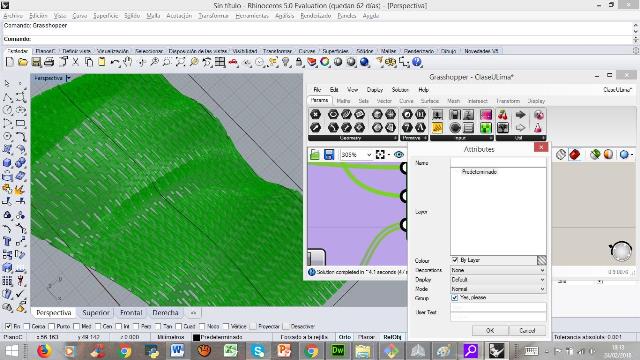
I worked on my 3d design in base pattern worked on the Grasshoper program. Grasshoppe is a graphical algorithm editor tightly integrated with Rhino's 3-D modeling tools. Web page: http://www.grasshopper3d.com/
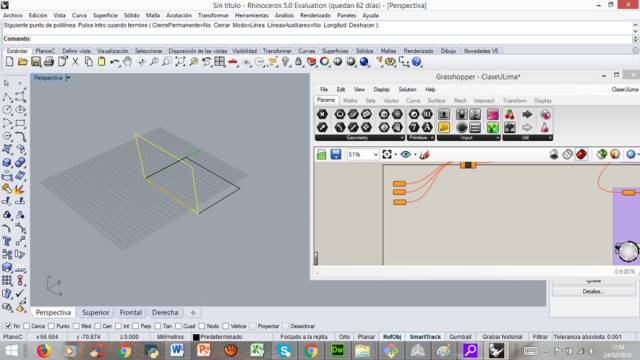
To determine the size of the print I drew a print frame in the program. The size of the print was determined taking into account variables such as: printer size, time available for printing, supplies available, etc. (height: 8cm, width: 4 cm, length: 8cm)
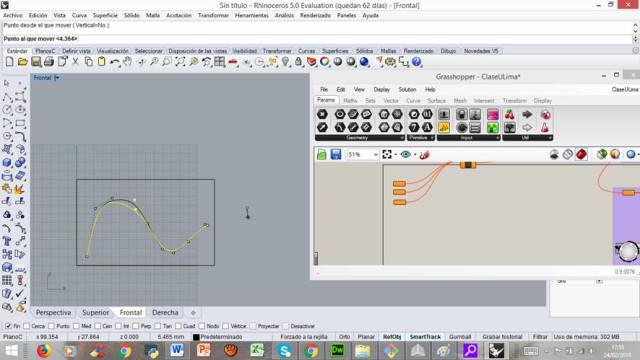
Next I drew some curved lines to have three choices of fill patterns to be printed:
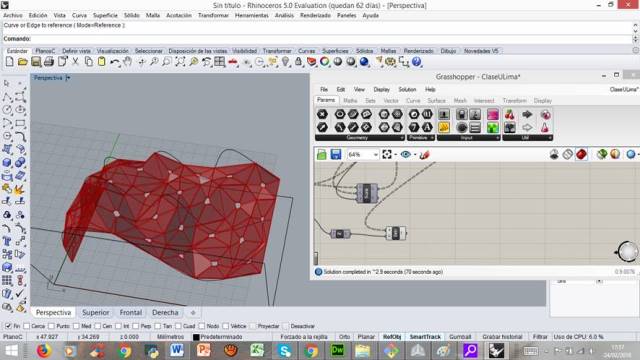
After that I connected the end of each curved line with the start of the circuit at the start of the circuit worked on Grasshopper:
Then I proceeded to change some processes of the template. Final result when activating the template processes:
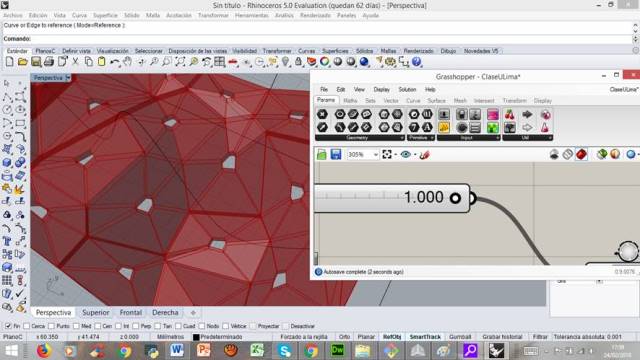
Example of increasing the thickness of the object:
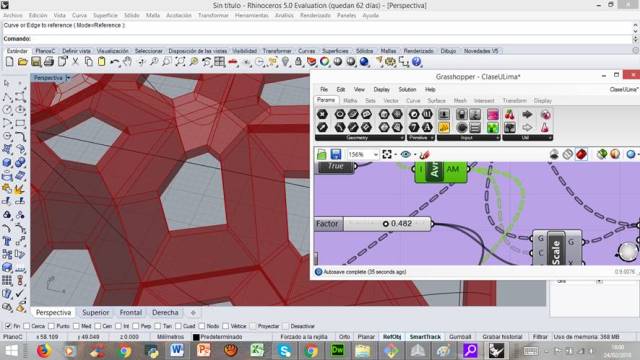
Example of scaling the object. The object is composed of a series of operations that are previously worked:
Extruder to define the object:
Next I drew a simple pattern. I will use the pattern as a fill of an object:
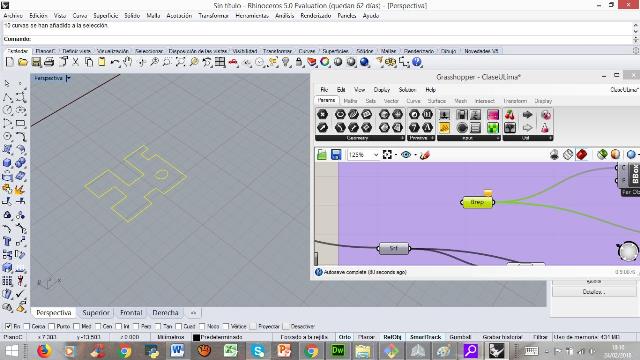
Then I converted the pattern to a solid object:
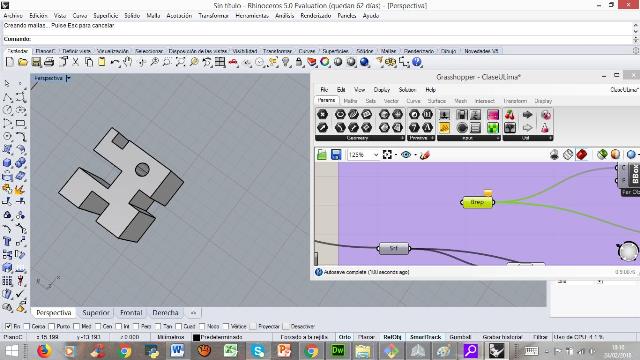
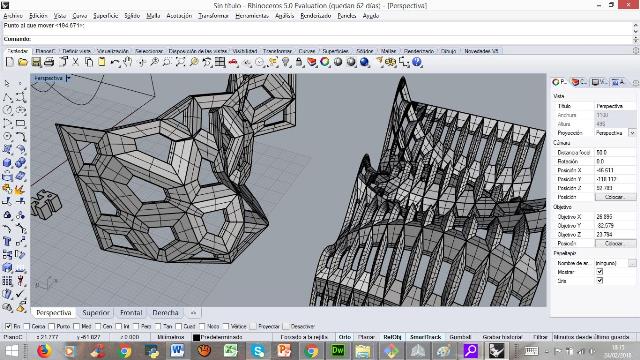
Later I joined the basic pattern to the parametric definition:
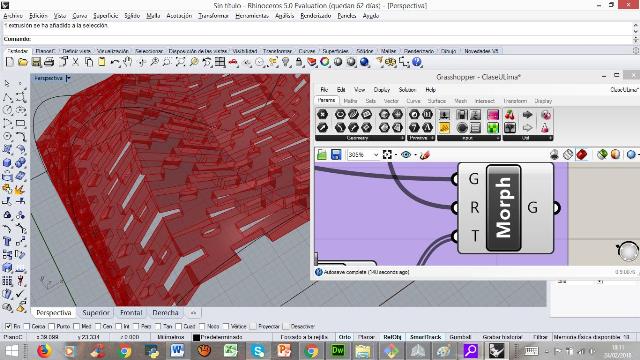
Then I made the transfer from Grasshopper to Rinhoceros (Bake):
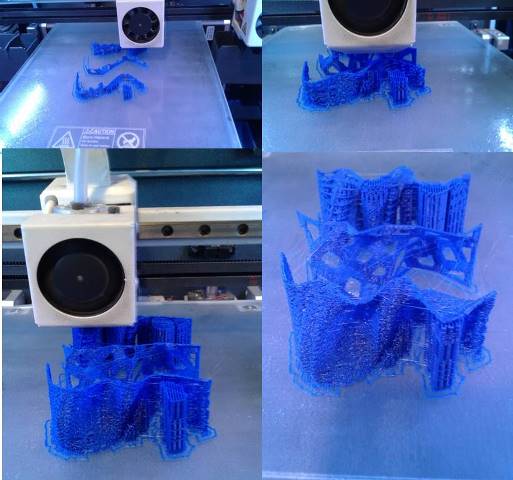
Then I rotated the objects by 90 degrees. This rotation is going to serve so that the impression requires of few supports:
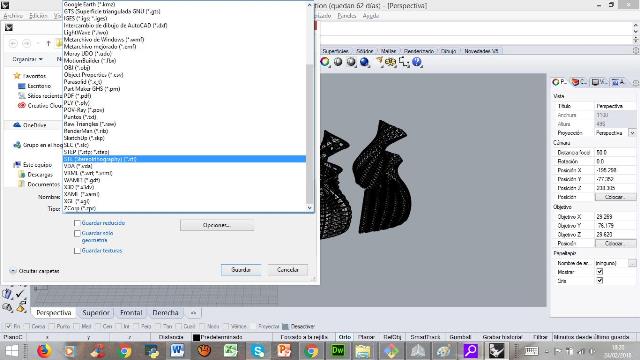
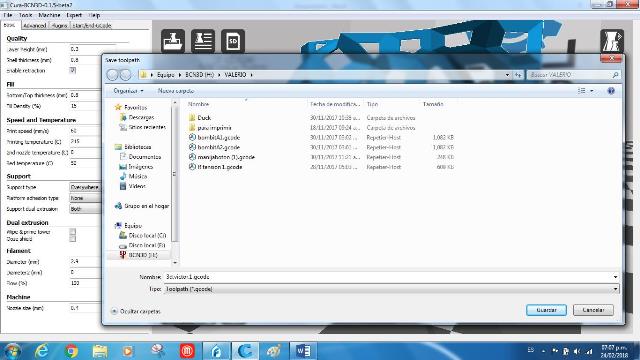
Next, export the design to the stl format
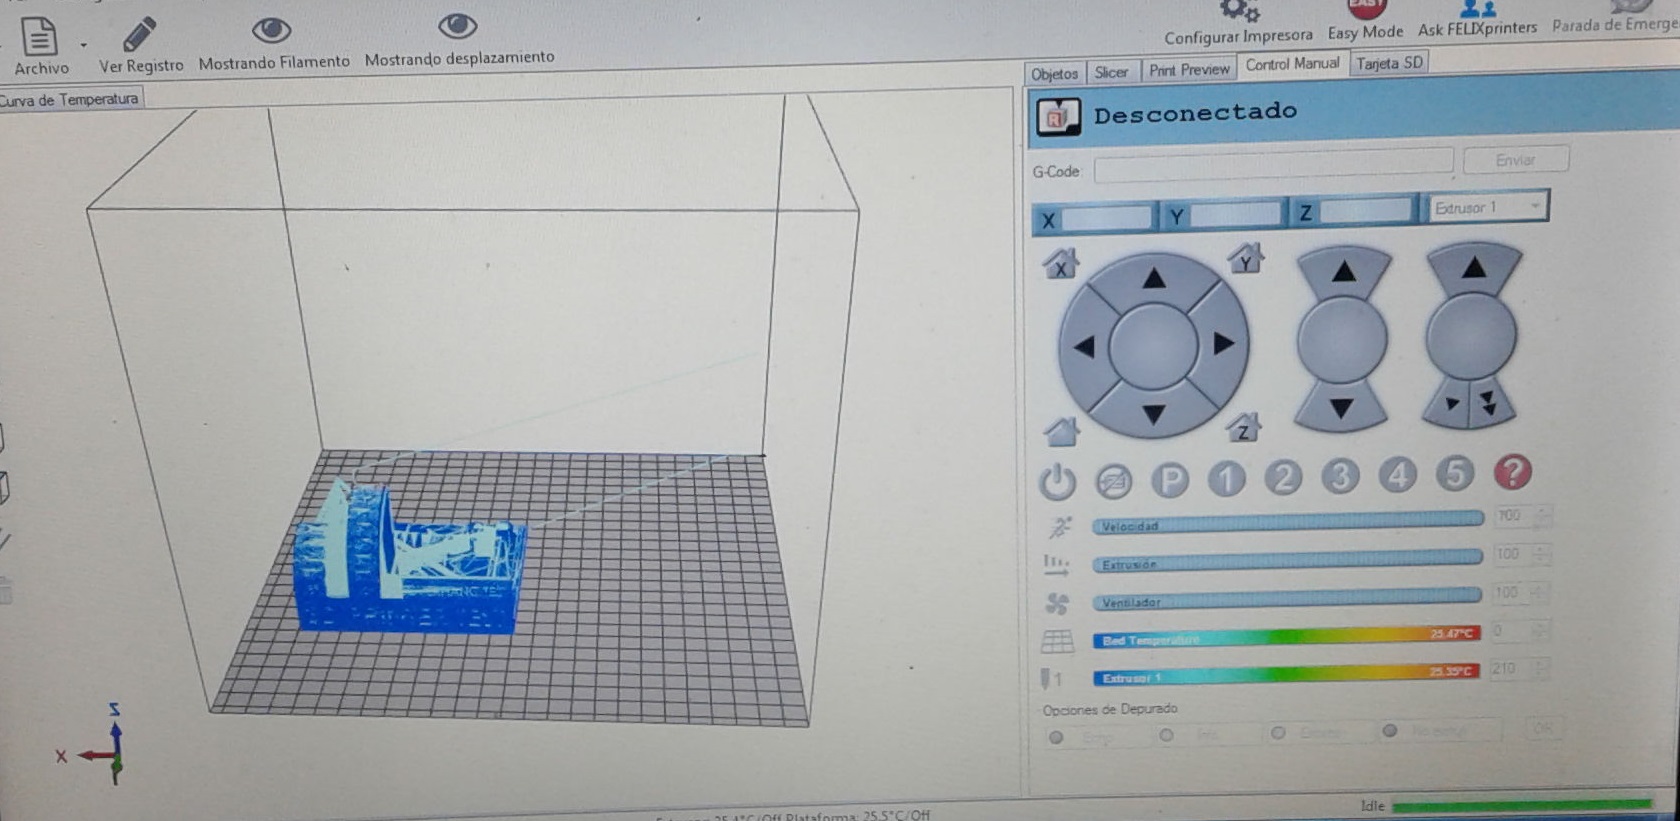
After that I opened the file in the 3D Cure program, which is optimized to work with the BCN3D printer:
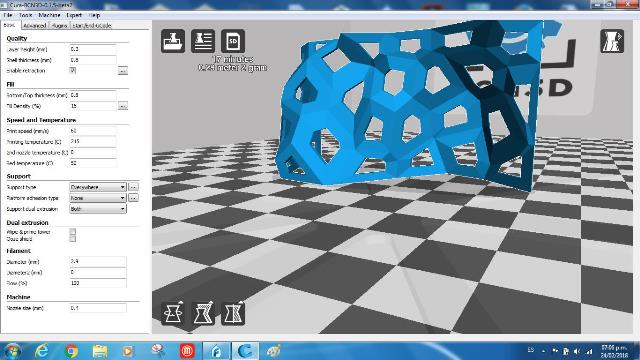
Then some options were modified such as the supports, speed and finishing. Then the gcode was saved.
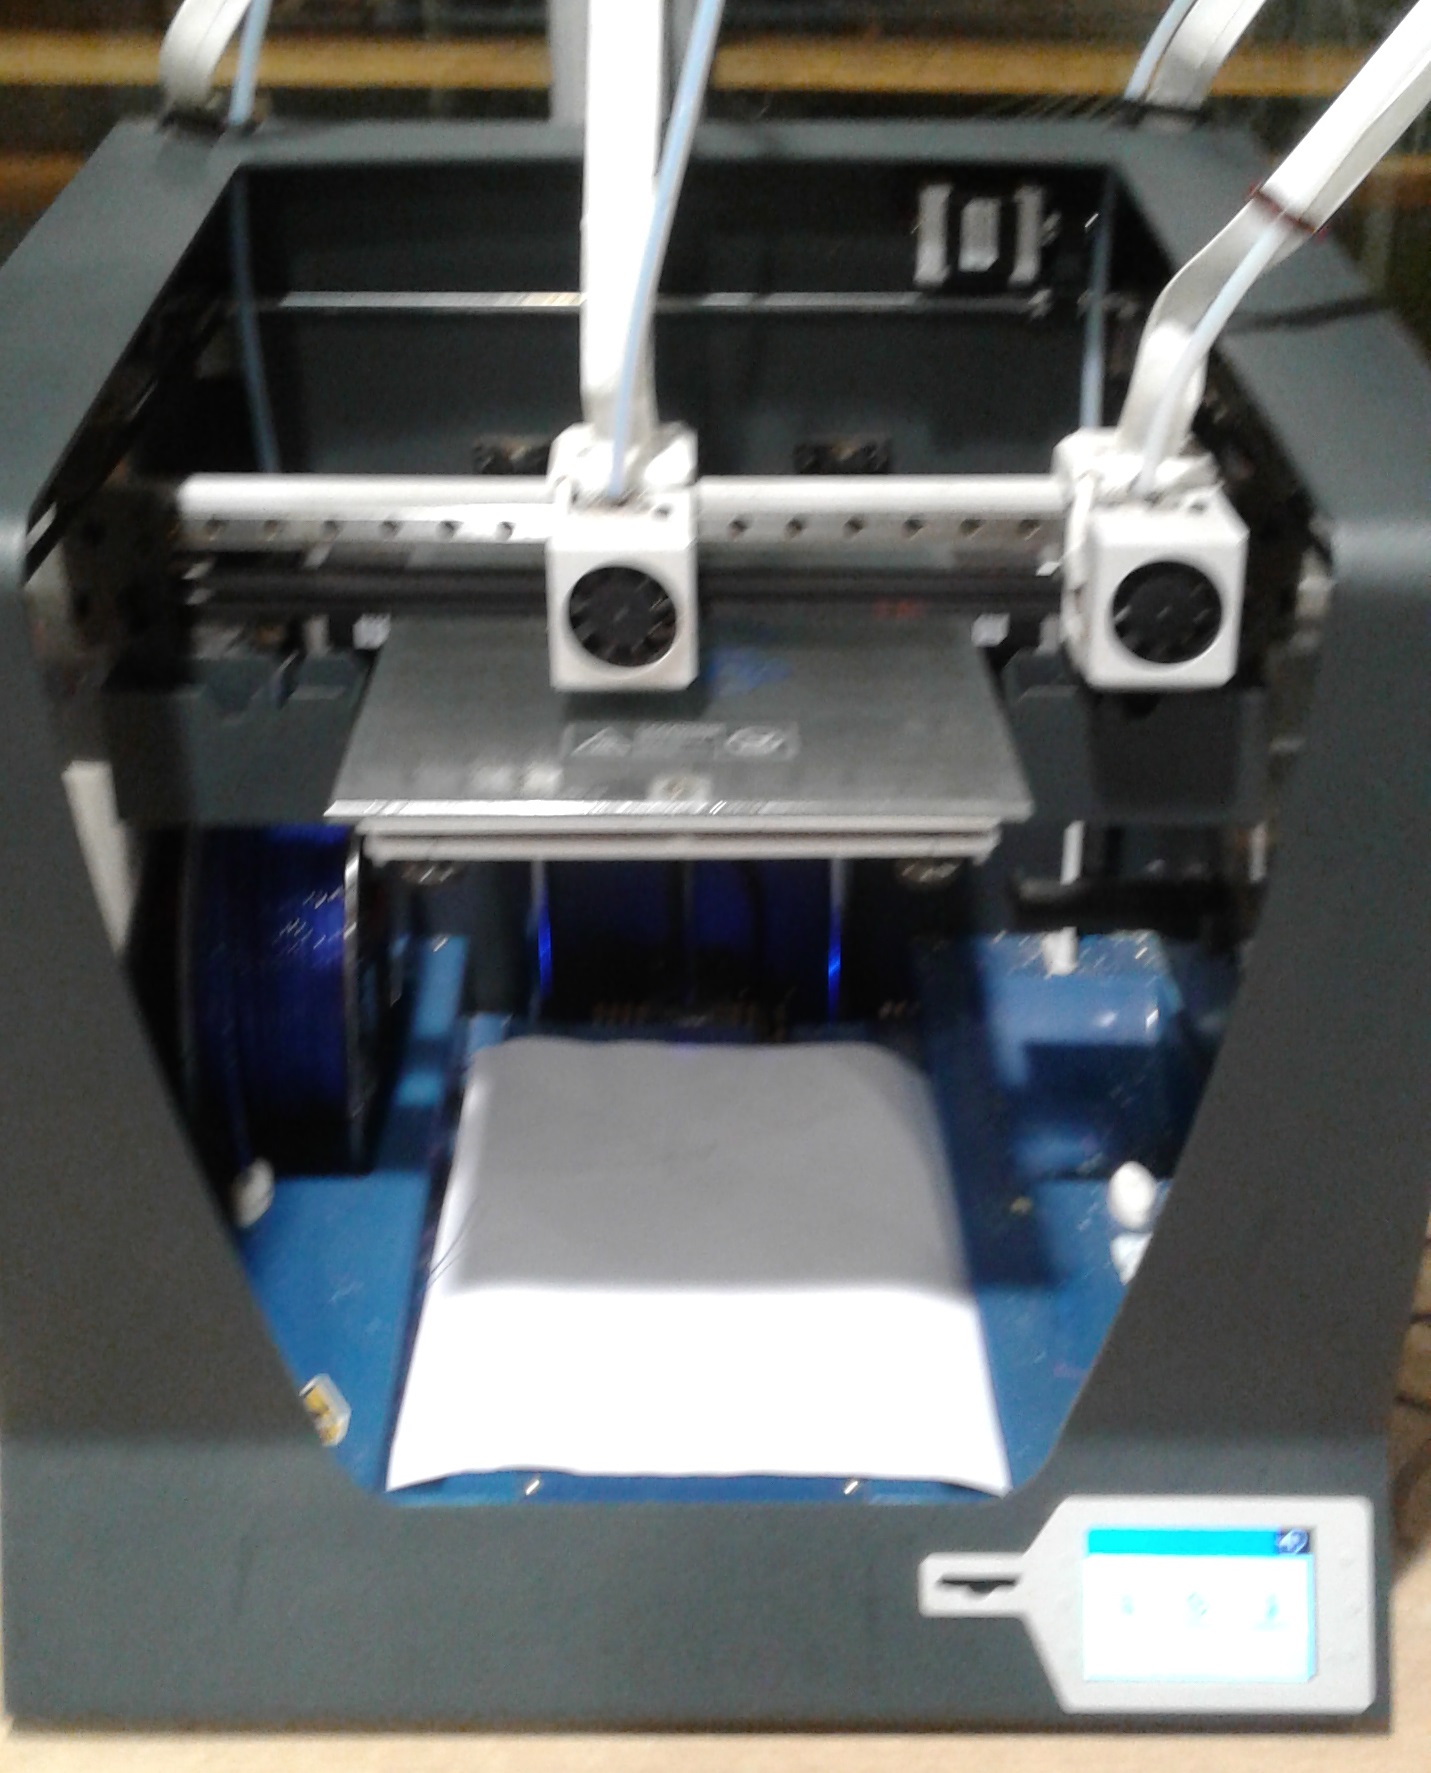
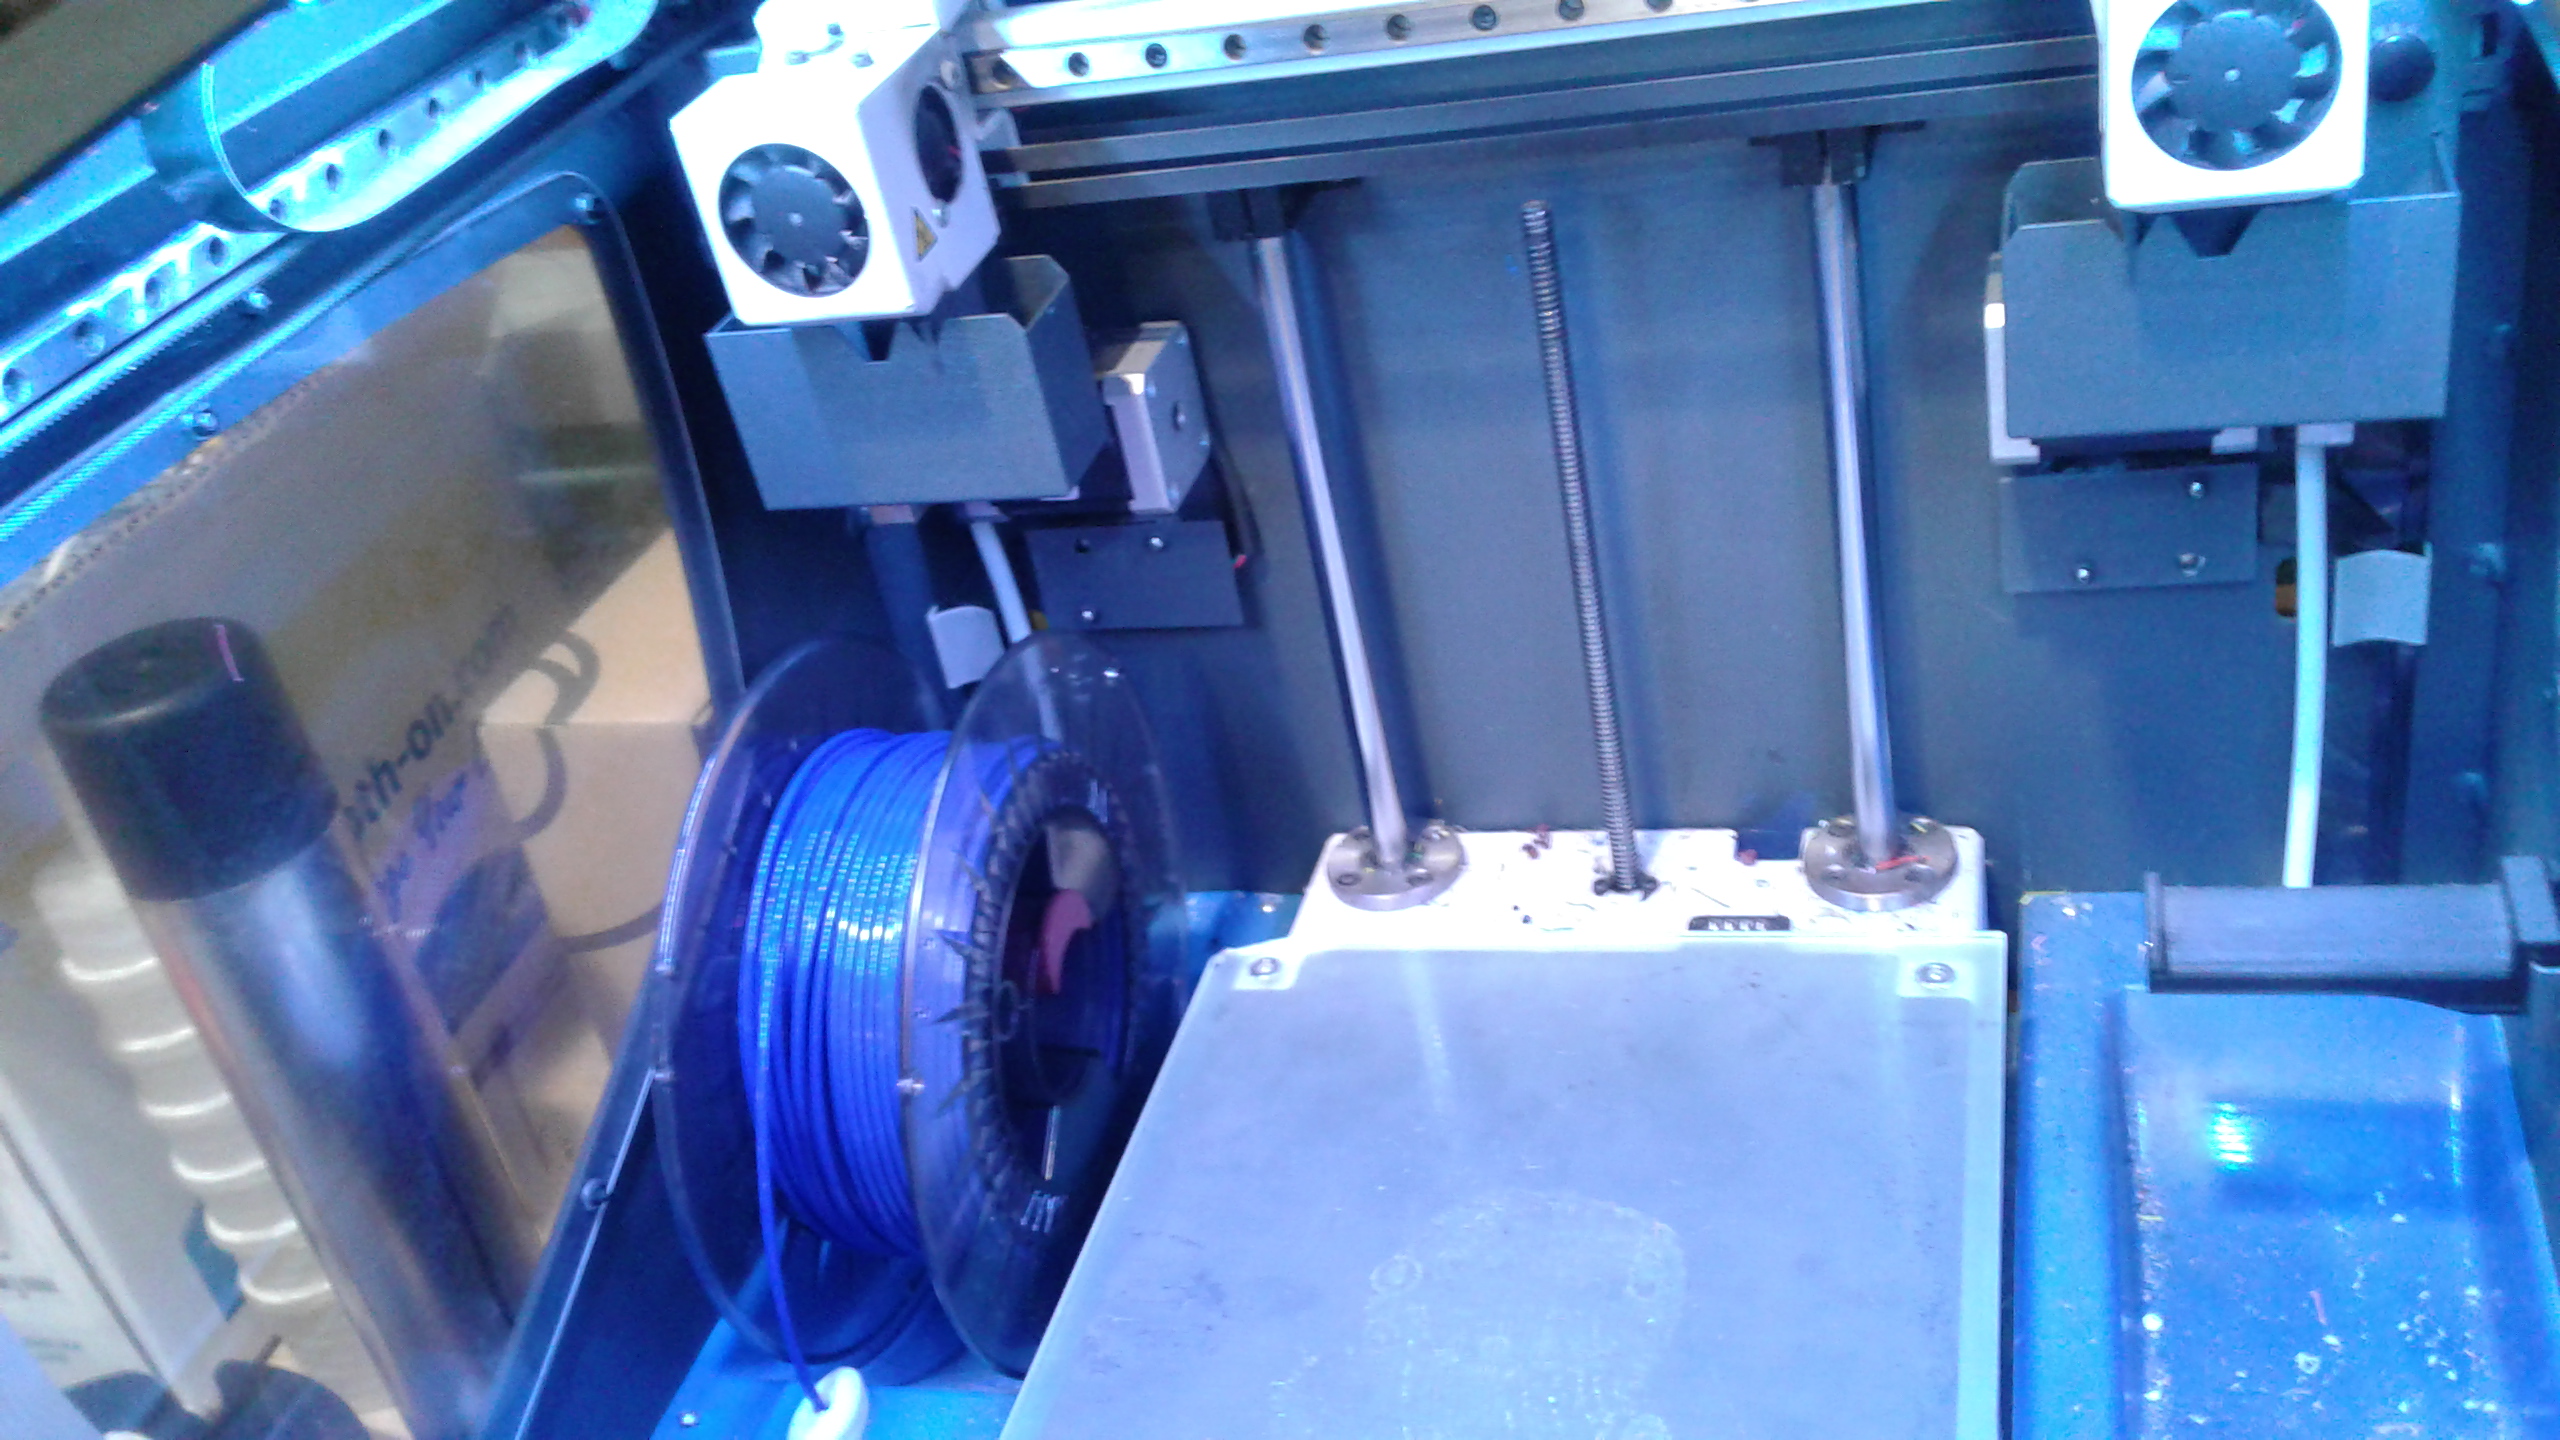
The 3D printer used to print the file was the BCN3D. The BCN3D SigmaX is a 3D printer that has two totally independent extruders that allow you to work in a simple and effective way. It incorporates the third generation of BCNozzle, a totally metallic hotend, which allows to reach temperatures above 280º continuously.
Specifications of the BCN3D printer: Printer size / Dimensions: 460x446x450 mm. Weight / Weight: 15 Kg. Print area: 210x297x210 mm. Layer resolution: With 0.4 mm nozzle: 0.05 - 0.35 mm. Filament diameter: 3 mm. Materials: PLA, ABS, Nylon, HIPS, PVA, Laybrick (with 0.6 mm nozzle), Laywood (with 0.6mm nozzle), Filaflex (with 0.6mm nozzle), Bronzefill (with 0.6mm nozzle). Software: Slic3r, Cura.
Safety: Do not put any object neither any part of the body between the mobile parts of the printer, when it is moving or can start moving. Do not touch the hot parts (printing surface and hotend) while the printer is powered neither during the 15 minutes after it has been working. Handle the printing surface glass carefully. In cases of shock or fall it could break and cause cuts on the user
3D printing process: turn on the 3D printer, setup assistant, load filament, select material, calibrate the 3D printer, hot bed leveling, turn calibration screw as indicated by the display, the printer will print a test to validate the previous process, select print in the main menu, select the file to print.
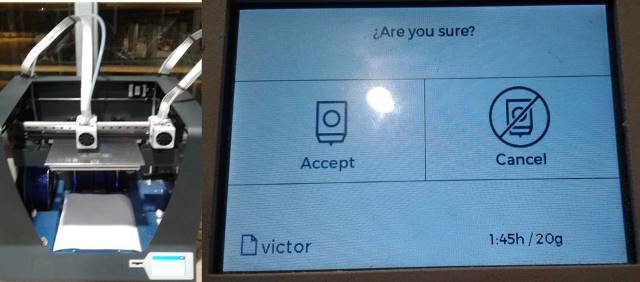
The Gcode printing time estimated by the BCN3D printer was 1:45. The weight of the PLA for printing is 20 grams
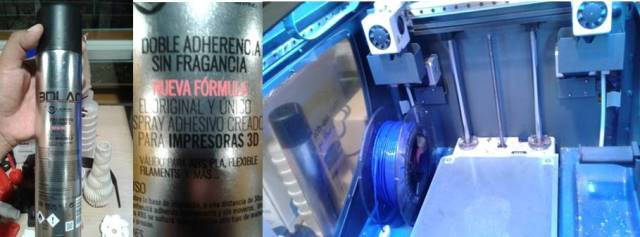
Before sending the print apply an adhesive spray created for 3D printers:
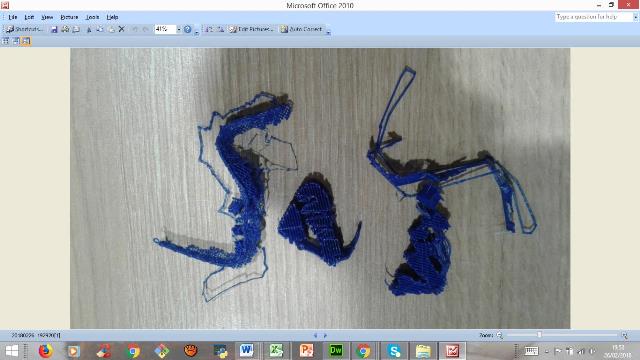
I had an electrical problem. A drop in electrical power caused the 3D printer to turn off and I had to redo the entire process
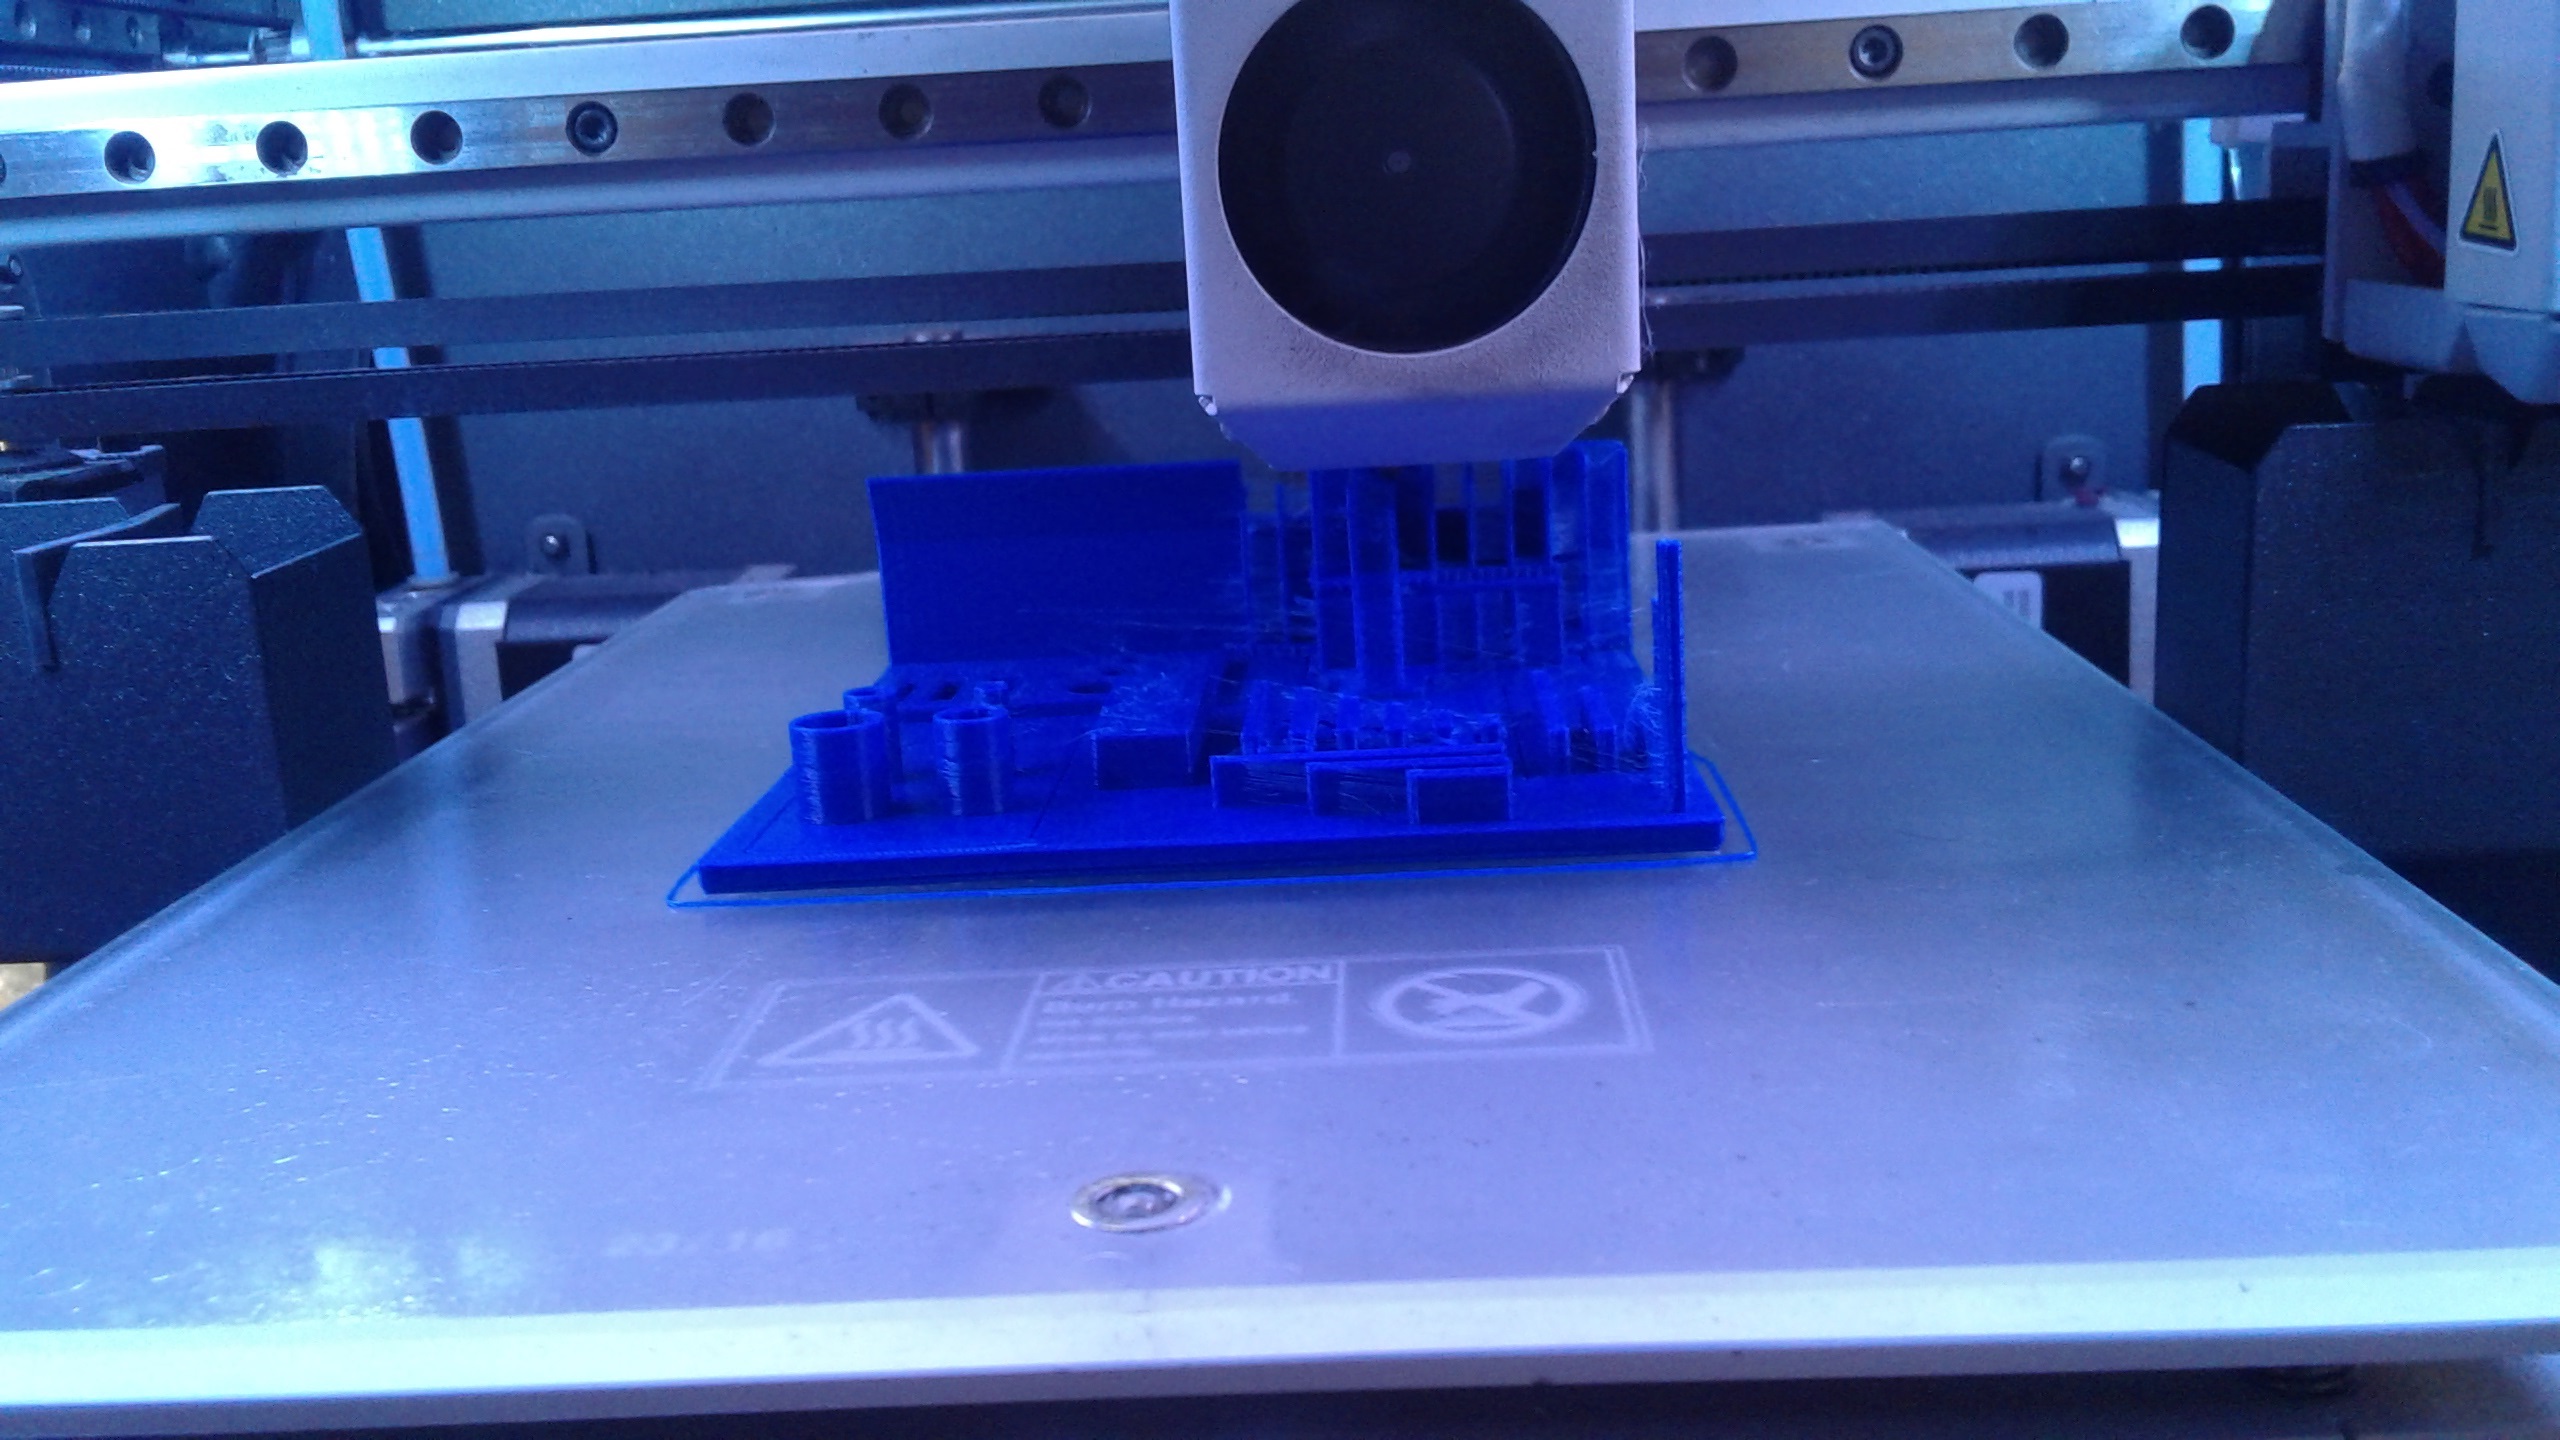
Then I was watching the printing process.
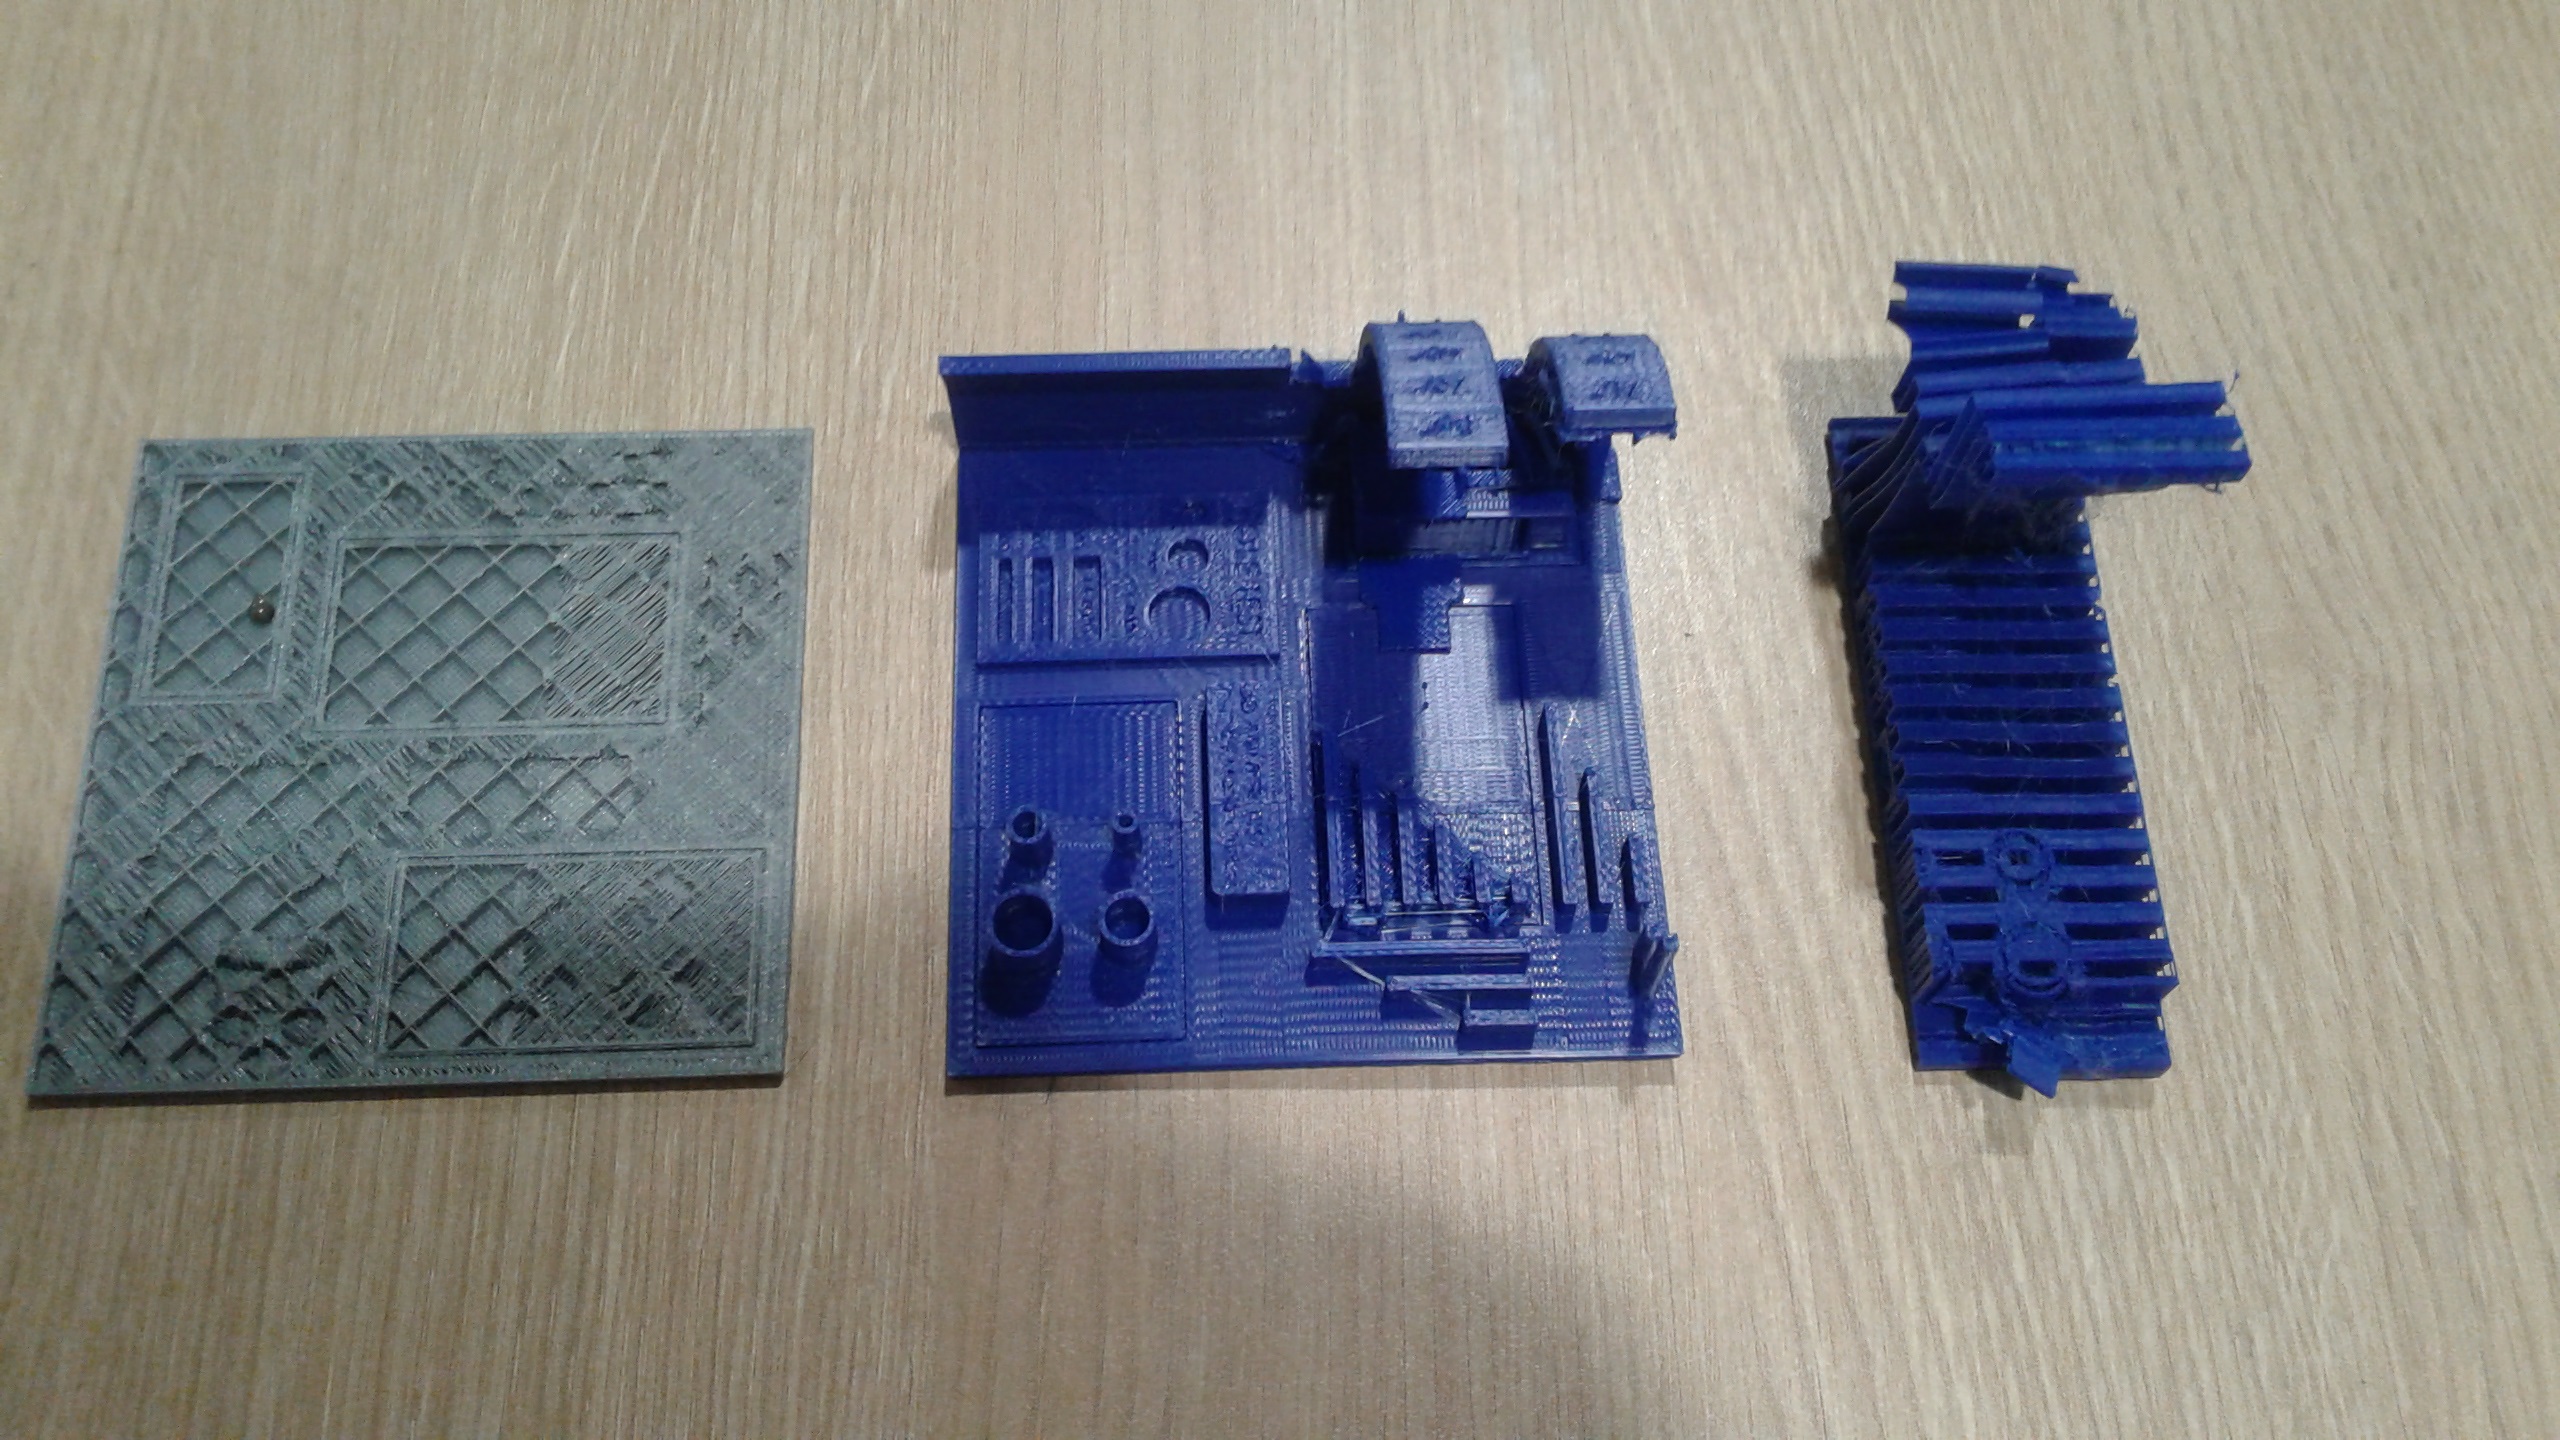
Finally compare the 3D impression with the structures that inspired the design
Part 2: 3D scan an object
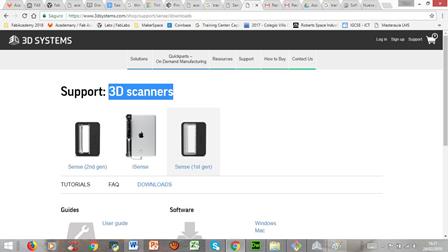
For this part of the assignment I chose to work with the 3D Systems program. The website of the program is: https://www.3dsystems.com
3D Systems Company offers a series of solutions related to 3D fabrication, 3D design and 3D scanning. It offers solutions in various areas such as the automotive industry, aerospace industry, medicine, health, education, entertainment, etc.
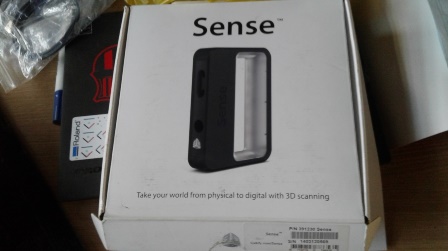
I looked for the program to scan in 3D in the 3D Systems Software Support in the website of the company I downloaded the installation program from the support area for 3D scanners. The program chosen was the first generation 3D Sense. Download link: https://www.3dsystems.com/shop/support/sense/downloads
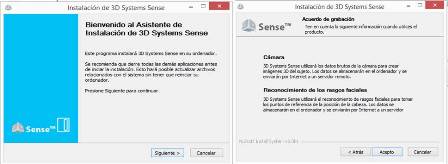
Once downloaded the program on my PC I proceeded to install the program. The installer of the program indicates that you have to take into account the way the 3D scanner works and how the facial recognition system works.
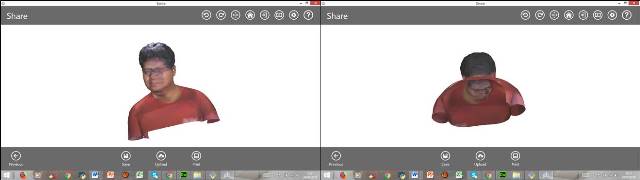
The installer of the program offers some instructions on the use of the mouse and the keyboard for the 3D scanning process. The Sense 3D program allows you to scan people and objects
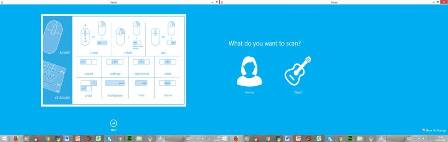
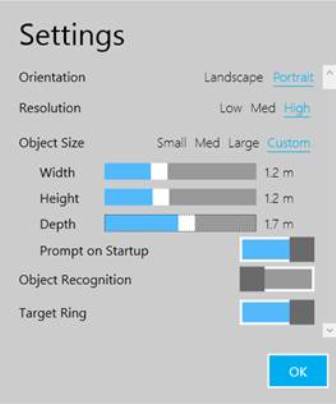
The objects to be scanned can be of three sizes: small, medium and large. To be able to carry out a correct 3D scan it is necessary that the object must be at a distance of approximately 38 centimeters from the scanner.
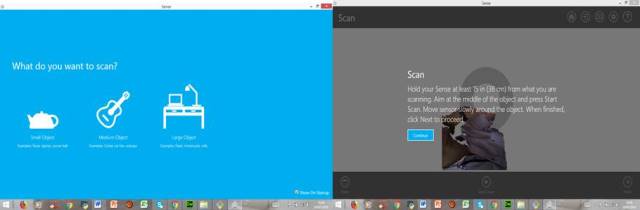
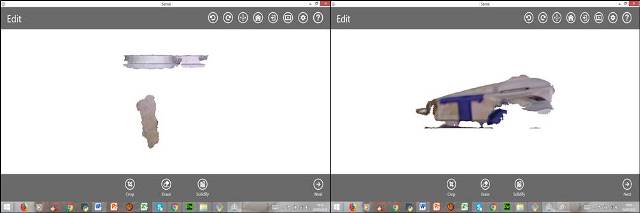
This is an attempt to 3D scan my coffee cup and a silicone gun.
Settings for 3D scanning. The conditions of the scanner can be varied: rotation, resolution, object size, etc.
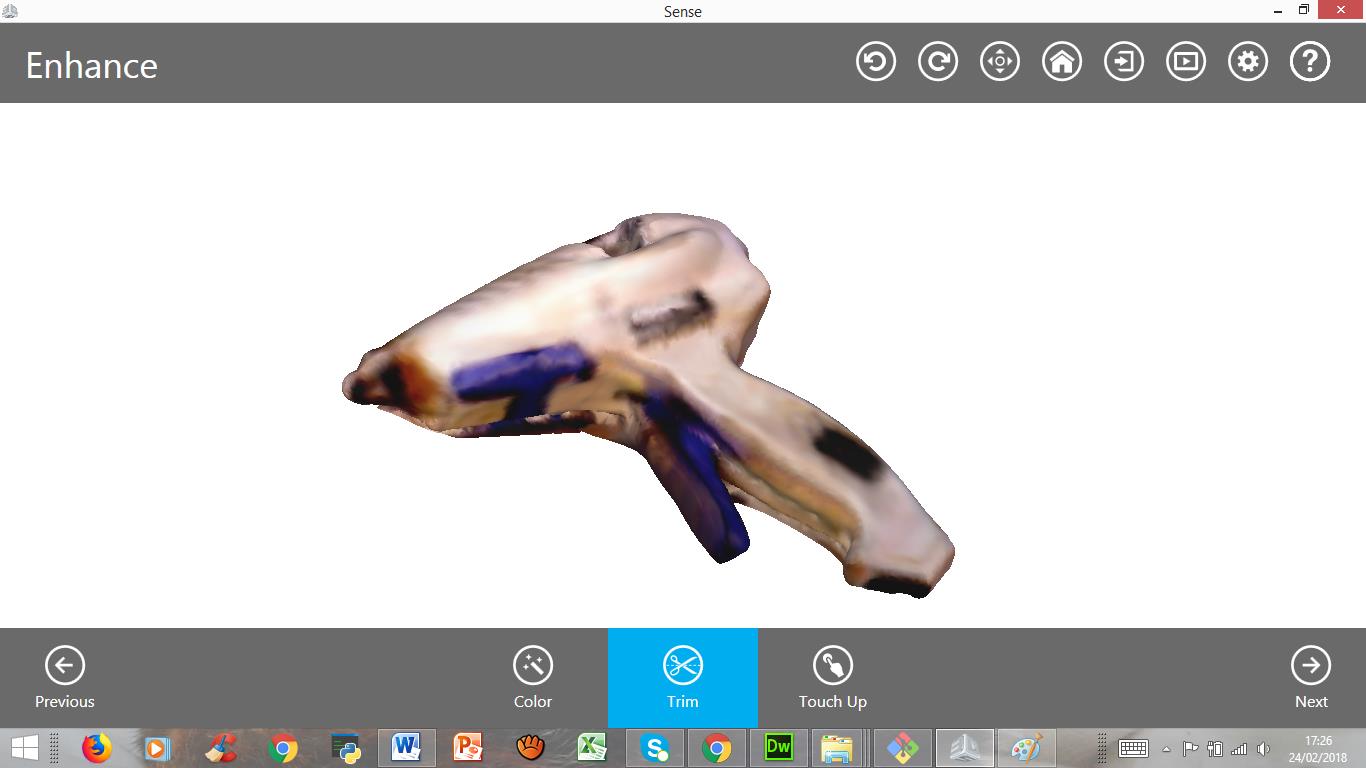
After modifying some of the conditions of the scan I went back to scan the silicone gun
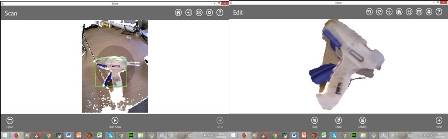
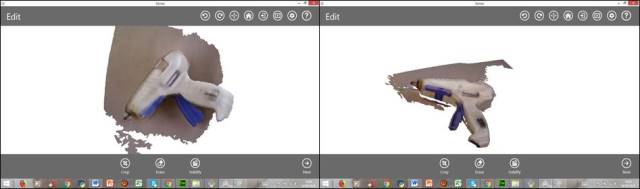
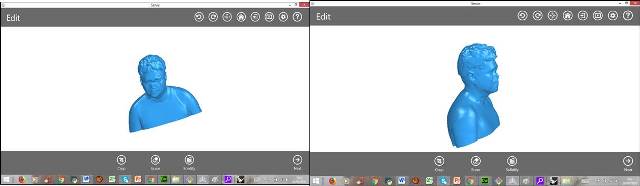
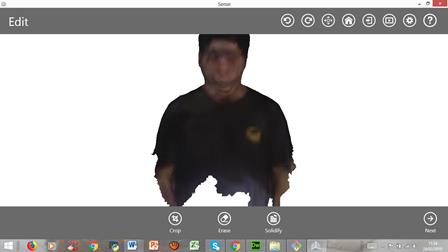
For the scan edition there are three options: Crop (trims unnecessary parts, Erase (erases unnecessary pates) and Solidify (solidity to the scanned object)

3D scanning enhanced with crop, erase and solidify tools.
Finally, with the previous experience, I did the scanning of people.