Assignment 17: Wildcard Week
Design and produce something with a digital fabrication process.
Design and produce something with a digital fabrication process (incorporating computer-aided design and manufacturing) not covered in another assignment, documenting the requirements that your assignment meets, and including everything necessary to reproduce it. Possibilities include but are not limited to wildcard week examples.
Learning outcomes:
-
Demonstrate workflows used in the chosen process
-
Select and apply suitable materials and processes to create your project.
For this assignment I was inspired by some of the most famous helmets in some movies and TV series. When I was a kid I always wanted to have my own helmets from my favorite movies so I tried to build one of the helmets used in the latest movies in the Star Wars saga.
Important note: For this assignment I chose not to make composites. It was not necessary for me to develop group assignment.
Step 1 I looked for some three-dimensional models of the helmets on the Thingiverse website: https://www.thingiverse.com/ and on the 3D model free website: https://free3d.com/3d-models / helmet
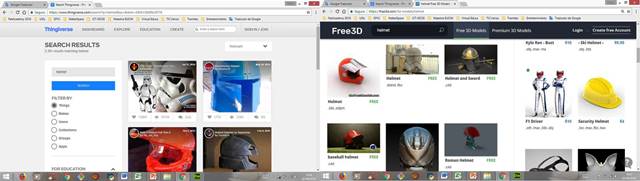
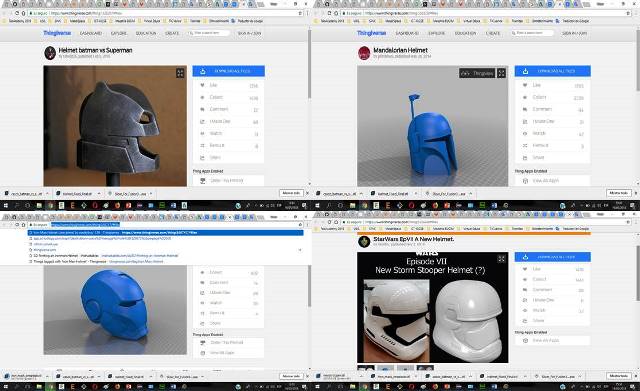
Step 2: I located some helmets that I could make. I was interested in locating the design of some of them to use them as a base to make my own helmet:
Batman helmet: https://www.thingiverse.com/thing:1326207/#files
Mandalorian Helmet: https://www.thingiverse.com/thing:338328/#files
Iroman hermet: https://www.thingiverse.com/thing:360747/#files
Tropper helmet: https://www.thingiverse.com/thing:525664/#files
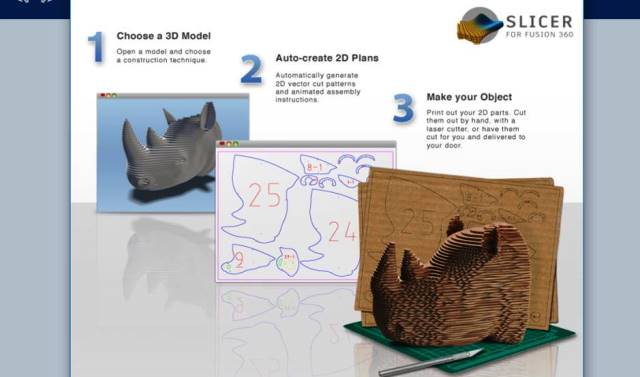
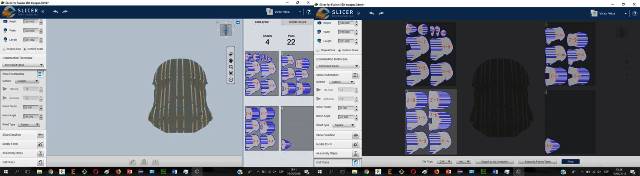
Step 3: I downloaded the Slicer 3D program for Fusion on my computer. Slicer for Autodesk® Fusion 360 ™ is a tool to turn your digital 3D models into appealing artefacts. It slices and converts 3D models into 2D patterns that you can cut out of any flat material. Download herre.
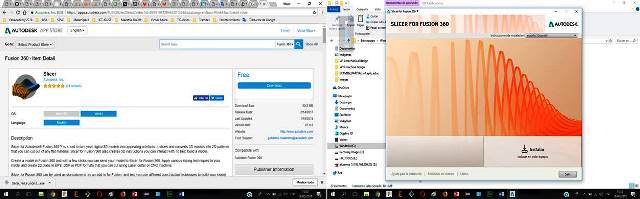
Step 4: Then I installed the Slicer 3D program on my computer. The program allows you to generate the 3D designs in three steps: first the design is chosen in one of the permitted formats (for example in the STL format), then the program generates two-dimensional design plans and finally they print and assemble the designs. objects joining the planes vertically and horizontally until having the design in three dimensions.
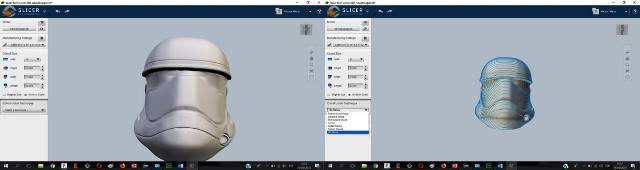
Step 5: Then, in the Slicer 3D program, I imported the helmet file in the stl format. To face the object I chose the 3D Slicers technique. I realized that this technique would not help me to create structures in two dimensions, that is why I had to try the other techniques allowed by this program.
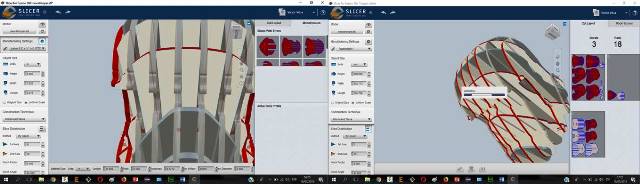
Step 6: After testing several construction techniques, I verified that the technique that helped me obtain objects in two dimensions is "Interlocked Slices".
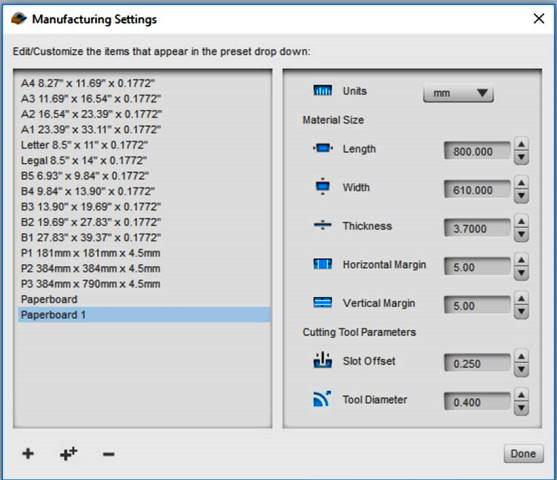
Step 7: Then I went to the "manufacturing settings" option to create a new material for laser cutting and entered the measurements for cutting a cardboard board:
Unids: mm
Length: 800 mm
With: 610 mm
Thickness: 3700 mm
Horizontal margin: 5mm
Vertical margin: 5 mm
Step 8: After several fitting tests, 22 two-dimensional objects were placed on four cardboard paper plates. Then the design was exported in the DFX format so that it can be cut in the laser cutter.
Step 9: Then I made the cut of the 22 two-dimensional pieces using the laser cutter.
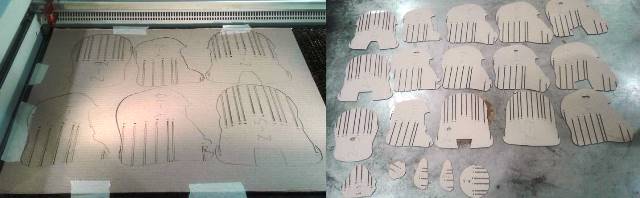
Step 10: Next I proceeded to assemble the printed pieces in the laser cutter. The assembly was simple because the pieces had a correlative numbering.
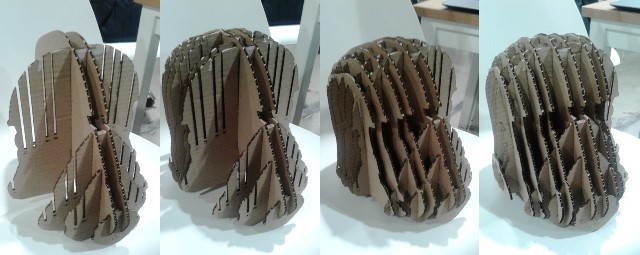
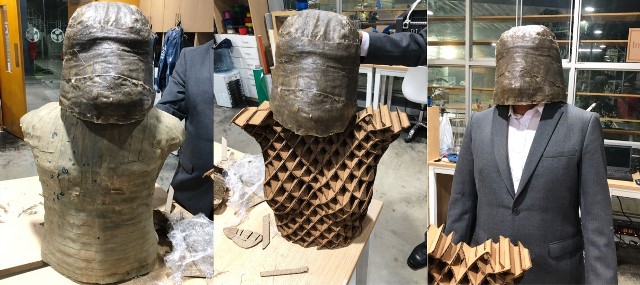
Step 11: When I was placing the last pieces I had some problems because the material was quite thin. After several attempts I was able to finish the helmet assembly.
Step 12: Next I requested the necessary materials to cover the helmet: resin and resin catalyst, cloth, protective lenses, plastic gloves, plastic cover, plastic cups and pallets.
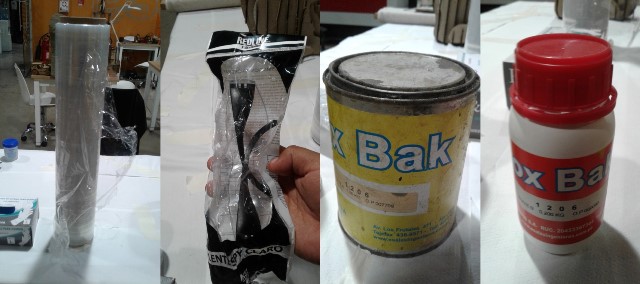
Step 13: I then covered the helmet with a layer of plastic cover. This I did in order to have a separating layer between the structure of the helmet made of cardboard and the layers of fabric with resin that I would use to cover the outside of the helmet.
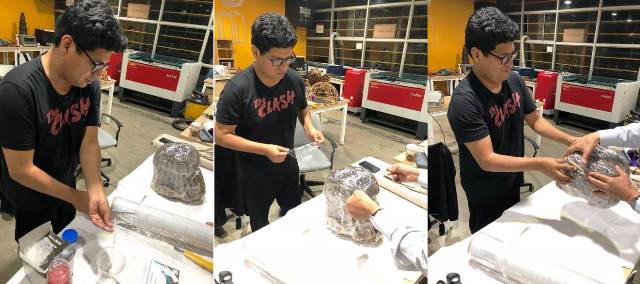
Step 14: Then I covered the helmet again with a layer of plastic cover. This I did in order to completely isolate the entire helmet before placing the resin layer.

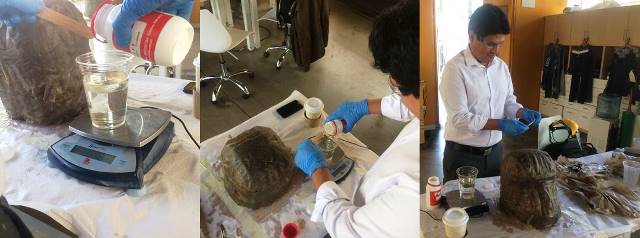
Step 15: Next I used the electronic scale to mix 300 milliliters of resin with 60 milliliters of resin catalyst. The ratio to mix both components was 5 to 1. I used a palette of ice cream and gloves to make the mixture.
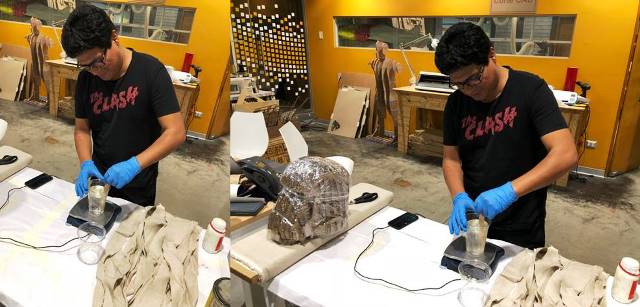
Step 16: Then cover a piece of cloth with resin and place it around the helmet. Repeated the process several times until completely covering the outer edge of the helmet. Finally I let the helmet dry for 24 hours.
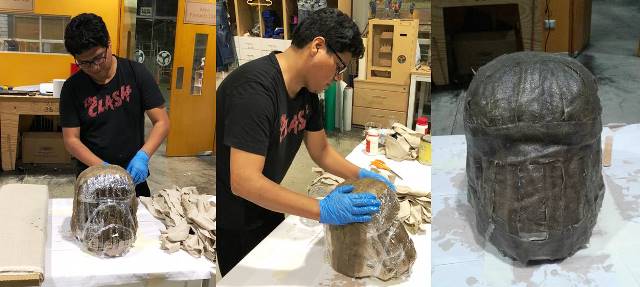
Step 17: The next day I went back to mixing the resin with the resin catalyst. Then I returned to cover the helmet with pieces of cloth with resin to form a second layer around the entire helmet. I let the piece dry for another 24 hours.
Step 18: The next day I checked that the coverage of the helmet was already totally hard. I proceeded to remove the material inside the helmet until I had only the outside part.
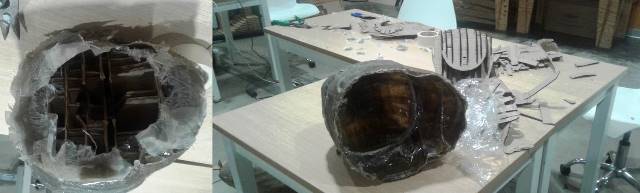
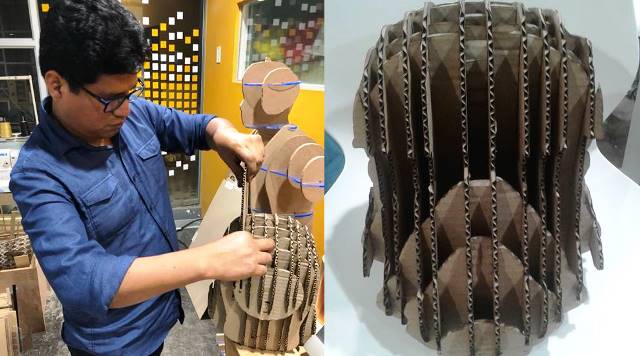
Step 19: Finally I checked the size of the helmet by placing it next to other similar structures.
It was not necessary to apply more than two layers to guarantee the strength of the helmet. In the same way, it was not necessary to apply pressure on the two layers placed to form the helmet because the helmet was achieved in the expected shape.