Assignment 11: Input Devices
Measure something: add a sensor to a microcontroller board that you have designed and read it.
Learning outcomes:
-
Demonstrate workflows used in sensing something with input device(s) and MCU board.
Group assignment:
-
Probe an input device(s)'s analog and digital signals.
-
Document your work to the group work page and reflect on your individual page what you learned.
Individual assignment:
-
Measure something: add a sensor to a microcontroller board that you have designed and read it.
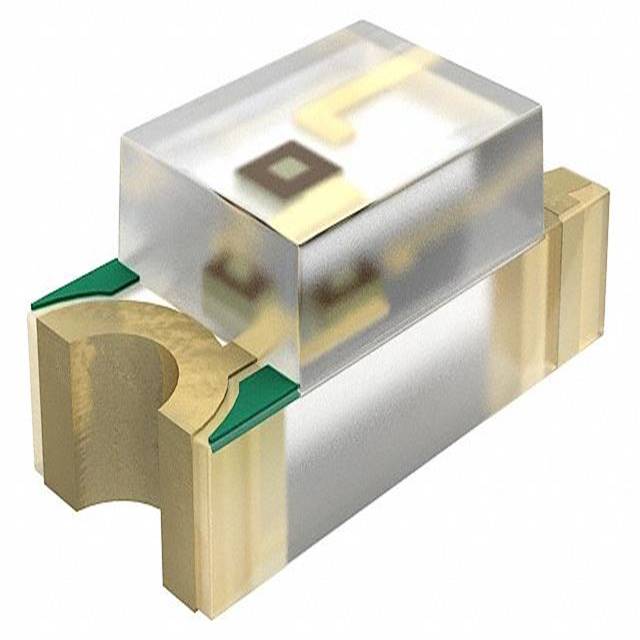
For this assignment I decided to make a device to measure the intensity of the light. For this I used a Phototransistor Flat Top Bk 1206.
In photometry, luminous intensity is a measure of the wavelength-weighted power emitted by a light source in a particular direction per unit solid angle, based on the luminosity function, a standardized model of the sensitivity of the human eye. The SI unit of luminous intensity is the candela (cd), an SI base unit.
Step 1: I researched the sensor details.
PT15-21C / TR8 is a phototransistor in miniature SMD package which is molded in a clear water with flat top view lens. The device is Spectrally matched to visible and infrared emitting diode. Applications: miniature switch, counters and sorter, position sensor, infrared applied system.
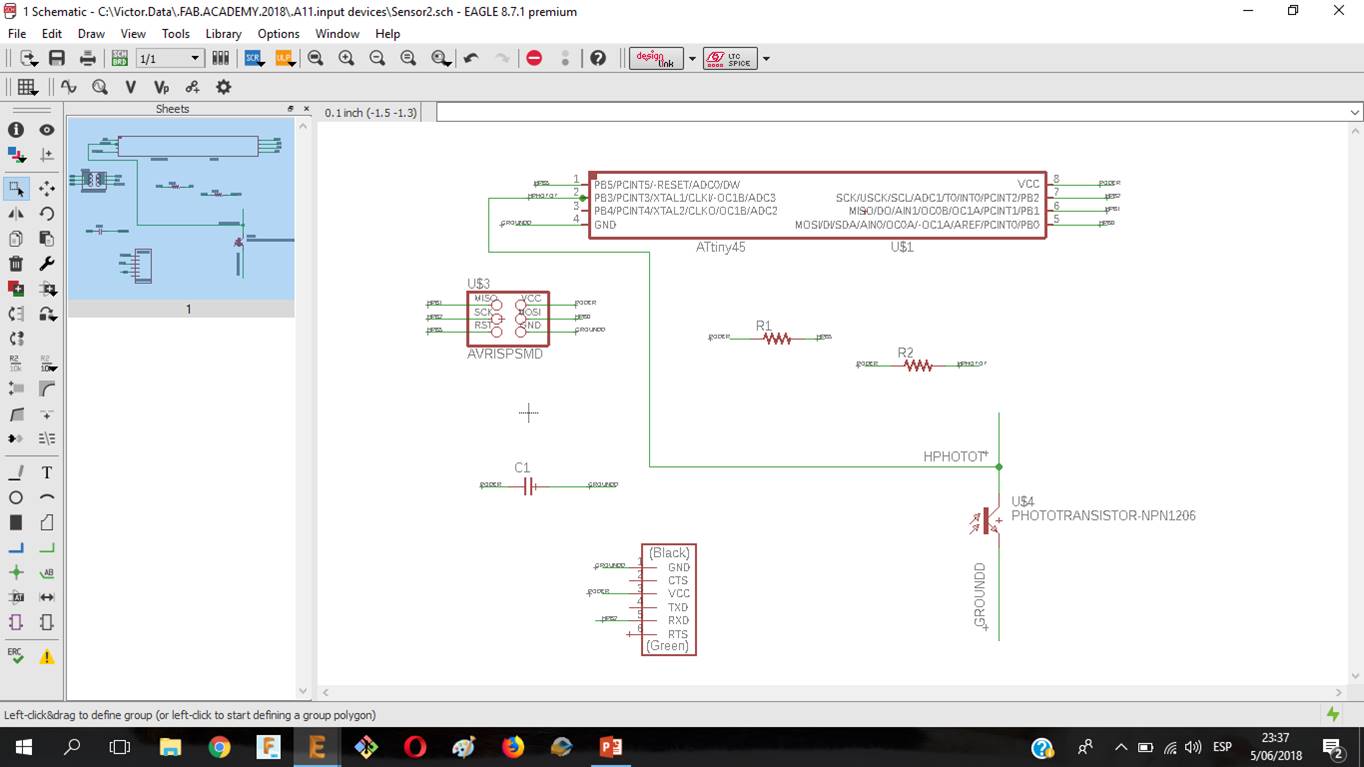
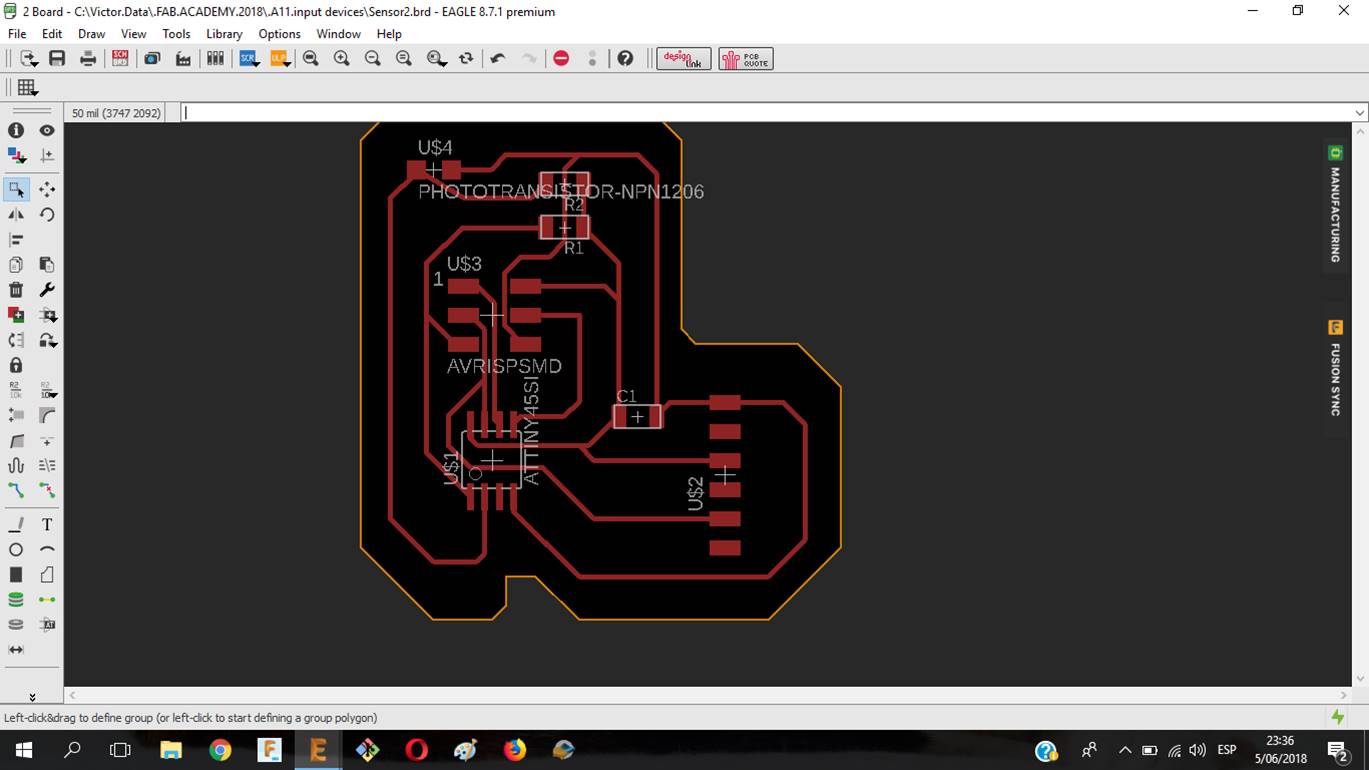
Step 2: I designed the PCB card
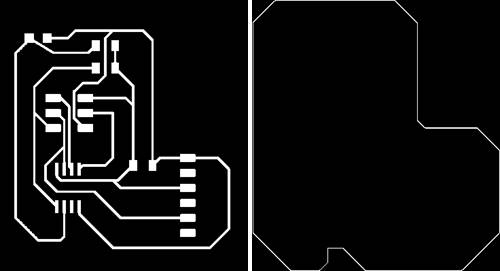
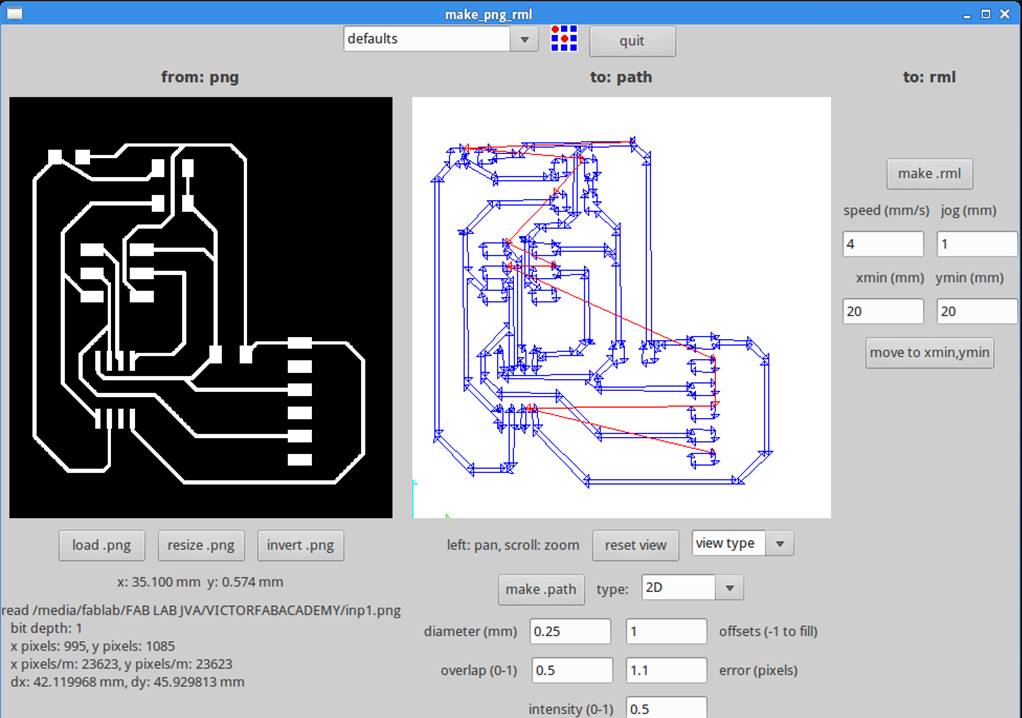
Step 3: I exported the tracer and the interior of the PCB in .png format
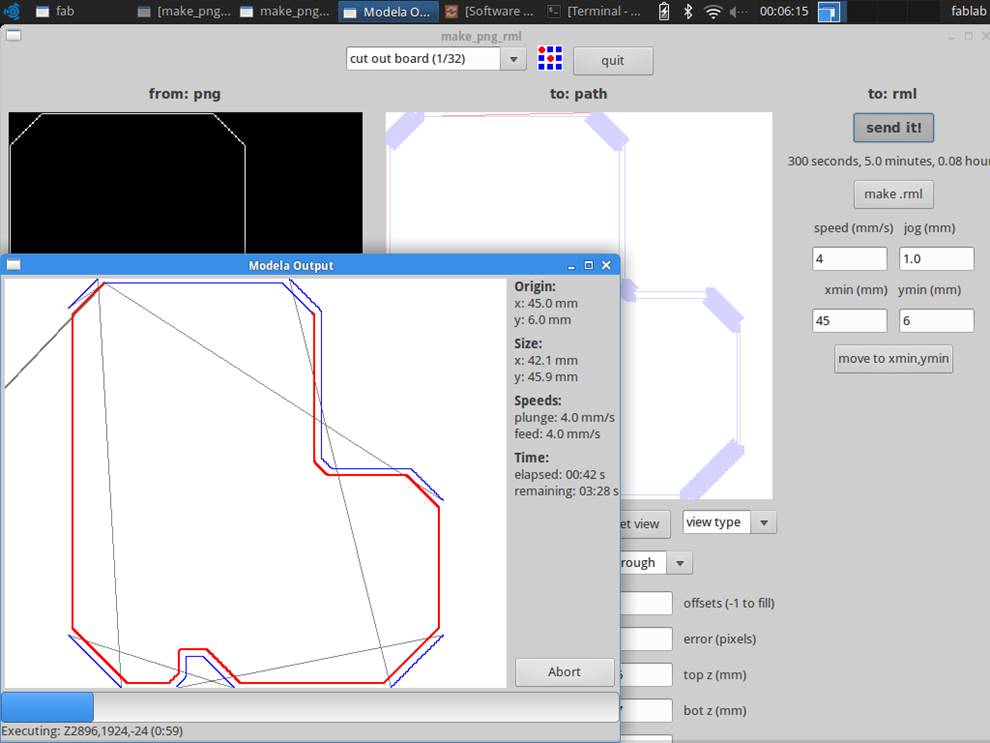
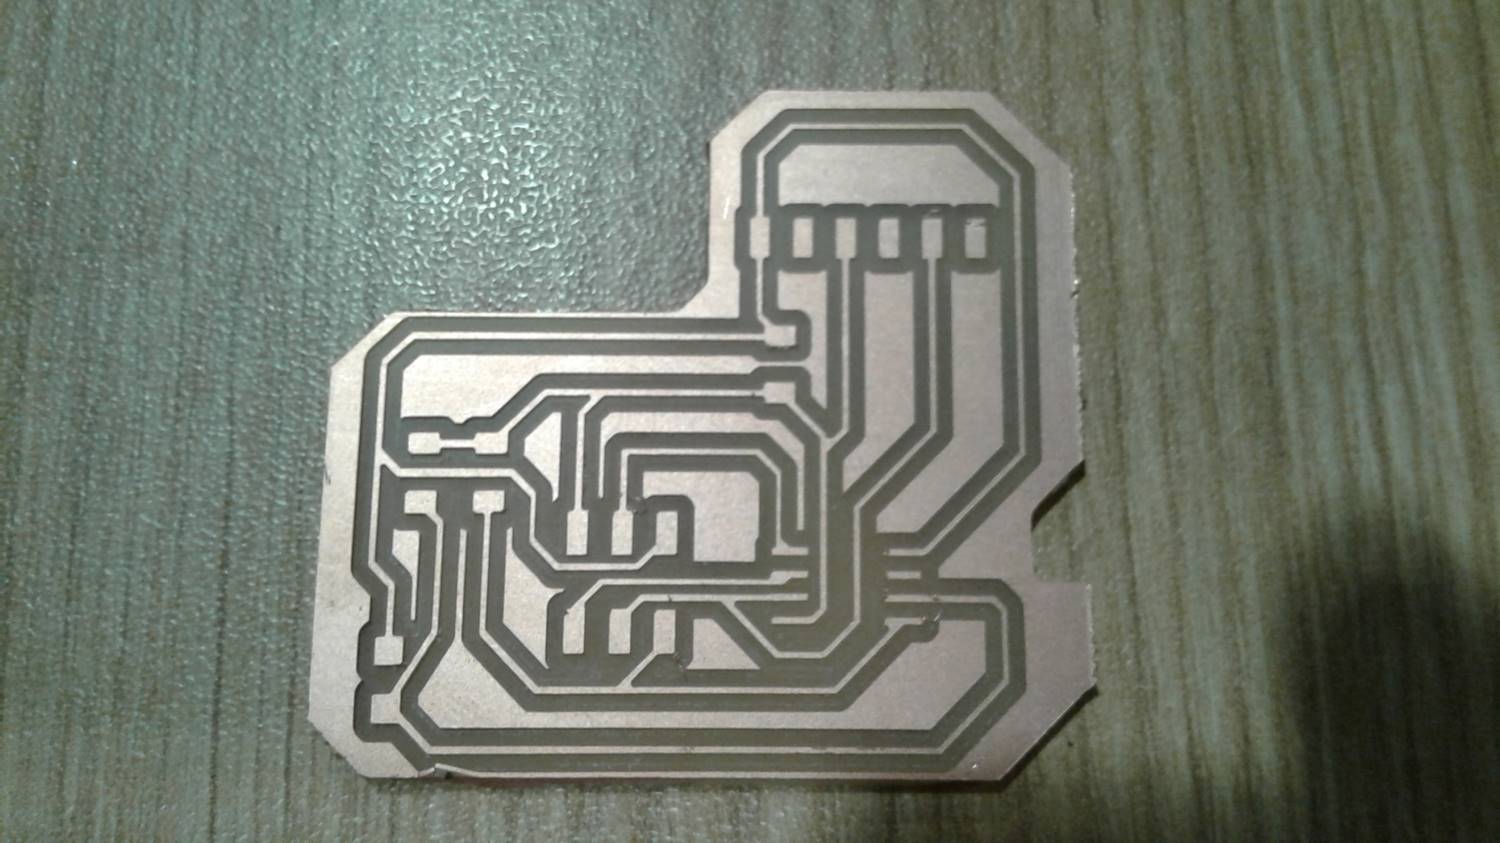
Step 4: I milled the tracer of the PCB.
Step 5: I milled the interior of the PCB.
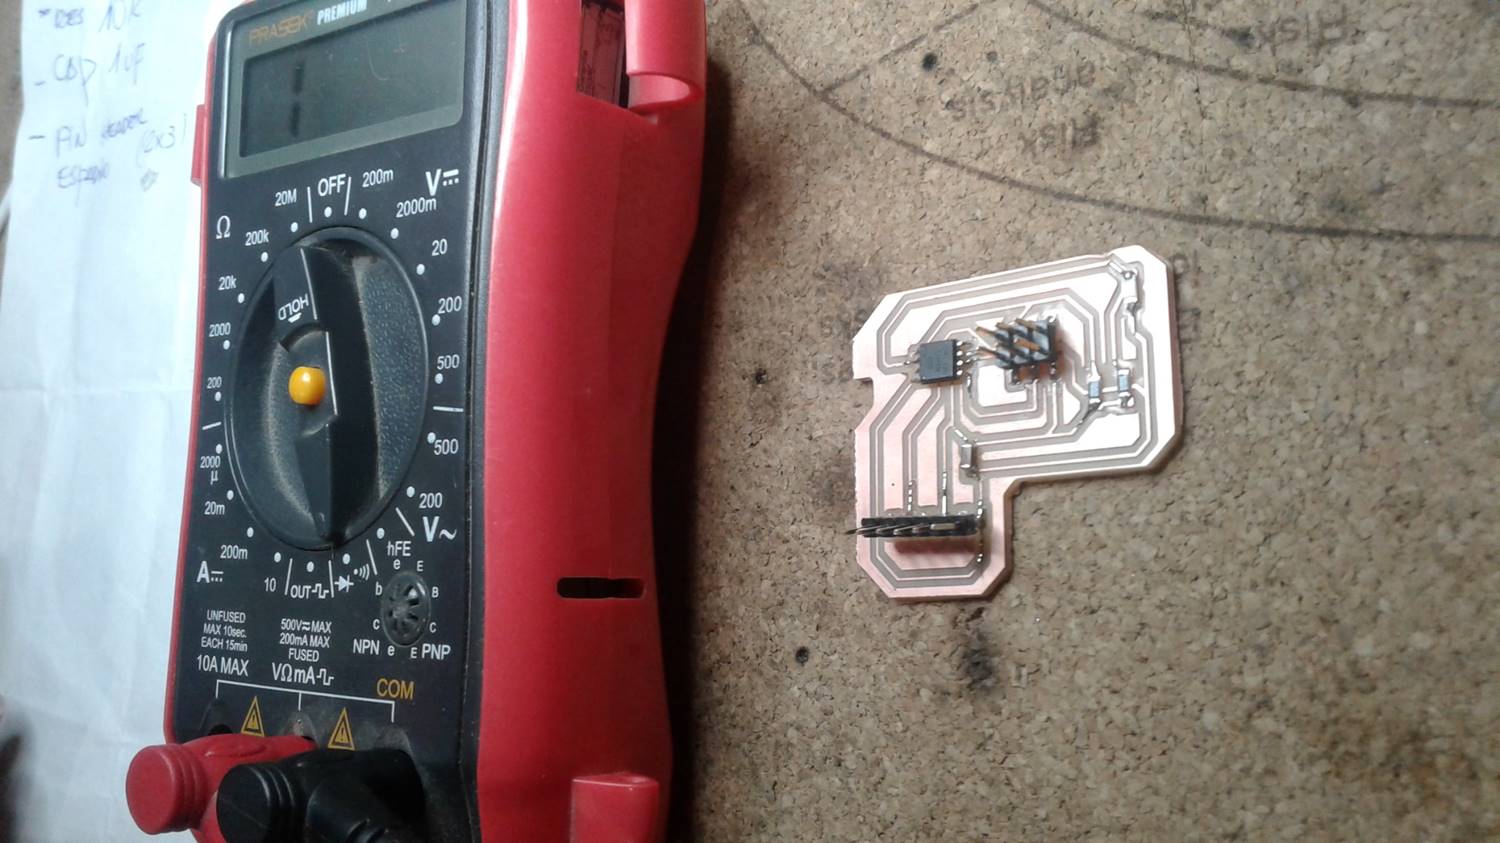
Step 6: Then I checked the conductivity of the PCB tracks using a multimeter.
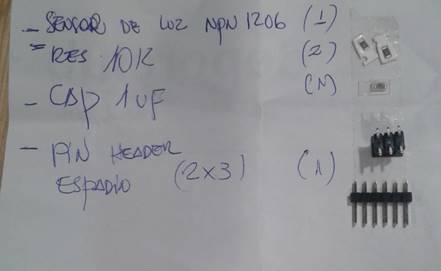
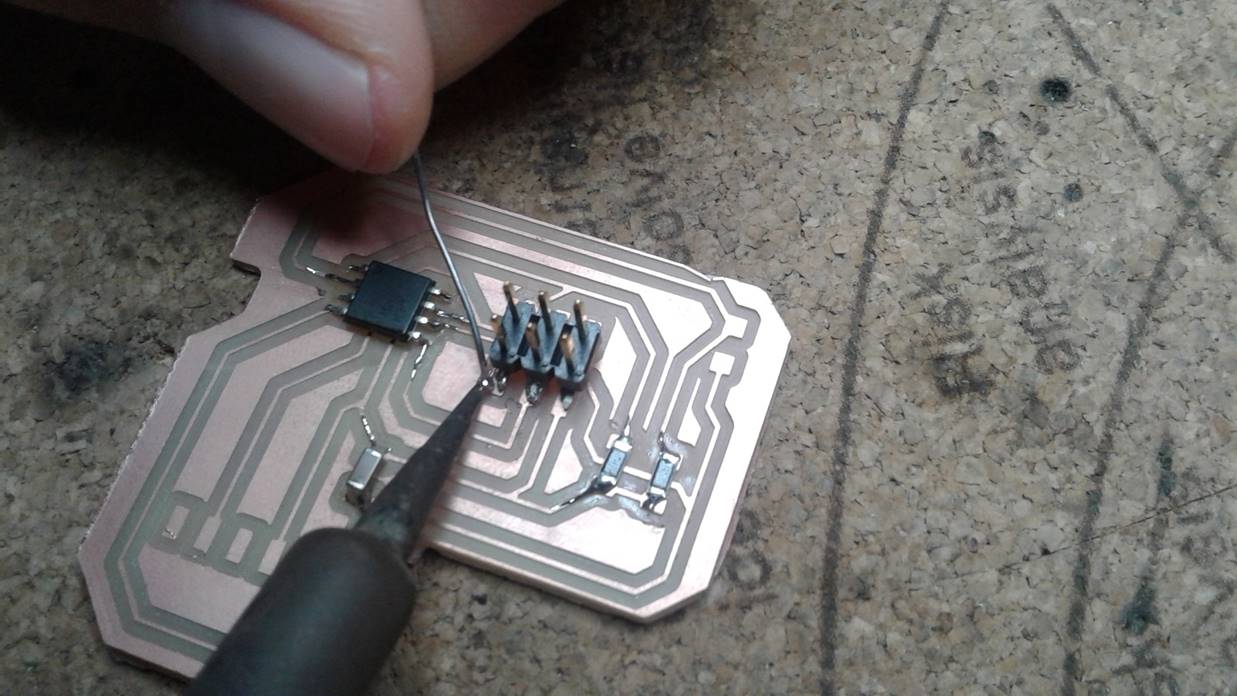
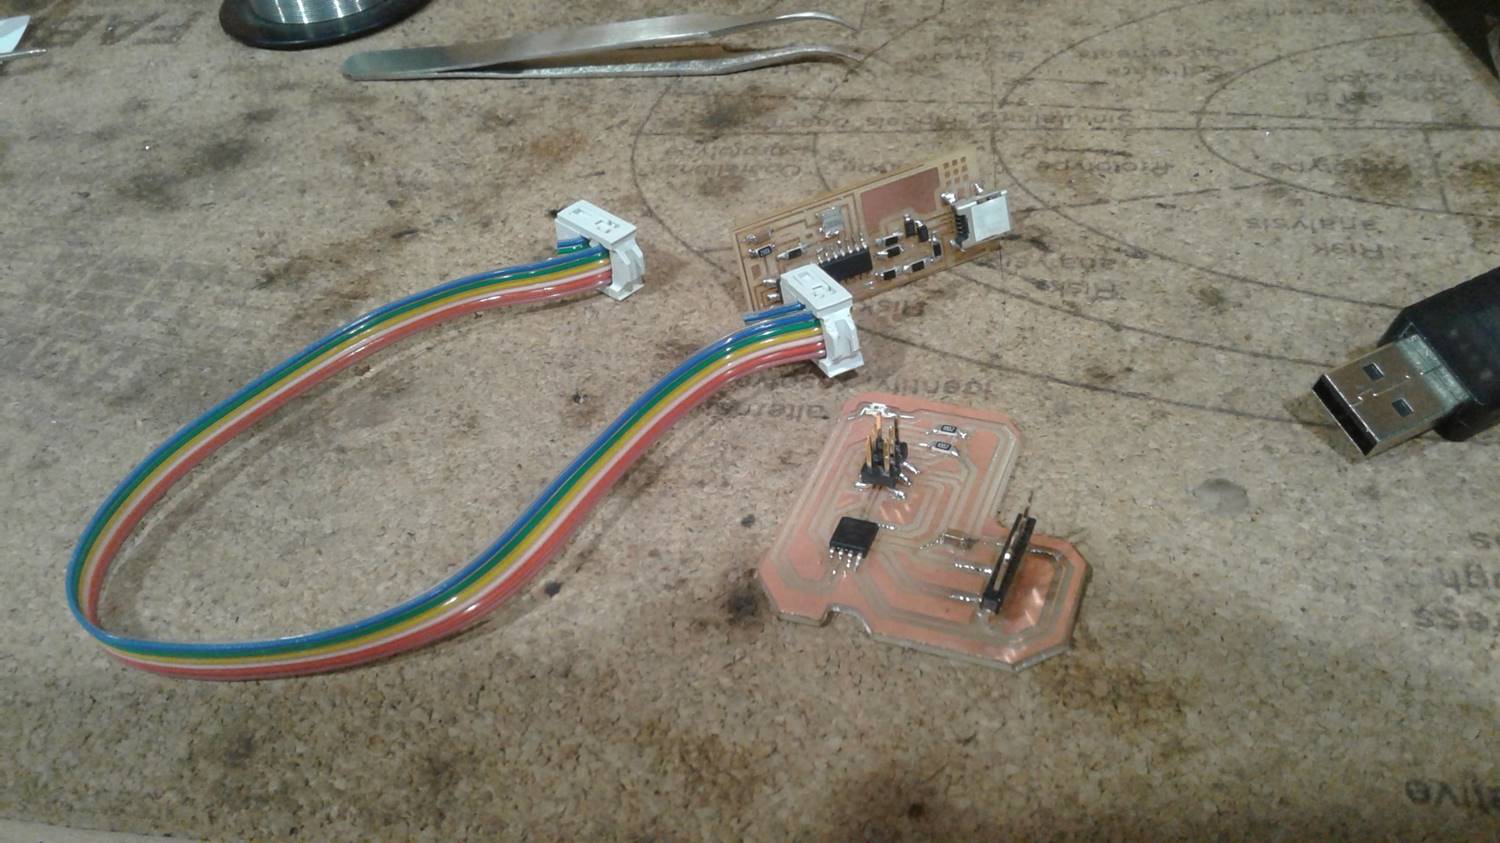
Step 7: Then I prepared the following components to be soldiers to the PCB
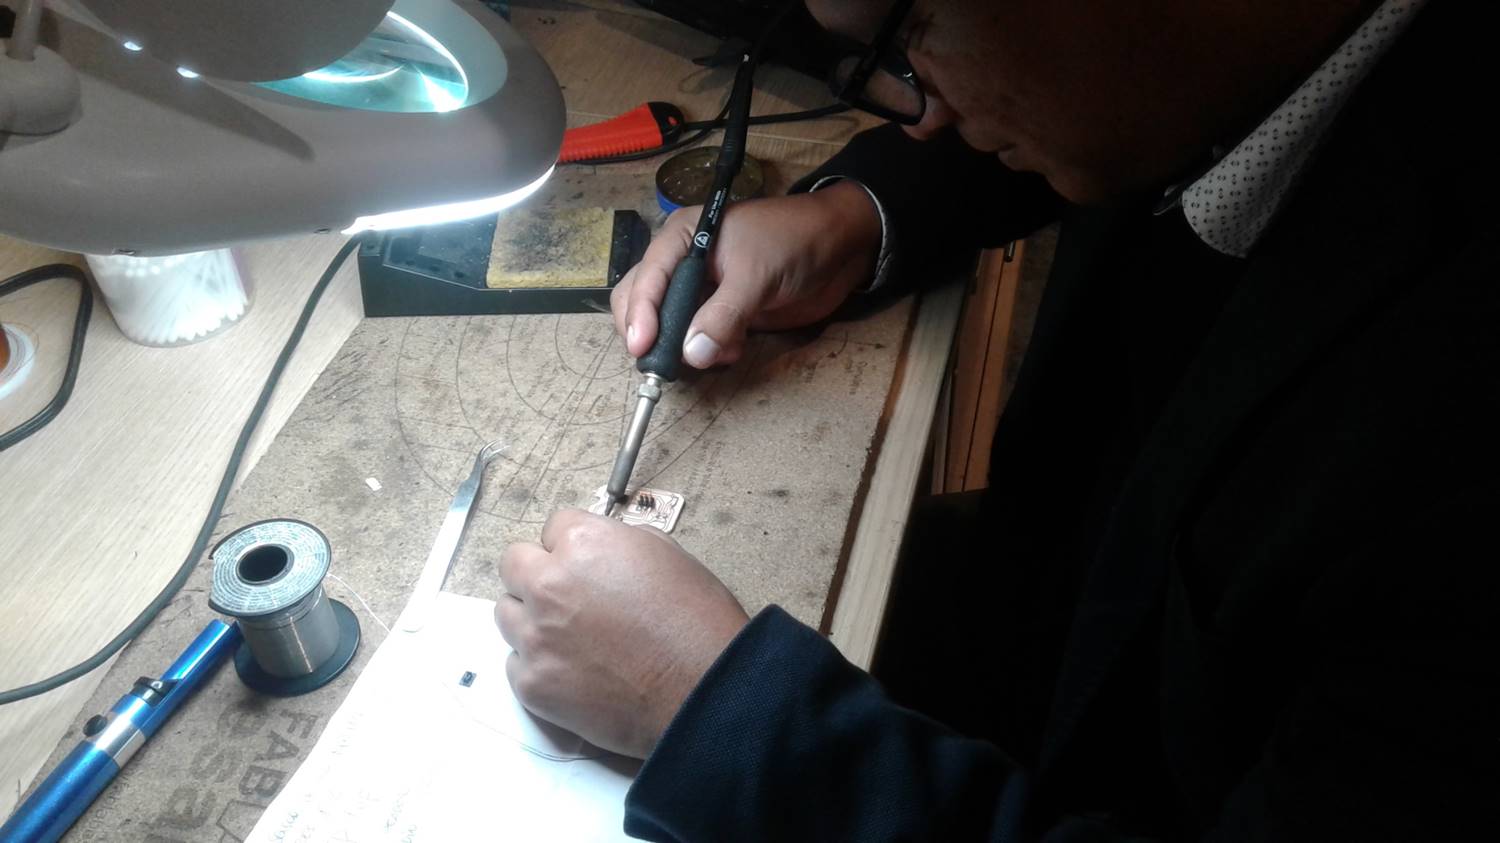
Step 8: Then I soldered the components on the electronic card one by one.
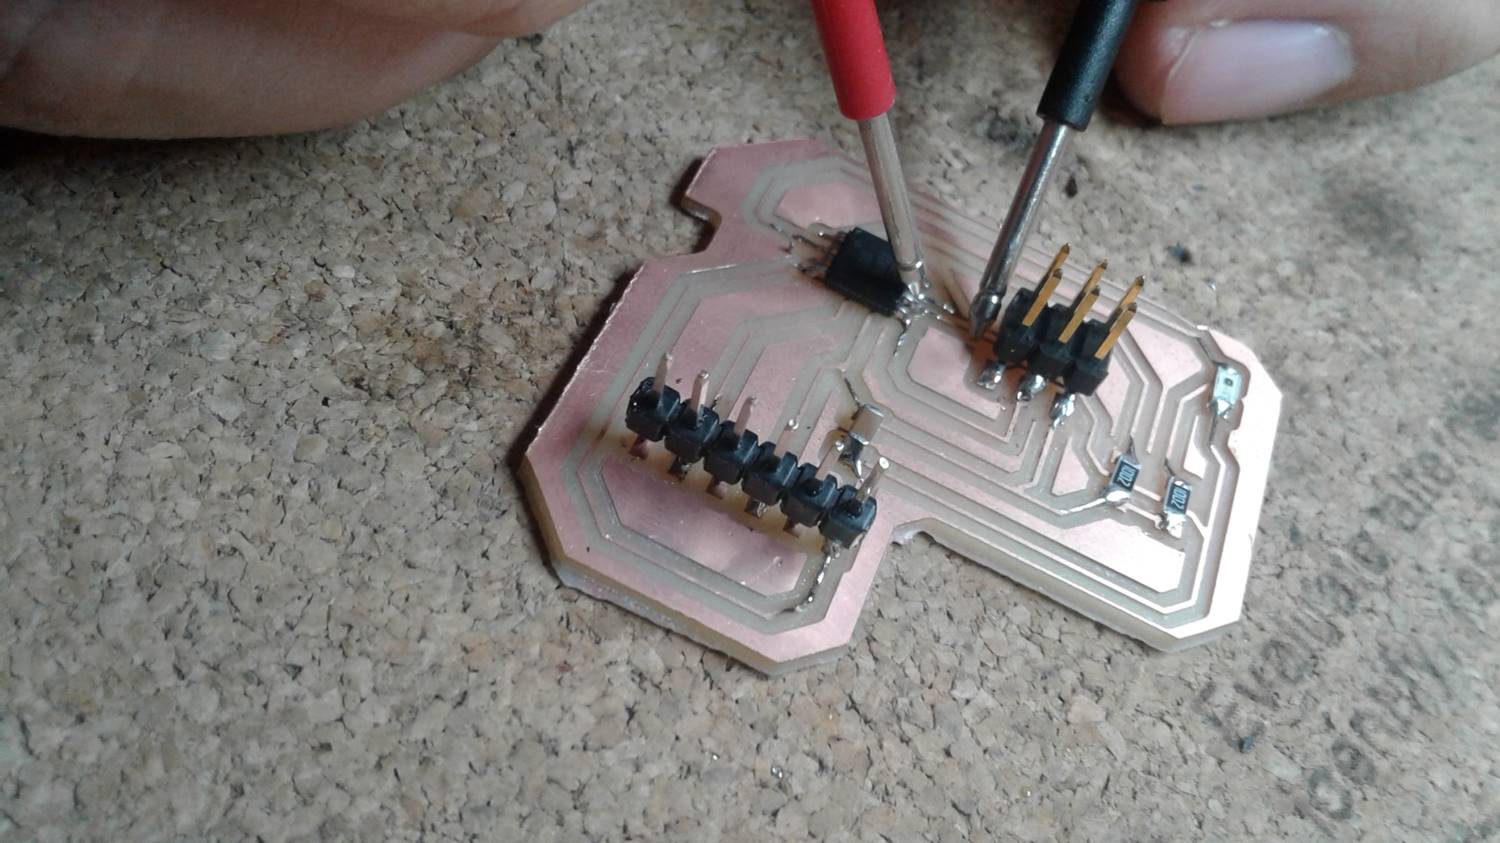
Step 9: Then I checked the conductivity of the PCB tracks using a multimeter.
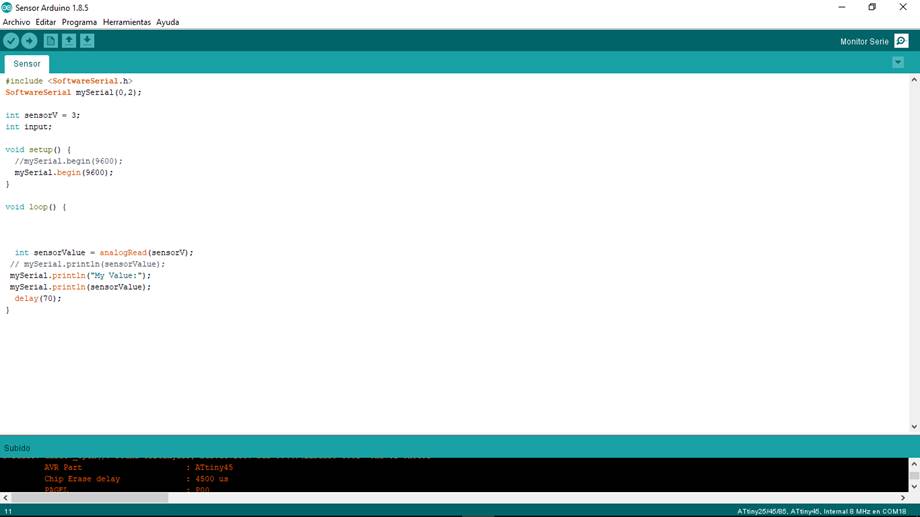
Step 10: I wrote the code to program the card in Arduino
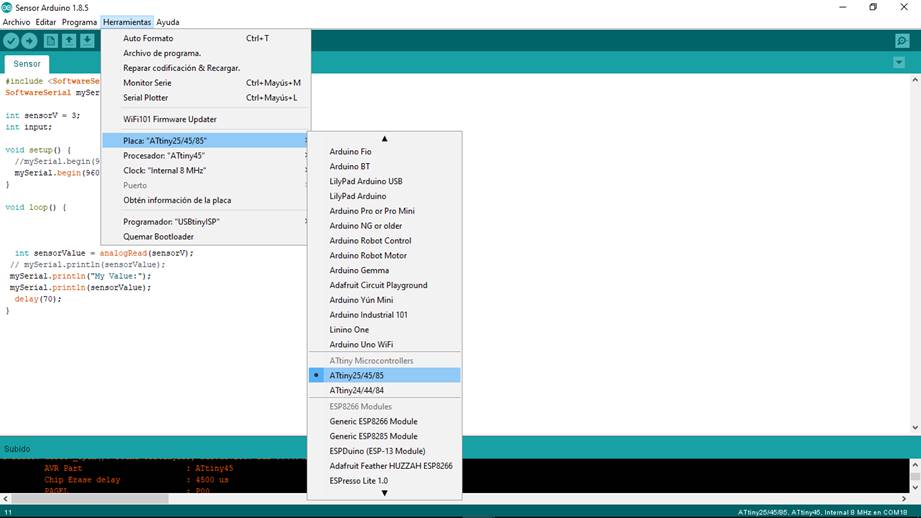
Step 11: I programmed the card using the USBtinyISP
Step 12 :Use the Arduino serial monitor to show the intensity variables of the light in the sensor
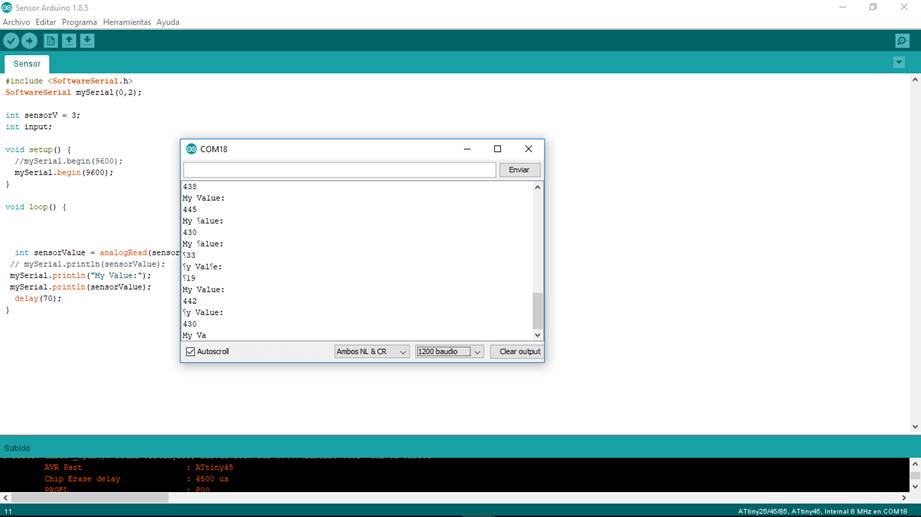
Step 13 :I checked the operation of the card by changing the intensity of the light