Assignment 10: Molding and Casting
Design a 3D mold around the stock and tooling that you'll be using, machine it, and use it to cast parts.
Learning outcomes:
-
Design appropriate objects within the limitations of 3 axis machining
-
Demonstrate workflows used in mould design, construction and casting
Group assignment:
-
Review the safety data sheets for each of your molding and casting materials.
-
Make and compare test casts with each of them.
For the development of this assignment, we reviewed some recommendations and tested molding and casting materials.
Safety recomendations
For this assignment is necessary to follow these recommendations and care:
-
Wear a mask or some type of face shield.
-
Wear gloves or similar hand protection.
-
Wear glasses or some type of eye protection.
-
Use some type of nasal protector or air filter.
-
Read the instructions for each material or supply before using them.
-
Keep supplies out of reach of children or pets.
Molding and casting materials
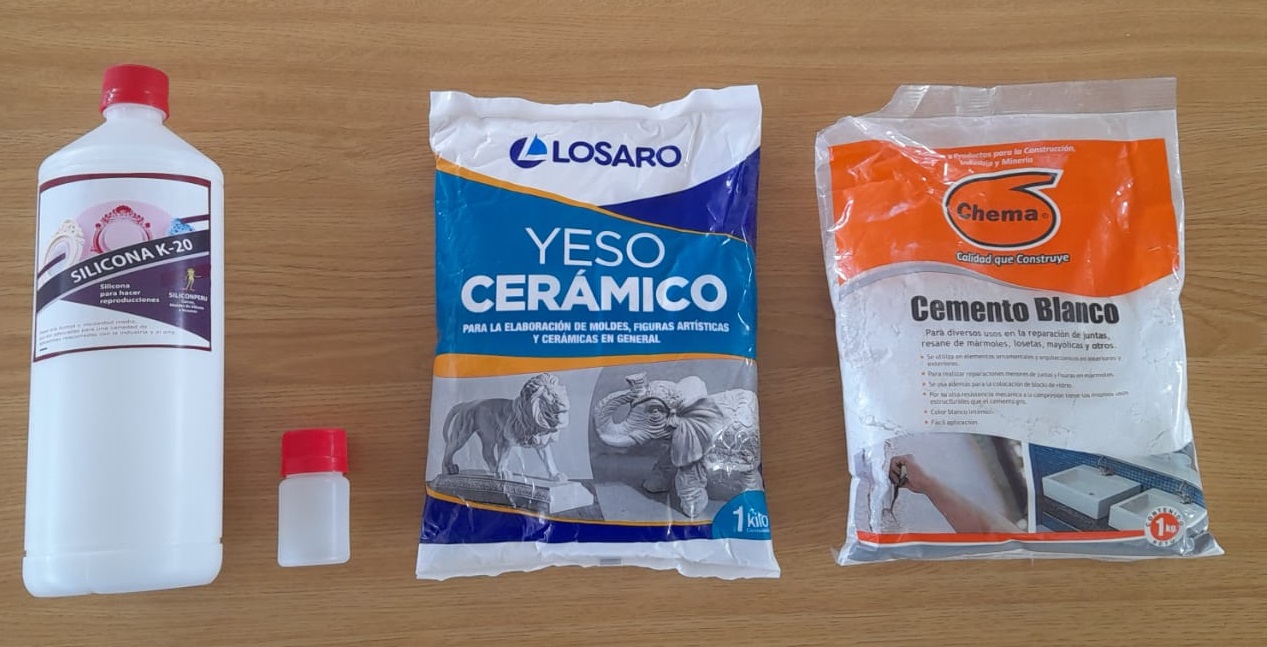
For this assignment we have reviewed some materials to learn the ways of performing molding and casting. We have analyzed the following materials: silicone, ceramic gypsum and white cement.
-
Silicone
Depending on the needs of the mold, it is recommended to use one silicone or another. One of the most used silicones is liquid silicone. Liquid silicone is a quick and easy way to make molds.
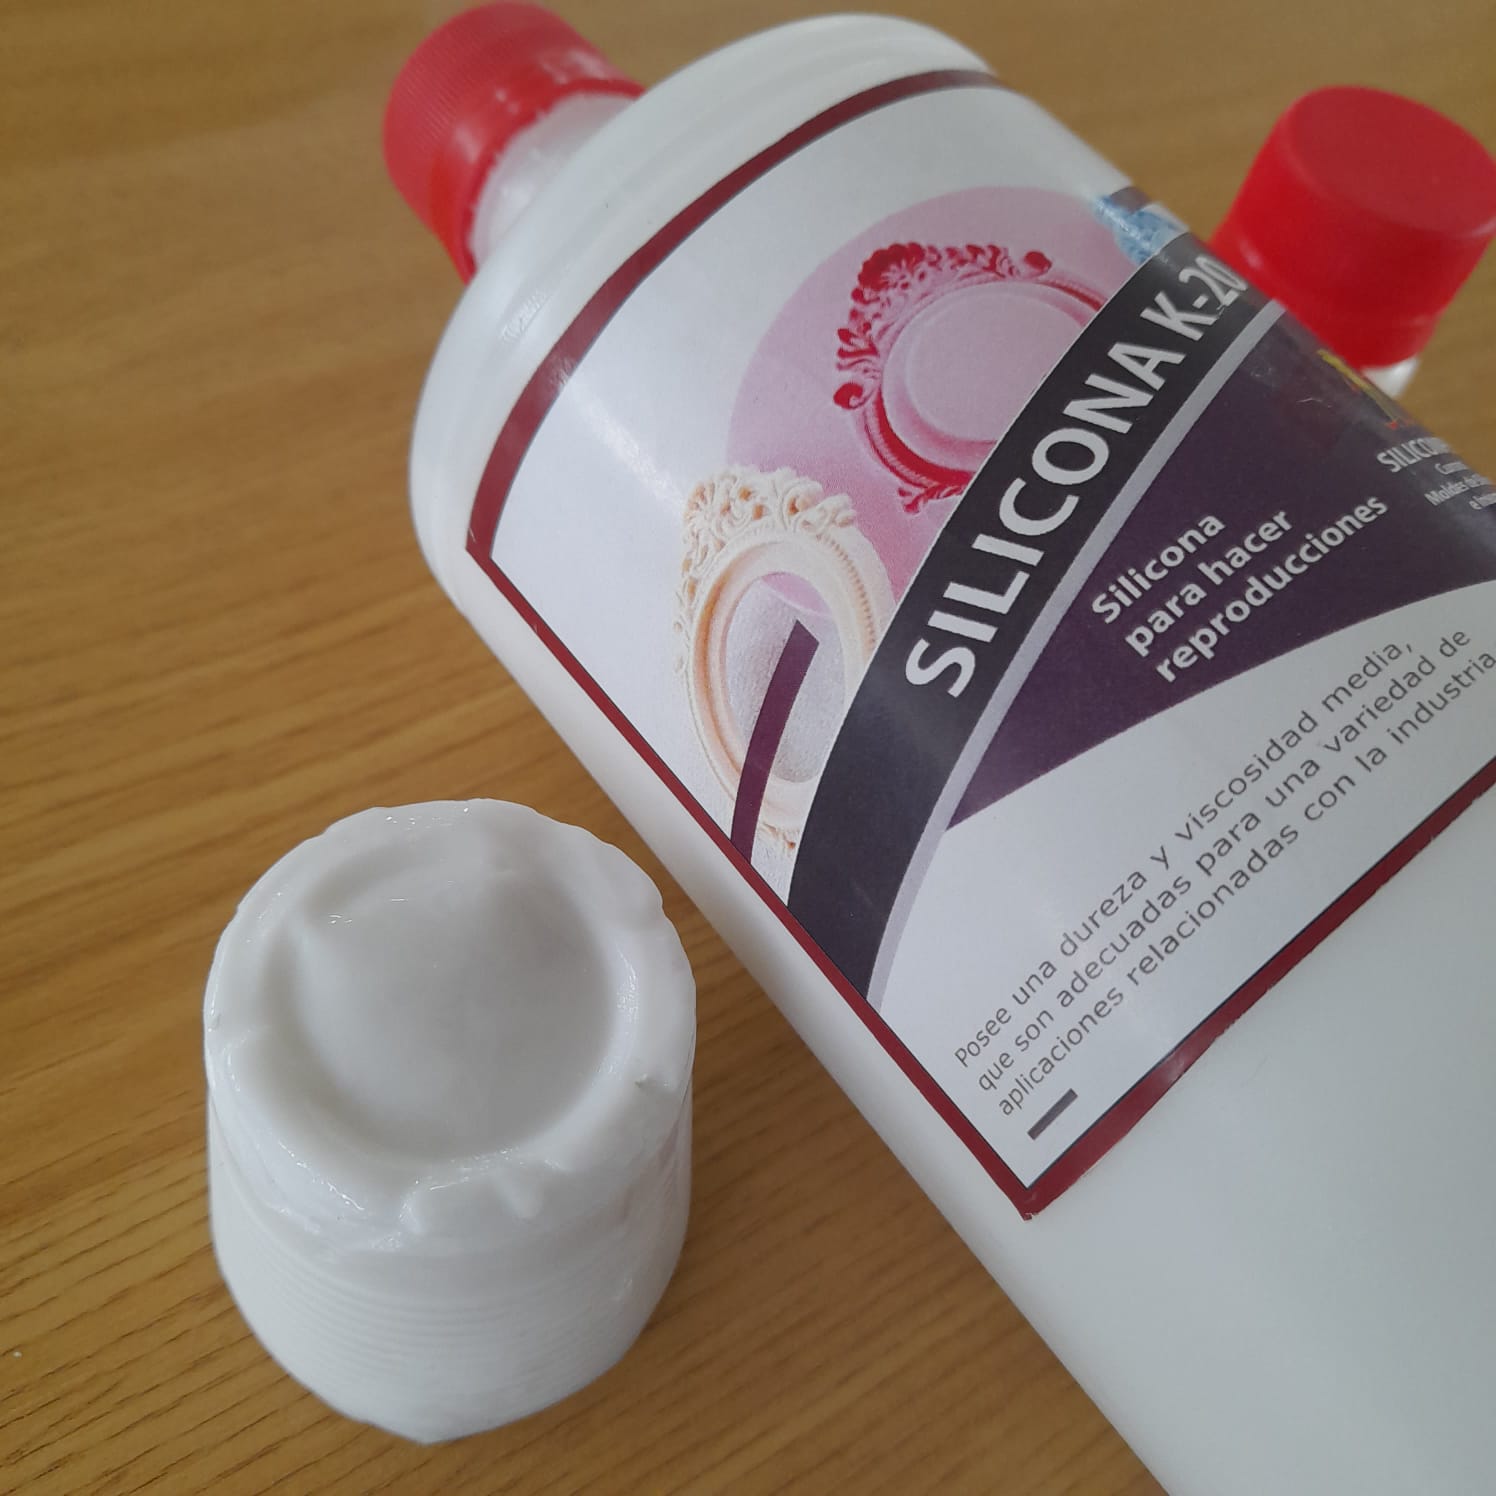
Silicone K-20: Its a type of silicone rubber that cures at room temperature. It is available as a one-component product, or mixed from two-components (a base and curative).
Physical and usage characteristics:

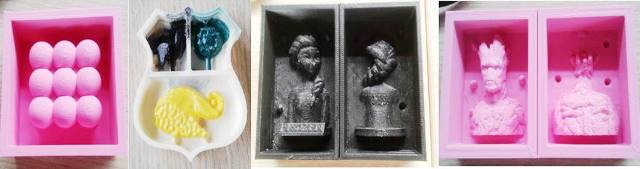
Silicone testing
This type of silicone is used in art and industry. This type of silicone has various applications and is resistant to tearing. It can be used for both casting and brush techniques.
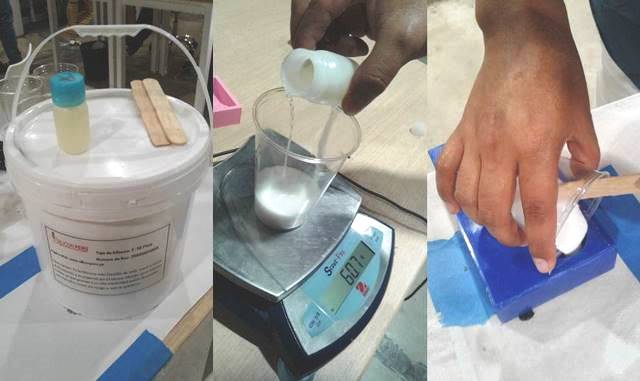
Tests were performed on the silicone using small containers. One measure of silicone and the recommended measure of catalyst were added (2-3%). After three hours of waiting, the hardness of the material was checked and the content was removed from the mold.
It was found that if a greater amount of catalyst is added to the silicone, it hardens in less time. The possible applications of this type of silicone were discussed. The applications that seemed most interesting to us were their use in the food industry and for making toys.
-
Ceramic gypsum
Ceramic gypsum is designed to be used in the manufacture of molds that can be used in the production of sanitary ware, tableware, images, dental work, orthopedic applications and foundry work. Specially designed to give a perfect finish to your molds, sculptures, 3D designs and all kinds of figures.
Ceramic gypsum has the peculiarity of absorbing moisture from the clay, which is why it is used in ceramics to make molds. In the latter we can use both slip and clay as well as porcelain to reproduce pieces.
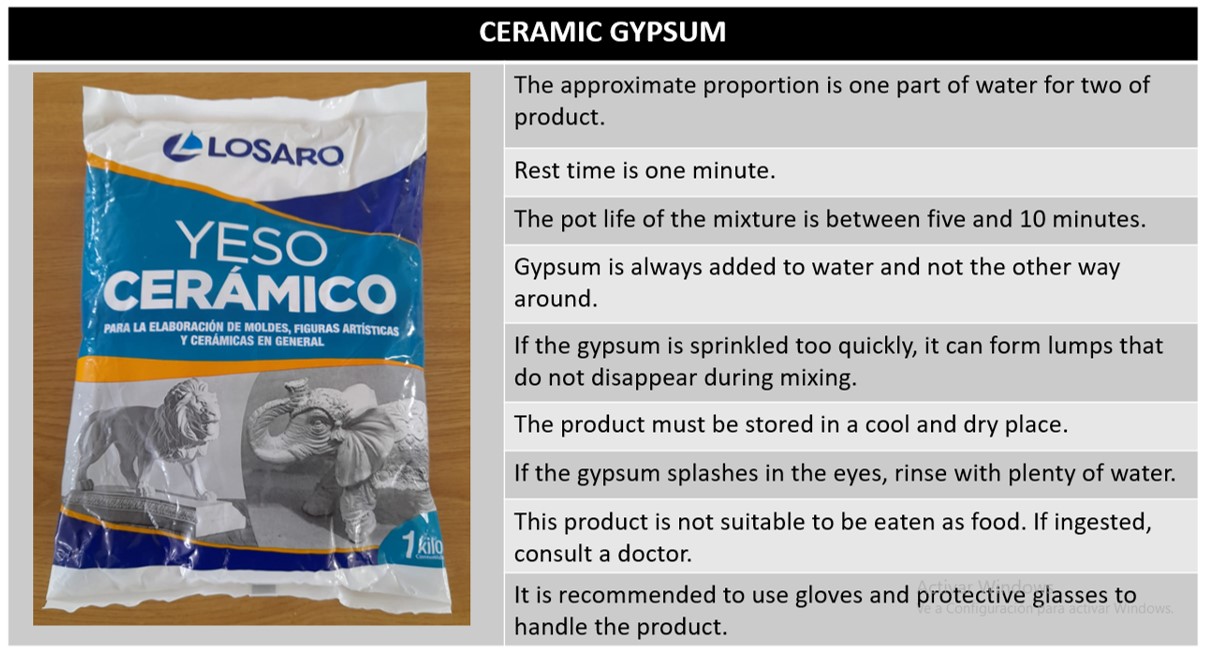
This material presents the following recommendations for its use and care:
-
Ceramic gypsum testing
For the ceramic gypsum tests, small plastic containers were used. A measure of ceramic gypsum and the recommended measure of water (0.7 liters of water x 100 grams of ceramic gypsum) were added. The mixture hardened after 5 minutes. Other tests were carried out adding more water than recommended and it was noted that the mixture hardened in a longer time.
It is necessary to quickly mix the ceramic plaster and the water because the mixture hardens quickly. If the mixture hardens before being mixed it is necessary to add more water.
After 30 minutes of waiting, the mixture was unmolded and we verified that the piece was completely hardened and that it took the shape of the mold.

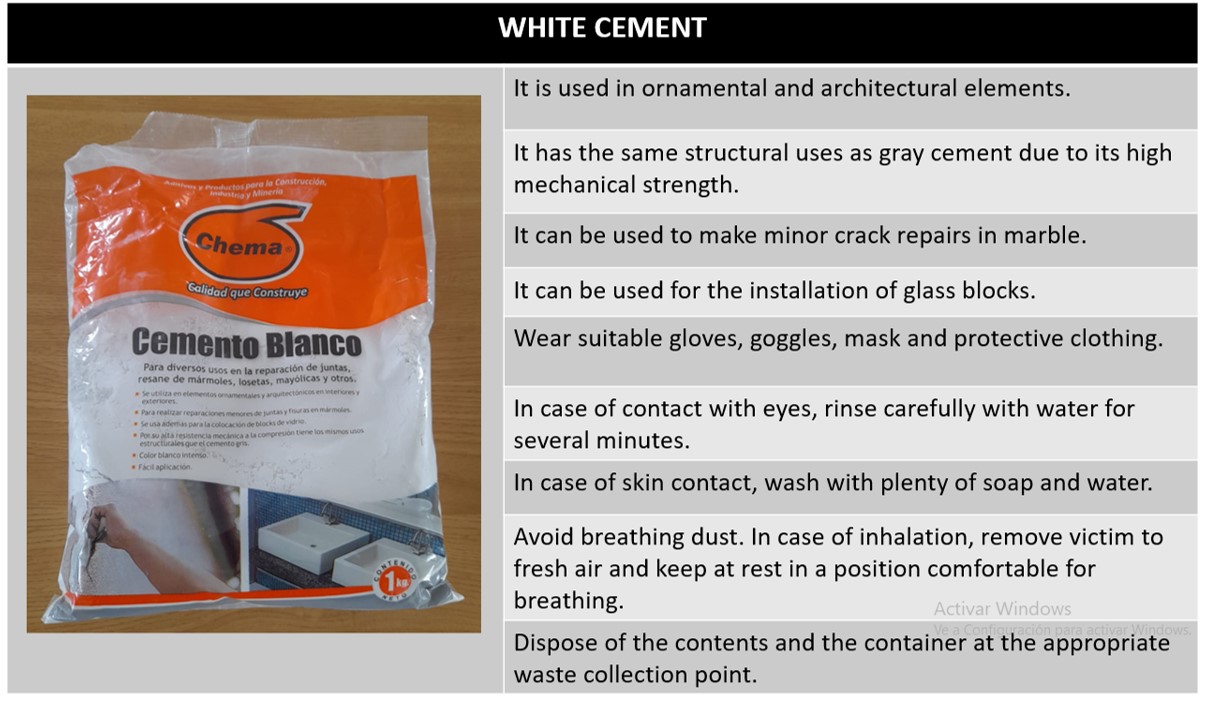
White cement
White cement is a type of portland cement with a very light gray color (whiteness greater than 85%),1 used both in prefabricated pieces and in floor finishes and masonry in general.
White cements have mechanical characteristics similar to those of gray cements. There are white cements of many kinds: from masonry cements with a resistance of 22.5 MPa, to structural cements with a resistance of 52.5. White cement needs more water than normal cements, and its initial setting time is shorter (around 60 minutes).
This material presents the following recommendations for its use and care:
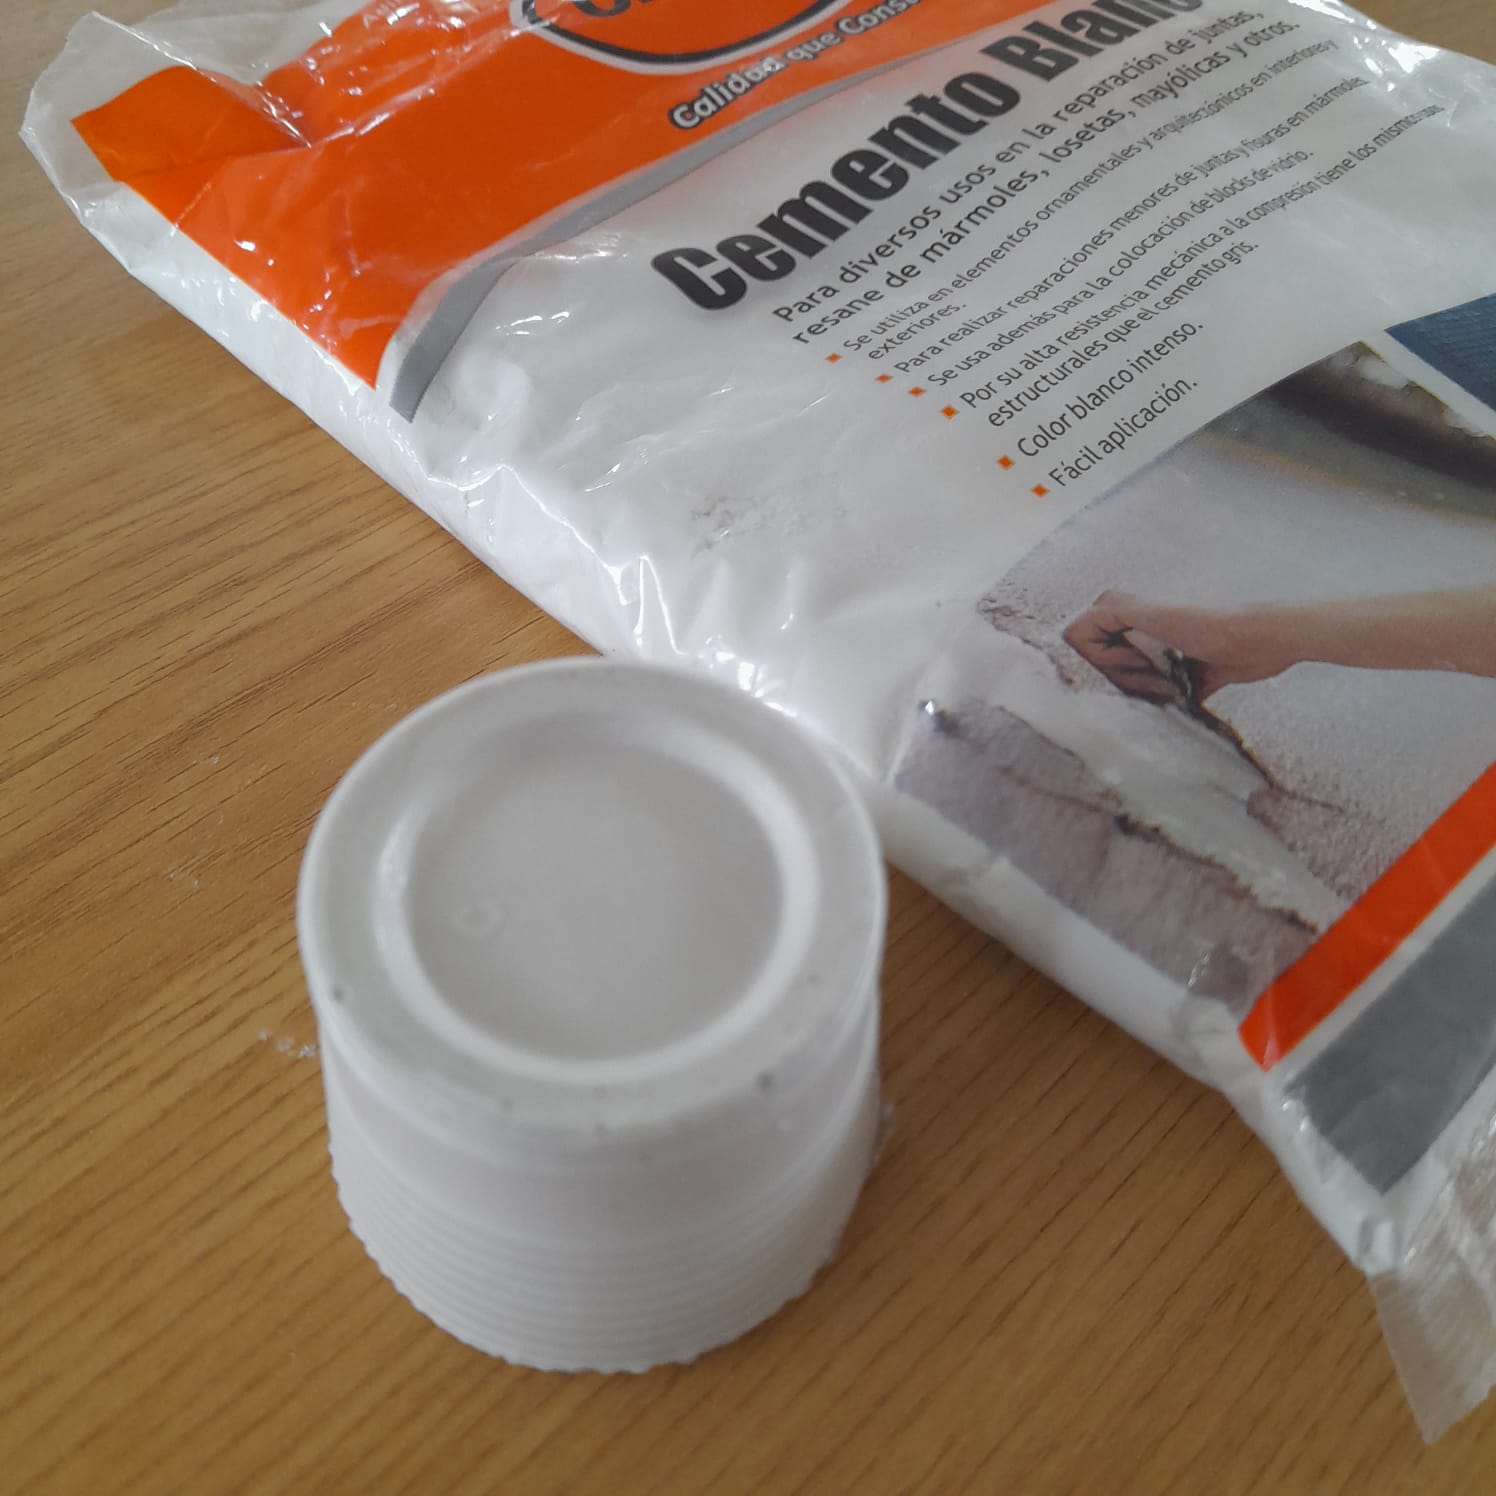
White cement test
For the tests with white cement, a plastic container was used. For this test, 50% white cement was mixed with 50% water. After 30 minutes of waiting, the mixture was unmolded and we verified that the piece was completely hardened and that it took the shape of the mold.
One of the interesting features of the final piece is its beautiful color. We consider that it can be used for ornamental projects, for goldsmithing or as an interesting alternative for ceramic pieces in general.
Compare test cast:
After testing, we have the following conclusions:
-
Silicone could have more applications in the food industry. We plan to carry out future tests for the manufacture of molds for chocolate pieces.
-
Ceramic gypsum is the one that hardens the fastest. It is necessary to mix before it hardens.
-
Silicone is more malleable and its applications are multiple.
-
Ceramic gypsum and white cement are harder and can be used for harder and stronger objects.

Individual assignment:
-
Design a 3D mould around the stock and tooling that you'll be using, mill it (rough cut + (at least) three-axis finish cut), and use it to cast parts.
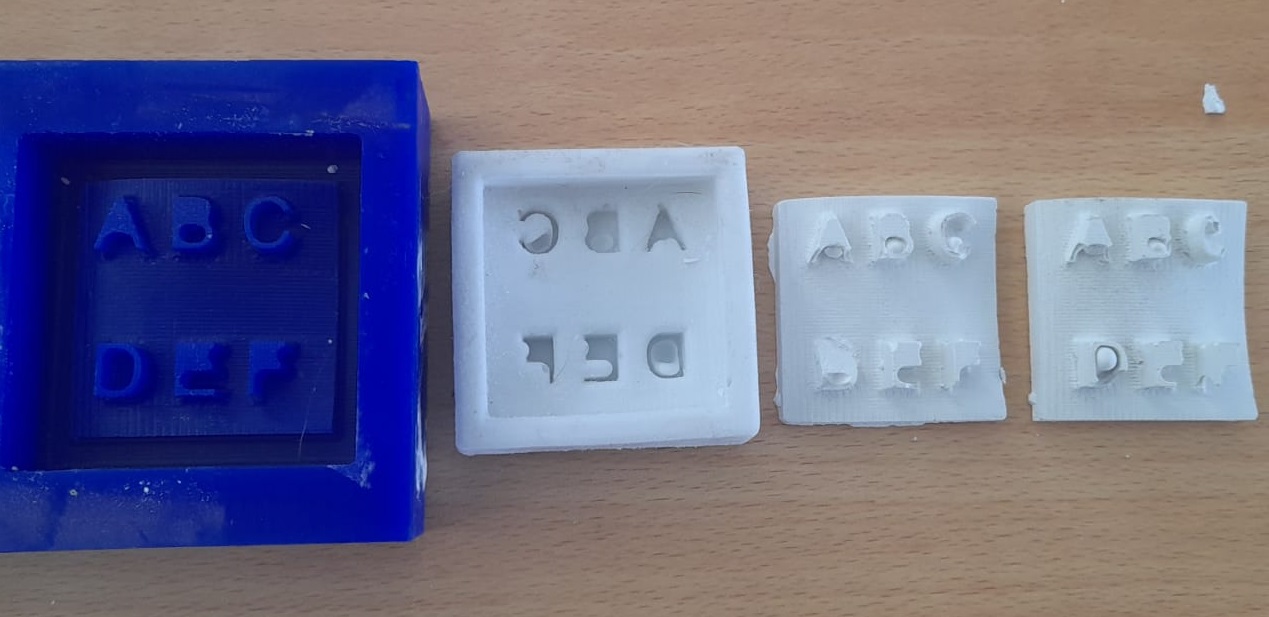
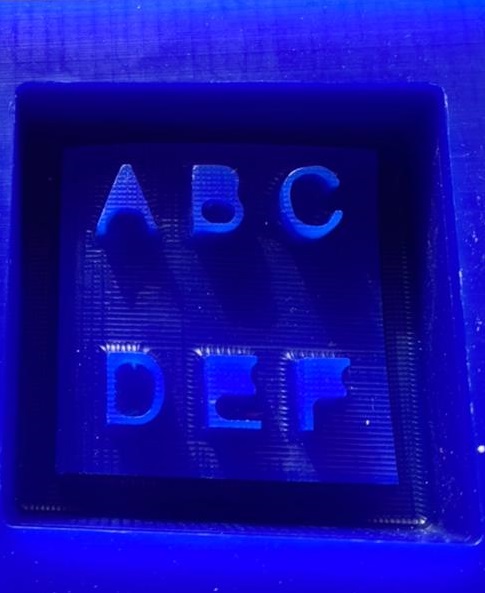
For this assignment, first look for inspiration in some works made using the molding and casting technique in ESAN's Fablab. I decided to work these techniques with the letters of the alphabet.
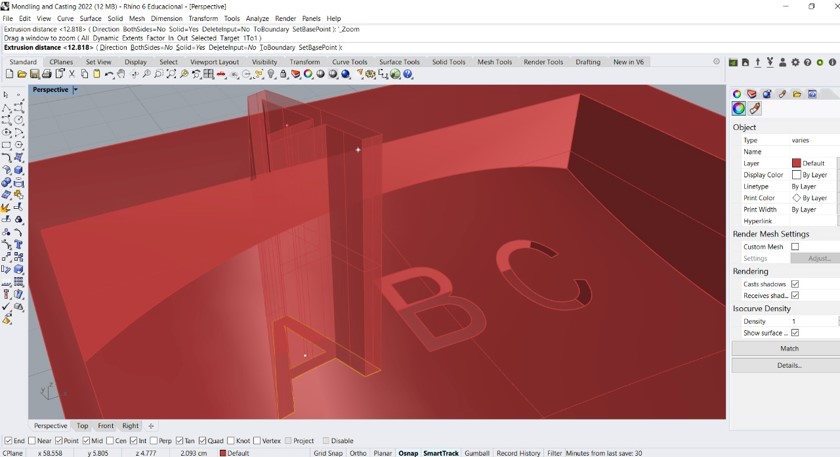
Step 1: I started the work designing the base for molding. For this I used the Rhino program by Robert McNeel & Associates. The design begins with the drawing of lines and letters in the form of a curve on a flat surface.
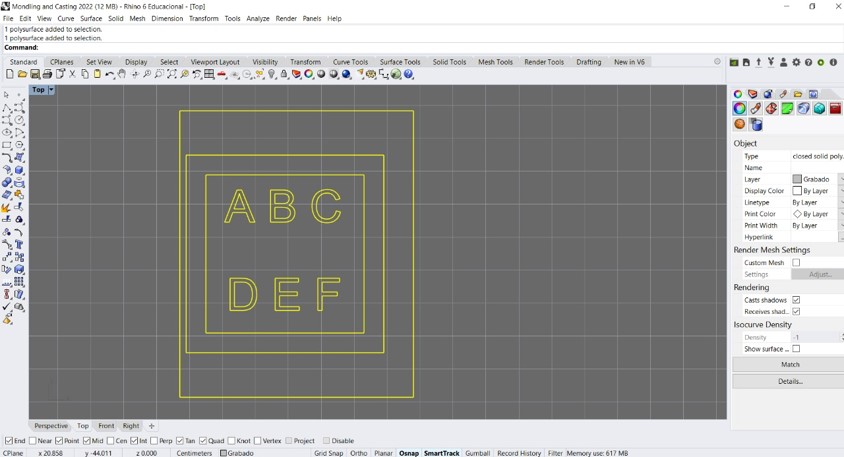
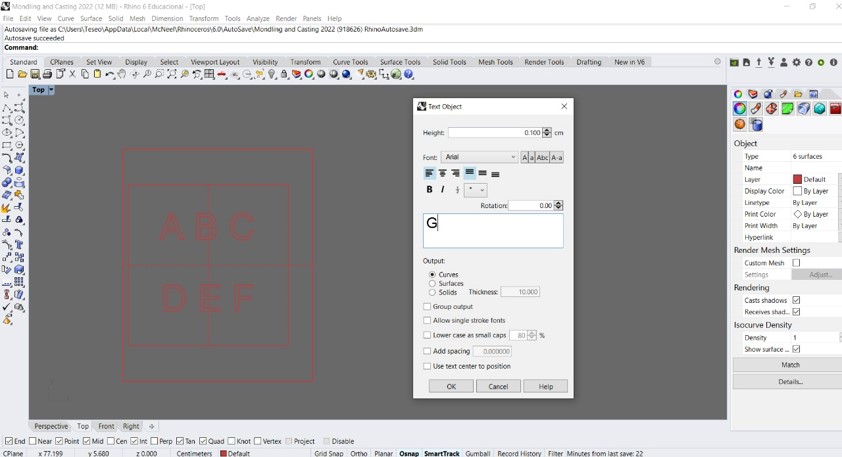
Step 2: Then I added the letters of the alphabet letters into the design. To do this, the "text insertion" tool was used and the "curve" option was chosen as output.
Step 3: Then I designed a curved surface. On this surface I placed the letters of the alphabet.
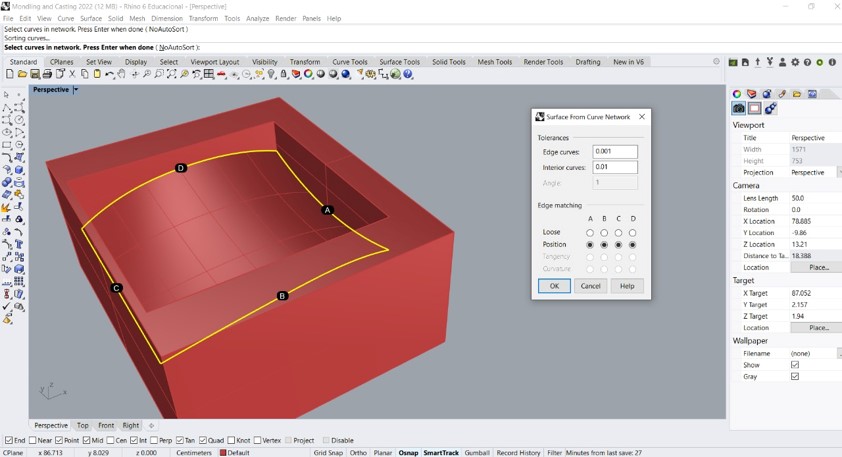
Step 4: Then I projected the letters onto the curved surface. Then I made an extrude based on the Z axis of the design.
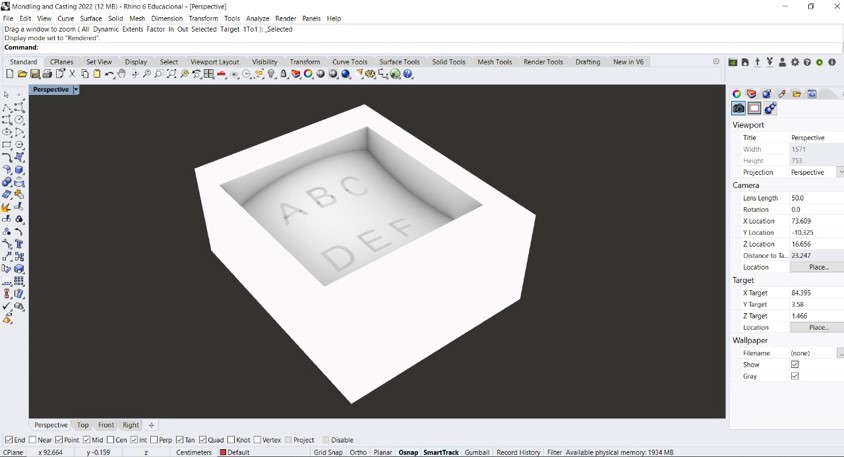
Step 5: I then used the "extrude crv" command to give the design a three dimensional shape.
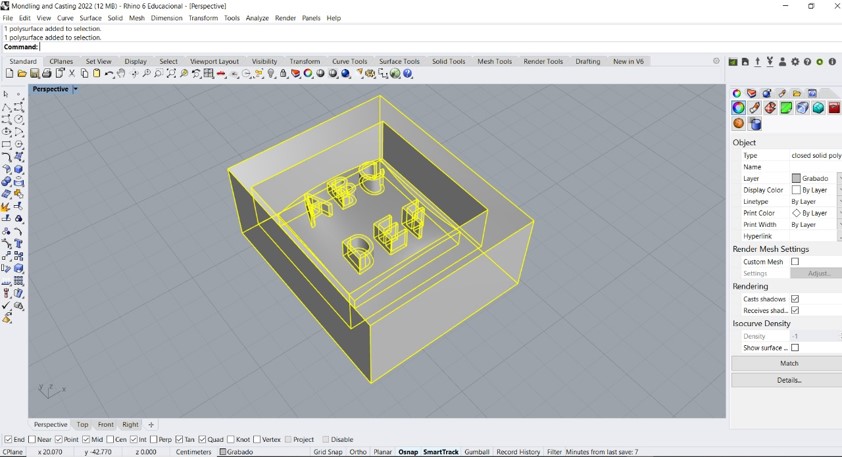
Step 6: Then the letters were extruded up to half a cm before reaching the edge of the design. This was done so that the silicone does not overflow the design. Then I proceeded to export the design with the STL format
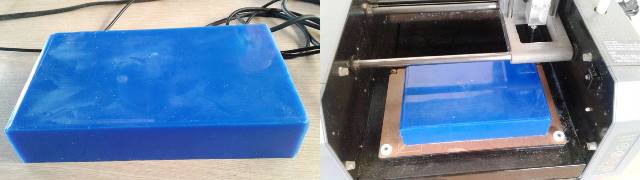
Step 7: Next I placed a carvin block of blue wax on the milling machine. I used glue paper to hold the wax to the base of the milling machine.
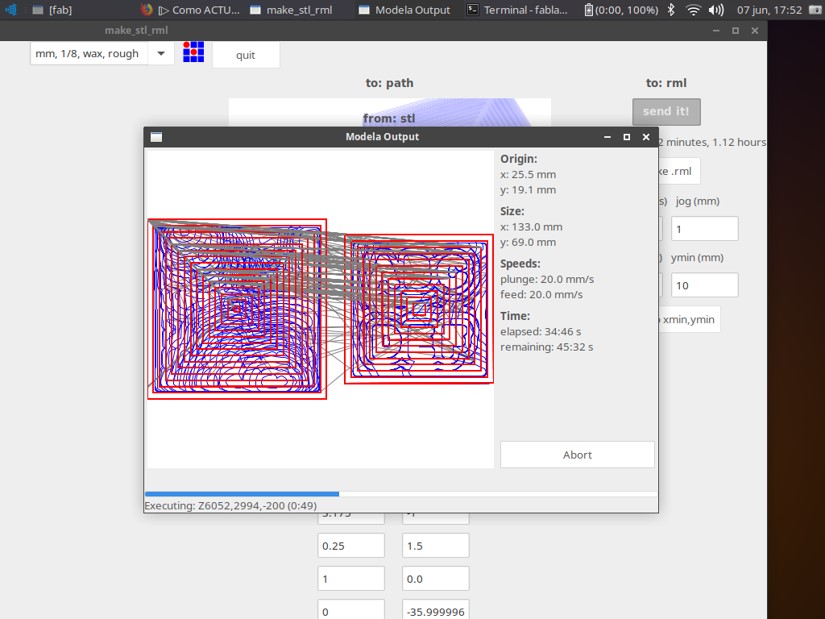
Step 8: Then load the design file into the program of the Roland Modela MDX milling machine
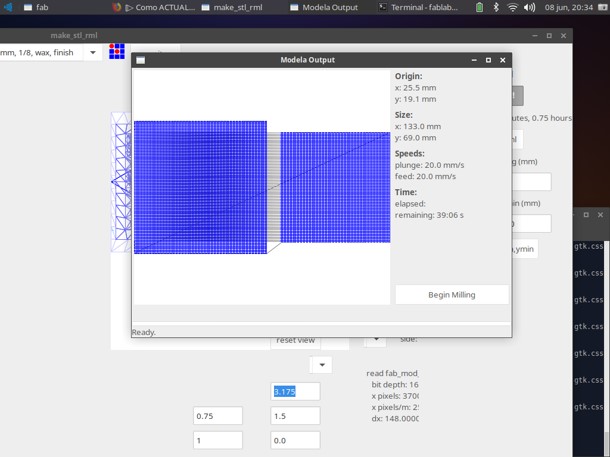
Step 9: The milling program showed the map of the layout, the size, speed and time of the cut.
Step 10: Then I evaluated the result of milling.
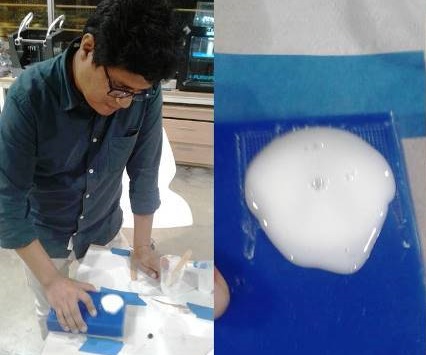
Step 11:To perform the molding, mix 60 milliliters of silicone with 10 milliliters of silicone hardener. I used a palette to move the mixture. Afterwards, I proceeded to empty the mixture on the mold.
Step 12: To avoid the formation of bubbles on the mixture, it was necessary to shake the mold a little. I then waited approximately 20 minutes for the mixture to harden. Finally proceeded to unmold the mixture.
Step 13: Then I mixed 60 grams of dry stone casting media with a few drops of water. Then I moved the mixture to a uniform paste. Then place the mixture in the silicone mold.
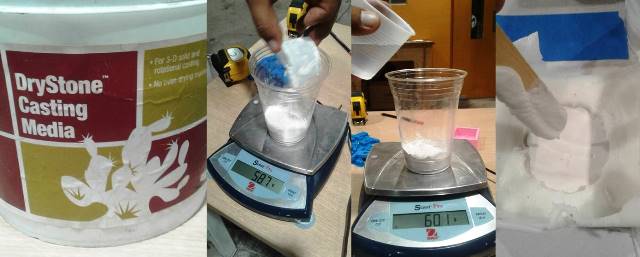
Step 14: Finally, I waited 30 minutes for the mixture to harden and proceeded to unmold the object.