Moulding and Casting Assignment 10
Assignment 10
assignment is group assignment: review the safety data sheets for each of your molding and casting materials, then make and compare test casts with each of them individual assignment: design a 3D mold around the stock and tooling that you'll be using, machine it, and use it to cast parts
What I am going to Do ..
First Definitions :
Moulding is the process of manufacturing by shaping liquid or pliable raw material using a rigid frame called a mold or matrix.This itself may have been made using a pattern or model of the final object.
Casting is a manufacturing process in which a liquid material is usually poured into a mold, which contains a hollow cavity of the desired shape, and then allowed to solidify.
To try to do my name on the machine and also a Picture .. and Mould one of them and Cast it ..
And I am going to Use MDx40 and SRP Player
This is my plan for this task :
1) Group Assignment Reading Datasheets for materials
2) Design a Mould
3) Cast the Mould
4) Cast the Model
Task 1
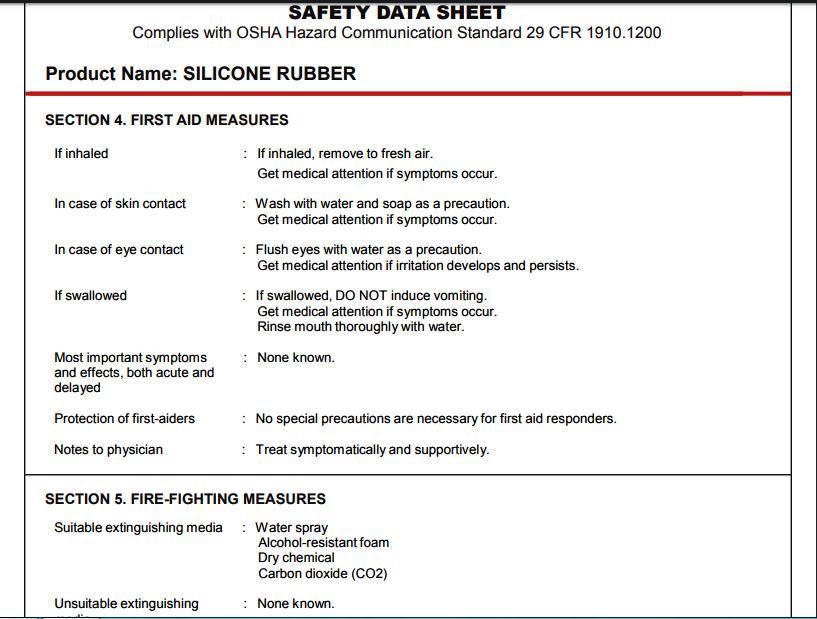
For Silicone We found this .. Hazard : If inhaled: If inhaled, remove to fresh air.
Get medical attention if symptoms occur.
In case of skin contact: Wash with water and soap as a precaution.
Get medical attention if symptoms occur.
In case of eye contact: Flush eyes with water as a precaution.
Get medical attention if irritation develops and persists.
If swallowed: If swallowed, DO NOT induce vomiting.
Get medical attention if symptoms occur.
Rinse mouth thoroughly with water.
Most important symptoms and effects, both acute and delayed: None known.
Protection of first-aiders: .special precautions are necessary for first aid responders.
Notes to physician: Treat symptomatically and supportively.
For Mixing Ratio :
For example:
Our rubber has a 2% catalyst addition rate
1kg (1000g) of Rubber requires 20ml of catalyst
500g of Rubber requires 10ml of catalyst
100g of Rubber requires 2ml of catalyst
50g of Rubber requires 1ml of catalyst
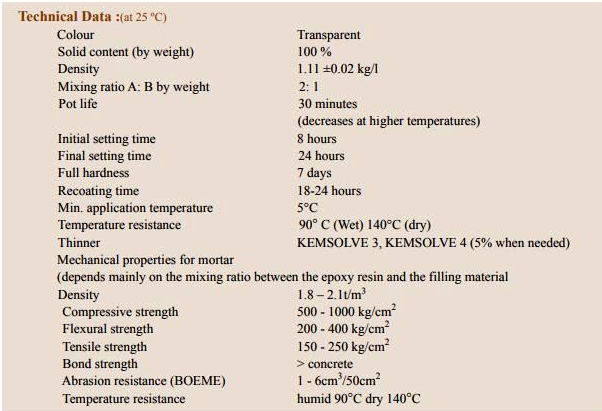
For Eboxy We found this ..
For Mixing Ratio :
It is 2 For eboxy 1 for the Hardner
Task 2
So I start with designing so I used openscad as it is able to change images to 3d objects ..
so I try I did this one ..
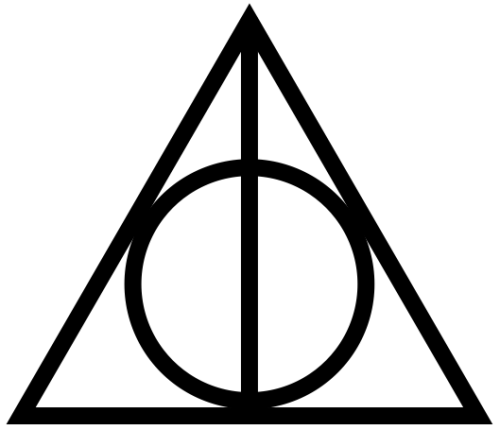
Openscad Has the ability to transform Photos to 3D Design
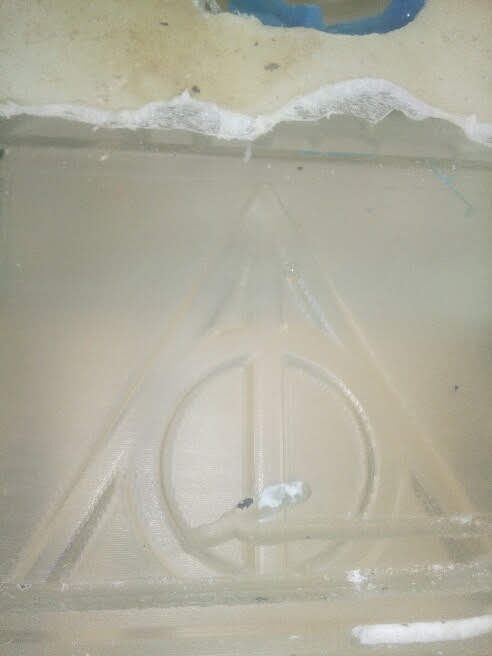
So I try to use Deathly Hallows Photo to Machine it .. I got it from Pinterest .. and Used Openscad Code to Transform it to 3D ..
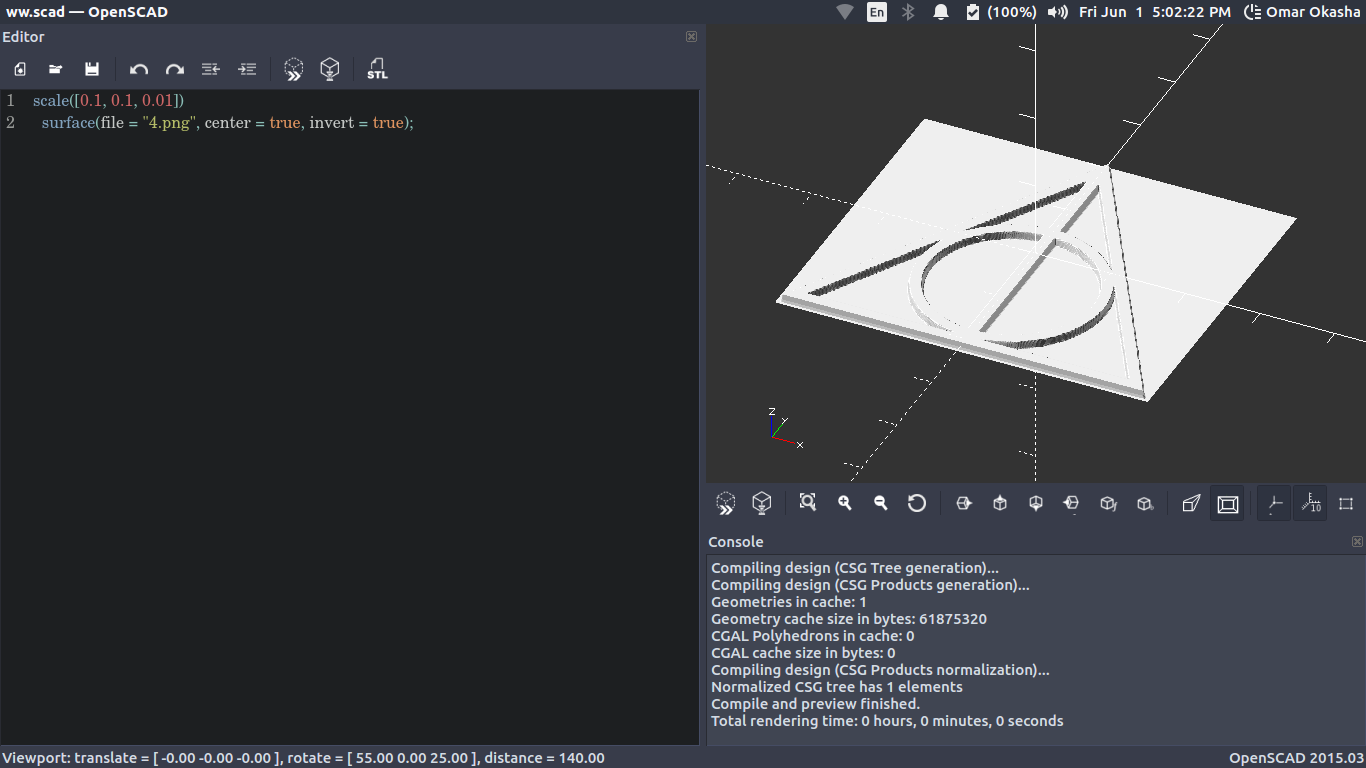
Code :
     scale([(0.1,0.1,0.01])
     Surface(file="4.png",center=true,invert=true);
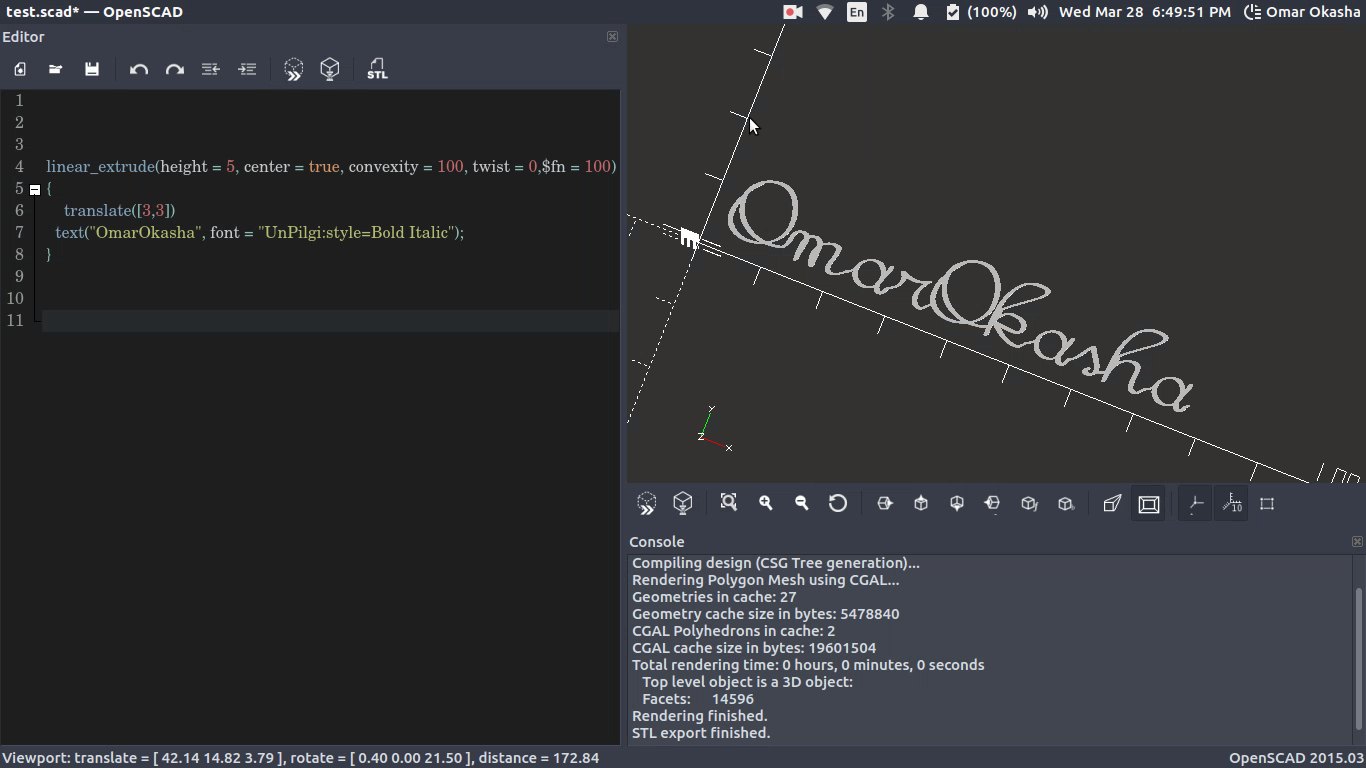
Code :
linear_extrude(height = 10, center = true, convexity = 100, twist = 0,$fn = 100)
{
     translated([3,3])
     test("OmarOkasha",font = "UnPilgi:style=Bold Italic");
     }
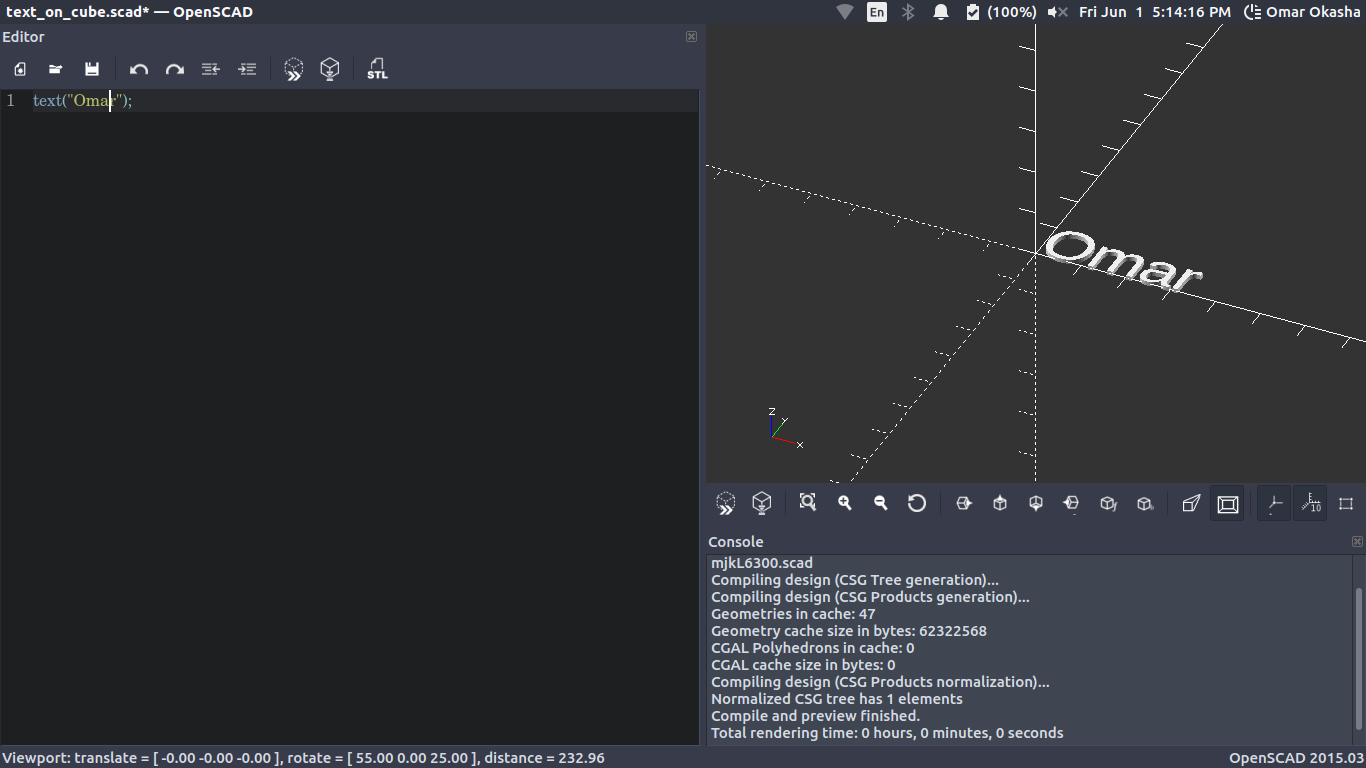
test("omar");
Task 3
Then I start machine them ..
The concept We are going to work with here ..
is We need to make a postive Mould that will Pour Silicone at to produce a Negative Mould to next can Use then Eboxy ..
First What is the difference between Postive mould and Negative mould ..
You can See this Here

The Right one is Negative .. The Left one is Postive Mould
to make it a postive mould so I Exported it as I designed it in Openscad ..
But to make it a negative mould as I thought about this .. Here is a Technique you can use in Openscad ..
I didnt make it But this is my Idea ..
You can Make the same Postive design and Make a cube of the design you want to negative it inside and subtract the postive design from the Cube then You can Get a negative Design ..
Now a very Important Question You need to Think about ..
How the Postive will be rounded with Rectangle to can cast the mould ?
I worked in a Big Piece of Acrylic .. and I knew the Dimensions of my Design .. then I told the software that i will work in this working area which is bigger than my design with the thickness if the bit + 1 mm more as a safe side .. as this output will be the postive design inside empty cube .. that you can next cast it .. and You of course make sure that your design is smaller than the cube that you are using to mould .. also take care of the height ..
After Designs are ready for Machining :)
I used SRP Player for MDX 40 ..
I followed this Tutorial ..
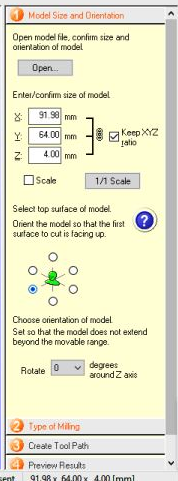
This is the Steps
After open thse model .. We start Edit the space we are going to on .. in X, Y and Z .. which must be a little bit biget even with 1 mm to can mould it .. you will find this at the tab Called Model Size
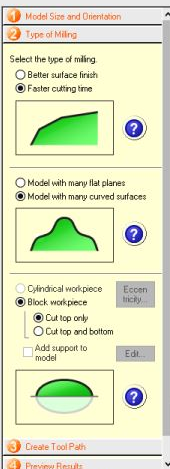
After Choosing the size we will work on the type of milling by choosiing Better surface or Faster with curved shape or Edged Shape .. YOu will find this in Type of Milling
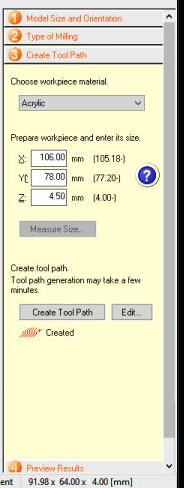
Here we start choosing the type of material and start choosing the tool and specs for Roughing and Finishing Tool Path Creation
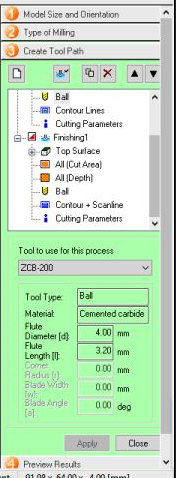
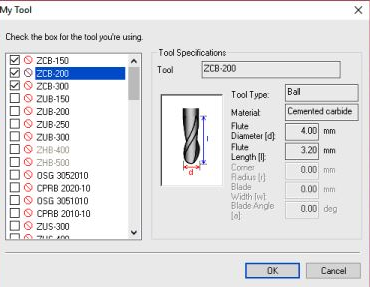
Here We use the Tool we are Going to use ..
Then YOu Finished The Toolpath and Go to Machining
SRP Send the File Directly to the machine but before this you just need to define the Origin Point ..
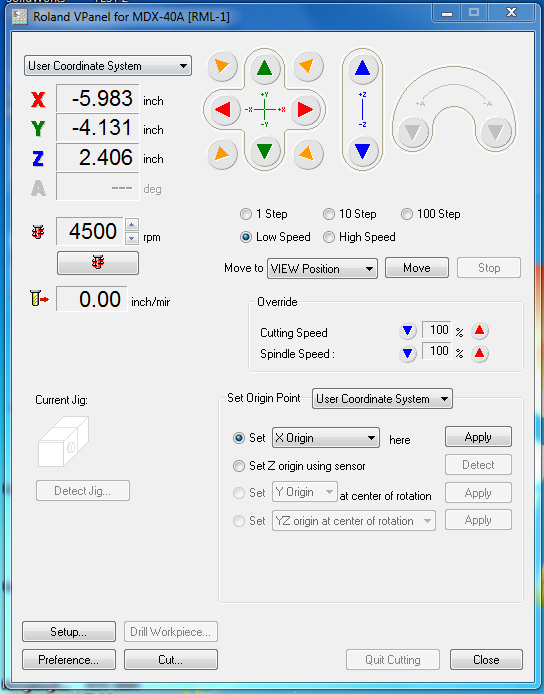
It is Pretty Easy to understand how it works .. Specially this machine you can use automatic z to Get the z :) ..
and the Origin better to be at the south left ..
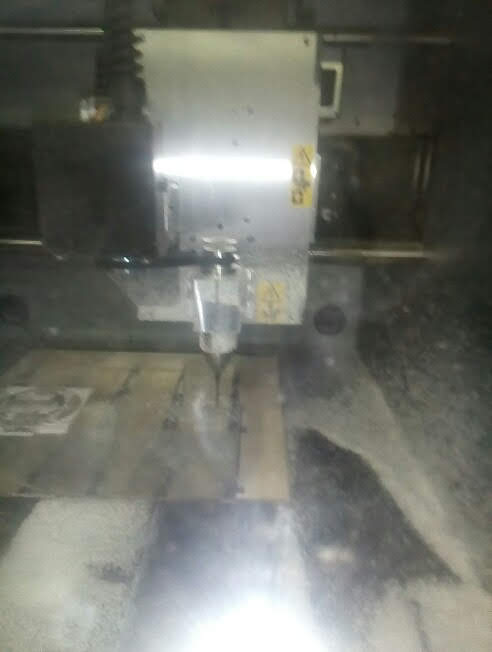
Then This is the machining part ..
THen I tried machining it but I have a very bad Error as Clear in next picture as the acrilic box moved and stucked in the bit .. Because I was stupid that i didnt know the difference between Finishind and Roughing and I decided to make the finishind Direct .. The machine was roaring indeed because the Difference between roughing and Finishind ..
Roughing : Is to remove the layers of material until it roughly make the shape you want inside the material by removing the material ..
Finishing : Is to go to the surfaces that roughing left to start making it looks better ..
When I made Finished Directly the Machine go through the Material Direct as it is already Roughed ..
So I take this in consideration after this :)
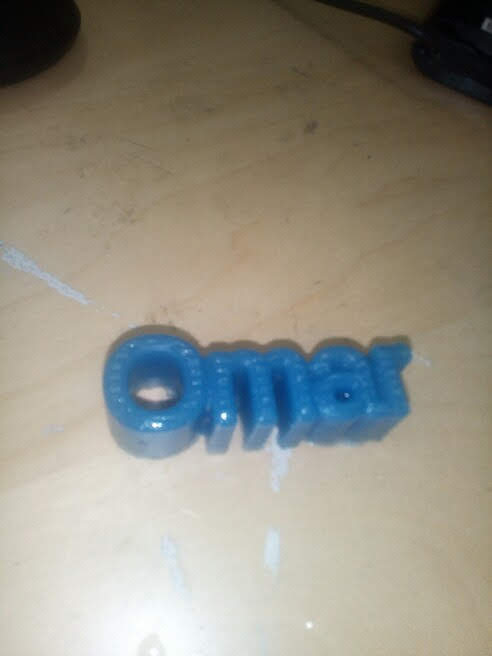
So I decided to Try a more simple thing .. To do my name ..
So I tried doing it on openscad and It is so easy and i got the stl file ..
Then I tried machining it .. But It was so small ..
So I make it bigger and change the Font and The speed of the feedrate make it 500mm/min as this speed was good with acryilic ..
Then It took about 8 Hours Roughing ..
And it was great ..
I cancelled the finishing I dont need it so much as I dont have so many curves in the design .. as it is just characters with no curves so Roughing will be enough .
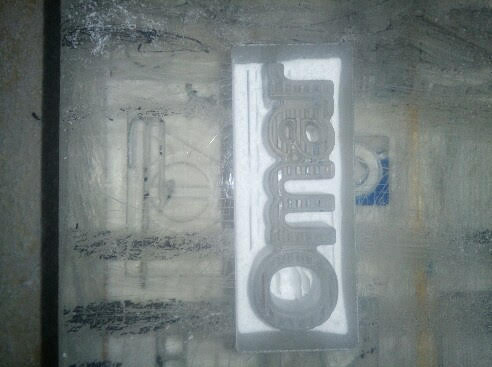
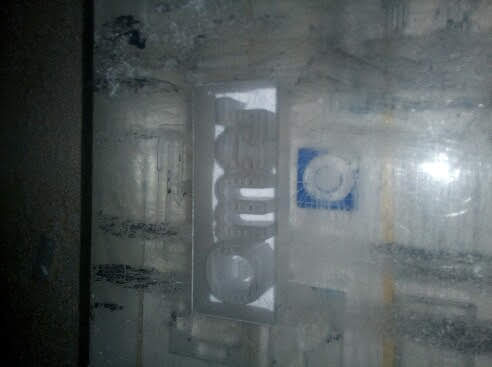
This is my 3 Outputs ..
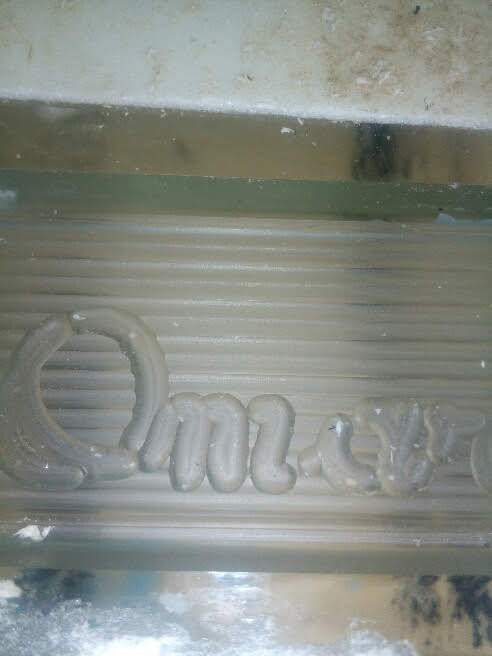
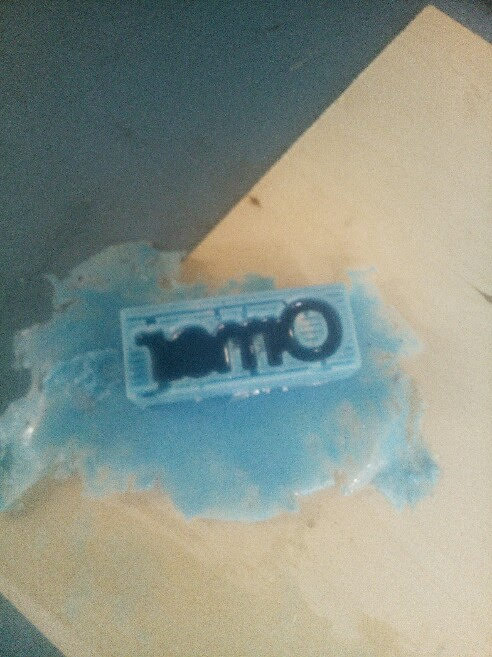
I start working with the last design " Omar " Which is the last output I made :)
Task 4
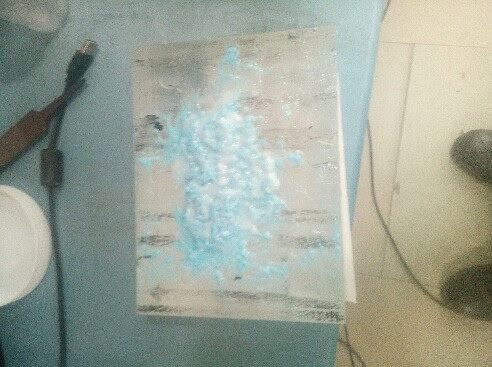
then I start using silicone ..
So The Ratio I used is 200 gm so I used 4 ml .. and I let it up to 48 Hours

Task 4
I start Casting my Model ..
By Using the Eboxy with ration 2 to 1 With the hardner .. as the mixing in Silicone .. I mixed the eboxy and get
this after about 48 Hours

It was a great experience for an Electrical ENgineer indeed :) Results :
As you can see .. We found restriction on how to use it and the ratios of using for Silicone and Eboxy ..
For Silicone :
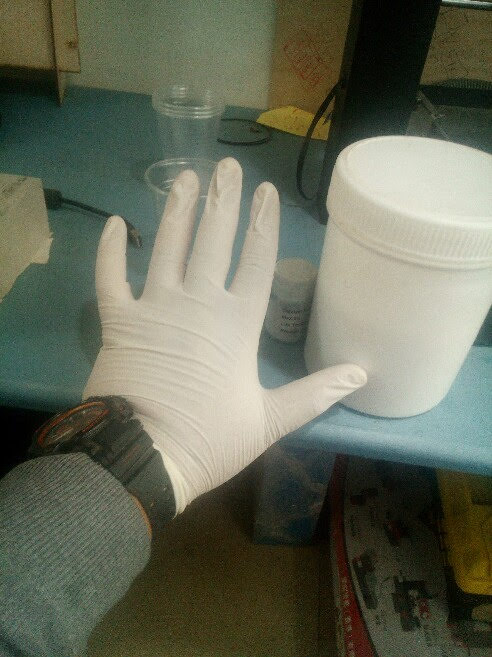
1) Need to Wear Gloves when you are going to use it
2) The Ratio I used is 200 gm so I used 4 ml from the Catalyst .
3) Ensure that you mixed it well ..
4) When you start putting sillicone at the mould .. Ensure that there are not a bubbles ..by Standing on the mould and hit at on the sides to make bubbles get out ..
FOr Eboxy :
!) Need to wear gloves and Work in open air as it is toxic
2) The Ratio is 2 Eboxy to 1 Hardner
3) Ensure that you mixed it very well and ensure to wash your hands very well after using it
4) When you start putting sillicone at the mould .. Ensure that there are not a bubbles ..by Standing on the mould and hit at on the sides to make bubbles get out ..
5) A consumbtion that I noticed that it is better not to be faced to air when it is left to dry .. as the part that supposed to air didnt dry very well and it was not that hard not like the other faces that not faced to air ..
A Very Important Information when you read a datasheet I knew it from My Global Evaluator Craig From New zeeland :
What is the difference between Pot time and Cure time .. ??
I make my own Search And I found this Link That is talking about this ..
And for what i understand :
Example: if a mixed resin system has an initial viscosity of 10,000 cps and the viscosity increases to 20,000 cps after 30 minutes, then the pot life is 30 minutes. In some instances, if the starting viscosity is very low, e.g. 500 cps, then the pot life can be defined as the time it takes for the viscosity to increase by a factor of 4, or 5, or some other defined number.
The time factor for pot life does give an indication of how fast the system is curing (progressing from a liquid state to a solid state), however it does not necessarily define the amount of time the customer has to work with the resin, in terms of being able to use it in their process to make acceptable parts. In the example, even if the viscosity is 20,000 cps the customer may still be able to cast the material or use it as an adhesive, sealant, or encapsulant. What the pot life is best used for is to compare systems. If one system has a 30 minute pot life and one has a 100 minute pot life, the customer has an indication of how fast or how slow the two systems are curing.
The curing profile for a thermoset resin is very often dependent on the amount of material that is curing. More material will often cure faster than less material. This means the pot life, working life, and gel time are dependent on the volume of material. While they may be measured or defined, they are based on tests run with a certain amount, e.g. 100 g or 200 g. The customer will have a different pot life or working life or gel time if their process uses 1 g or 1000 g.
It is also important to mention that the pot life, working life, and gel time are only useful to the customer if the temperature is defined. Room temperature systems would have these properties defined at 25°C. If the system is a heat-cured system then the temperature could be 65°C or 100°C or another temperature that the supplier considers applicable. Viscosity increase could be monitored at 100°C, the gel time could be measured at 100°C and the working life would be specified after the gel time at 100°C is measured.