Week 5 - 3D Printing & Scanning

This week's tasks are:
- Test the design rules of the 3D printer ( Group Assignment).
- Design and 3D print an object (small, few cm) that could not be made subtractively.
- 3D scan an object (and optionally print it).
Step1: Getting introduced to 3D printing
- What is 3D printing? 3D printing is a fast prototyping way where a 3D model is built additivly by adding, Joining or solidfying layers of materials to have the 3D model.
- what are the 3D printing techniques? there are many teqniques for 3D printing, more info about the teqniques in this link. The most popular technique is the FDM.
- What is the FDM technique?(Fused Deposition Modeling)works on an "additive" principle by laying down material in layers.A plastic filament or metal wire is unwound from a coil and supplies material to an extrusion nozzle which can turn the flow on and off. The nozzle is heated to melt the material and can be moved in both horizontal and vertical directions by a numerically controlled mechanism, directly controlled by a computer-aided manufacturing (CAM) software package
- Slicer: Is the software that takes the 3D model and divide into layers then generate the code that contains all the settings and the coordinations that the 3D printer will follow to print the model.
FDM 3D printers main parts
Step2: Test the limitations and design rules of our 3D printer
Evert Machine has it's own limitations and design requirments in order to make the 3D model printable in a proper and accurate way. as a group assignment everyone chose a certain test for the printer and we almost did it in one printing test that measures the actual sizes after being printed and other aspects all written in Haitham Documentation
I decided to test the effect of the temperature on the printing strenght.
- Download a test file
- Prepare the file
- Layer Height: 0.3 mm
- Infill : 10 %
- Raft: Yes
- Supporters : No
- Extruder temperature: I made different files with different tempratures from 190 to 230.
- Conclusion
- Raft to model vertical offset should be 0.15 mm
- The perfect temperature with our filament is 220 celecius degree
I downloaded the test file from thingiverse. The test concept is based on figuring out what is the print temprature which will give the maximum layers adhesion. This will affect the whole model strength.
The 3D printer we have is MakerBot brand and it's model is replicator 2 and the software we are using is makerBot print
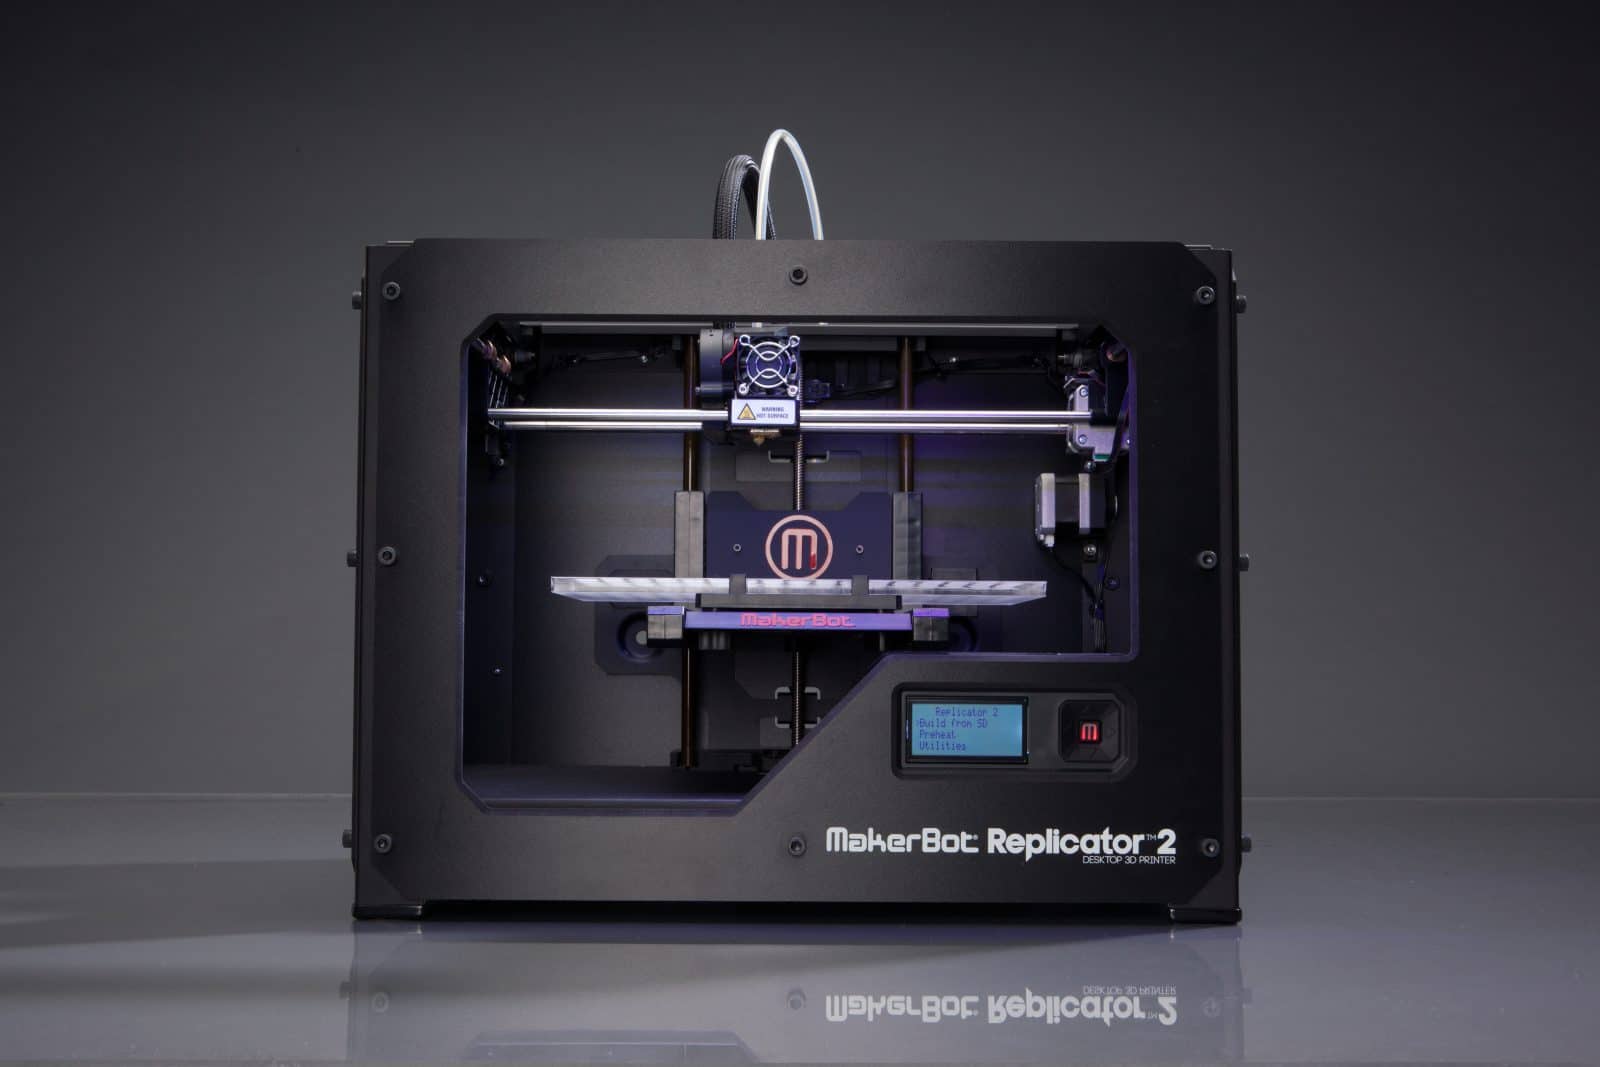
MakerBot replicator 2 maximum build area is about 28X15X15 cm
MakerBot print software only works with MakerBot 3D printers and doesn't work with other 3D printers
After opening the software I chose add printers on the right bottom of the screen.
Then I chose add an unconnected printer as the files will be put on the printer through an SD card.
After that I chose the makerbot replicator 2 model.
I inserted the test file then pressed on the scaling icon to makesure that the model is not very large or very small and has the right dimensions.The model should fit within the printer build area and can't be larger.
I pressed on the settings icon to change the print settings the pressed on preview. The preview gives a demo of what happens during printing and shows if there are any missing layers or something wrong in the model that wil cause the print to fail( You have to observe it). Also it gives an estimation of the required print time and the weight.
The settings I used are:
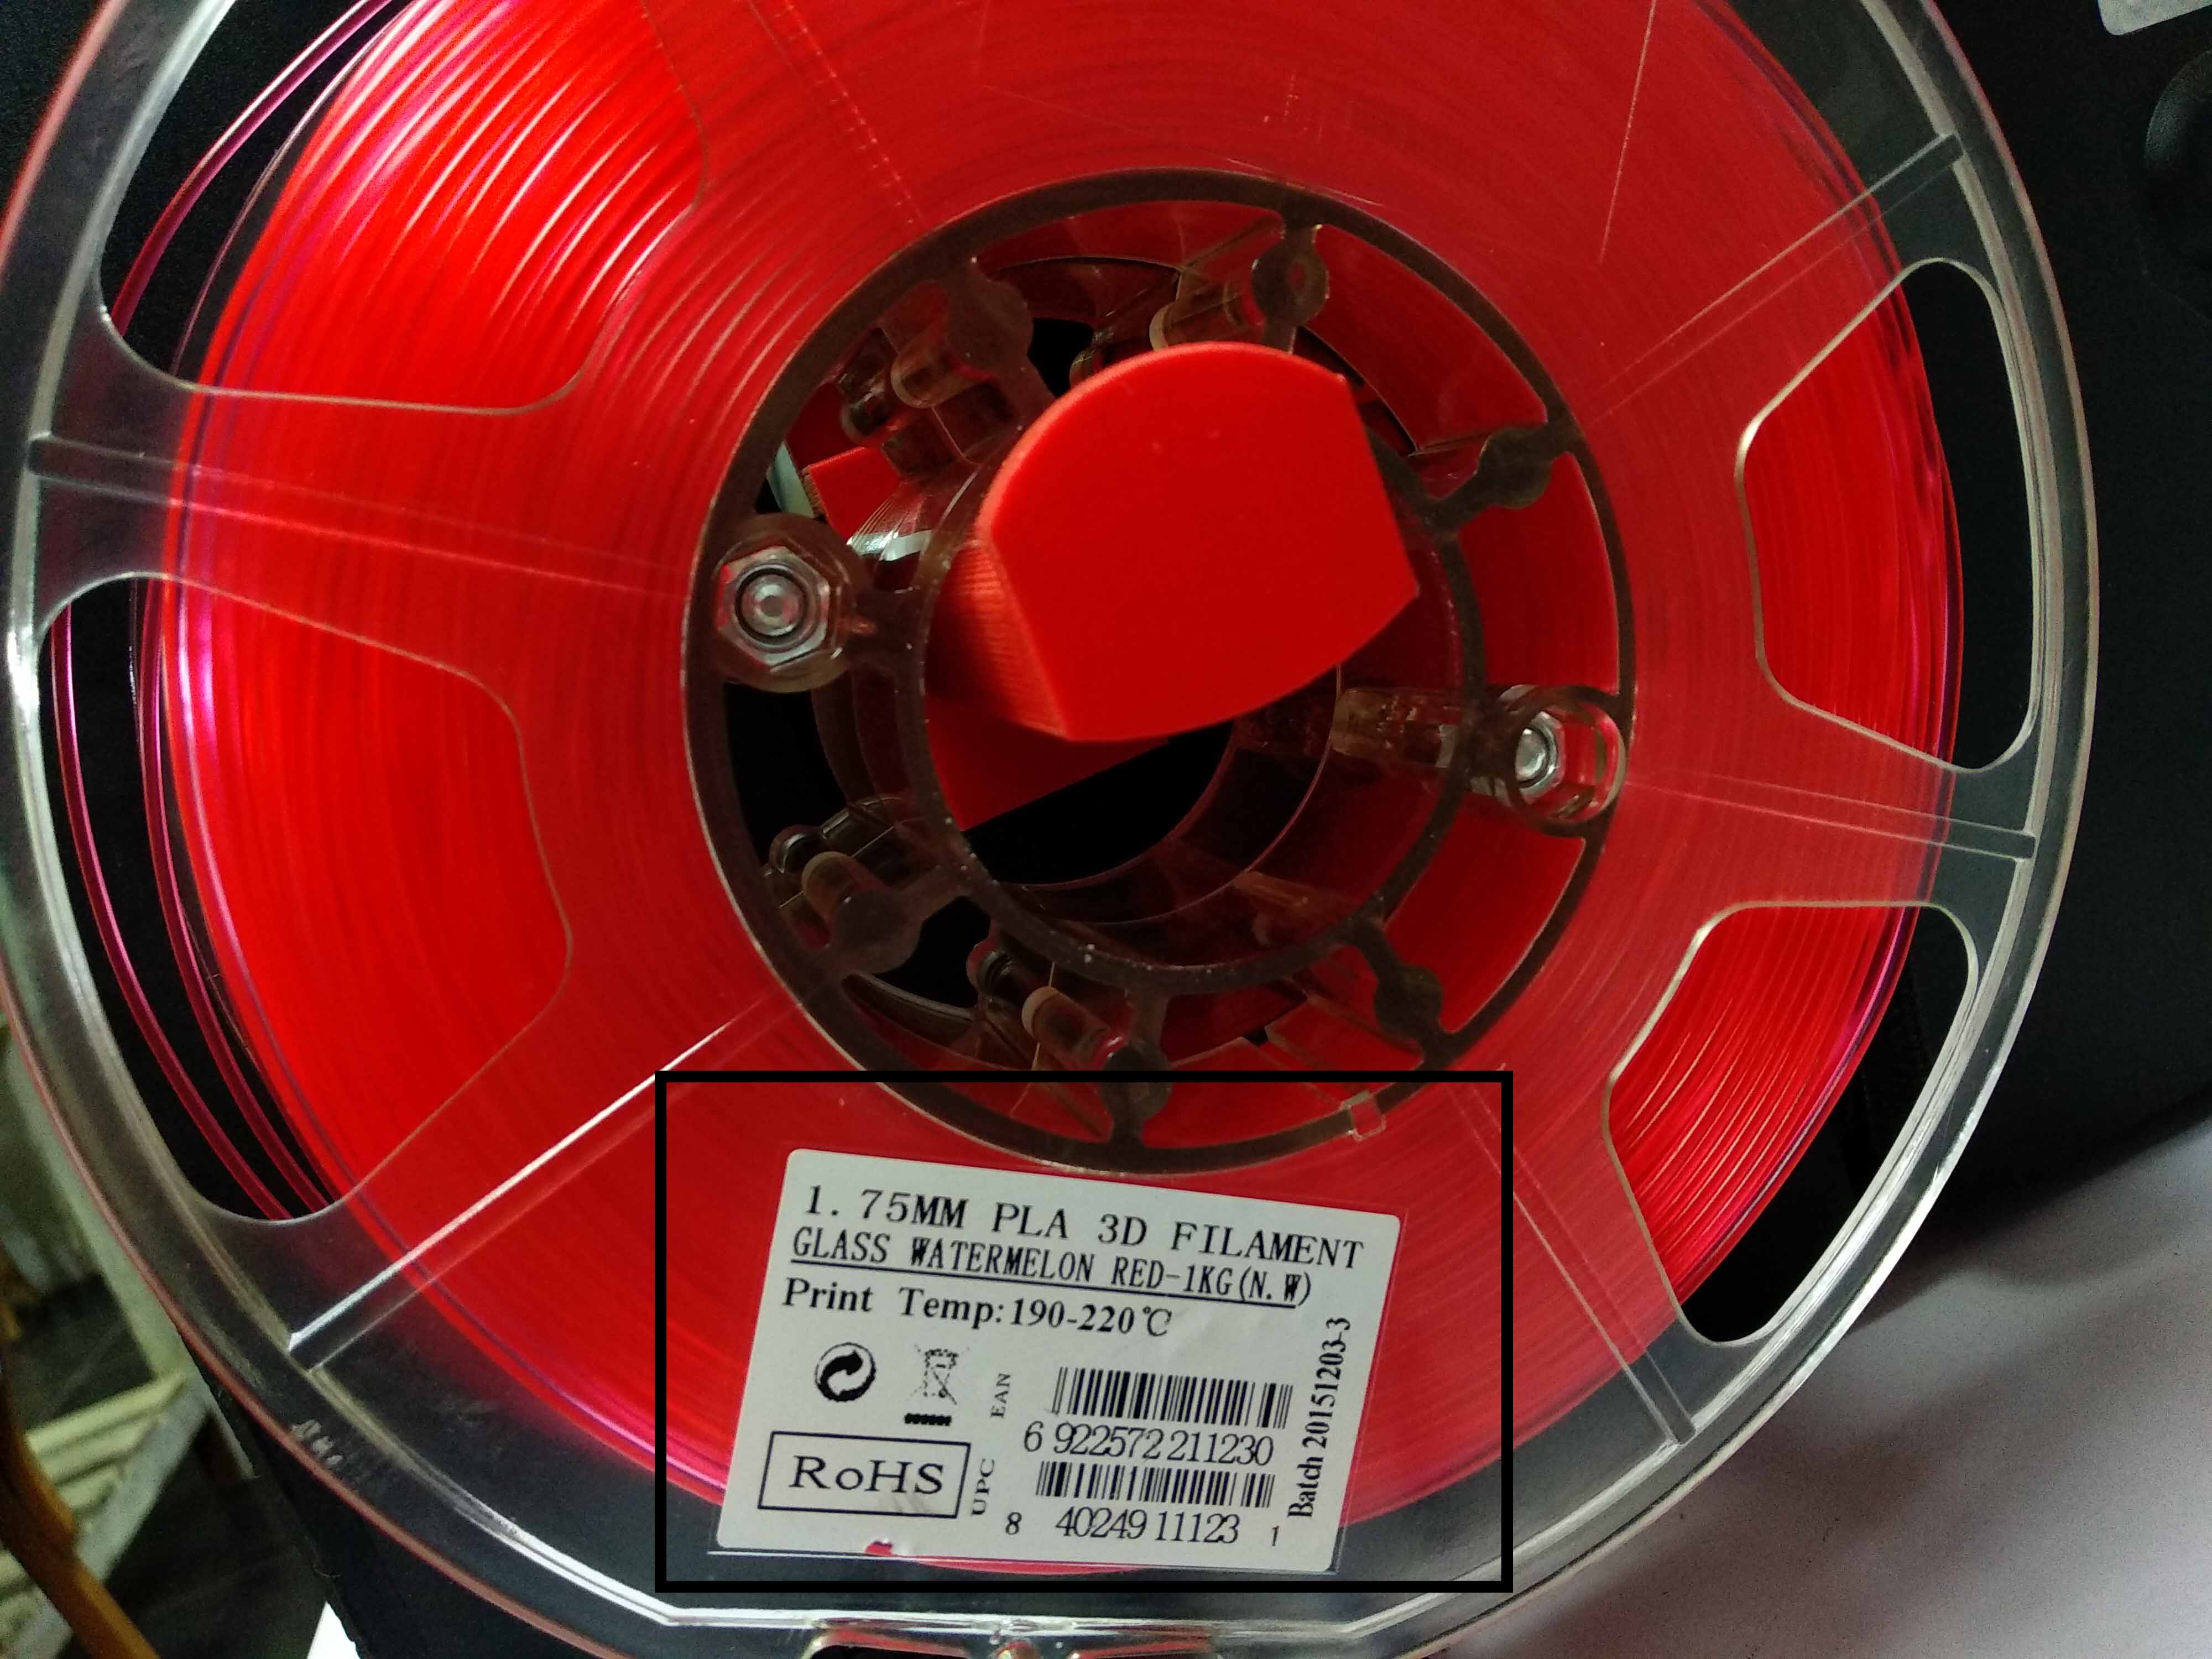
Every filament brand has it's on specifications. The filament we have is PLA e-sun and on the label it's written that it should work with printing temprature starting form 190 up to 220. I varied the temprature from 190 to 230 which exceeds the maximum temprature with 10 degrees to see what will happen.
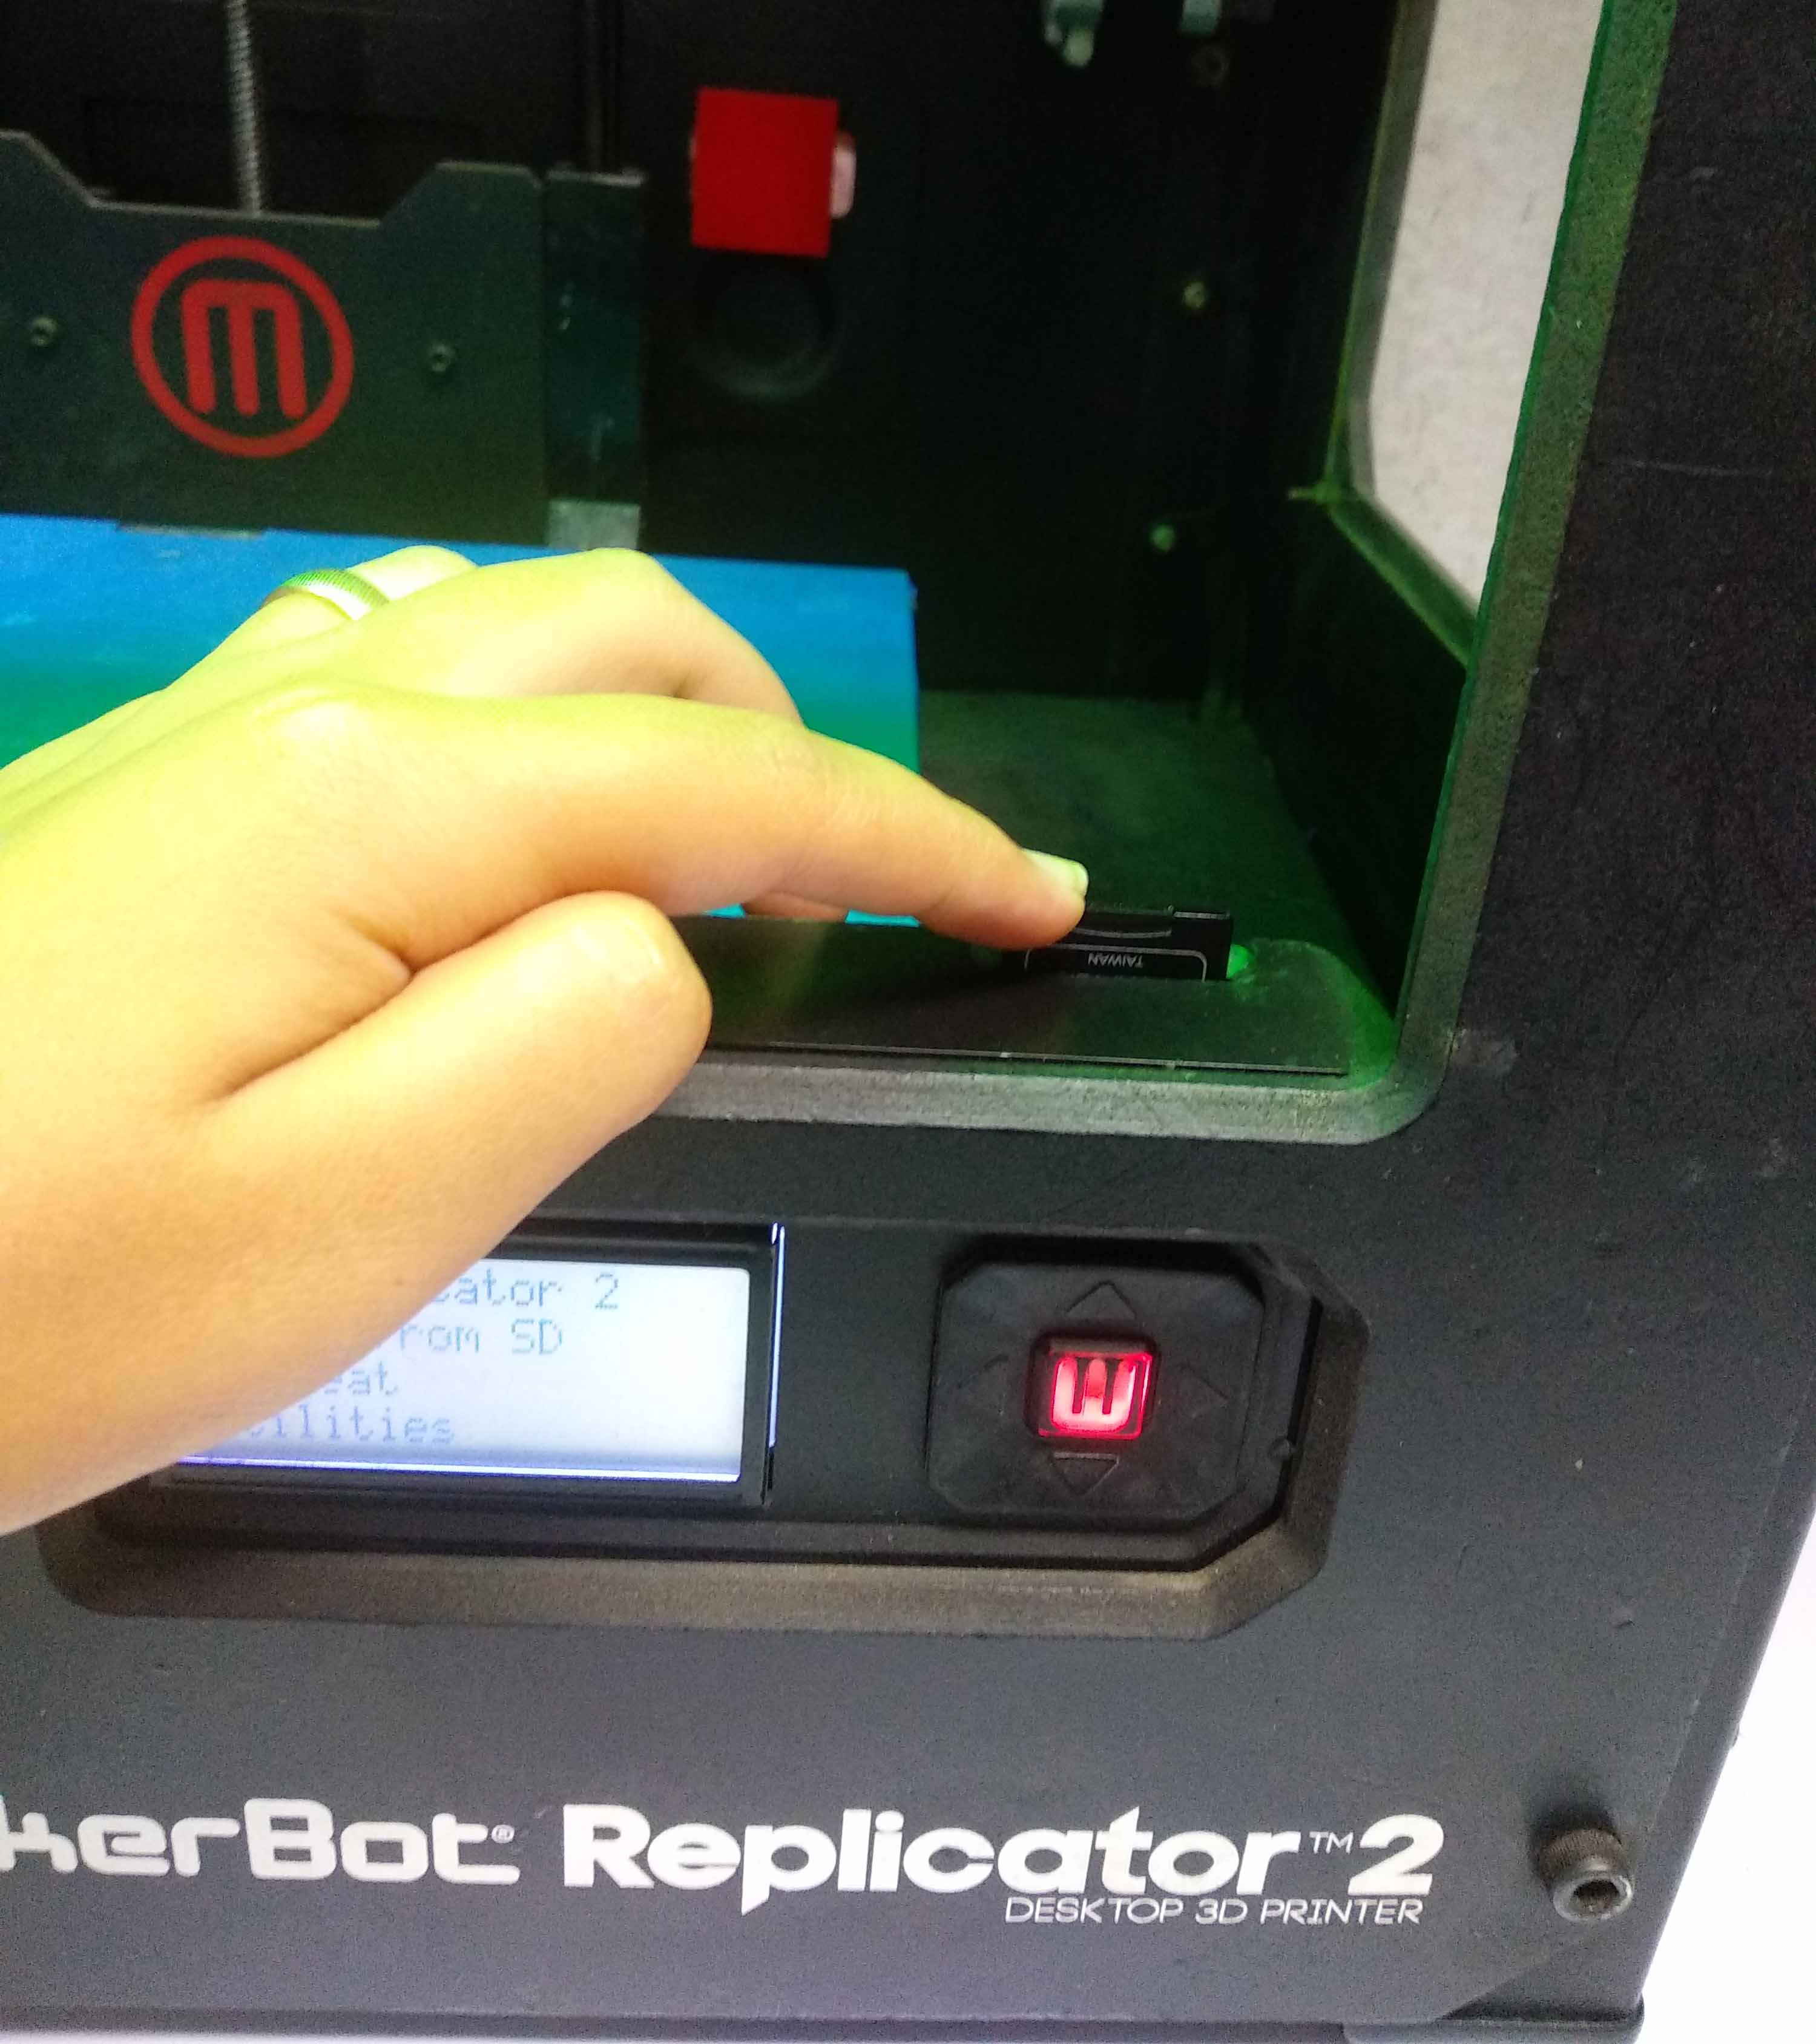
After finishing the preview I clicked export and put the file on the SD card
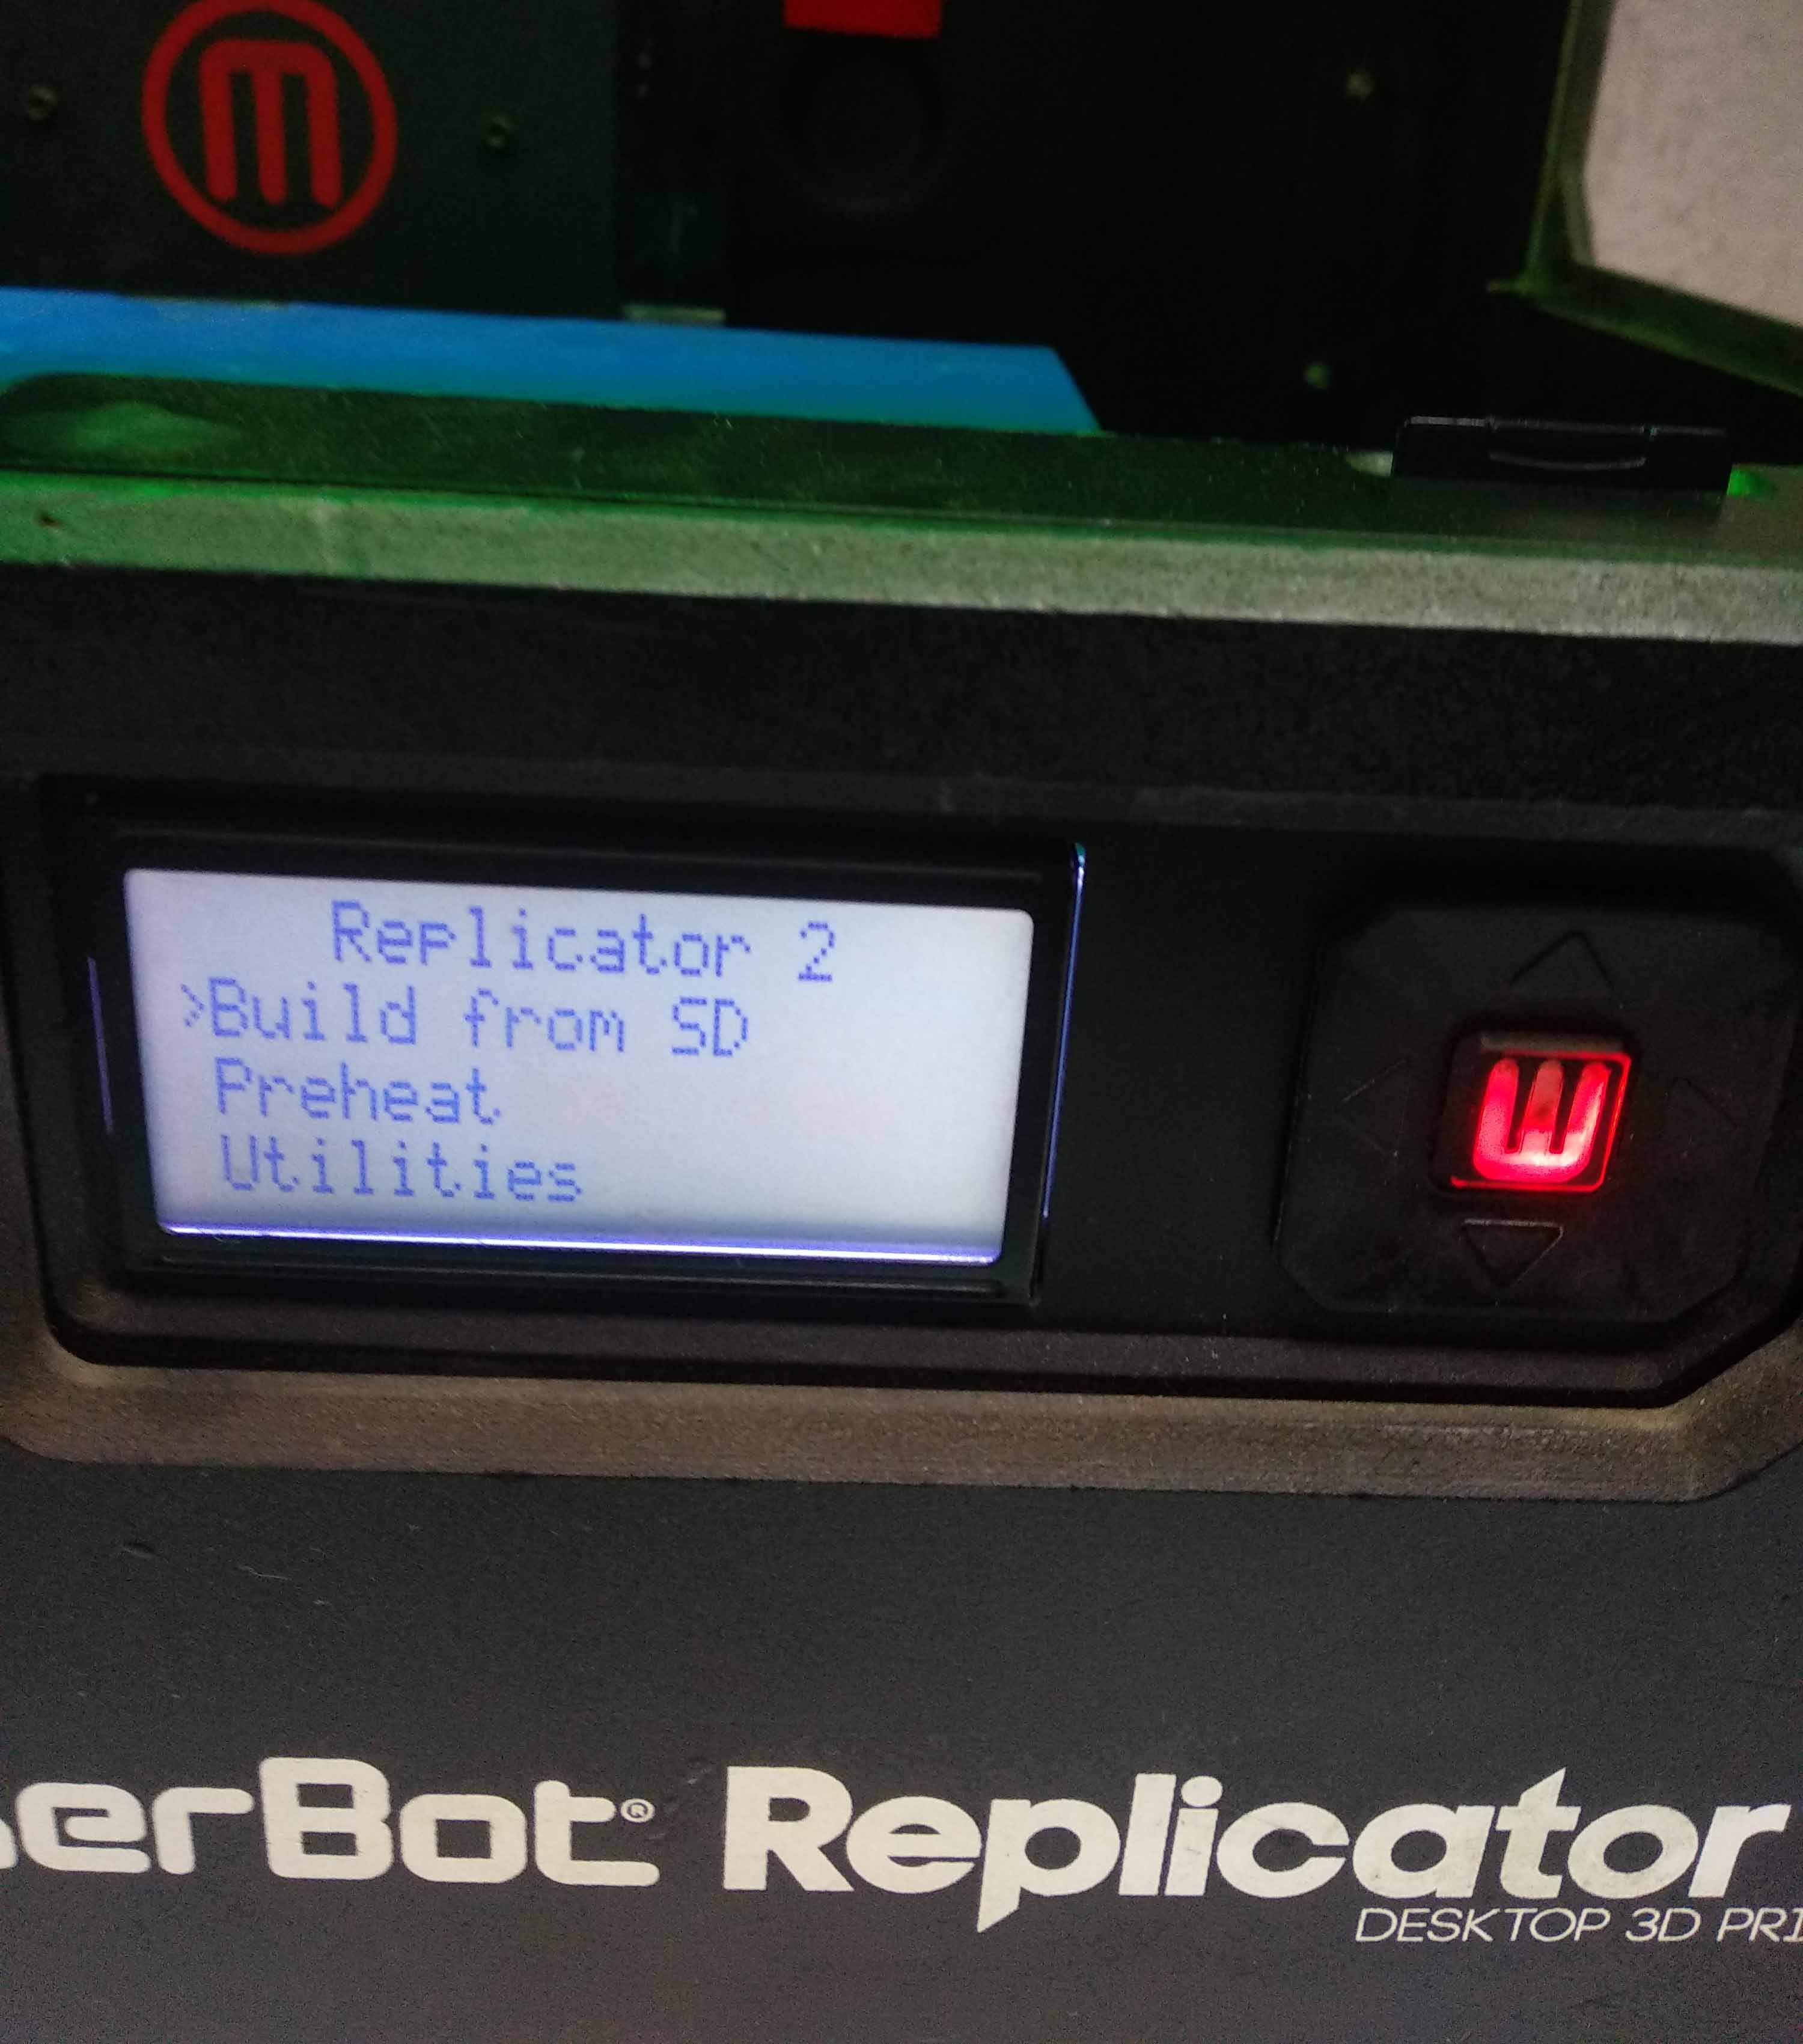
After putting the SD card on the 3D printer, I pressed the medium button then chose Build from SD card.
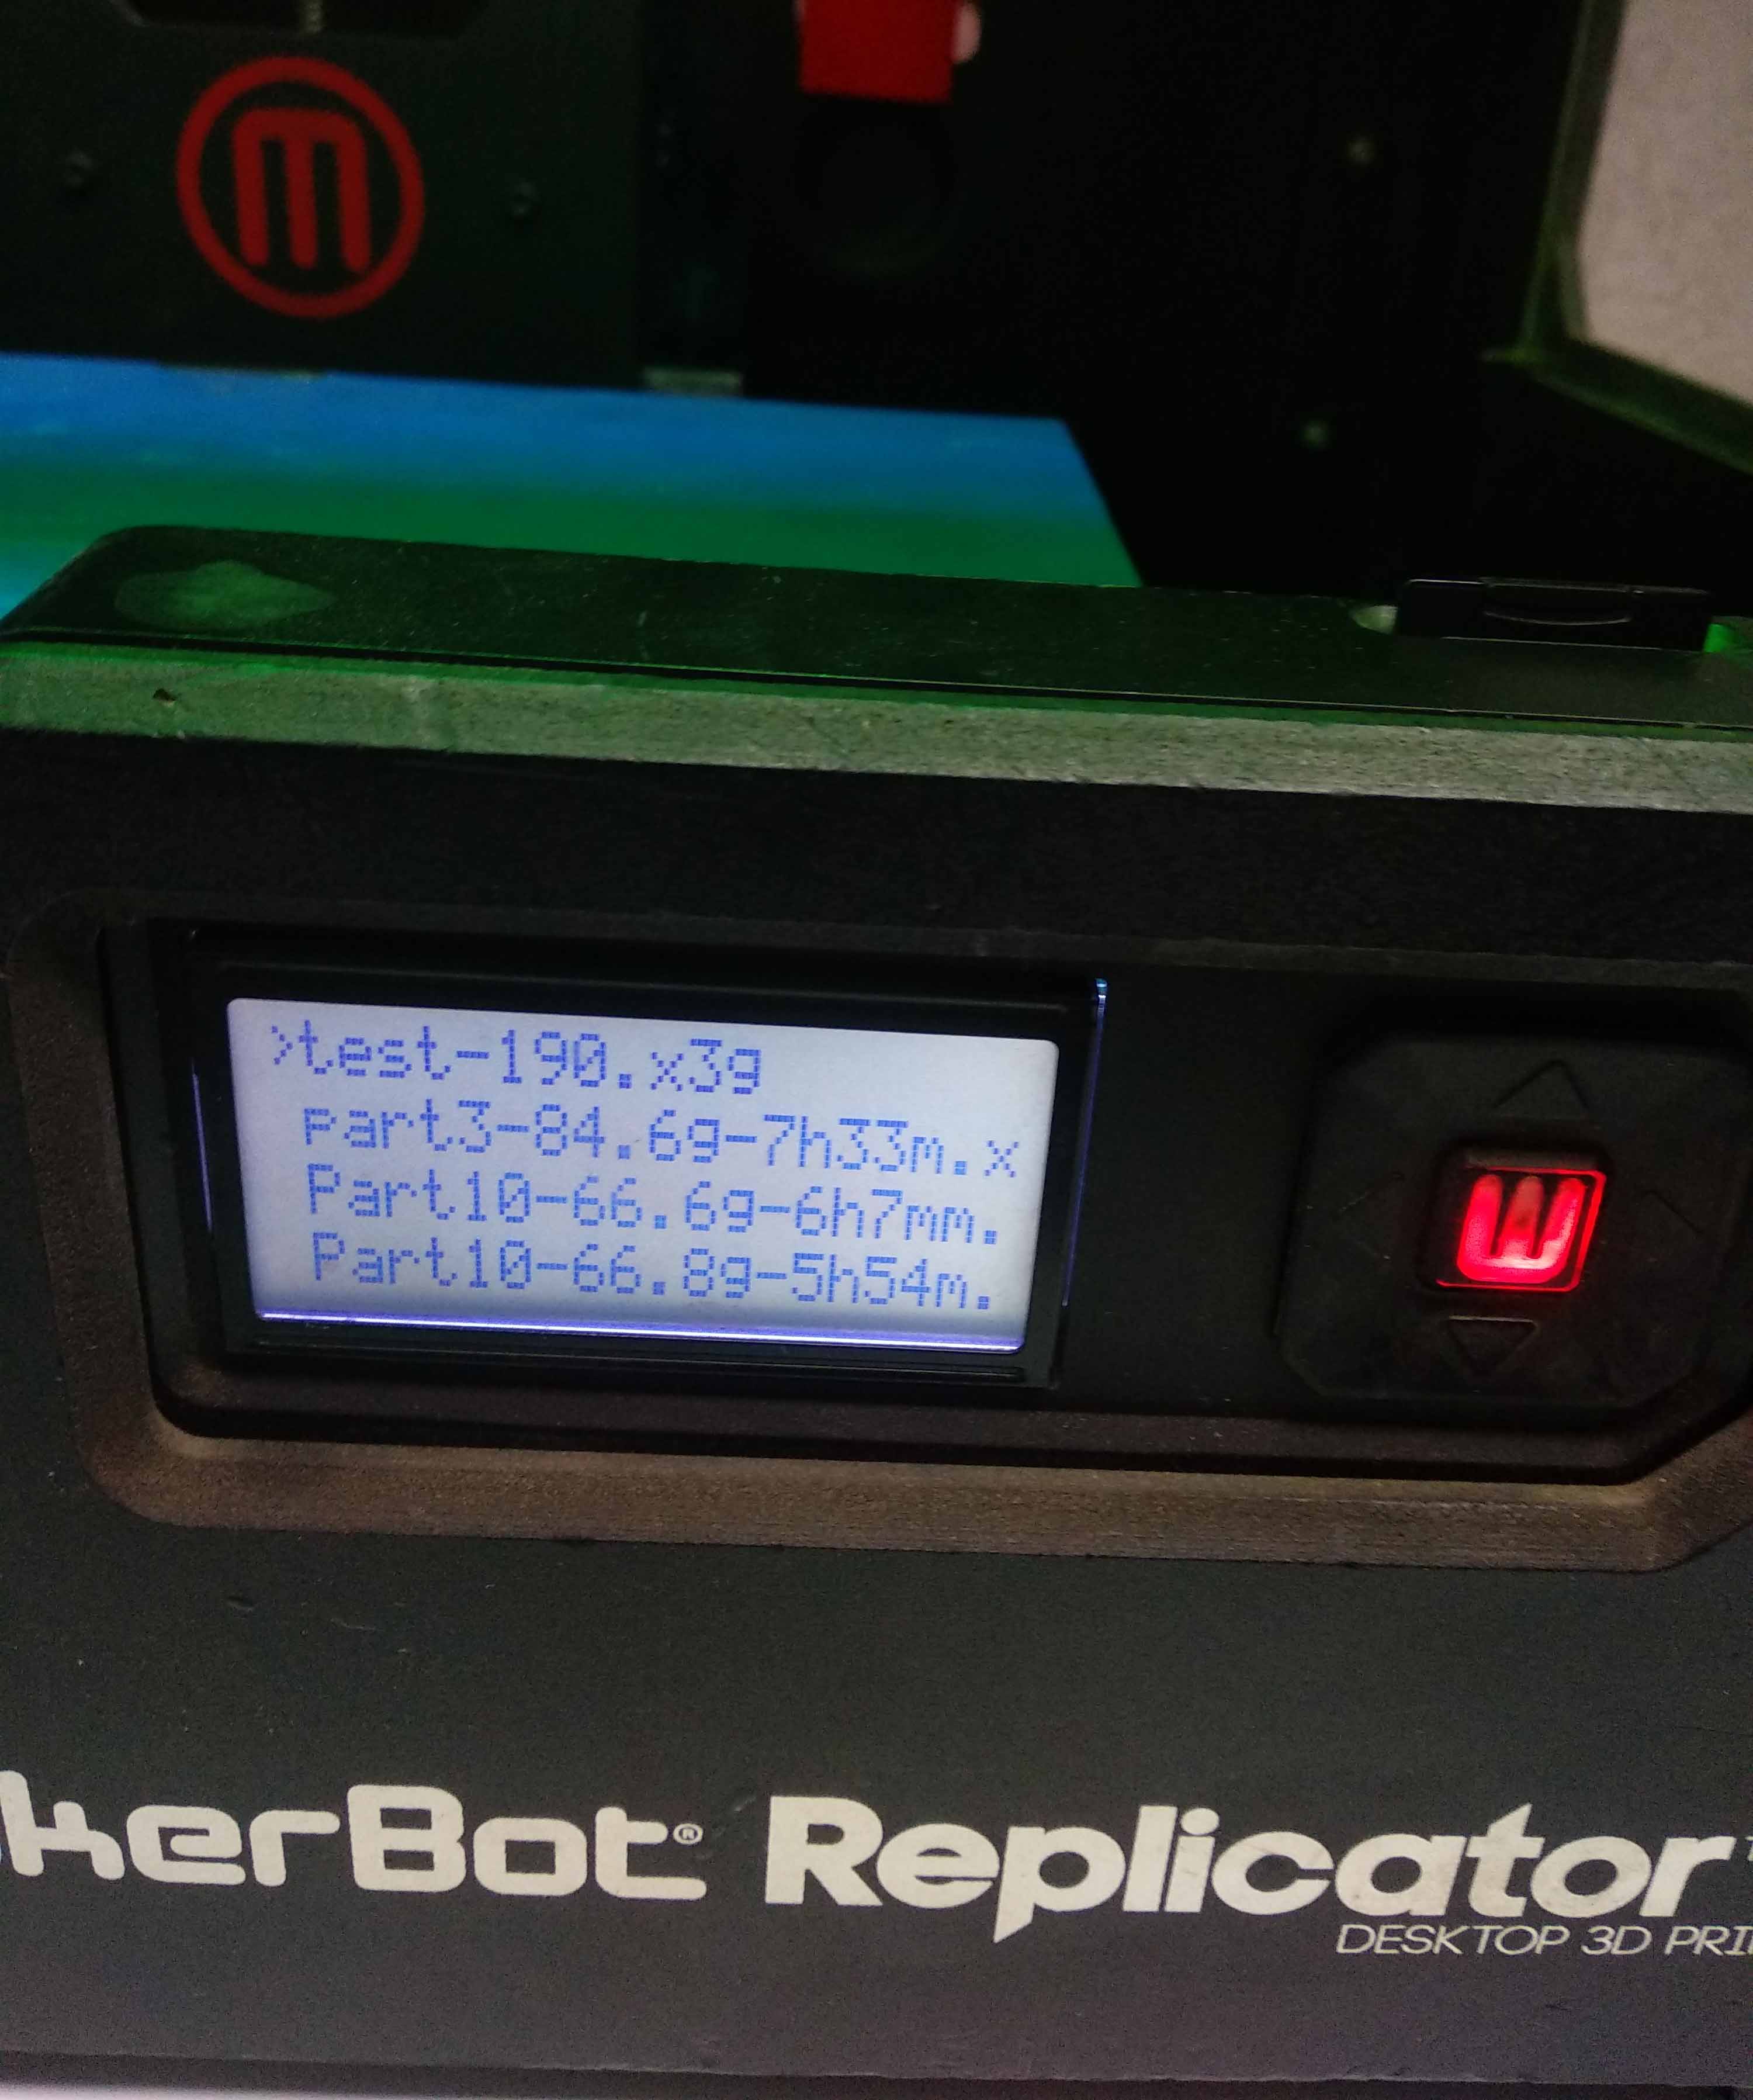
The menue appeared with all the models in the card so I chose my file to start printing.
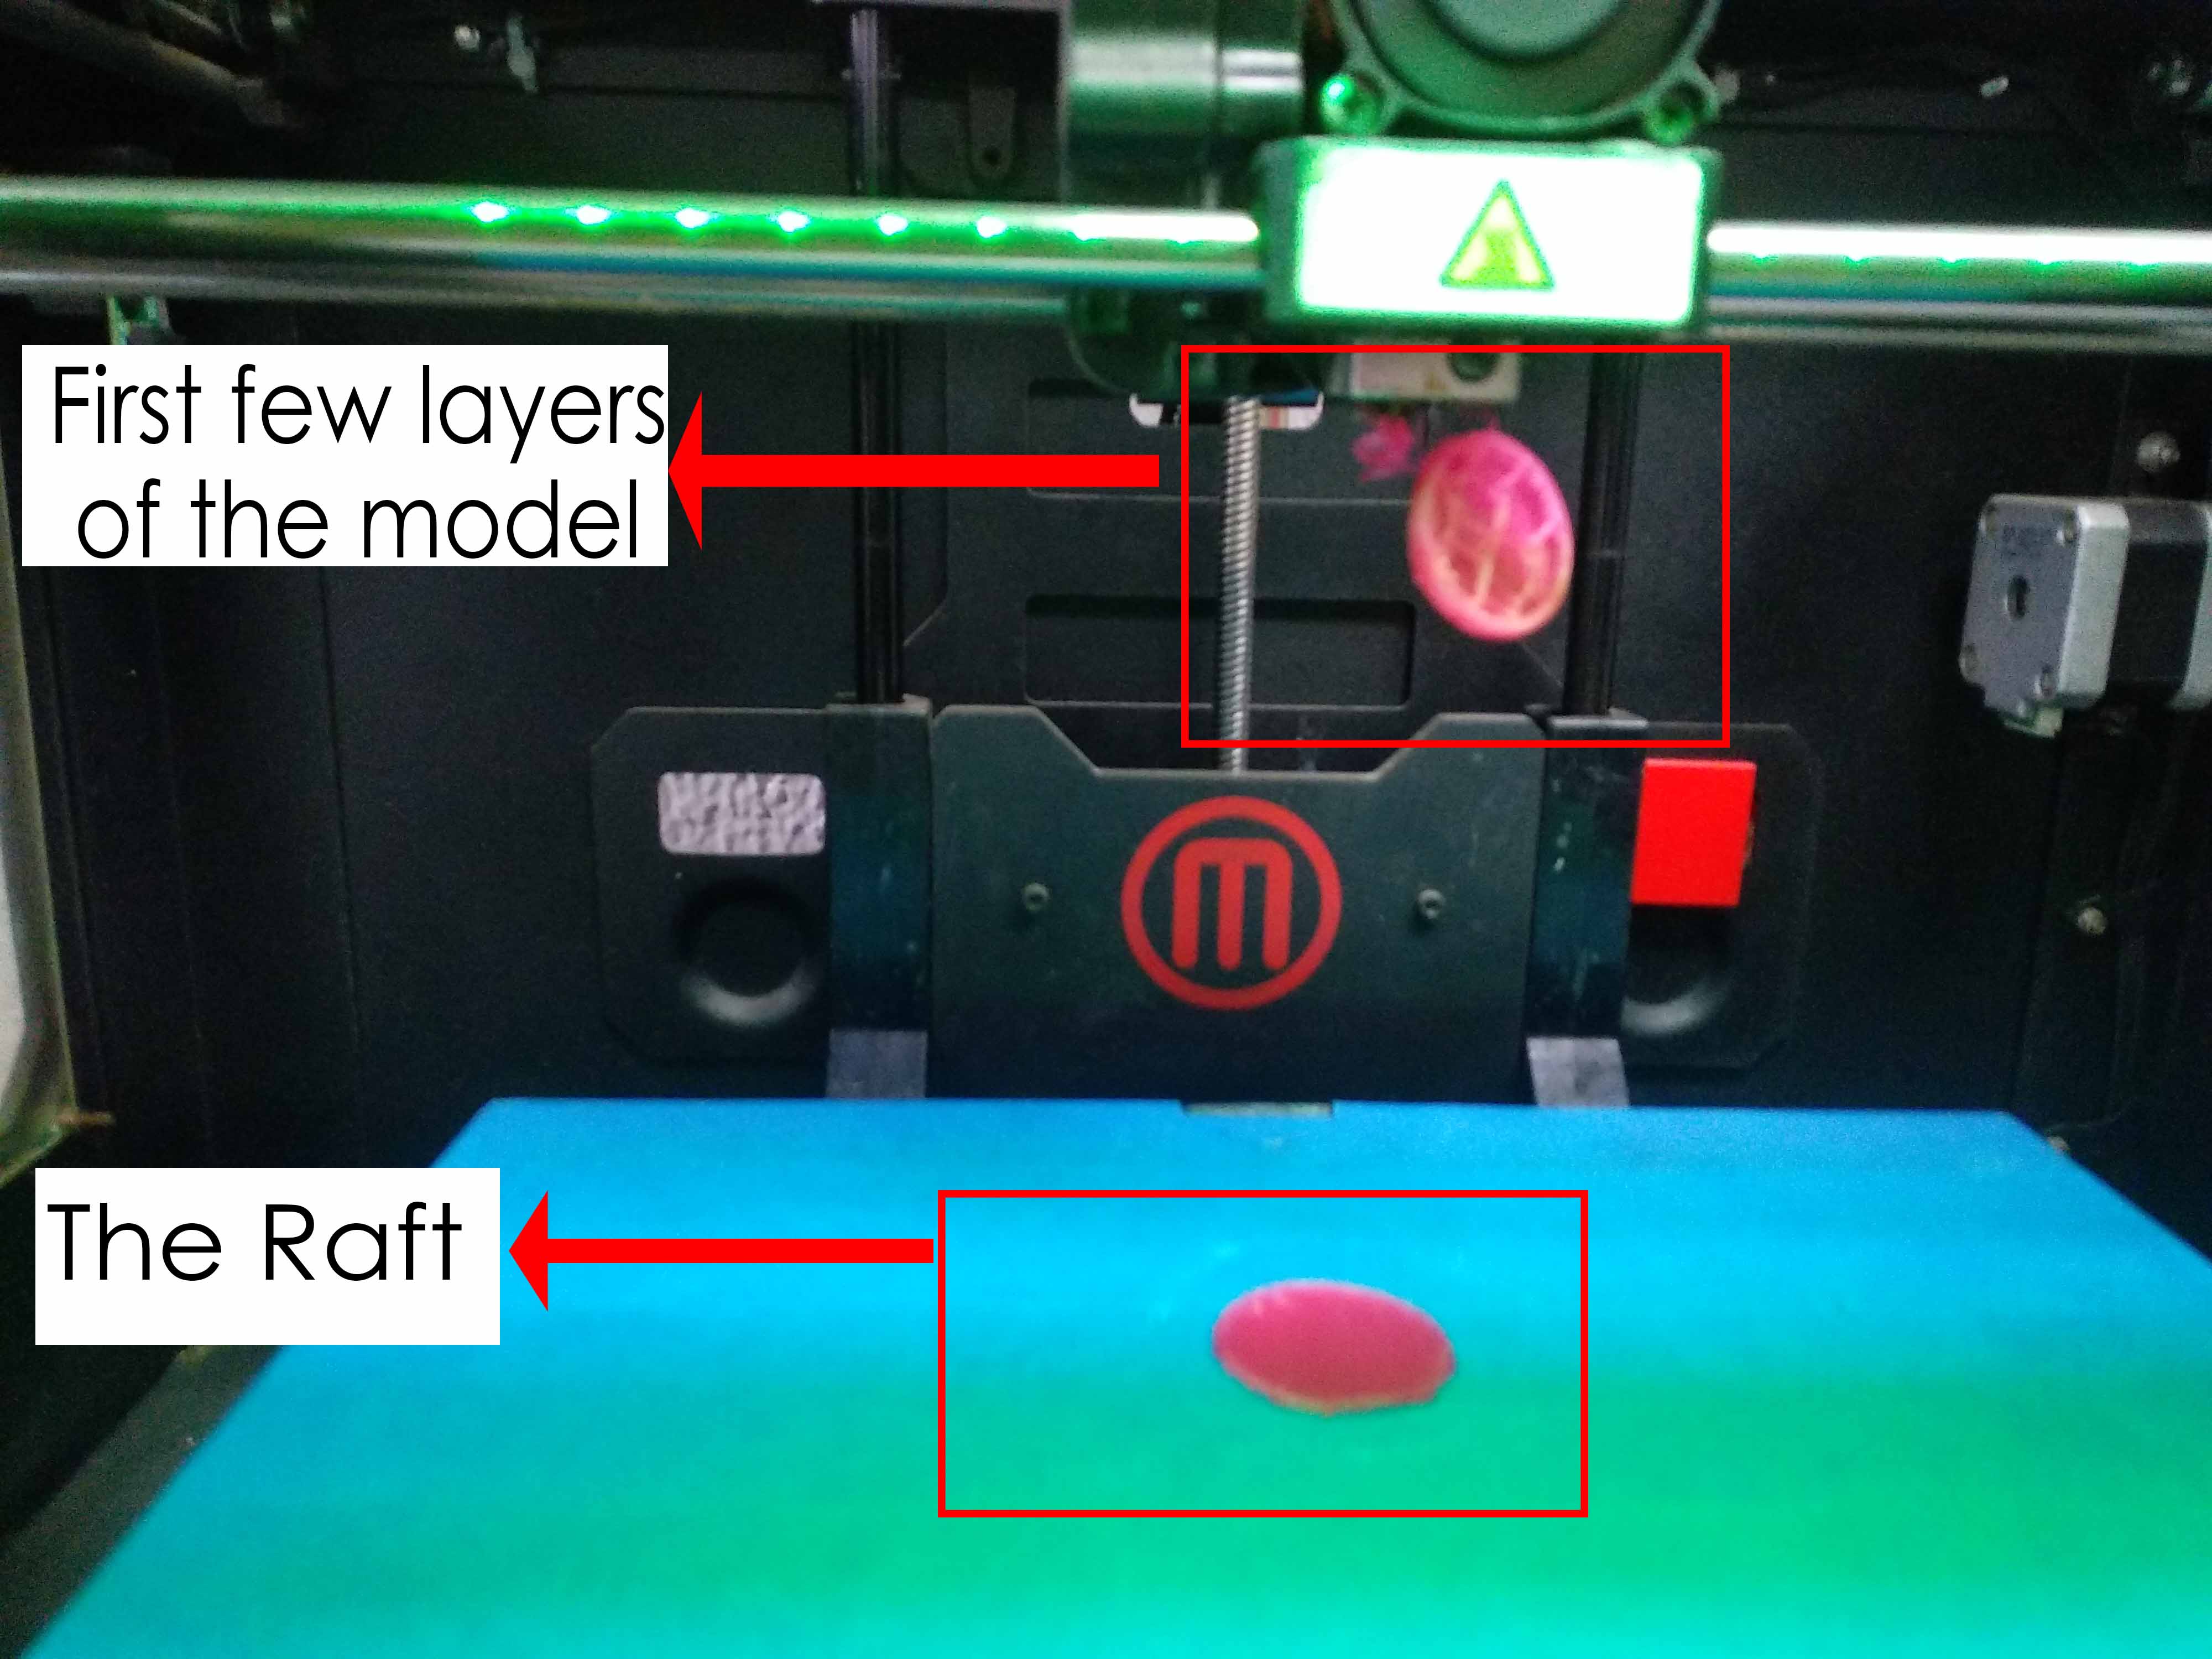
After starting to print the first file, The model didn't stick on the raft and strted to move with the extruder. This was because the space between the raft and the model is too large.
From the settings, I chose Rafe+ Base then changed raft to base vertical offset to 0.15 mm and it worked well.
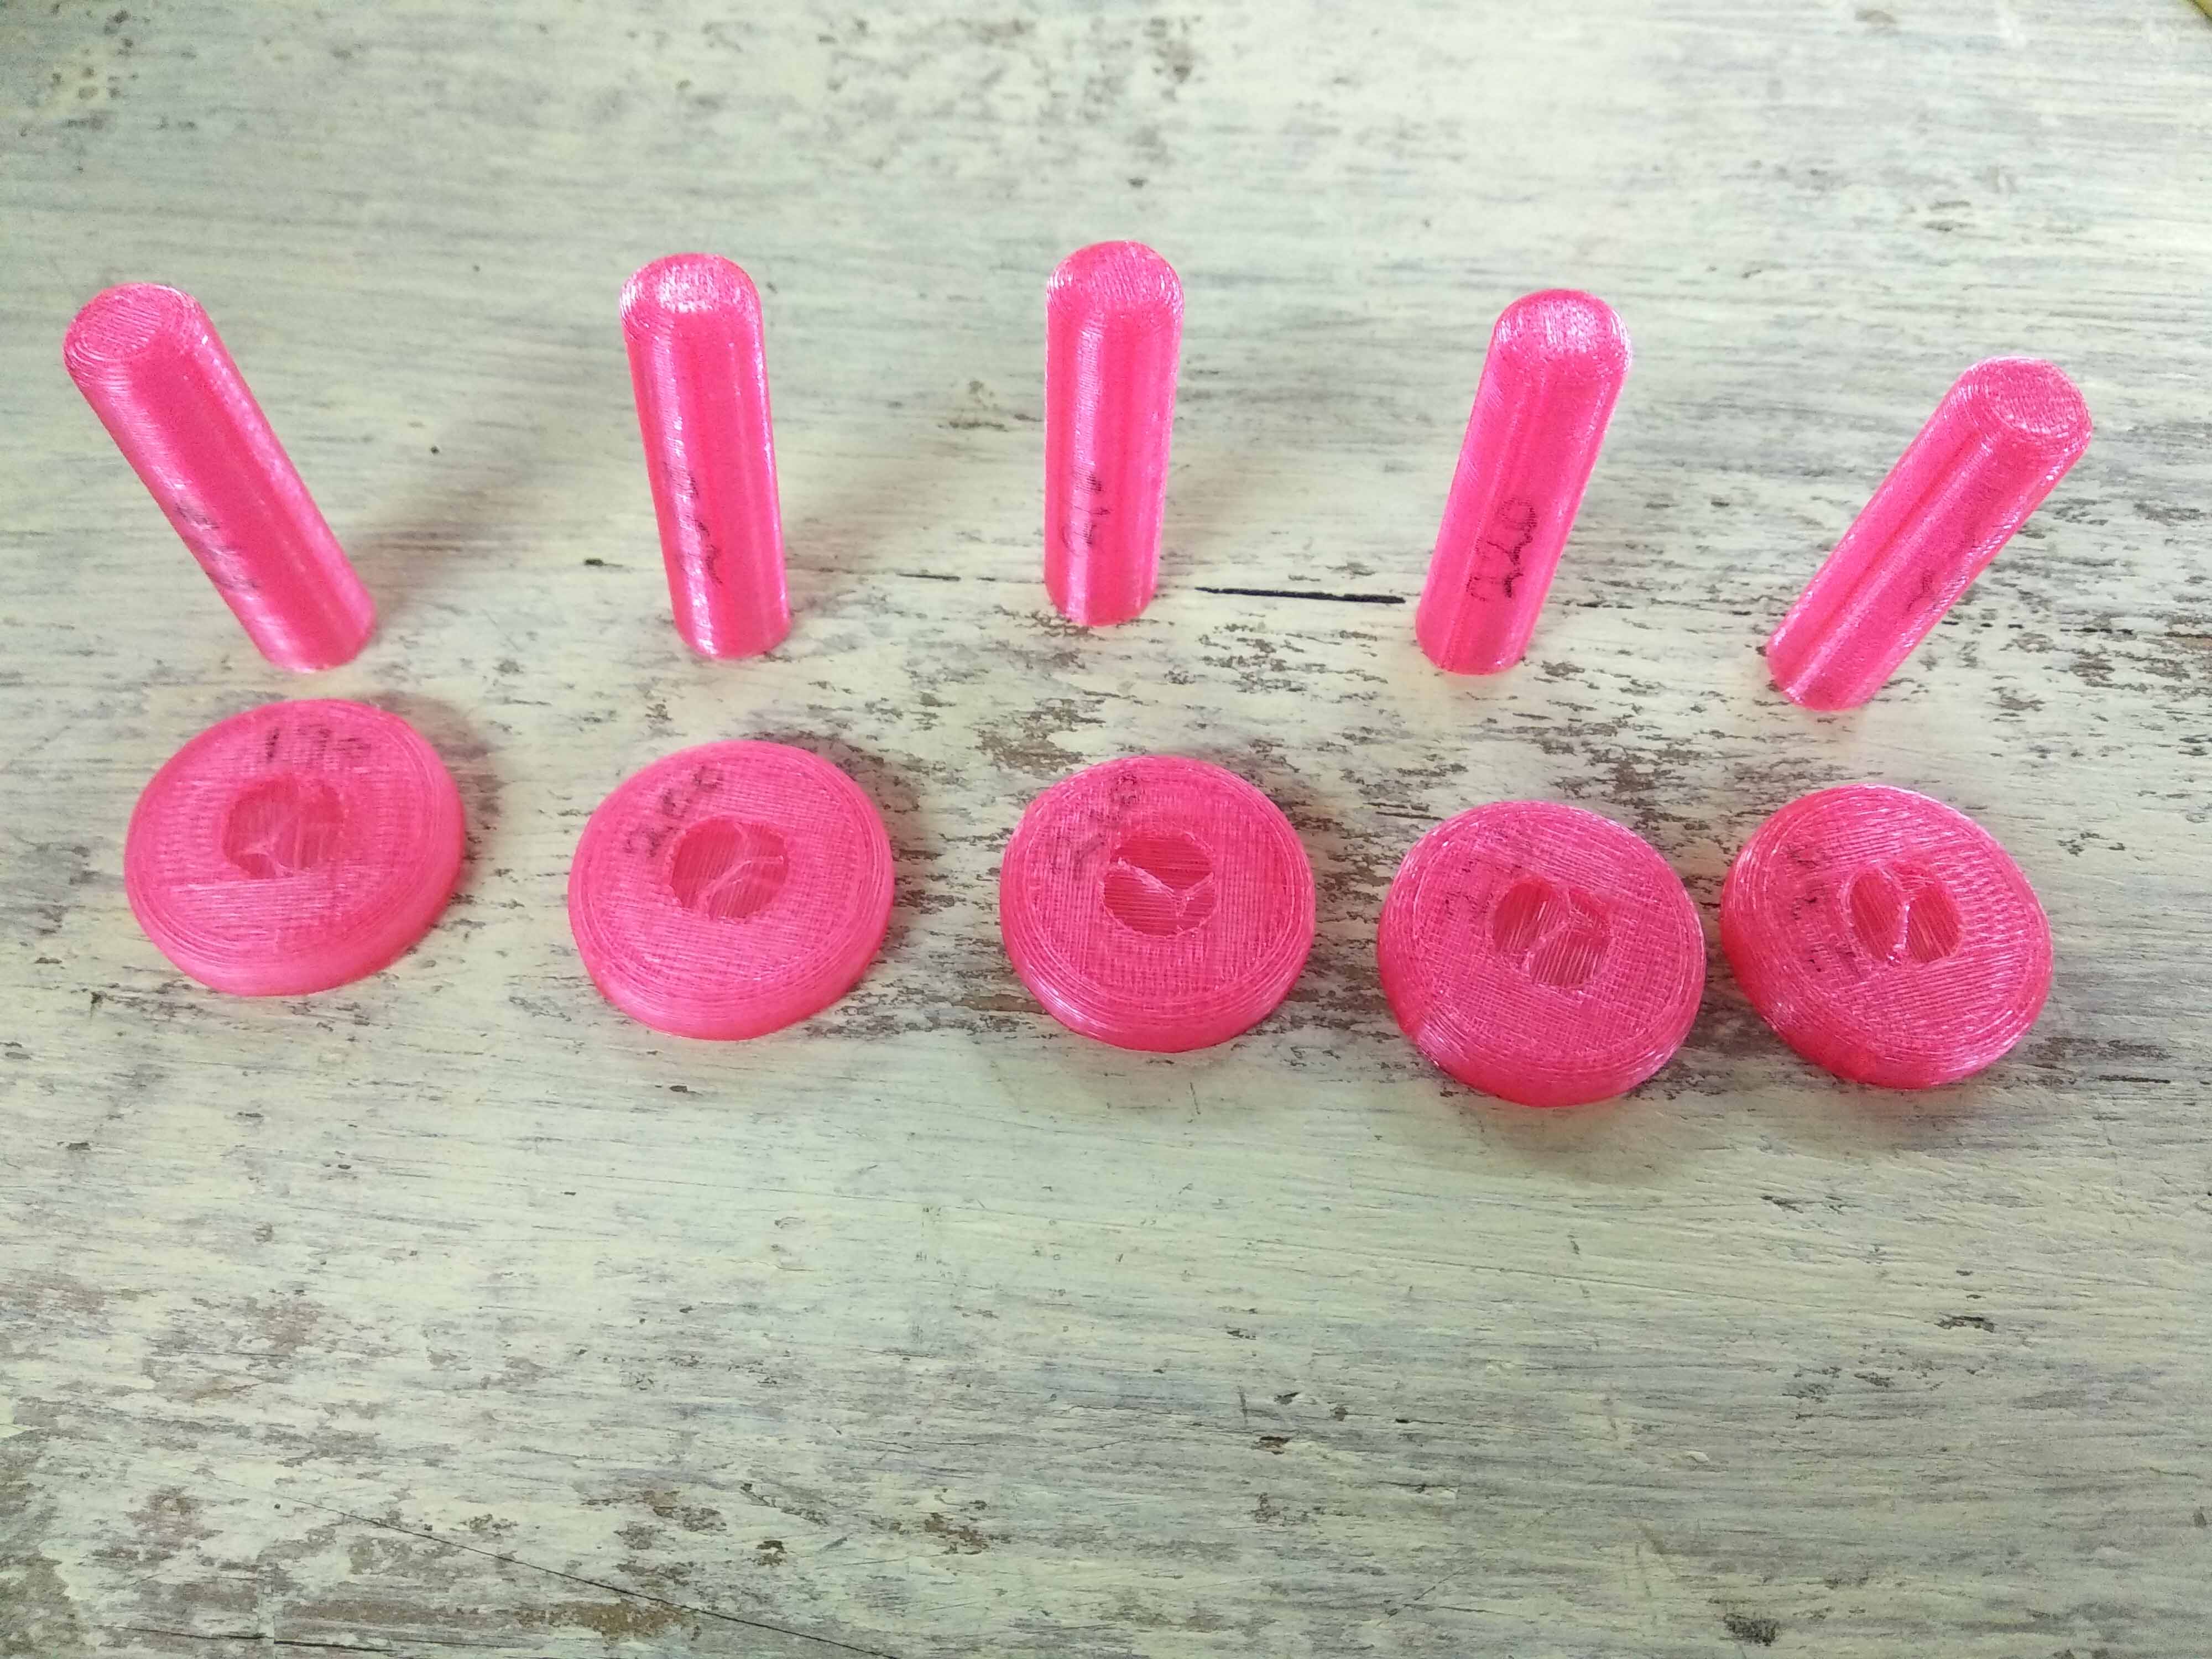
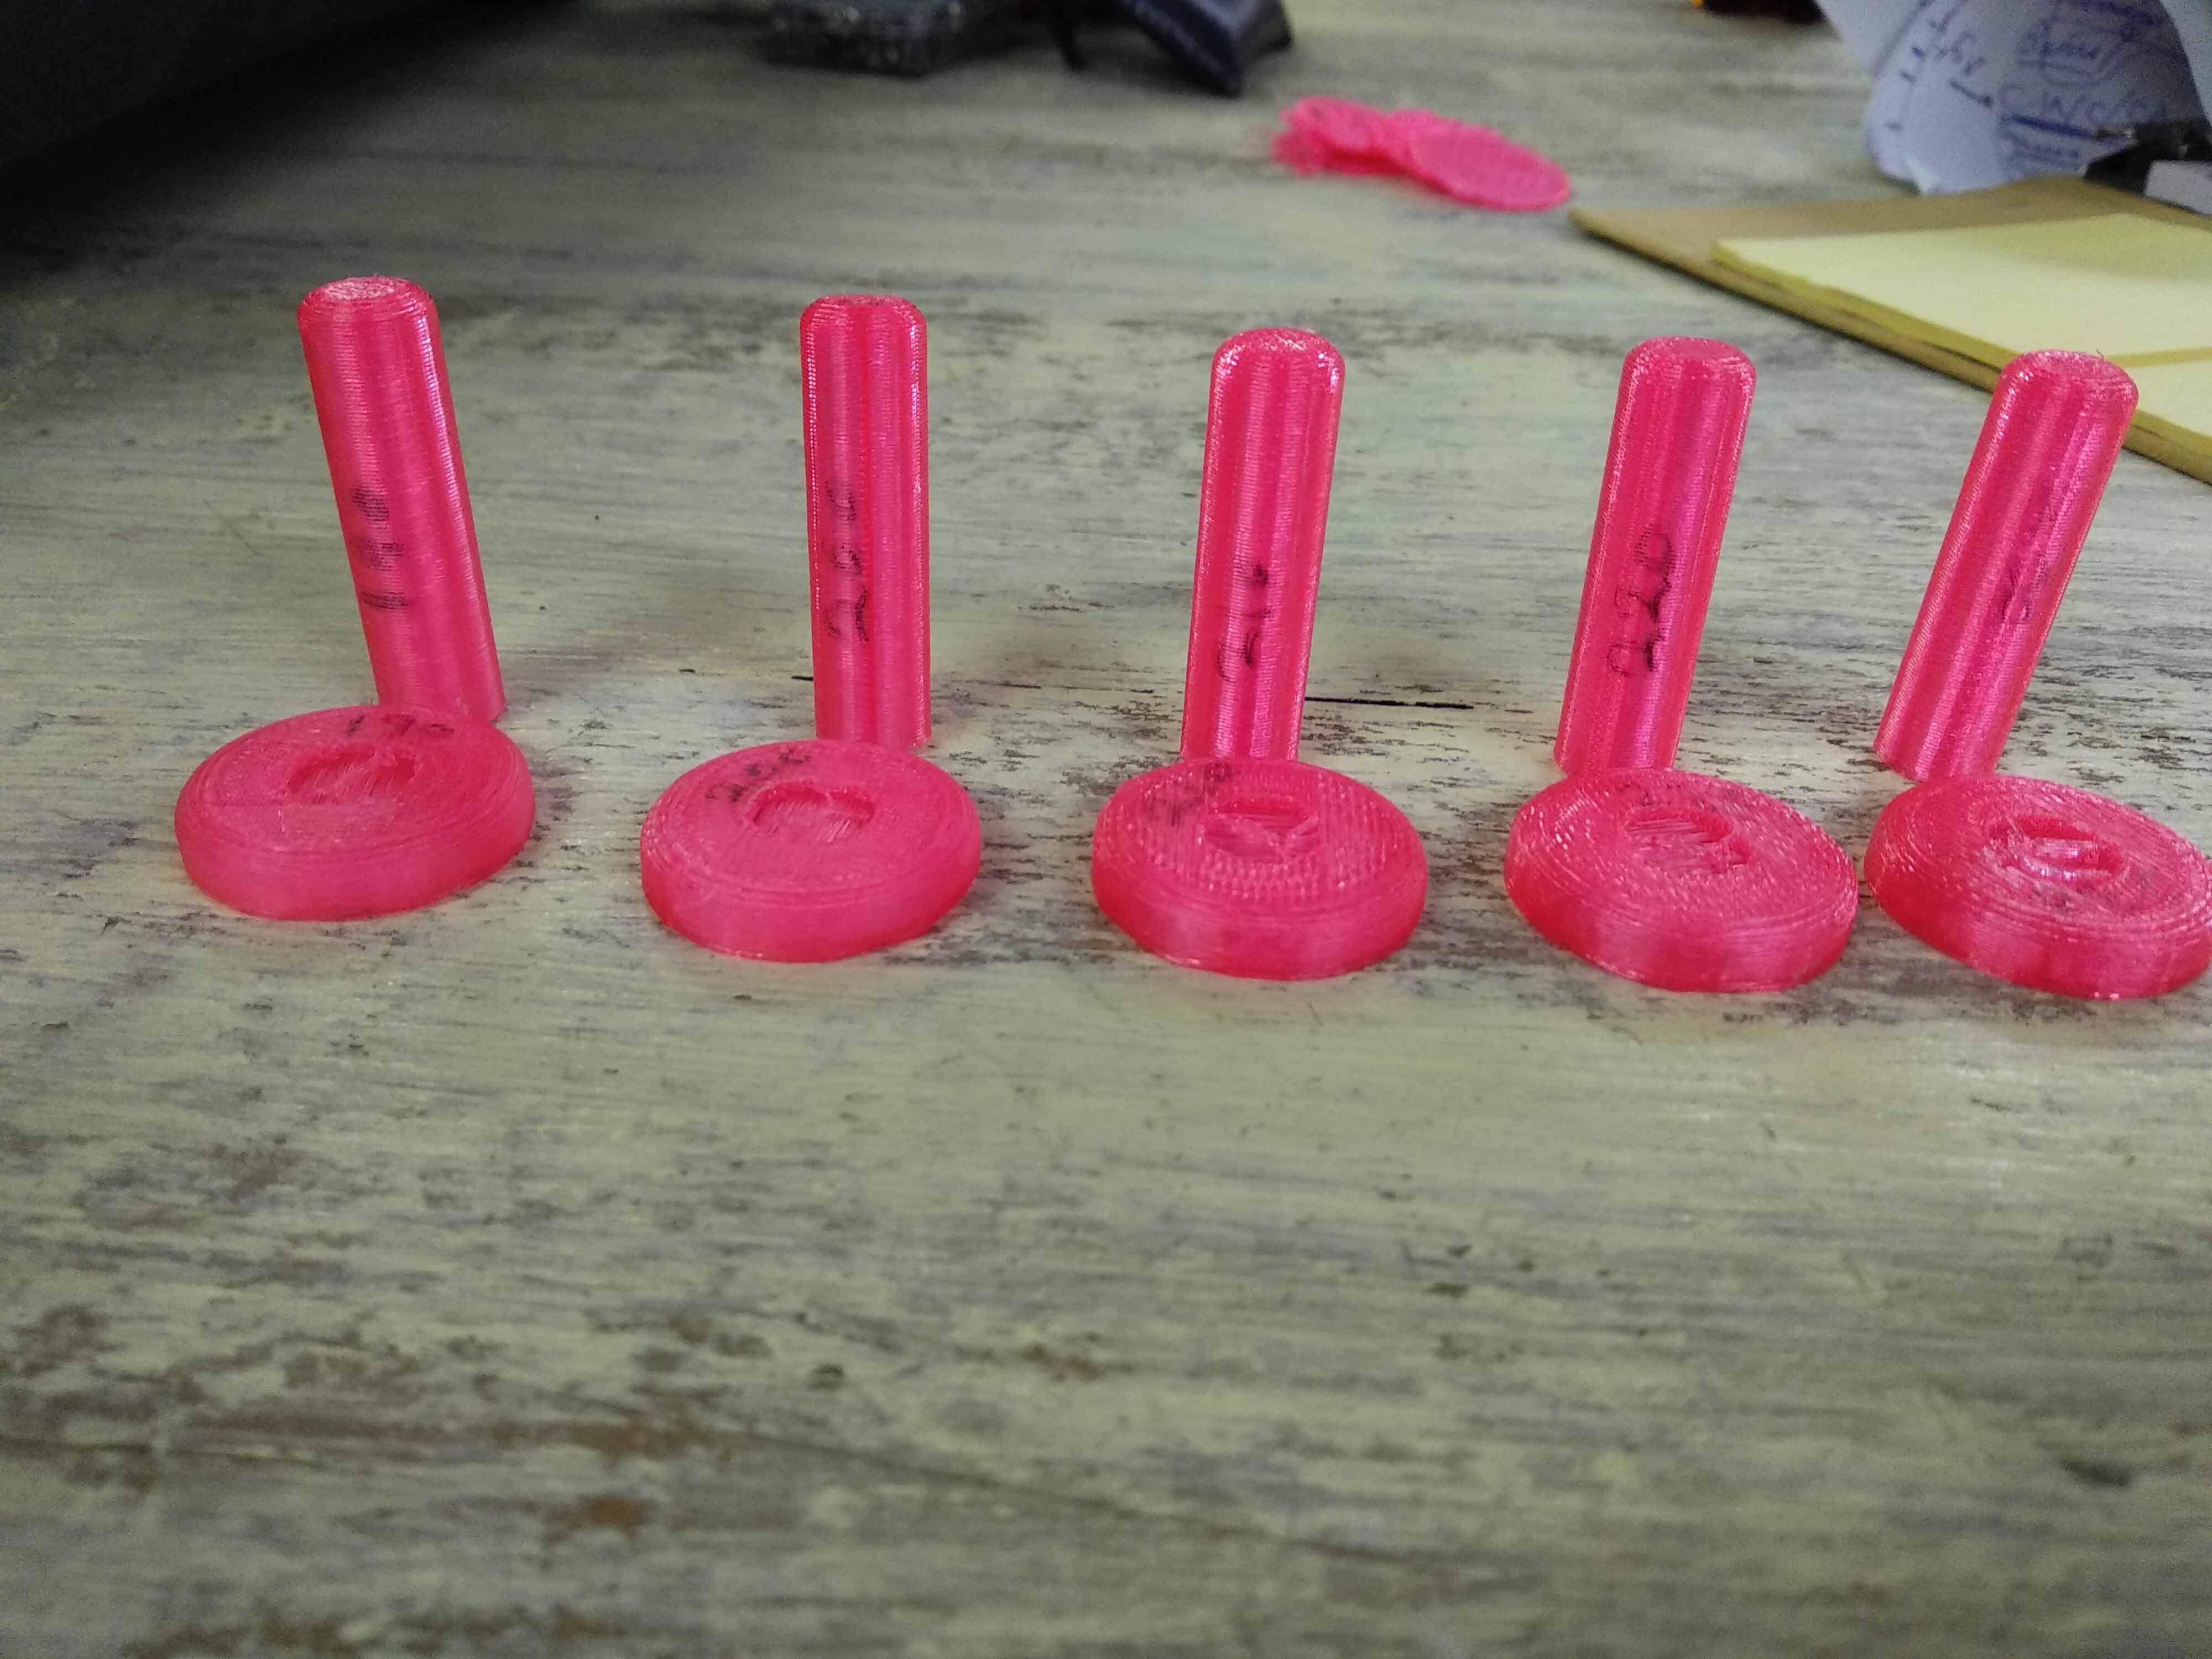
The minimum degree did't work well I could break the model very easily. It started working well from 220 and 230 too!! The model was very rigid and very hard to break, but 230 started to change the filament to be more shiny and I didn't like it.
As a conslucion the maximum temprature degree works well with PLA and exceeding this degree will change some charachterstics of the filament itself.
Step3: Design and print 3D object
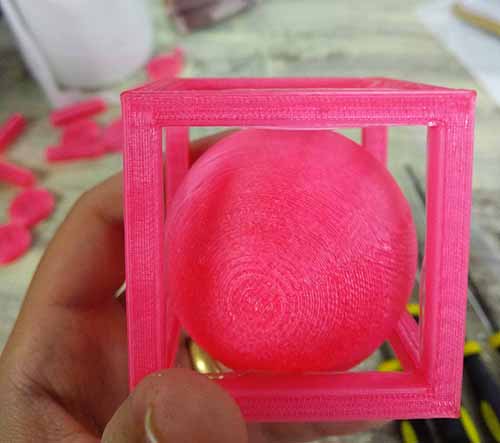
The task is to design somethign that could not be made subtractively, So I decided to make a ball moving inside a square


The sketch
The design
- Make The design
- Slice and print
- The final result
I used fusion 360 for making the design
From creat I selected sphere then made the diameter to be 48mm.
I hided the sphere by clicking on the bulb inside the body section then created a sketch. I draw a square of 50 mm then another square inside it with 5 mm distance.After that I clicked stop sketch
I clicked on create then extrude, Selected the space between the two squares to be extruded to 50 mm. The operation should be new body.
I created a new sketch on the side of the new extruded body with a small square that has a distance between it an between the outer square of 5mm.
I extruded the new sketch negatively by making the value to b -50 mm to make the opening on the two sides.The operation should be cut.
I repeated the final step on the top and bottom to have the final hollow cube.
I showed the shpere again then moved the sphere inside the cube.
I saved the STL file by making a right click on the document name then click save as STL. Saving from the bodies will save each body on his own but saving from the document name will save the whole design.
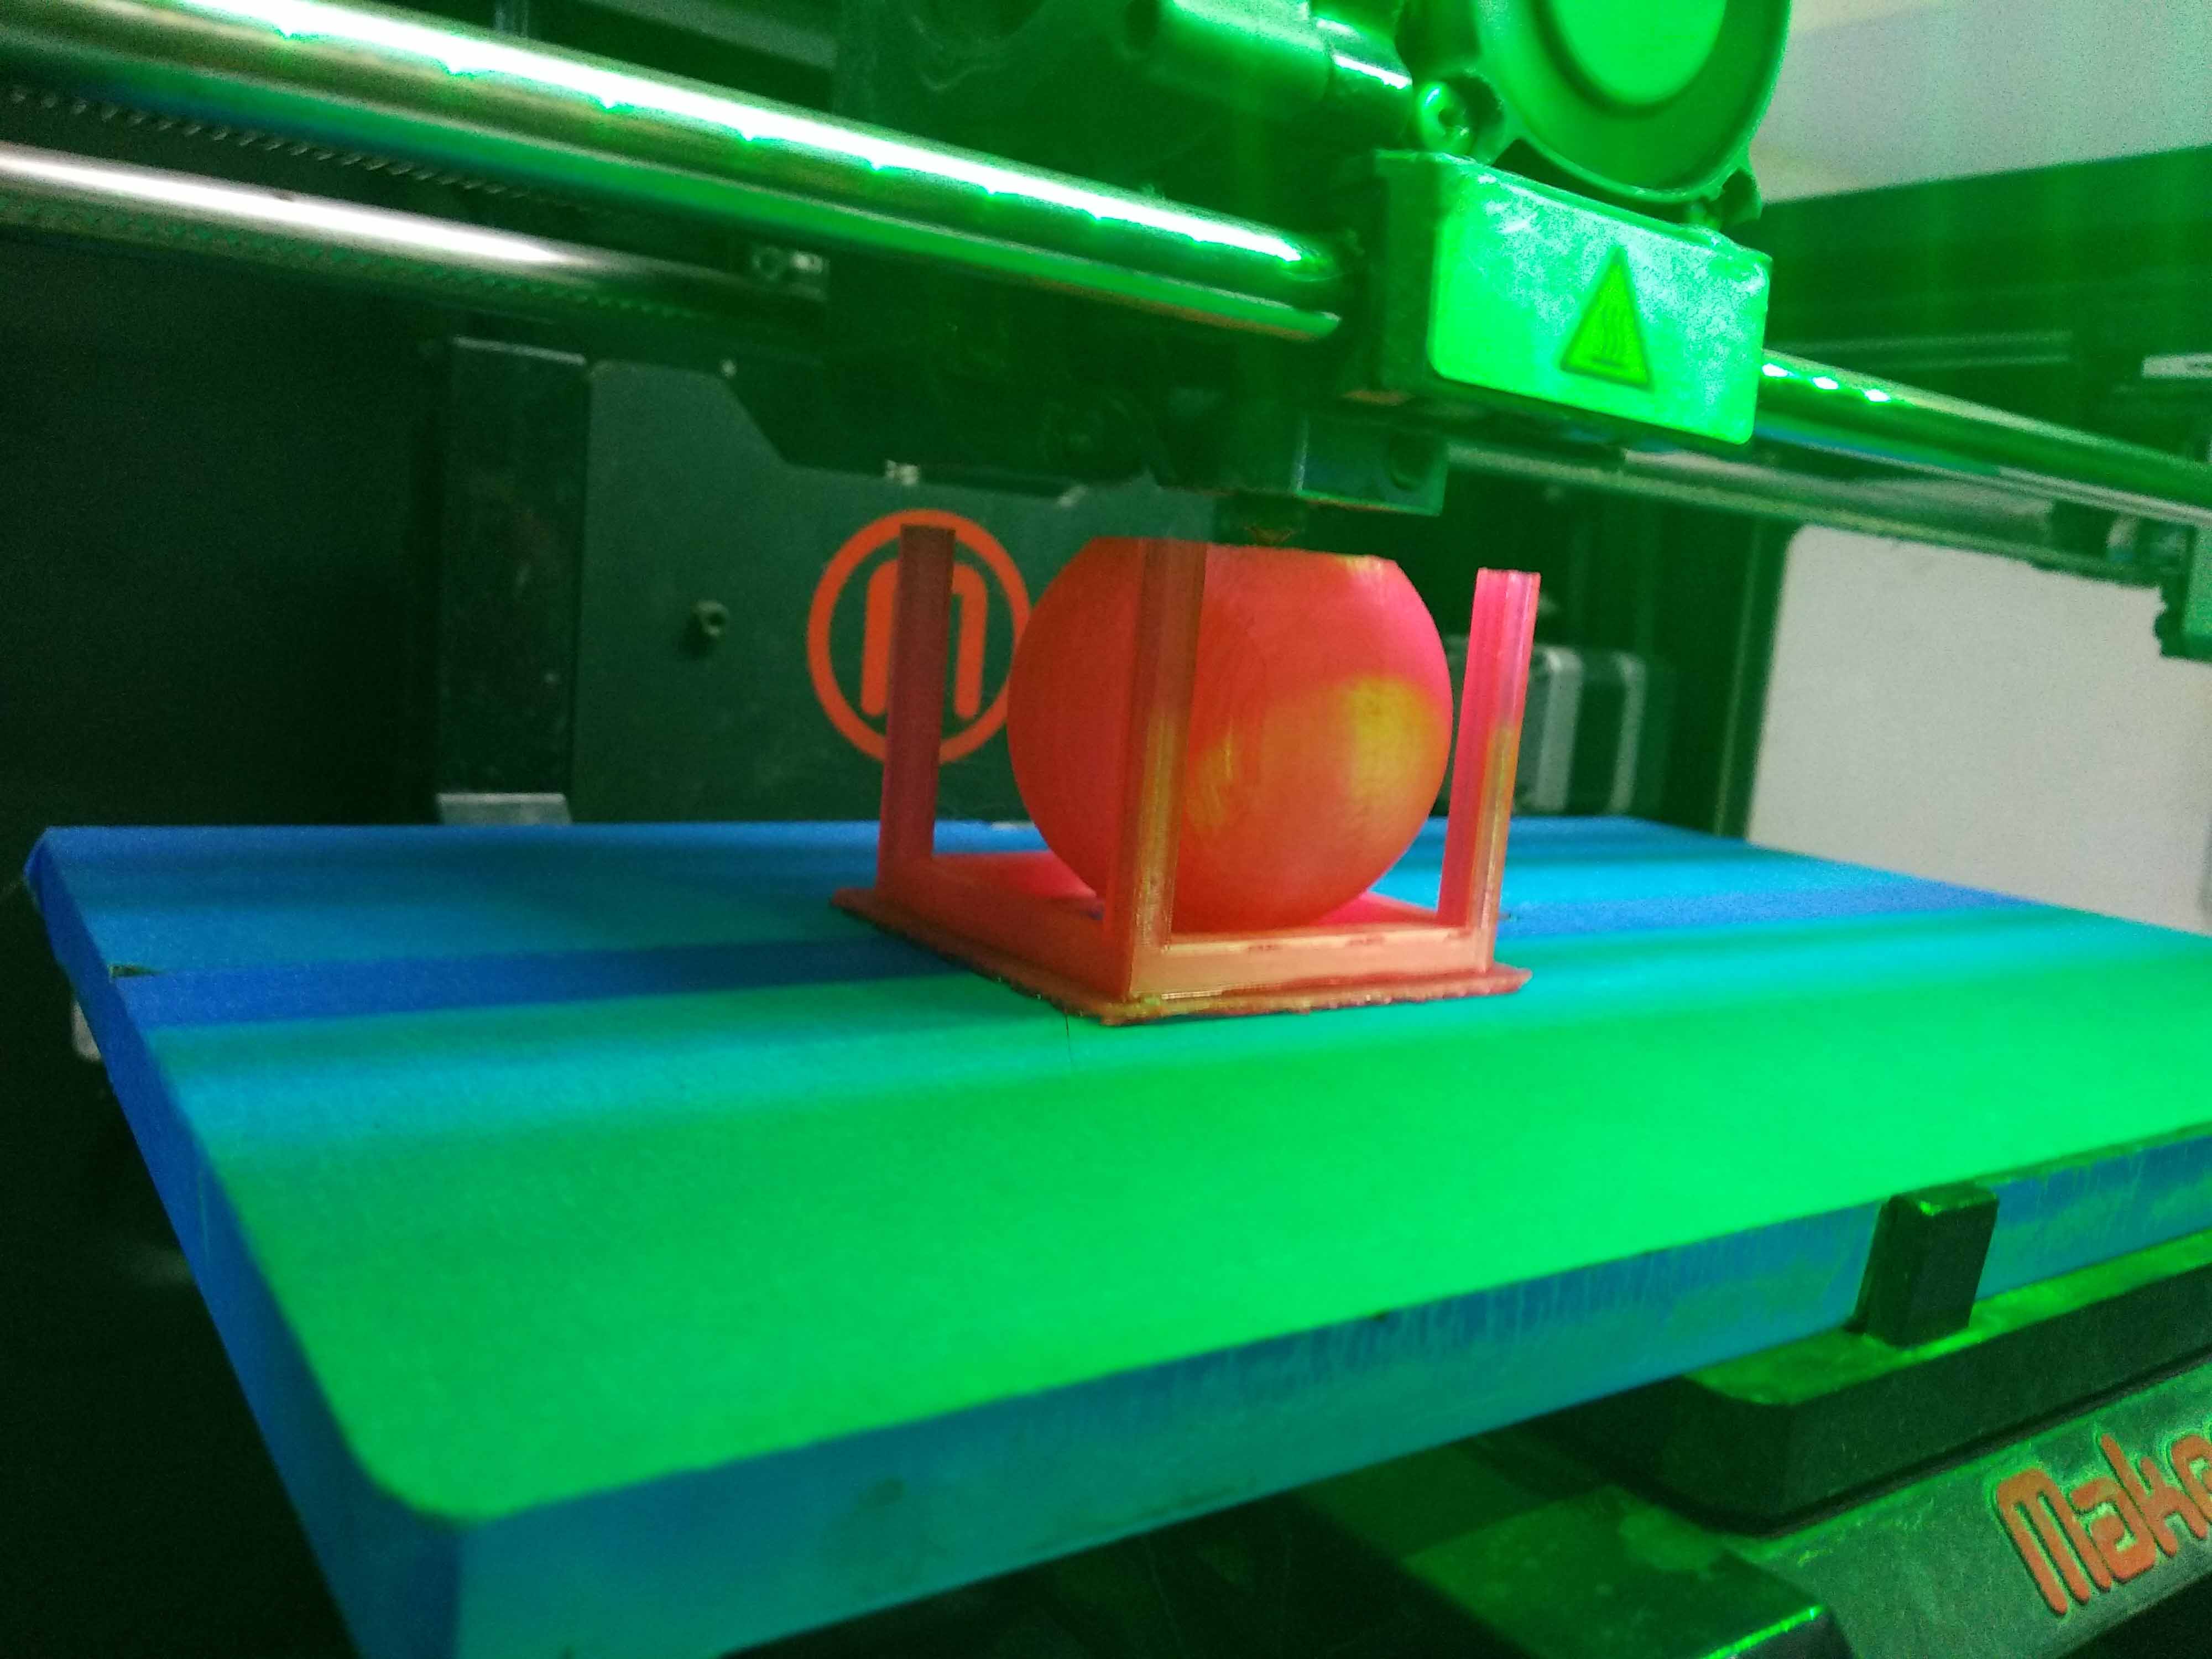
I opened the file in makerBot print and made the settings then exported to the SD card.
I started printing the file from the SD card.
The settings I made for printing was the same as I made for the test file but made the printing temperature to 220 celecius degree.

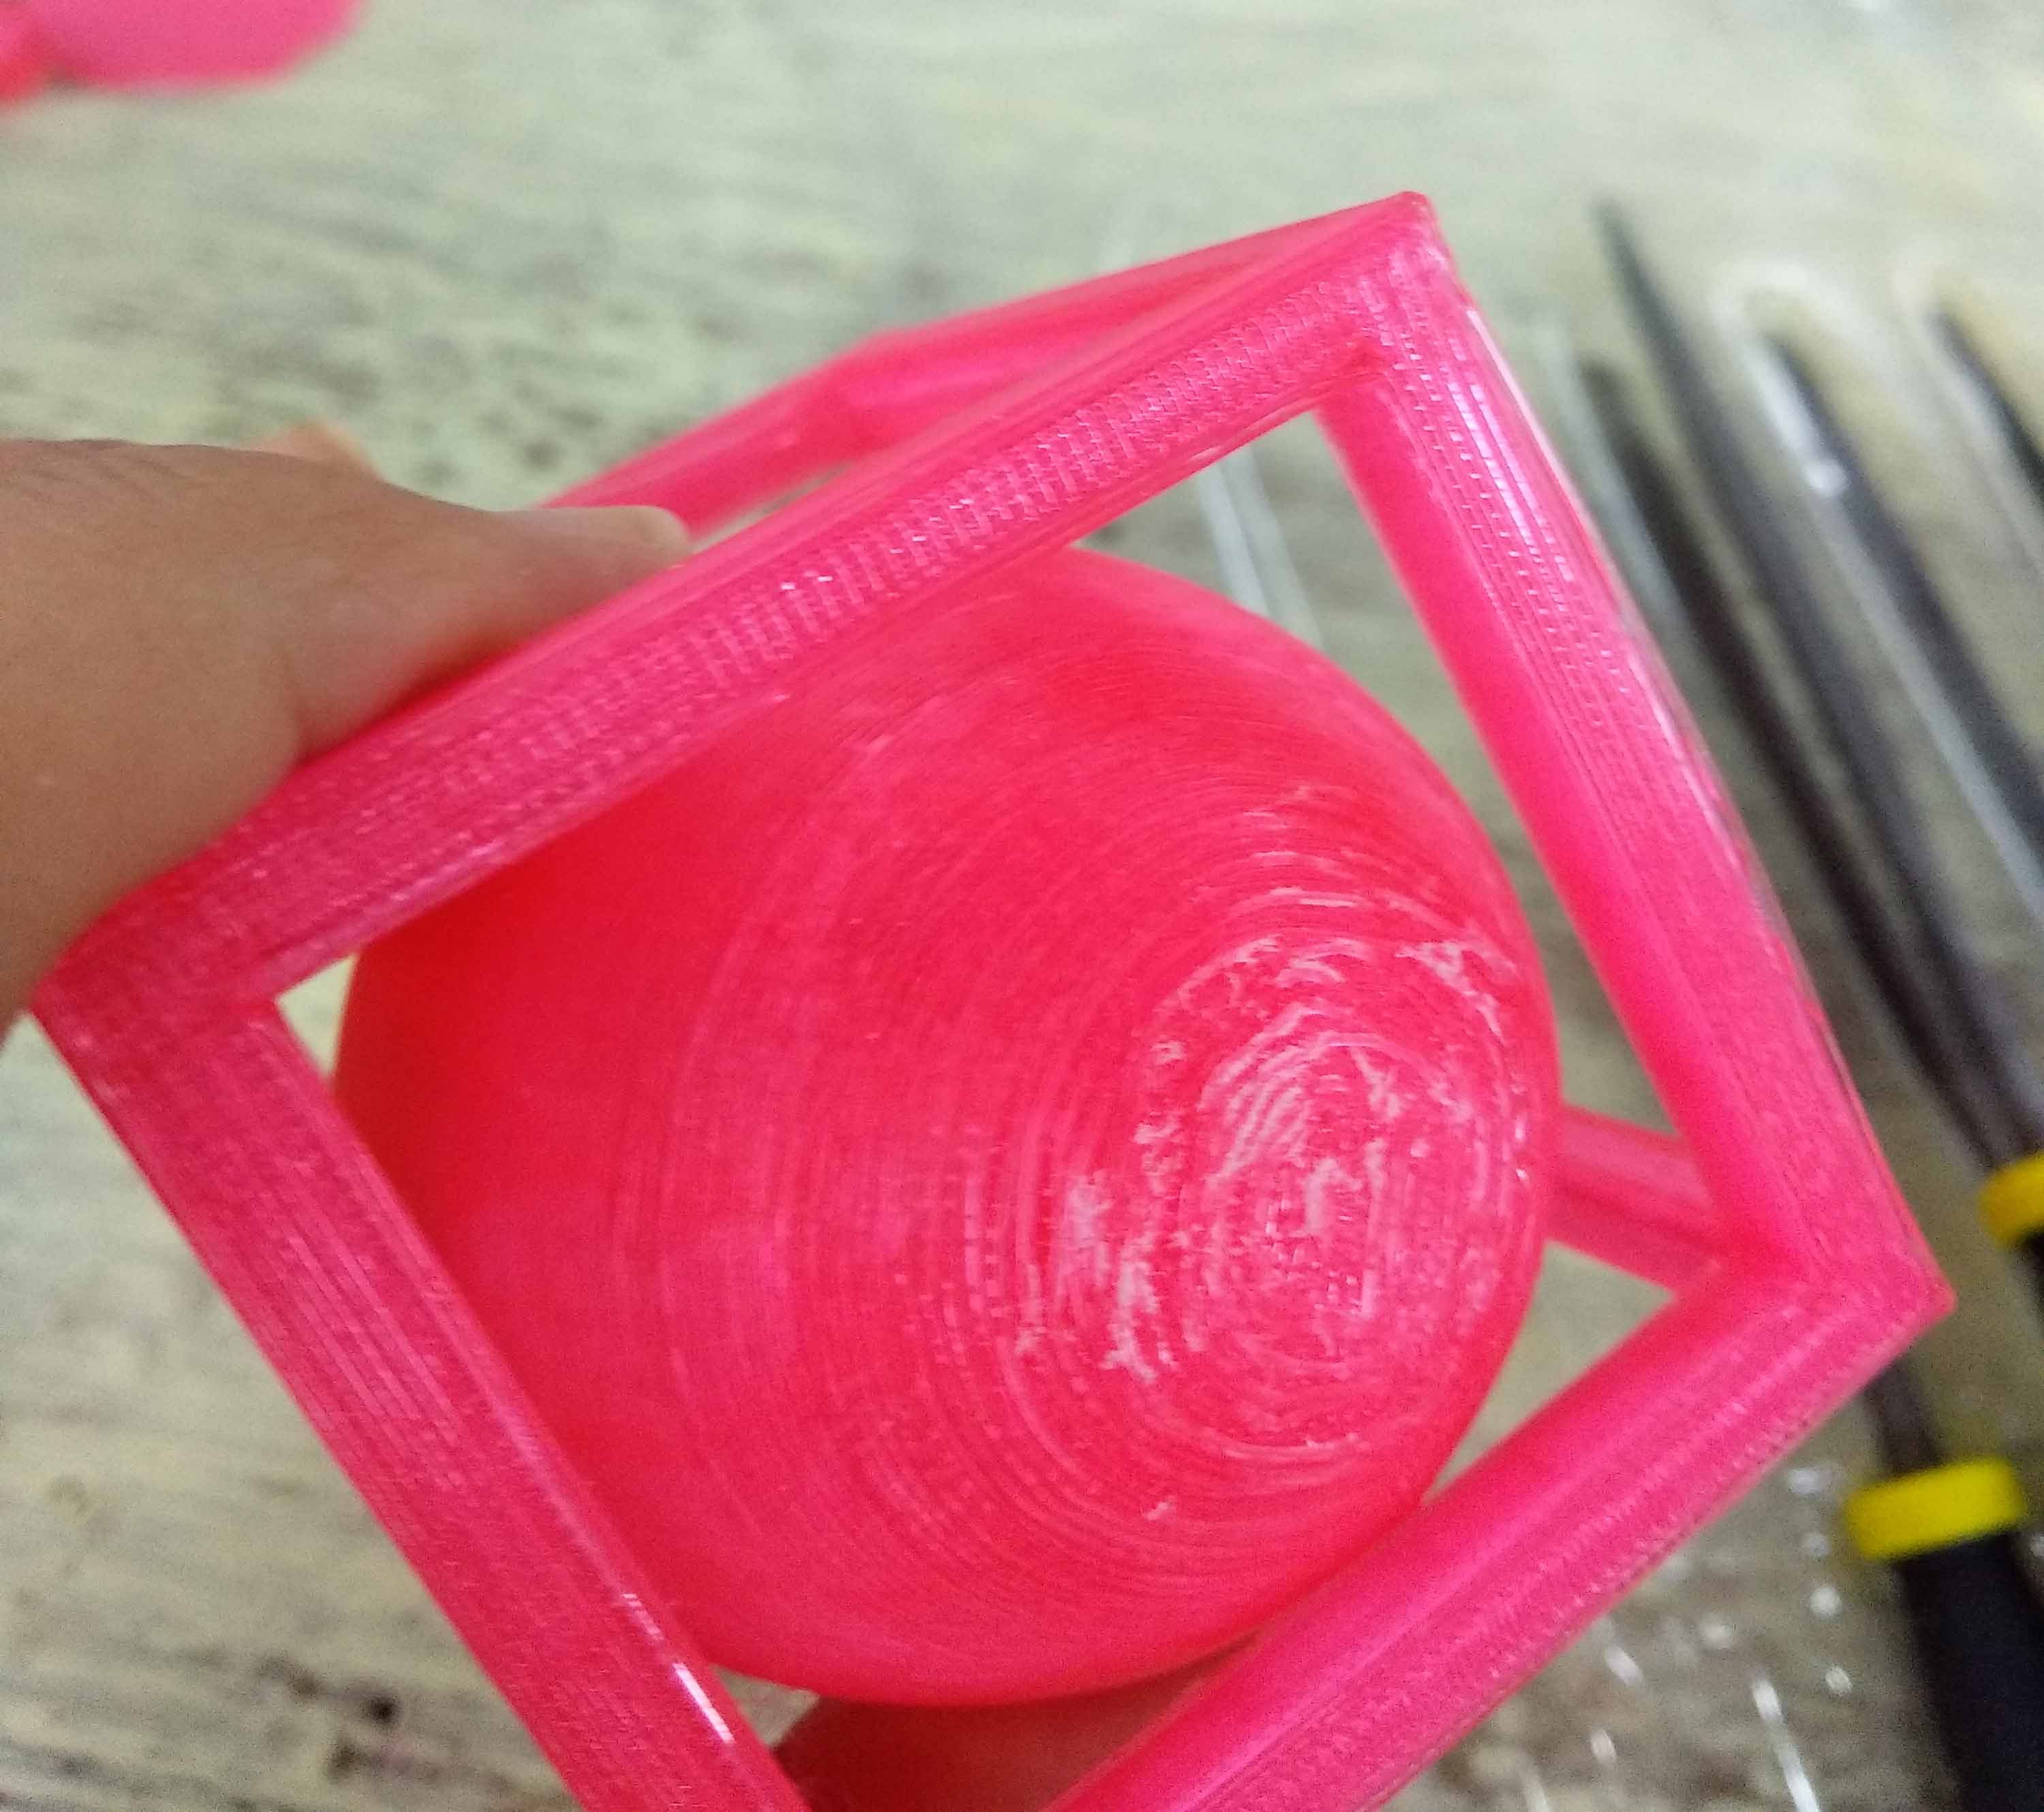
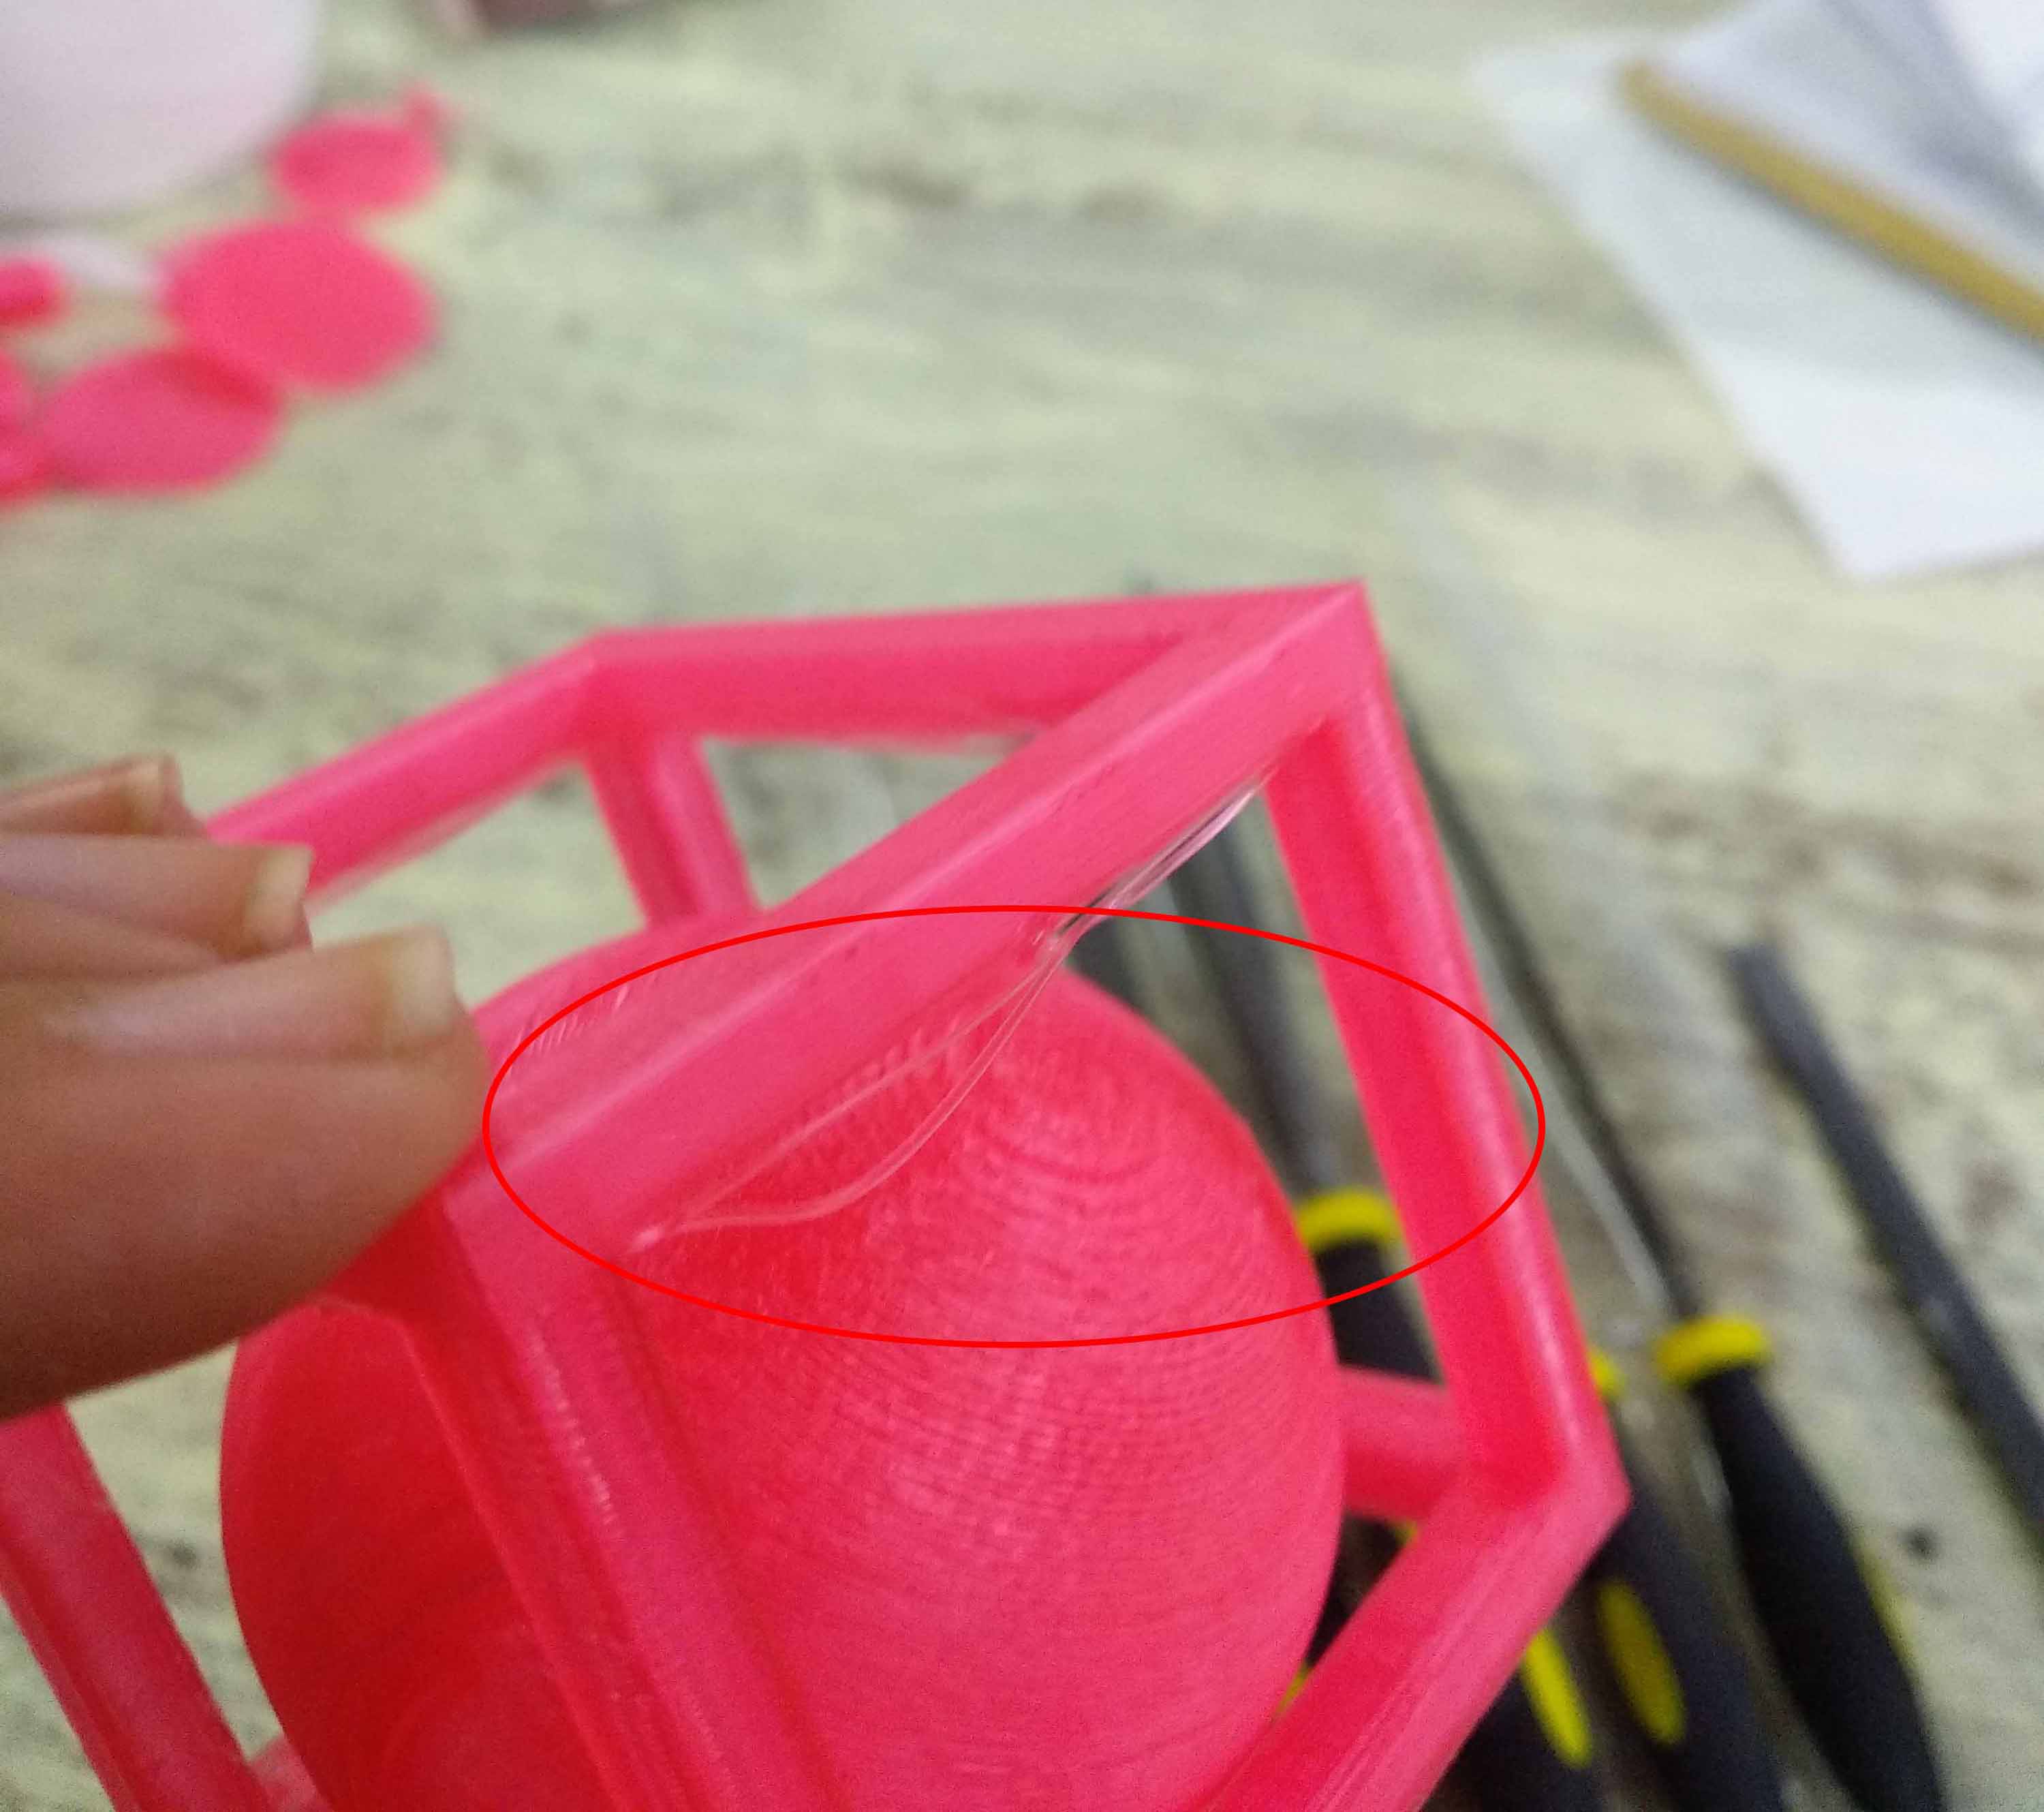
The final result was good and the sphere was able to move inside the square.
The bottom of the sphere was a little bit deformed.
there were some small overhanges because I didn't make any supporters. But the supports were to increase the weight and the cost too much and I managed to remove these small extra filament lines and smooth the surface too easilty.
Step4: scan an object and print it
I downloaded autodesk ReCap. It allows constructing a 3D object from the pictures you take of the actual mode. I started to scan 3D printed model of pikatchu from Pokemon Cartoon and see what will happen by scanning a3D printed object.
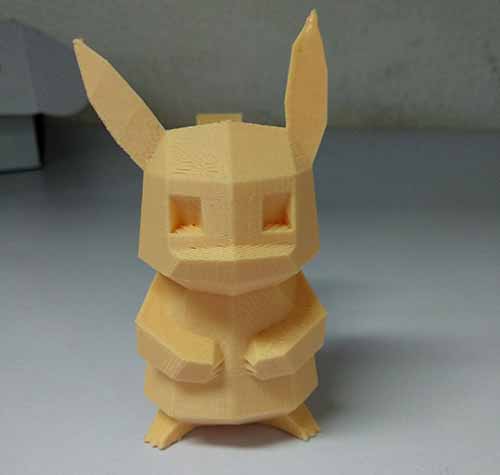
I fixed my mobile camera and started taking photos of Pikachu by rotating it with 10 degrees each time with a total of 79 images of the model.
I opened recap and created new project,then selected photo to 3D.
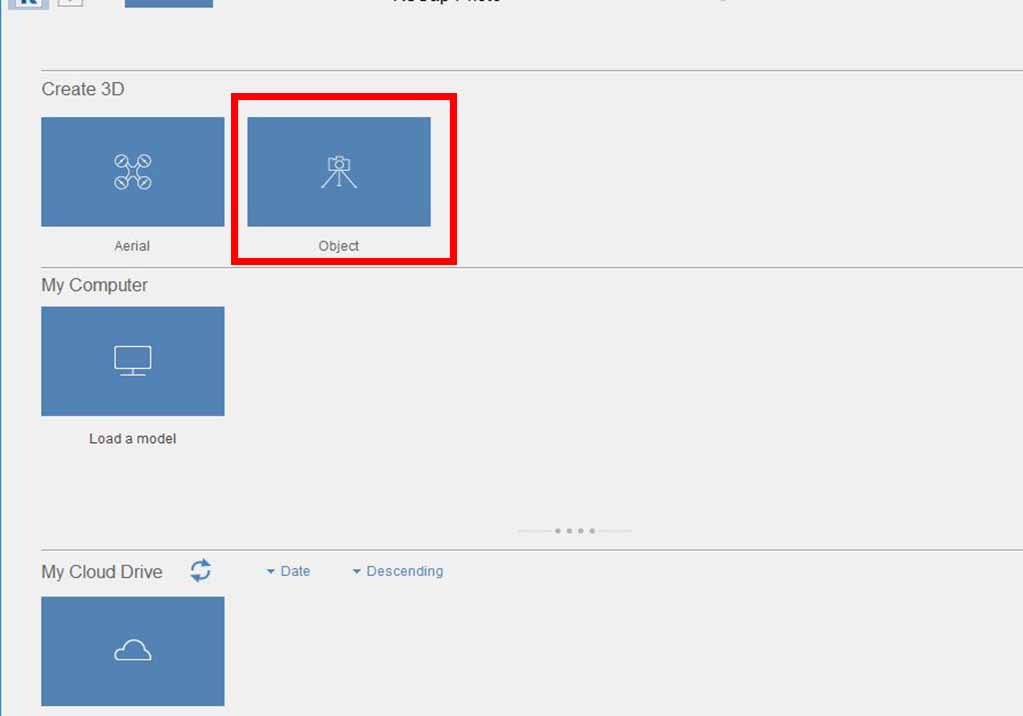
Click on object
Upload the photos then press create.
The program takes a very very long time to upload the photos then process it to create the 3D model.
After finishing uploading the photos
It started processing the photos.
When it was about to finish processing, it gave me an error!
At the begining I thought it was an internet issue and my internet was not stable enough. But after I changed my location and made sure of my internet stability and speed, the same error appeared again.
I tried one last thing which is removing the photos that contains the red protractor it successfully finished the processing!
Conclusion: The object should be the only very clear item.It's okay if there are some stuff on the background the program will foucs on the main model.
The result I got was good from the front and from the left side but it was very damaged from the right side. The model was not complete.
I should try again by fixing the model and rotate the camera around rather than rotating the model itself.
I did all the previous steps again but bu putting the model on a fixed position and rotate the camera a round it.
The result I got from the new images is much more better.
Select the square select tool and manually remove the areas captured from the background. It was teh chair I put the model on while taking photos.
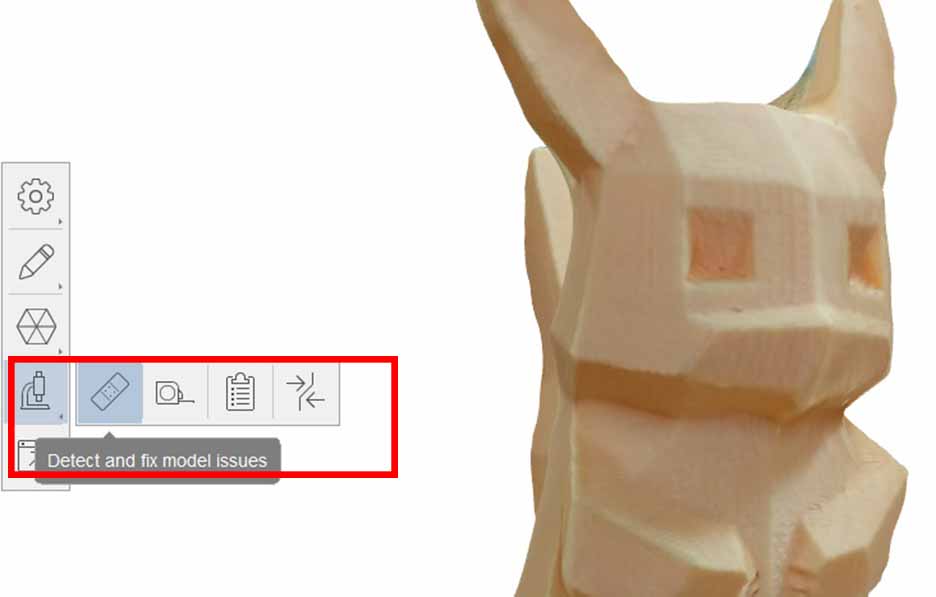
The result after removing the un needed areas.
Click on detect and fix model issues.
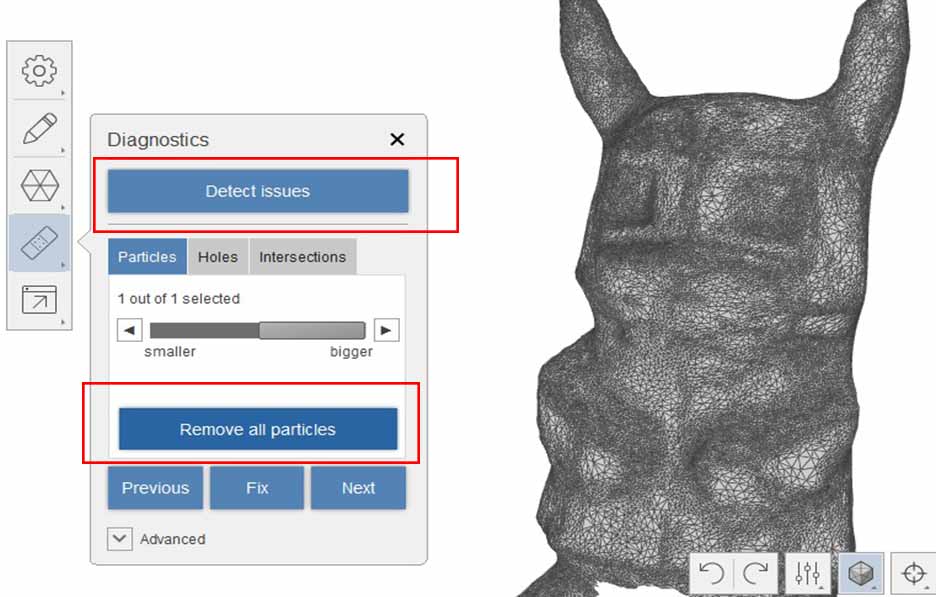
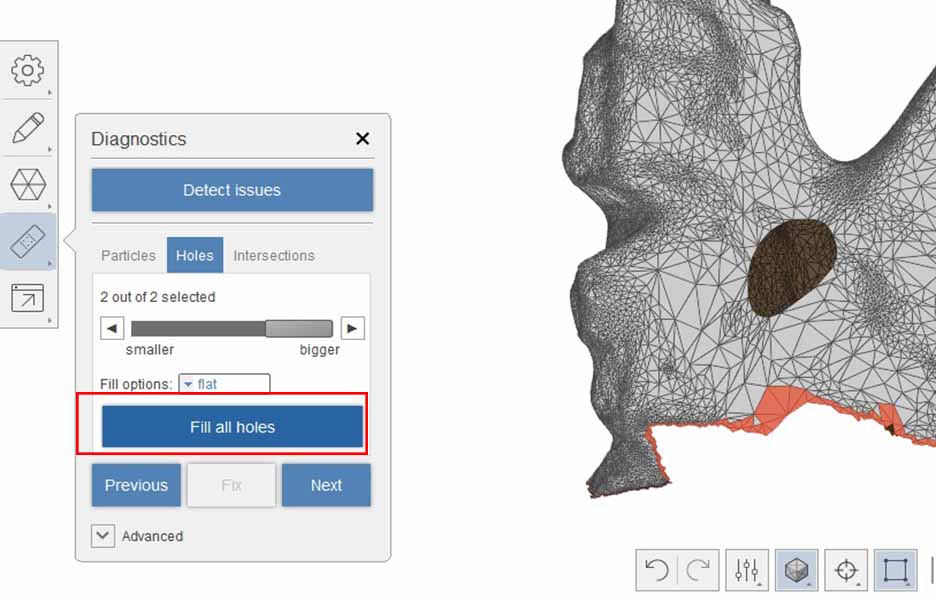
Press on detect issues then see the result. The first wrong thing with my model was undeleted particles. I pressed on remove particles then pressed on next.
The next thing was holes due to un closed surfaces. I selected fill option to be flat then pressed on fill all wholes.
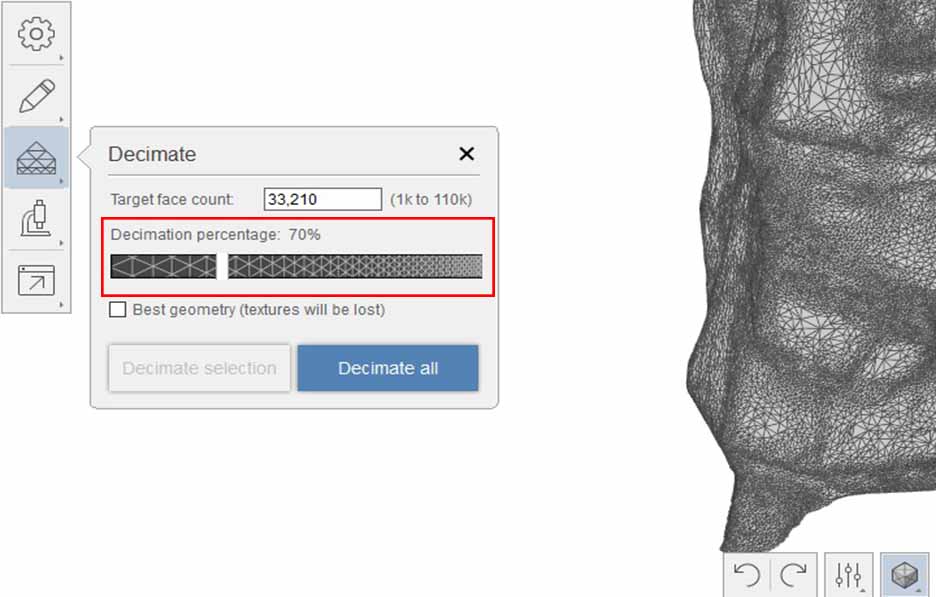
I selected mesh decimate and reduced the mesh faces to 70% to make it more easy in processing.
I exported the STL model.
The results I got at the end were very good and the modle was sliced on cura successfully with no errors and ready to be printed.
Conclusions and suggestions for better scanning quality:
- Put dark surface ( black paper for example) under the model if its color is bright to have this color difference that make it easy for the software to delete the uncessary areas.
- Take more than 36 photos.
- The software uses the background to adjust the orientation of the images, So for good results model should be fixed and mobile camera should rotate around it while taking pictures.
Files:
- Ready for makerbot print temprature test-190 celecius degree
- Ready for makerbot print temprature test-200 celecius degree
- Ready for makerbot print temprature test-210 celecius degree
- Ready for makerbot print temprature test-220 celecius degree
- Ready for makerbot print temprature test-230 celecius degree
- STL of a moving sphere inside a cube
- Recap model for the 1st attempt
- Recap model for the 2nd attempt
- 3D model ready for printing

