week 2 - Computer Aided design- Inkscape
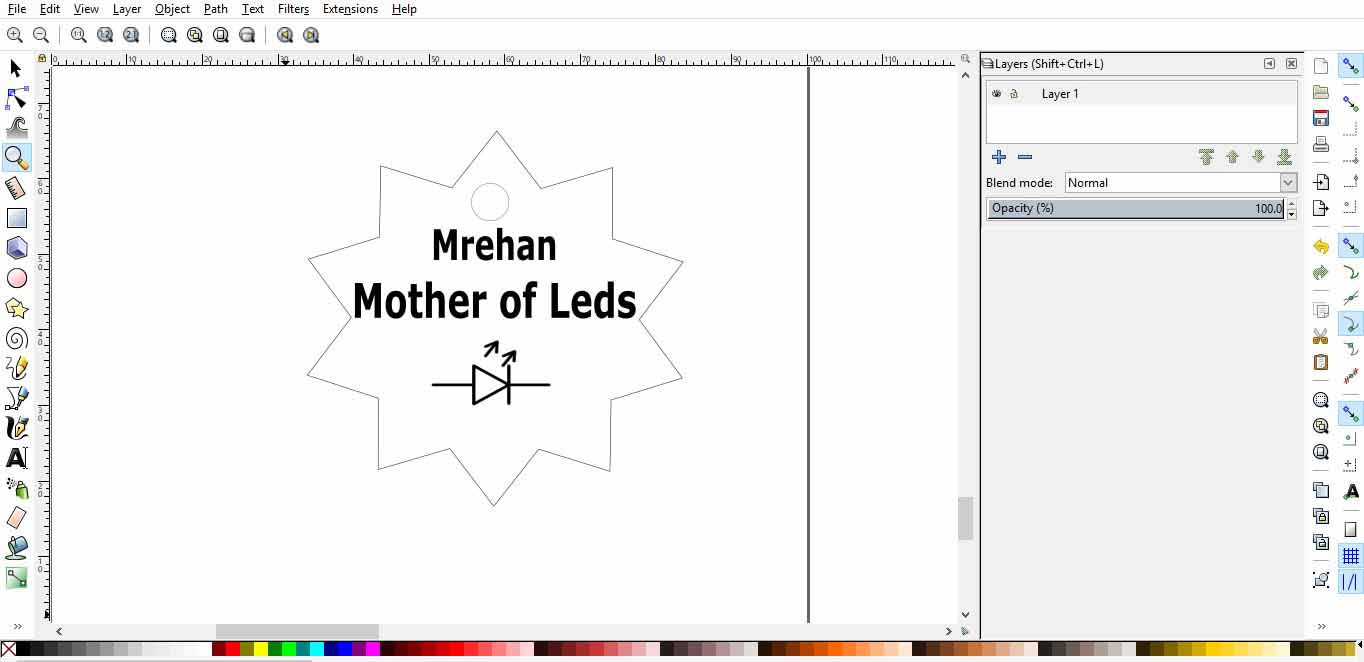
I decided to try inkscape by making a 5*5 cm medal with my name on it
- Download inkscape from thislink and then set up.
- Adjust the working area
- Draw A star
- Fill and Stroke
- Changing shapes dimensions
- Adding a text
- Importing an image
- The files
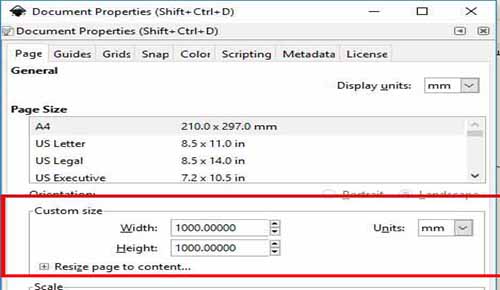
Click file then document properties then change the width and height of the work area to the width and height that suits My design.My esign will be 5*5 so I chose the work area to be 100*100 mm.
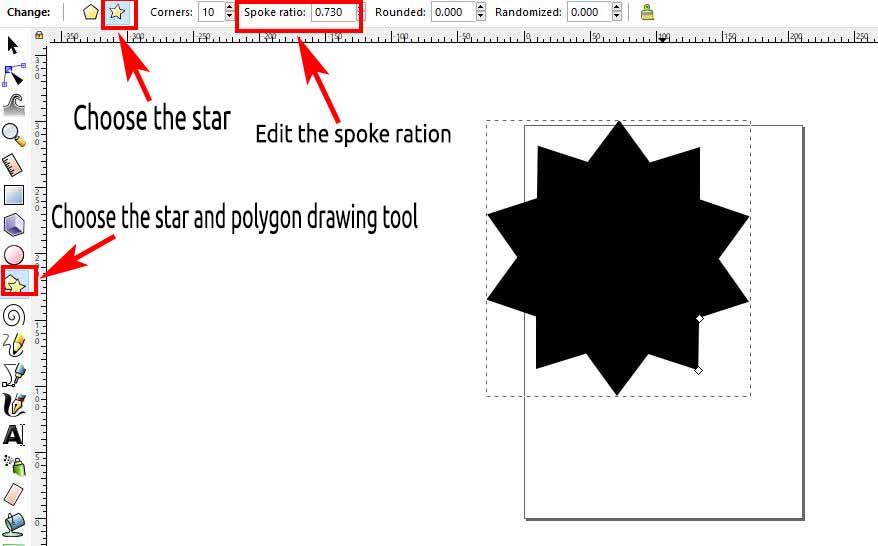
The spoke ration controls the the size of the area inside the start. When the ratio is increased the area inside is much wider.
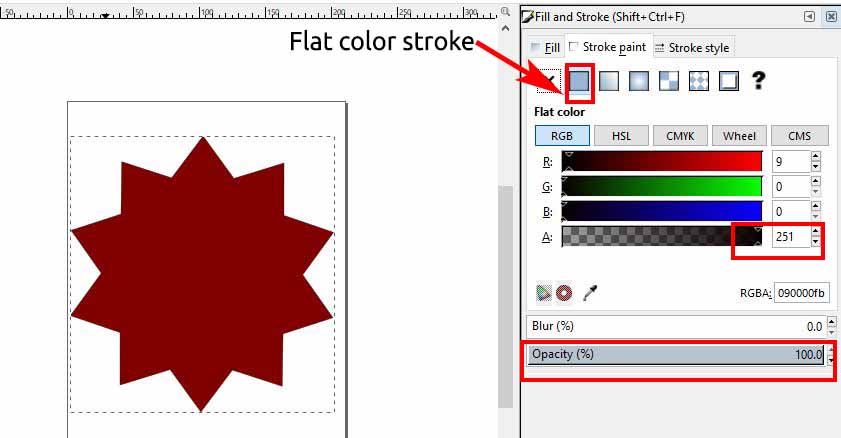
Right click on the star and choose fill & stroke. Choose the stroke to be Flat color and the stroke color.
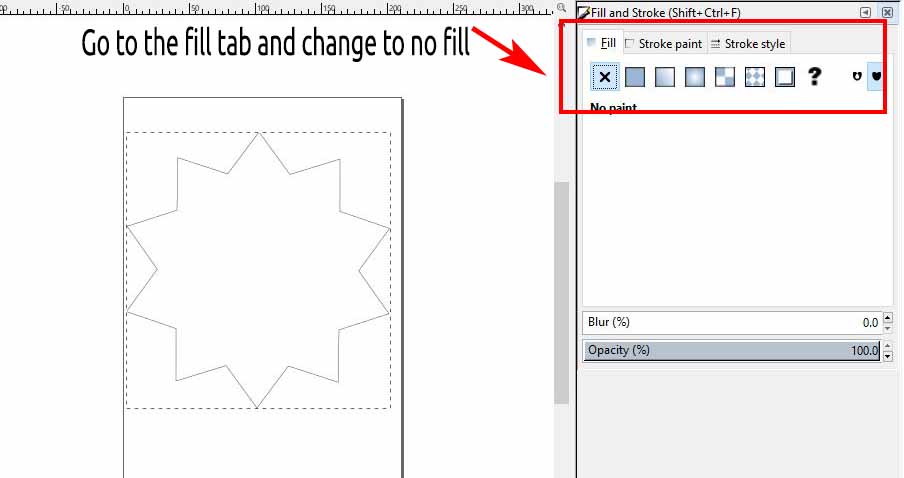
Go to the fill tab an change no fill
One important tip is when the opacity percentage is 0 the shapes doesn't appear, I discovered this when I draw the star and it didn't appear so I had to search why and I figured out that I should give the opacity a percentage (100% is prefered).
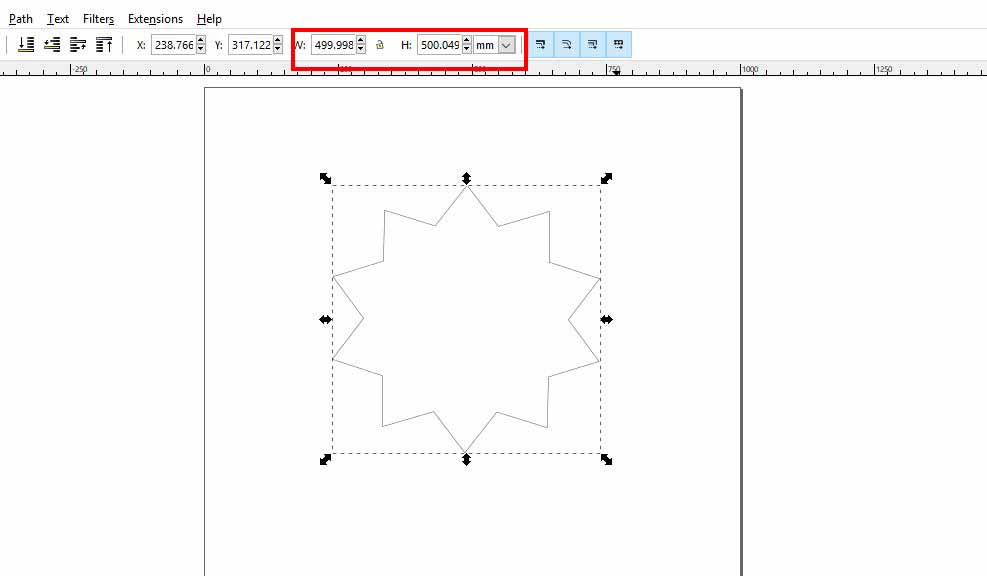
when select a shape a dimensions bar appears on the top on which I scaled the star size to be 50 mm*50 mm.
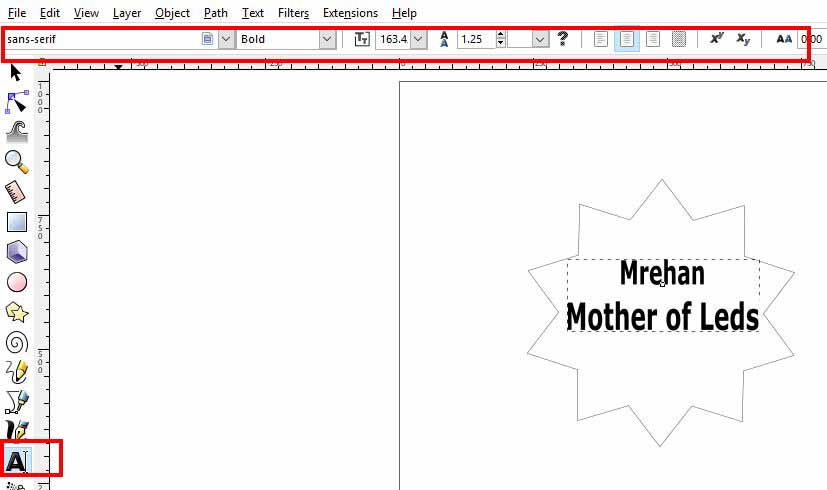
Select the create text tool and click on the place where The text is wanted. A bar will appear on the top where I chose the font and size of my text.

